Articles
How To Store Yeast Rolls
Modified: August 31, 2024
Learn how to properly store yeast rolls to keep them fresh and delicious for longer. Read our informative articles for helpful tips and tricks.
(Many of the links in this article redirect to a specific reviewed product. Your purchase of these products through affiliate links helps to generate commission for Storables.com, at no extra cost. Learn more)
Introduction
Yeast rolls are a delightful addition to any meal, whether you’re hosting a holiday feast or simply enjoying a cozy dinner at home. These soft, fluffy treats are perfect for soaking up savory sauces or slathering with butter. While freshly baked yeast rolls are simply irresistible, it can be challenging to enjoy them all at once. That’s where proper storage techniques come into play.
In this article, we’ll guide you through the process of storing yeast rolls to ensure they stay fresh and delicious for an extended period. We’ll cover everything from making the dough, shaping the rolls, and baking them, to cooling and storing them effectively. By the end, you’ll be equipped with all the knowledge and tips you need to savor those delectable yeast rolls days after they’re baked.
Key Takeaways:
- Preserve the Freshness: Properly store yeast rolls in airtight containers or freezer bags to maintain their softness and flavor. Label and date freezer bags for easy identification and enjoy within 1-2 days for maximum freshness.
- Enhance Storage Techniques: Separate rolls with parchment paper, avoid storing hot rolls, and refresh slightly dry rolls by heating with a damp paper towel. Use quality storage containers and enjoy the convenience of homemade yeast rolls anytime.
Read more: How To Store Instant Yeast
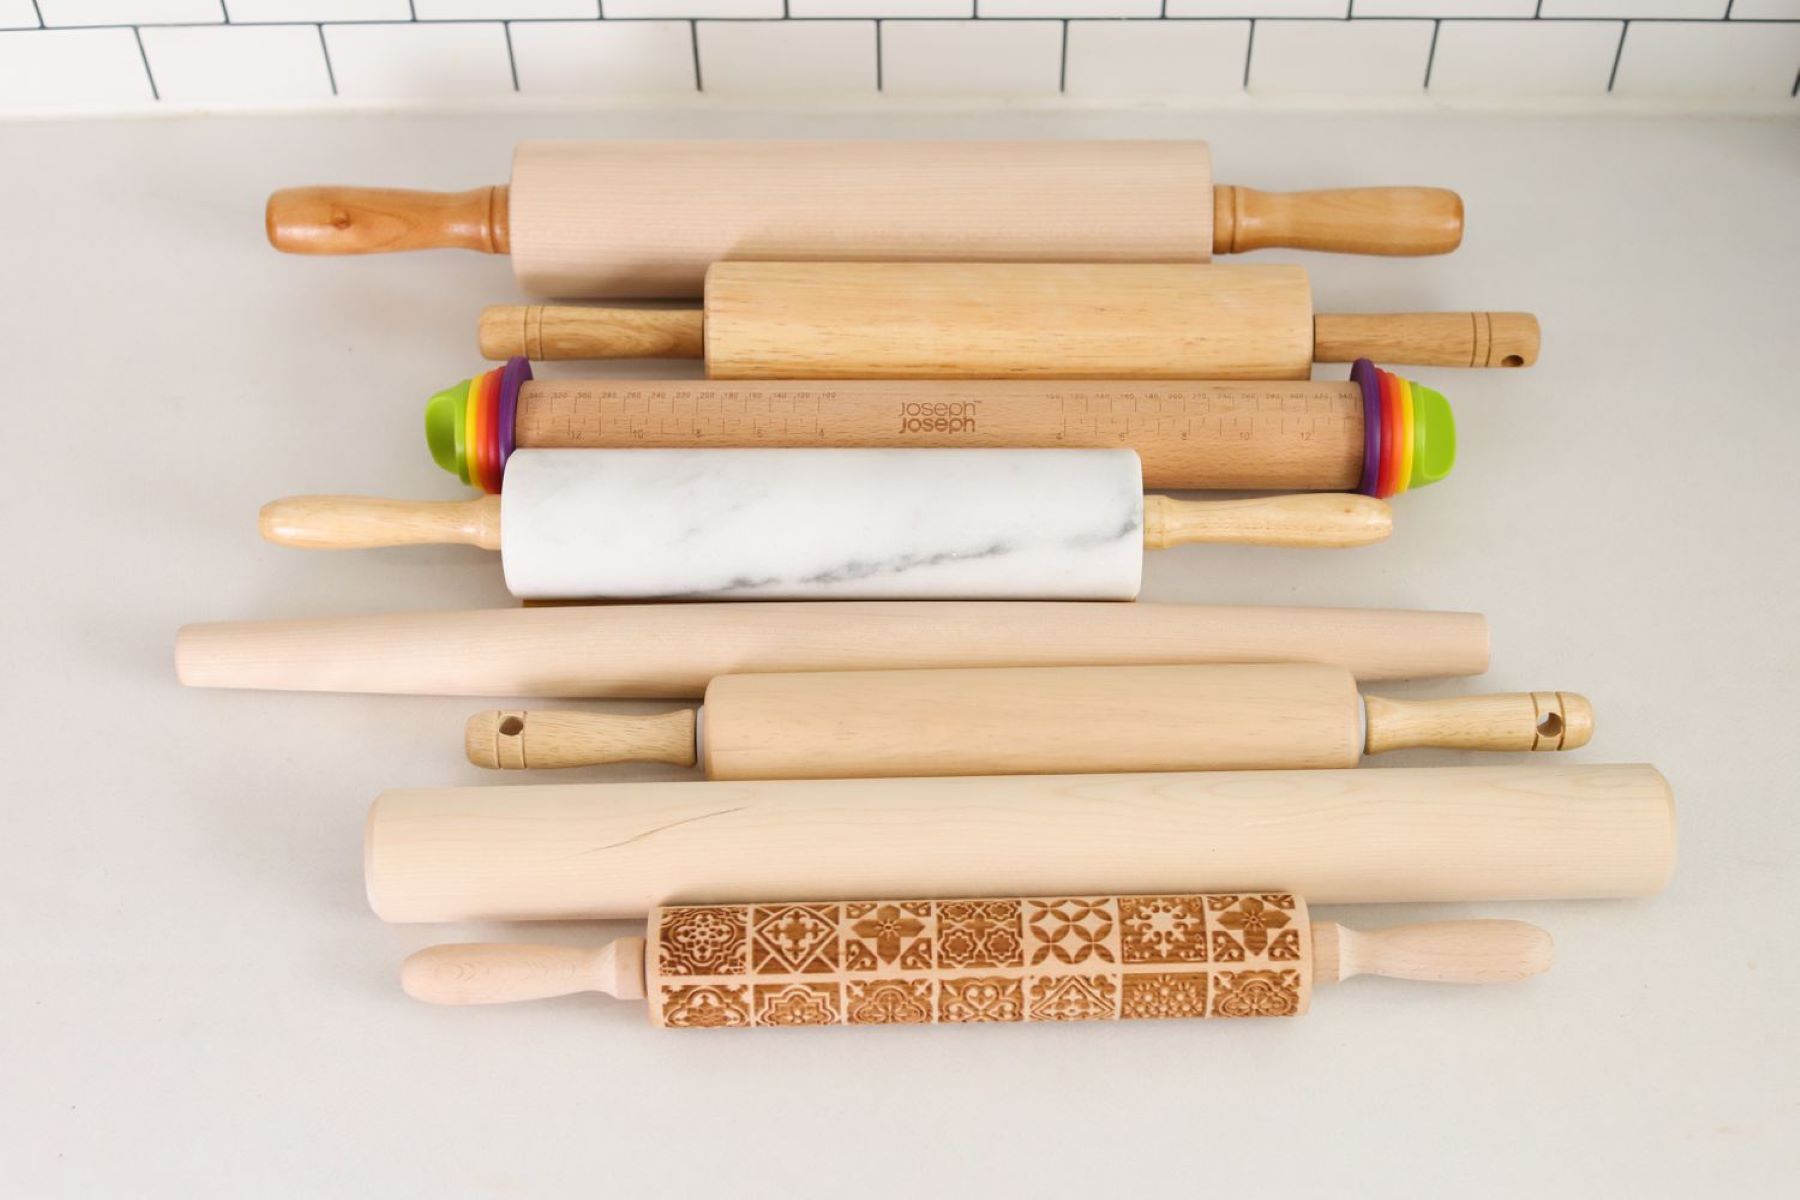
Equipment Needed
Before diving into the process of storing yeast rolls, let’s make sure you have all the necessary equipment on hand. Here’s a list of what you’ll need:
- Mixing Bowl: A large mixing bowl will be your main vessel for combining the ingredients and kneading the dough.
- Measuring Cups and Spoons: Accurate measurements are crucial when baking, so make sure you have a set of measuring cups and spoons.
- Electric Mixer: While not essential, an electric mixer can make kneading the dough easier and more efficient. If you don’t have one, you can still achieve great results by kneading the dough by hand.
- Baking Sheet: A sturdy baking sheet will be used to place the shaped rolls for rising and baking.
- Parchment Paper or Silicone Mat: To prevent the rolls from sticking to the baking sheet, you’ll need either parchment paper or a silicone mat.
- Plastic Wrap or Kitchen Towel: To cover the dough while it’s rising, you’ll need either plastic wrap or a kitchen towel.
- Cooling Rack: A cooling rack is essential for allowing the rolls to cool properly before storing.
- Airtight Container or Freezer Bags: To store the yeast rolls, you’ll need airtight containers or freezer bags that can keep them fresh and protect them from freezer burn.
Once you have all these items ready, you’ll be well-prepared to start making and storing your delicious yeast rolls.
Ingredients
To create your delicious yeast rolls, you’ll need the following ingredients:
- 3 cups all-purpose flour
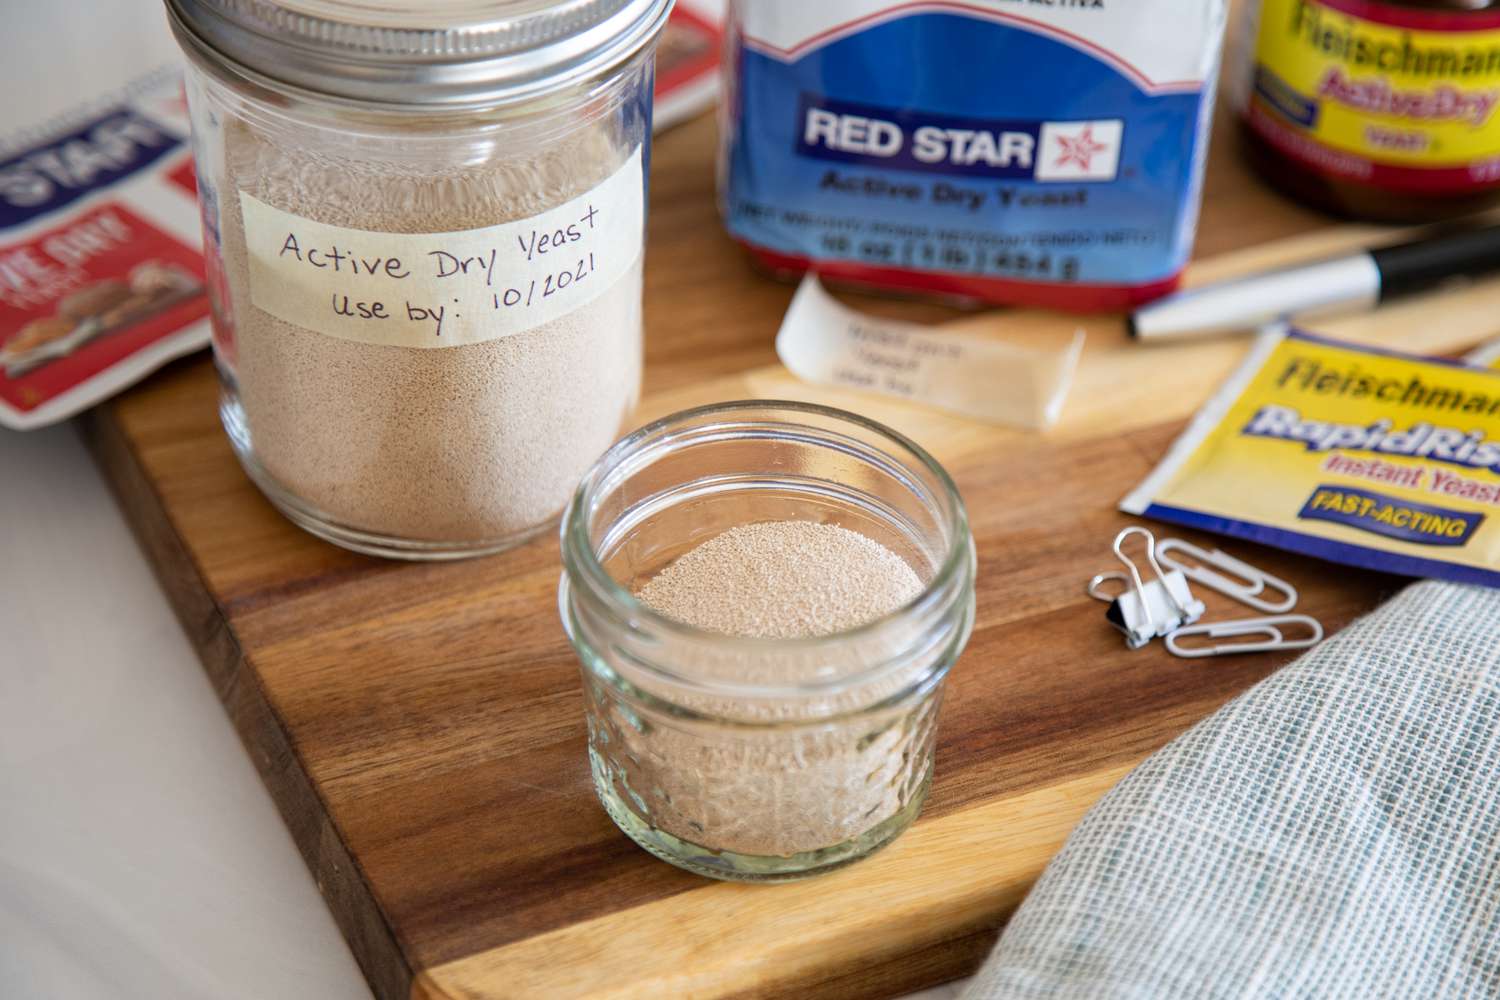
- 2 1/4 teaspoons instant yeast
- 2 tablespoons granulated sugar
- 1 teaspoon salt
- 1 cup warm milk
- 1/4 cup unsalted butter, melted
- 1 large egg
These ingredients will give your yeast rolls the perfect texture and flavor. The all-purpose flour provides a good balance of protein and starch to create a soft and tender dough. The instant yeast helps the dough rise quickly and easily, while the granulated sugar adds a touch of sweetness. The salt enhances the overall flavor of the rolls.
The warm milk is crucial for activating the yeast and ensuring the dough rises properly. The melted butter adds richness and moisture to the rolls, while the egg helps bind the ingredients and adds additional tenderness.
By using these simple yet essential ingredients, you’ll be well on your way to creating a batch of mouthwatering yeast rolls that are ready to be stored for later enjoyment.
Step 1: Making the Dough
Making the dough is the first step in creating delicious yeast rolls. Follow these simple instructions:
- In a large mixing bowl, combine the all-purpose flour, instant yeast, granulated sugar, and salt. Mix well to ensure the ingredients are evenly distributed.
- In a separate microwave-safe bowl, heat the milk until it reaches a warm but not hot temperature. This usually takes around 30 seconds to 1 minute in the microwave.
- Pour the warm milk into the dry ingredients and add the melted butter and egg. Stir together with a wooden spoon or use an electric mixer with a dough hook attachment. Mix until a soft dough forms.
- If the dough appears too dry, gradually add a little more milk, a tablespoon at a time, until the desired consistency is achieved. Likewise, if the dough seems too sticky, add a small amount of flour and mix until it becomes more manageable.
- Once the dough comes together, transfer it to a lightly floured surface. Knead the dough for about 5-7 minutes until it becomes smooth and elastic.
- Shape the dough into a ball and place it back into the mixing bowl. Cover the bowl with plastic wrap or a kitchen towel and let it rest for about 1 hour in a warm, draft-free area. During this time, the dough will rise and double in size.
Following these steps will result in a perfectly mixed and kneaded dough that is ready for the next stage of creating your delicious yeast rolls. Remember to be patient during the rising process, as it is essential for achieving light and fluffy rolls.
Step 2: Shaping the Rolls
After your dough has risen and doubled in size, it’s time to shape your yeast rolls. Follow these steps to achieve beautifully formed rolls:
- Gently punch down the risen dough to release any air bubbles that may have formed during the rising process. This will ensure even texture in your rolls.
- Transfer the dough onto a lightly floured surface and knead it for a minute to further smooth it out.
- Using your hands or a rolling pin, gently roll the dough into a rectangular shape that is about ¼ inch thick.
- To shape the rolls, you have a few options. One method is to use a round biscuit cutter to cut out individual rolls. Another option is to divide the dough into equal portions and shape them into balls by tucking the edges underneath.
- Place the shaped rolls onto a baking sheet lined with parchment paper or a silicone mat. Make sure to leave enough space between each roll to allow for rising.
- Once all the rolls are shaped and arranged on the baking sheet, cover them with plastic wrap or a kitchen towel and let them rise for an additional 30-45 minutes. They should increase in size and become slightly puffy.
By following these steps, you’ll have beautiful, evenly shaped yeast rolls ready for the next stage of the baking process. Take your time and enjoy the process of shaping these delectable treats!
Store yeast rolls in an airtight container at room temperature for up to 2 days. For longer storage, freeze the rolls in a resealable plastic bag for up to 3 months. Thaw at room temperature when ready to eat.
Read more: How To Store Brewers Yeast
Step 3: Rising the Rolls
Properly allowing the yeast rolls to rise is a crucial step in achieving their light and fluffy texture. Follow these steps to ensure optimal rising:
- Preheat your oven to 200°F (93°C) and then turn it off. This will create a warm environment for the rolls to rise.
- Cover the baking sheet with the shaped rolls lightly with plastic wrap or a kitchen towel.
- Place the covered baking sheet in the warm oven and let the rolls rise for about 30-45 minutes, or until they have doubled in size. The residual heat from the oven will create the perfect environment for the yeast to do its magic.
- Keep an eye on the rolls during the rising process. You can tell they are ready when they appear puffy and have expanded in size.
Remember, patience is key during this step. Rushing the rising process may result in dense rolls, so allow the yeast plenty of time to work its magic. The rolls should be light and airy after they have finished rising.
Once the rolls have doubled in size, you’re ready to move on to the next step: baking them to golden perfection!
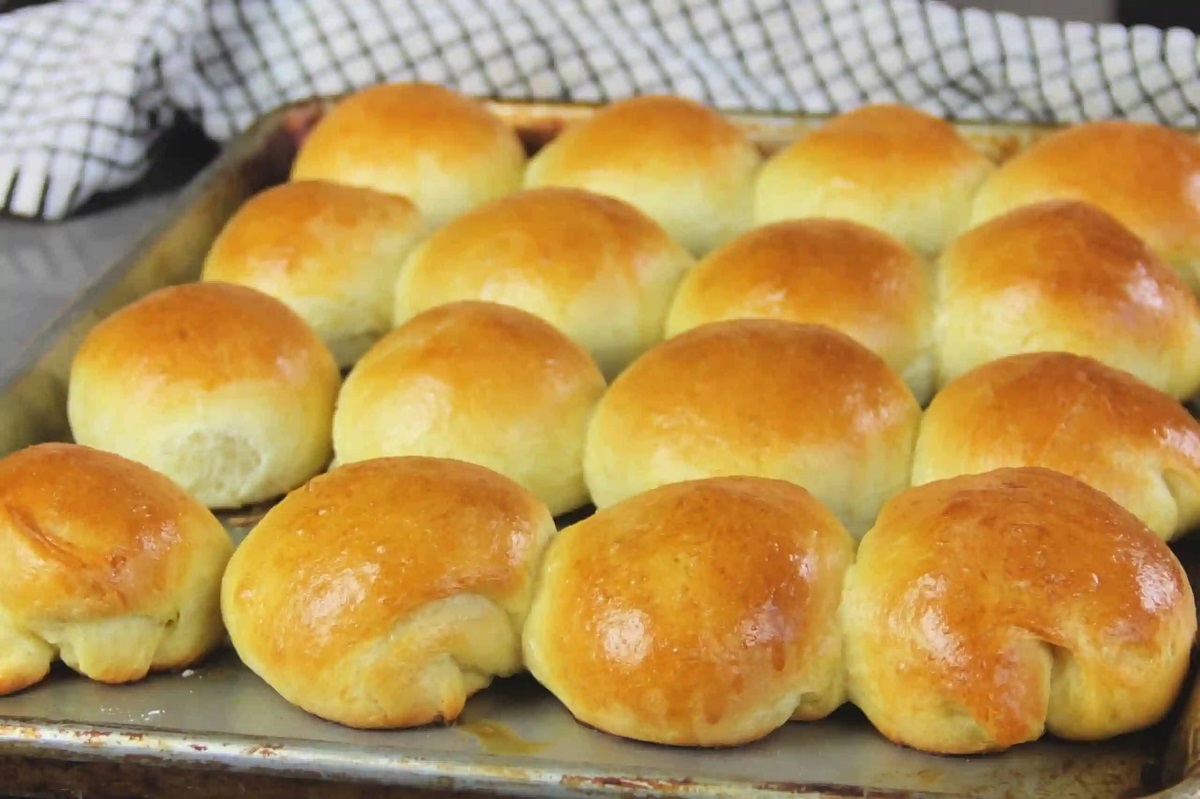
Step 4: Baking the Rolls
Now that your yeast rolls have risen beautifully, it’s time to bake them to golden perfection. Follow these steps for a delicious batch of rolls:
- Preheat your oven to 375°F (190°C) to ensure it’s nice and hot.
- Remove the plastic wrap or kitchen towel from the baking sheet, and place it in the preheated oven.
- Bake the rolls for about 15-18 minutes, or until they are beautifully golden brown on top.
- While the rolls are baking, you’ll notice the kitchen filling with the irresistible aroma of freshly baked bread.
- Keep a close eye on the rolls as they bake to prevent them from overbrowning. Adjust the baking time if necessary.
- Once the rolls are done, carefully remove them from the oven and transfer them onto a cooling rack. Allow them to cool completely before storing or serving.
During the baking process, the rolls will continue to rise and develop that wonderful, golden crust. The result will be a tray of perfectly baked yeast rolls that are ready to be enjoyed.
Once the rolls have cooled, it’s time to move on to the final step: storing them properly to maintain their freshness.
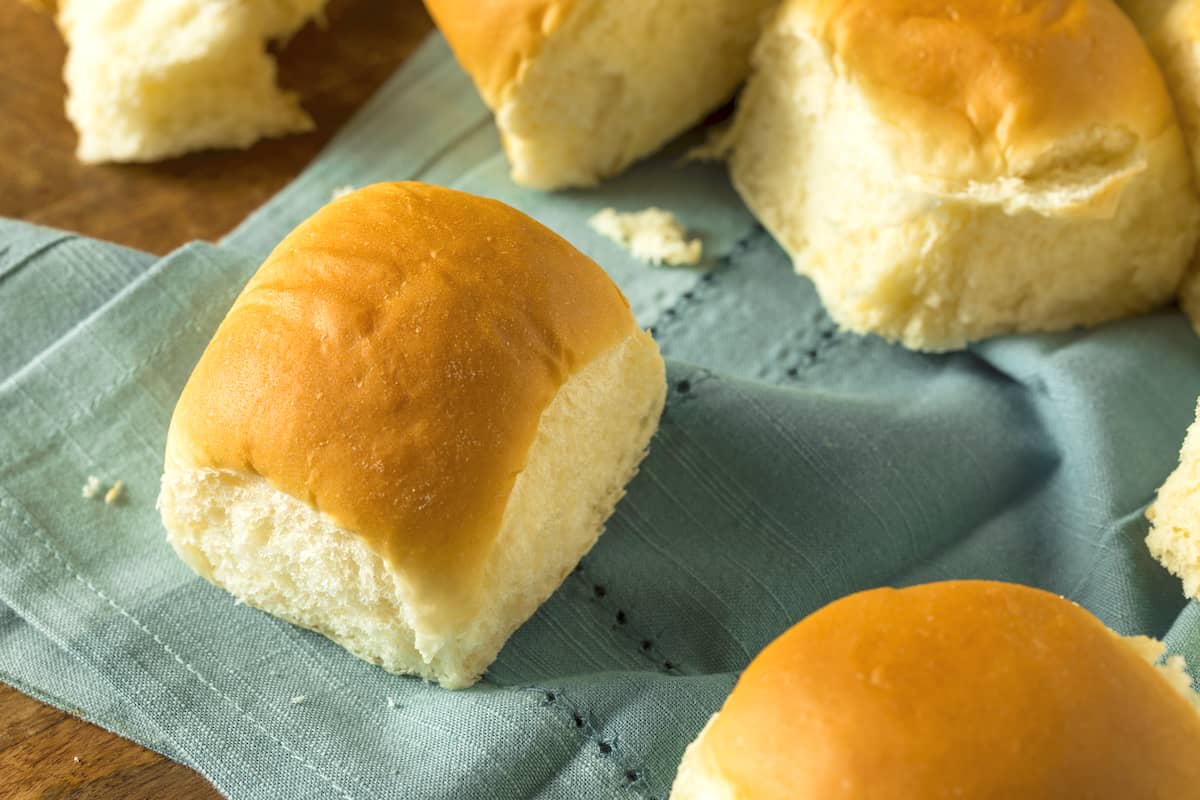
Step 5: Cooling and Storing the Rolls
After baking your delicious yeast rolls, it’s important to properly cool and store them to ensure their maximum freshness. Follow these steps to preserve the flavor and texture of your rolls:
- Once the rolls are out of the oven, transfer them to a cooling rack. Allow them to cool completely before storing to avoid condensation and moisture buildup.
- During the cooling process, you’ll notice the rolls becoming slightly crusty on the outside while maintaining their softness on the inside.
- After the rolls have cooled completely, it’s time to store them. Place them in an airtight container or sealable plastic bag to protect them from drying out.
- If you’re storing the rolls for immediate consumption, they can be kept at room temperature for 1-2 days. Simply close the container or bag tightly.
- If you need to store the rolls for a longer period, you can freeze them. Wrap each roll individually in plastic wrap, place them in a freezer bag, and store them in the freezer for up to 2 months.
- When you’re ready to enjoy the frozen rolls, simply thaw them at room temperature or warm them up in a preheated oven for a few minutes until they are warmed through.
By following these steps, you’ll be able to enjoy the freshness and flavor of your yeast rolls for an extended period. Whether you’re storing them for a few days or freezing them for later use, proper storage is key to maintaining their quality.
Now that you have your yeast rolls stored, let’s explore a few tips and tricks to enhance their storage and ensure they stay as delicious as ever.
Tips and Tricks for Storing Yeast Rolls
To help you make the most of your stored yeast rolls and keep them fresh and delicious, here are some helpful tips and tricks:
- Use quality storage containers: When storing yeast rolls, opt for airtight containers or sealable plastic bags to prevent air from entering and drying out the rolls. This will help maintain their softness and freshness.
- Separate rolls with parchment paper: If you’re storing multiple rolls together, place a piece of parchment paper between each roll to prevent them from sticking together.
- Avoid storing hot rolls: Ensure that your yeast rolls have cooled completely before storing them. Storing hot rolls can lead to excess moisture, which can cause them to become soggy or lose their texture.
- Label and date freezer bags: If you’re freezing your yeast rolls, it’s helpful to label the freezer bag with the date of storage. This way, you can easily keep track of their freshness and know how long they have been stored.
- Thaw frozen rolls properly: When thawing frozen rolls, allow them to thaw at room temperature or gently warm them in the oven. Avoid using the microwave, as it may result in uneven thawing and affect the texture of the rolls.
- Refresh rolls before serving: If you find that your stored rolls have become slightly dry, you can refresh them by wrapping them in a damp paper towel and heating them in the oven for a few minutes. This will help restore their softness and moisture.
- Enjoy rolls within 1-2 days: While yeast rolls can be stored for longer periods, they are at their best when consumed within 1-2 days of baking. This ensures maximum freshness and flavor.
By following these tips and tricks, you can prolong the shelf life of your yeast rolls and continue to enjoy their delectable taste long after they are baked. Now, you’re all set to store your yeast rolls with confidence and savor their goodness at your convenience.
Read more: How To Store Yeast Dough
Conclusion
Storing yeast rolls properly is essential for preserving their freshness and enjoying them over an extended period. By following the steps outlined in this article, you can ensure that your yeast rolls maintain their softness, flavor, and texture. From making the dough and shaping the rolls to allowing them to rise, baking them to perfection, and finally storing them correctly, each step plays a crucial role in maintaining the quality of your rolls.
Remember to equip yourself with the necessary equipment, such as mixing bowls, measuring cups, and baking sheets, to make the process smooth and efficient. The right ingredients, including all-purpose flour, instant yeast, and warm milk, are also key to achieving the desired results.
Take your time during the shaping and rising processes, as these steps are vital for creating light and airy rolls. Once your rolls are baked to golden perfection, allow them to cool completely before storing them in airtight containers or freezer bags. If you choose to freeze the rolls, make sure to label and date the bags for easy identification.
When you’re ready to enjoy your stored yeast rolls, let them thaw at room temperature or gently warm them in the oven. And if needed, you can refresh the rolls by briefly heating them with a damp paper towel to restore their softness and moisture.
With these tips and tricks in mind, you can confidently store your yeast rolls and enjoy them at your convenience. Whether it’s for special occasions or everyday meals, having a batch of freshly stored yeast rolls on hand is a real treat. So go ahead, indulge in the deliciousness of homemade yeast rolls anytime you desire!
Frequently Asked Questions about How To Store Yeast Rolls
Was this page helpful?
At Storables.com, we guarantee accurate and reliable information. Our content, validated by Expert Board Contributors, is crafted following stringent Editorial Policies. We're committed to providing you with well-researched, expert-backed insights for all your informational needs.


0 thoughts on “How To Store Yeast Rolls”