Articles
How To Clean Floor Tile Grout
Modified: August 26, 2024
Learn effective techniques for cleaning grout on floor tiles with these informative articles. Say goodbye to dirty grout and enjoy sparkling clean floors.
(Many of the links in this article redirect to a specific reviewed product. Your purchase of these products through affiliate links helps to generate commission for Storables.com, at no extra cost. Learn more)
Introduction
Welcome to our comprehensive guide on how to clean grout floor tile. Grout is the material that holds your floor tiles together, and over time it can become dirty and discolored due to dirt, grime, and spills. Cleaning the grout not only improves the appearance of your floor, but it also helps to maintain its longevity and hygiene.
Many people find cleaning grout to be a daunting task, but with the right materials and techniques, it can be quite manageable. In this article, we will walk you through the step-by-step process of cleaning grout floor tile to help you achieve a sparkling and refreshed look in your home.
Key Takeaways:
- Proper preparation is essential for effective grout cleaning. Gather the necessary materials, pre-treat stubborn stains, and dilute the cleaning solution if needed to ensure optimal results.
- Sealing the grout is an optional but beneficial step that provides added protection. Follow manufacturer instructions and perform regular maintenance to keep your grout looking its best.
Read more: How To Tile And Grout A Floor
Materials Needed
Before you begin cleaning your grout floor tile, it’s important to gather all the necessary materials. Having everything on hand will make the process smoother and more efficient. Here are the materials you will need:
- A stiff-bristle brush: This is essential for scrubbing the grout and removing stubborn stains. Look for a brush with firm bristles to effectively dislodge dirt and grime.
- Grout cleaner or homemade solution: There are many grout cleaners available in the market, specifically formulated to remove grime and stains from grout lines. Alternatively, you can make your own cleaning solution by mixing equal parts of white vinegar and water or hydrogen peroxide and baking soda. These homemade solutions are effective and environmentally friendly.
- Protective gloves: It’s important to protect your hands while cleaning. Wearing rubber gloves will shield your skin from harsh chemicals and prevent any allergic reactions.
- Old toothbrush or grout cleaning brush: This will be your tool for applying the cleaning solution and scrubbing the grout. An old toothbrush works well for small areas, while a grout cleaning brush covers larger sections more quickly.
- Mop or sponge: You will need a mop or sponge to wipe away the cleaning solution and rinse the grout after scrubbing.
- Clean water: Make sure you have access to clean water for rinsing. You may need a bucket or a spray bottle filled with water.
- Old towels or rags: These will come in handy for drying the grout after cleaning.
Once you have gathered all the materials mentioned above, you’re ready to move on to the next step: preparing the grout for cleaning.
Preparing the Grout
Before you start cleaning the grout floor tile, it’s important to prepare the grout by removing any loose dirt or debris. This will help the cleaning solution penetrate deeply and achieve optimal results. Here’s how you can prepare the grout for cleaning:
- Sweep or vacuum the floor: Start by removing any loose dirt or debris from the floor surface. Use a broom or vacuum cleaner to thoroughly sweep the area, paying special attention to the grout lines where dirt tends to accumulate.
- Pre-treat stubborn stains: If you notice any particularly stubborn stains on the grout, you can pre-treat them before applying the cleaning solution. There are various stain removers available in the market specifically designed for grout. Apply the stain remover according to the product instructions and allow it to sit for a few minutes before proceeding to the next step.
- Dilute the cleaning solution (if necessary): Depending on the type of grout cleaner or homemade solution you are using, you may need to dilute it with water. Follow the instructions provided on the cleaning product’s packaging or if you are using a homemade solution, make sure you have the right proportions of ingredients as mentioned earlier.
Once you have completed these steps, you’re ready to move on to the next stage: applying the cleaning solution to the grout lines. Proper preparation ensures that the cleaning process is effective and yields the best possible results.
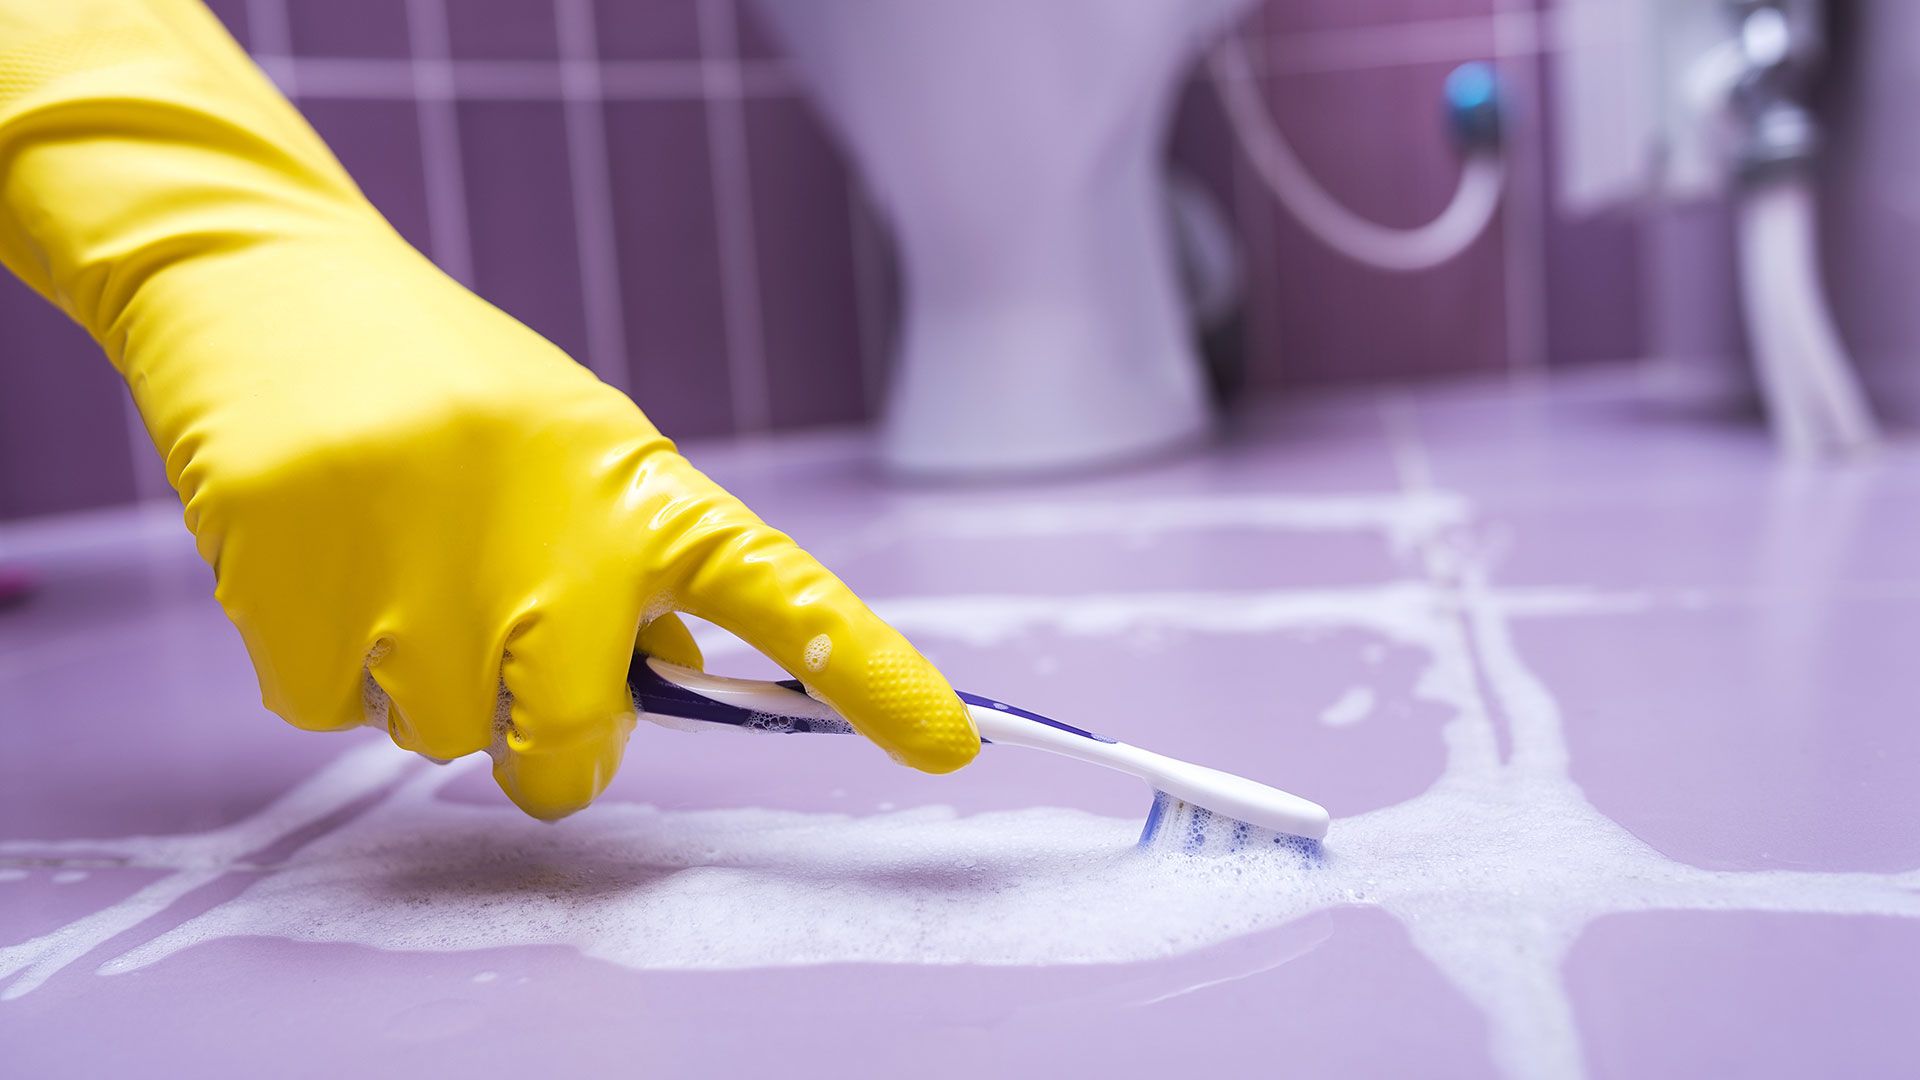
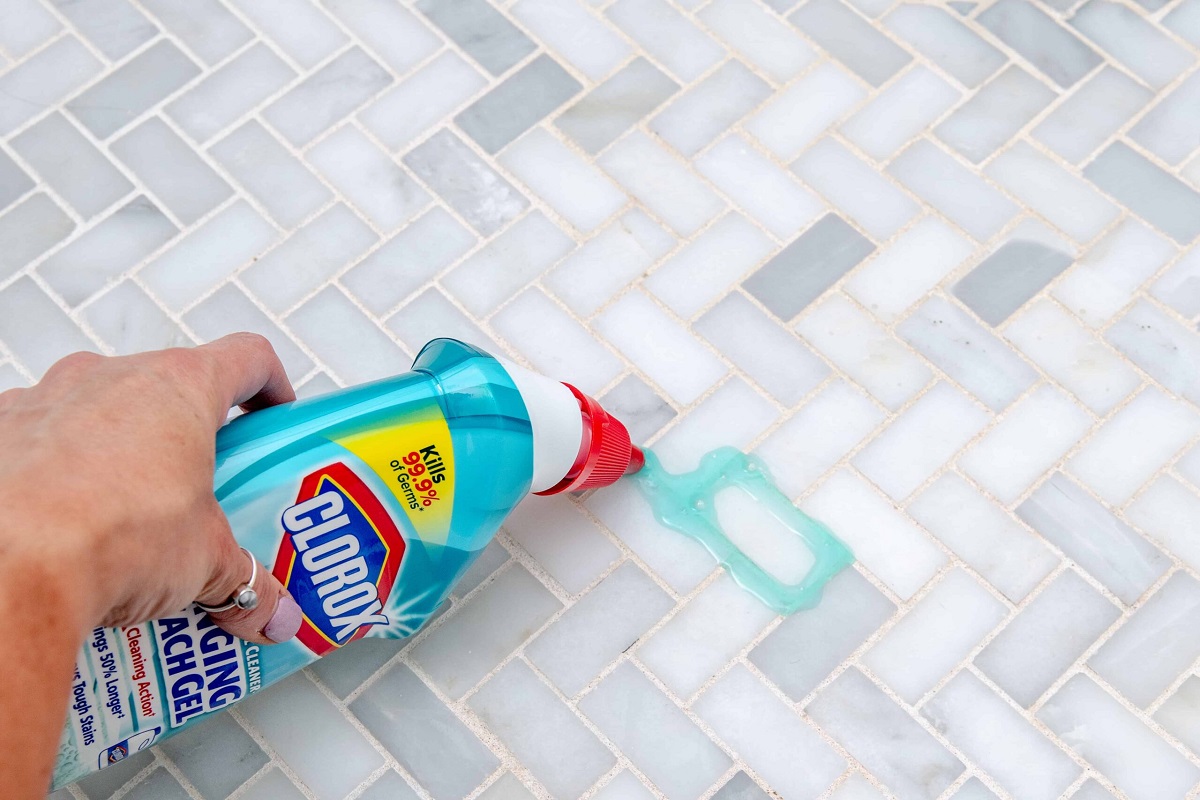
Applying the Cleaning Solution
Now that you have prepared the grout, it’s time to apply the cleaning solution. Whether you’re using a commercial grout cleaner or a homemade solution, the application process is quite straightforward. Follow these steps to apply the cleaning solution to the grout lines:
- Pour the cleaning solution onto the grout lines: Start by pouring a small amount of the cleaning solution directly onto the grout lines. The solution should be enough to cover the grout but not too excessive.
- Allow the solution to sit: Let the cleaning solution sit on the grout for a few minutes, allowing it to penetrate and break down the dirt and stains. The time required can vary depending on the severity of the grout’s condition. Refer to the instructions on the product packaging or give it around 5-10 minutes if using a homemade solution.
- Use a brush to agitate the grout: Take your stiff-bristle brush or toothbrush and begin scrubbing the grout lines in a back-and-forth motion. Apply pressure as needed to dislodge any embedded dirt and grime. Focus on one small section at a time to ensure thorough cleaning.
- Continue scrubbing until clean: Keep scrubbing the grout lines until they appear clean and free from stains. You may need to scrub with more force for stubborn stains. If necessary, you can reapply the cleaning solution and repeat the process.
Remember to work in small areas to prevent the cleaning solution from drying on the grout. This will ensure that it remains effective throughout the cleaning process. Once you have finished scrubbing the grout, it is time to remove the residual cleaning solution and rinse the grout lines, which we will cover in the next section.
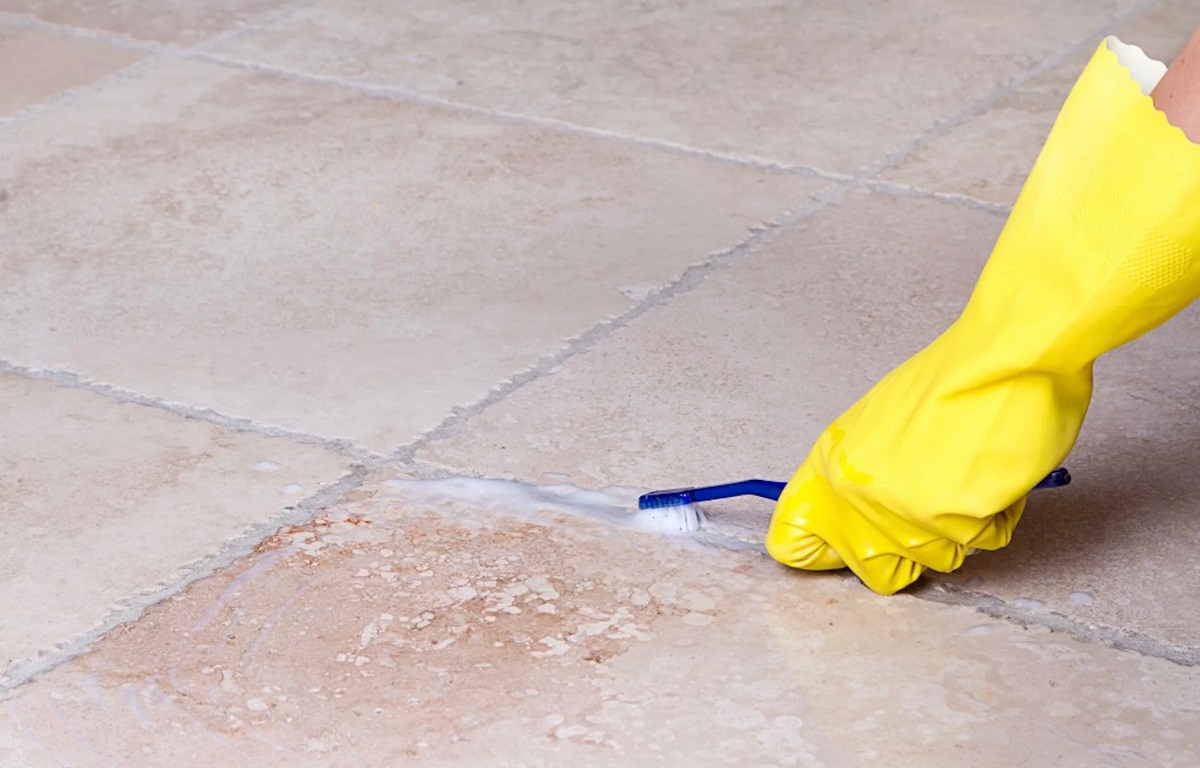
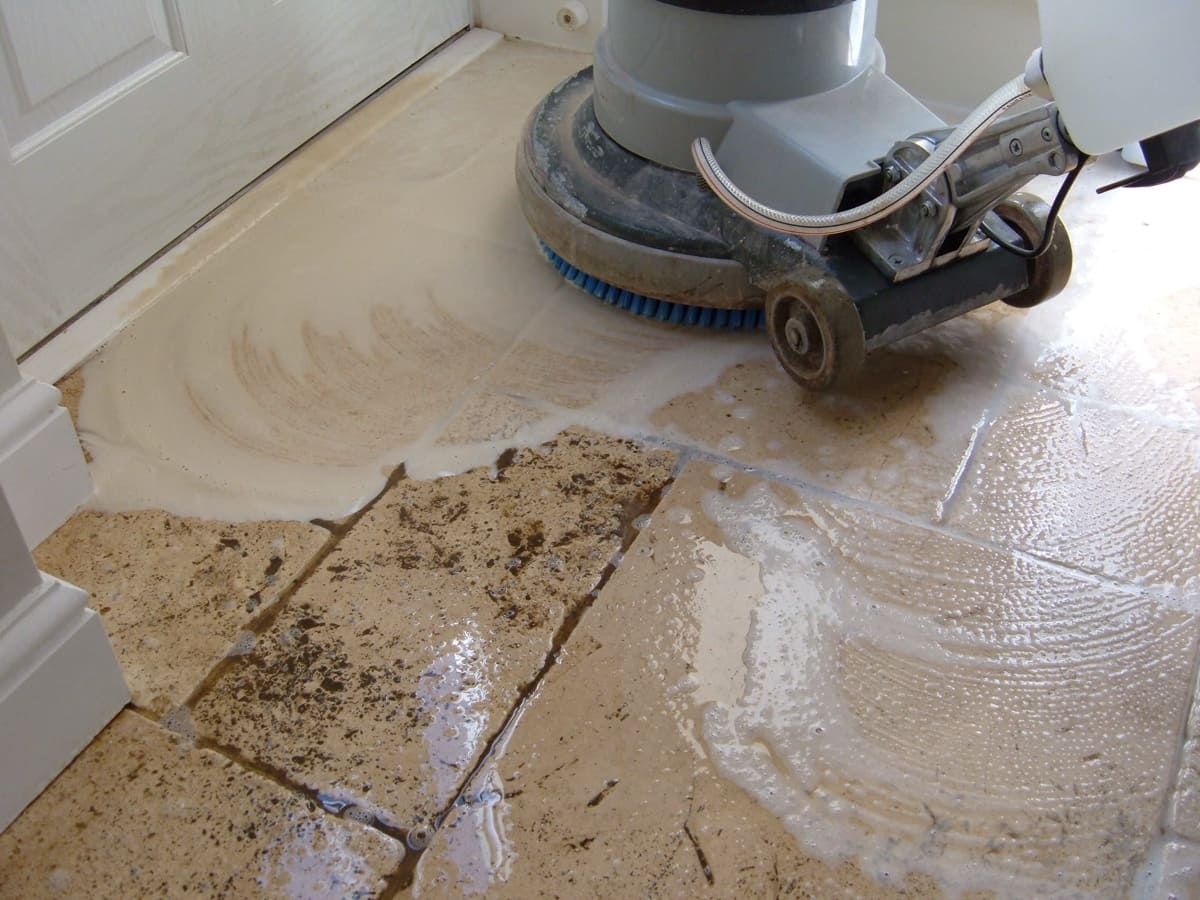
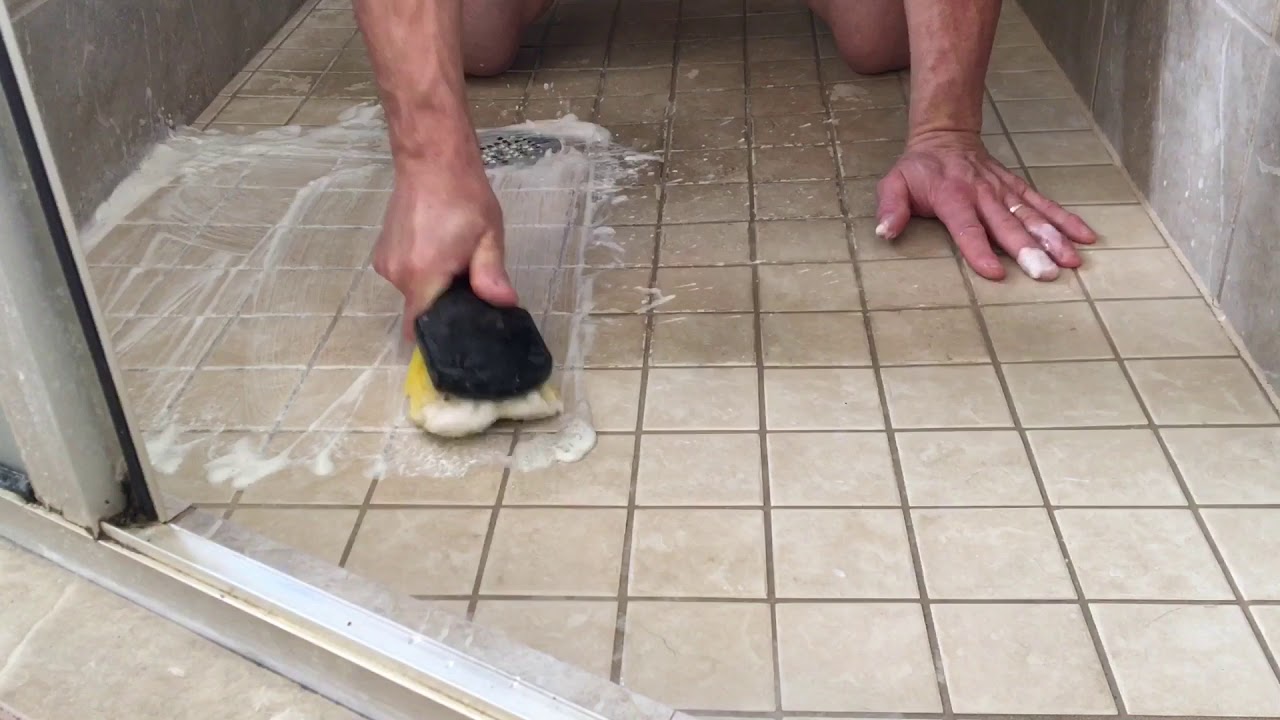
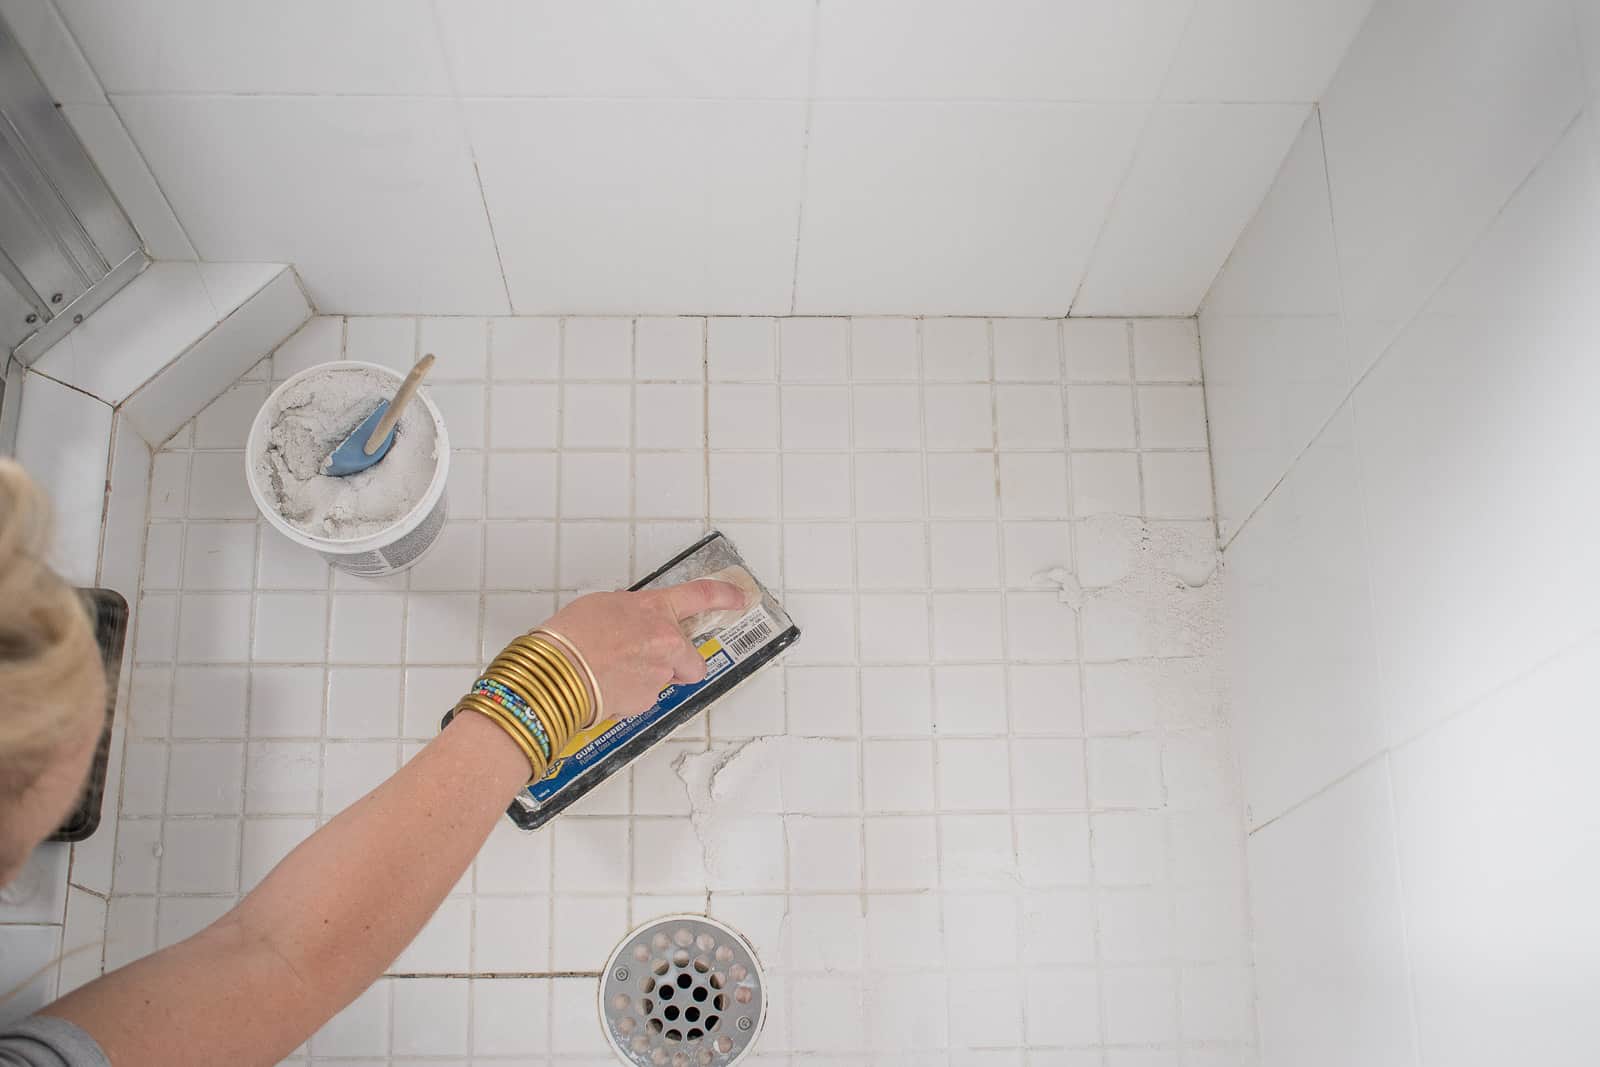
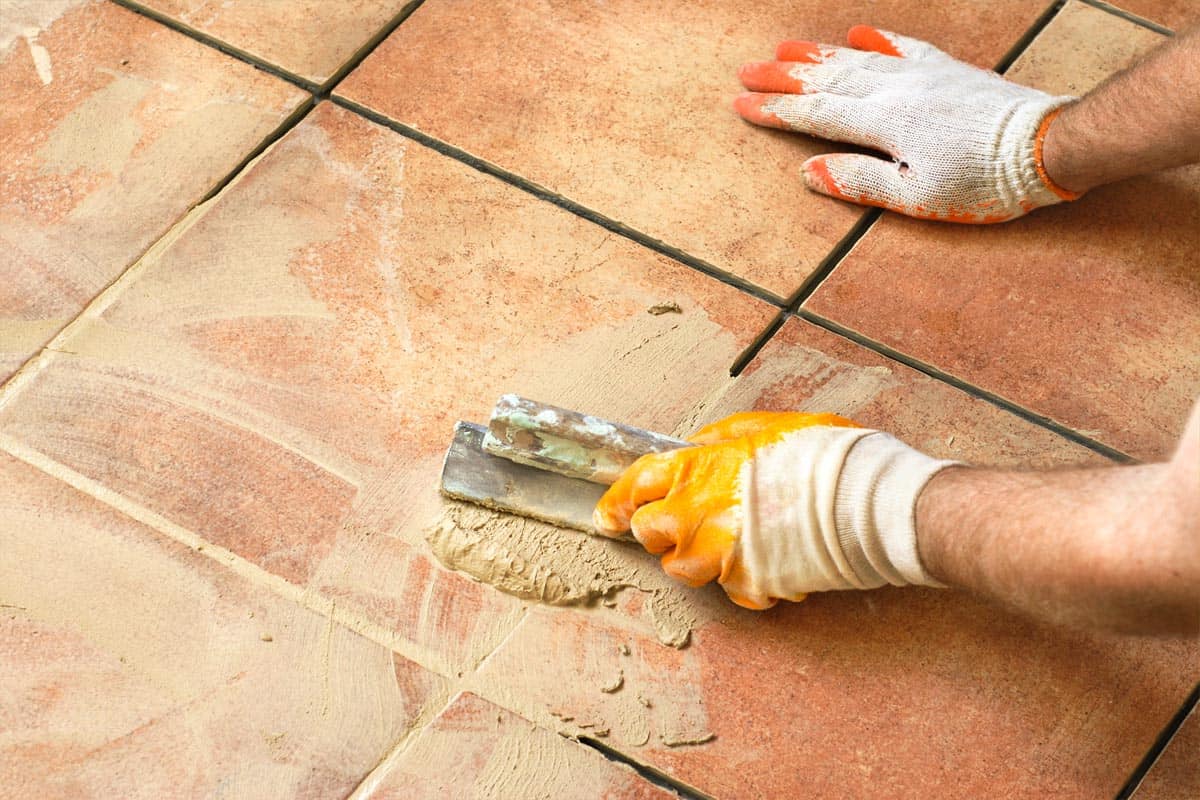
Scrubbing the Grout
Scrubbing the grout is a crucial step in the cleaning process as it helps to remove the dirt and grime that has become ingrained in the grout lines. Here are the steps to effectively scrub the grout:
- Take your brush or toothbrush: Using a stiff-bristle brush or an old toothbrush, dip it into the cleaning solution or apply it directly to the bristles.
- Scrub in a circular motion: Start scrubbing the grout lines using a circular motion. This will help to agitate the dirt and grime, making it easier to remove.
- Apply pressure when needed: For stubborn stains or heavily soiled grout, apply a bit of pressure to effectively dislodge the dirt. Be careful not to scrub too aggressively, as it may damage the grout or surrounding tiles.
- Work in small sections: Focus on one small section at a time to ensure thorough cleaning. This will prevent the cleaning solution from drying on the grout before you have a chance to remove it.
- Continue scrubbing until clean: Keep scrubbing the grout lines until they appear clean and free from stains. You may need to reapply the cleaning solution as needed.
While scrubbing the grout, it’s essential to maintain a steady pace and not rush through the process. Take your time to ensure that each section of the grout lines receives adequate attention. Once you have finished scrubbing, it’s time to move on to the next step: removing the residual solution from the grout.
Use a mixture of baking soda and water to create a paste, then scrub the grout with a toothbrush. Rinse with water and dry with a clean cloth.
Read more: How To Repair Grout On Tile Floor
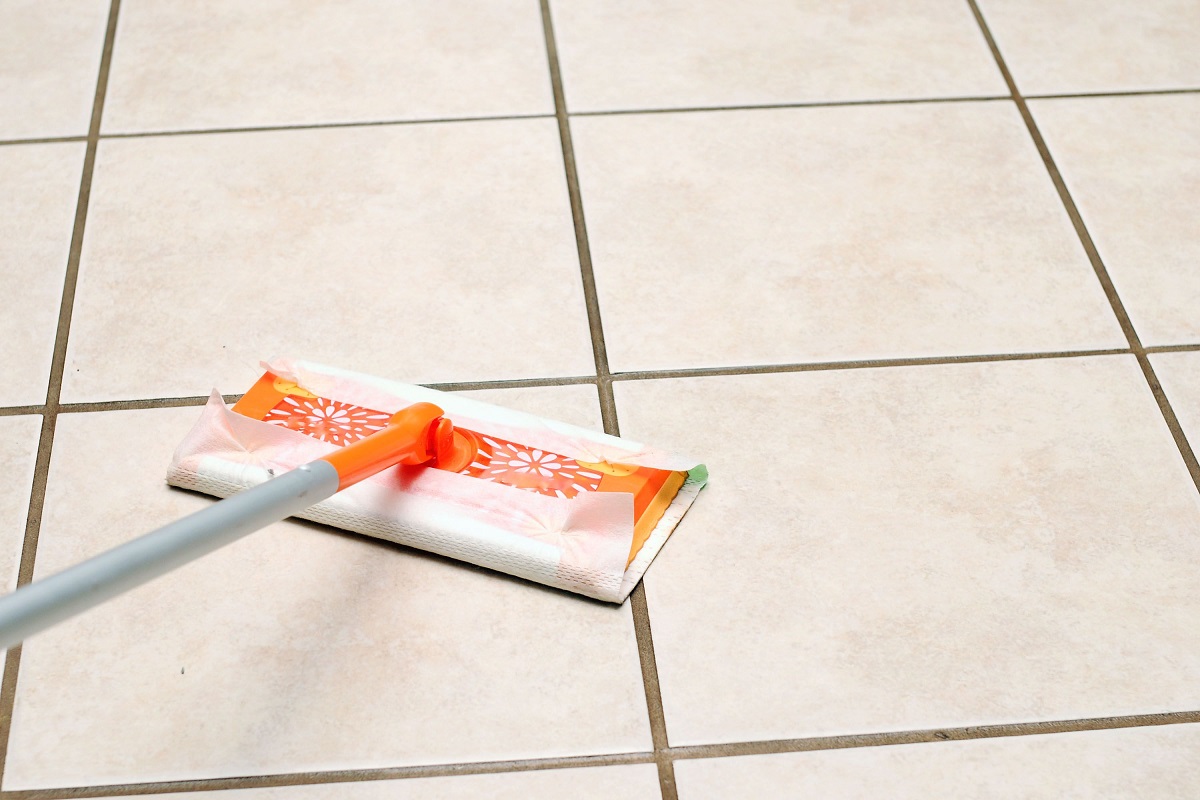
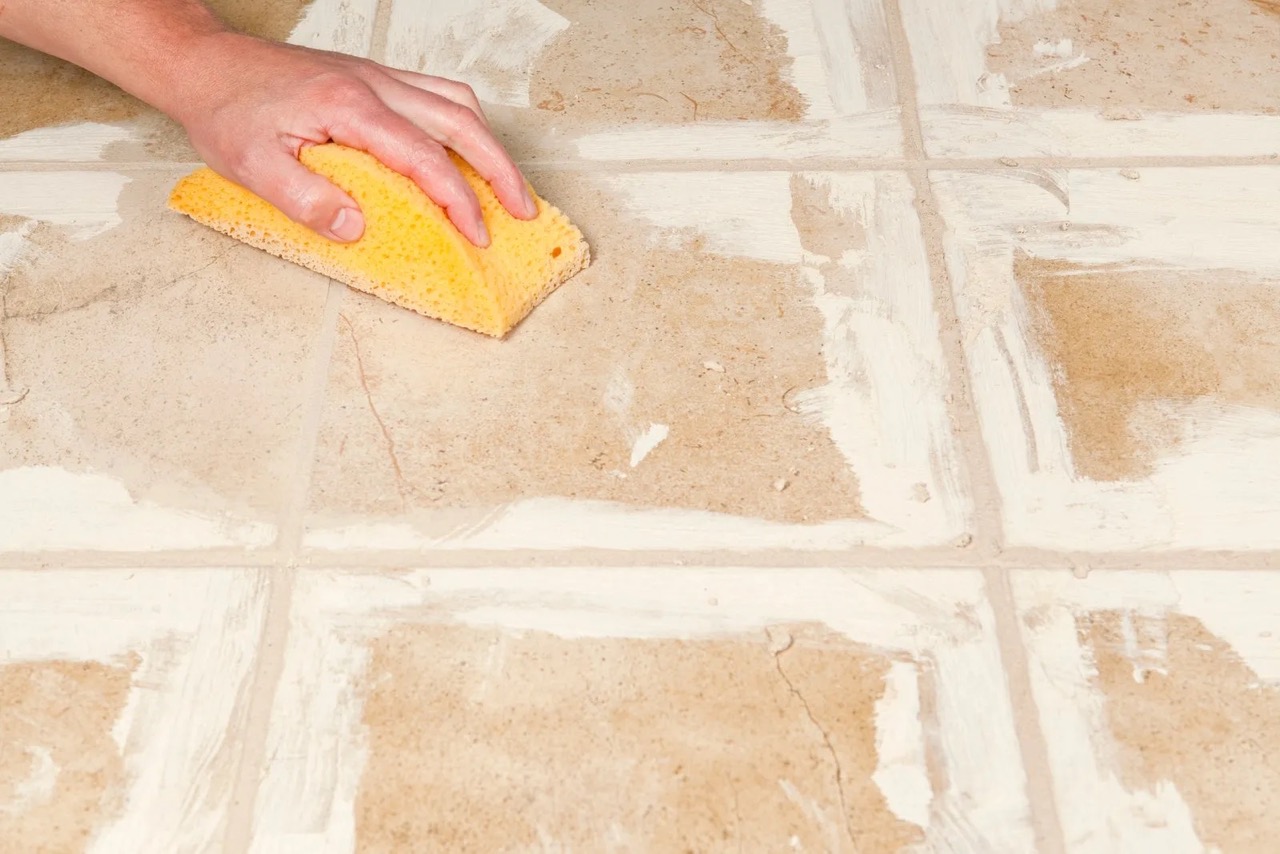
Removing Residual Solution
After scrubbing the grout, it’s important to remove any residual cleaning solution from the grout lines. Leaving the solution on the grout can lead to a sticky residue or even discoloration. Here’s how you can effectively remove the residual solution:
- Prepare a bucket of clean water or fill a spray bottle: Fill a bucket with clean water or use a spray bottle to have easy access to water for rinsing.
- Dip a mop or sponge into the water: Take a mop or sponge and dip it into the clean water. Ensure it is thoroughly saturated.
- Wipe the grout lines: Start wiping the grout lines with the mop or sponge, focusing on removing the cleaning solution. Make sure to wring out excess water before wiping to avoid over-saturating the grout.
- Change the water as needed: As the water becomes dirty, change it to ensure effective removal of the cleaning solution. This will prevent spreading dirt and grime back onto the grout lines.
- Rinse multiple times if necessary: Depending on the amount of residue, you may need to rinse the grout lines multiple times. This will ensure that no cleaning solution is left behind.
Make sure to thoroughly rinse the grout lines, leaving no traces of the cleaning solution. If needed, you can use a clean, damp cloth or towel to wipe away any excess water. Once you have removed the residual solution, it’s time to dry the grout, which we will cover in the next section.
Drying the Grout
After removing the cleaning solution and rinsing the grout lines, it’s important to ensure that the grout is properly dried. This step is crucial in preventing moisture from seeping back into the grout and causing potential damage. Here’s how you can effectively dry the grout:
- Use clean towels or rags: Grab a few clean towels or rags that are designated for drying purposes. These will absorb any excess water on the grout lines.
- Place the towels on the grout lines: Gently press the towels or rags onto the grout lines, covering as much surface area as possible. Allow them to sit for a few minutes to absorb the moisture.
- Replace wet towels with dry ones: As the towels become saturated with water, replace them with dry ones to continue the drying process. Repeat this step until no more moisture is being absorbed.
- Allow for air circulation: Open windows, turn on fans, or use any other means to promote air circulation in the room. This helps to speed up the drying process and prevent moisture buildup.
- Check for moisture: After some time, check the grout lines to ensure they are completely dry. If you notice any areas that are still damp, use a dry towel or fan to further dry those spots.
Drying the grout thoroughly is essential to maintain its integrity and prevent any potential issues in the future. Once you have ensured that the grout is thoroughly dried, you can consider sealing it for added protection, although this step is optional. We will discuss grout sealing in the next section.
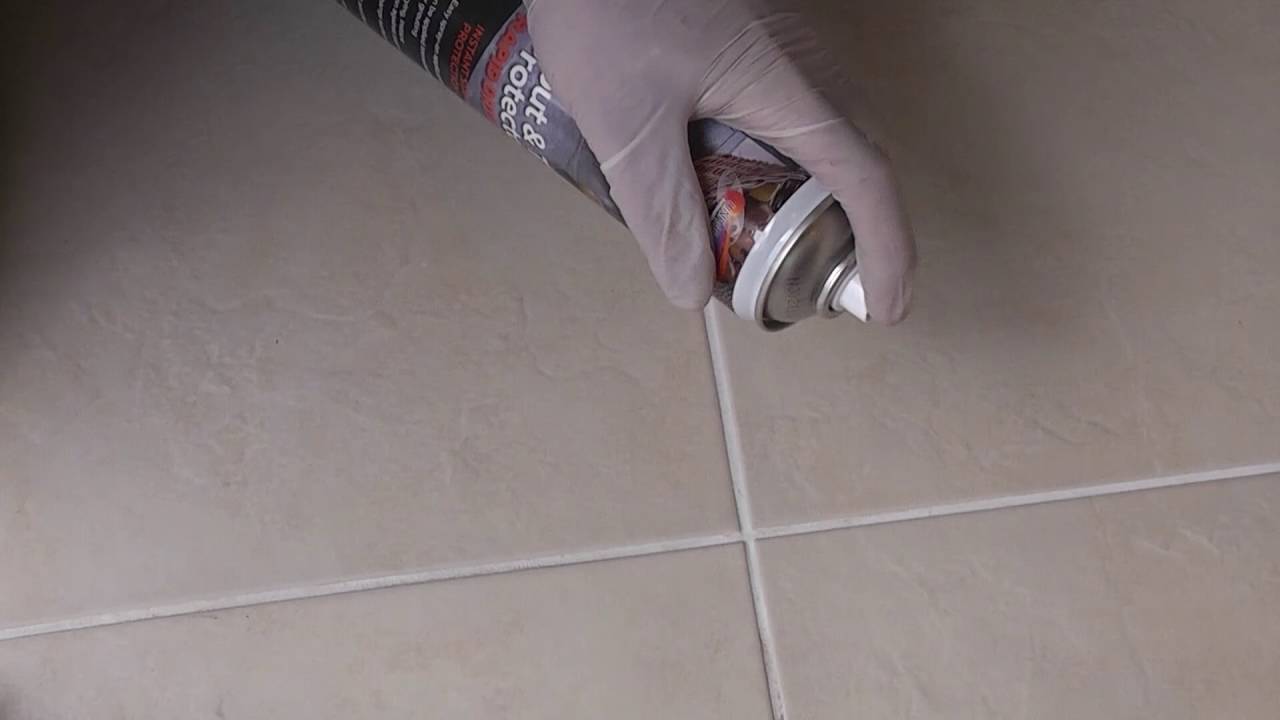
Sealing the Grout (Optional)
Sealing the grout is an optional step in the cleaning process, but it can provide added protection and longevity to your grout floor tile. The sealer acts as a barrier, preventing dirt, spills, and stains from penetrating the grout lines. Here’s how you can seal the grout:
- Choose the right sealer: There are different types of grout sealers available, including penetrating sealers and topical sealers. Penetrating sealers seep into the grout lines, while topical sealers form a protective layer on the surface. Consider the type of grout you have and choose the appropriate sealer accordingly. Read the instructions provided on the sealer packaging for specific guidance.
- Ensure a clean and dry surface: Before applying the sealer, make sure that the grout lines are clean and completely dry. Any moisture or residue left on the grout may compromise the effectiveness of the sealer.
- Apply the sealer: Apply the sealer to the grout lines according to the manufacturer’s instructions. This may involve using a brush, roller, or applicator pad. Make sure to cover the entire grout surface but avoid getting the sealer on the surrounding tiles.
- Allow drying and curing time: Once the sealer is applied, allow it to dry and cure as per the instructions provided. This may take a few hours or even a day, depending on the specific product. Avoid walking on or touching the sealed grout until it is fully cured.
- Perform a water test: To ensure the effectiveness of the sealer, perform a water test after the recommended curing time. Apply a few drops of water onto the sealed grout and observe if it beads up or is absorbed. If the water beads up, it indicates that the sealer is working effectively. If it is absorbed, reapply another coat of sealer as needed.
Sealing the grout can help protect it from future stains and make it easier to clean in the long run. However, it’s important to note that grout sealers need to be reapplied periodically to maintain their effectiveness. Refer to the manufacturer’s guidance for recommendations on reapplication. With the grout now thoroughly cleaned, dried, and optionally sealed, you can enjoy the revitalized and refreshed look of your grout floor tile.
Tips and Precautions
While cleaning grout floor tile, there are some tips and precautions to keep in mind to ensure the best results and minimize any potential risks. Here are a few helpful tips and precautions:
- Test the cleaning solution: Before applying any cleaning solution to the entire grout surface, it’s wise to test it on a small, inconspicuous area first. This will help ensure that the solution is safe for your specific type of tile and grout.
- Protect surrounding surfaces: When applying the cleaning solution or sealant, be careful not to get it on the surrounding tiles or surfaces. Some products can cause damage or discoloration to certain materials.
- Wear protective gear: To protect your skin and minimize exposure to chemicals, always wear protective gloves when handling cleaning solutions and sealants.
- Use proper ventilation: Ensure that the cleaning area is well-ventilated by opening windows or using fans. This will help disperse any fumes or odors from the cleaning products.
- Do not mix cleaning agents: Avoid mixing different cleaning agents or chemicals, as this can result in hazardous reactions. Stick to one cleaning solution or product at a time.
- Regular maintenance: To prevent grout from becoming too dirty or stained, incorporate regular maintenance by sweeping or vacuuming the floor regularly. This will help minimize the amount of deep cleaning required.
- Avoid using abrasive tools: While scrubbing the grout, avoid using abrasive tools that can scratch or damage the grout or tiles.
- Follow manufacturer instructions: Always read and follow the instructions provided by the product manufacturer, whether it’s a grout cleaner, stain remover, or sealer.
- Reapply sealer periodically: If you choose to seal the grout, remember to reapply the sealer as recommended by the manufacturer to maintain its effectiveness.
By following these tips and taking necessary precautions, you can ensure a safe and successful grout cleaning process.
Read more: How To Grout Peel And Stick Floor Tile
Conclusion
Cleaning grout floor tile may seem like a challenging task, but with the right materials, techniques, and a little bit of effort, you can achieve remarkable results. By following the step-by-step guide outlined in this article, you can effectively clean your grout and restore its original beauty.
Remember to gather all the necessary materials before you begin, and take the time to prepare the grout by removing loose dirt and debris. Applying the cleaning solution and scrubbing the grout lines will help dislodge dirt and stains, while removing the residual solution and drying the grout ensures a clean and dry surface.
Sealing the grout is an optional step that can provide added protection, but it’s important to follow the manufacturer’s instructions and perform regular maintenance to keep the grout looking its best. By incorporating these tips and precautions, you can maintain the cleanliness and longevity of your grout floor tile.
So, roll up your sleeves, gather your materials, and prepare to transform your grout floor tile. Enjoy the satisfaction of a sparkling clean floor and the pride of taking care of your home. When it comes to grout cleaning, a little effort goes a long way in maintaining the beauty and hygiene of your living space.
Frequently Asked Questions about How To Clean Floor Tile Grout
Was this page helpful?
At Storables.com, we guarantee accurate and reliable information. Our content, validated by Expert Board Contributors, is crafted following stringent Editorial Policies. We're committed to providing you with well-researched, expert-backed insights for all your informational needs.


0 thoughts on “How To Clean Floor Tile Grout”