Articles
How To Store Yeast Packets
Modified: December 7, 2023
Learn how to properly store yeast packets to keep them fresh and extend their shelf life with our informative articles.
(Many of the links in this article redirect to a specific reviewed product. Your purchase of these products through affiliate links helps to generate commission for Storables.com, at no extra cost. Learn more)
Introduction
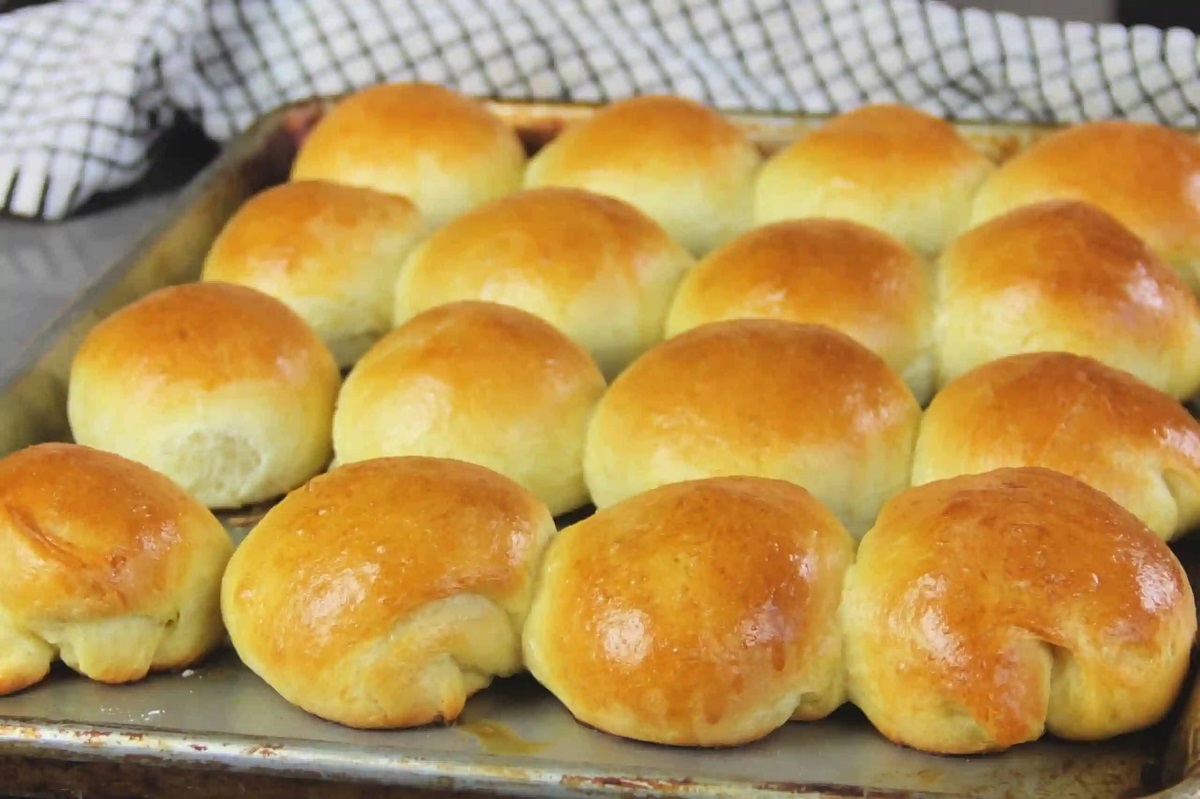
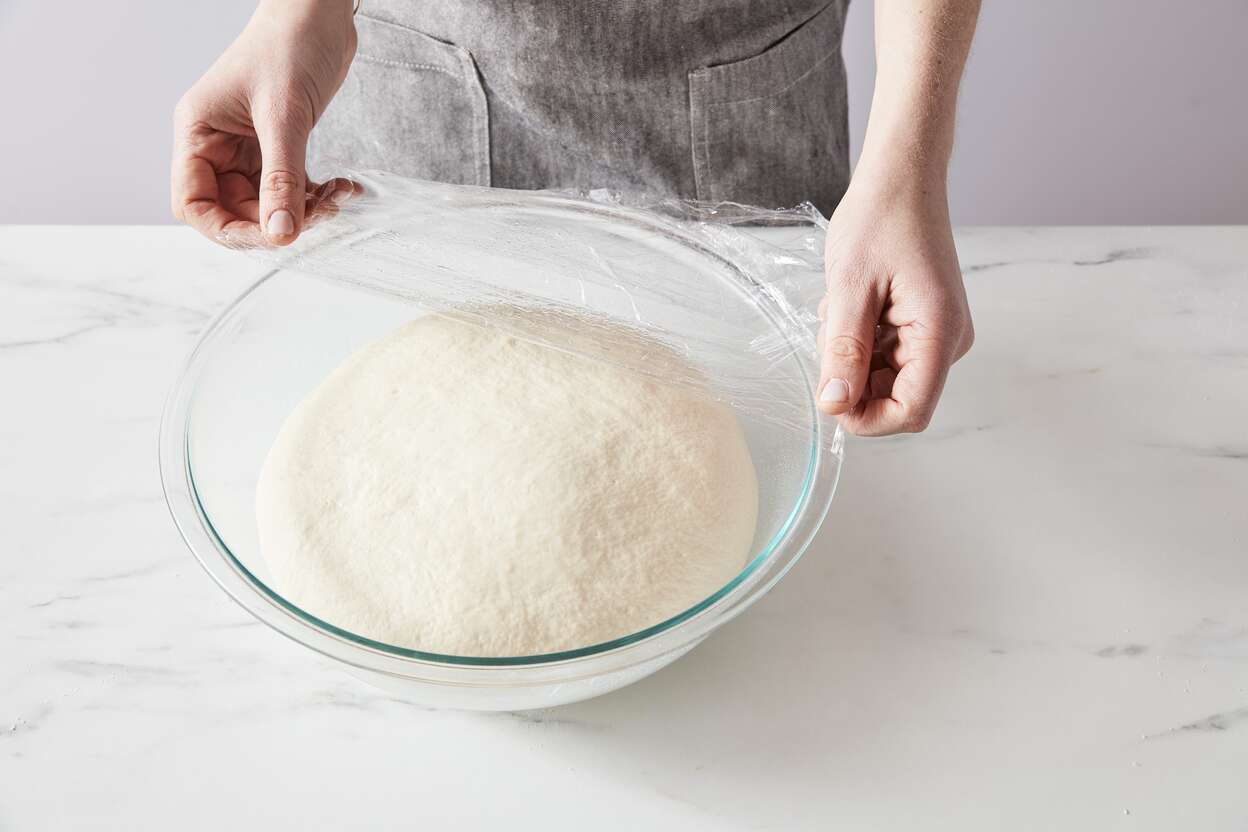
Yeast is an essential ingredient in baking, as it plays a crucial role in the fermentation process that helps dough rise and achieve a light and fluffy texture. Whether you’re an avid baker or an occasional home cook, proper yeast storage is essential to maintain its potency and effectiveness. In this article, we will explore the importance of storing yeast packets correctly, factors that can affect yeast longevity, tips for choosing the right container, step-by-step instructions for storing yeast, and additional tips to ensure your yeast remains fresh and active for as long as possible.
As any home baker knows, using expired or improperly stored yeast can lead to disappointing results. If yeast is not stored correctly, it can lose its potency, making it less effective in the fermentation process. This can result in flat and dense baked goods that fail to rise properly. By following the guidelines for proper yeast storage, you can ensure that your yeast remains active and reliable, allowing you to achieve the perfect texture and flavor in your baked creations.
There are several factors that can affect the longevity of yeast, including exposure to moisture, temperature fluctuations, light exposure, and air exposure. It is important to minimize these factors to extend the shelf life of your yeast packets. Additionally, choosing the right container for yeast storage is crucial in preventing moisture and air from seeping in.
In the following sections, we will discuss in detail the factors that can affect yeast longevity and how to choose the right container for yeast storage. We will also provide step-by-step instructions for storing yeast packets to maintain their freshness and effectiveness. Lastly, we will share some additional tips to help you maximize the lifespan of your yeast and ensure consistently delicious results in your baking endeavors.
Key Takeaways:
- Proper yeast storage is crucial for consistent, fluffy baked goods. Factors like moisture, temperature, and air exposure impact yeast longevity. Choose airtight containers and refrigerate or freeze for extended freshness.
- Select the right container and follow step-by-step storage instructions to maintain yeast potency. Avoid mixing expired and fresh yeast, and perform a “proofing” test before use for reliable baking results.
Read more: How To Store Instant Yeast
Why Proper Yeast Storage is Important
Proper yeast storage is essential to maintain the potency and effectiveness of the yeast. When yeast is exposed to unfavorable conditions, it can lose its ability to ferment and produce carbon dioxide, resulting in flat and dense baked goods. Here are some reasons why proper yeast storage is important:
- Preserving Yeast Activity: Yeast is a living organism that needs to be kept alive and active to perform its fermentation role in baking. By storing yeast properly, you are preserving its activity and ensuring that it will be able to leaven your dough effectively.
- Consistent Baking Results: Using fresh and active yeast will provide consistent results in your baking. Proper storage helps maintain the yeast’s potency, allowing it to produce the desired rise and texture in your baked goods.
- Cost Savings: Buying new packets of yeast every time you bake can be costly. By properly storing yeast, you can extend its shelf life and avoid wasting money on frequent replacements.
- Reducing Food Waste: Proper yeast storage reduces the chances of your baked goods failing to rise. This means less wasted ingredients and more successful baking endeavors.
- Enhanced Flavor and Aroma: Fresh and active yeast contributes to the flavor and aroma of your baked goods. Improperly stored yeast may not provide the same level of flavor and aroma, leading to less enjoyable results.
By understanding the importance of proper yeast storage, you can ensure that your yeast remains active and effective for longer periods. This will not only save you money but also guarantee consistent and delicious baked goods every time.
Factors Affecting Yeast Longevity
Several factors can affect the longevity of yeast and its ability to remain active and viable for baking. Understanding these factors can help you make the necessary adjustments in storage conditions to prolong the lifespan of your yeast packets. Here are the main factors that can impact yeast longevity:
- Moisture: Yeast is highly sensitive to moisture. Excessive moisture can activate the yeast prematurely or cause it to clump together, reducing its potency. It’s important to store yeast in a dry environment and ensure that containers are tightly sealed to prevent moisture from getting in.
- Temperature: Yeast is best stored in a cool environment. High temperatures can accelerate yeast activity and, over time, decrease its viability. It’s important to store yeast away from heat sources such as ovens or direct sunlight. A temperature range of 35-45°F (2-7°C) is ideal for yeast storage.
- Light Exposure: Yeast is sensitive to light, especially UV rays. Exposure to light can degrade the yeast and reduce its effectiveness. Storage containers should be opaque or kept in a dark place to protect the yeast from direct light exposure.
- Air Exposure: Oxygen exposure can also affect yeast viability. It’s important to minimize air exposure by using airtight containers or sealing yeast packets tightly after each use. Oxygen can lead to oxidation, which can decrease the yeast’s ability to ferment.
- Storage Time: Even under ideal storage conditions, yeast will naturally lose potency over time. It’s recommended to check the expiration date on the yeast packets and use them before they expire to ensure optimal freshness and effectiveness.
By considering these factors and taking the necessary precautions, you can extend the shelf life of your yeast and maximize its potency. Proper storage conditions will help maintain the yeast’s activity and ensure reliable results in your baking endeavors.
Choosing the Right Container for Yeast Storage
Choosing the right container for yeast storage is crucial in preserving its freshness and extending its shelf life. The container should provide airtight and moisture-proof protection to keep the yeast dry and free from external elements that can degrade its quality. Here are some tips to help you choose the right container for yeast storage:
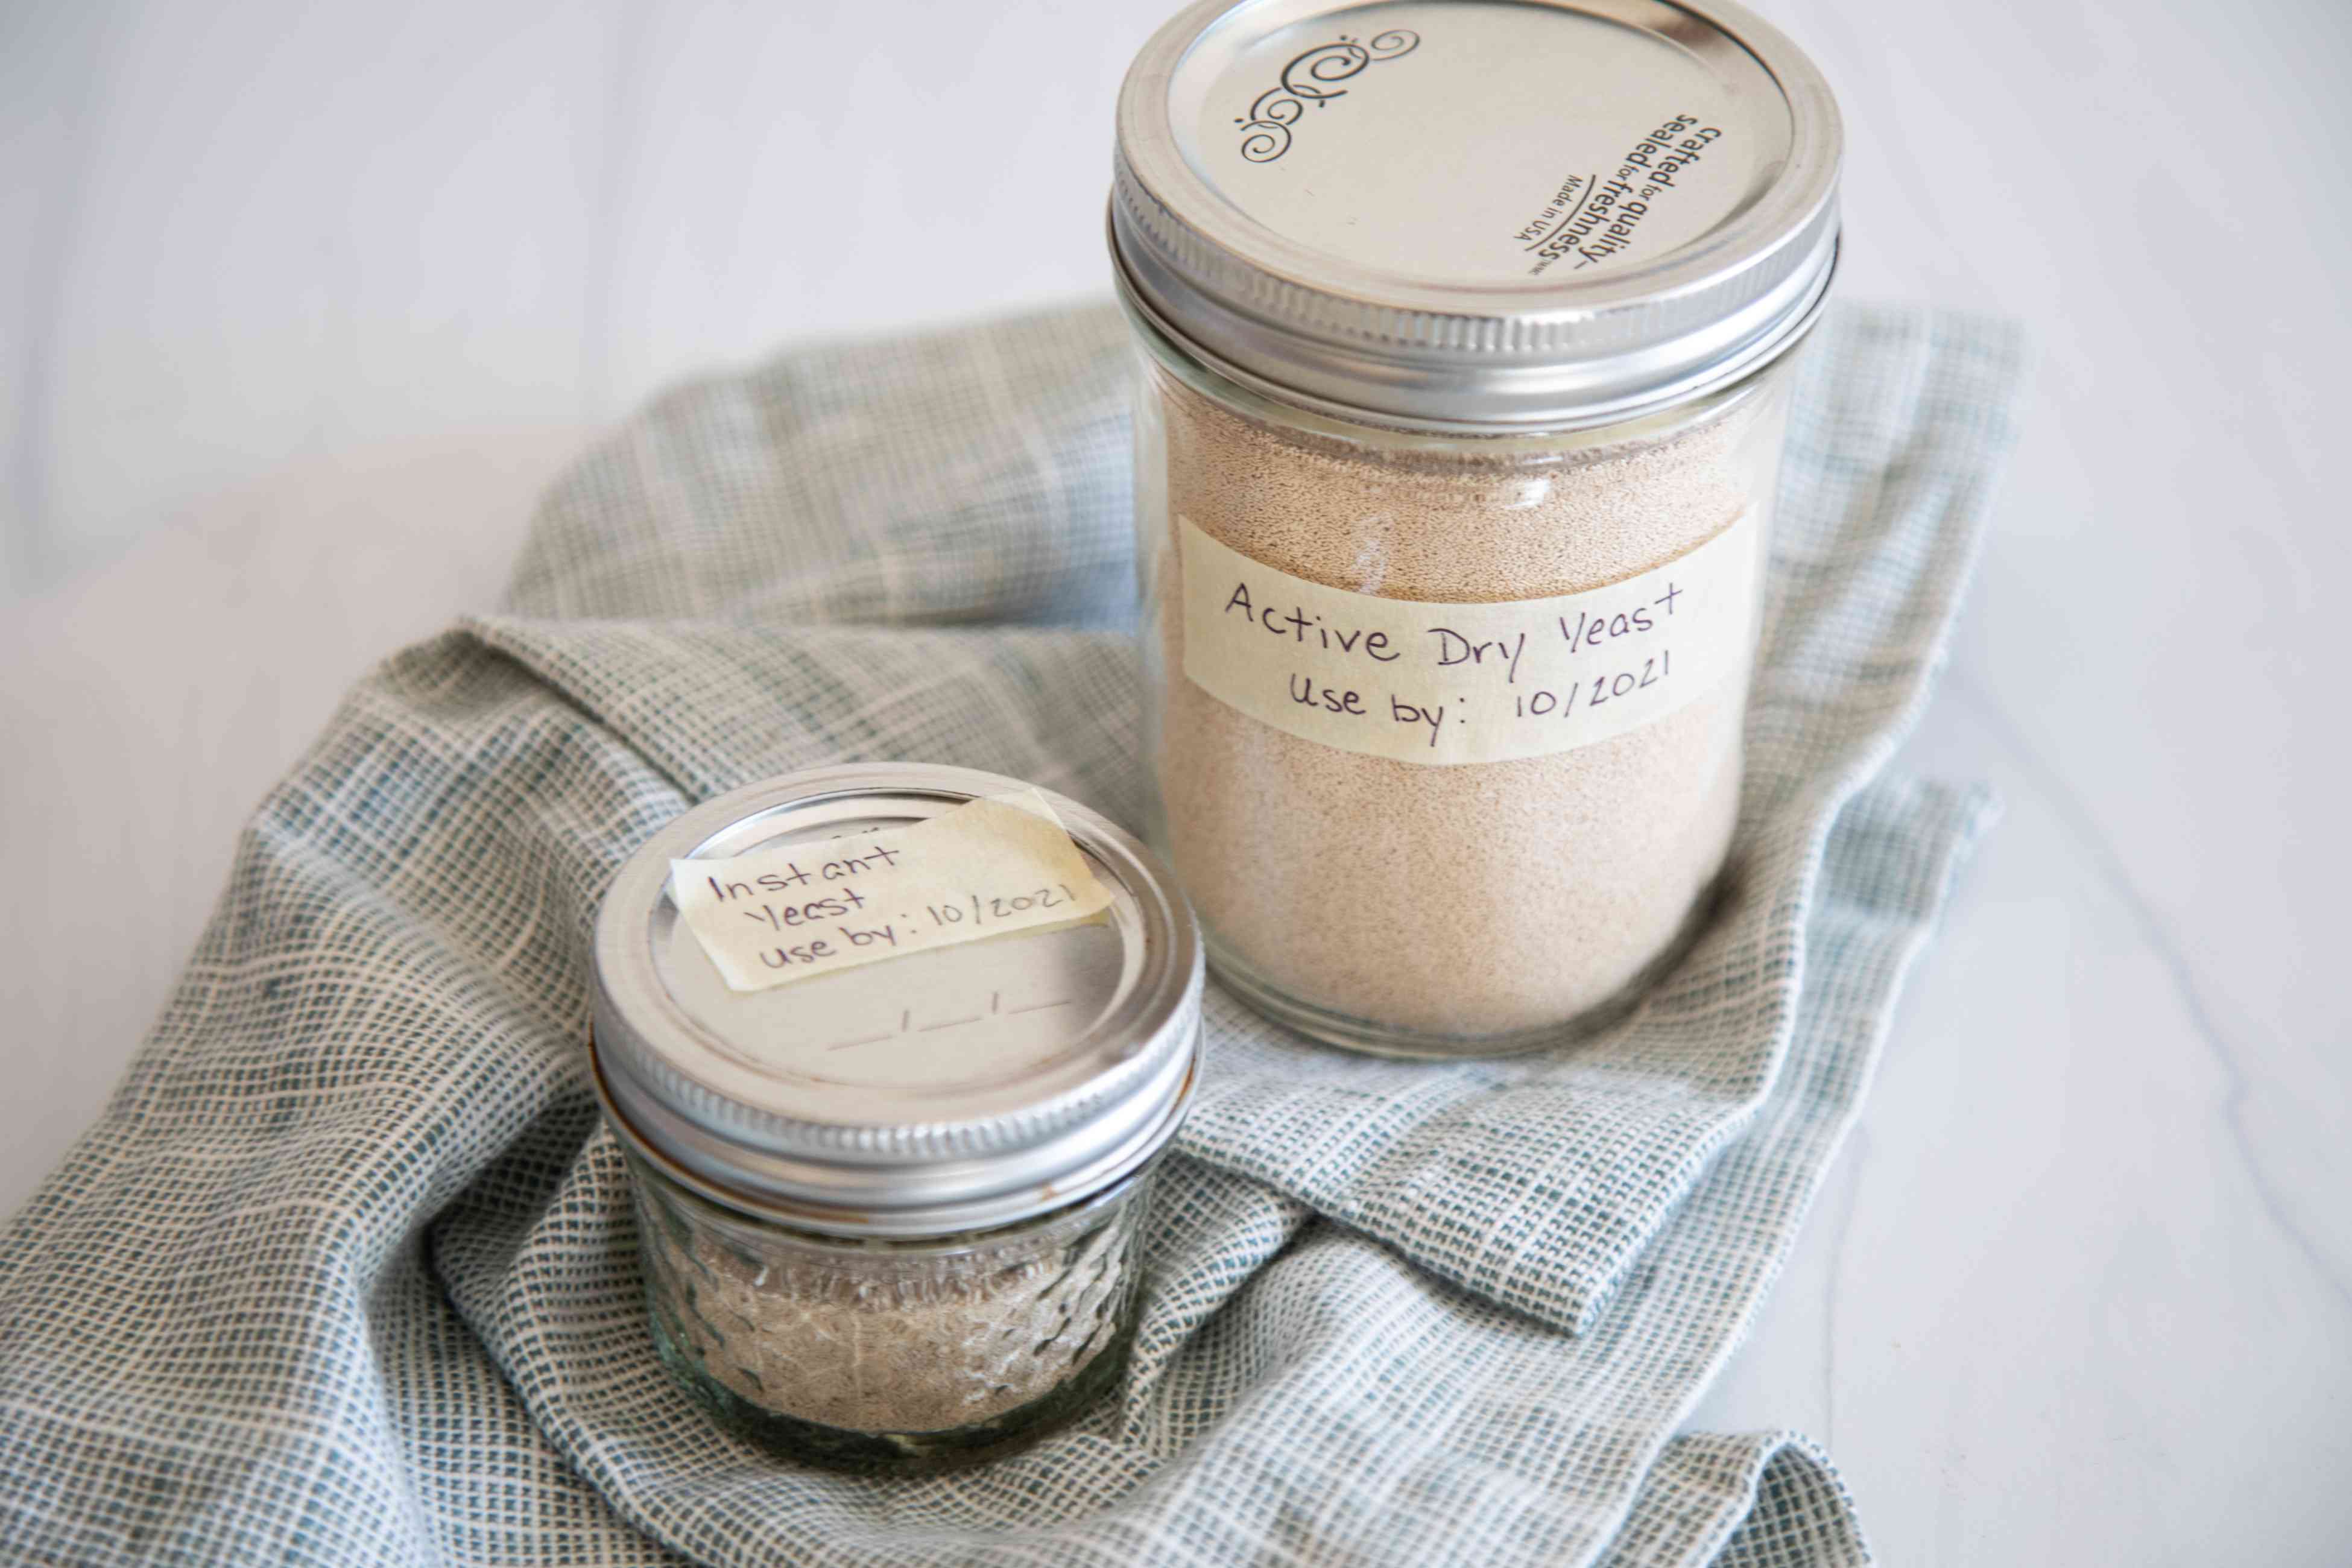
- Glass Jars with Rubber Seals: Glass jars with rubber seals or gasket lids are excellent options for yeast storage. They provide an airtight seal, preventing air from entering and moisture from seeping in.
- Food-Grade Plastic Containers: If using plastic containers, make sure to choose food-grade containers that are BPA-free and have an airtight seal. Look for containers specifically designed for long-term food storage.
- Vacuum-Sealed Bags: Vacuum-sealed bags are another effective option for yeast storage. They remove excess air, protecting the yeast from oxidation and moisture. Vacuum-sealed bags are especially convenient for storing larger quantities of yeast.
- Resealable Plastic Bags: If you are using yeast packets and prefer a simple storage solution, resealable plastic bags can be a practical choice. Ensure the bags are free from any holes or tears and seal them tightly after each use to prevent moisture and air exposure.
- Ceramic Canisters with Tight-Fitting Lids: Ceramic canisters with tight-fitting lids are aesthetically pleasing and effective for yeast storage. Look for canisters that have a silicone or rubber seal to maintain airtight conditions.
Remember that whichever container you choose, it should be clean, dry, and specifically designated for food storage. Avoid using containers that have previously stored other substances that may leave behind odors or residues.
Additionally, label your containers with the expiration date of the yeast to ensure you use the oldest yeast first. This will help you maintain a fresh supply of yeast and prevent any waste.
By selecting the right container for yeast storage, you can ensure that your yeast remains fresh, active, and ready to be used in your baking adventures.
Store yeast packets in a cool, dry place, away from direct sunlight and heat. The refrigerator is the best option for long-term storage, as it will help maintain the yeast’s viability.
Step-by-Step Instructions for Storing Yeast Packets
Storing yeast packets properly is essential to maintain their freshness and effectiveness. Follow these step-by-step instructions to store yeast packets correctly:
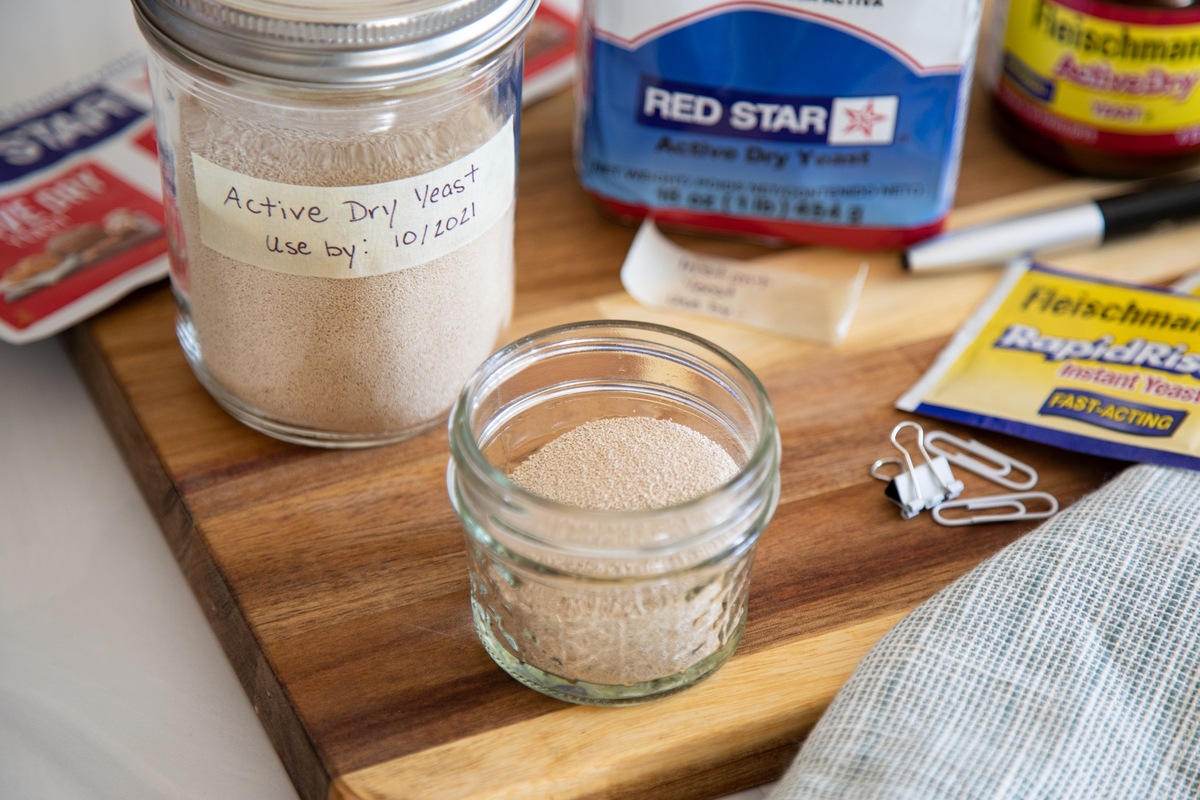
- Check the Expiration Date: Before storing yeast packets, check the expiration date to ensure they are still within their recommended shelf life. Using expired yeast can result in poor baking outcomes.
- Gather the Necessary Supplies: You will need airtight and moisture-proof containers, such as glass jars with rubber seals, food-grade plastic containers, or vacuum-sealed bags.
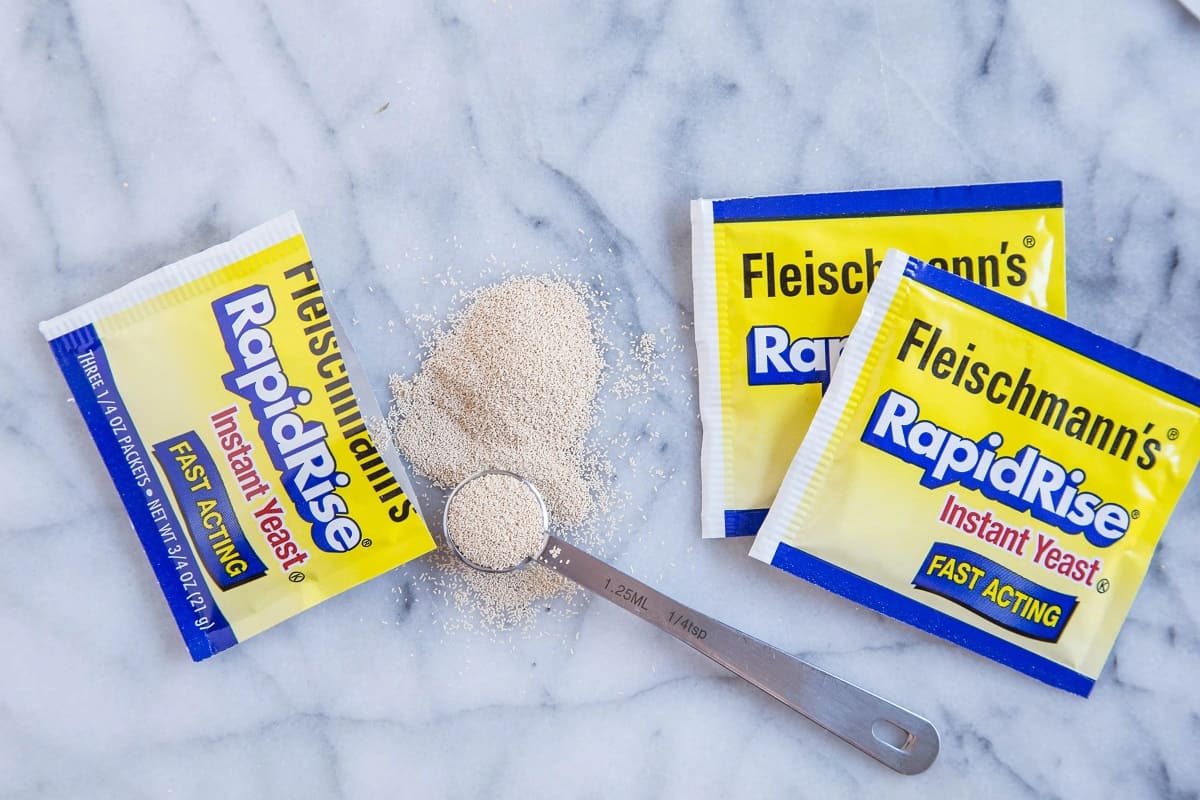
- Open the Yeast Packet: Carefully open the yeast packet using scissors or a clean knife. Be cautious not to tear the packet, as this can lead to air and moisture exposure.
- Transfer the Yeast to the Container: Empty the contents of the yeast packet into the chosen storage container. If using a bulk amount of yeast, measure out the desired quantity before transferring.
- Seal the Container Tightly: Ensure the container is sealed tightly to create an airtight and moisture-proof environment. If using a container with a rubber seal or gasket, ensure it is properly aligned before sealing.
- Label the Container: Use a label or marker to write the expiration date on the container. This will help you keep track of the yeast’s freshness and use them in a timely manner.
- Store in Optimal Conditions: Place the container in a cool, dark, and dry location. Avoid storing yeast near heat sources or in direct sunlight. Ideal storage temperatures range from 35-45°F (2-7°C).
Remember to handle the yeast packets and containers with clean hands to avoid introducing any contaminants. Store opened yeast packets as soon as possible to minimize exposure to air and moisture.
By following these step-by-step instructions, you can ensure that your yeast packets remain fresh, potent, and ready to be used in your baking projects.
Read more: How To Store Yeast
Other Tips for Proper Yeast Storage
In addition to choosing the right container and following the step-by-step instructions for storing yeast packets, here are some additional tips to ensure proper yeast storage:
- Refrigeration: While yeast can be stored at room temperature, refrigeration can further extend its shelf life. If you have the space available, consider storing your yeast in the refrigerator to maintain optimal freshness.
- Freezing: If you have a large quantity of yeast or want to stock up for the long term, freezing is an option. Portion the yeast into smaller airtight bags or containers and place them in the freezer. Just remember to allow the yeast to come to room temperature before using it in your recipes.
- Avoid Excessive Vibrations: Yeast is sensitive to excessive vibrations, which can affect its viability. Store yeast away from appliances or areas prone to vibrations, such as washing machines or loud exhaust fans.
- Use Bulk Yeast Wisely: If you purchase yeast in bulk, store the bulk supply in the freezer to keep it fresh, and transfer smaller quantities to a separate container for more convenient use in the near term.
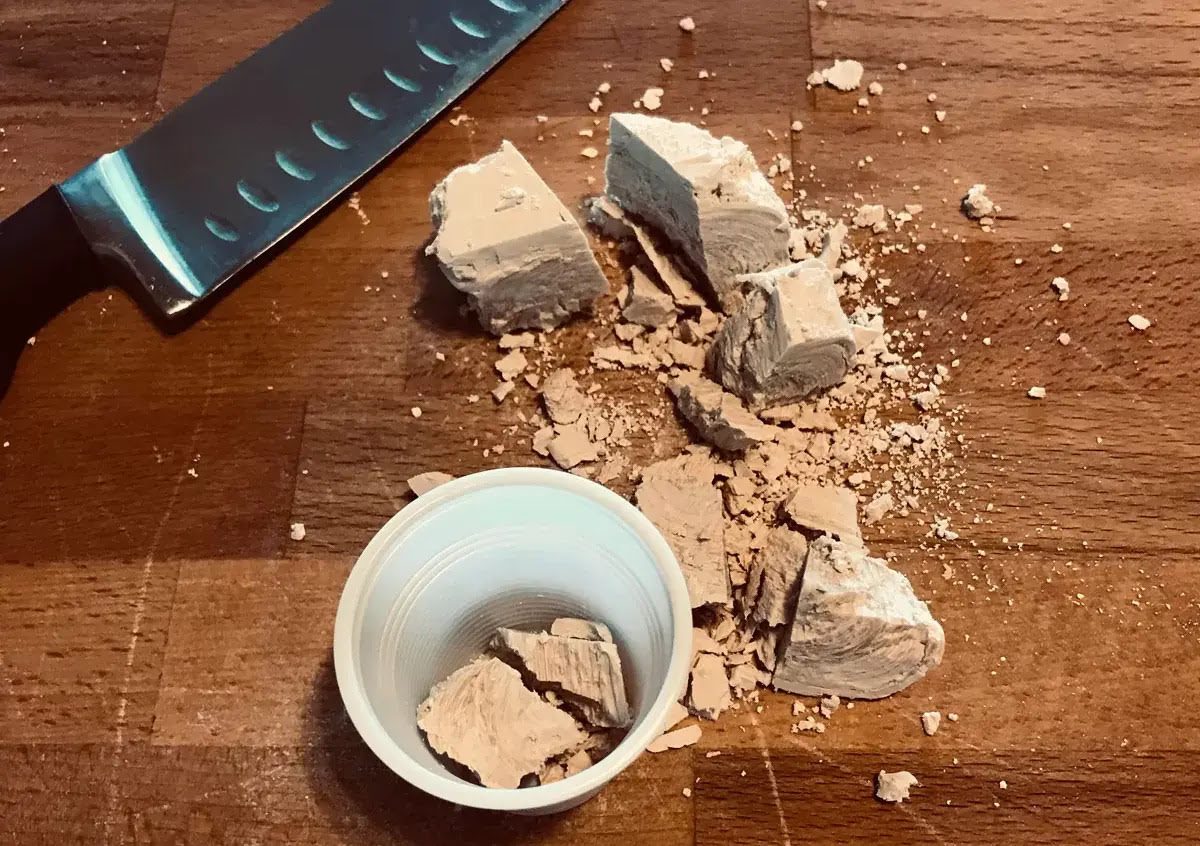
- Use Fresh Yeast Wisely: Fresh yeast, also known as cake yeast, has a shorter shelf life than dry yeast. To ensure its freshness, refrigerate fresh yeast and use it within one to two weeks.
- Don’t Mix Expired and Fresh Yeast: Avoid mixing expired yeast with fresh yeast as it can affect the potency and rise of your baked goods. It’s best to use fresh yeast separately or replace expired yeast with a fresh batch.
- Check for Activity: Before using stored yeast, always perform a “proofing” test to check its activity. Dissolve a small amount of yeast in warm water with a pinch of sugar and let it sit for a few minutes. If it becomes frothy and doubles in size, the yeast is still active and suitable for use.
By following these additional tips, you can ensure that your yeast remains fresh, potent, and reliable for all your baking needs. Proper yeast storage is key to achieving consistent and delicious results in the kitchen.
Conclusion
Proper yeast storage is essential for maintaining the freshness, potency, and effectiveness of yeast packets. By following the guidelines for proper yeast storage, you can ensure that your yeast remains active and reliable, leading to consistently delicious and perfectly risen baked goods.
Factors such as moisture, temperature, light exposure, air exposure, and storage time can all impact yeast longevity. Minimizing these factors by storing yeast in a cool, dark, dry, and airtight container is crucial for preserving its quality.
Choosing the right container for yeast storage, such as glass jars with rubber seals, food-grade plastic containers, or vacuum-sealed bags, can provide the necessary protection against moisture and air exposure. Properly sealing the container and labeling it with the expiration date will help you keep track of the yeast’s freshness and use them in a timely manner.
Additionally, refrigeration or freezing can further extend the shelf life of yeast, and avoiding excessive vibrations is important to maintain its viability. It’s also recommended to avoid mixing expired and fresh yeast and perform a “proofing” test before using stored yeast to confirm its activity.
In conclusion, by understanding the importance of proper yeast storage and following the tips outlined in this article, you can maximize the lifespan of your yeast packets and achieve consistently excellent baking results. So, ensure your yeast is stored in optimal conditions, use it before it expires, and get ready to enjoy the delightful aroma and taste of perfectly risen baked goods!
Frequently Asked Questions about How To Store Yeast Packets
Was this page helpful?
At Storables.com, we guarantee accurate and reliable information. Our content, validated by Expert Board Contributors, is crafted following stringent Editorial Policies. We're committed to providing you with well-researched, expert-backed insights for all your informational needs.


0 thoughts on “How To Store Yeast Packets”