Articles
How To Stretch A Carpet Without A Knee Kicker
Modified: August 28, 2024
Learn how to stretch a carpet without a knee kicker with our insightful articles. Save time and money with our expert tips and techniques.
(Many of the links in this article redirect to a specific reviewed product. Your purchase of these products through affiliate links helps to generate commission for Storables.com, at no extra cost. Learn more)
Introduction
Stretching a carpet is an essential task to ensure a seamless and wrinkle-free installation. However, you may think that you need a professional carpet installer or a knee kicker tool to achieve that perfect stretch. But did you know that you can actually stretch a carpet without a knee kicker? With the right tools, materials, and techniques, you can achieve professional-looking results on your own.
In this article, we will guide you through the step-by-step process of stretching a carpet without a knee kicker. We will provide you with a list of necessary tools and materials, as well as detailed instructions on each stage of the process. So, roll up your sleeves, put on your knee pads, and let’s get started!
Key Takeaways:
- Stretching a carpet without a knee kicker is achievable with the right tools and techniques. From preparation to finishing touches, DIY enthusiasts can achieve professional-looking results and enjoy the comfort of a perfectly stretched carpet.
- Proper preparation, securing the carpet with tape and a kicker, trimming excess material, and finishing touches are essential steps in achieving a seamless and wrinkle-free carpet installation without a knee kicker. With practice, DIY enthusiasts can master the process and transform their space with a beautifully stretched carpet.
Read more: How To Stretch A Carpet
Tools and Materials Needed
- Carpet stretcher
- Carpet tape
- Carpet kicker
- Utility knife
- Knee pads
- Measuring tape
Before we begin, make sure you have all the necessary tools and materials on hand. Having everything ready will save you time and ensure a smooth carpet stretching process. Here’s a list of what you’ll need:
1. Carpet stretcher: This is the key tool you’ll need to stretch the carpet properly. It’s a device that uses leverage and tension to stretch the carpet tightly across the room.
2. Carpet tape: Carpet tape is used to secure the edges of the carpet during the stretching process. It provides extra reinforcement and prevents the carpet from shifting or wrinkling over time.
3. Carpet kicker: A carpet kicker, also known as a carpet stretcher or power stretcher, is a tool used to stretch the carpet from one end of the room to the other. It’s especially useful for larger spaces or rooms with limited access.
4. Utility knife: A utility knife is necessary for trimming excess carpet and cutting it to fit the room’s dimensions. It’s essential to have a sharp and sturdy utility knife to ensure clean and precise cuts.
5. Knee pads: During the carpet installation process, you’ll be spending a lot of time on your knees. Investing in knee pads will provide comfort and protect your knees from strain or injury.
6. Measuring tape: Accurate measurements are crucial for a successful carpet stretch. Have a measuring tape handy to measure the dimensions of the room and determine the amount of carpet you’ll need.
By gathering these tools and materials before starting the carpet stretching process, you’ll be well-prepared and set up for success. Now that you’re equipped with the necessary supplies, we can move on to preparing the room for the carpet stretch.
Preparation
Before you can begin stretching your carpet, it’s crucial to prepare the room properly. This involves clearing the space and removing any existing carpet or flooring. Follow these steps to ensure a clean slate for your carpet installation:
Clearing the Room
The first step is to clear the room of any furniture, rugs, or obstacles that may impede the stretching process. Remove all items from the room and find a safe and convenient place to store them temporarily. This will give you ample space to work and ensure that nothing gets in the way.
Removing Old Carpet or Flooring
If there is existing carpet or flooring in the room, you’ll need to remove it before stretching your new carpet. Here’s how to go about it:
- Start by cutting the carpet or flooring into manageable sections using a utility knife. Roll up each section as you go to make the removal process easier.
- If you encounter any staples or nails on the subfloor, be sure to remove them carefully. Use pliers or a staple remover tool to avoid damaging the subfloor.
- If there are any adhesive residues left on the subfloor, use a scraper or putty knife to scrape them off. Make sure the surface is smooth and clean before proceeding.
Once you have cleared the room and removed any old carpet or flooring, you are ready to move on to the next step: securing the new carpet.
Read more: How To Stretch Carpet In A Room
Securing the Carpet
Now that the room is clear and ready, it’s time to secure the new carpet in place. This process involves applying carpet tape along the edges, using a carpet kicker to stretch the carpet, and securing it with carpet tacks or staples. Let’s break down each step:
Applying Carpet Tape Along the Edges
Begin by unrolling the carpet and positioning it in the center of the room. Ensure that the carpet is slightly larger than the room’s dimensions, allowing for proper stretching and trimming.
Next, start applying carpet tape along the edges of the room. Carpet tape is a double-sided adhesive that helps keep the carpet in place. Apply the tape along the perimeter of the room, pulling the carpet tight as you go. Secure the edges firmly to ensure a secure grip.
Using a Carpet Kicker to Stretch the Carpet
Now it’s time to stretch the carpet using a carpet kicker. A carpet kicker is a tool specifically designed to stretch carpet effectively. Position yourself near one corner of the room and place the carpet kicker about six inches from the wall.
With your knee on the padded part of the carpet kicker, firmly press down to grip the carpet. Then, use your knee to push the carpet towards the wall while using your hand to guide the carpet along the edge of the wall. Repeat this process along each wall, ensuring that the carpet is taut and free of wrinkles.
Securing the Carpet with Carpet Tacks or Staples
Once the carpet is stretched and in place, it’s time to secure it further using carpet tacks or staples. Take a carpet tack or staple gun and carefully insert one tack or staple every four to six inches along the edges of the room.
Make sure to place the tacks or staples close to the wall, but not directly against it to avoid damaging the baseboard. Work your way along each wall, ensuring that the carpet remains stretched and secure.
If you’re using carpet tacks, use a hammer to gently tap them into place, ensuring they are flush with the carpet’s surface. If using staples, ensure they are securely fastened into the subfloor.
By following these steps, you can successfully secure the carpet in place, ensuring a smooth and wrinkle-free installation. Next, we will move on to trimming any excess carpet.
Trimming Excess Carpet
After securing the carpet, you may have some excess material that needs to be trimmed. Trimming the carpet ensures a clean and professional finish. Here’s how to trim the excess carpet:
Measuring and Marking the Excess Carpet
Start by measuring the excess carpet around the edges of the room. Use a measuring tape to determine how much carpet needs to be trimmed. Leave a small margin of about 1-2 inches for tucking the carpet under the baseboard or trim.
Mark your measurements on the back of the carpet using a pencil or chalk. Make sure your marks are clear and easily visible.
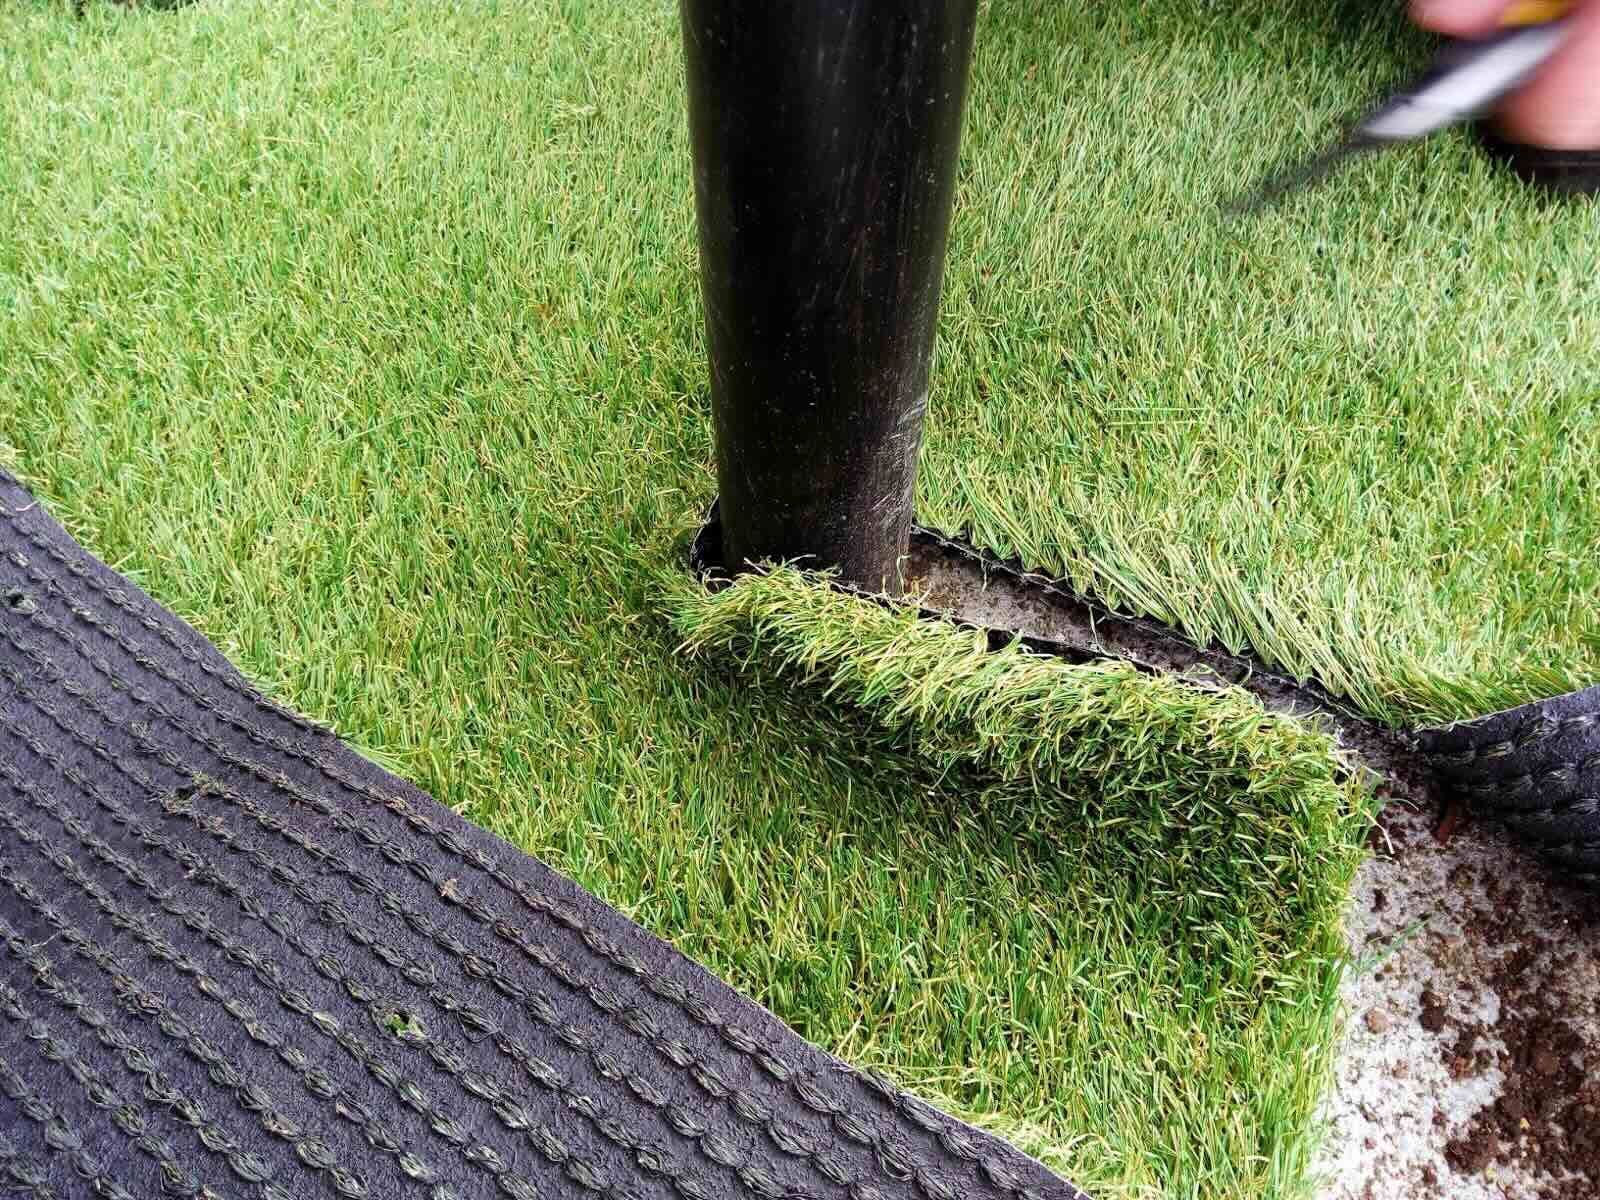
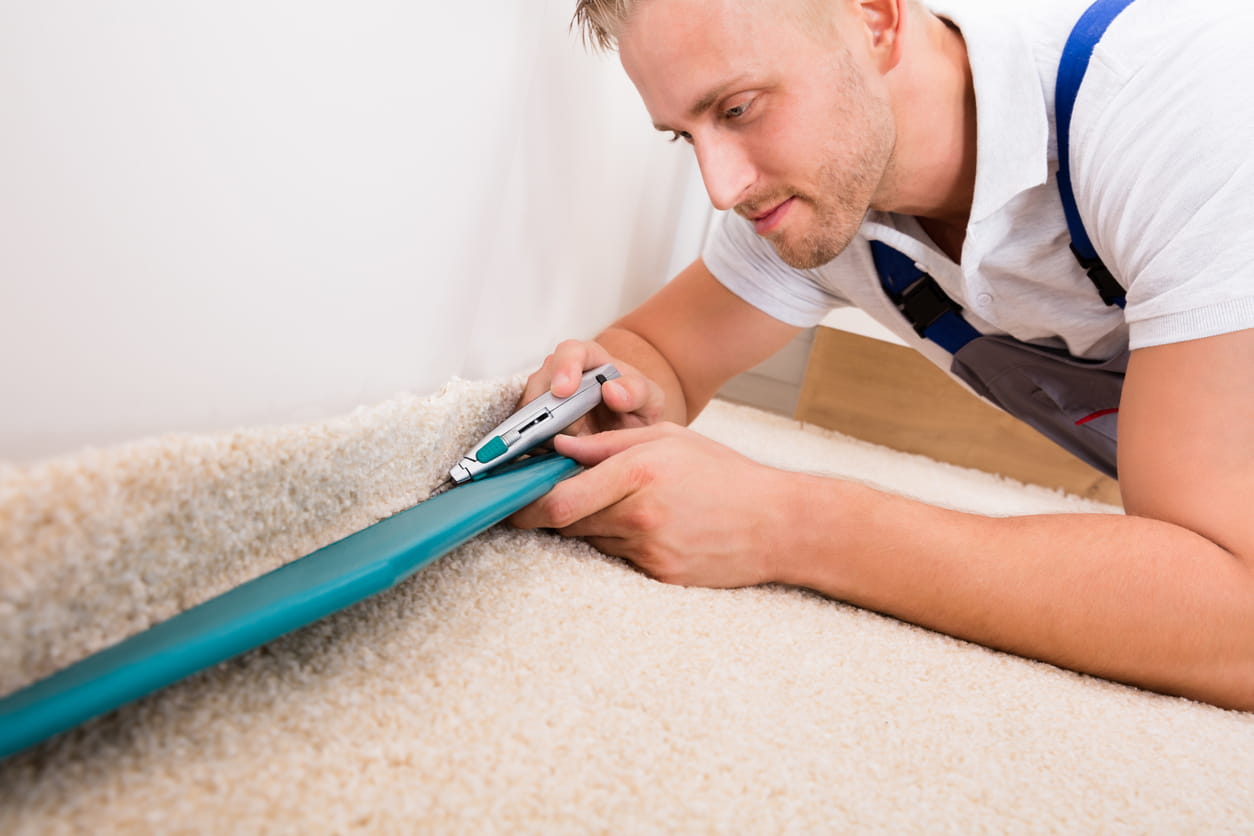
Cutting off the Excess Using a Utility Knife
Once you’ve marked the excess carpet, it’s time to cut it off. Use a sharp utility knife and a straight edge or ruler as a guide. Align the ruler along your marked line, ensuring it is straight and secure. Hold the ruler firmly in place as you make your cut.
Apply gentle pressure and make a deep, clean cut through the carpet along your marked line. Take your time to ensure a precise and even cut.
After cutting off the excess carpet, you can now proceed to tuck in the edges and give the carpet a polished, finished look.
Trimming excess carpet not only improves the appearance of your installation but also helps with the longevity of the carpet by reducing the risk of tripping hazards and wear along the edges. With the excess carpet trimmed, we can move on to the finishing touches.
Finishing Touches
With the carpet stretched, secured, and excess trimmed, it’s time to complete the final touches to make your installation look professional and neat. Here are the essential finishing touches:
Read more: What Are Kickers In Construction
Tucking in the Edges
To give your newly stretched carpet a clean and finished look, it’s important to tuck in the edges along the walls. Using a putty knife or a carpet tucker tool, gently push the excess carpet under the baseboard or trim. Work your way along each wall, ensuring the carpet is snugly tucked in without any visible gaps or wrinkles.
Take your time and be careful not to damage the carpet or the walls as you tuck in the edges. This step will give your carpet a seamless appearance and prevent tripping hazards.
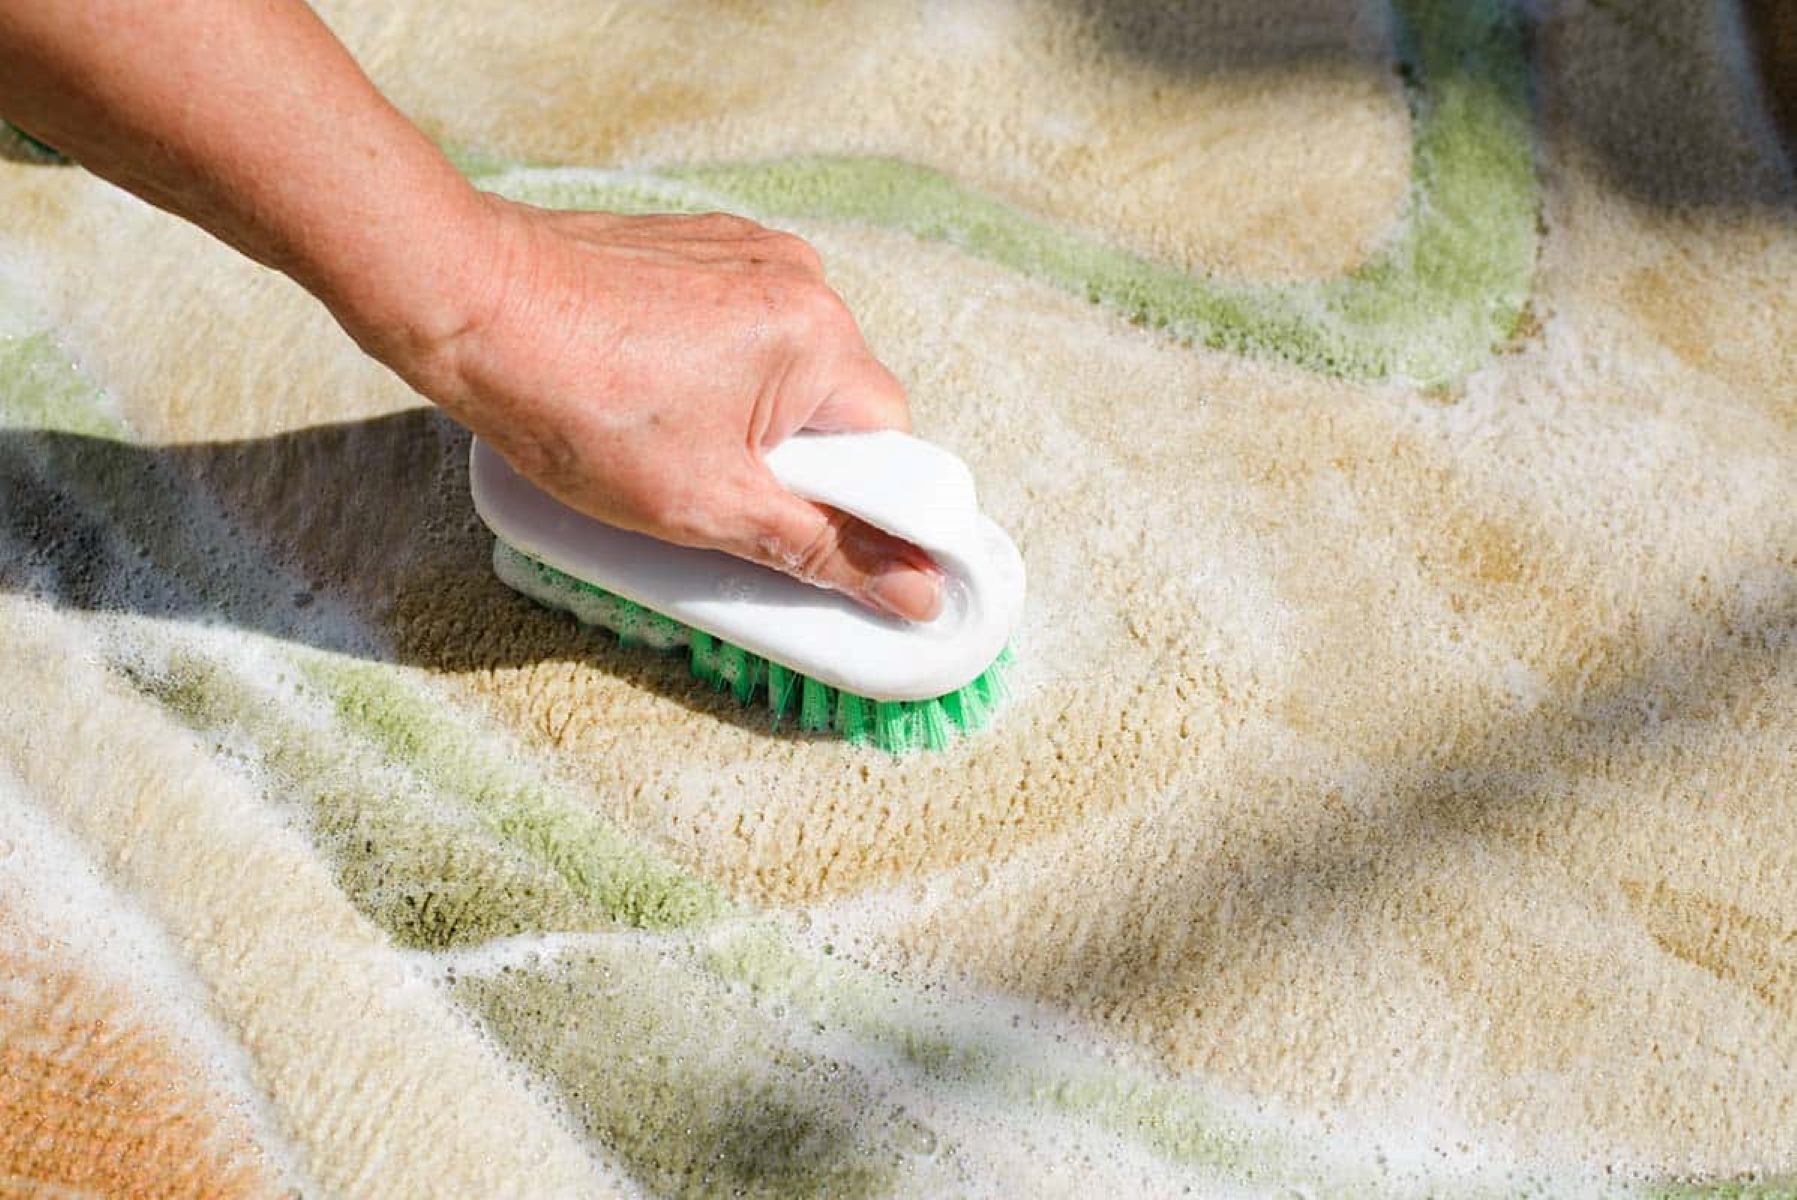
Vacuuming the Newly Stretched Carpet
Once the carpet is fully installed and the edges are tucked in, it’s important to give it a thorough vacuuming. Use a vacuum cleaner with a beater bar or brush attachment to remove any dirt, debris, or loose fibers that may have accumulated during the installation process.
Take your time to go over the entire carpet surface, ensuring you cover all areas, including corners and edges. Vacuuming will help to fluff up the carpet fibers and give your installation a fresh, clean appearance.
Inspecting for Any Loose Areas
After vacuuming, it’s essential to inspect the newly stretched carpet for any signs of loose or wrinkled areas. Walk across the carpet and check for any sections that feel loose or have visible wrinkles.
If you do find any loose areas, use a carpet kicker and additional carpet tacks or staples to secure them properly. Stretch out the loose section and fasten it down, ensuring it blends seamlessly with the rest of the carpet.
Completing this final inspection and addressing any loose areas will ensure that your carpet is properly secured and will remain in place for years to come.
With these finishing touches complete, you have successfully stretched and installed your carpet without a knee kicker. Take a moment to admire your work and enjoy the comfort and beauty of your newly installed carpet!
Conclusion
Stretching a carpet without a knee kicker may seem like a daunting task, but with the right tools, materials, and techniques, it is entirely possible to achieve professional results on your own. By following the step-by-step process outlined in this article, you can successfully stretch and install your carpet, leaving it smooth, wrinkle-free, and securely in place.
Starting with proper preparation, such as clearing the room and removing old carpet or flooring, sets the stage for a successful carpet stretch. By securing the carpet with carpet tape along the edges and using a carpet kicker to stretch and tighten the carpet, you ensure a smooth and even installation.
Trimming the excess carpet with a utility knife and tucking in the edges give the installation a polished and finished look. It’s important to take the time to measure, mark, and cut carefully to achieve precise and clean cuts. And don’t forget the importance of vacuuming the newly stretched carpet to remove any loose debris or fibers.
Finally, the finishing touch of inspecting for any loose areas and addressing them promptly ensures that your carpet remains in place and maintains its appearance for years to come.
So, whether you’re a DIY enthusiast or simply looking to save on installation costs, stretching a carpet without a knee kicker is a feasible and rewarding project. With the right tools, materials, and techniques, you can achieve professional-looking results and enjoy the comfort and beauty of a perfectly stretched carpet in your home or office.
Remember, practice makes perfect, so don’t be discouraged if it takes a few tries to get it just right. With each installation, you’ll become more familiar with the process and gain confidence in your abilities.
Now, it’s time to roll up your sleeves, gather the necessary tools, and get started on transforming your space with a beautifully stretched carpet!
Now that you've learned how to stretch a carpet without a knee kicker, why not tackle another home improvement project? If you're thinking of upgrading your living space, our guide on selecting the best hardwood floors will surely come in handy. This article offers essential advice for those considering a home renovation, ensuring your choices not only meet but exceed expectations.
Frequently Asked Questions about How To Stretch A Carpet Without A Knee Kicker
Was this page helpful?
At Storables.com, we guarantee accurate and reliable information. Our content, validated by Expert Board Contributors, is crafted following stringent Editorial Policies. We're committed to providing you with well-researched, expert-backed insights for all your informational needs.