Articles
How To Stretch Wire Fence
Modified: October 20, 2024
Learn the best techniques and methods to stretch a wire fence with our informative articles. Increase the durability and security of your fence with expert tips and advice.
(Many of the links in this article redirect to a specific reviewed product. Your purchase of these products through affiliate links helps to generate commission for Storables.com, at no extra cost. Learn more)
Introduction
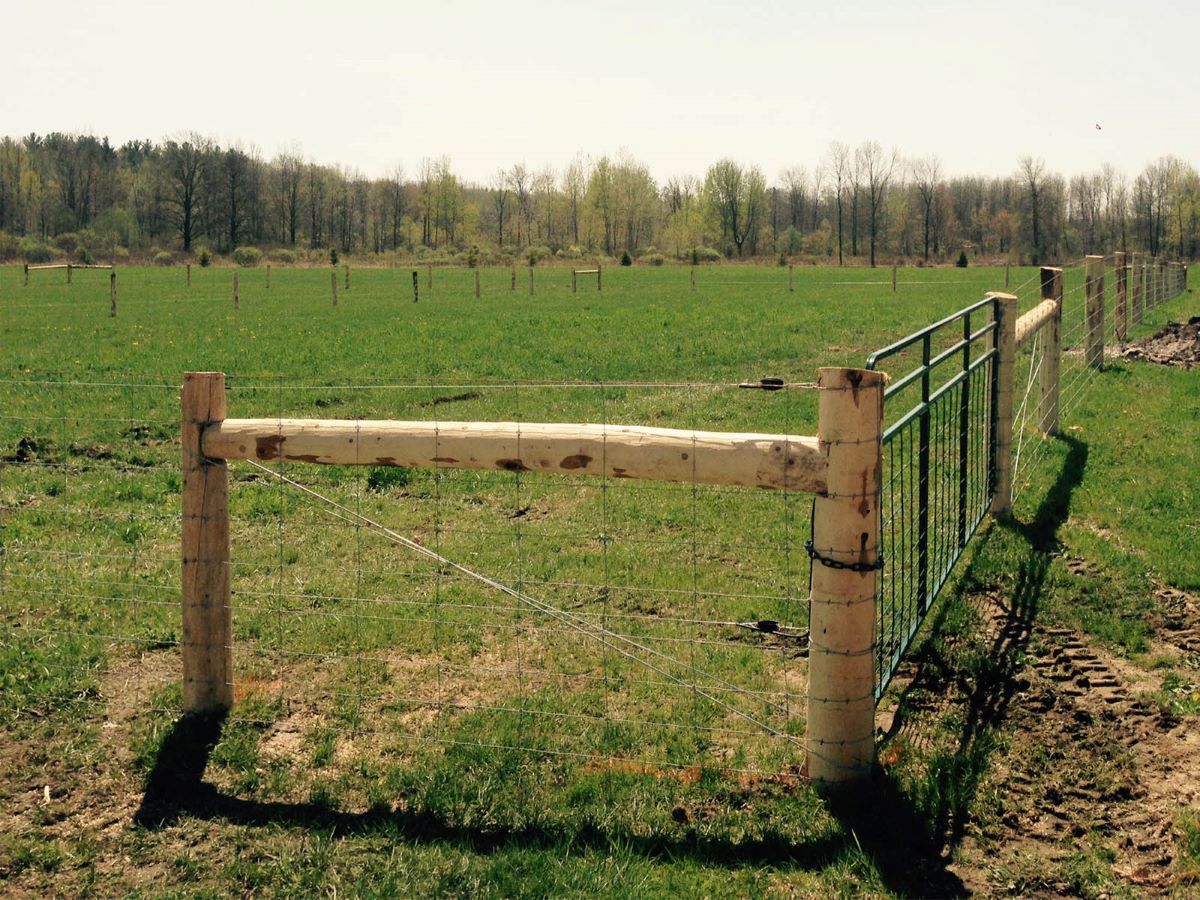
Wire fences are a popular choice for many homeowners and property owners due to their versatility, durability, and affordability. Whether you are looking to secure your garden, enclose livestock, or create a boundary around your property, knowing how to properly install and stretch a wire fence is essential.
In this article, we will guide you through the process of stretching a wire fence, step by step. From choosing the right wire fence to securing the ends, we will cover everything you need to know to ensure a successful installation.
Before we dive into the details, it’s important to note that stretching a wire fence requires some physical strength and the use of specific tools and materials. It may also involve digging holes and working with heavy materials. If you are not comfortable or confident in your ability to perform these tasks, it may be best to hire a professional to install your wire fence.
Now, let’s get started with choosing the right wire fence for your needs.
Key Takeaways:
- Choose the right wire fence based on your specific needs, such as livestock containment or property security. Consider factors like wire type, gauge, and budget to ensure a successful installation.
- Properly maintain and repair your wire fence to ensure its longevity and effectiveness. Regular inspections, vegetation clearance, tension adjustments, and pest monitoring are essential for keeping your fence in top condition.
Read more: How To Stretch A Chain Link Fence
Choosing the Right Wire Fence
When it comes to choosing the right wire fence for your specific needs, there are a few factors to consider. These include the purpose of the fence, the type of livestock or animals you need to contain, the level of security required, and your budget.
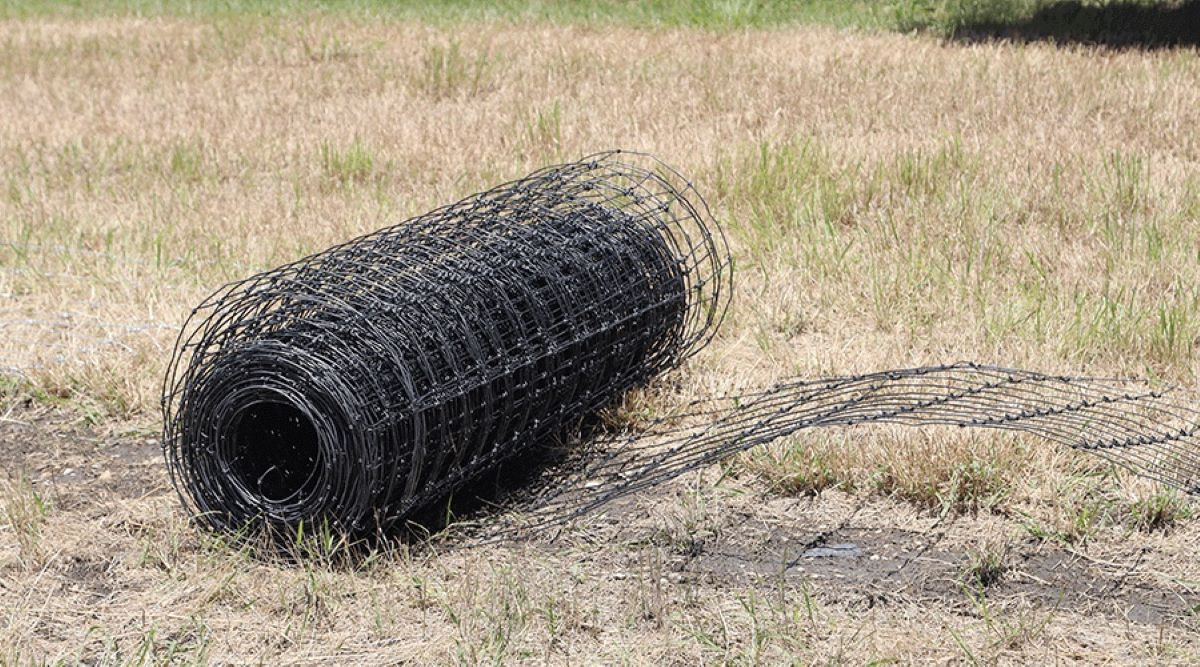
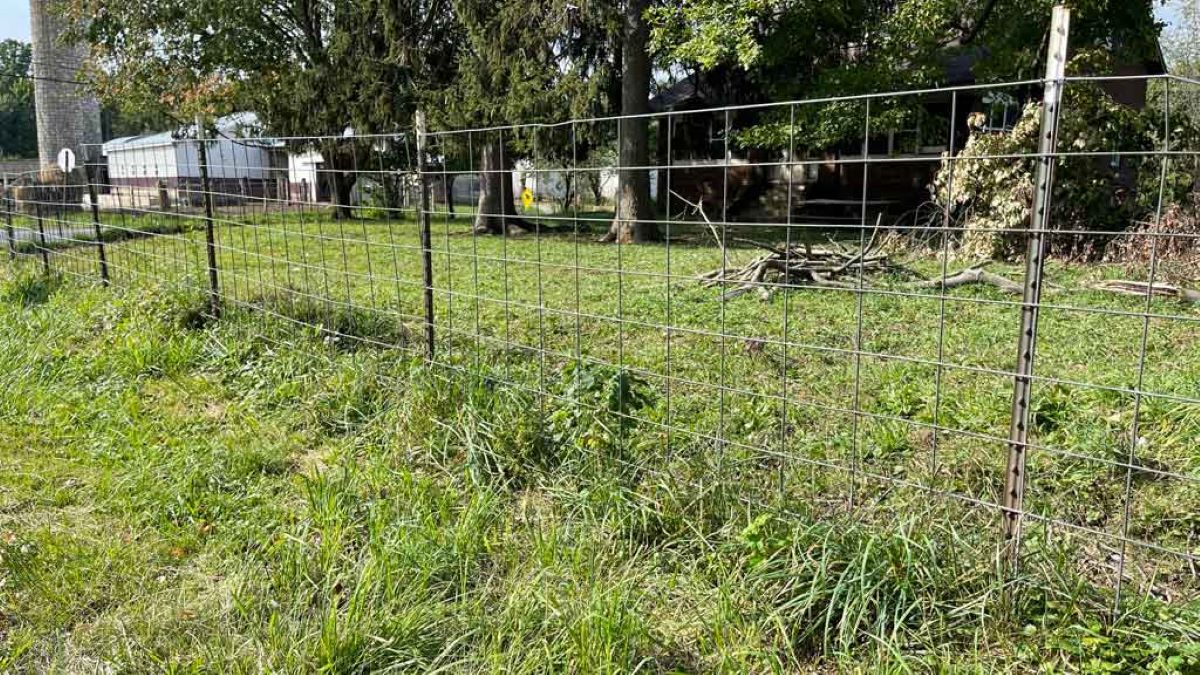
One of the most common types of wire fences is the woven wire fence. This type of fence is made up of vertical and horizontal wires that are woven together to create a grid pattern. Woven wire fences are versatile and can be used for a variety of purposes, from securing small animals to defining boundaries.
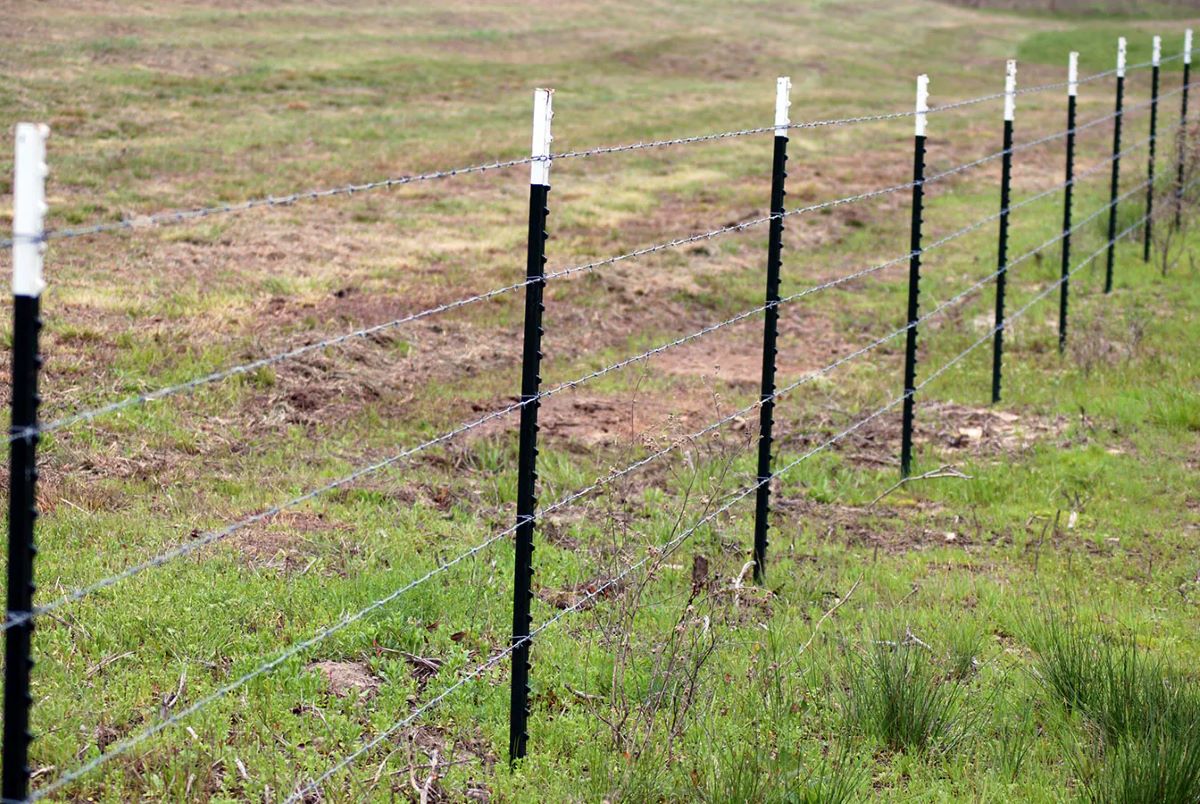
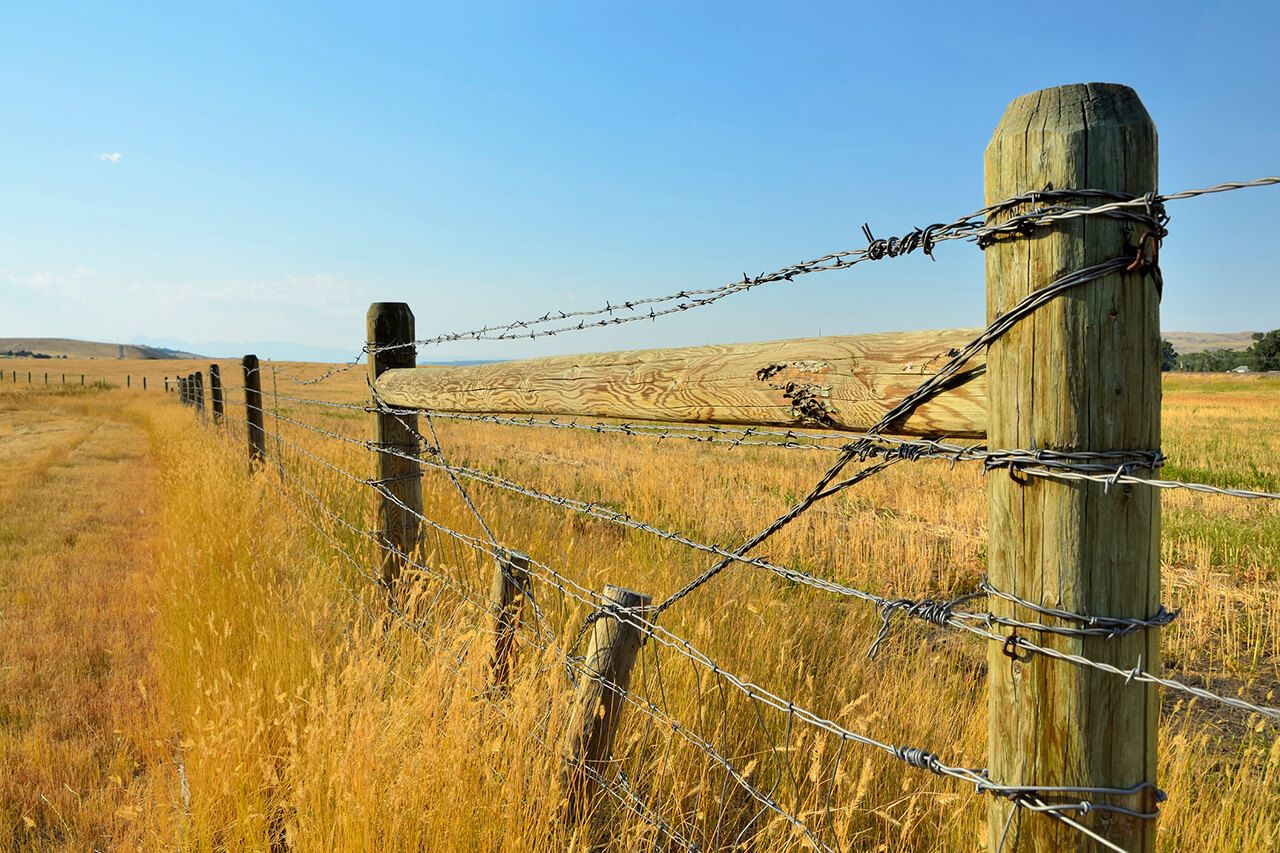
If you have larger livestock, such as horses or cattle, a high-tensile wire fence might be the best option. These fences are made from steel wire strands that are highly tensile, meaning they have a high breaking strength. This type of fence is more durable and can withstand the pressure exerted by larger animals.
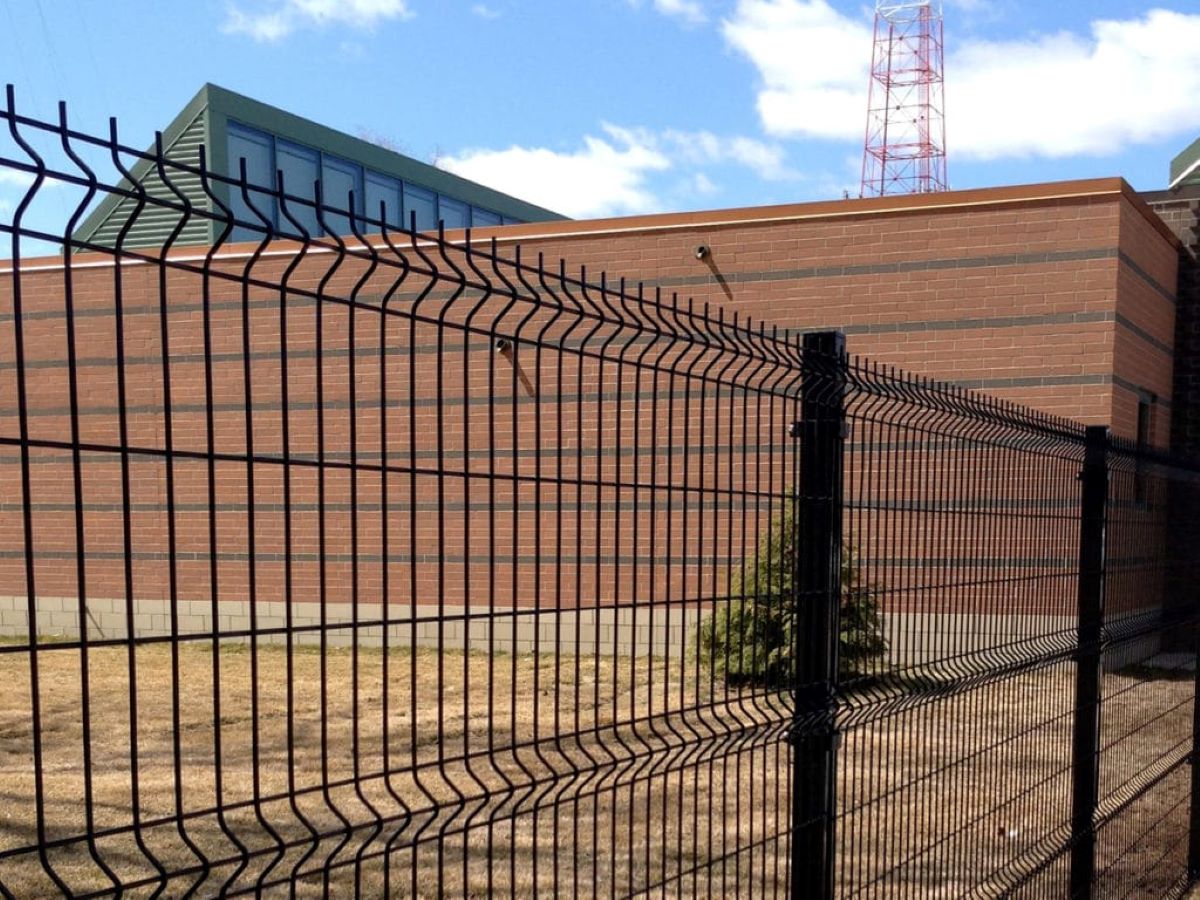
For added security, you may consider a chain-link fence. This type of fence is made from interlocking metal wires and provides a strong and transparent barrier. Chain-link fences are popular for securing commercial properties, parks, and sports fields.
When selecting the gauge of wire for your fence, keep in mind that a lower gauge number indicates a thicker and stronger wire. For most residential applications, a 12-gauge wire is sufficient, while a 9-gauge wire is recommended for larger animals or areas requiring higher security.
Lastly, consider your budget. The cost of wire fences can vary depending on the type, height, length, and gauges. Take into account the overall cost of materials, as well as any additional tools or equipment needed for installation.
By taking these factors into consideration, you can choose the right wire fence that meets your specific needs and provides the desired level of security and functionality.
Tools and Materials Needed
Before you begin stretching a wire fence, it’s important to gather all the necessary tools and materials. This will ensure that you have everything you need to complete the installation efficiently and effectively.
Here is a list of tools and materials typically required for stretching a wire fence:
- Wire fence rolls: Choose the appropriate type and gauge of wire fence for your specific needs.
- Fence posts: These can be made of wood, metal, or concrete, depending on your preference and budget.
- Post hole digger: For digging holes to set the fence posts.
- Tape measure: To accurately measure the distance between fence posts.
- Level: To ensure that the fence is straight and level during installation.
- Tensioning tools: These can include a fence tensioner, come-along, or chain strainer, depending on the type of wire fence and your preference.
- Fencing staples or clips: Used to attach the wire fence to the fence posts.
- Hammer: To drive in fencing staples or clips.
- Wire cutters: For cutting and trimming the wire fence.
- Gloves and safety glasses: To protect your hands and eyes during installation.
It’s important to have all these tools and materials readily available before you start the installation process. This will save you time and ensure that you can complete the job without any interruptions or delays.
Additionally, ensure that you have the appropriate safety gear, such as gloves and safety glasses, to protect yourself during the installation. Wire fences can be sharp and pose a risk of injury, so taking proper precautions is essential.
Once you have gathered all the necessary tools and materials, you are ready to move on to preparing the area for fence installation.
Preparing the Area for Fence Installation
Before you can start installing a wire fence, it’s important to properly prepare the area where the fence will be placed. This will ensure that the fence is secure and will provide effective containment or boundary definition.
Here are the steps to prepare the area for fence installation:
- Mark the boundary: Use marking flags or stakes to mark the boundary line where the fence will be installed. This will give you a clear visual guide as you proceed with the installation process.
- Clear vegetation: Remove any grass, weeds, or other vegetation along the marked boundary line. Use a shovel or a trimmer to clear the area and create a clean and level surface.
- Remove obstructions: If there are any rocks, tree stumps, or other obstacles in the path of the fence, remove them to create a clear and unobstructed space for installation.
- Check for underground utilities: Before digging any holes for fence posts, it’s important to check for any underground utilities, such as water lines or electrical cables. Contact your local utility company to ensure there are no safety risks or conflicts.
- Measure and mark post locations: Use a tape measure to measure the distance between each fence post. Mark the post locations on the ground using spray paint or stakes. Make sure the spacing is consistent to ensure a straight and uniform fence line.
- Dig post holes: Use a post hole digger to dig holes for the fence posts. The depth and diameter of the holes will depend on the type and size of your fence posts. Generally, a depth of at least one-third the height of the post is recommended.
Once you have followed these steps and prepared the area for fence installation, you are ready to move on to setting the posts. Proper preparation of the area is crucial to ensure a sturdy and durable wire fence that will serve its purpose effectively.
Setting the Posts
Setting the fence posts is a crucial step in the installation process as they provide the foundation and stability for the entire wire fence. The posts should be properly aligned and securely anchored into the ground to ensure the integrity and longevity of the fence.
Here is a step-by-step guide on how to set the fence posts:
- Begin by placing one fence post into the first post hole that you dug. Ensure that the post is level and aligned with the marked post location. You can use a level or a straight board and a carpenter’s level to check for straightness.
- Fill the hole with concrete mix or gravel. This will provide stability and support for the post. Follow the manufacturer’s instructions for mixing and applying the concrete or gravel.
- Use a post level or a regular level to check the vertical alignment of the post. Adjust the post as necessary to ensure it is straight and plumb.
- Repeat the process for each remaining post hole. Place the remaining posts into the holes, aligning them with the marked post locations and ensuring they are straight and level.
- Once all the posts are in place, fill the remaining space in each hole with concrete or gravel. Tamp it down firmly to ensure proper anchoring.
- Allow the concrete to cure or the gravel to settle according to the manufacturer’s instructions. This typically takes 24-48 hours.
It’s important to note that some fence posts may require additional support, such as corner posts or gate posts. These posts typically need to be set deeper into the ground and may require additional reinforcement, such as braces or support wires.
Properly setting the posts will provide a solid foundation for stretching the wire fence and ensure that it remains sturdy and secure over time. Once the posts are set and the concrete has cured, you can move on to attaching the wire to the posts.
When stretching wire fence, use a come-along or fence stretcher to apply tension evenly along the length of the fence. This will help prevent sagging and ensure a tight, secure installation.
Read more: How To Fix A Wire Fence
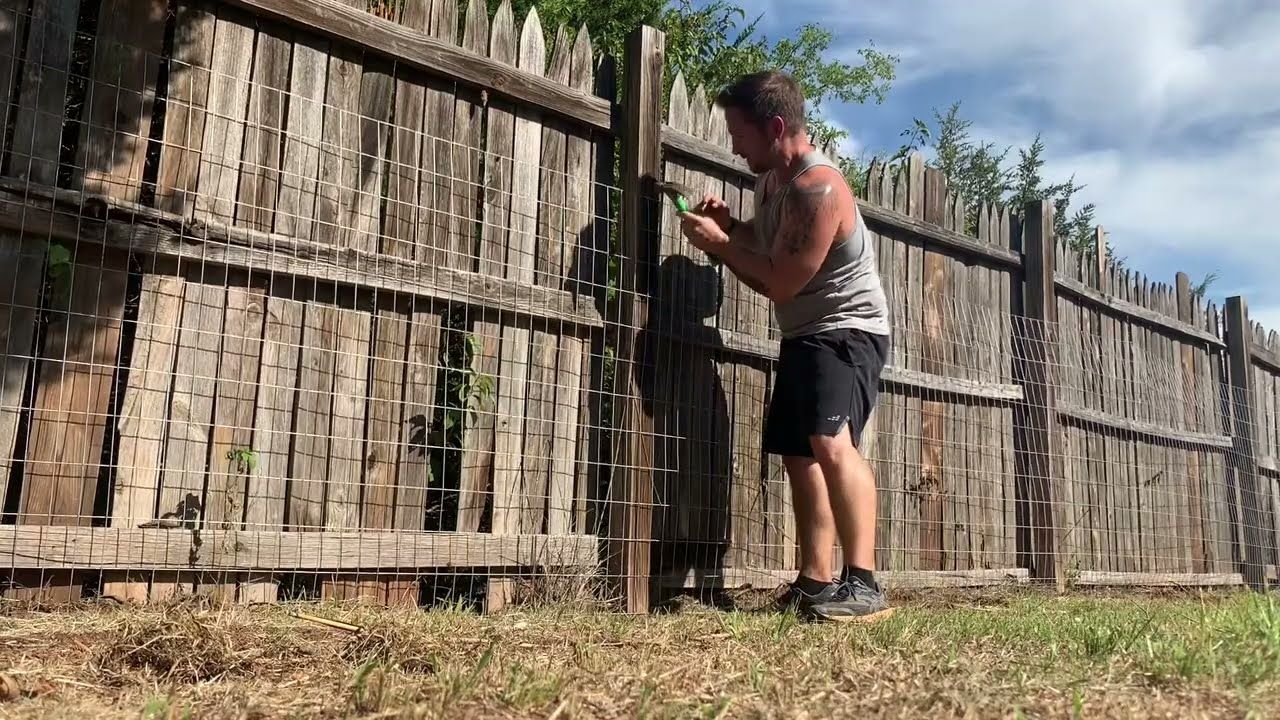
Attaching the Wire to the Posts
Once the fence posts are set and secure, the next step in stretching a wire fence is attaching the wire to the posts. This process involves securing the wire to the posts using fencing staples or clips, ensuring that it is properly fastened and taut.
Here’s a step-by-step guide on how to attach the wire to the posts:
- Begin by unrolling the wire fence along the length of the fence line, starting from one end.
- Hold the wire against the first fence post, making sure it is positioned at the desired height above the ground.
- Using fencing staples or clips, attach the wire to the post at regular intervals, typically every 12-18 inches. Hammer the staples or clips into the post, securing the wire firmly.
- Continue unrolling the wire and attaching it to each fence post along the line, pulling it taut as you go. Make sure the wire is stretched evenly with no sagging.
- For corner posts or posts where the wire changes direction, use additional staples or clips to secure the wire and maintain the desired angle.
- If you’re using multiple rolls of wire, overlap the ends by a few inches and secure them together using wire twists or hog rings. This will ensure a seamless and continuous fence line.
It’s important to ensure that the wire is firmly attached to each fence post, as this will provide the necessary support and tension to keep the fence in place. Take the time to check the wire for any loose or weak spots and reinforce them with additional staples or clips if needed.
Once the wire is securely attached to the posts, you are ready to move on to the next step: stretching the wire fence.
Stretching the Wire Fence
After attaching the wire to the posts, the next crucial step in the process of stretching a wire fence is to achieve proper tension on the wire. This ensures that the fence is sturdy and securely held in place, providing effective containment or boundary definition.
Here’s a step-by-step guide on how to stretch the wire fence:
- Start at one end of the fence line and select a section of wire to begin with. This can be a few rolls or a manageable length.
- Attach a tensioning tool, such as a fence tensioner, come-along, or chain strainer, to the wire at the desired starting point. Follow the manufacturer’s instructions for the specific tool you are using.
- Use the tensioning tool to pull the wire in the opposite direction of the desired tension. This creates tension and allows for adjustment as needed.
- Continue using the tensioning tool to pull the wire until it reaches the desired level of tension. This can be determined by the specific requirements of your fence or the recommended tension specified by the manufacturer.
- Secure the wire to maintain the tension. This can be done by attaching it to the fence posts using additional staples or clips.
- Repeat this process for each section of the fence line until the entire wire fence is adequately stretched.
It’s important to take your time and be careful when stretching the wire fence to avoid damaging the wire or the fence posts. Ensure that the tension is evenly distributed along the entire length of the fence line.
If you encounter any obstacles or difficulties during the stretching process, such as excessive tension or unevenness, it’s recommended to consult with a professional or experienced individual for guidance.
Once the wire fence has been properly stretched and secured, you can move on to the final step: securing the ends of the wire.
Securing the Ends of the Wire
Securing the ends of the wire is an important step in completing the installation of a wire fence. This ensures that the wire remains in place and provides a finished look to the fence line. Properly securing the ends will prevent the wire from unraveling or coming loose over time.
Here’s how to secure the ends of the wire:
- Starting at one end of the fence line, cut the wire leaving a tail that is long enough to wrap around the last fence post.
- Take the tail of the wire and wrap it tightly around the last fence post. This can be done by hand or with the use of pliers or wire twisting tools.
- Secure the wrapped wire to the fence post using fencing staples or clips. Make sure it is firmly attached and will not come loose.
- If desired, you can also use wire twists or hog rings to secure the end of the wire to the fence post for added reinforcement.
- Repeat this process for the other end of the fence line, ensuring that the wire is securely wrapped and fastened to the last fence post.
Securing the ends of the wire not only keeps the fence intact but also provides a neat and professional finish to the installation. It is important to check the ends periodically and make any necessary adjustments or repairs as needed to maintain the integrity of the fence over time.
Now that you have secured the ends of the wire, your wire fence installation is complete. However, it’s important to note that proper maintenance and regular inspections are necessary to keep the fence in good condition.
Let’s explore some tips for maintaining and repairing the wire fence in the next section.
Maintaining and Repairing the Wire Fence
Proper maintenance and regular inspections are essential for the longevity and effectiveness of a wire fence. By taking proactive steps to maintain and repair the fence, you can ensure its continued functionality and prevent potential issues from worsening over time.
Here are some tips for maintaining and repairing a wire fence:
- Regularly inspect the fence: Schedule regular inspections to check for any signs of damage or wear. Look for loose wires, broken or damaged posts, and sagging sections. Address any issues promptly to prevent further damage.
- Clear vegetation: Keep the area around the fence clear of vegetation, such as grass, weeds, or vines. These can grow into the fence and weaken its structure or interfere with its functionality.
- Trim nearby trees and branches: Trim any overhanging branches or nearby trees that may come into contact with the fence. Falling branches or rubbing against the wire can cause damage and compromise its integrity.
- Repair damaged sections: If you find any loose or broken wires, reattach or replace them as needed. Repair any damaged posts, ensuring they are securely anchored in the ground. Use fencing staples or clips to secure loose wires to the posts.
- Adjust tension as needed: Over time, the tension of the wire fence may need to be adjusted. Use tensioning tools to tighten or loosen the wire as necessary to maintain proper tension and prevent sagging.
- Protect against corrosion: If your wire fence is made of metal, consider applying a protective coating or paint to prevent corrosion and extend its lifespan. Regularly inspect for signs of rust and address it promptly.
- Keep animals away from the fence: If you have livestock or animals near the fence, ensure they are trained to stay away from it. Constant contact or rubbing against the fence can weaken its structure or create potential escape routes.
- Monitor for pest damage: Be aware of any signs of pest damage, such as burrows or chewing on the wire. Take appropriate measures to address pest issues promptly, as they can weaken the fence and compromise its functionality.
By following these maintenance tips and promptly addressing any repairs or issues, you can extend the lifespan of your wire fence and maintain its effectiveness over time.
Remember to consult with professionals or seek advice if you encounter any major damage or complex repair needs. Their expertise can help ensure proper maintenance and repair techniques for your specific wire fence.
With regular maintenance and proper care, your wire fence can continue to serve its intended purpose effectively for years to come.
Read more: How To Stretch A Carpet
Conclusion
Installing and stretching a wire fence may seem like a daunting task, but with the right knowledge and tools, it can be a manageable project. By following the steps outlined in this article, you can successfully install a wire fence that provides security, containment, and boundary definition for your property.
From choosing the right wire fence and gathering the necessary tools and materials to preparing the area, setting the posts, attaching the wire, stretching the fence, and securing the ends, each step is crucial to the overall success and durability of the fence.
Remember to take your time, follow safety precautions, and seek professional assistance if needed. Proper maintenance and regular inspections are also important in ensuring the longevity and functionality of the wire fence. By keeping an eye on the fence, addressing any issues promptly, and performing routine maintenance, you can enjoy the benefits of a well-maintained and secure wire fence for years to come.
Whether you are protecting your garden, containing livestock, or creating a boundary around your property, a properly installed and stretched wire fence can provide the peace of mind and functionality you need.
So, roll up your sleeves, gather the tools, and get ready to take on the project of stretching a wire fence. With careful planning and execution, you can create a durable and reliable fence that not only serves its purpose but also enhances the overall aesthetic of your property.
Frequently Asked Questions about How To Stretch Wire Fence
Was this page helpful?
At Storables.com, we guarantee accurate and reliable information. Our content, validated by Expert Board Contributors, is crafted following stringent Editorial Policies. We're committed to providing you with well-researched, expert-backed insights for all your informational needs.


0 thoughts on “How To Stretch Wire Fence”