Home>Articles>How To Sync Liftmaster Garage Door Opener To Car

Articles
How To Sync Liftmaster Garage Door Opener To Car
Modified: December 7, 2023
Learn how to sync your Liftmaster garage door opener to your car with these helpful articles. Step-by-step instructions and troubleshooting tips to ensure a smooth process.
(Many of the links in this article redirect to a specific reviewed product. Your purchase of these products through affiliate links helps to generate commission for Storables.com, at no extra cost. Learn more)
Introduction
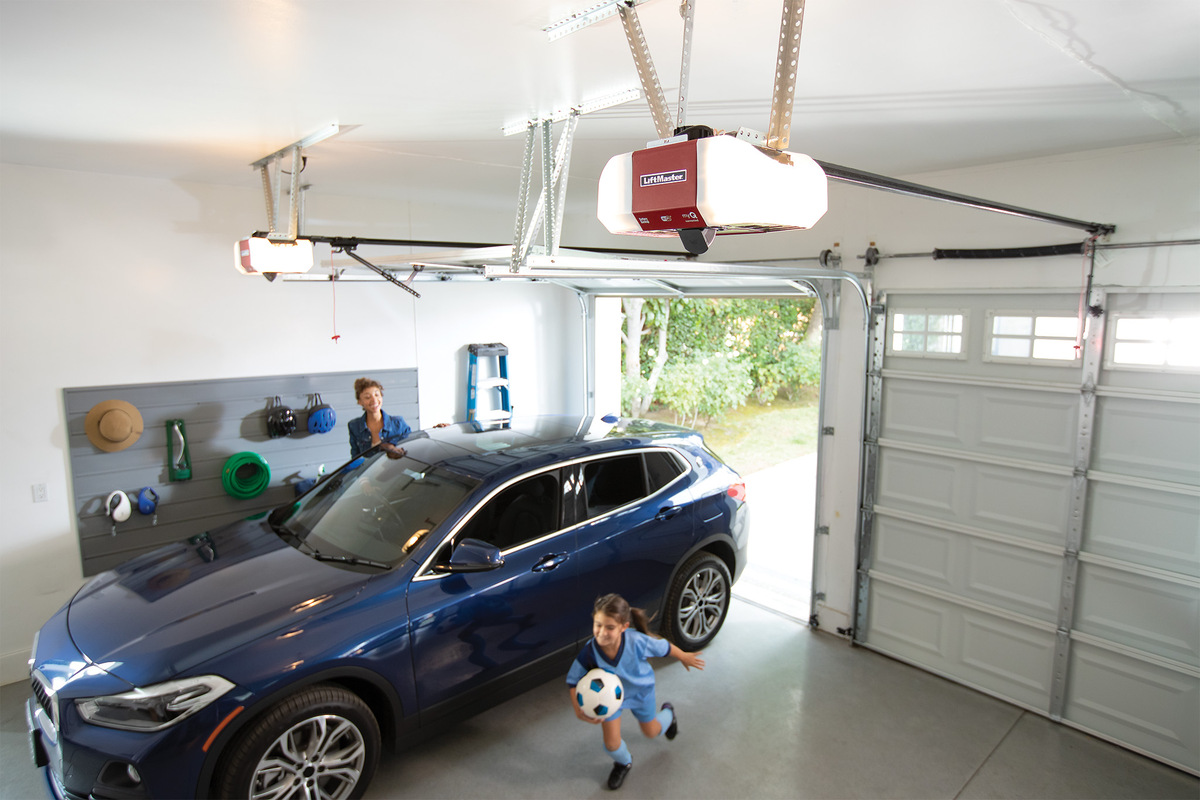
Having a garage door opener that can sync to your car is a convenient feature that allows you to easily open and close your garage door without the need for a separate remote control. If you own a Liftmaster garage door opener and want to sync it to your car, you’ve come to the right place.
In this article, we will guide you through the step-by-step process of syncing your Liftmaster garage door opener to your car’s remote system. By following these simple instructions, you’ll be able to enjoy the convenience of opening and closing your garage door with just the touch of a button.
Before we dive into the steps, it’s important to note that the process of syncing a Liftmaster garage door opener to a car may vary depending on the model and year of your vehicle. It’s recommended to consult your vehicle’s owner’s manual or contact the manufacturer for specific instructions tailored to your car’s remote system.
Now, let’s get started and learn how to sync your Liftmaster garage door opener to your car!
Key Takeaways:
- Easily sync your Liftmaster garage door opener to your car’s remote system by following simple step-by-step instructions. Enjoy the convenience of opening and closing your garage door with just the touch of a button from your car.
- Gather the necessary materials and access the programming mode on your car’s remote system to successfully sync your Liftmaster garage door opener. Test the synchronization to ensure smooth functionality and enjoy added convenience and security.
Read more: How To Connect Garage Door Opener Liftmaster
Step 1: Gather the necessary materials
Before you begin the synchronization process, it’s important to gather all the necessary materials. Here’s what you’ll need:
- Liftmaster garage door opener
- Car with a remote system
- Owner’s manual for your Liftmaster garage door opener
- Owner’s manual for your car
- Pen and paper (optional)
Make sure you have these items readily available before proceeding to the next step. Having the owner’s manuals for both your garage door opener and your car will provide valuable information and troubleshooting steps if any issues arise during the synchronization process.
If you’re unable to locate the owner’s manuals, don’t worry! You can often find them online by searching for the make and model of your Liftmaster garage door opener and your car’s make and model followed by “owner’s manual.”
Once you have gathered all the necessary materials, you’re ready to move on to the next step: locating the “learn” button on your Liftmaster garage door opener.
Step 2: Locate the “learn” button on your Liftmaster garage door opener
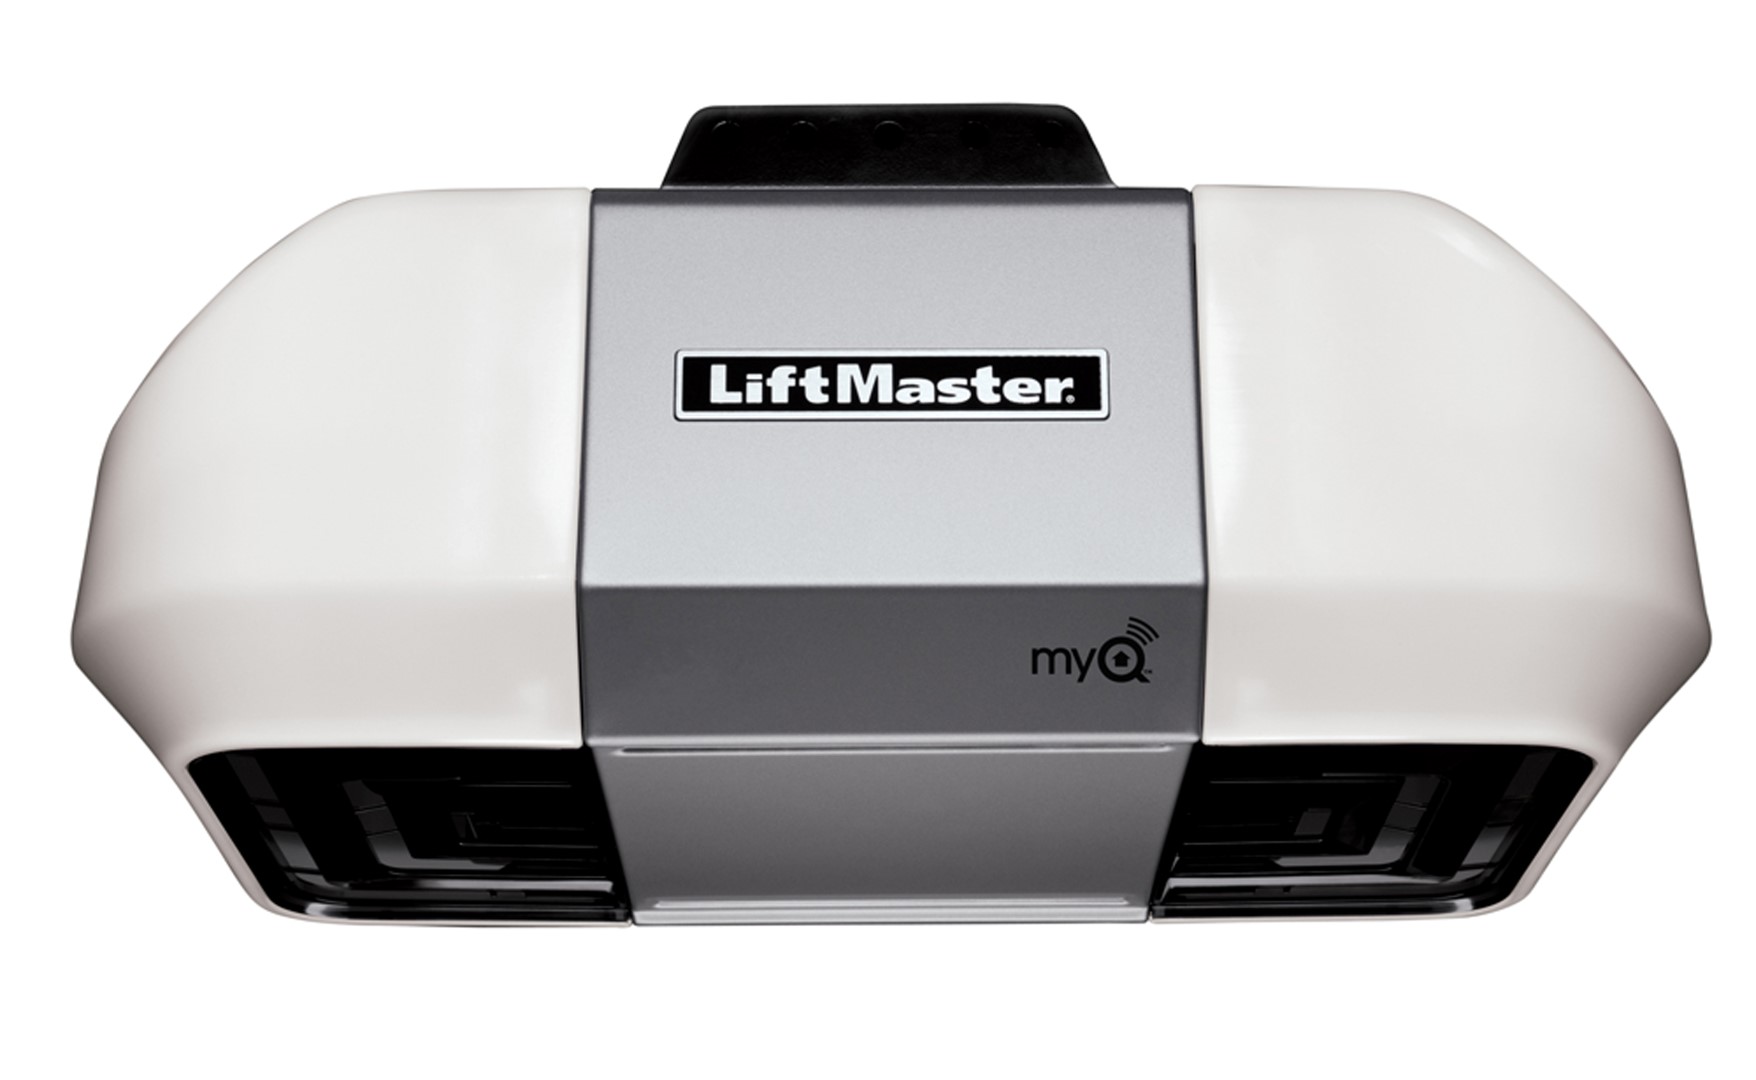
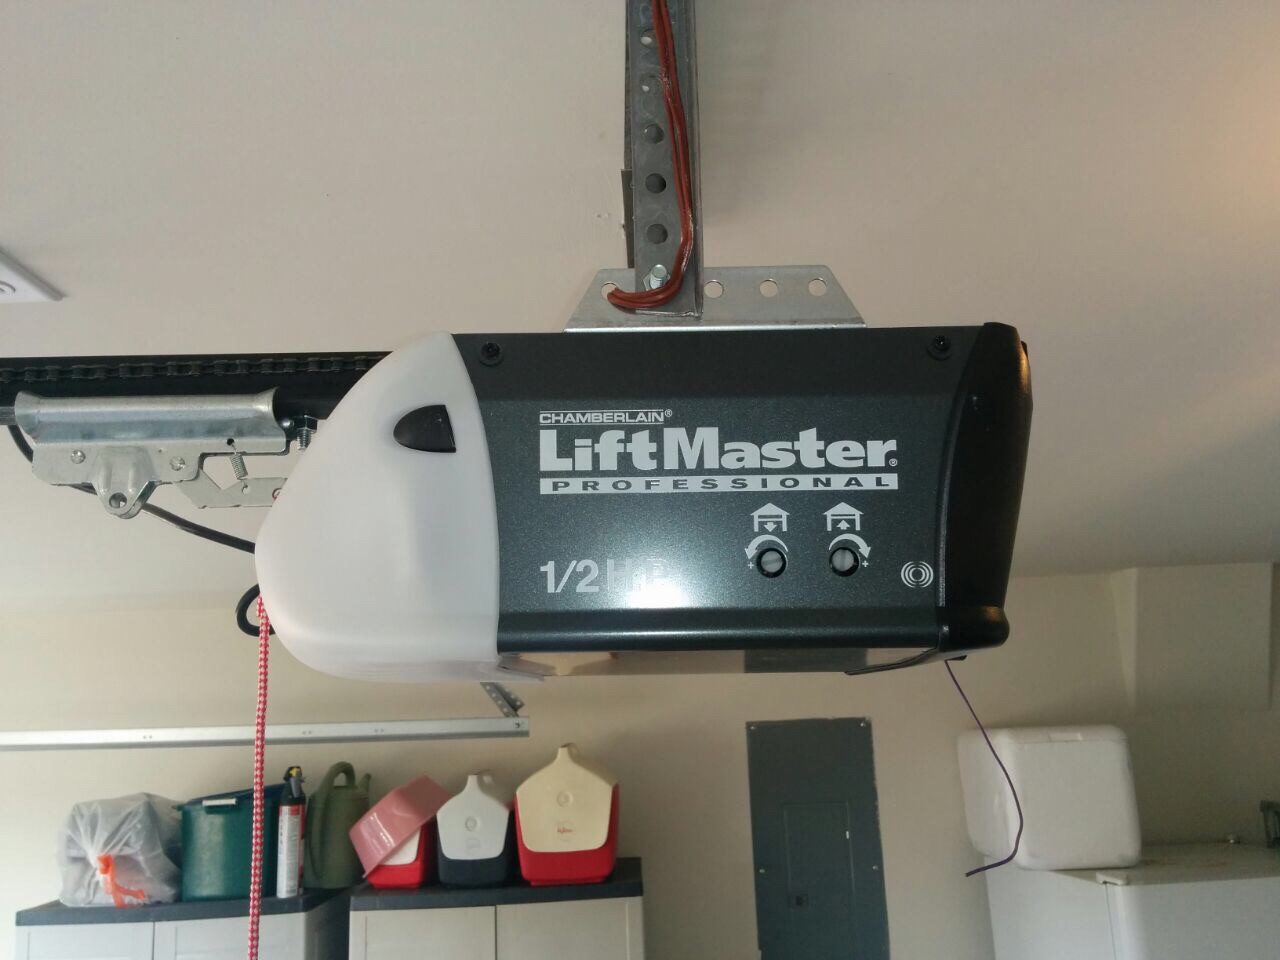
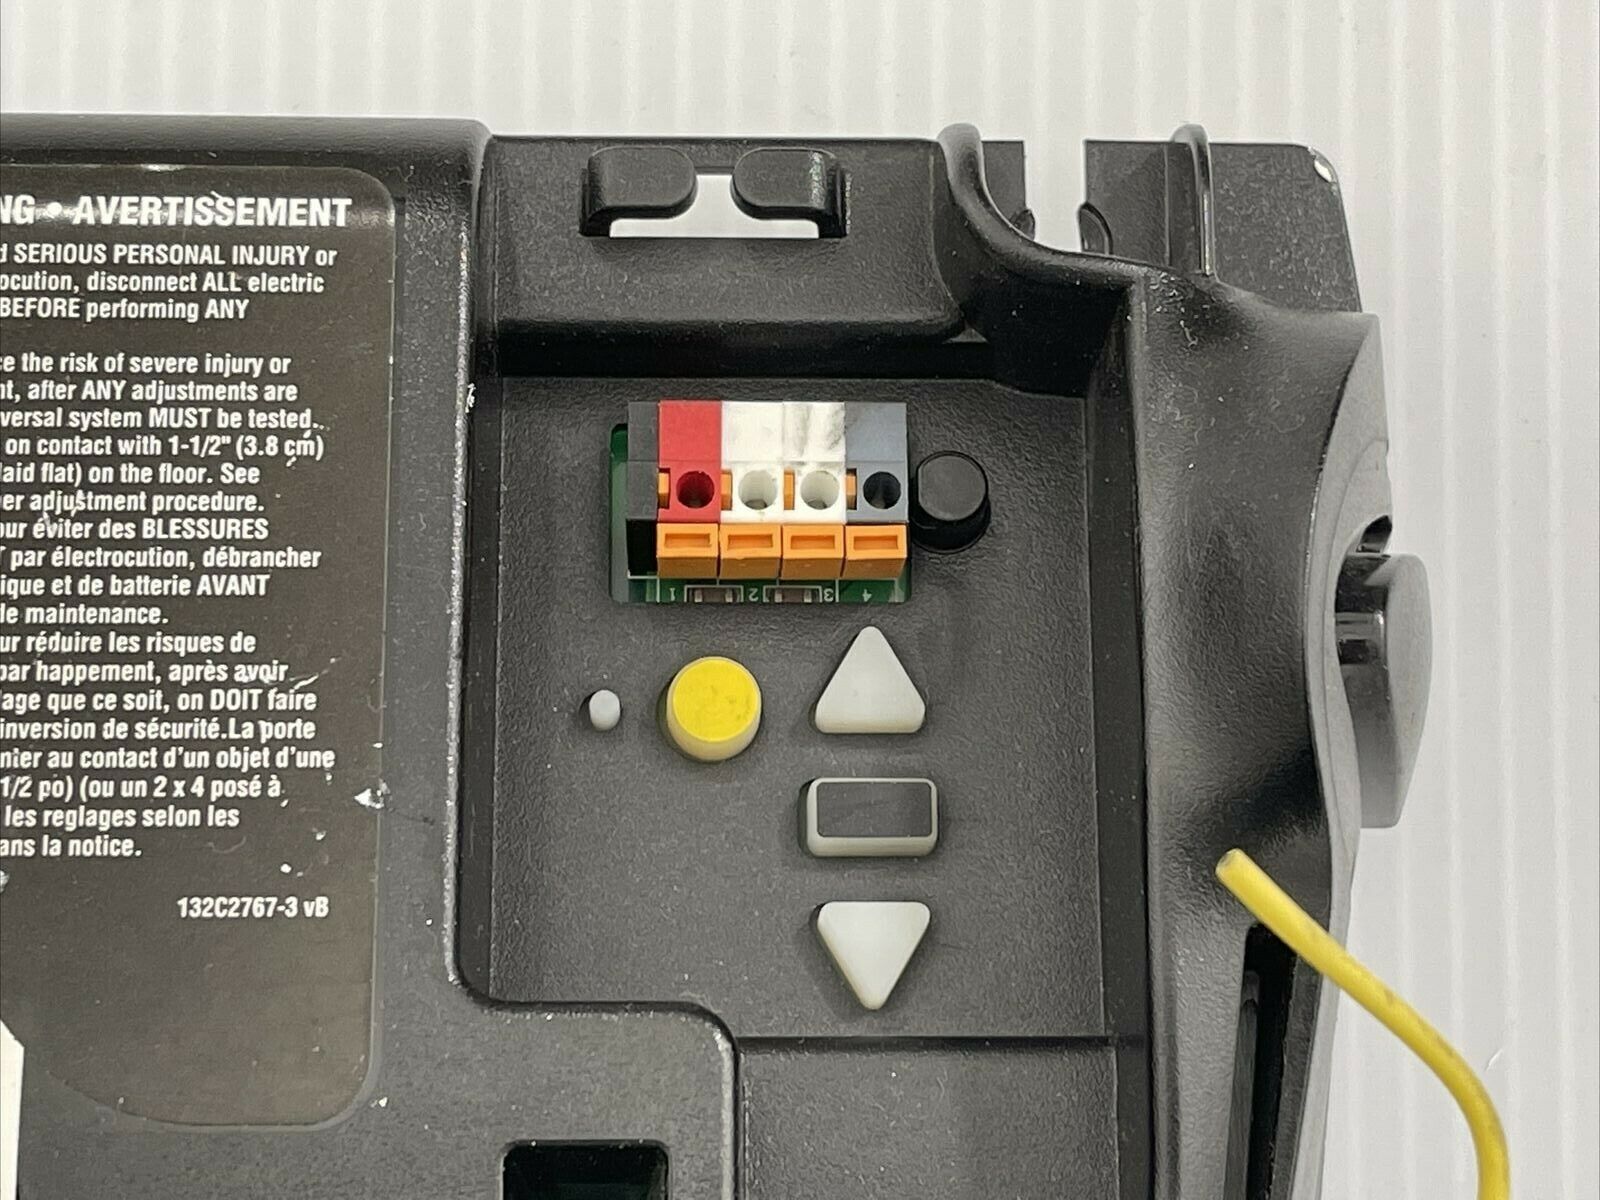
In order to sync your Liftmaster garage door opener to your car’s remote system, you’ll need to locate the “learn” button on your opener. This button is responsible for programming and syncing the opener with different devices.
The “learn” button is typically located on the back or side panel of your Liftmaster garage door opener. It may be labeled as “learn” or indicated by an icon that resembles a lock or a remote control.
Take a moment to check the exterior of your garage door opener for the “learn” button. If you’re having trouble finding it, consult your opener’s owner’s manual, as it will point you in the right direction.
Once you have located the “learn” button, you’re ready to move on to the next step: accessing the programming mode on your car’s remote system.
Step 3: Access the programming mode on your car’s remote system
Now that you have located the “learn” button on your Liftmaster garage door opener, it’s time to access the programming mode on your car’s remote system. This will allow you to sync the opener with your car.
The process of accessing the programming mode may vary depending on the make and model of your car. Consult your car’s owner’s manual for specific instructions tailored to your vehicle. In general, here are the steps:
- Enter your car and sit in the driver’s seat.
- Close all doors and ensure they are securely locked.
- Insert your car key into the ignition and turn it to the “on” position without starting the engine.
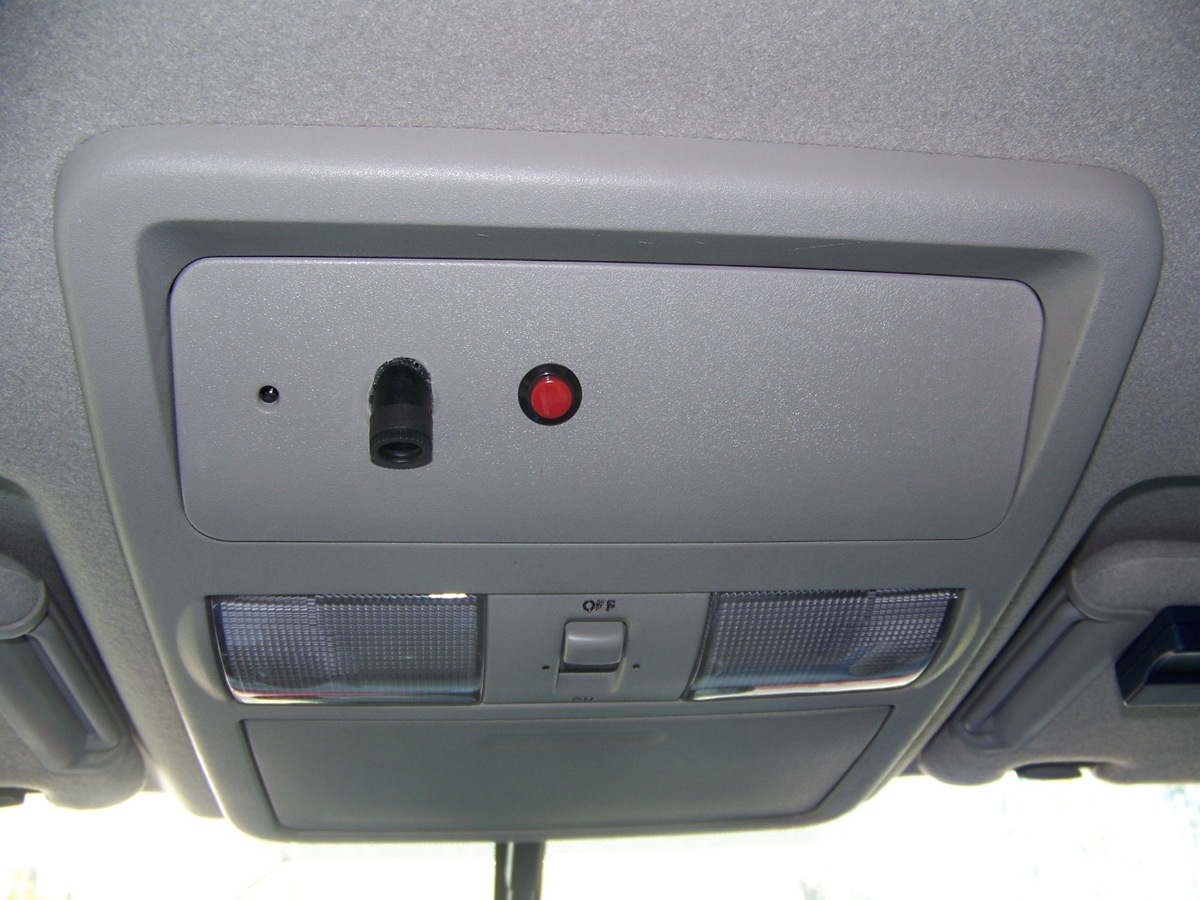
- Locate the buttons for your car’s remote system. They are usually located on the center console, under the rearview mirror, or on the driver’s side door panel.
- Press and hold the desired button on your car’s remote system. This is the button that you want to program to open and close your Liftmaster garage door.
- While holding the button, proceed to the next step.
Now that you have accessed the programming mode on your car’s remote system, let’s move on to the next step: pressing and holding the “learn” button on the garage door opener.
Make sure your car is within range of the garage door opener. Press and hold the button you want to program in the car, then press and release the “learn” button on the opener. The car should then be synced to the opener.
Step 4: Press and hold the “learn” button on the garage door opener
With your car in programming mode and the desired button on your car’s remote system held down, it’s time to proceed with pressing and holding the “learn” button on your Liftmaster garage door opener.
Here’s how to do it:
- Stand near your garage door opener and locate the “learn” button.
- Press and hold the “learn” button for a few seconds. You should notice an indicator light or an audible beep that confirms the opener is in programming mode.
- Continue holding the “learn” button until the indicator light changes or the opener emits a second beep.
- Release the “learn” button.
By pressing and holding the “learn” button, you are preparing the garage door opener to receive the programming signal from your car’s remote system. This step is crucial in order to establish a proper sync between the two devices.
Once you have pressed and held the “learn” button, it’s time to move on to the next step: pressing and holding the desired button on your car’s remote system.
Read more: How Much Are Liftmaster Garage Door Openers
Step 5: Press and hold the desired button on your car’s remote system
Now that you have pressed and held the “learn” button on your Liftmaster garage door opener, it’s time to proceed with pressing and holding the desired button on your car’s remote system.
Follow these steps to complete the synchronization:
- While still in programming mode, press and hold the desired button on your car’s remote system. This is the button that you want to sync with your Liftmaster garage door opener.
- Continue holding the button down while moving to the next step.
When you press and hold the desired button on your car’s remote system, you are sending a programming signal to the Liftmaster garage door opener. This signal establishes the link between the opener and the remote, enabling them to communicate and function together.
Now that you have successfully pressed and held the desired button on your car’s remote system, let’s move on to the final step: testing the synchronization between the opener and the car’s remote system.
Step 6: Test the synchronization between the opener and the car’s remote system
After completing the previous steps, it’s time to test the synchronization between your Liftmaster garage door opener and your car’s remote system. This will ensure that the two devices are properly connected and functioning as intended.
Here’s how to test the synchronization:
- Stand within range of your garage door opener, around the area where you typically park your car.
- Press the button you programmed on your car’s remote system that corresponds to the Liftmaster garage door opener.
- Observe the response of the garage door opener. It should open or close smoothly and without any hesitation.
If the garage door opener responds as expected, congratulations! The synchronization was successful, and you can now enjoy the convenience of opening and closing your garage door using your car’s remote system.
However, if the garage door opener does not respond or exhibits any issues, try repeating the synchronization process from the beginning. Ensure that you follow each step carefully and hold down the buttons for the specified duration.
If you continue to experience difficulty with the synchronization, consult the owner’s manual for your Liftmaster garage door opener or contact Liftmaster customer support for assistance. They will be able to provide further guidance and troubleshooting.
Once you have confirmed the synchronization between your Liftmaster garage door opener and your car’s remote system, you have successfully completed the process!
Conclusion
Congratulations on successfully syncing your Liftmaster garage door opener to your car’s remote system! By following the steps outlined in this article, you have gained the convenience and ease of controlling your garage door with just the touch of a button from your car.
Remember, the synchronization process may vary depending on the make and model of your Liftmaster garage door opener and your car. Always consult the owner’s manuals for specific instructions tailored to your devices.
If you encounter any difficulties during the synchronization process, don’t hesitate to refer back to this article or reach out to Liftmaster customer support for assistance. They are there to help troubleshoot any issues you may face.
Now that you have successfully synced your Liftmaster garage door opener to your car, you can enjoy the added convenience and security of effortlessly opening and closing your garage door. No more fumbling for separate remotes or manually operating the door!
Make sure to regularly test the synchronization to ensure its functionality. If at any point you need to reprogram or sync your opener with a different car or remote system, simply follow the steps outlined in this article.
Thank you for taking the time to read this guide. We hope it has been helpful in assisting you with syncing your Liftmaster garage door opener to your car’s remote system. Enjoy the convenience and ease that this synchronization brings to your daily life!
Frequently Asked Questions about How To Sync Liftmaster Garage Door Opener To Car
Was this page helpful?
At Storables.com, we guarantee accurate and reliable information. Our content, validated by Expert Board Contributors, is crafted following stringent Editorial Policies. We're committed to providing you with well-researched, expert-backed insights for all your informational needs.

0 thoughts on “How To Sync Liftmaster Garage Door Opener To Car”