Home>Articles>How To Turn A Black Electrical Cord Into White
Articles
How To Turn A Black Electrical Cord Into White
Modified: October 19, 2024
Learn how to transform a black electrical cord into a sleek white one with our step-by-step guide. Read our informative articles on DIY cord modification.
(Many of the links in this article redirect to a specific reviewed product. Your purchase of these products through affiliate links helps to generate commission for Storables.com, at no extra cost. Learn more)
Introduction
When it comes to home decor and design, even the smallest details can make a big difference. If you’ve ever embarked on a home improvement project, you know how important it is for all the elements to come together seamlessly. So, what do you do when you have a black electrical cord that stands out like a sore thumb against your pristine white walls? Fear not, because there’s a solution – you can transform that black electrical cord into a sleek white one that blends seamlessly with your decor.
While you might think that replacing the entire electrical cord is the only option, that’s not the case. In fact, with a little bit of time and effort, you can easily turn that black eyesore into an aesthetic asset. In this article, we will guide you through the process of making a black electrical cord white, providing you with the knowledge and steps necessary for a successful transformation.
Before we dive into the details, let’s take a moment to appreciate the beauty of a well-coordinated space. When everything matches and flows together harmoniously, it creates a sense of balance and unity. That’s why it’s so important to pay attention to the little things, like electrical cords, that can throw off the entire aesthetic. By tackling this simple DIY project, you’ll be able to elevate the overall look and feel of your space, while also showcasing your creativity and attention to detail.
Now that we understand the importance of a cohesive home decor, it’s time to gather the necessary materials and get started on transforming that black electrical cord into a stylish white one.
Key Takeaways:
- Transforming a black electrical cord into a sleek white one is a simple DIY project that can elevate the overall aesthetic of your space, showcasing your creativity and attention to detail.
- By following the step-by-step guide and adding final touches, you can seamlessly integrate the white electrical cord into your decor, creating a polished and cohesive look while prioritizing safety throughout the process.
Read also: 10 Best Black Electrical Cord for 2025
Step 1: Gather Materials
Before you embark on your journey to make a black electrical cord white, it’s important to gather all the necessary materials. Having everything you need on hand will make the process smoother and more efficient. Here’s a list of items you’ll need:
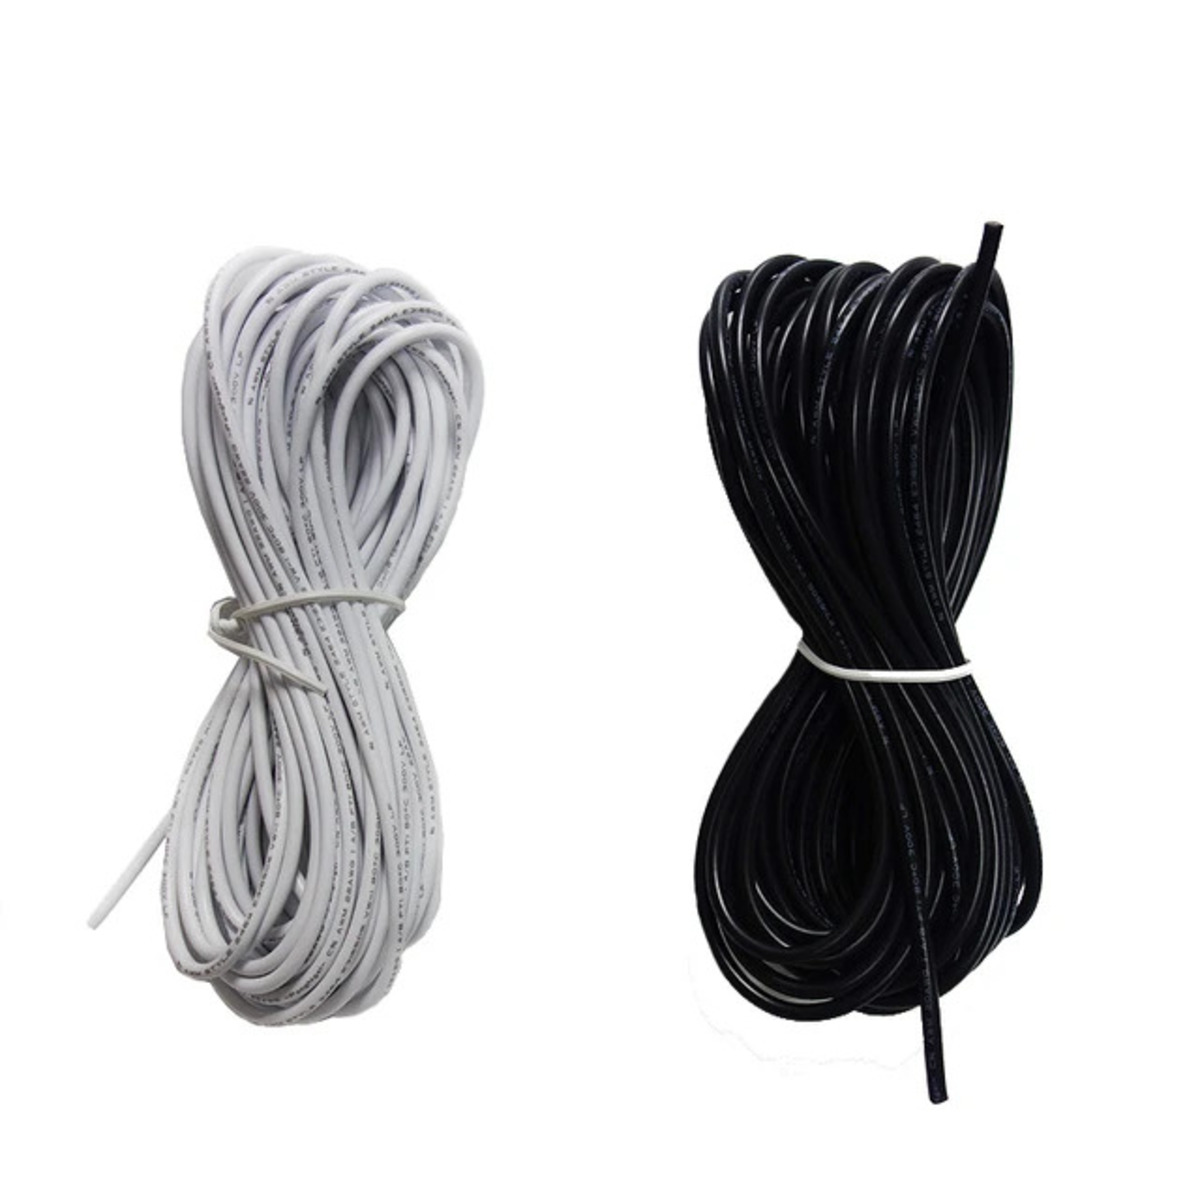
- Black electrical cord
- Sandpaper
- Primer
- White paint
- Paintbrush
- Clear coat spray
- Painter’s tape
- Drop cloth or newspaper
Make sure to choose a white paint that is suitable for your specific needs. It’s recommended to use a paint specifically formulated for use on electrical cords, as it will provide better durability and adhesion. You can find these paints at your local hardware store or online.
Once you have gathered all the necessary materials, you are ready to move on to the next step – prep work.
Step 2: Prep Work
Before you begin the process of making a black electrical cord white, it’s essential to properly prepare the cord for painting. This step is crucial to ensure the paint adheres correctly and provides a smooth finish. Follow these steps to prepare the cord:
- Unplug the electrical cord from any power source to ensure your safety.
- Inspect the cord for any damages or frayed areas. If you notice any issues, it’s best to replace the cord instead of attempting to paint over it.
- Use sandpaper to lightly roughen the surface of the cord. This will help the primer and paint adhere better and prevent peeling or chipping in the future. Be gentle while sanding to avoid damaging the cord.
- Wipe down the cord with a clean, damp cloth to remove any dust or debris resulting from sanding. Allow the cord to dry completely before moving on to the next step.
Prepping the cord is an essential part of the process as it ensures a strong foundation for the paint to adhere to. Taking the time to properly prepare the cord will help you achieve a professional-looking finish.
Once you have completed the prep work, it’s time to move on to applying the primer, which will further enhance the adhesion and durability of the paint.
Step 3: Apply Primer
After prepping the black electrical cord, the next step in transforming it into a white one is applying primer. Primer plays a vital role in creating a smooth and even surface for the paint to adhere to. Here’s how to apply primer to the cord:
- Ensure the cord is clean and dry before beginning the priming process.
- Place a drop cloth or newspaper on your work surface to protect it from any primer spills or drips.
- Wrap painter’s tape around any areas of the cord that you want to keep black, such as the plug or other connectors.
- Shake the primer can well to ensure an even consistency of the product.
- Hold the can approximately 6-8 inches away from the cord and apply a thin, even coat of primer. Be sure to cover the entire surface of the cord, working in smooth, sweeping motions.
- Allow the primer to dry according to the manufacturer’s instructions.
- Inspect the primed cord for any unevenness or areas that may require a second coat. If necessary, apply an additional coat of primer and let it dry completely.
Applying primer creates a smooth foundation for the white paint and helps it adhere better to the cord. Be patient and allow the primer to dry fully before moving on to the next step. This will ensure the best results and a professional-looking finish.
Once the primer is dry, it’s time to move on to the exciting part – applying the white paint!
Step 4: Apply White Paint
Now that the black electrical cord has been prepped and primed, it’s time to apply the white paint. This is the step that will truly transform the cord and make it seamlessly blend with your decor. Here’s how to apply white paint to the cord:
- Ensure the primed cord is clean and free of any debris or dust before starting.
- Place the cord on a drop cloth or newspaper in a well-ventilated area to avoid inhaling paint fumes.
- Stir the white paint thoroughly to ensure an even consistency.
- Using a paintbrush, apply a thin and even coat of white paint to the entire cord. Be careful not to apply too much paint at once, as it can lead to drips or an uneven finish.
- Allow the first coat of paint to dry completely according to the paint manufacturer’s instructions. This usually takes a few hours.
- Inspect the painted cord for any areas that may require additional coats. If needed, apply a second or even third coat of white paint, allowing each coat to dry fully before applying the next.
Be patient and take your time during the painting process. Applying multiple thin coats will ensure a smooth and professional-looking finish. Remember to follow the paint manufacturer’s instructions regarding drying times and recommended number of coats.
Once the white paint has dried and you’re satisfied with the coverage and finish, it’s time to move on to the next step – applying a clear coat for added protection and durability.
You can use a white electrical cord cover or paint the cord with white electrical paint to make it white. Be sure to follow safety guidelines and ensure the paint is suitable for electrical use.
Read also: 8 Amazing White Electrical Cord for 2025
Step 5: Let It Dry
After applying the white paint to the black electrical cord, it’s essential to allow it to dry completely before moving on to the next steps. Allowing sufficient drying time ensures that the paint sets properly and prevents any smudging or damage. Here’s how to properly let the paint dry:
- Find a clean and well-ventilated area where you can place the painted cord.
- Avoid touching or moving the cord while it is drying to prevent any smudges or imperfections.
- Follow the paint manufacturer’s instructions for drying time. Typically, it takes several hours for the paint to dry completely, but it’s best to give it at least 24 hours to be safe.
- Avoid exposing the painted cord to excessive heat or moisture during the drying process, as it can affect the paint’s adhesion and finish.
- Keep in mind that drying times may vary based on humidity levels and the type of paint used. If in doubt, err on the side of caution and allow for more drying time.
Patience is key during this step. Rushing the drying process may result in a compromised finish. Take this time to plan the next steps and consider any final touches you’d like to add to your white electrical cord.
Once the paint has completely dried, you’re ready to move on to the next step – applying a clear coat for added protection and durability.
Step 6: Apply Clear Coat
Applying a clear coat to the white-painted electrical cord is a crucial step in protecting the paint and ensuring its longevity. The clear coat provides an additional layer of durability and helps to prevent any scratches or chipping. Here’s how to apply a clear coat to your painted cord:
- Make sure the white paint is completely dry before proceeding with the clear coat application. If necessary, refer to the paint manufacturer’s instructions for the recommended drying time.
- Set up your painted cord in a well-ventilated area, away from any dust or debris that could potentially adhere to the clear coat.
- Ensure the clear coat spray can is well-mixed by shaking it vigorously.
- Hold the can approximately 6-8 inches away from the cord and apply a thin, even layer of clear coat. Use smooth, sweeping motions to cover the entire surface of the cord.
- Allow the first coat of clear coat to dry according to the manufacturer’s instructions. This usually takes about an hour.
- Inspect the cord for any areas that may require additional coats of the clear coat. If necessary, apply a second or even third coat, making sure to allow each coat to dry fully before applying the next.
By applying a clear coat, you are adding an extra layer of protection and ensuring the longevity of your newly transformed white electrical cord. The clear coat will help preserve the paint and keep it looking fresh and vibrant for years to come.
Once the clear coat has dried completely, it’s time for the final touches on your white electrical cord.
Step 7: Final Touches
Now that you have successfully transformed your black electrical cord into a sleek white one, it’s time to add the final touches to ensure a polished and professional look. These final touches will help to seamlessly integrate the cord into your home decor. Here are a few options to consider:
- Remove any painter’s tape that was used to protect certain areas of the cord. Take care to peel off the tape slowly and gently to prevent any damage to the paint.
- Inspect the cord for any imperfections or areas that may need touch-ups. If you notice any uneven spots or chips, you can carefully touch them up with white paint using a small brush.
- Consider utilizing cable management solutions, such as cord clips or cable sleeves, to keep your white cord neatly organized and hidden from view. These accessories can help maintain a clean and minimalist look in your space.
- If desired, you can also add decorative elements to your white cord to further enhance its aesthetic appeal. For example, you can wrap it with twine or ribbon that matches your room’s decor, or attach decorative cord covers to add a touch of elegance.
- Test the cord in various outlets to ensure that it is functioning properly and safely. If you notice any issues, such as sparks or overheating, it’s important to contact a professional electrician to address the problem.
By paying attention to these final details, you can ensure that your white electrical cord seamlessly blends with your decor and functions safely. Taking the time to complete these final touches will enhance the overall aesthetic and satisfaction of your DIY project.
Congratulations! You have successfully transformed your black electrical cord into a stylish white one, allowing it to seamlessly integrate into your home decor. By following these steps and adding your own personal touches, you have created a cohesive and aesthetically pleasing space. Now, sit back, relax, and enjoy the transformed look of your electrical cords!
Keep in mind that safety should always be a priority when working with electrical components. If you have any concerns or doubts about working with electrical cords, it’s best to consult a professional electrician for assistance.
Conclusion
Transforming a black electrical cord into a white one may seem like a daunting task, but with the right materials and a little bit of effort, it can easily be accomplished. By following the step-by-step guide outlined in this article, you can successfully create a sleek and seamless look in your home by matching your electrical cords to your decor.
We started by gathering all the necessary materials, such as sandpaper, primer, white paint, and a clear coat spray. These materials, along with a few basic tools, allowed us to prep and transform the cord. We then walked through the process of prepping the cord, applying primer, applying white paint, and adding a clear coat for protection.
Each step plays a crucial role in achieving a professional-looking finish. Prepping the cord ensures good paint adhesion, while applying a primer creates a smooth surface. The white paint provides the desired color, and the clear coat adds durability and protection. Lastly, we discussed adding final touches, such as cable management solutions and decorative elements, to seamlessly integrate the cord into your decor.
Throughout this DIY project, it’s important to prioritize safety. Always unplug the cord before working on it, and if you encounter any electrical issues, consult a professional electrician for assistance.
By taking the time to transform your black electrical cord into a white one, you can elevate the overall aesthetic of your space. You’ll have cords that seamlessly blend with your walls, giving your home a polished and cohesive look. So, grab your materials, follow the steps outlined in this article, and enjoy the satisfaction of a job well done.
Remember, your creativity and attention to detail can make all the difference. So go ahead, customize your white cord to perfectly match your decor and showcase your unique sense of style. Embrace the power of small details and watch your space come alive with a new level of beauty and harmony!
Now that you've mastered transforming a black electrical cord into white, why not delve deeper into organizing your space? Our upcoming guide on cord management offers clever strategies and tools to keep all your electrical wires neat and tidy. Don't let tangled cords disrupt your home's aesthetics or safety. Check out our insightful article to learn more about efficient cord management solutions that can streamline your space and simplify your life.
Frequently Asked Questions about How To Turn A Black Electrical Cord Into White
Was this page helpful?
At Storables.com, we guarantee accurate and reliable information. Our content, validated by Expert Board Contributors, is crafted following stringent Editorial Policies. We're committed to providing you with well-researched, expert-backed insights for all your informational needs.


0 thoughts on “How To Turn A Black Electrical Cord Into White”