Articles
How To Wire A Switch Into An Electrical Cord
Modified: January 6, 2024
Learn how to wire a switch into an electrical cord with our informative articles. Get step-by-step instructions and ensure safety in any DIY project.
(Many of the links in this article redirect to a specific reviewed product. Your purchase of these products through affiliate links helps to generate commission for Storables.com, at no extra cost. Learn more)
Introduction
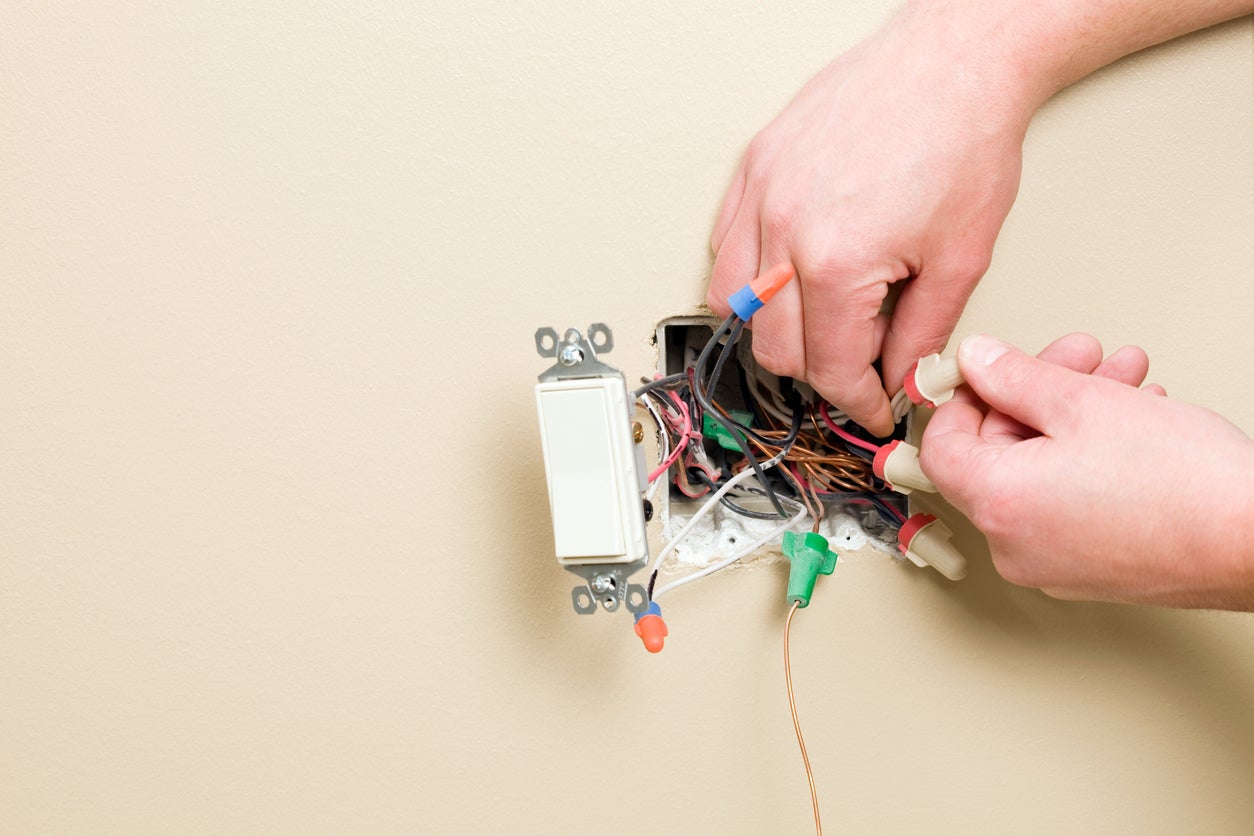
Wiring a switch into an electrical cord may seem like a daunting task, but with the right tools and a little know-how, it can be a straightforward process. Whether you need to add a switch to a lamp cord or any other electrical device, this article will guide you through the steps to get the job done.
Having a switch in an electrical cord provides convenience and safety. It allows you to easily turn on and off the connected device without having to unplug it from the socket. This is particularly useful for lamps, fans, and other appliances that are not equipped with built-in switches.
Before you begin, it’s crucial to observe safety precautions to reduce the risk of electrical shocks or accidents. Make sure to disconnect the device from the power source before working on it and wear protective gloves and goggles. It’s also important to work in a well-lit area and have a fire extinguisher nearby, just in case.
Now, let’s gather the necessary tools and materials for this project.
Key Takeaways:
- Adding a switch to an electrical cord is a manageable project with the right tools and precautions. Prioritize safety, identify switch terminals, and test the switch for reliable functionality.
- Insulate and secure wire connections with electrical tape, and reassemble the cord for a neat appearance. Regularly inspect for damage to ensure long-term safety and efficiency.
Read more: How To Wire Electrical Cord
Tools and Materials Needed
Before you can wire a switch into an electrical cord, you’ll need to gather a few essential tools and materials. Here’s what you’ll need:
- A pair of wire cutters
- A pair of wire strippers
- A utility knife
- A Phillips head screwdriver
- A power drill (optional, depending on the switch type)
- A replacement switch
- An electrical cord with exposed wires
- Electrical tape
- A lighter or a heat gun
- A marker or label maker (optional, for labeling the switch)
Wire cutters are necessary for cutting the electrical cord to the appropriate length, while wire strippers will help you remove the insulation from the wires. A utility knife can be used to cleanly cut the cord’s outer covering if necessary.
A Phillips head screwdriver is commonly needed to detach the cord’s housing and access the wires. However, depending on the switch type, you may also require a power drill to create holes for mounting the switch.
When selecting a replacement switch, ensure that it is suitable for the electrical load of the device you are wiring. Look for a switch that is compatible with the voltage and wattage of the device. It’s also important to choose a switch that matches the cord’s wire gauge.
The electrical cord with exposed wires is the main component of this project. Make sure the cord is unplugged from the power source and the wires are clear of any debris or obstructions.
Electrical tape will be used to insulate and secure the connections. A lighter or heat gun is needed to shrink the insulation of the electrical tape for a tight seal. Optionally, a marker or label maker can be used to label the switch, especially if you plan on wiring multiple switches.
Now that you have all the necessary tools and materials, you’re ready to start wiring the switch into the electrical cord. Let’s move on to the next step.
Step 1: Gather Safety Equipment
Prior to starting any electrical project, it’s essential to prioritize safety and gather the necessary safety equipment. This step will help protect you from potential hazards and minimize the risk of accidents or electrical shocks.
Here are the essential safety equipment you’ll need:
- Protective gloves: A pair of insulated gloves will shield your hands from electric shock and prevent direct contact with live wires or components.
- Safety goggles: Safety goggles or glasses are crucial for protecting your eyes from debris or sparks that may be generated during the wiring process.
- Flashlight or work light: A well-lit work area is essential to ensure you can clearly see what you’re doing. Using a flashlight or work light will provide sufficient illumination.
- Fire extinguisher: It’s always wise to have a fire extinguisher nearby, just in case of an emergency. Select a fire extinguisher suitable for electrical fires.
Once you have gathered these safety equipment, properly equip yourself with them before proceeding with the wiring process. It’s important to take every precaution necessary to ensure your safety throughout the project.
Remember, working with electrical components can be dangerous if not done with care. If you’re unsure about any aspect of the project or feel uncomfortable, it’s best to consult a professional electrician.
Now that you have your safety equipment ready, you can confidently move on to the next step—preparing the electrical cord for wiring the switch.
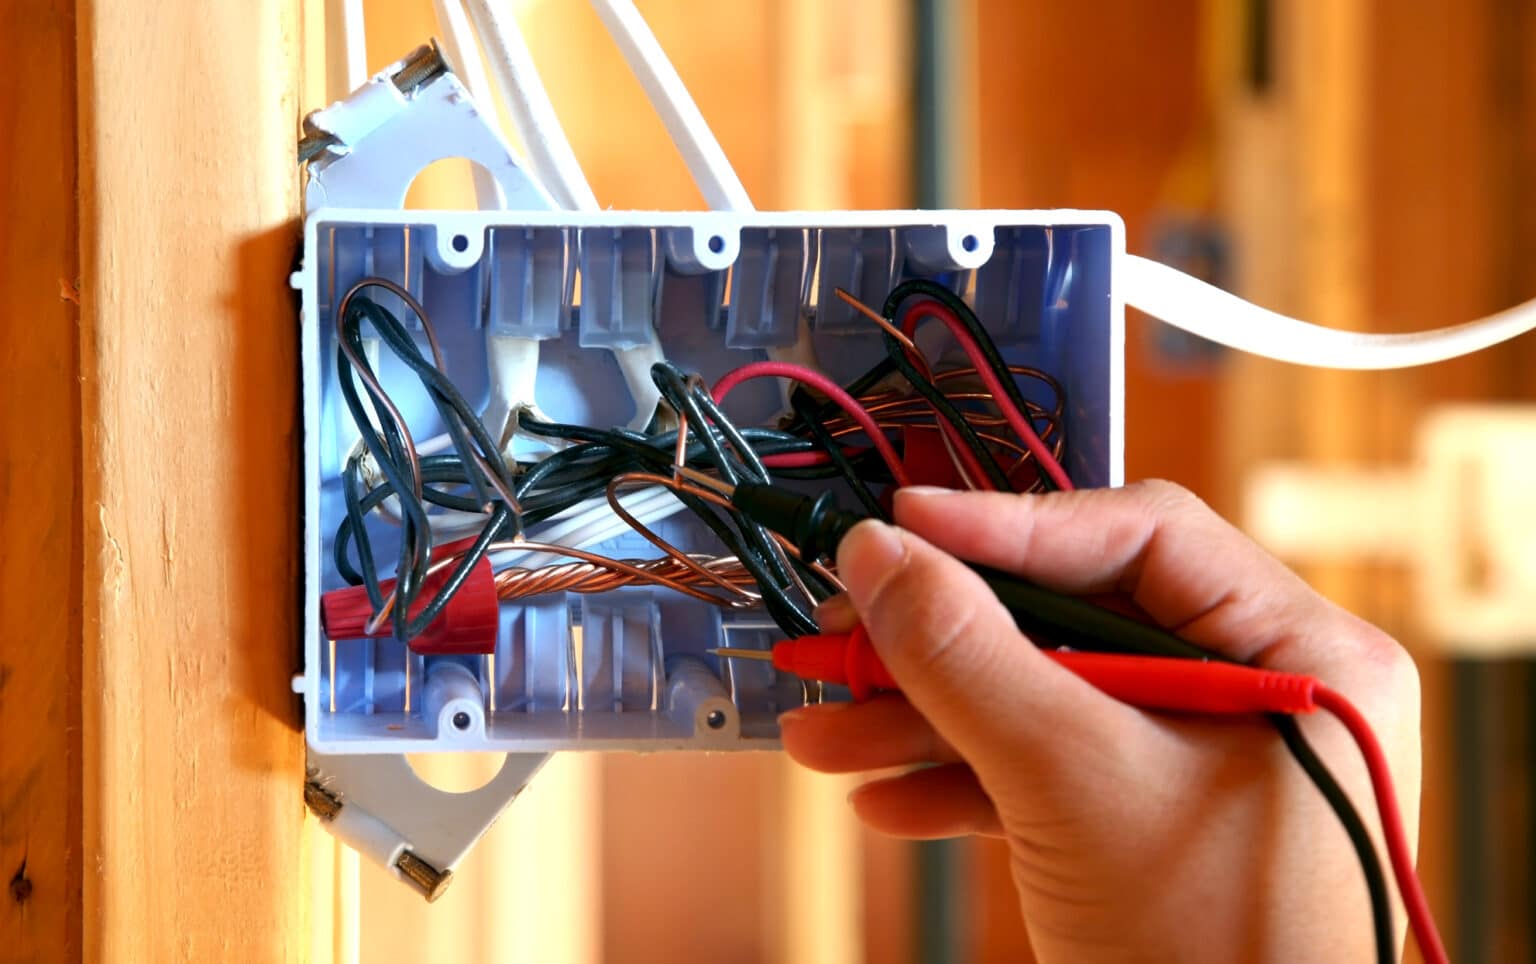
Step 2: Prepare the Electrical Cord
Before you start wiring the switch into the electrical cord, you need to prepare the cord for the installation. This involves several important steps to ensure that the cord is ready for the switch to be connected.
- Unplug the cord: Ensure that the cord is completely unplugged from the power source. This will minimize the risk of electrical shock while you work on it.
- Inspect the cord: Carefully examine the entire length of the cord for any signs of damage, such as frayed wires or cracks in the insulation. If you notice any damage, it is important to replace the cord entirely to avoid potential hazards.
- Choose the desired switch location: Determine where you want to place the switch along the cord. It is generally recommended to position the switch within easy reach of the device it controls.
- Measure and cut the cord: Using the wire cutters, measure and cut the cord to the desired length needed for the switch installation. Be precise in your measurements to ensure a proper fit.
- Strip the cord: Strip approximately 1 inch (2.5 cm) of the outer insulation from each end of the cut cord using the wire strippers. This will expose the inner wires for connection to the switch.
It is crucial to inspect the cord for any damage, as damaged cords can pose serious safety risks. If you find any defects, it is strongly recommended to replace the cord entirely before proceeding with the switch installation.
When determining the switch location, consider convenience and accessibility. Placing the switch within easy reach will allow for effortless operation of the device. However, ensure that the switch is positioned in a suitable location where it will not interfere with the normal use of the device.
Using the wire cutters, carefully measure and cut the cord to the desired length. Take into account the distance between the device and the power source to determine the appropriate cord length.
Once the cord is cut to the desired length, use the wire strippers to remove approximately 1 inch (2.5 cm) of the outer insulation from each end. This will expose the inner wires, allowing for a proper connection to the switch terminals.
Now that the electrical cord is properly prepared, you can move on to the next step: stripping the wires for the switch installation.
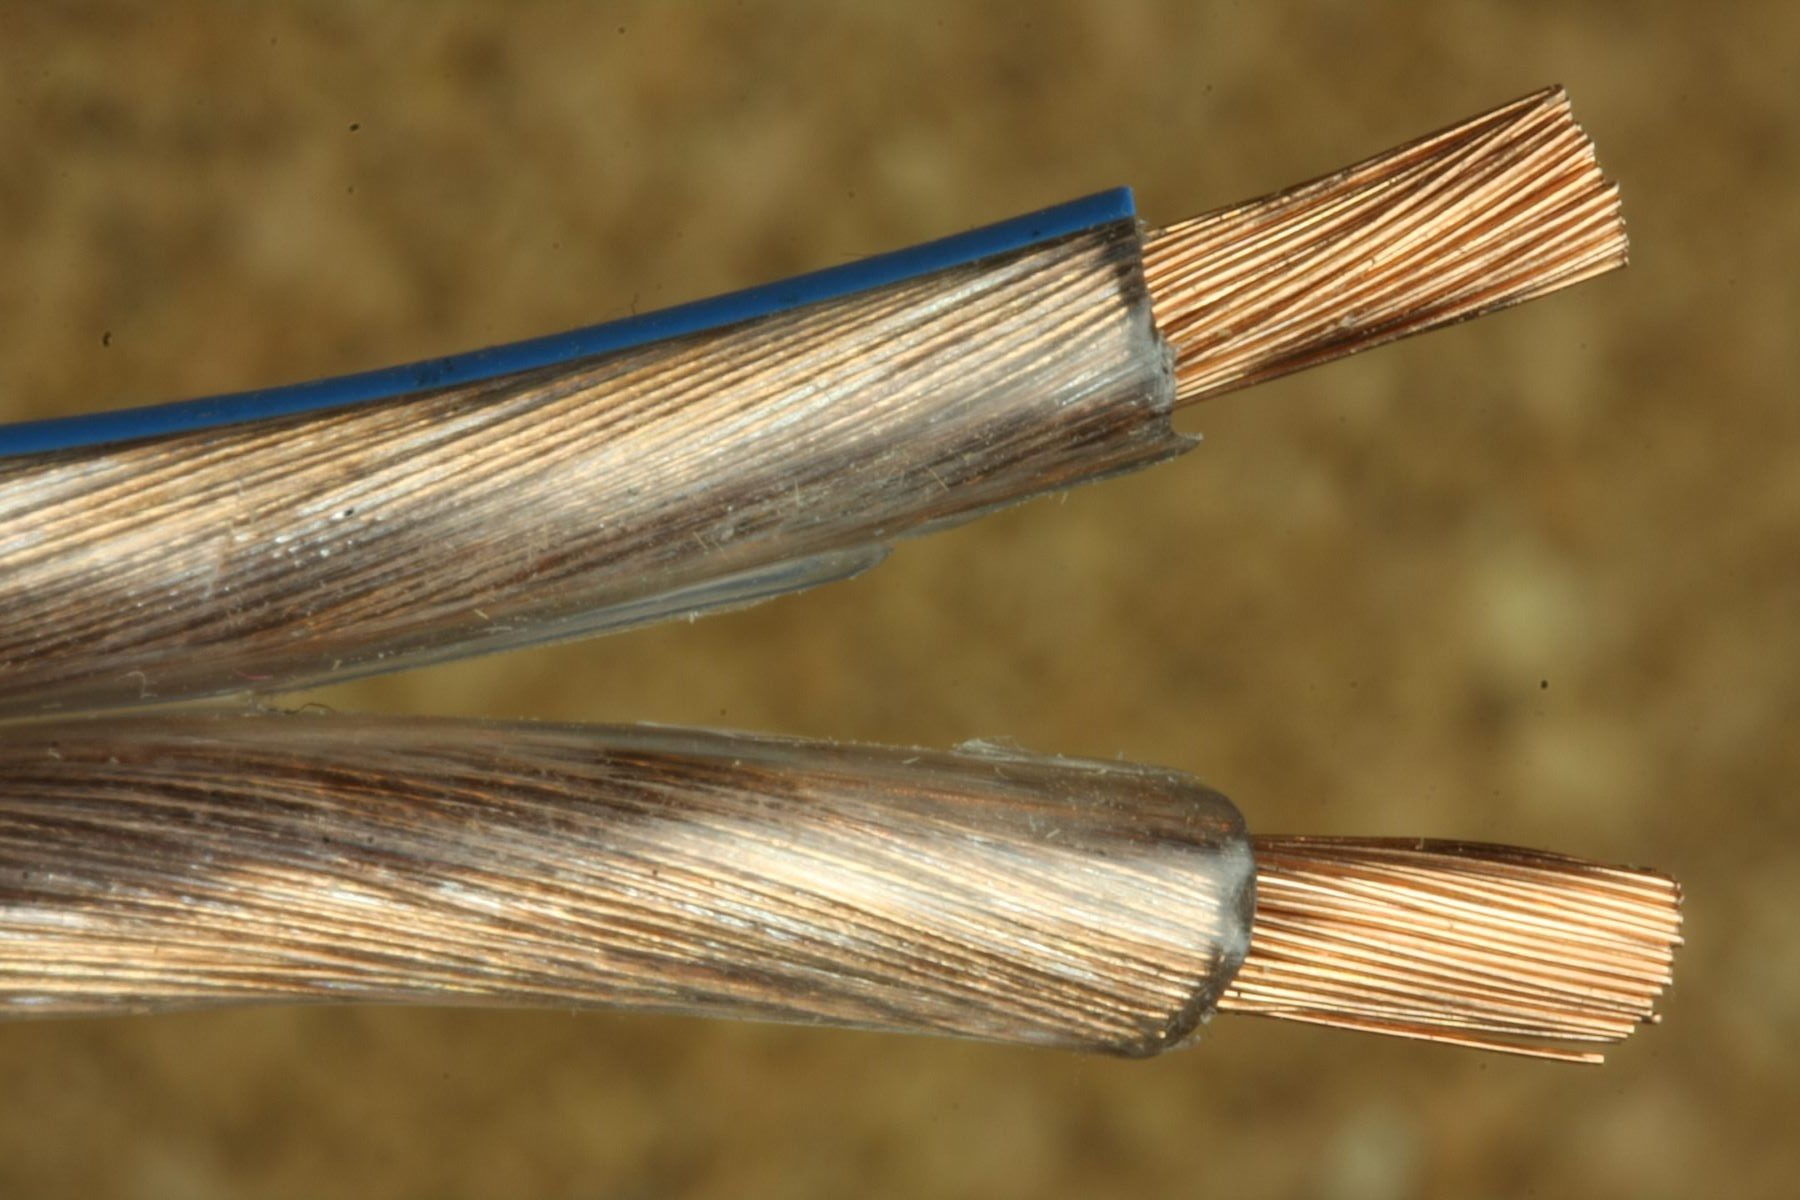
Step 3: Strip the Wires
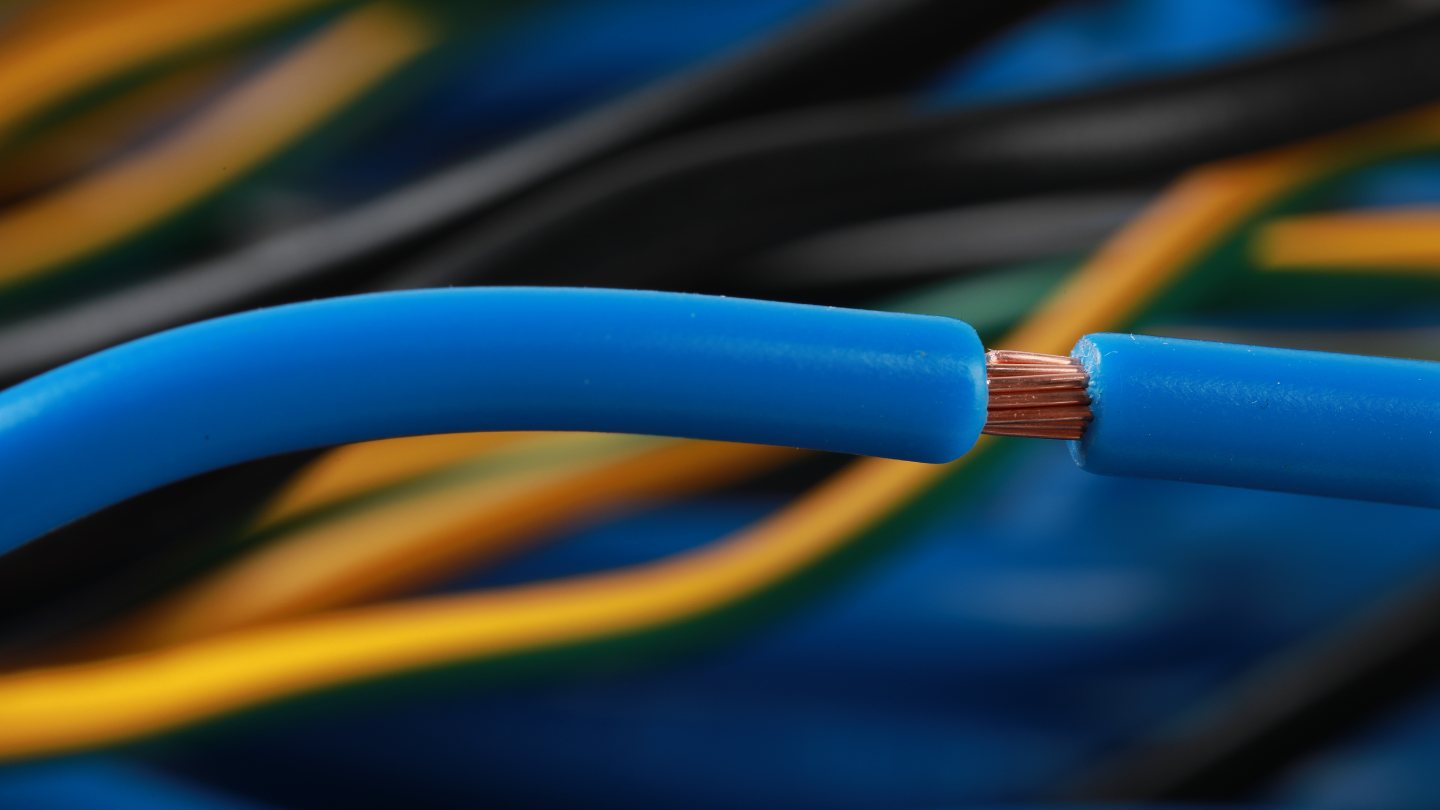
Now that the electrical cord is prepared, the next step is to strip the wires. Stripping the wires involves removing a small portion of the insulation from the ends of the exposed wires to expose the bare copper conductors.
To strip the wires, you will need a pair of wire strippers. Wire strippers have various gauge slots to accommodate different wire sizes. Make sure to select the appropriate slot that matches the gauge (thickness) of the wires in your cord.
Here’s how to strip the wires:
- Insert the end of the cord into the correct gauge slot on the wire strippers.
- Gently squeeze the handles of the wire strippers together to cut through the insulation.
- While still squeezing the handles, pull the wire strippers toward the end of the cord to remove the insulation.
- Repeat this process for each wire end, ensuring that both the hot (black) wire and the neutral (white) wire are stripped.
Be careful not to cut too deep into the wires while stripping the insulation. You want to remove only the outer layer of insulation, exposing the copper conductors. Cutting too deeply could damage the wires, affecting the electrical connection.
After stripping the wires, inspect them to ensure that they are clean and free from any frayed strands or damage. If you notice any issues with the wires, it’s crucial to cut them back and strip a fresh section for a clean connection.
Once you have successfully stripped the wires, you are now ready to move on to the next step: identifying the switch terminals for proper connection.
Read also: 11 Amazing Electrical Cord Switch for 2025
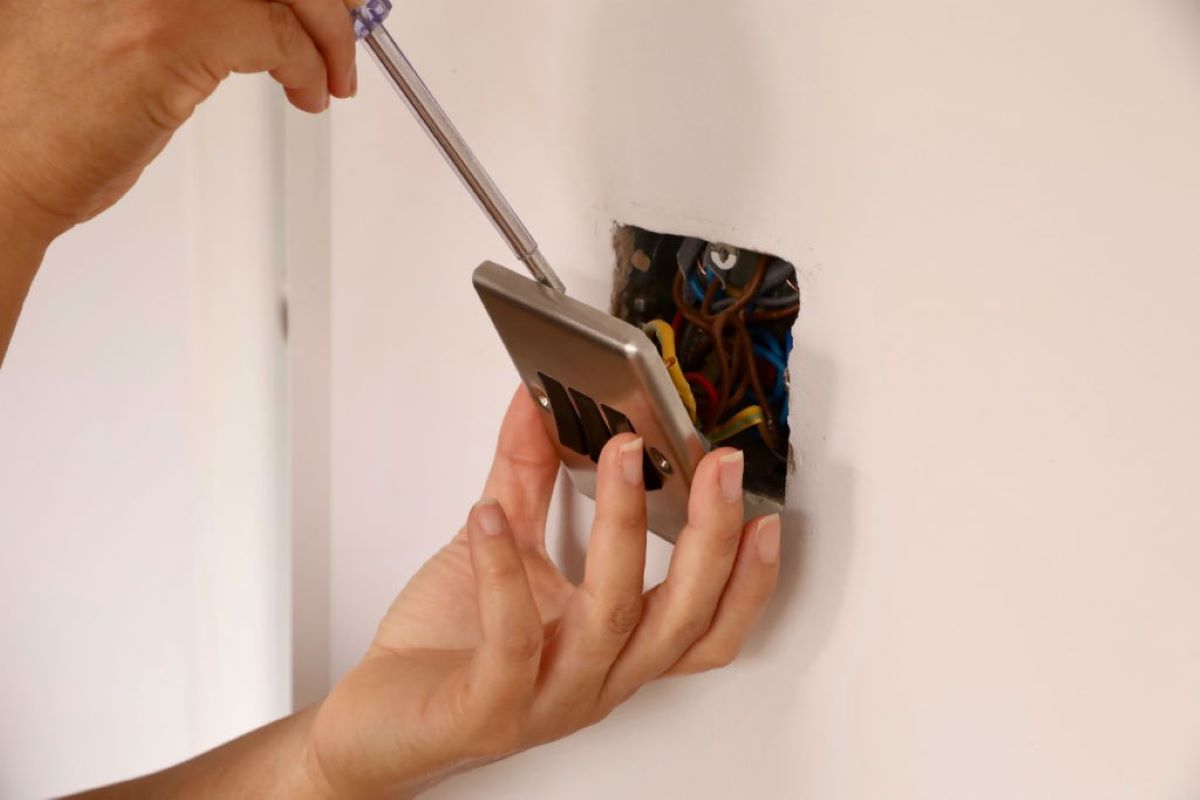
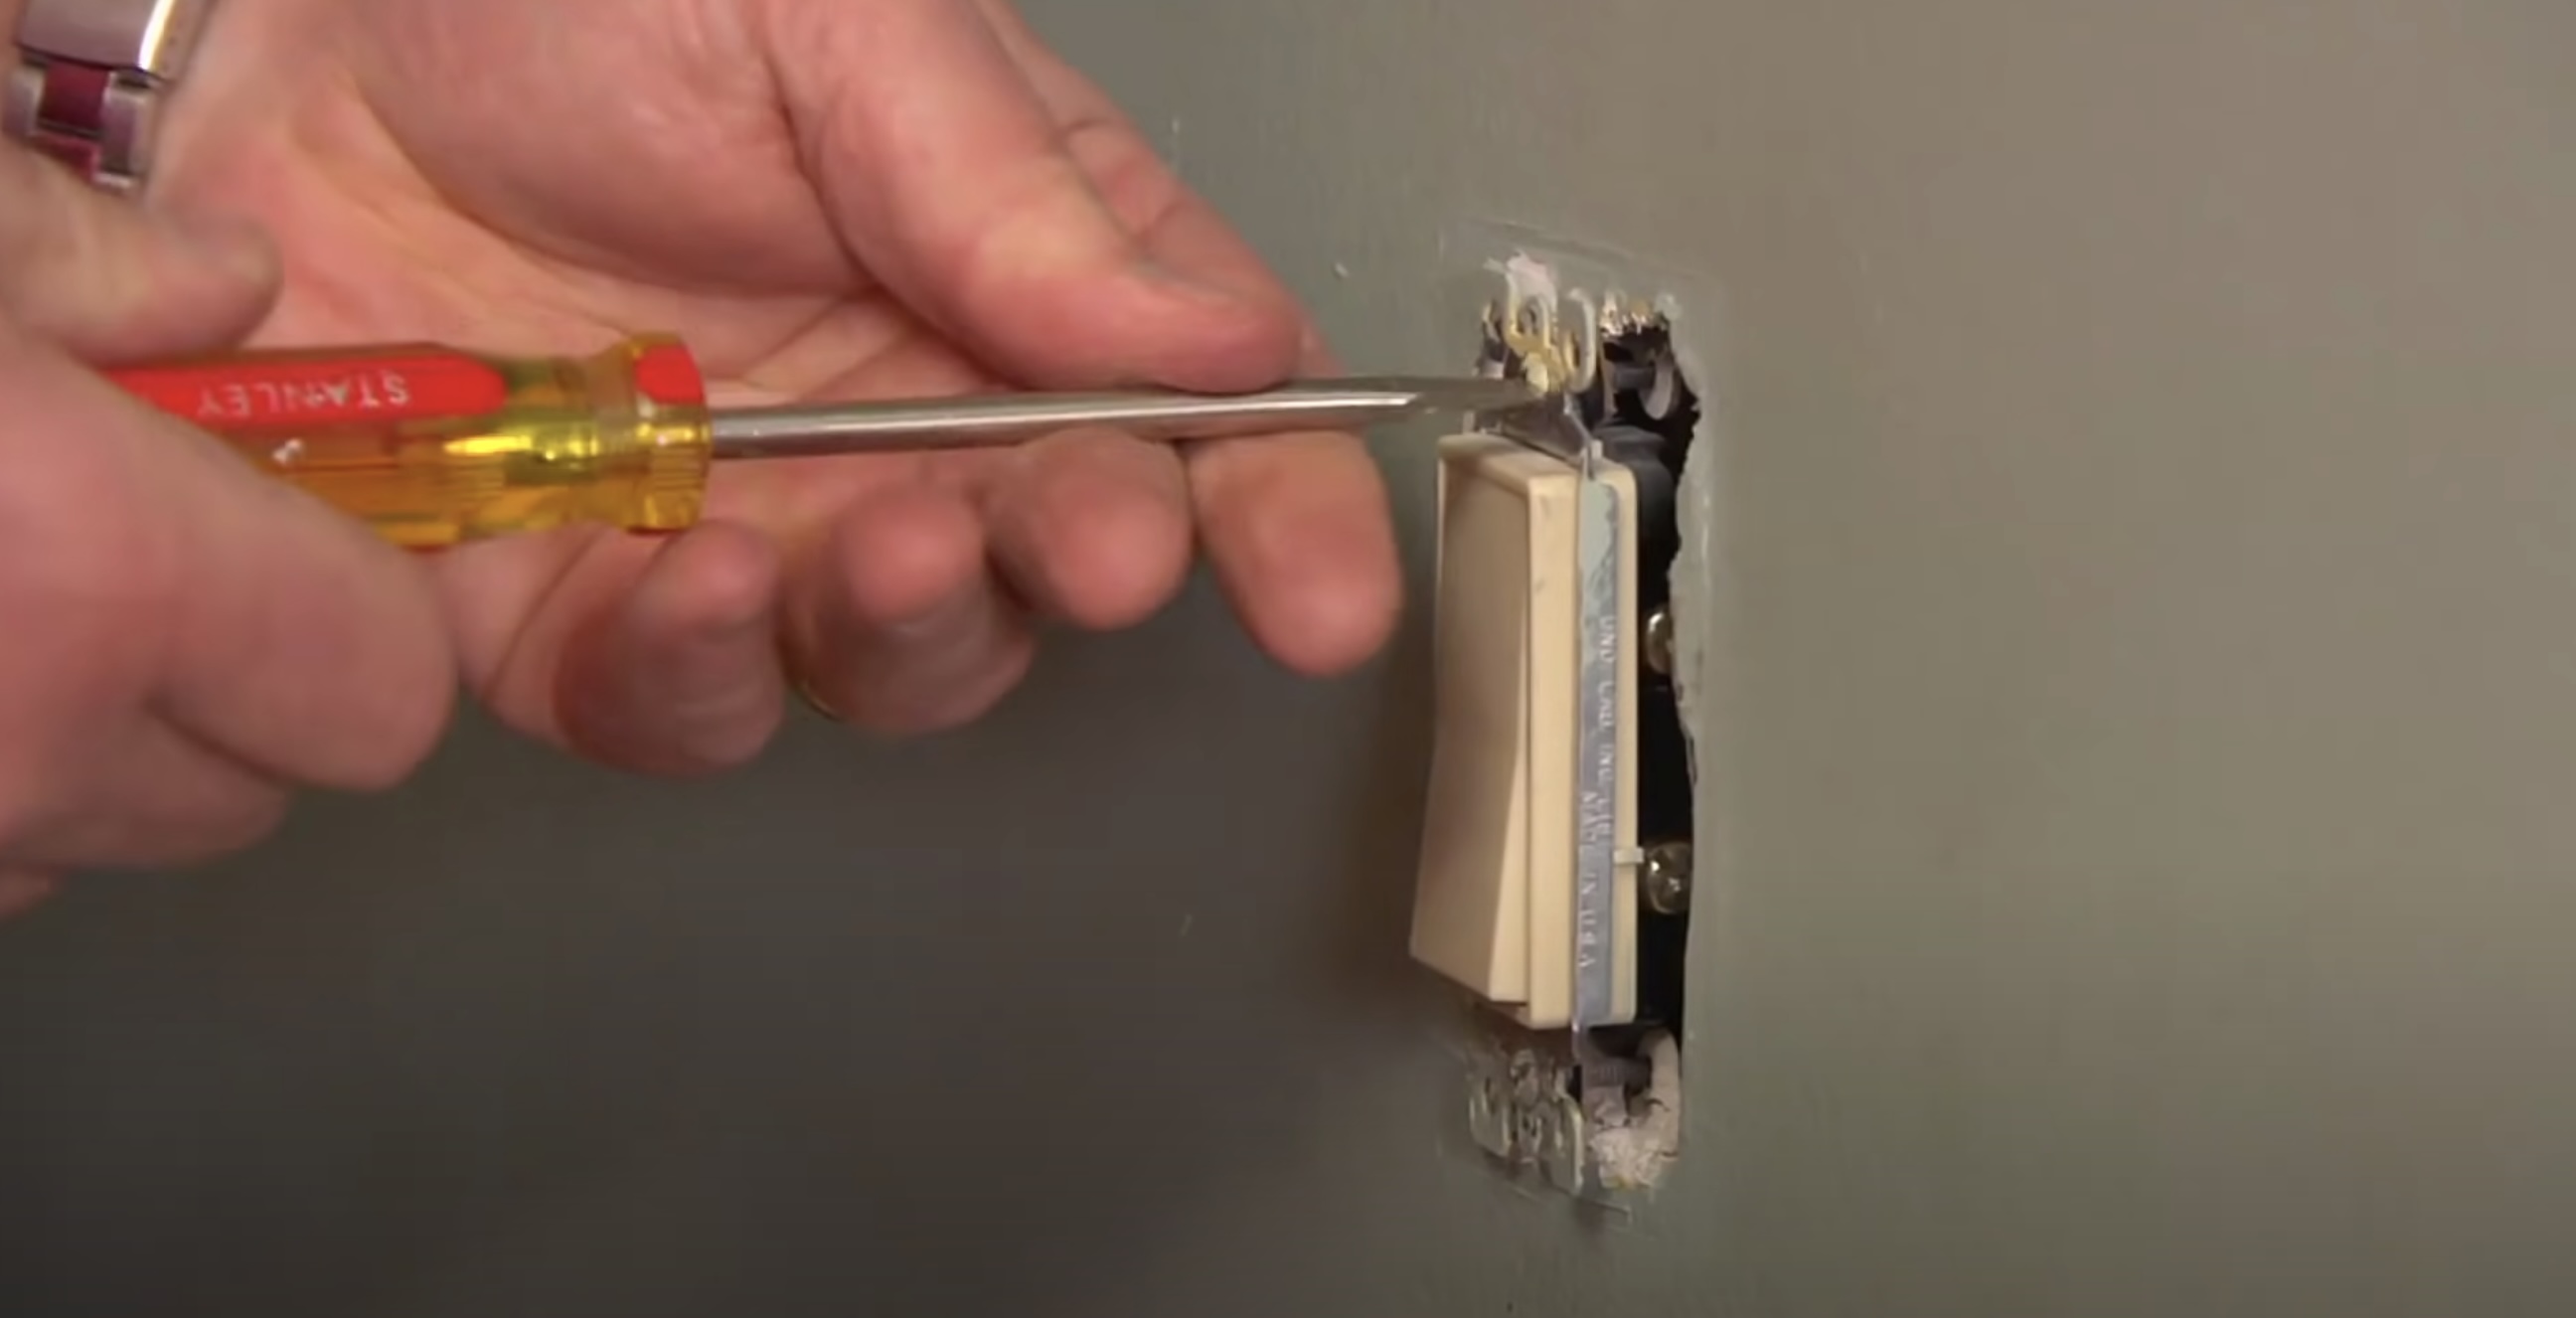
Step 4: Identify the Switch Terminals
Before connecting the wires to the switch, it’s important to identify the terminals on the switch. The terminals on a switch are the connection points where the wires will be attached.
Typically, a switch will have two terminals, but some switches may have additional terminals, depending on their functionality. The two main terminals on a standard switch are the “Hot” terminal and the “Load” terminal.
The “Hot” terminal is where the hot wire or the black wire from the electrical cord will be connected. This wire carries the electrical current to the device when the switch is turned on. The “Load” terminal is where the wire leading to the device will be connected.
Identifying the switch terminals may vary depending on the type of switch you have. Here are some common indications:
- Terminal labels: Many switches have clearly labeled terminals, such as “HOT” and “LOAD,” indicating where the respective wires should be connected. Refer to the switch’s documentation or labeling to identify the terminals.
- Color-coded terminals: Some switches may have different-colored terminals, making it easier to differentiate between the hot and load terminals. The hot terminal is often black, while the load terminal may be another color such as brass or silver.
- Terminal position: In some cases, the hot and load terminals may be positioned differently on the switch. The hot terminal is typically located on one side of the switch, while the load terminal is on the other side or in the center.
It’s important to correctly identify the switch terminals to ensure proper wiring. If you’re unsure about the terminal identification, refer to the manufacturer’s instructions or seek guidance from a professional electrician.
Once you have identified the switch terminals, you can proceed to the next step: connecting the wires to the switch.
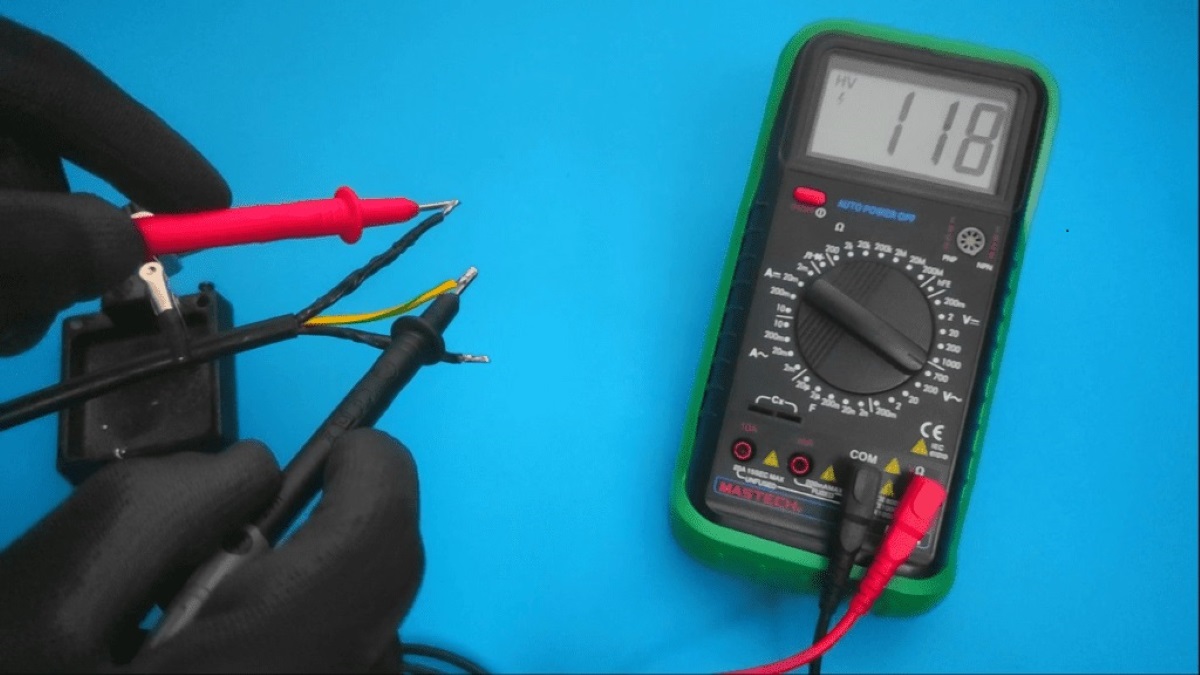
When wiring a switch into an electrical cord, always make sure to disconnect the power source before starting. Use a continuity tester to ensure the switch is wired correctly before use.
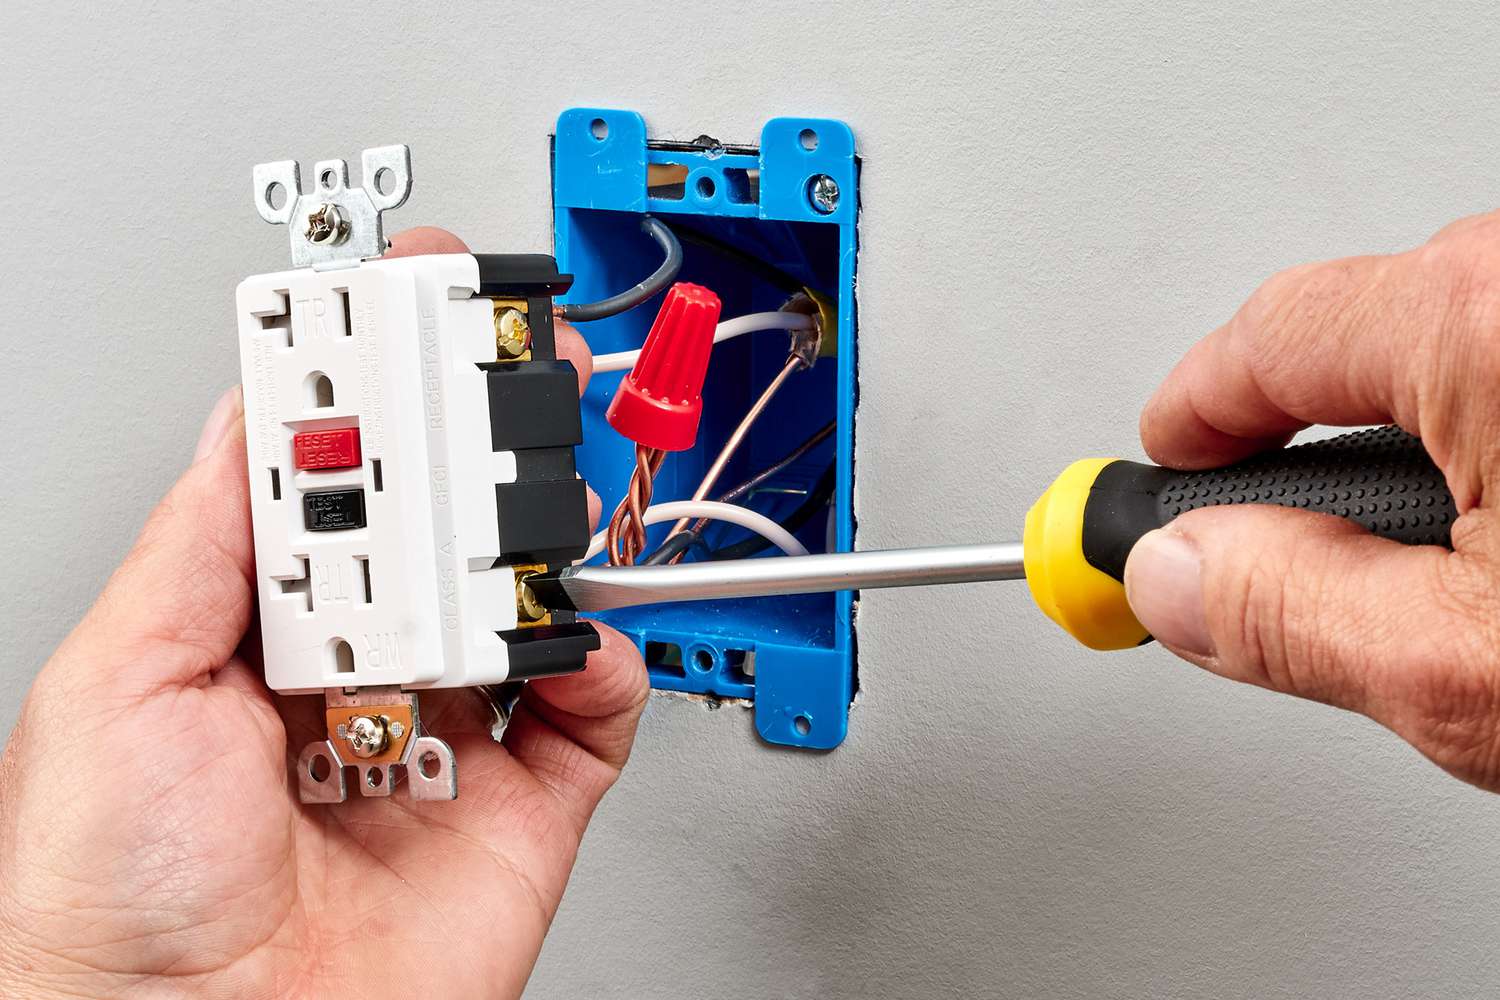
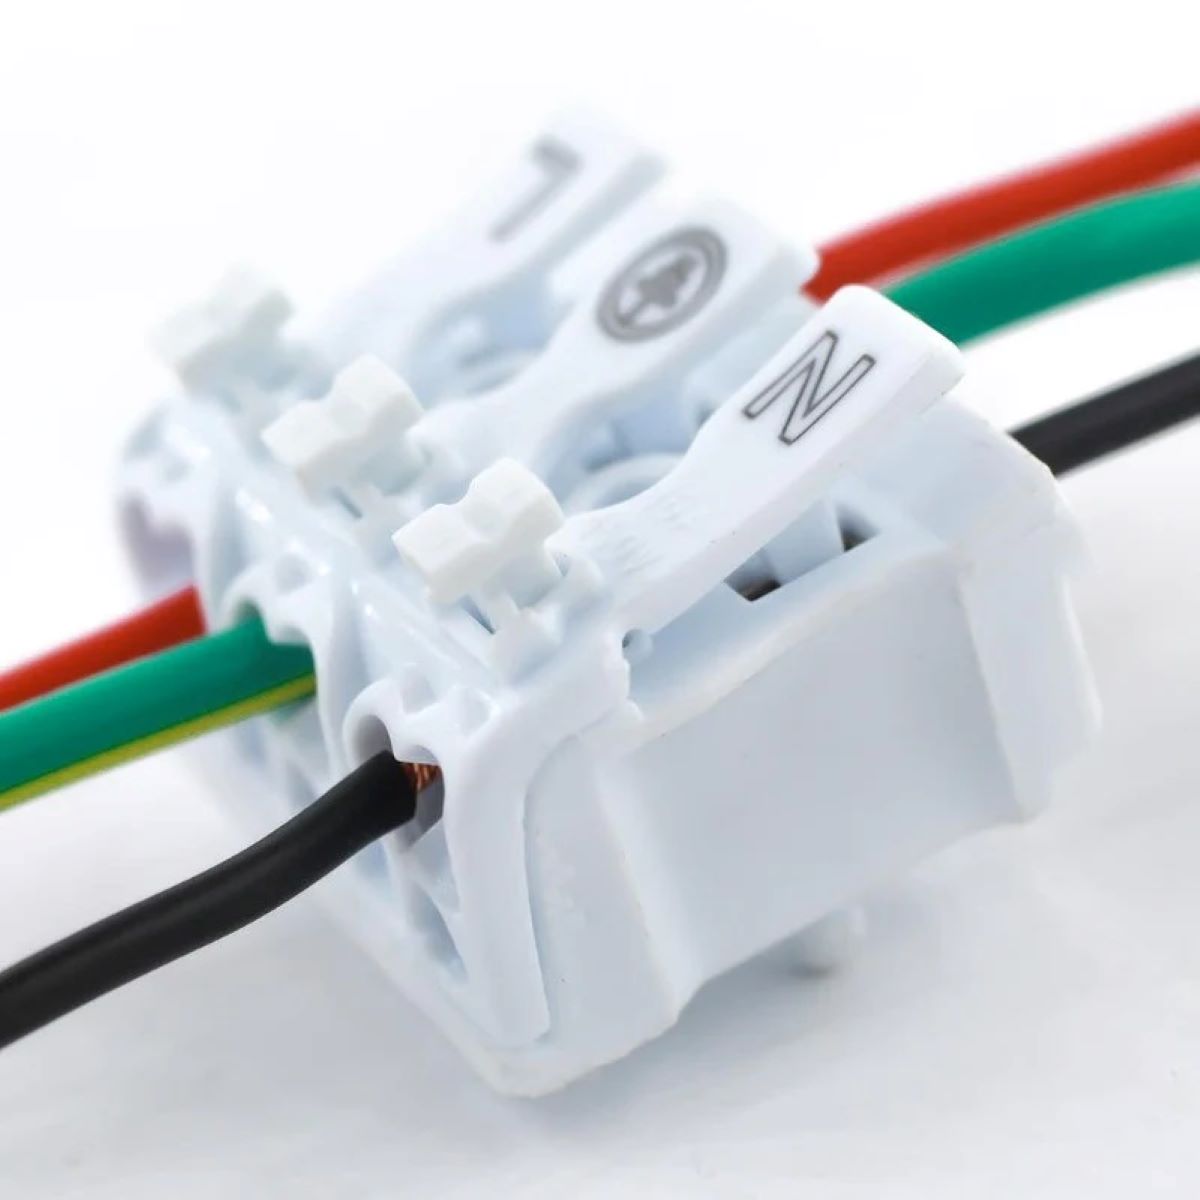
Step 5: Connect the Wires to the Switch
Now that you have identified the switch terminals, it’s time to connect the wires from the electrical cord to the switch. Properly connecting the wires is essential for ensuring a secure and functioning switch.
Here’s how to connect the wires to the switch:
- Begin with the hot wire: Take the hot wire from the electrical cord, which is usually black, and insert it into the hot terminal on the switch. If the switch terminal has a screw, loosen it to create a small opening. Then, insert the wire and tighten the screw securely. If the switch terminal has a push-in connection, insert the wire and ensure it is fully seated.
- Move on to the load wire: Take the wire that leads to the device, and insert it into the load terminal on the switch. Follow the same process as with the hot wire, ensuring a secure connection.
While connecting the wires, it’s important to ensure a tight and secure connection. This will prevent any loose or faulty connections, which can lead to electrical hazards or device malfunctions.
It’s also important to check that the bare ends of the wires are securely attached to the switch terminals. There should be no exposed wire or loose strands. If necessary, trim any excess wire to ensure a clean fit.
Remember to follow any specific instructions provided by the manufacturer of the switch. Different switches may have unique methods of connection, such as using screws, push-in connectors, or wire nuts. Refer to the switch’s documentation or labeling for specific guidance.
Now that the wires are securely connected to the switch, you are ready to move on to the next step: insulating the connections to ensure safety and proper functioning.
Step 6: Insulate the Connections
After connecting the wires to the switch, it’s essential to insulate the connections to ensure safety and prevent any accidental contact or short circuits. Insulating the connections involves covering the exposed wires and terminals with electrical tape.
Here’s how to properly insulate the connections:
- Start with the hot wire: Beginning at the base of the switch terminal where the hot wire is connected, wrap electrical tape tightly around the exposed wire and terminal. Extend the tape a few inches beyond the connection to ensure complete coverage. Repeat this process for the load wire and its terminal.
- Check for secure insulation: After wrapping the tape, run your fingers along the length of the connections to ensure that the tape is firmly adhering to the wires and terminals. Make sure there are no gaps or exposed areas.
- Use a lighter or heat gun: To ensure a tight seal, carefully heat the wrapped electrical tape using a lighter or heat gun. This will cause the tape to shrink and bond to the wires and terminals, providing extra protection. Take caution when using an open flame and keep the flame a safe distance away from the tape to avoid melting or damaging it.
Insulating the connections with electrical tape is crucial for both safety and maintaining a reliable electrical connection. It provides protection against accidental touching of the exposed wires or terminals, reducing the risk of electrical shock or short circuits.
Regularly inspect the insulated connections to ensure they remain secure and in good condition. If you notice any damage or weakening of the insulation, replace the tape promptly to maintain the integrity of the connections.
Now that the connections are properly insulated, you can move on to the next step: testing the switch to ensure it is functioning correctly.
Step 7: Test the Switch
After completing the wiring and insulation process, it’s important to test the switch to ensure that it is functioning correctly. Testing the switch will help verify if the wiring connections have been made properly and if the switch is effectively controlling the device.
Here’s a step-by-step guide on how to test the switch:
- Plug in the electrical cord: Carefully plug the electrical cord into a power source.
- Turn on the switch: Flip the switch to the “On” position.
- Observe the device: Check whether the device connected to the switch powers on or operates as expected. For example, if you’re testing a lamp, make sure the light turns on when the switch is turned on.
- Turn off the switch: Flip the switch to the “Off” position.
- Observe the device again: Check if the device powers off or stops operating when the switch is in the “Off” position.
While testing, stay vigilant for any abnormalities, such as flickering lights, sparking, or unusual noises. If you notice anything out of the ordinary, immediately unplug the cord and double-check your wiring connections. It’s crucial to identify and rectify any issues to ensure the safety and proper functioning of the switch and device.
If the switch does not function as expected, double-check the wiring connections to ensure they are secure and correct. Make sure the wires are properly connected to the correct terminals. Additionally, inspect the insulation to ensure there are no exposed wires or loose connections.
If you encounter persistent issues or are unsure about the functionality of the switch, it may be best to consult a professional electrician for further assistance.
Once you have successfully tested the switch and verified its proper operation, you can proceed to the final step: reassembling the electrical cord.
Read more: Where To Buy Electrical Cord Wire
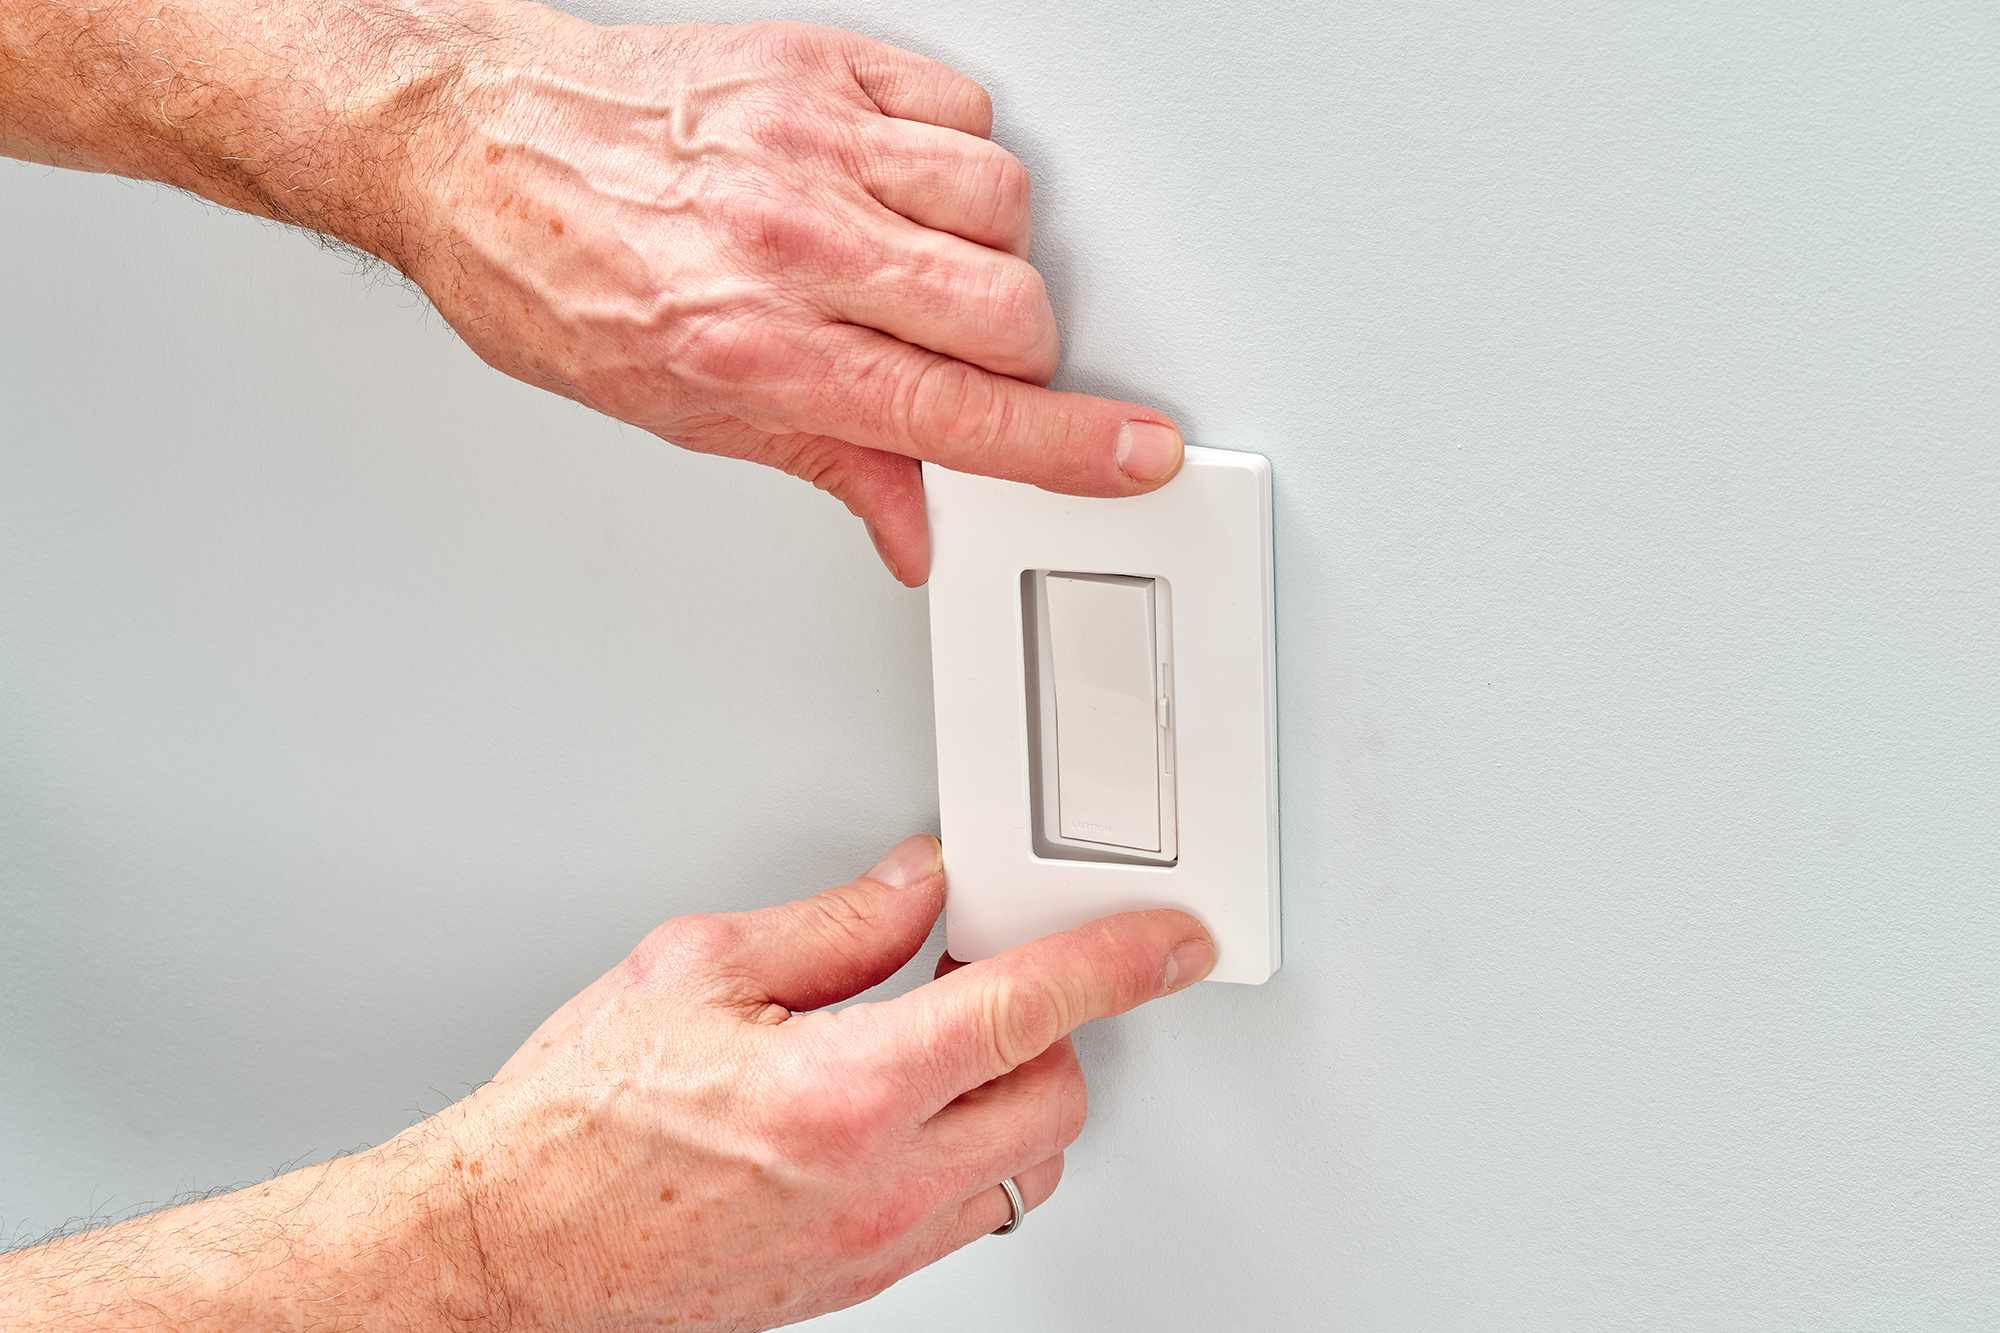
Step 8: Reassemble the Cord
Now that you have tested the switch and confirmed its proper functioning, the final step is to reassemble the electrical cord. Reassembling the cord involves securing the wiring and restoring its original configuration to ensure a neat and tidy appearance.
Here’s how to reassemble the cord:
- Arrange the wires: Take the stripped ends of the hot and load wires and align them side by side.
- Twist the wires: Gently twist the exposed ends of the hot and load wires together in a clockwise direction. This creates a secure connection.
- Wrap the connection: Wrap the twisted wires tightly with electrical tape. Start a few inches above the connection and continue wrapping until a few inches below the connection. Ensure that the entire connection is covered with tape for insulation and protection.
- Reattach the cord housing: Place the cord housing or casing back onto the cord, ensuring that it covers the taped connection. Secure the cord housing by reattaching any clips, screws, or other mechanisms present.
By reassembling the cord, you not only ensure the safety of the wiring but also maintain a clean and organized appearance. This step helps prevent accidental contact with the exposed wires, protects against potential damage, and keeps the cord looking professional.
After reassembling the cord, give it a final visual inspection to ensure that all components are securely in place and that there are no loose parts or exposed wires.
Now that you have successfully reassembled the cord, your switch is ready for use. You can now enjoy the convenience of easily turning your device on and off with the newly installed switch.
Remember to regularly inspect the switch and cord for any signs of damage or wear. If you notice any issues, such as frayed wires or loose connections, promptly address them to maintain the safety and functionality of the switch.
Congratulations! You have completed the process of wiring a switch into an electrical cord. With your newfound knowledge, you can confidently tackle similar projects in the future and enhance the functionality of your electrical devices.
Disclaimer: This article provides general information and guidance. Always ensure you follow local electrical codes and regulations and exercise caution when working with electricity. If you are unsure or uncomfortable performing electrical work, consult a qualified electrician.
Conclusion
Wiring a switch into an electrical cord may initially seem like a complex task, but it is a manageable project with the right tools, knowledge, and precautions. By following the steps outlined in this guide, you can successfully add a switch to an electrical cord, providing convenience and safety for your devices.
Throughout the process, it is vital to prioritize safety. Wear protective gear, work in a well-lit area, and ensure the cord is unplugged during the wiring process. Take care to properly insulate and secure the connections to prevent accidents or electrical hazards.
By identifying the switch terminals and connecting the wires correctly, you ensure reliable functionality. Testing the switch after installation is crucial to verify its proper operation, and any inconsistencies can prompt a recheck of the wiring connections.
Remember, if you ever feel unsure or uncomfortable with the process, it is always advisable to consult a professional electrician who can provide guidance and assistance.
With the completion of the final step of reassembling the cord, you have successfully wired a switch into an electrical cord. Enjoy the convenience of easily controlling your devices without the need for constant plugging and unplugging.
Always prioritize safety, follow local electrical codes and regulations, and regularly inspect the switch and cord for any signs of damage or wear. This will ensure the long-term safety and efficiency of your newly installed switch.
Congratulations on completing this project! With your newfound knowledge and skills, you can confidently tackle other electrical projects and enhance the functionality of various devices in your home or workspace.
Frequently Asked Questions about How To Wire A Switch Into An Electrical Cord
Was this page helpful?
At Storables.com, we guarantee accurate and reliable information. Our content, validated by Expert Board Contributors, is crafted following stringent Editorial Policies. We're committed to providing you with well-researched, expert-backed insights for all your informational needs.


0 thoughts on “How To Wire A Switch Into An Electrical Cord”