Articles
How To Till Garden
Modified: January 22, 2024
Learn how to effectively till your garden with our comprehensive gardening guide. Get expert tips and techniques to create the perfect soil for your plants.
(Many of the links in this article redirect to a specific reviewed product. Your purchase of these products through affiliate links helps to generate commission for Storables.com, at no extra cost. Learn more)
Introduction
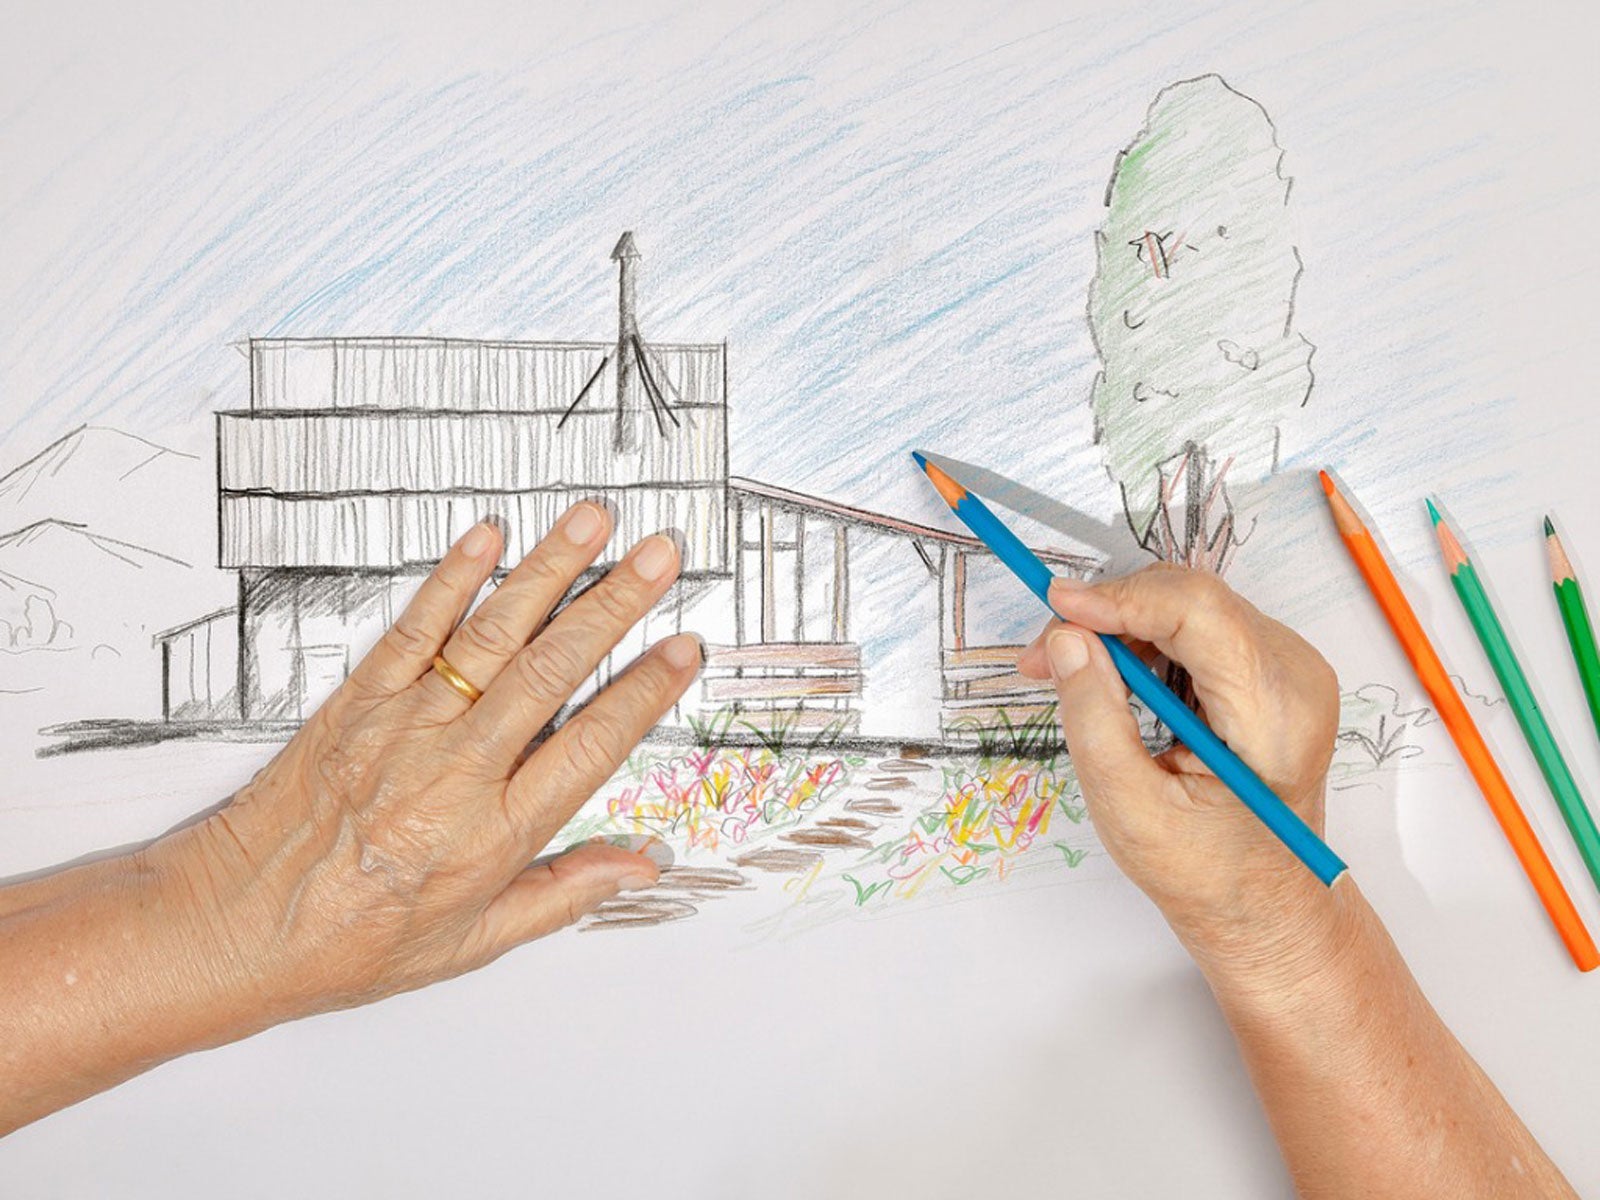
Gardening is not only a rewarding hobby but also a great way to beautify your outdoor space and grow your own fresh produce. To create a successful garden, it all starts with the soil. One of the key steps in preparing your garden bed is tilling the soil.
Tilling refers to the process of loosening the soil and breaking it up to provide an optimal environment for plant roots to grow. By tilling the soil, you create a soft and workable planting surface, allowing for better water drainage, nutrient absorption, and root penetration.
In this article, we will guide you through the steps of tilling your garden to set the foundation for a thriving and productive growing season. From choosing the right tools to harvesting the fruits of your labor, we’ve got you covered. Let’s get started!
Key Takeaways:
- Tilling your garden sets the stage for successful plant growth by improving soil quality, creating optimal planting conditions, and laying the foundation for a bountiful harvest.
- From preparing the soil to harvesting the fruits of your labor, gardening is a rewarding journey filled with learning, joy, and the satisfaction of growing your own fresh produce.
Read more: How To Till The Grass For A Garden
Step 1: Choose the Right Tools
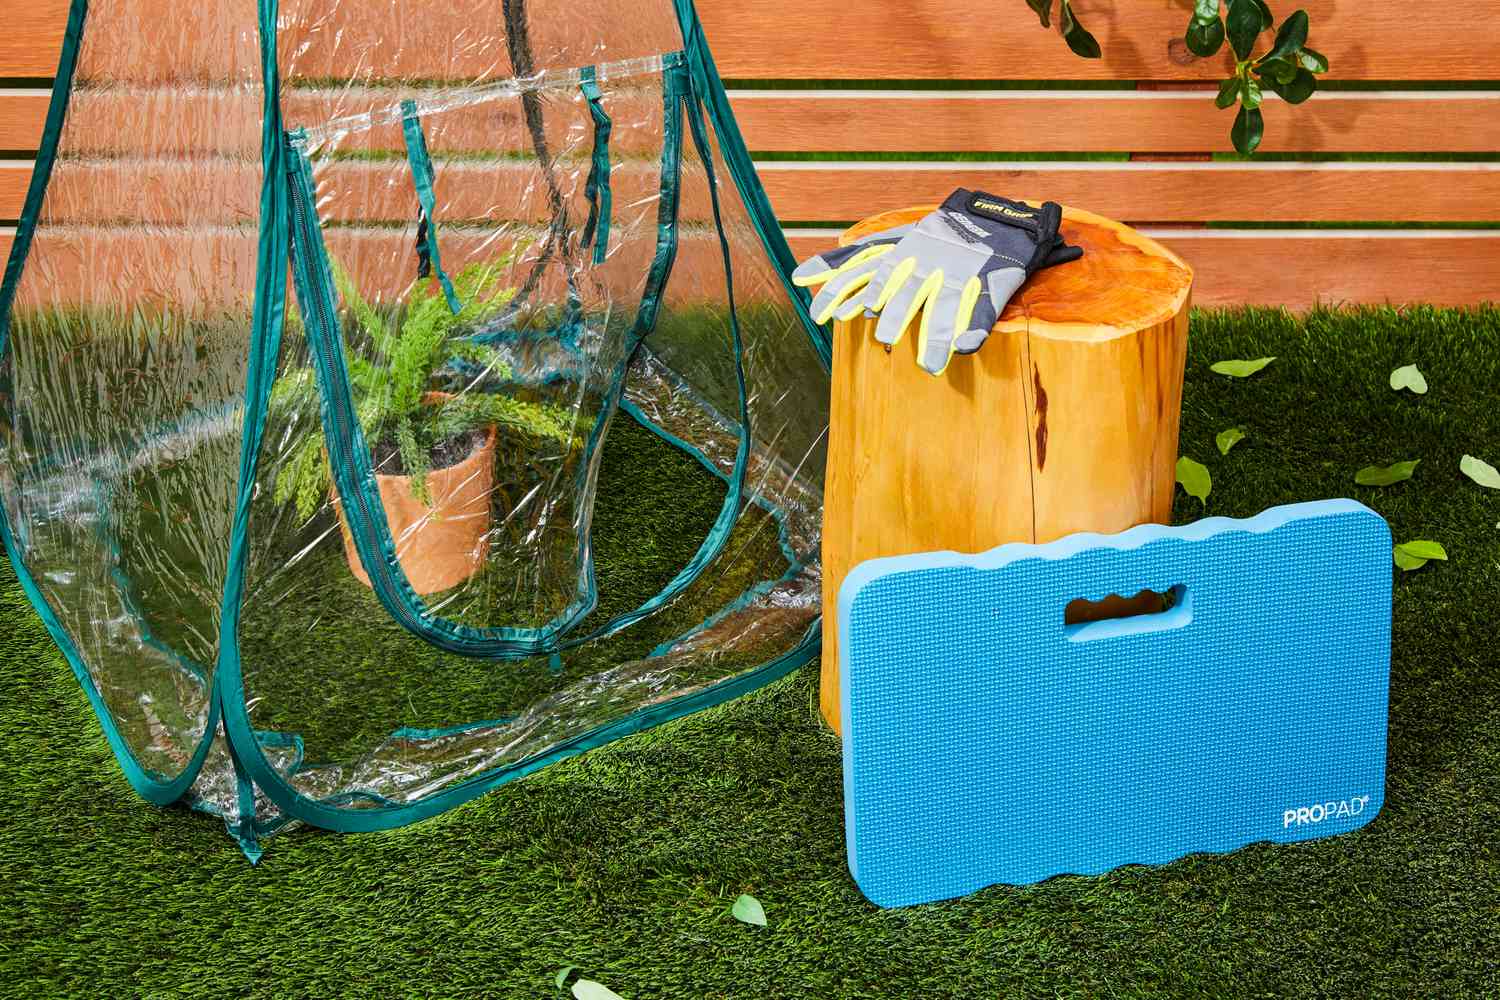
Before you begin tilling your garden, it’s important to gather the necessary tools to make the task easier and more efficient. Here are some essential tools you will need:
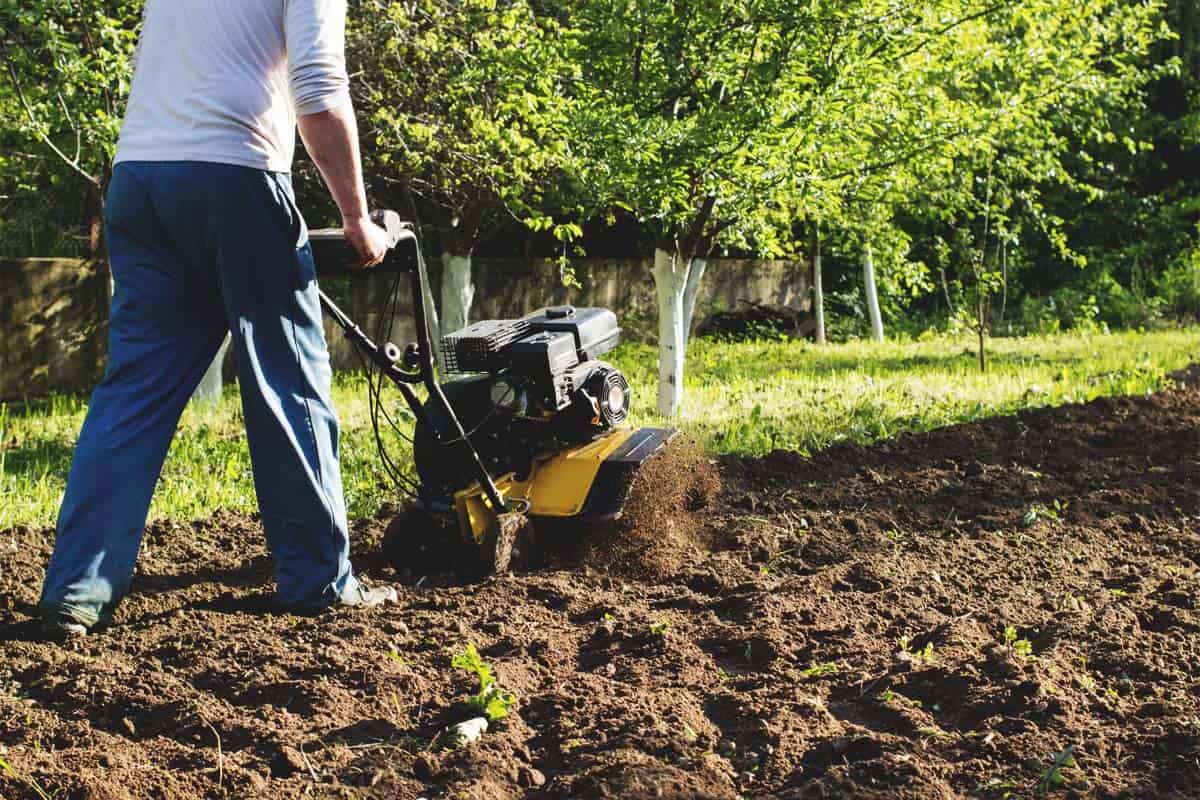
- Garden Tiller: A garden tiller, also known as a rototiller, is a motorized machine that helps break up the soil. There are different types of tillers available, including rear-tine and front-tine models. Choose a tiller that suits the size of your garden and your physical capabilities.
- Hand Tools: In addition to a garden tiller, you will also need a few hand tools for smaller areas or hard-to-reach spots. A hand cultivator or a garden fork can be useful for loosening soil and removing weeds.
- Garden Gloves: Protect your hands from blisters and injuries by wearing a sturdy pair of garden gloves. Look for gloves that provide both comfort and grip.
- Safety Gear: Depending on the size and power of your tiller, you may need to wear safety gear such as safety goggles, ear protection, and sturdy footwear. Always prioritize safety when operating machinery.
Choosing the right tools for the job will make your tilling experience much smoother and more enjoyable. Take into consideration the size of your garden, the type of soil you have, and your own physical abilities when selecting your tools.
Once you have gathered all the necessary tools, it’s time to move on to the next step: preparing the soil.
Step 2: Prepare the Soil
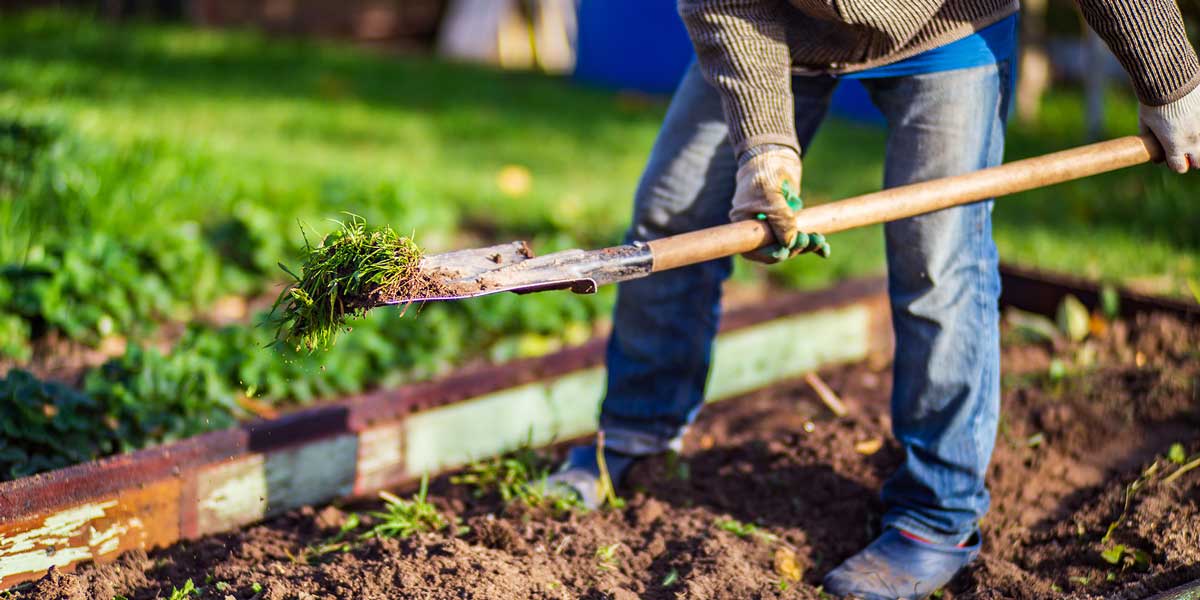
Preparing the soil is an essential step before you start tilling your garden. This involves removing any weeds, rocks, or debris, as well as assessing the soil’s moisture content and texture.
Here’s how you can effectively prepare the soil:
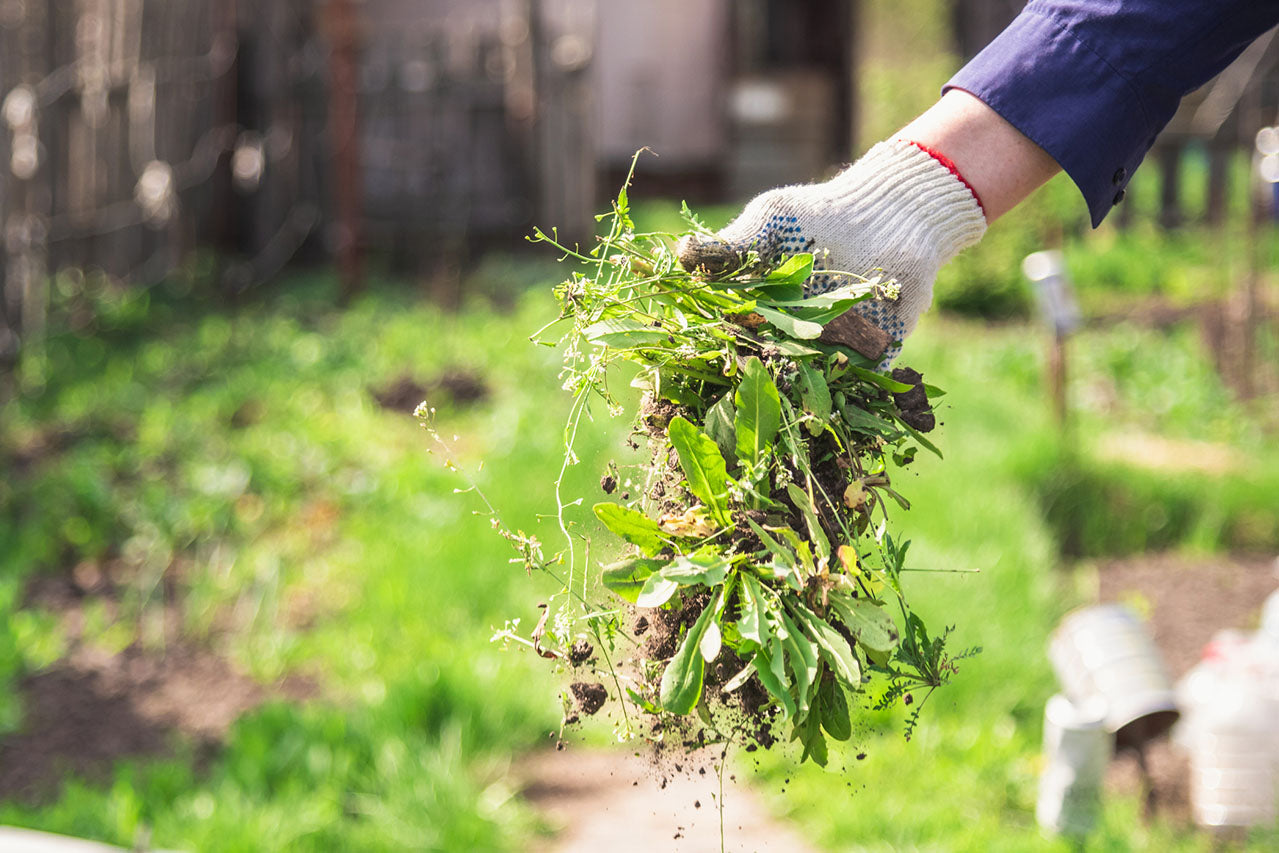
- Clear the Area: Begin by removing any existing vegetation or debris from the garden bed. Use a rake or a garden fork to remove weeds, rocks, and other obstacles. This will provide a clean and clear space for tilling.
- Test the Soil: Testing your soil can help determine its pH level and nutrient content. You can purchase a soil testing kit from a garden center or send a sample to a laboratory for a more detailed analysis. This information will guide you in choosing the right amendments for your soil.
- Moisture Check: Ensure that the soil is neither too dry nor too wet before tilling. Squeeze a handful of soil in your hand – if it crumbles easily, it is ready for tilling. If it stays in a clump, it is too wet, and you should wait for it to dry out a bit.
- Loosen the Surface: Using a garden fork or a hand cultivator, loosen the top layer of soil to a depth of about 4-6 inches. This will help improve water penetration and root development.
By properly preparing the soil, you create an optimal environment for the tilling process and subsequent plant growth. It allows for better aeration, water retention, and nutrient availability, resulting in healthier plants and increased yields.
Once the soil is prepared, you are now ready to move on to the next step: tilling the garden.
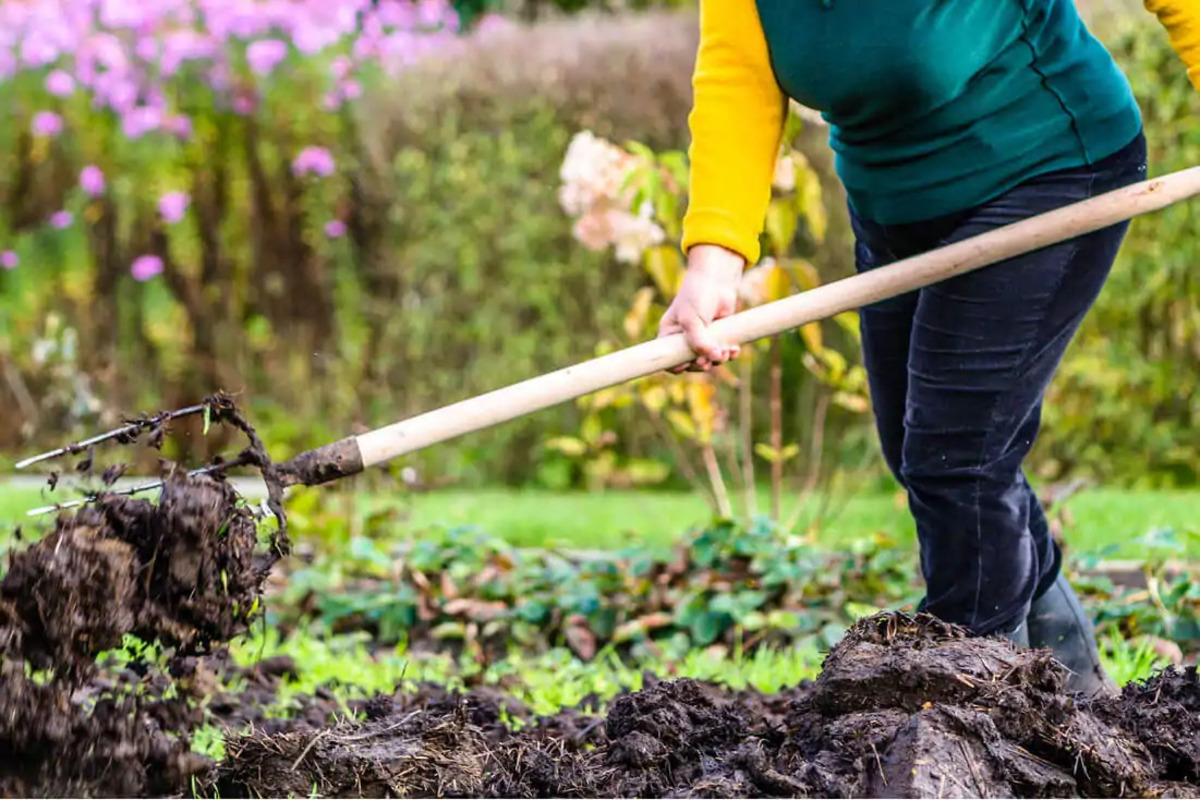
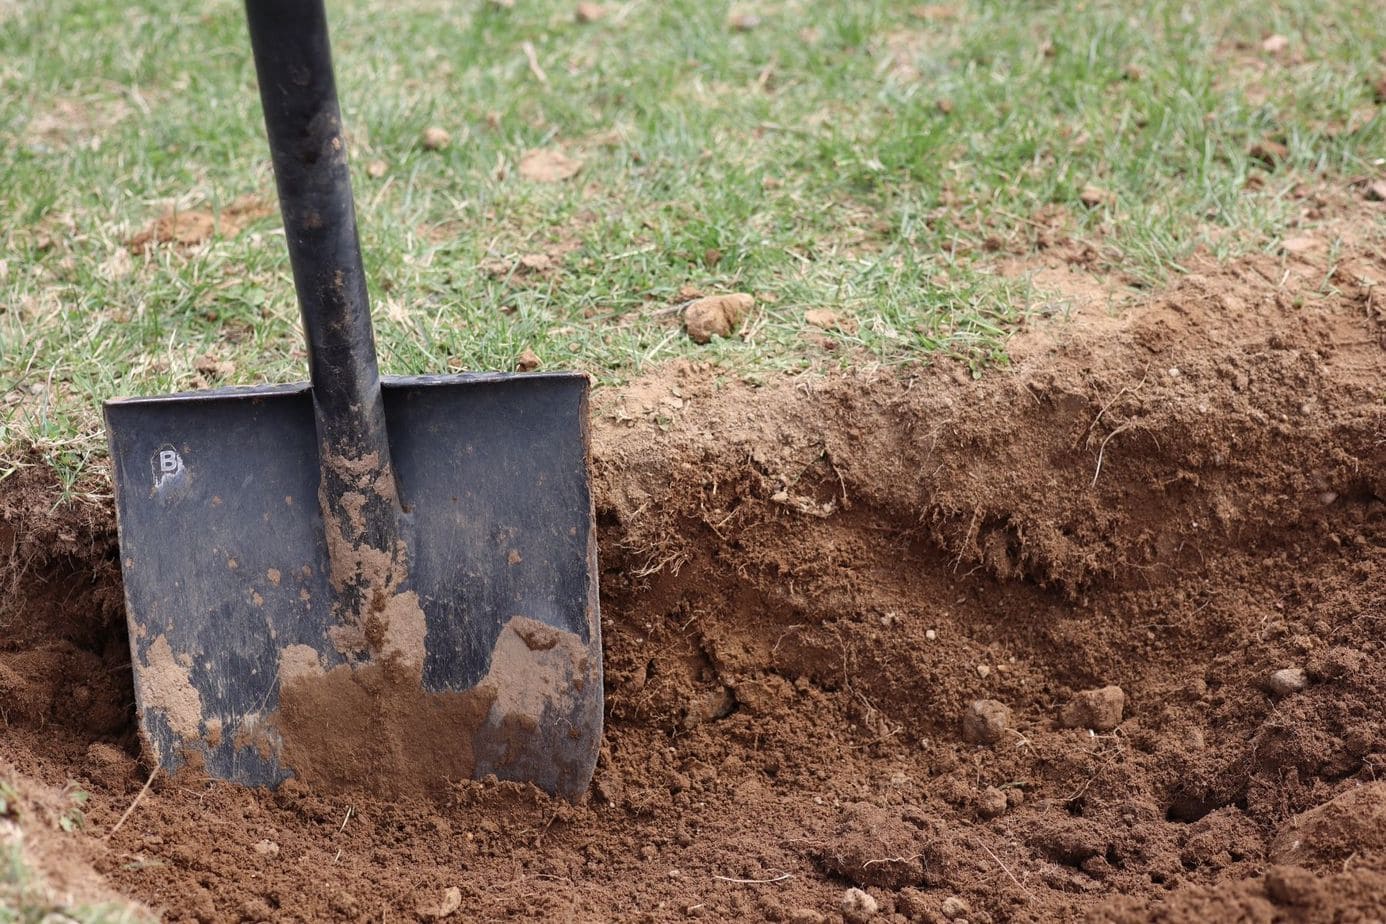
Step 3: Till the Garden
Now that you have chosen the right tools and prepared the soil, it’s time to start tilling your garden. Tilling helps break up compacted soil, improves drainage, and mixes in organic matter. Follow these steps to till your garden effectively:
- Select the Depth: Set the depth control of your garden tiller according to the recommendations for the plants you will be growing. For most vegetable gardens, tilling to a depth of 8-12 inches is usually sufficient.
- Tiller Operation: Start the garden tiller and slowly guide it along the prepared area. Allow the tiller’s blades or tines to penetrate the soil and turn it over. Move the tiller in straight lines, overlapping each pass to ensure full coverage of the area.
- Work in Sections: If you have a large garden, it’s best to divide it into smaller sections and till one section at a time. This ensures thorough tilling and prevents the machine from exerting too much strain on you.
- Go Slow and Steady: Avoid rushing through the tilling process. Let the tiller work at its own pace, and avoid forcing it into the ground. This will prevent damage to the machine and ensure a more even and consistent tilling depth.
As you till, you will notice the soil being turned, loosened, and mixed. This brings fresh, nutrient-rich soil to the surface, while breaking up clumps and aerating the soil. Tilling also helps to incorporate any amendments or organic matter you may have added.
Once you have tilled the entire garden area, take a moment to observe the soil texture and make any necessary adjustments. It should have a crumbly texture, free of large clumps, and be evenly mixed throughout.
With the garden tilled, it’s time to move on to the next step: adding amendments to enrich the soil.
Step 4: Add Amendments
Adding amendments to your garden soil is an important step in enhancing its fertility and providing essential nutrients for healthy plant growth. Amendments can include organic matter, such as compost, manure, or peat moss, as well as mineral additives like lime or sulfur to adjust soil pH. Here’s how you can incorporate amendments into your garden:
- Assess Soil Needs: Refer to the results of your soil test, or consider the specific needs of the plants you will be growing. Determine what amendments are necessary to improve the soil’s pH, fertility, or texture.
- Add Organic Matter: Organic matter, such as compost or well-rotted manure, is beneficial for improving soil structure and boosting nutrient content. Spread a layer of organic matter over the tilled soil, aiming for a thickness of about 2-4 inches.
- Mineral Additives: If the soil pH is too acidic or alkaline, you may need to adjust it using mineral additives. For example, adding lime can help raise soil pH, while sulfur can lower it. Follow the product instructions carefully when applying mineral additives.
- Incorporate Amendments: Use a garden rake or tiller to thoroughly incorporate the amendments into the soil. This will ensure even distribution and maximize their benefits. Work the amendments into the top 6-8 inches of soil.
Adding amendments to the soil improves its structure, increases nutrient availability, and enhances overall plant health. Organic matter improves moisture retention, drainage, and microbial activity, while mineral additives correct imbalances and create optimal growing conditions.
Once the amendments are incorporated, take a moment to observe the soil and make sure that everything is evenly mixed. This will set the stage for the next step: leveling the soil.
Read more: How To Till The Soil For Grass
Step 5: Level the Soil
After adding amendments to your garden soil, it’s important to level the surface to create a smooth and even planting bed. Leveling the soil helps promote uniform water distribution and ensures that plants are not sitting in low-lying areas prone to waterlogging. Here’s how you can level the soil effectively:
- Remove Large Clumps: Use a rake or garden fork to break up any remaining large clumps of soil. This will make it easier to create a level surface.
- Fill in Depressions: Identify any low spots or depressions in the soil and fill them in with additional soil or organic matter. Compact the soil lightly to create a level surface.
- Smooth the Surface: Take a garden rake or leveling board and carefully smooth out the soil surface. Move the rake or leveling board back and forth in a gentle motion to ensure an even, level bed.
- Check for Drainage: Observe the soil surface after leveling to ensure that water drains properly and does not accumulate in any particular area. Make adjustments as needed to improve drainage.
Leveling the soil not only provides a visually appealing garden bed but also helps prevent water pooling and uneven plant growth. A flat surface promotes optimal root development and facilitates even plant spacing and overall garden management.
Once the soil is leveled, you’re ready for the next step: creating garden beds or rows to accommodate your plants.
When tilling your garden, make sure to remove any rocks, weeds, and debris from the soil to create a smooth and even surface for planting. This will help promote healthy root growth and improve overall plant growth.
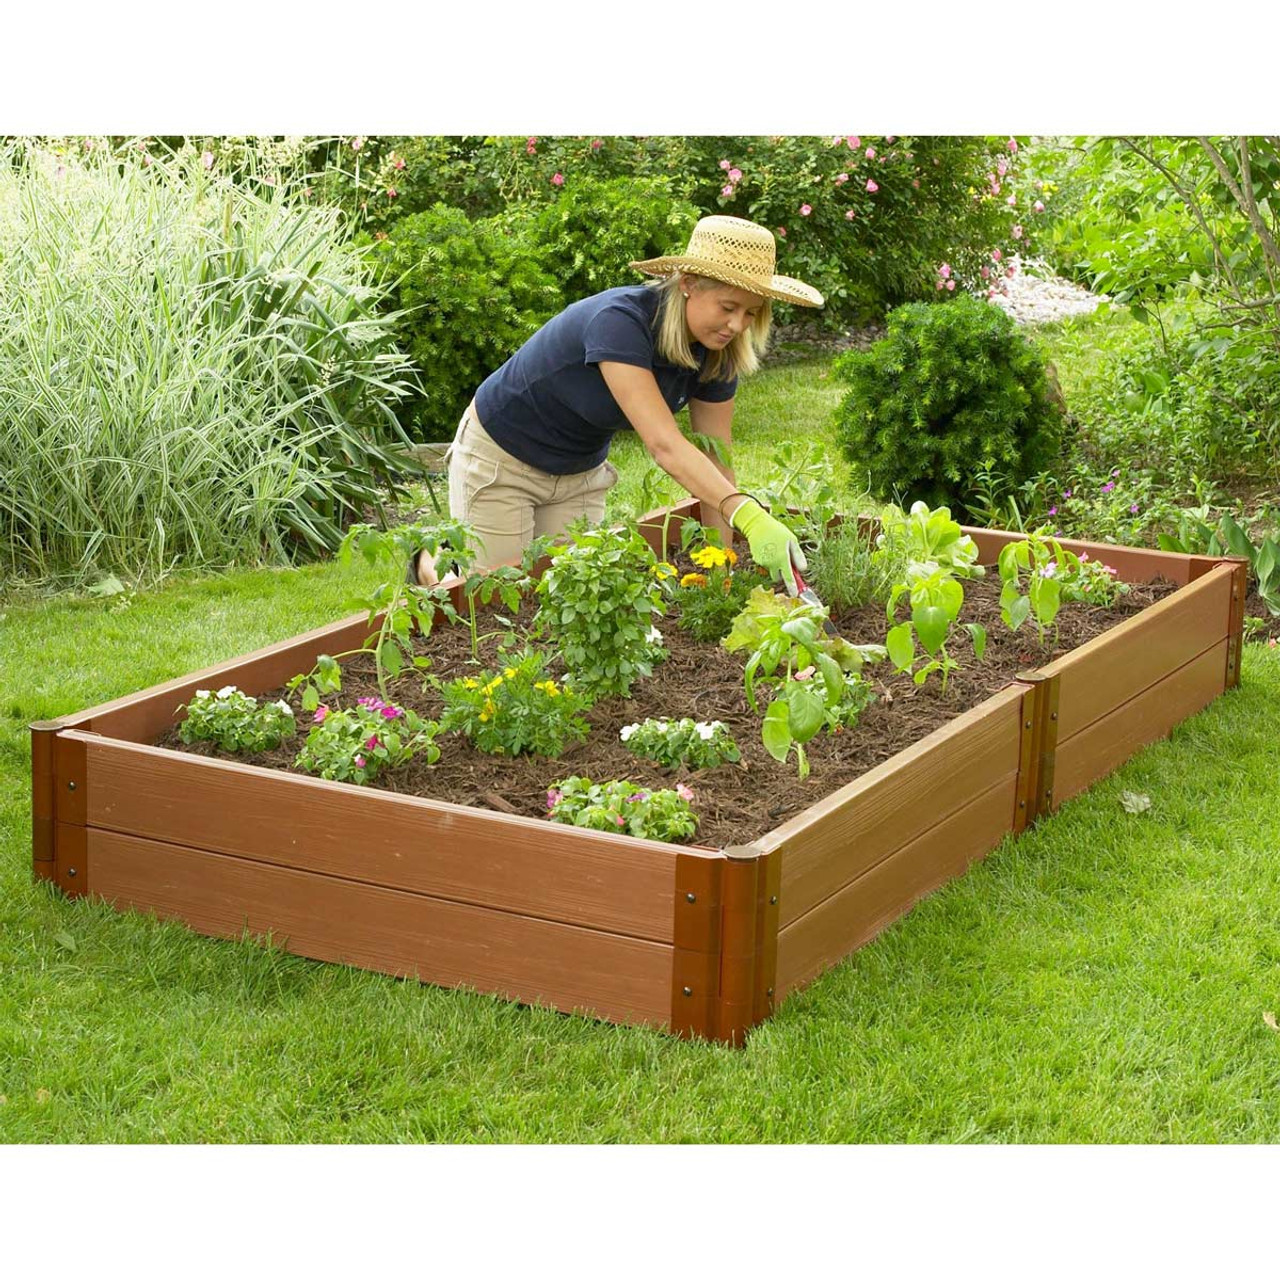
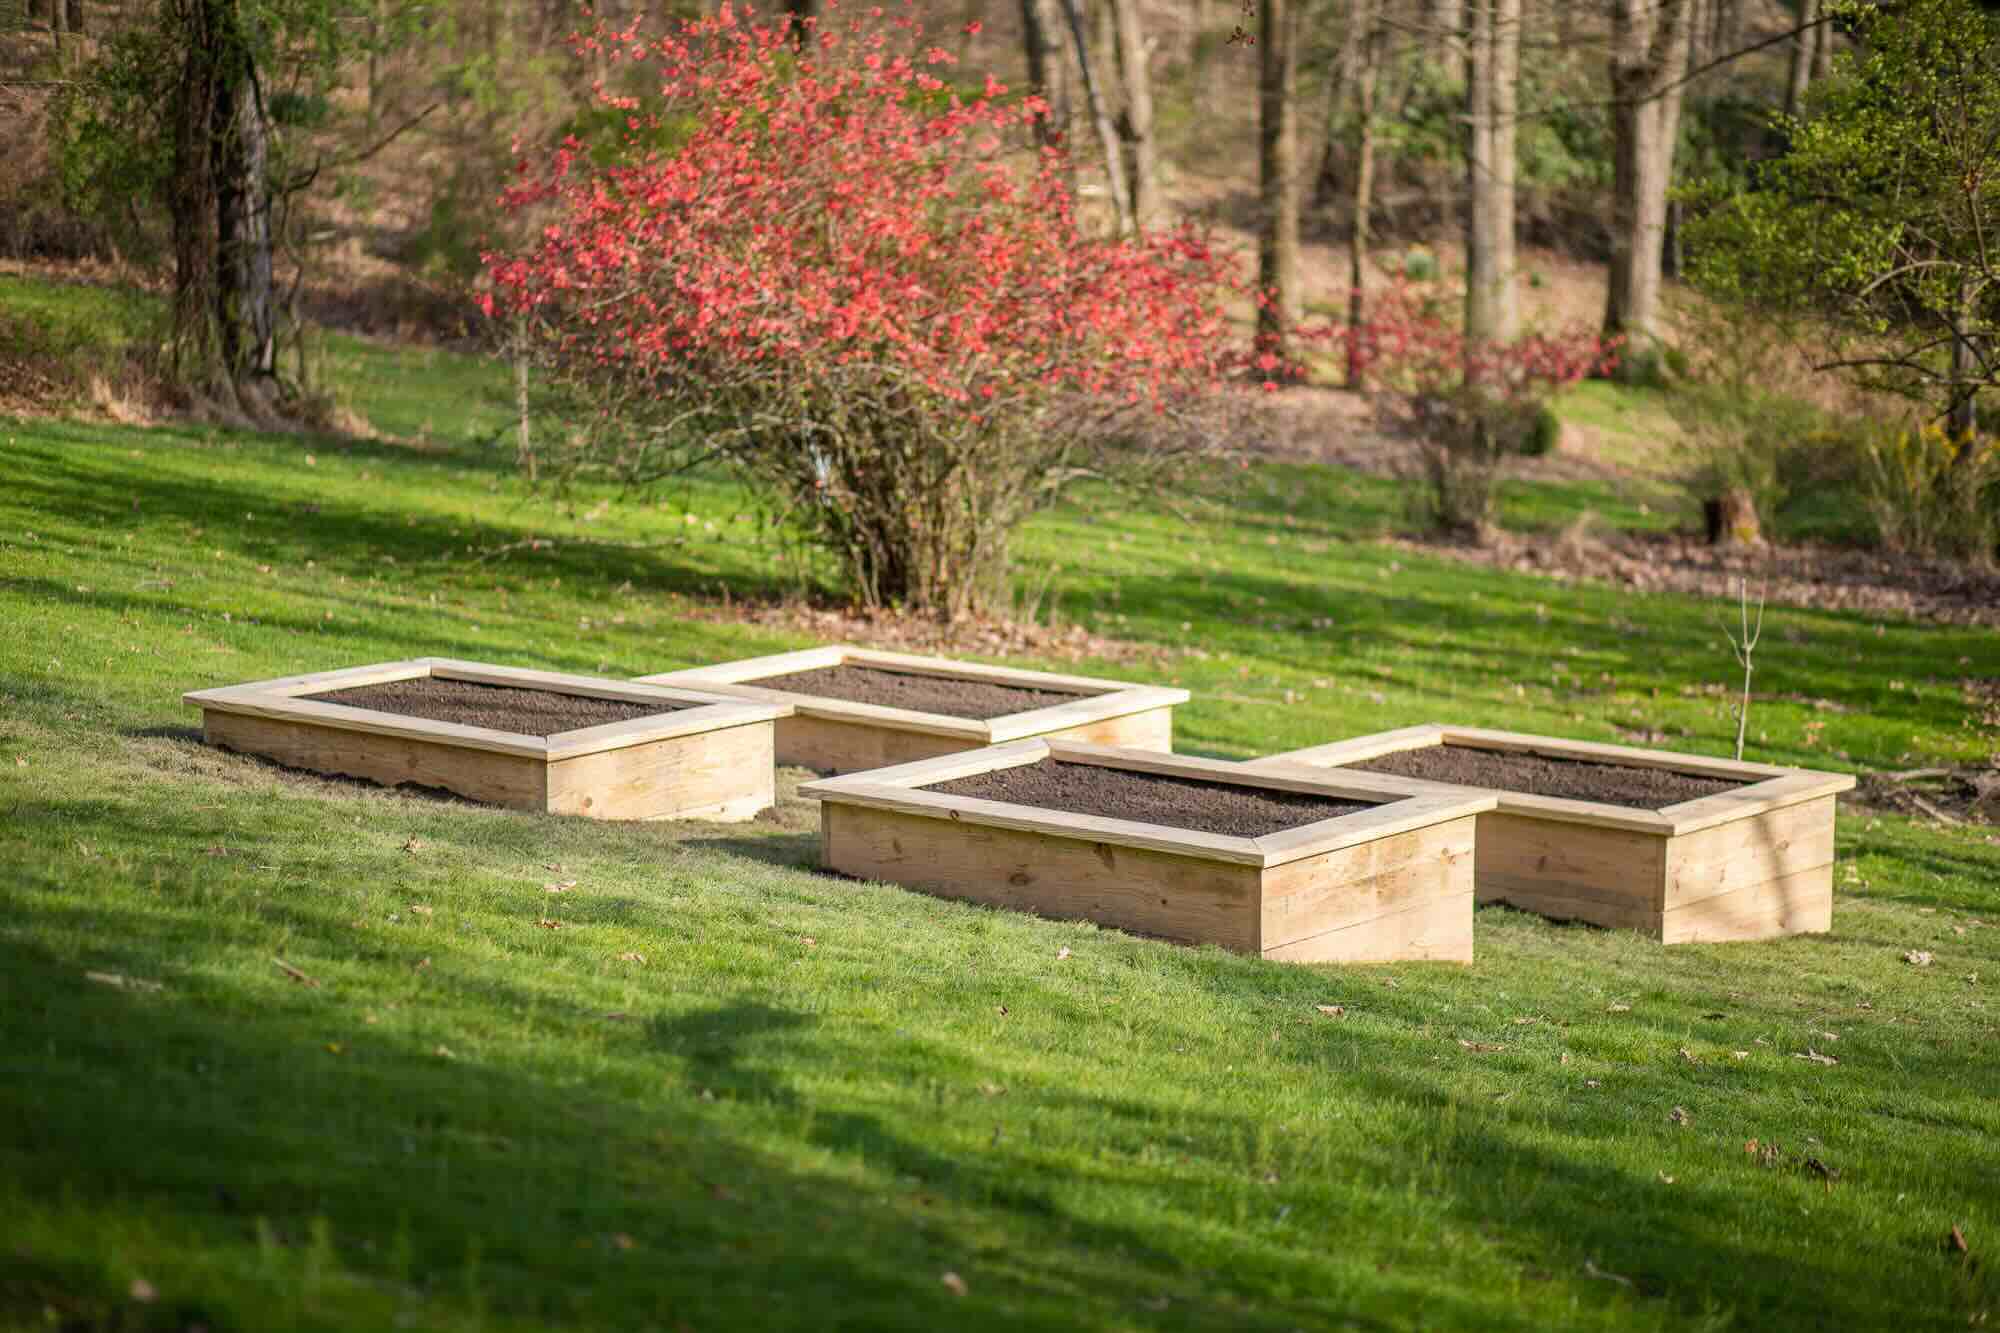
Step 6: Create Garden Beds
Creating garden beds or rows is an important step in organizing and maximizing the space in your garden. It allows for better plant spacing, weed control, and improved access for watering, mulching, and harvesting. Here’s how you can create garden beds:
- Determine Bed Dimensions: Decide on the width and length of your garden beds based on the space available and your gardening preferences. Ideally, keep the width of the beds within a range of 3-4 feet, allowing for easy access from both sides.
- Mark the Bed Layout: Use stakes and string or a garden hose to outline the shape and dimensions of your garden beds. This will help you create straight and consistent rows.
- Prepare Bed Edges: Use a shovel or edging tool to create defined edges for your garden beds. This will help prevent soil erosion and keep the plants contained within their designated areas.
- Clear Pathways: Leave enough space between each garden bed to create pathways for easy navigation. These pathways will allow you to move around the garden comfortably and provide access for maintenance tasks.
By creating garden beds, you can efficiently utilize the space in your garden and optimize plant growth. You’ll have better control over weed management, watering, and fertilizing practices, resulting in a more organized and productive garden.
Once you have established the garden beds, you are now ready for the next step: planting your seeds or transplants.
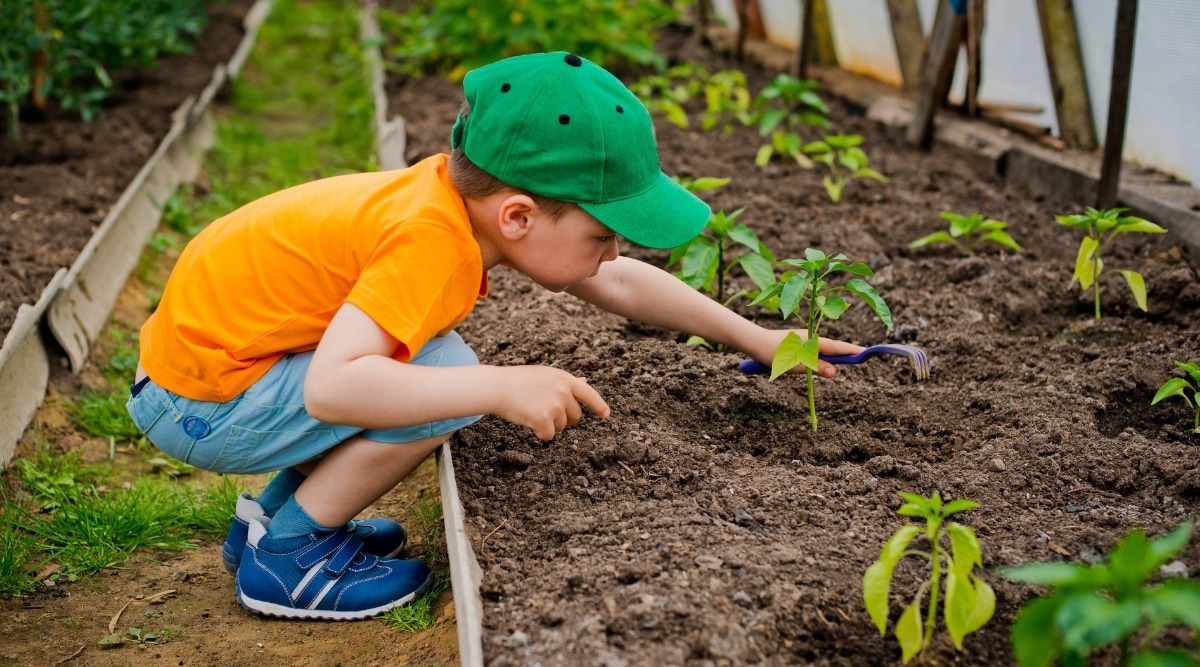
Step 7: Plant Seeds or Transplants
Now that your garden beds are prepared, it’s time to plant seeds or transplants to bring your garden to life. The method you choose will depend on the type of plants you’re growing and your personal gardening preferences. Here’s how to plant seeds or transplants in your garden:
- Seed Planting:
- Read the seed packet instructions to determine the proper planting depth and spacing for each type of seed.
- Using your finger or a small gardening tool, create a small hole in the soil at the recommended depth.
- Place the seed in the hole and cover it with soil, gently firming the soil around the seed.
- Keep in mind the recommended spacing between seeds to prevent overcrowding as the plants grow.
- Transplanting:
- If you’re using transplants, dig a hole in the garden bed that is slightly larger than the root ball of the plant.
- Gently remove the plant from its container and place it in the hole, ensuring that the top of the root ball is level with the soil surface.
- Fill in the hole with soil, gently pressing it around the roots to secure the transplant in place.
- Space transplants according to their recommended spacing to allow for proper air circulation and growth.
- Watering:
- Water the newly planted seeds or transplants gently but thoroughly. This will help them establish their root systems in the soil.
- Continue to water regularly, keeping the soil moist but not overly saturated, until the plants are established.
Properly planting seeds or transplants is crucial for the success of your garden. Be sure to follow the recommended planting depths and spacing to ensure healthy plant growth and optimal yields. Watering diligently after planting will help the plants settle into their new environment and promote root development.
After planting, you can move on to the next step: watering and maintaining your garden.
Step 8: Water and Maintain the Garden
Once your garden is planted, it’s important to provide proper water and maintenance to ensure the health and vitality of your plants. Watering and maintenance practices will vary depending on the specific needs of your plants and your local climate. Here are some general guidelines to help you water and maintain your garden:
- Watering:
- Monitor the moisture level of the soil regularly. Insert your finger into the soil to check for moisture at a depth of a few inches.
- Water your garden deeply and thoroughly, ensuring that the soil is evenly moist. Avoid shallow watering, as it can lead to weak root growth.
- Water in the early morning or late afternoon to minimize water evaporation. Avoid watering during the hottest part of the day to prevent heat stress on the plants.
- Consider using a drip irrigation system or soaker hoses for efficient and targeted watering, reducing water waste and minimizing weed growth.
- Weeding:
- Regularly inspect your garden for weed growth and remove them promptly. Weeds compete with your plants for water, nutrients, and sunlight.
- Use hand tools or a hoe to carefully remove weeds, ensuring you get the entire root system to prevent regrowth.
- Consider applying mulch around your plants to suppress weed growth, conserve soil moisture, and insulate the soil.
- Fertilizing:
- Monitor the health and growth of your plants throughout the growing season.
- If necessary, apply organic or slow-release fertilizers to provide additional nutrients to your plants.
- Follow the instructions on the fertilizer packaging for application rates and timing, as excess fertilizer can harm your plants.
- Pest and Disease Control:
- Regularly inspect your garden for signs of pests or diseases, such as chewed leaves, discoloration, or wilting.
- Take appropriate measures to control pests and diseases, such as handpicking insects, using organic insecticides, or practicing crop rotation.
- Encourage beneficial insects and birds, such as ladybugs and songbirds, to help control pests naturally.
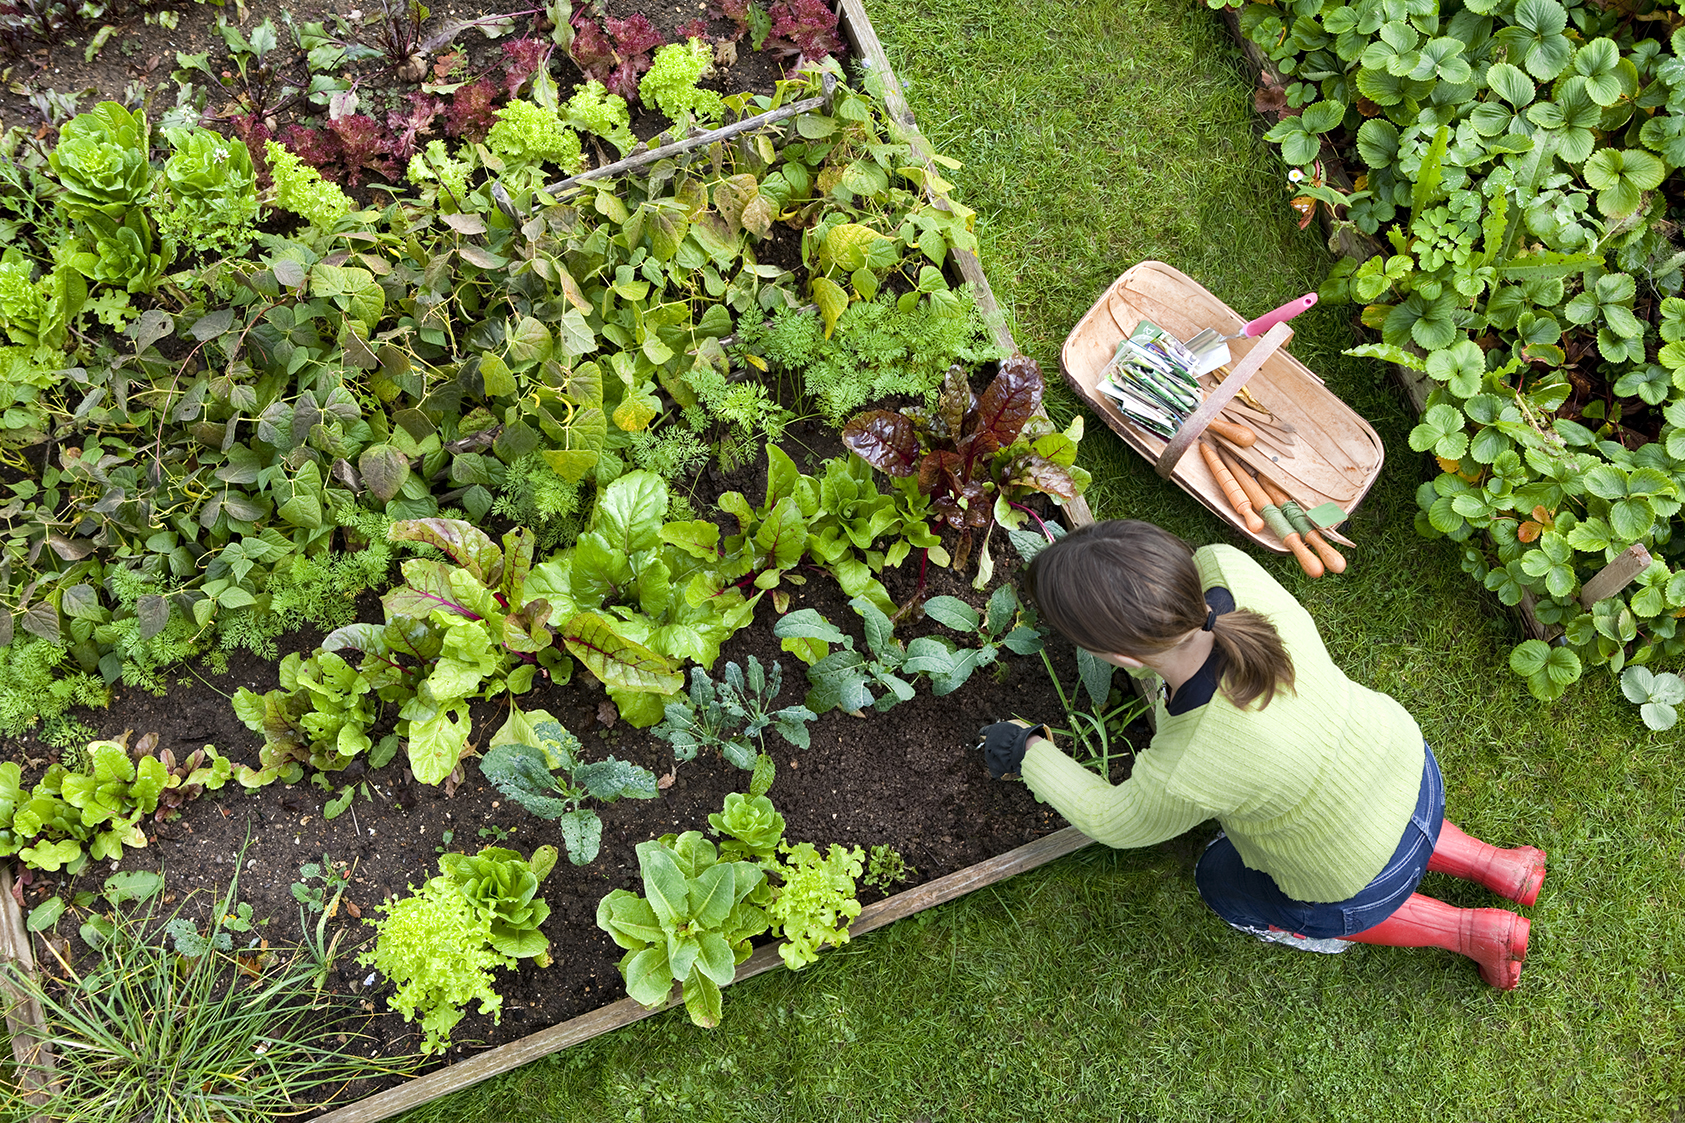
- Harvesting:
- Keep a close eye on your plants as they mature and harvest fruits, vegetables, or herbs when they reach their peak ripeness.
- Follow recommended harvest times and methods for each plant to ensure the best flavor and quality.
- Regularly remove ripe crops to encourage continuous production and prevent overripening or spoilage.
By implementing proper watering and maintenance practices, you’ll help your garden thrive and avoid potential issues related to dehydration, weed competition, nutrient deficiencies, and pest infestations. Regular care and attention will yield a bountiful and rewarding harvest.
Once you have watered and maintained your garden, you’re ready for the final step: harvesting and enjoying the fruits of your labor.
Step 9: Harvest and Enjoy the Fruits of Your Labor
The final step in your gardening journey is the much-anticipated harvest! After weeks or months of care and tending, it’s rewarding to reap the fruits of your labor. Here are some tips for harvesting and enjoying the bounty from your garden:
- Timing:
- Refer to plant-specific guidelines or resources to determine the optimal time for harvesting.
- Harvest vegetables when they reach their peak maturity and fruits when they are fully ripe for the best flavor and texture.
- Some crops, such as herbs, can be harvested continuously throughout the growing season.
- Harvest Method:
- Use sharp garden shears, pruners, or scissors to carefully harvest vegetables, fruits, or herbs.
- Handle delicate crops with care to avoid damage or bruising.
- For root crops, gently loosen the soil around the plant before pulling them out by the base.
- Storage and Preservation:
- If you have excess produce, learn proper storage and preservation methods to avoid waste.
- Some crops can be stored in a cool, dark place, while others can be frozen, canned, or dried for future use.
- Consider sharing your harvest with friends, family, or local community organizations to spread the joy of homegrown produce.
- Celebrate and Enjoy:
- Take pleasure in the fruits of your labor by incorporating your fresh harvest into delicious meals.
- Experiment with new recipes that showcase the flavors of your homegrown produce.
- Share your culinary creations with loved ones and savor the taste of your hard work.
Remember that the joy of gardening extends beyond the physical act of harvesting. It’s about connecting with nature, nurturing plants, and savoring the satisfaction that comes with growing your own food. Whether it’s a handful of herbs or baskets full of vegetables, embrace the fulfillment that your garden brings.
Congratulations on successfully completing all the steps of tilling, planting, and maintaining your garden! Your dedication and effort have paid off, and now it’s time to reap the rewards of your flourishing garden.
With proper care, your garden will continue to thrive and bring you an abundance of fresh, homegrown delights year after year. Happy gardening and enjoy the fruits of your labor!
Conclusion
Congratulations! You’ve learned all the essential steps to tilling and maintaining a thriving garden. From choosing the right tools to harvesting the fruits of your labor, your gardening journey has been filled with knowledge and excitement.
By following these steps, you have set a solid foundation for successful plant growth and abundant yields. Tilling the soil allows for better nutrient absorption, root penetration, and water drainage. Adding amendments enriches the soil, providing essential nutrients and improving its structure. Leveling the soil creates a smooth and even surface, optimizing plant growth. Creating garden beds organizes your space and makes maintenance easier. Planting seeds or transplants brings life to your garden, and with proper watering and maintenance, your plants flourish. Finally, harvesting and enjoying the fruits of your labor is the ultimate delight.
Remember, every garden is a unique journey. Observe your plants closely, make adjustments as needed, and adapt to your specific local conditions. Gardening is a continuous learning process, so don’t be afraid to experiment and try new techniques.
As you continue your gardening endeavors, stay connected to the natural world around you. Appreciate the beauty of your garden, the cycles of growth, and the joy of being part of a sustainable and rewarding process. Share your experiences with others, inspire fellow gardeners, and pass on your newfound knowledge.
Now that you have the tools and understanding, go forth and create a garden that brings you joy, serenity, and a bountiful harvest. Happy gardening!
Frequently Asked Questions about How To Till Garden
Was this page helpful?
At Storables.com, we guarantee accurate and reliable information. Our content, validated by Expert Board Contributors, is crafted following stringent Editorial Policies. We're committed to providing you with well-researched, expert-backed insights for all your informational needs.

0 thoughts on “How To Till Garden”