Home>Gardening & Outdoor>Landscaping Ideas>How To Design A Raised Garden Bed
Landscaping Ideas
How To Design A Raised Garden Bed
Modified: August 30, 2024
Learn how to create a stunning raised garden bed with our expert landscaping ideas. Discover tips and inspiration for your next outdoor project.
(Many of the links in this article redirect to a specific reviewed product. Your purchase of these products through affiliate links helps to generate commission for Storables.com, at no extra cost. Learn more)
Introduction
Designing a raised garden bed is an excellent way to elevate your gardening experience and enhance the aesthetic appeal of your outdoor space. Whether you're a seasoned gardener or a novice enthusiast, the versatility and practicality of raised garden beds make them a popular choice for cultivating a variety of plants, from vibrant flowers to fresh vegetables and herbs.
By opting for a raised garden bed, you can overcome common gardening challenges such as poor soil quality, limited space, and drainage issues. These elevated planters provide better control over the soil composition, moisture levels, and overall maintenance, ultimately contributing to healthier and more abundant plant growth.
In this comprehensive guide, we will walk you through the step-by-step process of designing and creating your own raised garden bed. From selecting the ideal location to preparing the soil and planting your favorite greenery, you'll gain valuable insights and practical tips to embark on this rewarding gardening journey.
Whether you envision a charming floral display adorning your patio or dream of harvesting homegrown vegetables from your backyard, the creation of a raised garden bed opens up a world of possibilities. With careful planning and a touch of creativity, you can transform any outdoor space into a thriving oasis of natural beauty and bountiful harvests.
Now, let's delve into the exciting process of designing and constructing a raised garden bed that will not only elevate your gardening endeavors but also add a touch of elegance to your outdoor environment. Let's get started on this fulfilling and rewarding gardening adventure!
Key Takeaways:
- Designing a raised garden bed involves choosing the right location, considering the available space, and selecting materials like wood, metal, or stone. Careful planning and creativity can transform any outdoor space into a thriving oasis of natural beauty.
- Preparing the soil and planting a diverse array of greenery are essential steps in creating a raised garden bed. By nurturing the plants with care and creativity, individuals can cultivate a vibrant and flourishing oasis that reflects their love for nature and the art of gardening.
Read more: How To Start A Raised Bed Garden
Step 1: Choose the Location
Selecting the right location for your raised garden bed is a crucial first step in the design process. The chosen spot should receive an adequate amount of sunlight, typically six to eight hours per day, to support the healthy growth of plants. Take note of any nearby trees or structures that may cast shadows and obstruct sunlight, as this can impact the productivity of your garden bed.
Consider the accessibility of the location, especially if you plan to frequently tend to your plants. A convenient and easily reachable spot will make maintenance tasks such as watering, weeding, and harvesting more manageable and enjoyable. Additionally, ensure that the chosen area has good drainage to prevent waterlogging, which can be detrimental to plant roots.
Furthermore, assess the ground conditions to determine if any amendments are needed. If the soil is compacted or of poor quality, a raised garden bed offers the advantage of allowing you to fill it with nutrient-rich soil, customized to suit the specific needs of your plants. This is particularly beneficial for individuals dealing with challenging soil conditions, such as heavy clay or sandy soil.
When choosing the location, consider the aesthetic aspect as well. A visually appealing spot that complements the overall landscape of your outdoor space can elevate the charm of your garden bed. Whether it's nestled against a fence, positioned as a focal point in the yard, or integrated into an existing garden area, the location should harmonize with the surrounding environment.
In addition, take into account any potential hazards or nuisances, such as strong winds, animal activity, or proximity to chemical sources. By carefully evaluating these factors, you can create an optimal environment for your raised garden bed, setting the stage for a flourishing and visually captivating garden.
Ultimately, the chosen location should align with your gardening goals and preferences, offering the ideal conditions for your plants to thrive. With thoughtful consideration and a keen eye for detail, you can select a prime location that sets the foundation for a successful and gratifying gardening experience.
Step 2: Determine the Size and Shape
When designing a raised garden bed, determining the size and shape is a pivotal decision that directly impacts the functionality and visual appeal of your gardening space. The dimensions of your garden bed should align with your gardening goals, available space, and aesthetic preferences, ensuring a harmonious integration into your outdoor environment.
Consider the Available Space
Begin by assessing the available space where the raised garden bed will be situated. Measure the area to accurately determine the maximum dimensions for the garden bed. Take into account any surrounding features such as walkways, fences, or existing landscaping elements to ensure that the size of the garden bed complements the overall layout of the outdoor space.
Accessibility and Maintenance
Factor in the accessibility of the garden bed when determining its size. A width of 3 to 4 feet is commonly recommended to allow easy access from all sides for planting, watering, and tending to the plants. This width also facilitates comfortable reaching without the need to step into the garden bed, minimizing soil compaction and potential damage to plant roots.
Read more: Why A Raised Garden Bed
Shape and Design Flexibility
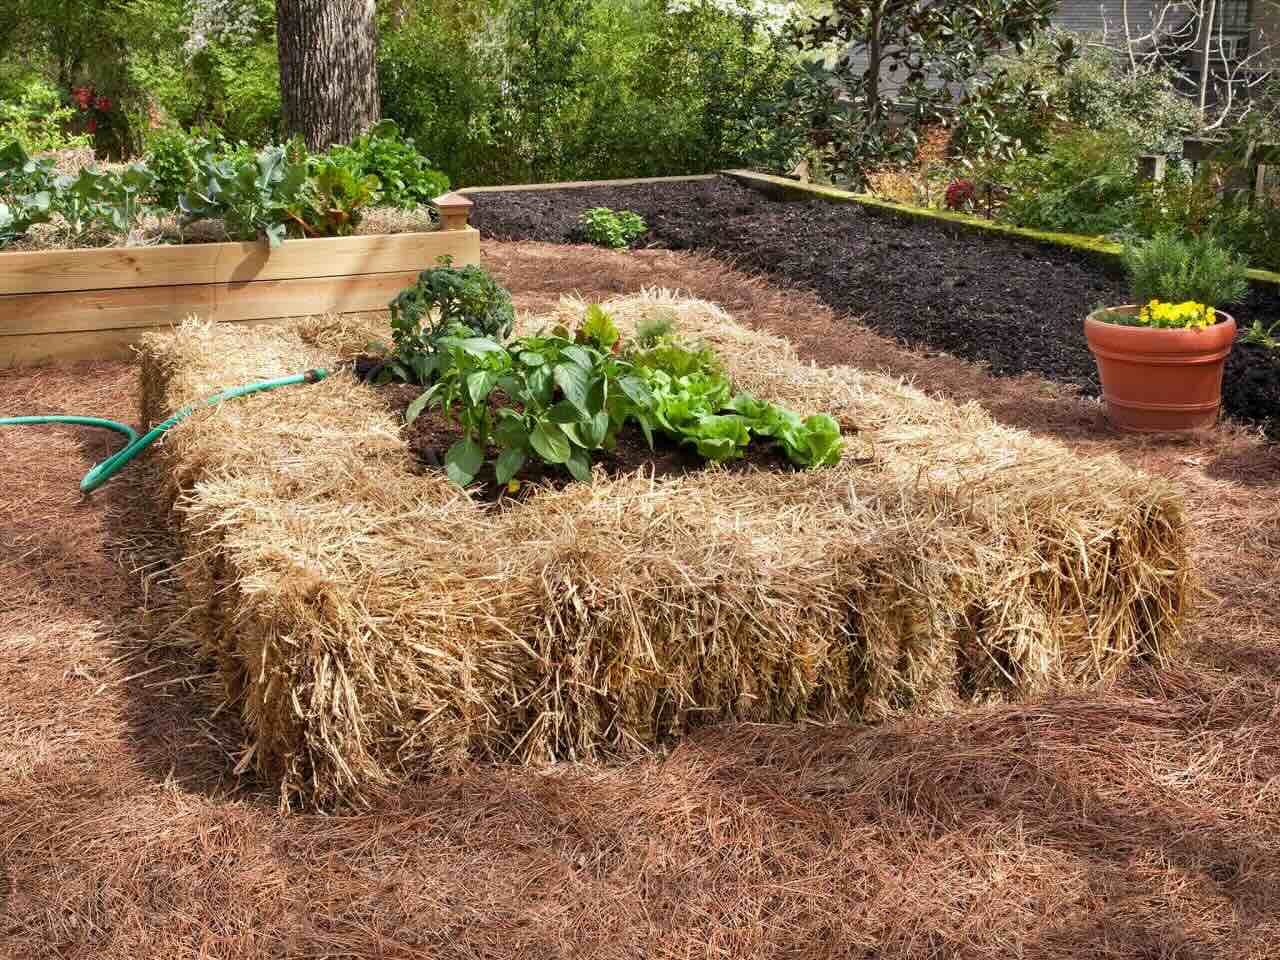
The shape of your raised garden bed can vary from traditional rectangular or square designs to more intricate shapes such as L-shaped or keyhole configurations. The choice of shape can be influenced by the available space, aesthetic preferences, and the types of plants you intend to grow. For example, a keyhole garden bed design incorporates a center composting basket, providing a sustainable way to nourish the surrounding plants while maximizing growing space.
Planting Considerations
Consider the types of plants you plan to cultivate within the garden bed when determining its size and shape. If you envision a mix of vegetables, herbs, and flowers, a larger and more versatile shape may be suitable to accommodate a diverse range of plantings. Alternatively, if you have specific plant varieties in mind, the size and shape can be tailored to optimize the growing conditions for those particular plants.
Visual Harmony
Incorporate the visual aspect into your decision-making process, aiming to create a garden bed size and shape that harmonizes with the surrounding landscape. The proportions and contours of the garden bed should complement the overall aesthetic of your outdoor space, enhancing its visual appeal and contributing to a cohesive and inviting atmosphere.
By carefully considering the available space, accessibility, plant selection, and visual harmony, you can determine the ideal size and shape for your raised garden bed. This thoughtful approach sets the stage for a well-proportioned and visually captivating garden bed that aligns with your gardening aspirations and enriches the outdoor ambiance.
Step 3: Select the Materials
Selecting the materials for your raised garden bed is a pivotal aspect of the design process, as it directly influences the durability, aesthetics, and overall functionality of the structure. By carefully choosing the right materials, you can ensure that your garden bed not only complements the surrounding environment but also withstands the rigors of outdoor exposure while providing an optimal growing environment for your plants.
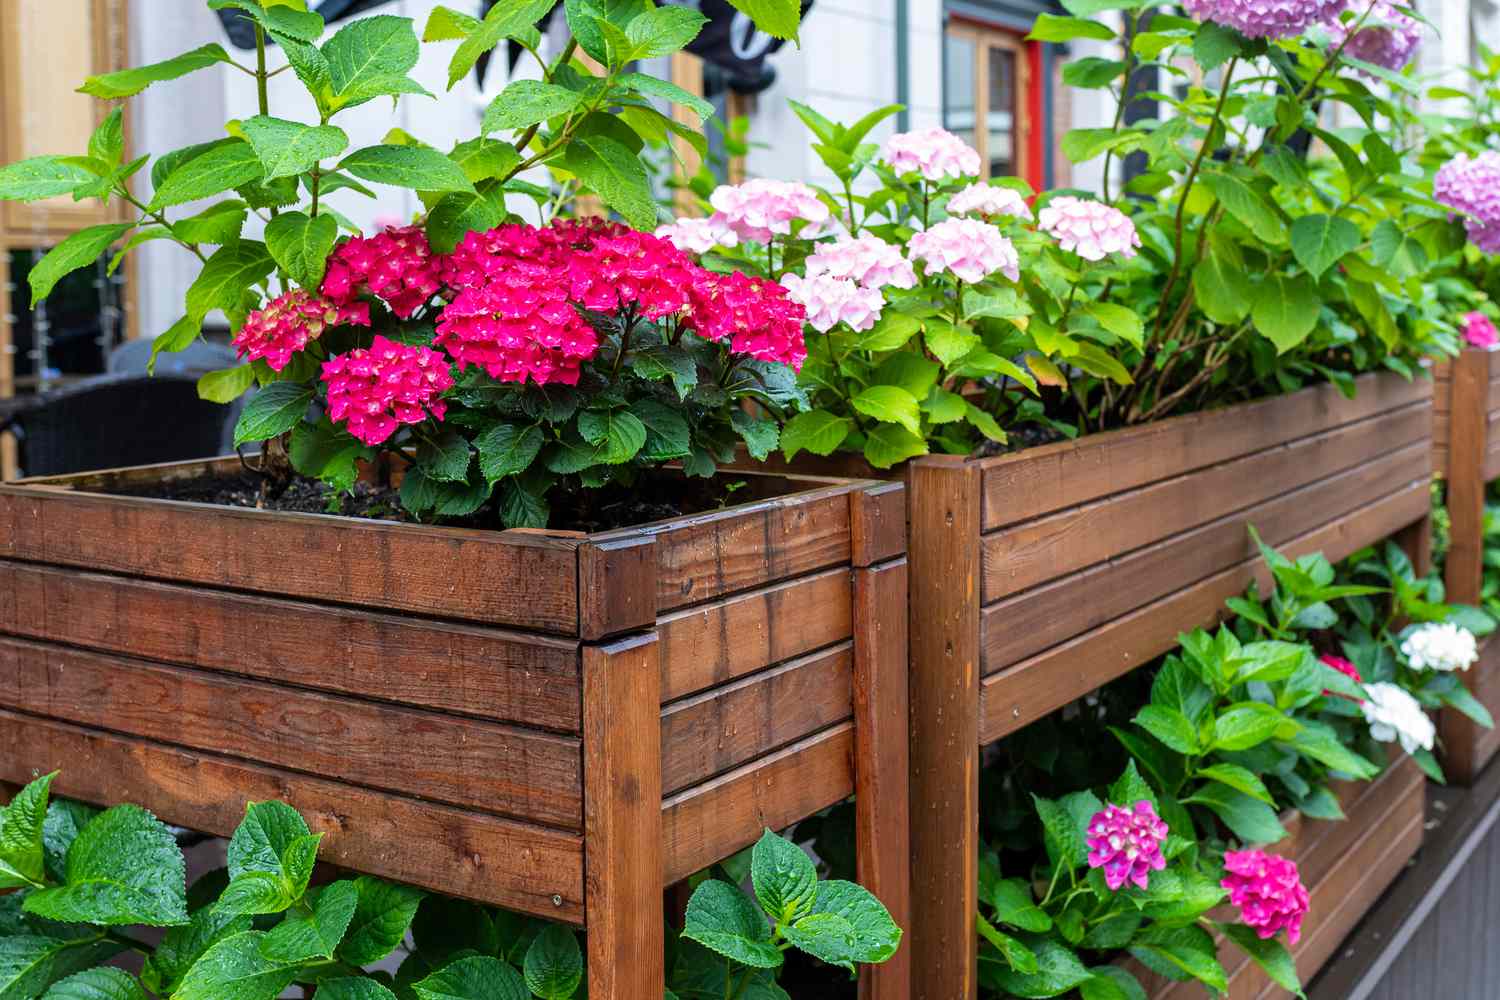
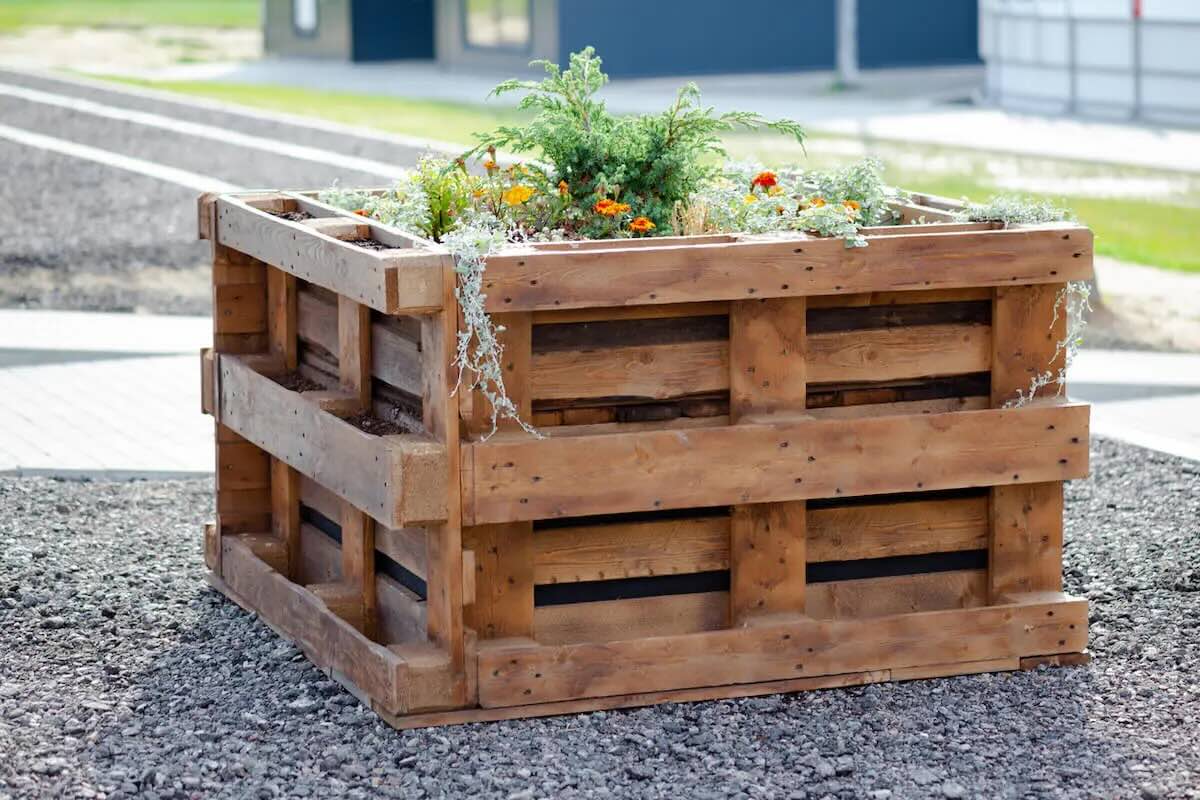
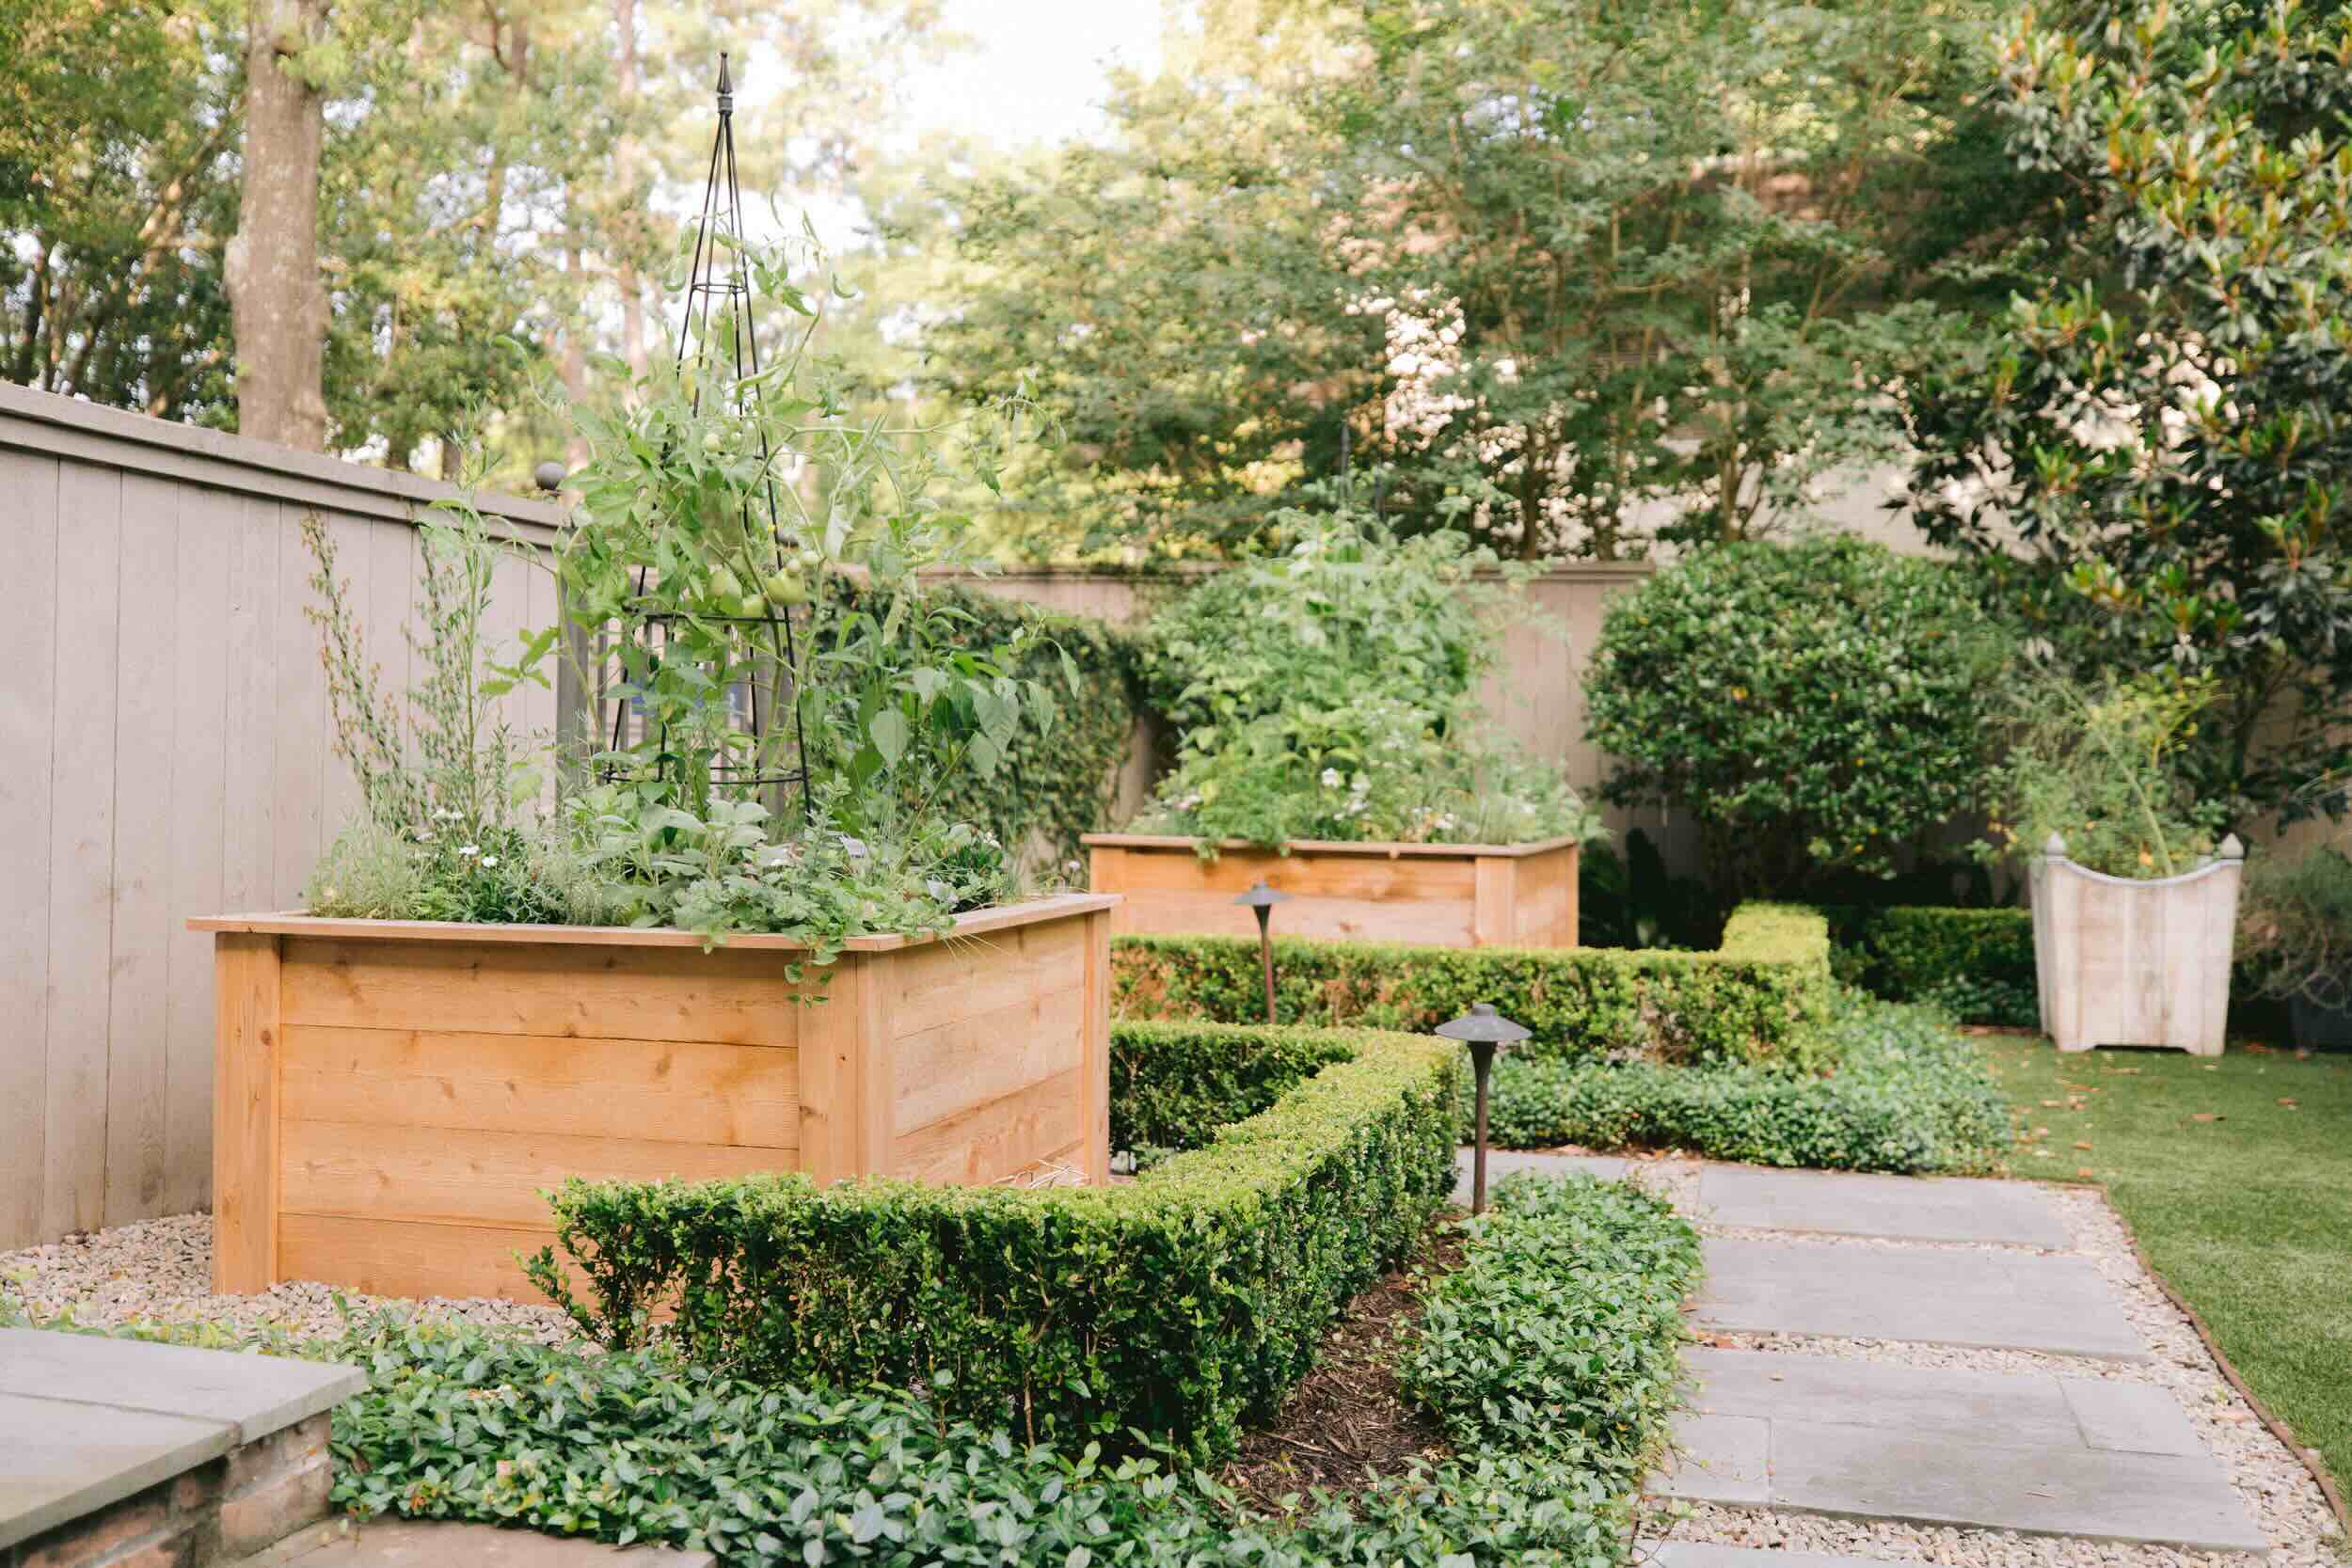
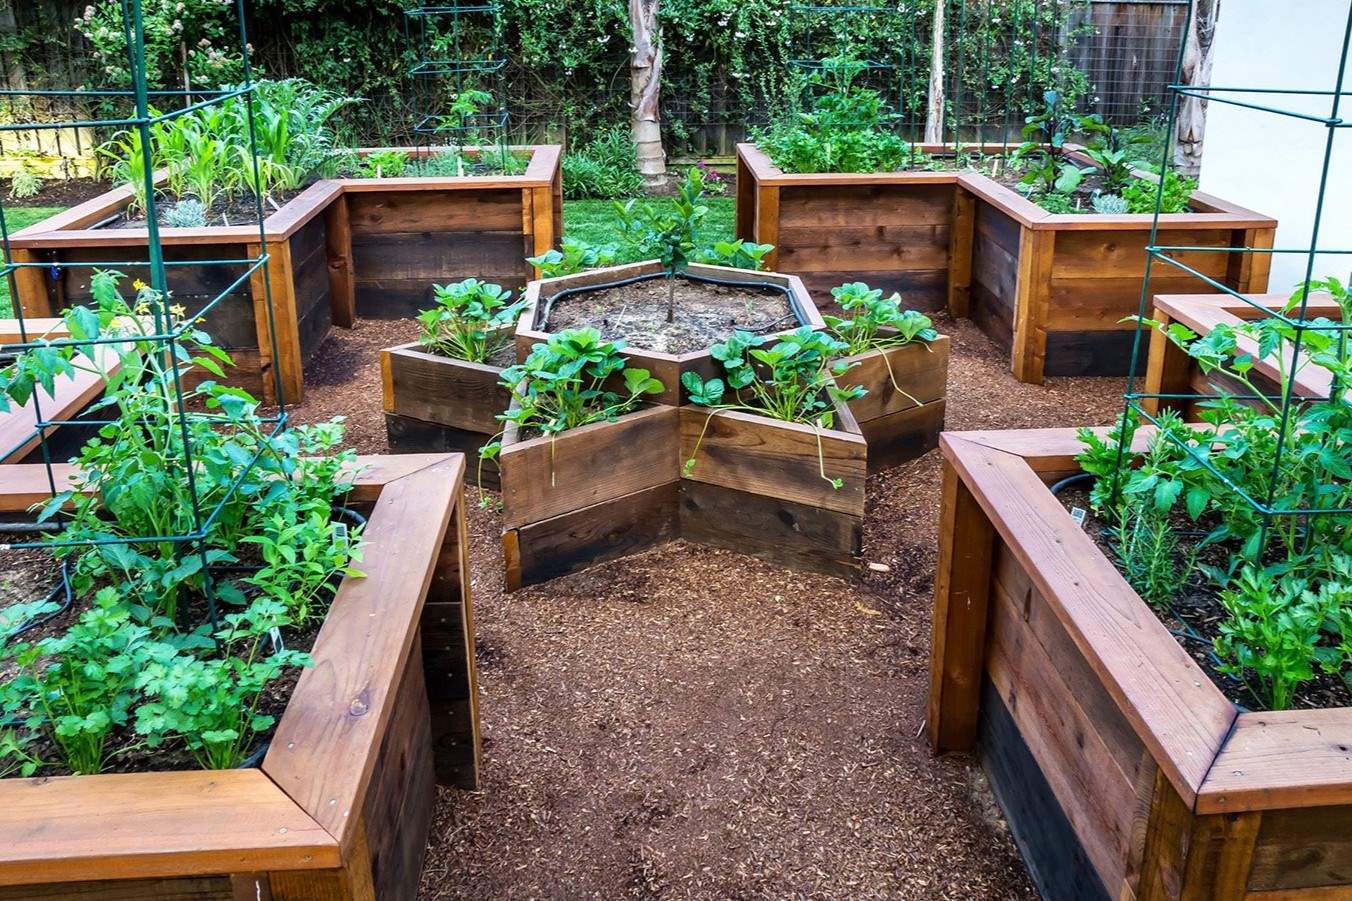
Wood
Wood is a popular choice for constructing raised garden beds due to its natural appeal, versatility, and ease of assembly. Cedar and redwood are highly favored for their natural resistance to decay and insects, making them durable options for outdoor use. When selecting wood, opt for untreated or naturally rot-resistant lumber to avoid potential chemical leaching into the soil. Additionally, consider the thickness of the wood boards, aiming for a sturdy and long-lasting frame that can support the weight of the soil and plants.
Composite Materials
Composite materials, such as recycled plastic lumber or composite wood, offer an eco-friendly and low-maintenance alternative to traditional wood. These materials are resistant to rot, decay, and insect damage, providing a durable and long-lasting solution for your raised garden bed. Furthermore, composite materials are available in various colors and textures, allowing for customization to suit your aesthetic preferences and seamlessly integrate with your outdoor landscape.
Metal
Metal garden bed kits, typically constructed from galvanized steel or aluminum, offer a sleek and modern option for creating raised garden beds. These materials are resistant to rust and corrosion, ensuring longevity and minimal maintenance. Metal garden bed kits often feature interlocking panels or modular designs, simplifying the assembly process and providing a clean and contemporary look for your garden bed.
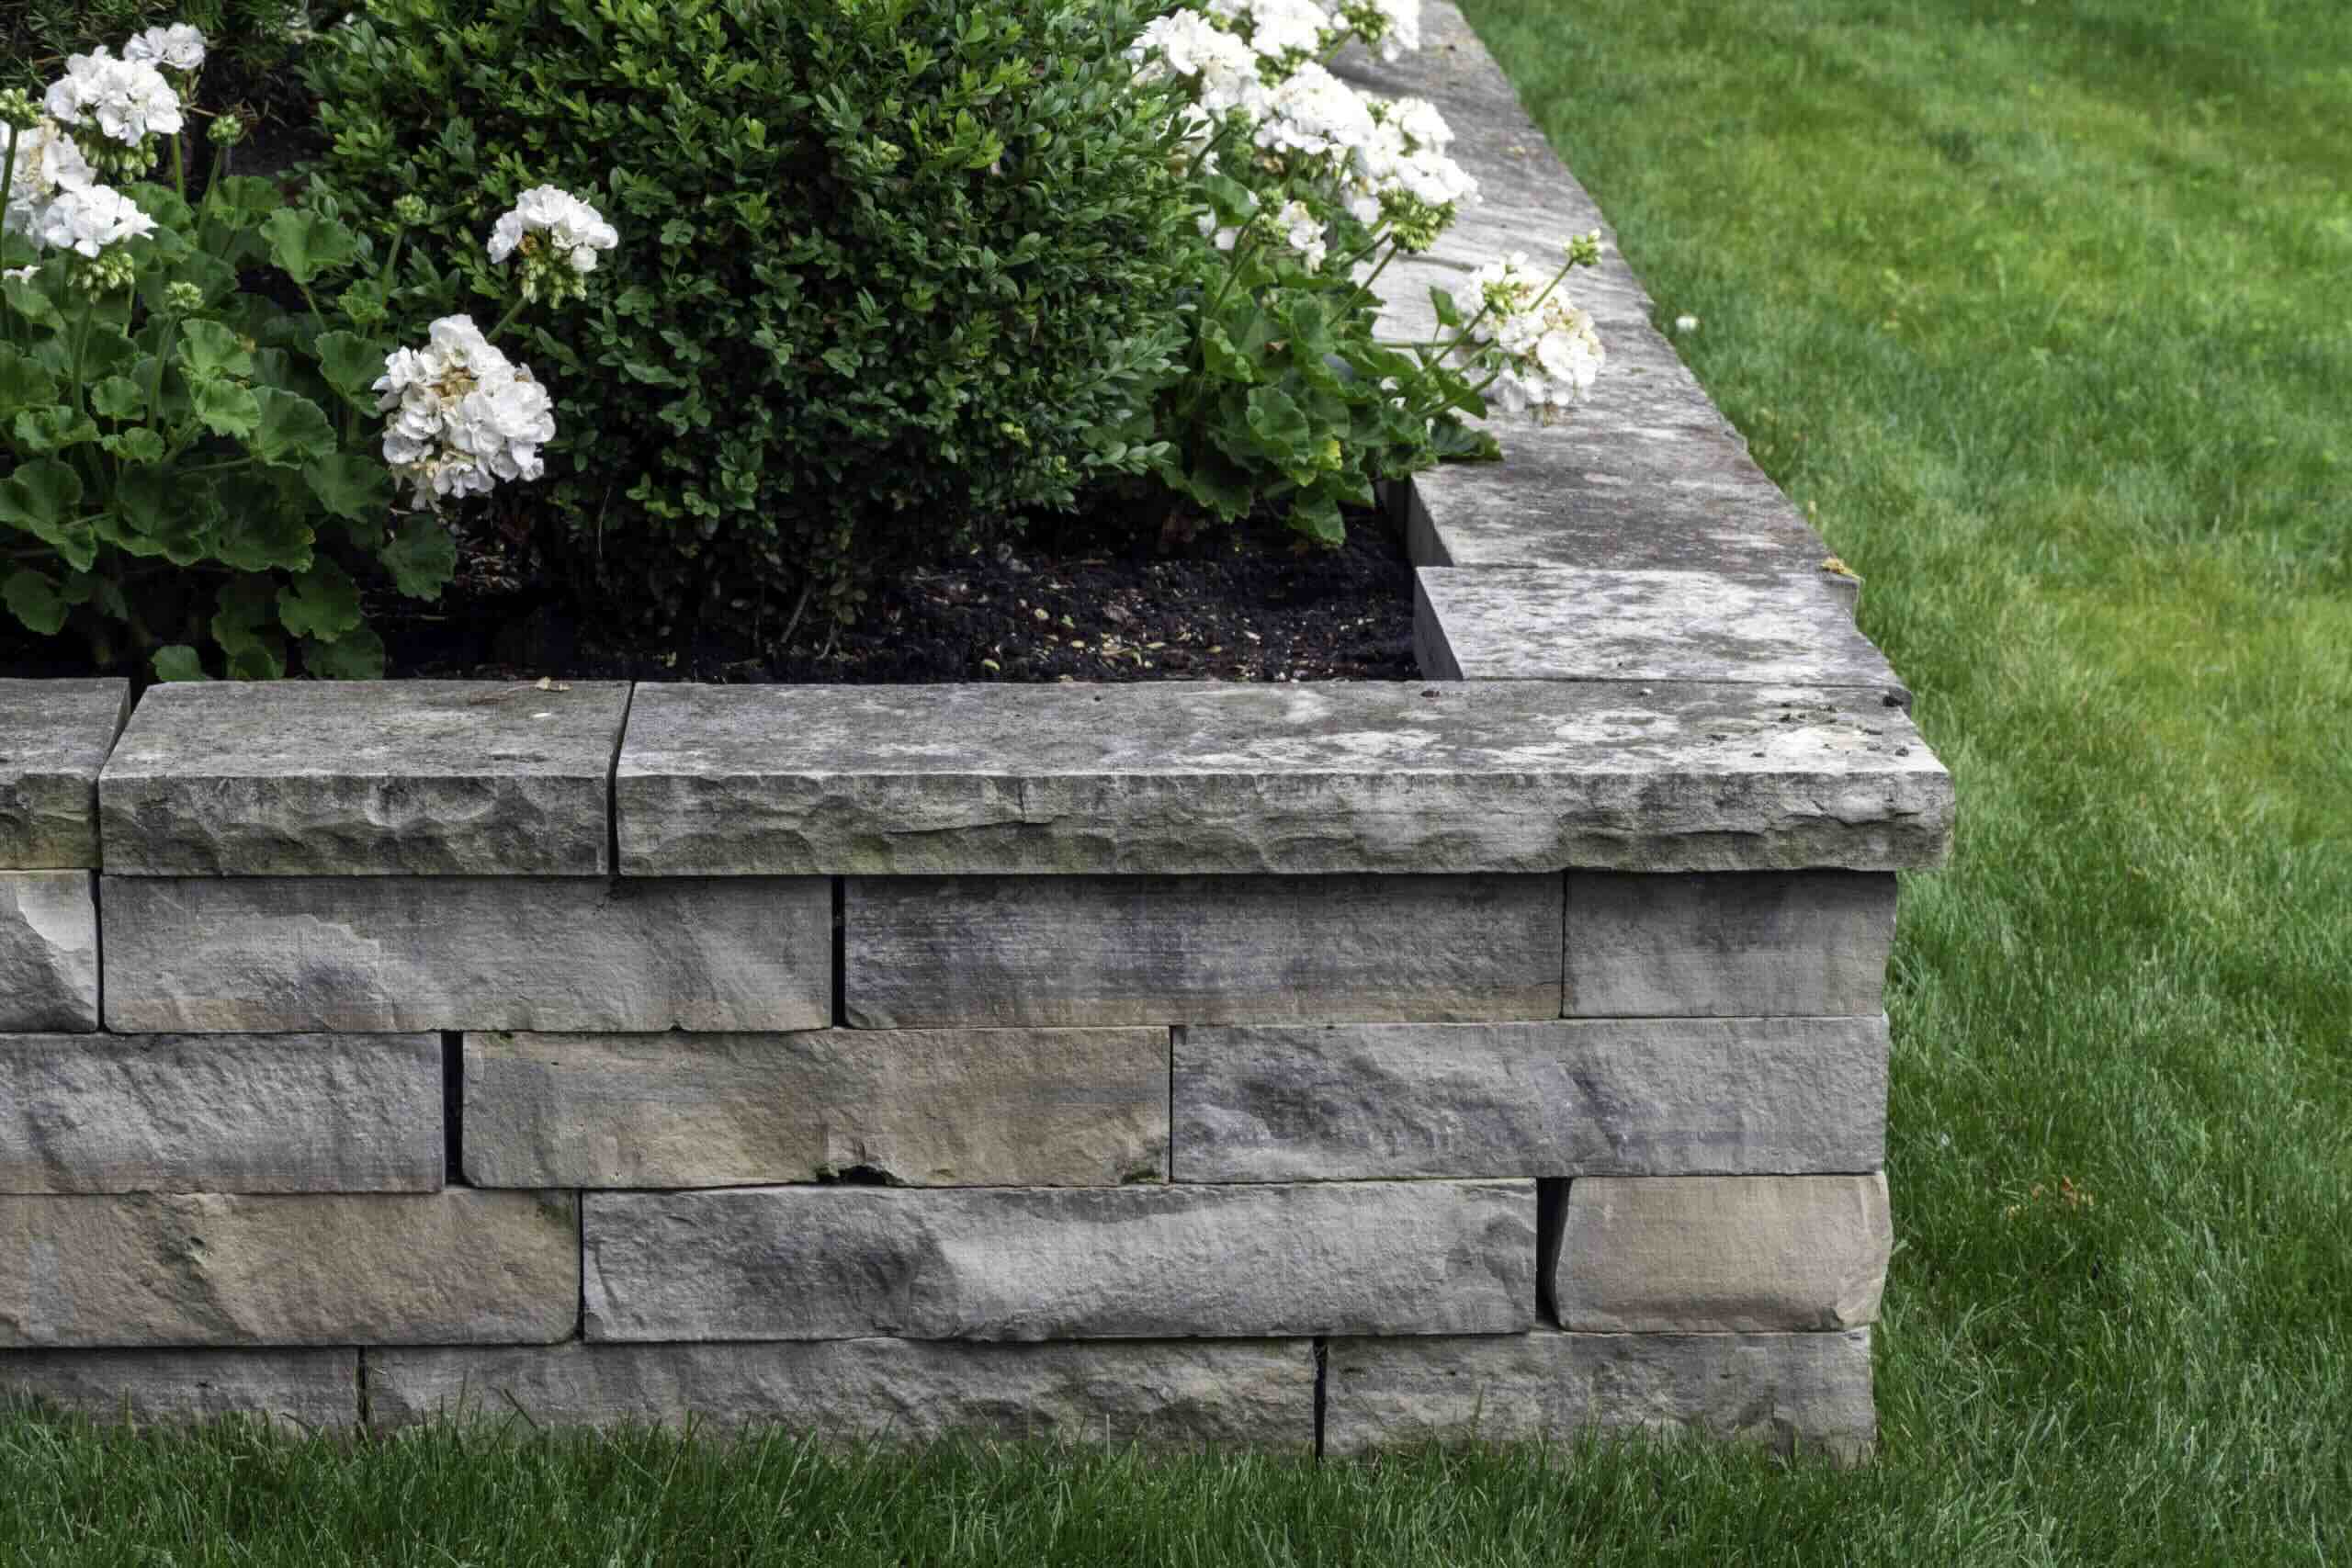
Stone or Brick
For a timeless and elegant aesthetic, consider using stone or brick to construct your raised garden bed. These materials add a touch of sophistication to the outdoor space while offering excellent durability and structural integrity. Stone or brick garden beds can be built using individual stones or bricks, creating a custom design that complements the existing hardscape and architectural elements of your outdoor environment.
Read more: What Is A Raised Garden Bed
Fabric and Plastic
Fabric or plastic garden bed liners are versatile options for creating temporary or portable raised garden beds. These materials are lightweight, easy to maneuver, and can be utilized in various shapes and sizes to accommodate different planting needs. Fabric liners provide excellent drainage and aeration for the soil, while plastic liners offer a moisture barrier to protect the underlying surface.
By carefully evaluating the characteristics and benefits of each material, you can select the most suitable option for your raised garden bed, ensuring a harmonious blend of functionality, durability, and visual appeal. Whether you opt for the natural charm of wood, the modern allure of metal, or the timeless elegance of stone, the chosen materials will lay the foundation for a well-crafted and enduring raised garden bed that enriches your outdoor space.
Step 4: Build the Frame
Building the frame of your raised garden bed is a pivotal phase that lays the groundwork for the structural integrity and overall functionality of the garden bed. The frame serves as the boundary that contains the soil, defines the shape of the garden bed, and provides support for the plants. Whether you opt for a traditional rectangular design or a more intricate shape, the construction of the frame requires careful attention to detail and precision to ensure a sturdy and visually appealing result.
Material Selection
Selecting the appropriate material for the frame is essential to its durability and longevity. If you've chosen wood for the frame, consider using rot-resistant lumber such as cedar or redwood to withstand outdoor exposure. Ensure that the wood is thick enough to provide adequate support for the soil and plants. Alternatively, if you've opted for a metal garden bed kit, follow the manufacturer's instructions for assembling the interlocking panels or modular components to create a secure and stable frame.
Assembly Process
Begin by laying out the designated area for the raised garden bed and positioning the frame components accordingly. If using wood, connect the boards at the corners using exterior-grade screws or galvanized nails, ensuring that the corners are square and the frame is level. For metal garden bed kits, follow the provided assembly guidelines to interlock the panels and secure the joints as per the manufacturer's recommendations.
Read more: How To Seal A Raised Garden Bed
Reinforcement and Stability
To reinforce the frame and enhance its stability, consider adding corner braces or stakes at the outer corners of the garden bed. This additional support helps prevent the frame from shifting or bowing over time, especially when filled with soil. If using metal garden bed kits, ensure that the panels are securely connected and anchored to the ground as per the manufacturer's instructions to maintain structural stability.
Finishing Touches
Once the frame is assembled and reinforced, take a moment to inspect the overall structure for any protruding screws or sharp edges that may pose a safety hazard. Sand down any rough surfaces and apply a non-toxic wood sealant or finish to protect the wood from moisture and prolong its lifespan. For metal frames, check for any sharp edges or exposed metal parts, and consider applying a protective coating to prevent corrosion and enhance the visual appeal.
By meticulously constructing the frame of your raised garden bed with attention to material selection, precise assembly, reinforcement, and finishing touches, you can create a robust and visually appealing structure that forms the cornerstone of your gardening oasis. The well-crafted frame sets the stage for the next phase of preparing the soil and planting your chosen greenery, bringing you one step closer to enjoying the bountiful rewards of your labor and creativity.
Step 5: Prepare the Soil
Preparing the soil for your raised garden bed is a critical step that directly influences the health and productivity of your plants. The soil composition, structure, and nutrient content play a pivotal role in creating an optimal growing environment, fostering robust root development, and supporting vigorous plant growth. By carefully preparing the soil, you can lay the foundation for a thriving garden bed that yields abundant harvests and vibrant blooms.
Soil Selection
Begin by selecting high-quality soil that is well-suited for the types of plants you intend to cultivate. A balanced and nutrient-rich soil mix, specifically formulated for raised beds, provides an excellent starting point for creating an ideal growing medium. Look for soil blends that incorporate a combination of organic matter, such as compost, peat moss, and aged manure, to enhance fertility and improve soil structure.
Read more: How To Cover A Raised Garden Bed
Soil Amendments
Assess the soil composition and pH levels to determine if any amendments are needed to optimize its quality. Conduct a soil test to gauge the pH and nutrient levels, allowing you to make informed decisions regarding the necessary adjustments. Depending on the results, you may need to incorporate organic fertilizers, lime, or sulfur to achieve the desired pH range and nutrient balance for your specific plantings.
Soil Mixing and Fluffing
Once you have obtained the appropriate soil mix and amendments, thoroughly blend them together to create a uniform and well-integrated growing medium. Use a garden fork or shovel to mix the soil components, ensuring that the amendments are evenly distributed throughout the soil. Fluffing the soil helps improve aeration and drainage, creating a hospitable environment for plant roots to thrive and access essential nutrients.
Layering Technique
Consider implementing a layering technique when filling the raised garden bed with soil. Begin by adding a base layer of soil mix, spreading it evenly across the bottom of the bed. Gradually build up the layers, periodically compacting the soil to eliminate air pockets and achieve a level surface. This layering approach promotes uniform soil distribution and provides a solid foundation for planting your chosen greenery.
Mulching and Moisture Retention
To further enhance the soil quality and moisture retention, consider applying a layer of organic mulch on top of the soil. Mulching helps regulate soil temperature, reduce water evaporation, and suppress weed growth, contributing to a healthier and more sustainable growing environment. Organic mulches, such as straw, shredded leaves, or wood chips, also gradually decompose, enriching the soil with valuable organic matter over time.
By meticulously preparing the soil for your raised garden bed, you can create an optimal growing environment that nurtures the vitality and resilience of your plants. The thoughtful selection of soil, incorporation of amendments, thorough mixing, and strategic layering techniques culminate in a well-prepared soil bed that sets the stage for successful plantings and a flourishing garden.
Read more: How To Drain A Raised Garden Bed
Step 6: Plant Your Garden
With the raised garden bed meticulously designed, constructed, and filled with nutrient-rich soil, the time has come to bring your gardening vision to life by planting a diverse array of greenery that will flourish within this elevated oasis. The process of planting your garden is an exciting and rewarding endeavor, allowing you to exercise your creativity, horticultural knowledge, and nurturing instincts as you carefully introduce each plant to its new home.
Plant Selection and Arrangement
Begin by selecting a variety of plants that align with your gardening goals, personal preferences, and the specific growing conditions of your raised garden bed. Whether you envision a vibrant tapestry of flowering perennials, a bountiful assortment of vegetables and herbs, or a harmonious blend of both, the plant selection process offers an opportunity to curate a captivating and functional garden space.
Consider the mature size, sunlight requirements, and compatibility of the chosen plants, aiming to create a harmonious and visually appealing arrangement within the confines of the garden bed. Pay attention to the recommended spacing between plants to allow for adequate air circulation, minimize competition for resources, and facilitate healthy growth.
Planting Techniques
When planting your garden, employ proper planting techniques to ensure the well-being of each green inhabitant. Dig individual planting holes that are spacious enough to accommodate the root systems of the plants, gently loosen the roots before placing them in the soil, and backfill the holes with the prepared soil mix. Pat the soil gently around the base of each plant to secure it in place and eliminate air pockets.
For seeds, follow the recommended sowing depth and spacing guidelines, providing ample room for the seedlings to emerge and develop. Consider incorporating companion planting principles to maximize the garden's productivity and natural pest control, fostering symbiotic relationships between compatible plant species.
Watering and Maintenance
After planting, thoroughly water the garden bed to settle the soil around the roots and provide essential hydration to the newly introduced plants. Monitor the moisture levels regularly, adjusting your watering routine based on the specific needs of the plants and the prevailing weather conditions.
Implement a proactive approach to garden maintenance, tending to tasks such as pruning, weeding, and fertilizing to promote the health and vitality of the plants. Stay attuned to the evolving needs of your garden, addressing any signs of pests, diseases, or nutrient deficiencies promptly to sustain a thriving and resilient plant community.
Read more: What To Line A Raised Garden Bed With
Cultivating Growth and Enjoyment
As your garden begins to take root and flourish within the raised bed, take pleasure in observing the gradual transformation and evolution of the greenery. Embrace the joy of nurturing your plants, witnessing their growth, and savoring the beauty and bounty they bestow upon your outdoor space.
By planting your garden with care, attention, and a touch of creativity, you can cultivate a vibrant and flourishing oasis within your raised garden bed, reaping the rewards of your dedication and passion for gardening. Each plant becomes a living testament to your nurturing efforts, contributing to the natural splendor and abundant harvests that enrich your outdoor environment.
The planting phase marks the culmination of your raised garden bed design journey, ushering in a new chapter of growth, beauty, and fulfillment as you witness the garden bed come to life with an exquisite tapestry of colors, textures, and flavors. As you tend to your garden, revel in the gratifying experience of nurturing life and creating a captivating sanctuary that reflects your love for nature and the art of gardening.
Conclusion
In conclusion, the process of designing and creating a raised garden bed is a fulfilling and rewarding endeavor that opens up a world of possibilities for gardening enthusiasts. From the initial selection of the location to the meticulous preparation of the soil and the joyful act of planting, each step contributes to the transformation of an ordinary outdoor space into a thriving oasis of natural beauty and bountiful harvests.
The journey of designing a raised garden bed begins with thoughtful consideration of the location, taking into account factors such as sunlight exposure, accessibility, and aesthetic harmony with the surrounding environment. By carefully choosing the ideal spot, gardeners set the stage for a flourishing garden bed that receives the necessary sunlight, offers ease of maintenance, and seamlessly integrates into the outdoor landscape.
Determining the size and shape of the garden bed involves a delicate balance of functionality and visual appeal. By considering the available space, accessibility, and plant selection, individuals can tailor the dimensions and contours of the garden bed to create a harmonious and inviting space that complements their gardening aspirations and enriches the outdoor ambiance.
The selection of materials for the raised garden bed is a pivotal decision that influences its durability, aesthetics, and overall functionality. Whether opting for the natural charm of wood, the modern allure of metal, or the timeless elegance of stone, the chosen materials lay the foundation for a well-crafted and enduring garden bed that enhances the outdoor space.
Building the frame and preparing the soil are essential phases that contribute to the structural integrity and optimal growing environment of the garden bed. By meticulously constructing the frame and preparing the soil with attention to detail, gardeners create a robust and well-prepared foundation that sets the stage for successful plantings and a flourishing garden.
Finally, the act of planting the garden marks the culmination of the raised garden bed design journey, ushering in a new chapter of growth, beauty, and fulfillment. As the garden bed comes to life with a vibrant tapestry of colors, textures, and flavors, individuals can revel in the gratifying experience of nurturing life and creating a captivating sanctuary that reflects their love for nature and the art of gardening.
In essence, the creation of a raised garden bed is not merely a horticultural endeavor; it is a transformative journey that fosters a deeper connection with nature, cultivates a sense of creativity and stewardship, and yields the tangible and intangible rewards of a flourishing garden. With each carefully tended plant and each bountiful harvest, the raised garden bed becomes a living testament to the joy and fulfillment of gardening, enriching the lives of those who tend to it and adding a touch of natural splendor to the outdoor environment.
Frequently Asked Questions about How To Design A Raised Garden Bed
Was this page helpful?
At Storables.com, we guarantee accurate and reliable information. Our content, validated by Expert Board Contributors, is crafted following stringent Editorial Policies. We're committed to providing you with well-researched, expert-backed insights for all your informational needs.


0 thoughts on “How To Design A Raised Garden Bed”