Home>Gardening & Outdoor>Landscaping Ideas>How To Make A Rock Garden Bed
Landscaping Ideas
How To Make A Rock Garden Bed
Modified: August 27, 2024
Learn how to create a stunning rock garden bed with our landscaping ideas. Discover step-by-step instructions for designing and building your own rock garden.
(Many of the links in this article redirect to a specific reviewed product. Your purchase of these products through affiliate links helps to generate commission for Storables.com, at no extra cost. Learn more)
Introduction
Creating a rock garden bed is a fantastic way to add visual interest and texture to your outdoor space. Whether you have a sprawling backyard or a cozy balcony, a rock garden bed can transform any area into a captivating and low-maintenance landscape feature. This versatile landscaping option allows you to unleash your creativity and design a unique, eye-catching display that complements your existing plants and outdoor décor.
Rock gardens have been cherished for centuries, originating from the serene and contemplative Japanese Zen gardens. They are not only aesthetically pleasing but also serve practical purposes, such as preventing erosion and conserving water. By incorporating rocks of various shapes, sizes, and colors, you can craft a stunning focal point that harmonizes with the natural surroundings.
In this comprehensive guide, we will walk you through the step-by-step process of creating a captivating rock garden bed. From selecting the perfect location to choosing the right plants, you will gain valuable insights and practical tips to bring your rock garden vision to life. Whether you are a seasoned gardener or a novice enthusiast, this guide will equip you with the knowledge and inspiration to embark on this rewarding landscaping endeavor.
So, roll up your sleeves, grab your gardening tools, and let's dive into the exciting world of rock gardening. With a dash of creativity and a sprinkle of patience, you'll soon be on your way to crafting a stunning rock garden bed that will be the envy of your neighborhood. Let's get started!
Key Takeaways:
- Creating a rock garden bed is a fun and eco-friendly way to add beauty to your outdoor space. By choosing the right location, rocks, and plants, you can create a captivating and low-maintenance landscape feature that celebrates the enduring beauty of natural rock formations.
- Maintaining a thriving rock garden involves mulching and watering with care. These simple practices help nurture a vibrant and resilient garden, ensuring that it remains a source of natural beauty and inspiration for years to come.
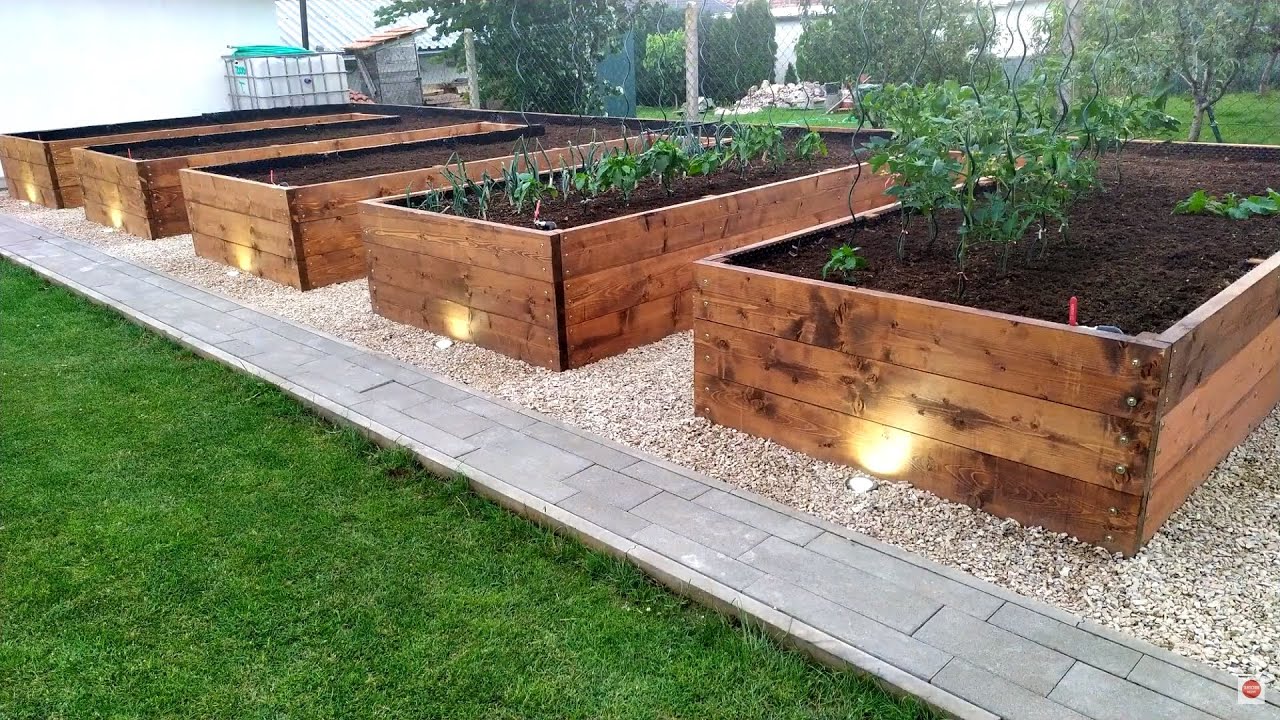
Read more: How To Make A Small Raised Garden Bed
Step 1: Choose the Location
The first and most crucial step in creating a captivating rock garden bed is selecting the perfect location. The ideal spot for your rock garden should receive an adequate amount of sunlight and have good drainage. Most alpine plants, which are commonly used in rock gardens, thrive in sunny, well-drained areas. Therefore, it's essential to choose a location that receives at least six hours of sunlight per day.
When scouting for the right spot, consider the natural topography of your outdoor space. Look for areas with gentle slopes or uneven terrain, as these features can provide a naturalistic backdrop for your rock garden. Additionally, a slightly elevated location can enhance the visual impact of your rock garden, allowing it to stand out as a focal point in your landscape.
Furthermore, proximity to water sources should be taken into account. While rock gardens are designed to mimic the rugged beauty of mountainous terrain, they still require occasional watering, especially during dry spells. Therefore, choosing a location within reach of a water source will make maintenance more convenient and ensure the longevity of your rock garden.
In urban settings, balconies and rooftop terraces can also serve as excellent locations for rock gardens. When creating a rock garden in a confined space, consider using raised beds or containers to showcase your rock collection and plants. These compact rock gardens can add a touch of natural beauty to urban environments, creating a serene oasis amidst the hustle and bustle of city life.
Ultimately, the chosen location should harmonize with the overall aesthetic of your outdoor space while providing the necessary growing conditions for your rock garden plants. By carefully considering these factors, you can ensure that your rock garden thrives and becomes a stunning focal point in your landscape.
Step 2: Prepare the Soil
Preparing the soil is a critical step in creating a thriving rock garden bed. The soil in a rock garden should provide excellent drainage and a stable foundation for the rocks and plants. To achieve this, it's essential to assess the existing soil and make necessary amendments to create an optimal growing environment for your rock garden.
Begin by removing any debris, such as rocks, roots, and weeds, from the chosen area. Clearing the site will provide a clean canvas for your rock garden and prevent unwanted vegetation from competing with your chosen plants. Once the area is clear, it's time to assess the soil's composition and make any required adjustments.
Rock garden plants typically thrive in well-draining soil with a slightly acidic to neutral pH. If your existing soil is heavy and compacted, incorporating organic matter, such as compost or well-rotted manure, can improve its structure and drainage. This amendment will also enhance the soil's ability to retain moisture while preventing waterlogged conditions that can be detrimental to rock garden plants.
In addition to organic matter, incorporating coarse sand or perlite into the soil can further improve drainage and aeration. These amendments help create a loose, friable texture that is conducive to healthy root growth and overall plant vitality. By enhancing the soil's structure, you are laying the groundwork for a flourishing rock garden that will support a diverse array of plants.
Furthermore, consider the specific needs of the plants you intend to include in your rock garden. Some alpine and succulent species may require a specialized soil mix to thrive. Research the soil preferences of your chosen plant varieties and tailor the soil preparation process to accommodate their unique requirements.
Once the soil has been prepared and amended, take the time to level and smooth the surface, ensuring an even foundation for the rocks and plants. This meticulous preparation will set the stage for successful rock garden establishment and long-term growth.
By dedicating attention to soil preparation, you are creating an environment where your rock garden plants can flourish. The effort invested in this crucial step will lay the groundwork for a visually stunning and resilient rock garden that will captivate and inspire for years to come.
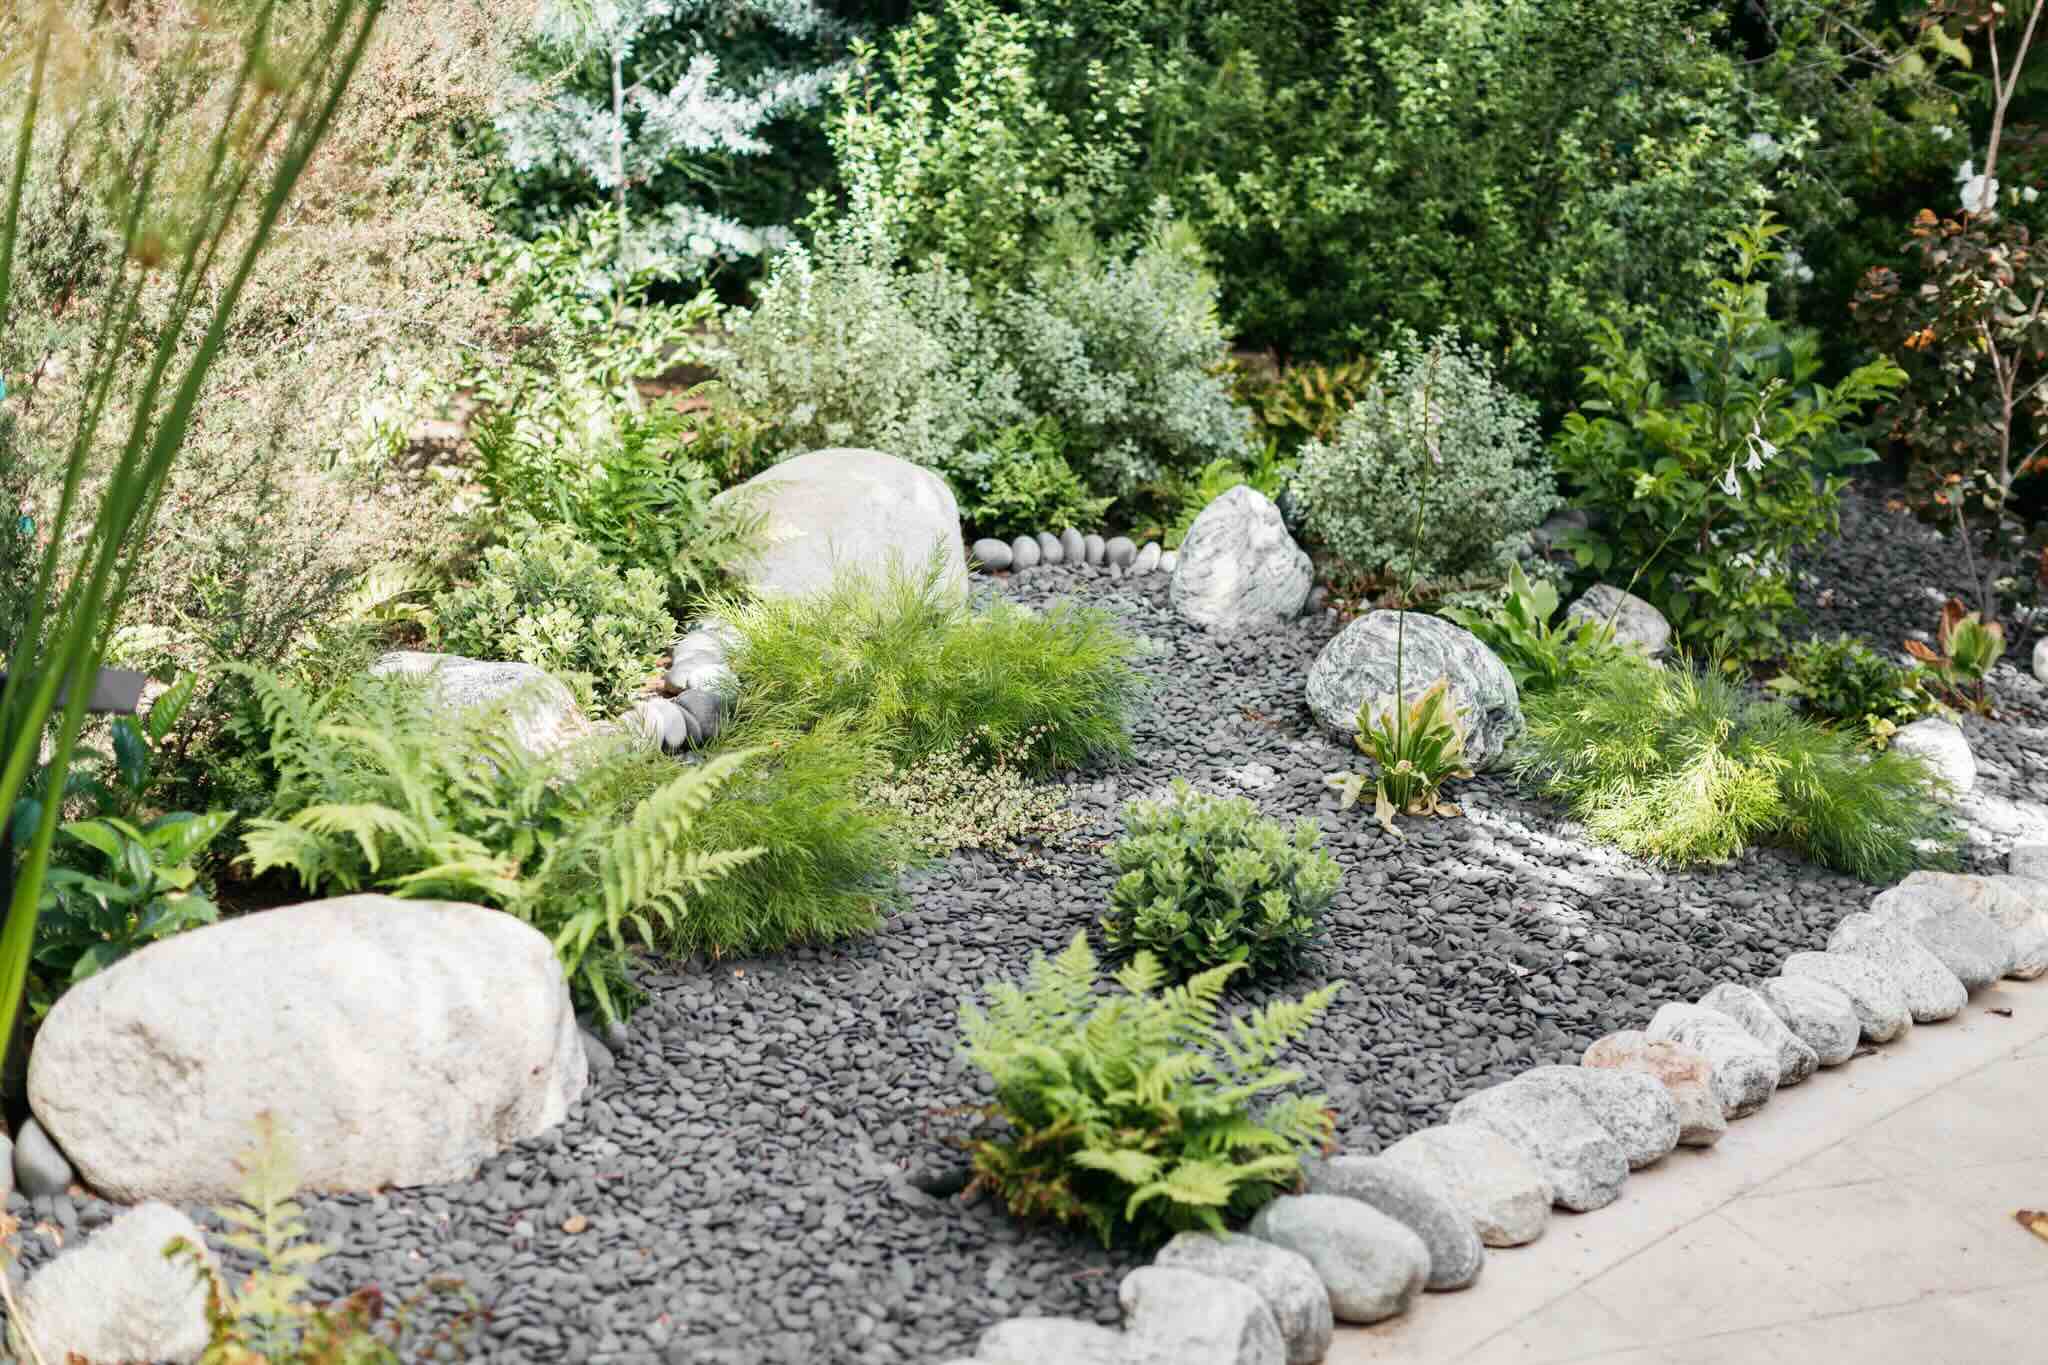
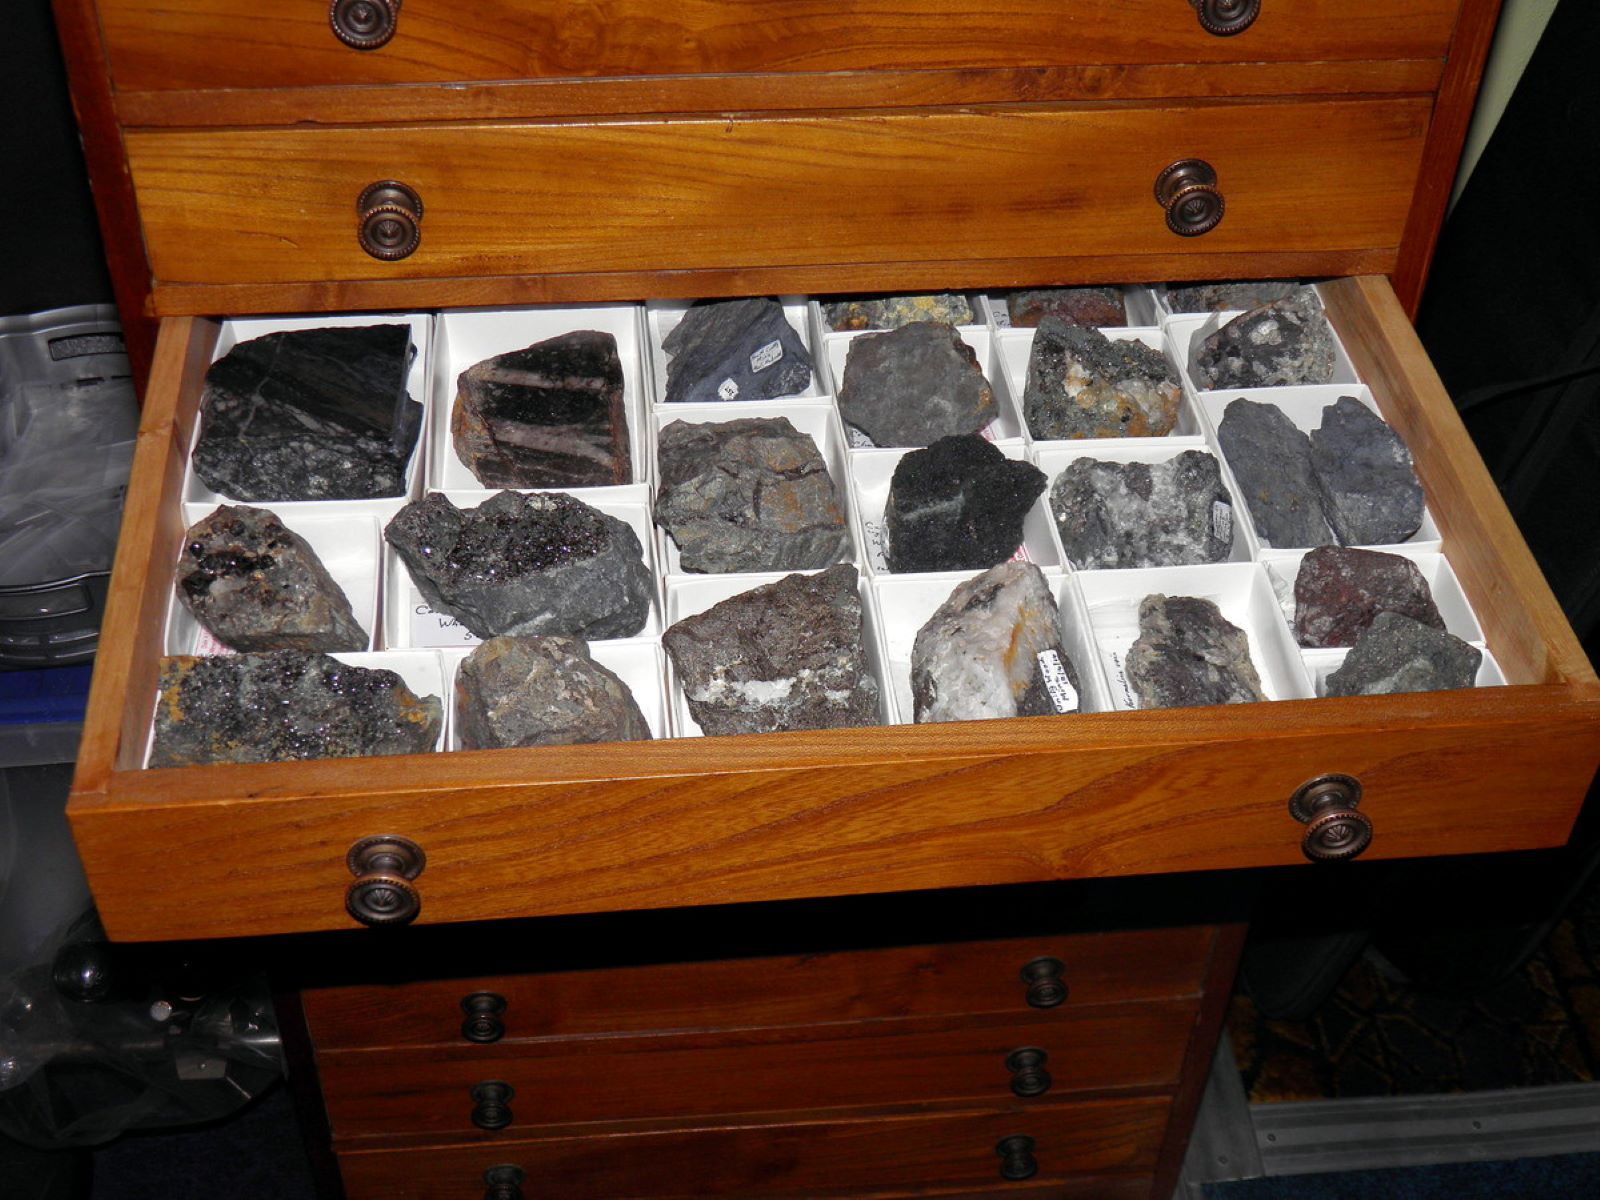
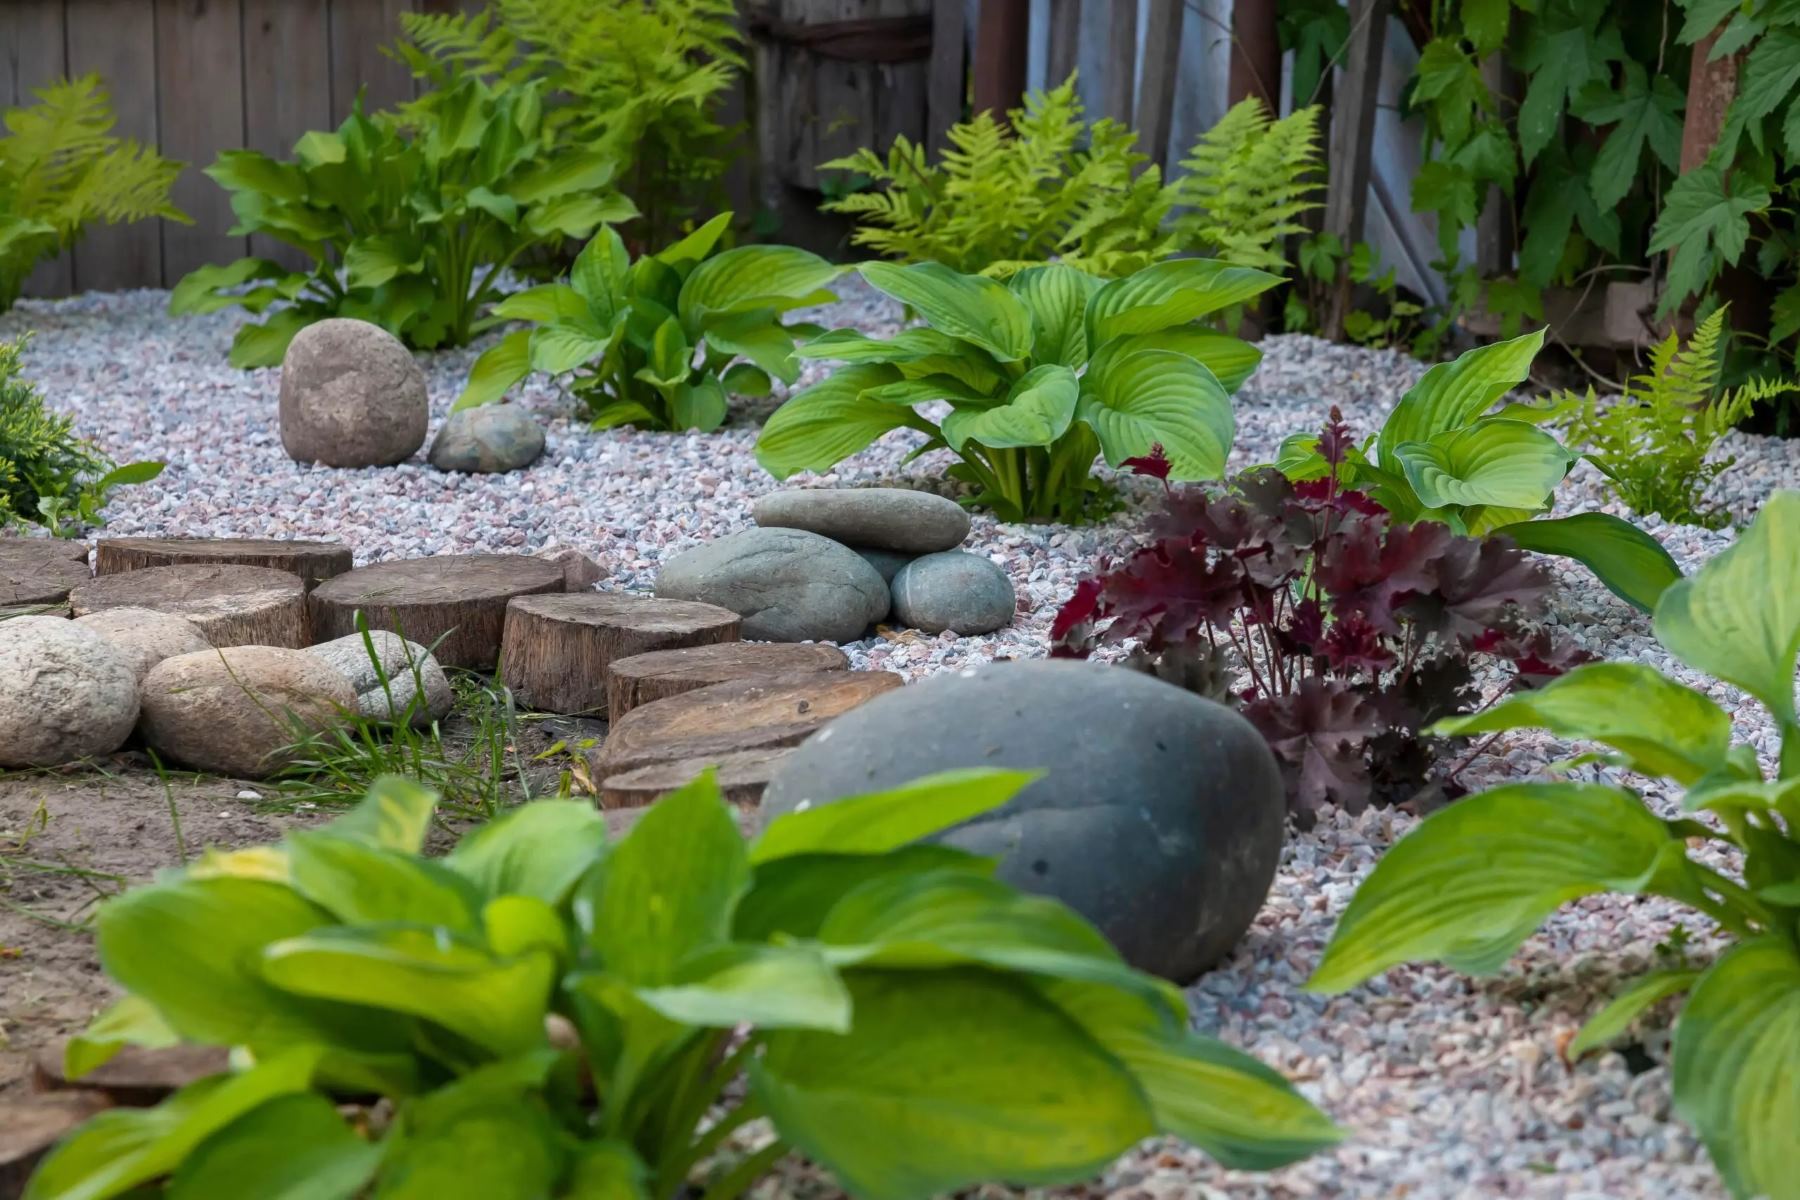
Step 3: Select the Rocks
Choosing the right rocks is a pivotal aspect of creating a captivating rock garden bed. The selection of rocks not only contributes to the aesthetic appeal of the garden but also influences its overall structure and functionality. When it comes to rock selection, diversity is key. Opt for a variety of shapes, sizes, textures, and colors to create visual interest and mimic the natural beauty of mountainous landscapes.
One of the primary considerations when selecting rocks for your garden is their size and scale. Larger rocks can serve as focal points, anchoring the garden and providing a sense of permanence. These rocks can be strategically positioned to create natural-looking outcroppings or cascading formations, adding drama and dimension to the landscape. Smaller rocks, on the other hand, can be used to fill gaps, create pathways, or accentuate plantings, contributing to the overall harmony of the rock garden.
In addition to size, the texture of the rocks plays a crucial role in defining the character of the garden. Smooth, rounded river rocks can impart a sense of tranquility and fluidity, while jagged, angular rocks can evoke a rugged and untamed aesthetic. By combining rocks of varying textures, you can create a dynamic and visually engaging composition that reflects the diversity of natural rock formations.
Color is another important consideration when selecting rocks for your garden. Earthy tones such as browns, grays, and tans can impart a sense of naturalism and blend seamlessly with the surrounding landscape. Vibrant hues such as reds, oranges, and purples can add a pop of color and create striking focal points within the garden. By carefully curating a palette of complementary colors, you can orchestrate a visually captivating rock garden that harmonizes with the existing flora and hardscape elements.
When sourcing rocks for your garden, consider local quarries, landscaping suppliers, or even your own property. Selecting rocks from your region can help create a sense of authenticity and ensure that the garden seamlessly integrates with the surrounding environment. Additionally, consider the practical aspects of rock selection, such as weight and ease of handling. Opt for rocks that are manageable in size and weight, especially if you plan to arrange them without heavy machinery.
By thoughtfully selecting a diverse array of rocks, you can infuse your rock garden with character, texture, and visual intrigue. The careful curation of rocks will lay the foundation for a captivating and harmonious landscape that celebrates the enduring beauty of natural rock formations.
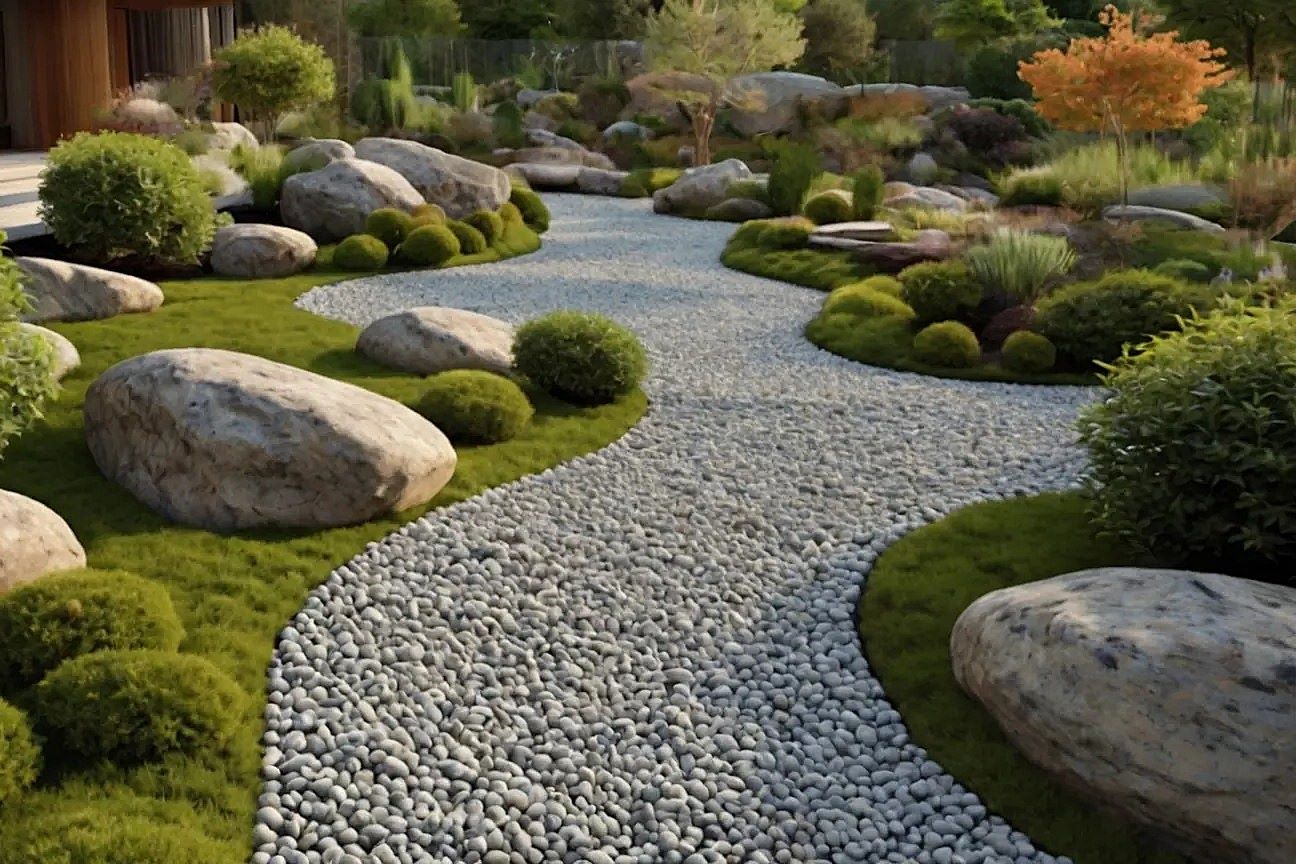
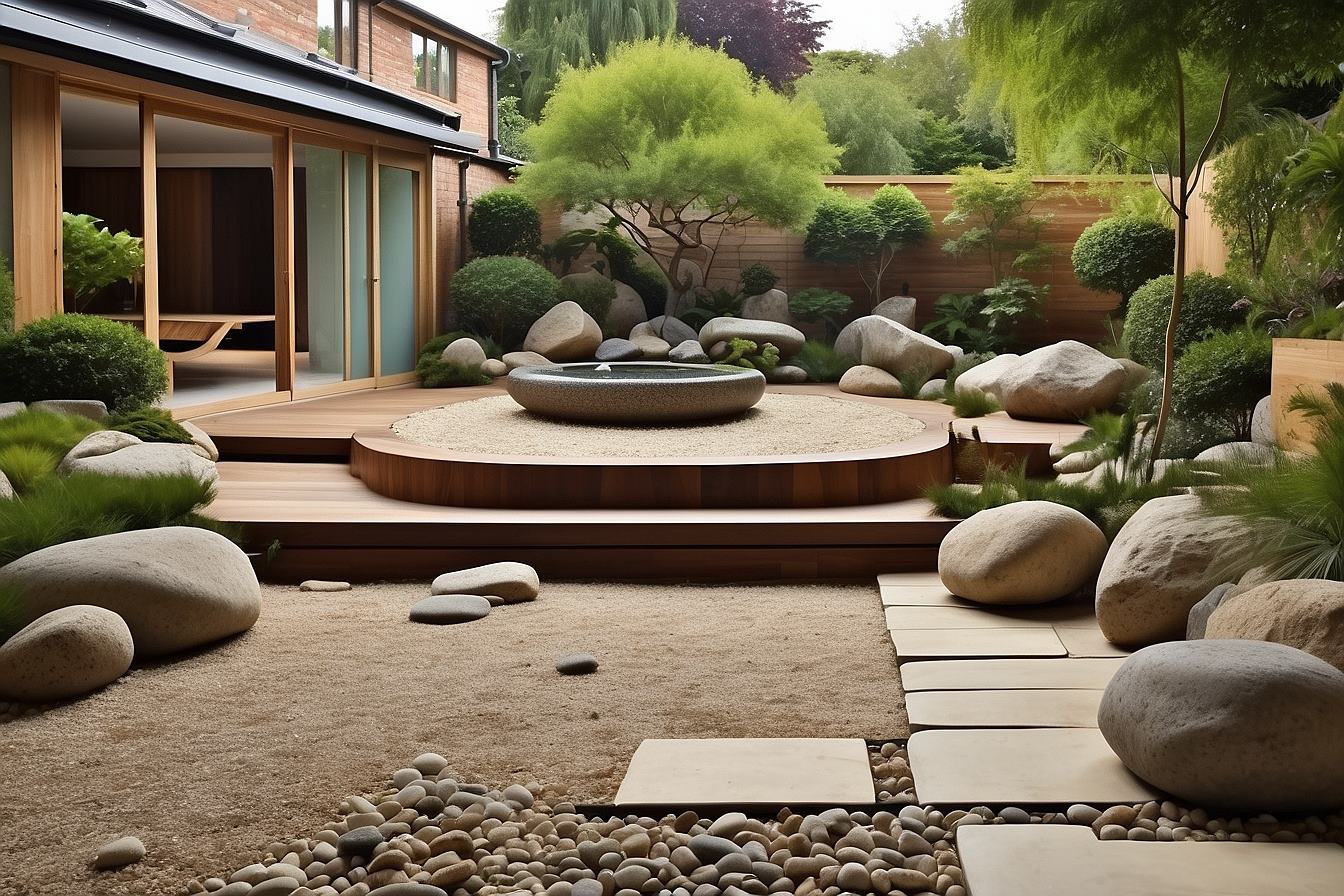
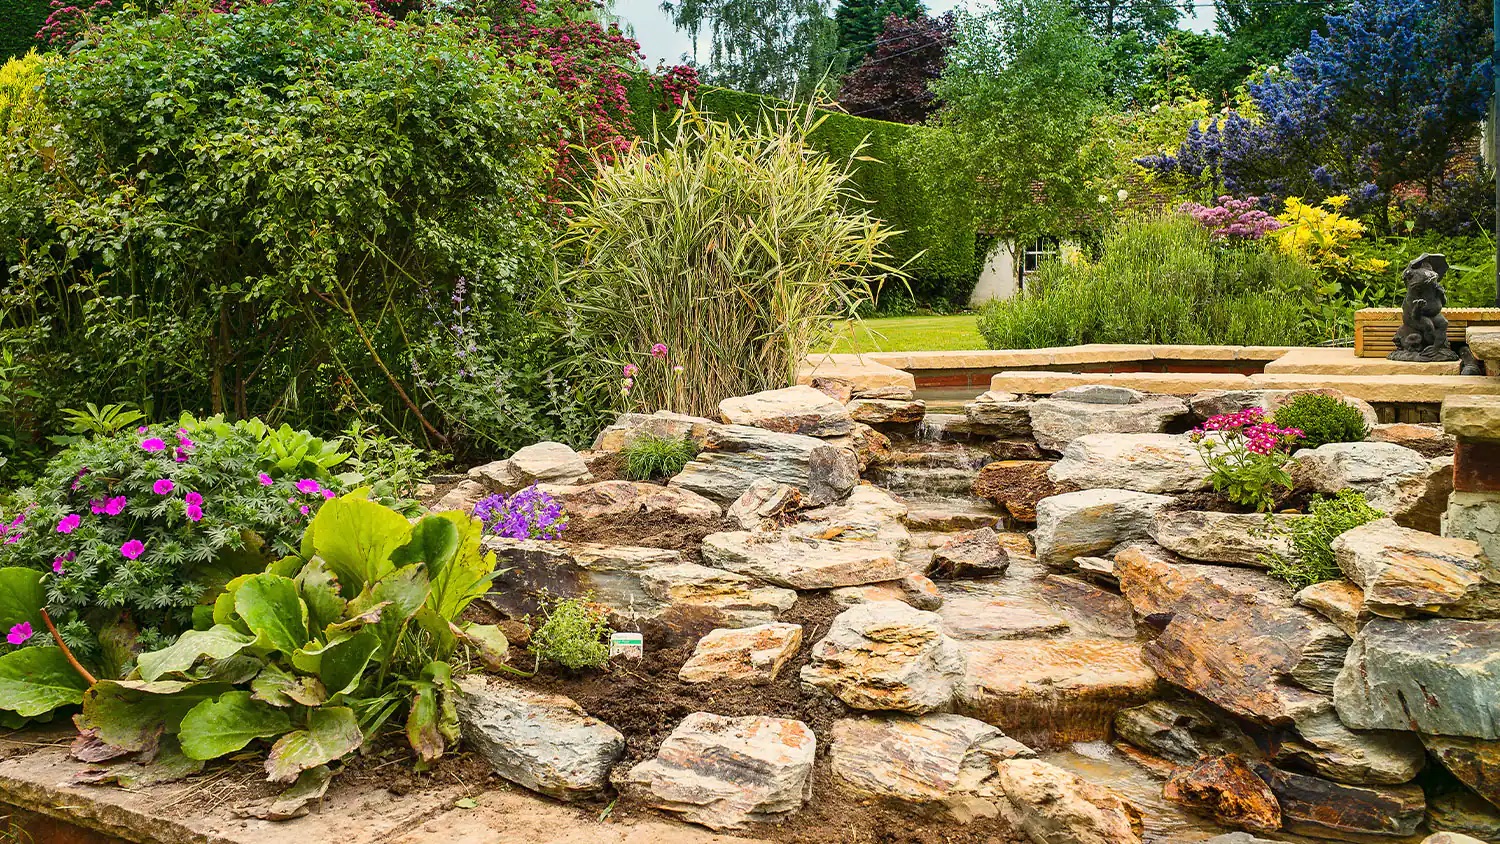
Step 4: Arrange the Rocks
Arranging the rocks in your rock garden is where the artistry of landscaping truly comes into play. The placement of rocks is not only about aesthetics but also about creating a naturalistic and harmonious composition that complements the surrounding environment. By carefully arranging the rocks, you can evoke the rugged beauty of mountain landscapes and create a visually captivating garden that beckons exploration.
Begin by strategically placing the larger rocks, also known as anchor rocks, to establish the foundational structure of the garden. These rocks serve as focal points and anchor the visual composition, providing a sense of stability and permanence. Consider positioning them in a way that mimics the natural formations found in mountainous terrain, such as creating clusters or staggered arrangements to emulate the rugged beauty of rock outcroppings.
As you arrange the rocks, pay attention to their orientation and interplay. Vary the angles and positions of the rocks to create visual interest and a sense of movement within the garden. Avoid placing rocks in a uniform or symmetrical manner, as this can appear contrived and unnatural. Instead, strive for a balanced yet organic arrangement that reflects the randomness of natural rock formations.
Incorporate smaller rocks and pebbles to fill gaps and crevices between the larger rocks, creating a cohesive and integrated look. These smaller rocks can also be used to define pathways or delineate planting areas, adding functional and aesthetic value to the garden. By layering rocks of different sizes, you can create depth and texture, enhancing the visual appeal of the rock garden.
Consider the overall flow and rhythm of the rock arrangement, ensuring that it harmonizes with the surrounding landscape and existing plantings. The goal is to create a seamless transition between the rock garden and its surroundings, blurring the lines between the natural and cultivated elements. By integrating the rocks into the broader landscape, you can achieve a sense of unity and cohesion that enhances the overall aesthetic of the garden.
Throughout the process of arranging the rocks, step back periodically to assess the composition from different angles. This will allow you to fine-tune the placement of the rocks and make adjustments as needed. Take your time and trust your instincts, allowing the natural beauty of the rocks to guide your creative vision.
By thoughtfully arranging the rocks, you can transform your rock garden into a captivating and immersive landscape that celebrates the enduring allure of natural rock formations. The artful placement of rocks will infuse your garden with character, texture, and visual intrigue, inviting admiration and contemplation from all who encounter it.
When making a rock garden bed, choose a variety of rock sizes and shapes to create visual interest. Place larger rocks at the back and smaller ones at the front for a natural look.
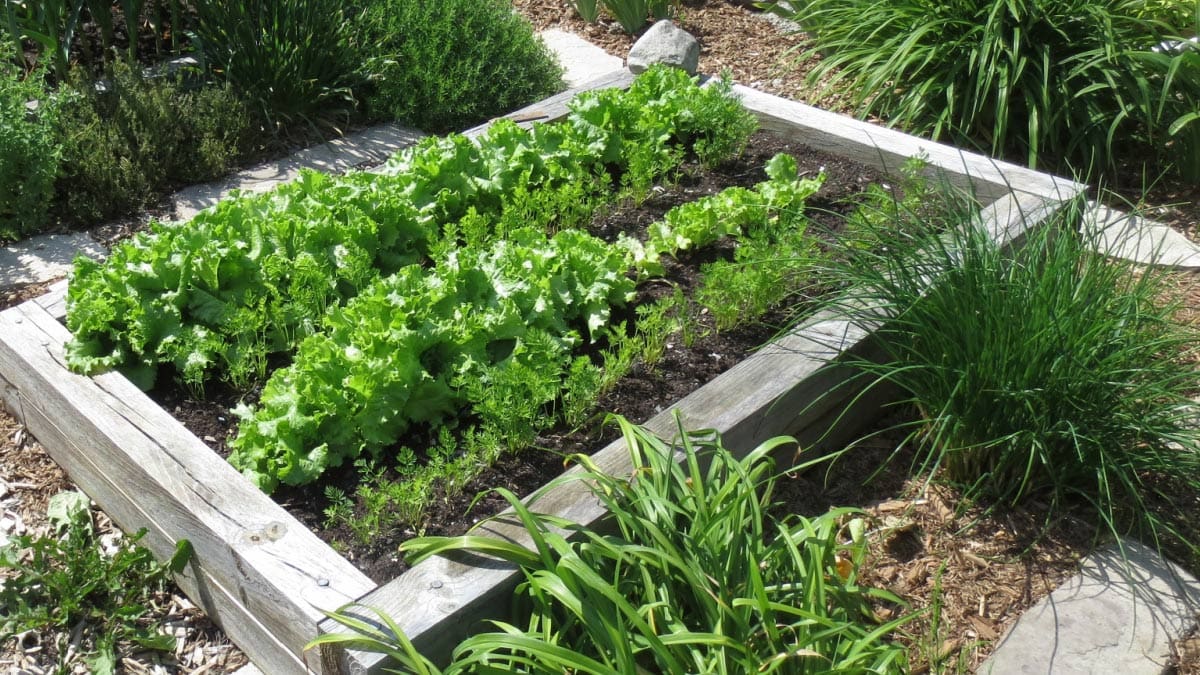
Read more: How To Make A Raised Garden Bed With Bricks
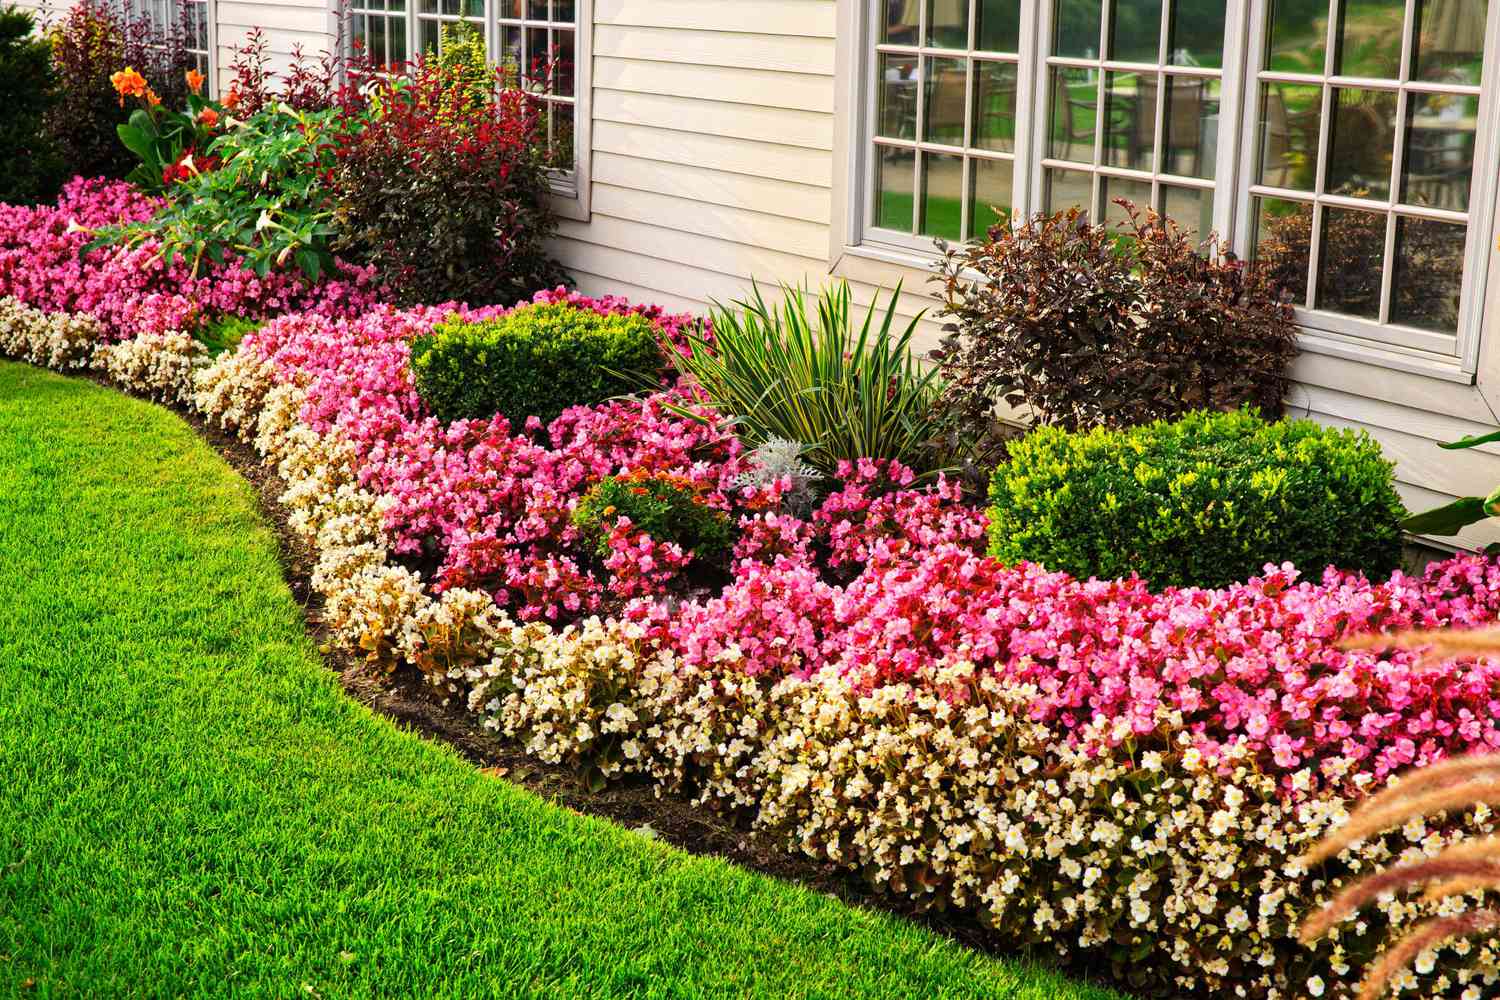
Step 5: Add Plants
Introducing a diverse selection of plants is a pivotal step in bringing your rock garden to life. The careful selection and placement of plants will not only enhance the visual appeal of the garden but also contribute to its ecological diversity and long-term vitality. When choosing plants for your rock garden, opt for species that thrive in well-drained, rocky environments and complement the overall aesthetic of the garden.
Alpine plants, succulents, and low-growing perennials are popular choices for rock gardens due to their adaptability to rocky, nutrient-poor soils and their ability to withstand harsh growing conditions. These plants often exhibit unique textures, vibrant colors, and striking forms, adding visual interest and diversity to the garden.
When selecting plants, consider their growth habits, mature sizes, and blooming periods to ensure a harmonious and balanced composition. Choose a mix of ground-hugging species, such as creeping thyme, sedum, and alpine phlox, to fill in gaps between rocks and soften the hard edges of the landscape. These low-growing plants create a lush carpet of foliage and flowers, adding a sense of abundance and vitality to the rock garden.
Incorporate vertical interest by introducing taller plants or ornamental grasses that can sway gracefully in the breeze, adding movement and dynamic energy to the garden. Delicate blooms of saxifrages, vibrant hues of Lewisia, or the architectural elegance of ornamental grasses can elevate the visual appeal of the rock garden, creating focal points and captivating displays.
Consider the seasonal interest of the plants, aiming for a succession of blooms and foliage that provide year-round appeal. By selecting a mix of early spring bloomers, summer-flowering perennials, and fall foliage plants, you can ensure that your rock garden remains vibrant and captivating throughout the changing seasons.
When planting, tuck the roots of the chosen plants into crevices between rocks, allowing them to establish a naturalistic and integrated presence within the landscape. This technique mimics the plants' natural habitats and creates a seamless transition between the rocks and the plantings, blurring the lines between the hardscape and the living elements.
By thoughtfully selecting and arranging a diverse array of plants, you can infuse your rock garden with color, texture, and vitality, creating a captivating and ever-changing tapestry of natural beauty. The strategic placement of plants will enhance the visual appeal and ecological richness of the garden, ensuring that it remains a source of inspiration and delight for years to come.
Step 6: Mulch and Water
Mulching and watering are essential components of maintaining a thriving rock garden bed. These practices not only contribute to the health and vitality of the plants but also play a crucial role in preserving the aesthetic appeal and functionality of the garden.
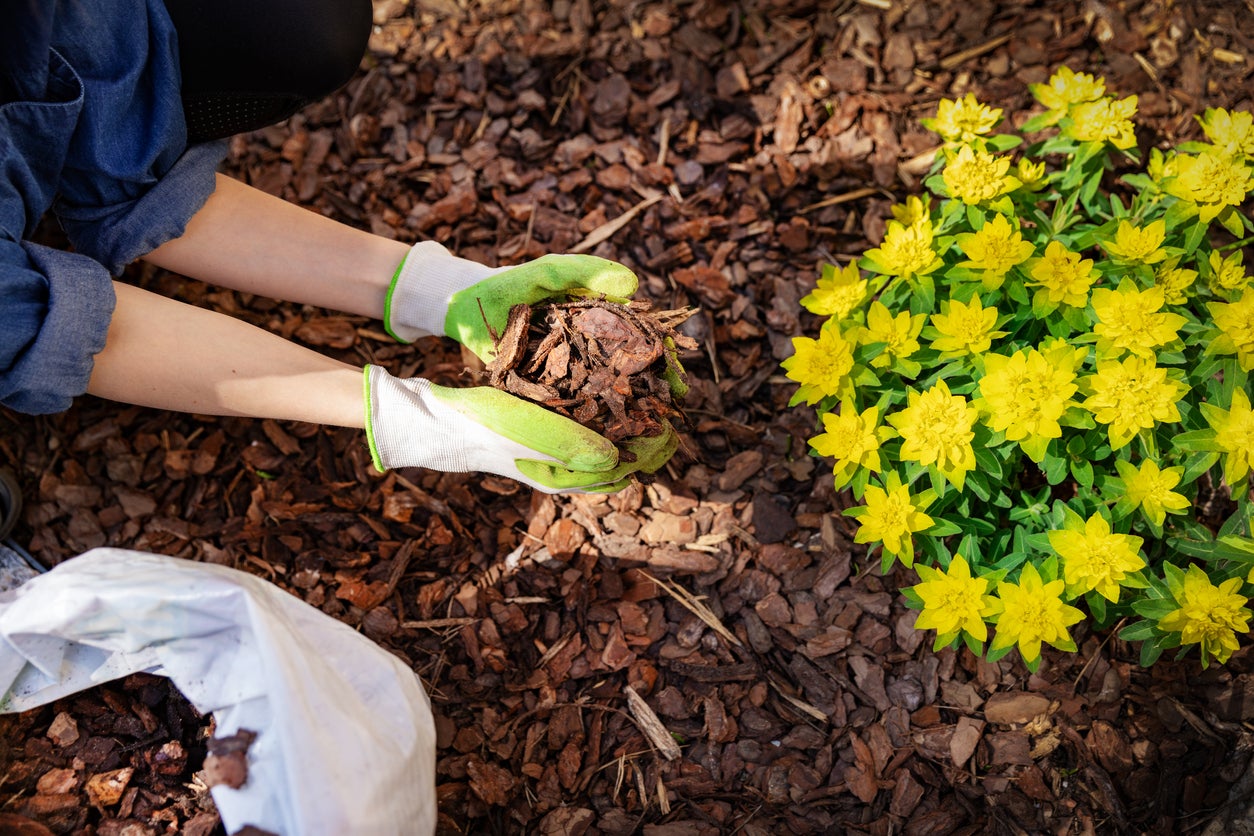
Mulching
Applying a layer of mulch to the rock garden bed offers numerous benefits. Mulch helps conserve soil moisture by reducing evaporation, which is particularly beneficial in sunny and exposed locations. It also acts as a natural insulator, protecting the plant roots from temperature fluctuations and extreme weather conditions.
When mulching a rock garden, opt for materials that complement the naturalistic aesthetic of the landscape. Organic mulches such as shredded bark, pine straw, or compost can seamlessly blend with the rocky terrain, creating a cohesive and integrated look. These materials also break down over time, enriching the soil and contributing to the overall health of the garden.
In addition to its functional benefits, mulch can enhance the visual appeal of the rock garden. A well-chosen mulch can provide a striking contrast to the rocks and plants, adding depth and texture to the landscape. By carefully applying mulch around the base of plants and along pathways, you can create a polished and well-groomed appearance that elevates the overall beauty of the garden.
Watering
Proper watering is crucial for the success of a rock garden, especially during the establishment phase and in periods of prolonged dryness. While rock gardens are designed to mimic natural, arid landscapes, many of the plants within them still require regular moisture to thrive.
When watering a rock garden, it's important to strike a balance between providing adequate moisture and avoiding waterlogged conditions. Water the garden deeply but infrequently, allowing the soil to dry out slightly between waterings. This approach encourages the plants to develop deep, resilient root systems and reduces the risk of root rot and other moisture-related issues.
Consider utilizing drip irrigation or soaker hoses to deliver water directly to the root zones of the plants, minimizing water waste and promoting efficient absorption. Additionally, be mindful of the specific water needs of the plant species in your rock garden, adjusting your watering regimen to accommodate their individual requirements.
By mulching and watering with care and consideration, you can nurture a vibrant and resilient rock garden that continues to thrive and enchant. These simple yet impactful practices will ensure that your rock garden remains a source of natural beauty and inspiration, inviting admiration and contemplation for years to come.
Read more: How To Make A Garden Bed From Lawn
Conclusion
In conclusion, creating a captivating rock garden bed is a deeply rewarding endeavor that allows you to unleash your creativity and connect with the timeless beauty of natural landscapes. From selecting the perfect location to carefully arranging rocks and introducing a diverse array of plants, each step in the process contributes to the creation of a visually stunning and ecologically rich landscape feature.
The artistry of rock gardening lies in the harmonious interplay of rocks, plants, and natural elements, resulting in a captivating tapestry of textures, colors, and forms. By thoughtfully curating a diverse selection of rocks and plants, you can transform any outdoor space into a serene oasis that celebrates the enduring allure of natural rock formations.
A well-designed rock garden not only enhances the aesthetic appeal of your landscape but also contributes to environmental sustainability. The use of drought-tolerant plants and well-draining soil promotes water conservation and reduces the need for intensive maintenance, making rock gardens an eco-friendly and low-maintenance landscaping option.
Furthermore, the creation of a rock garden provides an opportunity to connect with nature and cultivate a deeper appreciation for the resilience and beauty of alpine and succulent plant species. The process of tending to a rock garden fosters a sense of mindfulness and tranquility, offering a therapeutic escape from the demands of modern life.
As you embark on your rock gardening journey, remember that patience and observation are key. Allow the garden to evolve and mature over time, embracing the dynamic interplay of plants and rocks as they settle into their natural rhythms. With each passing season, your rock garden will unfold new delights and surprises, offering an ever-changing canvas of natural beauty.
In essence, the creation of a rock garden is a testament to the enduring allure of natural landscapes and the transformative power of thoughtful design. Whether nestled in a sprawling backyard or adorning a compact urban balcony, a well-crafted rock garden has the potential to inspire and captivate, inviting moments of contemplation and connection with the natural world. So, roll up your sleeves, embrace the artistry of rock gardening, and embark on a journey of creativity, beauty, and tranquility.
Now that you've got the knack of creating a splendid rock garden bed, why not spruce up the boundaries with some stylish enclosures? Dive into our article on the best garden fence ideas that will transform any outdoor space into a private paradise. Whether you're looking for practical solutions or aesthetic enhancements, these designs cater to diverse tastes and landscaping needs. Get ready to give your garden a complete makeover that neighbors will envy!
Frequently Asked Questions about How To Make A Rock Garden Bed
Was this page helpful?
At Storables.com, we guarantee accurate and reliable information. Our content, validated by Expert Board Contributors, is crafted following stringent Editorial Policies. We're committed to providing you with well-researched, expert-backed insights for all your informational needs.

0 thoughts on “How To Make A Rock Garden Bed”