Home>Gardening & Outdoor>Landscaping Ideas>How To Dig A Garden Bed
Landscaping Ideas
How To Dig A Garden Bed
Modified: August 27, 2024
Learn how to dig a garden bed with our expert landscaping ideas. Create the perfect foundation for your dream garden with our step-by-step guide.
(Many of the links in this article redirect to a specific reviewed product. Your purchase of these products through affiliate links helps to generate commission for Storables.com, at no extra cost. Learn more)
Introduction
Creating a garden bed is a wonderful way to bring life and color to your outdoor space. Whether you're a seasoned gardener or a novice with a green thumb, the process of digging a garden bed can be both rewarding and therapeutic. By following a few simple steps, you can transform a patch of land into a vibrant and flourishing garden bed that will be the envy of your neighborhood.
In this comprehensive guide, we will walk you through the essential steps to dig a garden bed successfully. From choosing the perfect location to planting your favorite flowers or vegetables, you'll learn everything you need to know to create a thriving garden bed that reflects your unique style and personality.
So, roll up your sleeves, grab your gardening tools, and let's get started on this exciting journey to create a beautiful garden bed that will bring joy and tranquility to your outdoor space.
Key Takeaways:
- Choose a sunny, accessible location with good soil for your garden bed. Consider aesthetics and proximity to water source for optimal plant growth and a visually appealing outdoor space.
- Clear the area, mark the borders, and dig the bed carefully. Add soil amendments and plant thoughtfully to create a vibrant and flourishing garden bed that reflects your unique style and personality.
Read more: How Deep To Dig For A Garden Bed
Step 1: Choose the Location
The first and most crucial step in creating a garden bed is choosing the perfect location. The location you select will significantly impact the success and overall health of your plants. Here are some essential factors to consider when choosing the ideal spot for your garden bed:
-
Sunlight: Assess the amount of sunlight the area receives throughout the day. Most plants require at least 6-8 hours of sunlight to thrive. Choose a location with ample sunlight, preferably in the morning when the rays are gentle, to ensure your plants receive the energy they need for photosynthesis.
-
Soil Quality: Evaluate the soil quality in different areas of your yard. Look for well-draining soil that is rich in organic matter. Avoid areas with compacted or waterlogged soil, as these conditions can hinder root growth and lead to plant stress.
-
Accessibility: Consider the accessibility of the location. Ensure it is easily reachable for watering, weeding, and general maintenance. A convenient location will encourage regular care and attention, leading to healthier and more vibrant plants.
-
Proximity to Water Source: It's essential to choose a location close to a water source, such as a hose or irrigation system. This will make watering more convenient and efficient, ensuring that your plants receive adequate moisture, especially during dry spells.
-
Protection from Elements: Assess the exposure of the area to strong winds and extreme weather conditions. While some plants thrive in windy environments, others may require shelter from strong gusts. Additionally, consider any potential hazards such as overhanging trees or structures that could pose a threat to the garden bed.
-
Aesthetic Appeal: Lastly, consider the visual impact of the location. Choose a spot that complements the overall aesthetics of your outdoor space. Whether it's a focal point in your yard or a tucked-away corner, the location should enhance the beauty of your surroundings.
By carefully considering these factors, you can select a location that provides the optimal growing conditions for your garden bed, setting the stage for a flourishing and visually stunning outdoor oasis.
Step 2: Clear the Area
Once you've chosen the perfect location for your garden bed, it's time to prepare the ground by clearing the area. This crucial step sets the foundation for a successful gardening venture and ensures that your plants have the best possible start. Here's a detailed guide on how to effectively clear the area for your garden bed:
Remove Existing Vegetation
Begin by clearing the selected area of any existing vegetation, such as grass, weeds, or unwanted plants. Use a shovel, garden hoe, or a weed removal tool to uproot the vegetation, ensuring that you remove the roots to prevent regrowth. This process will create a clean canvas for your garden bed and eliminate competition for nutrients and space.
Clear Debris and Rocks
Inspect the area for any debris, rocks, or large stones that could impede the growth of your plants or interfere with the digging process. Clearing away these obstacles will create a smooth and even surface for your garden bed. Additionally, removing rocks and debris will prevent potential damage to gardening tools and equipment during the digging and planting stages.
Read more: Why Do Dogs Dig On The Bed
Define the Boundaries
Using garden stakes and a string or a garden hose, outline the boundaries of your garden bed. This step is essential for visualizing the size and shape of the bed and ensuring that it fits seamlessly into your outdoor space. Take the time to adjust the boundaries until you are satisfied with the layout, keeping in mind the spacing requirements for the plants you intend to grow.
Consider Soil Amendments
While clearing the area, take note of the soil quality and texture. If the soil appears compacted or lacks organic matter, consider incorporating soil amendments such as compost, peat moss, or aged manure to improve its structure and fertility. This proactive approach will create an optimal growing environment for your plants and contribute to long-term soil health.
Dispose of Waste Responsibly
As you clear the area, collect the removed vegetation, debris, and rocks in a designated pile or container. Depending on local regulations, consider composting organic materials or disposing of them responsibly to minimize environmental impact. By managing waste thoughtfully, you can contribute to sustainability and environmental stewardship in your gardening practices.
By diligently clearing the area for your garden bed, you are laying the groundwork for a thriving and visually appealing outdoor space. This preparatory phase sets the stage for the subsequent steps of digging, soil preparation, and planting, ensuring that your garden bed flourishes with vitality and beauty.
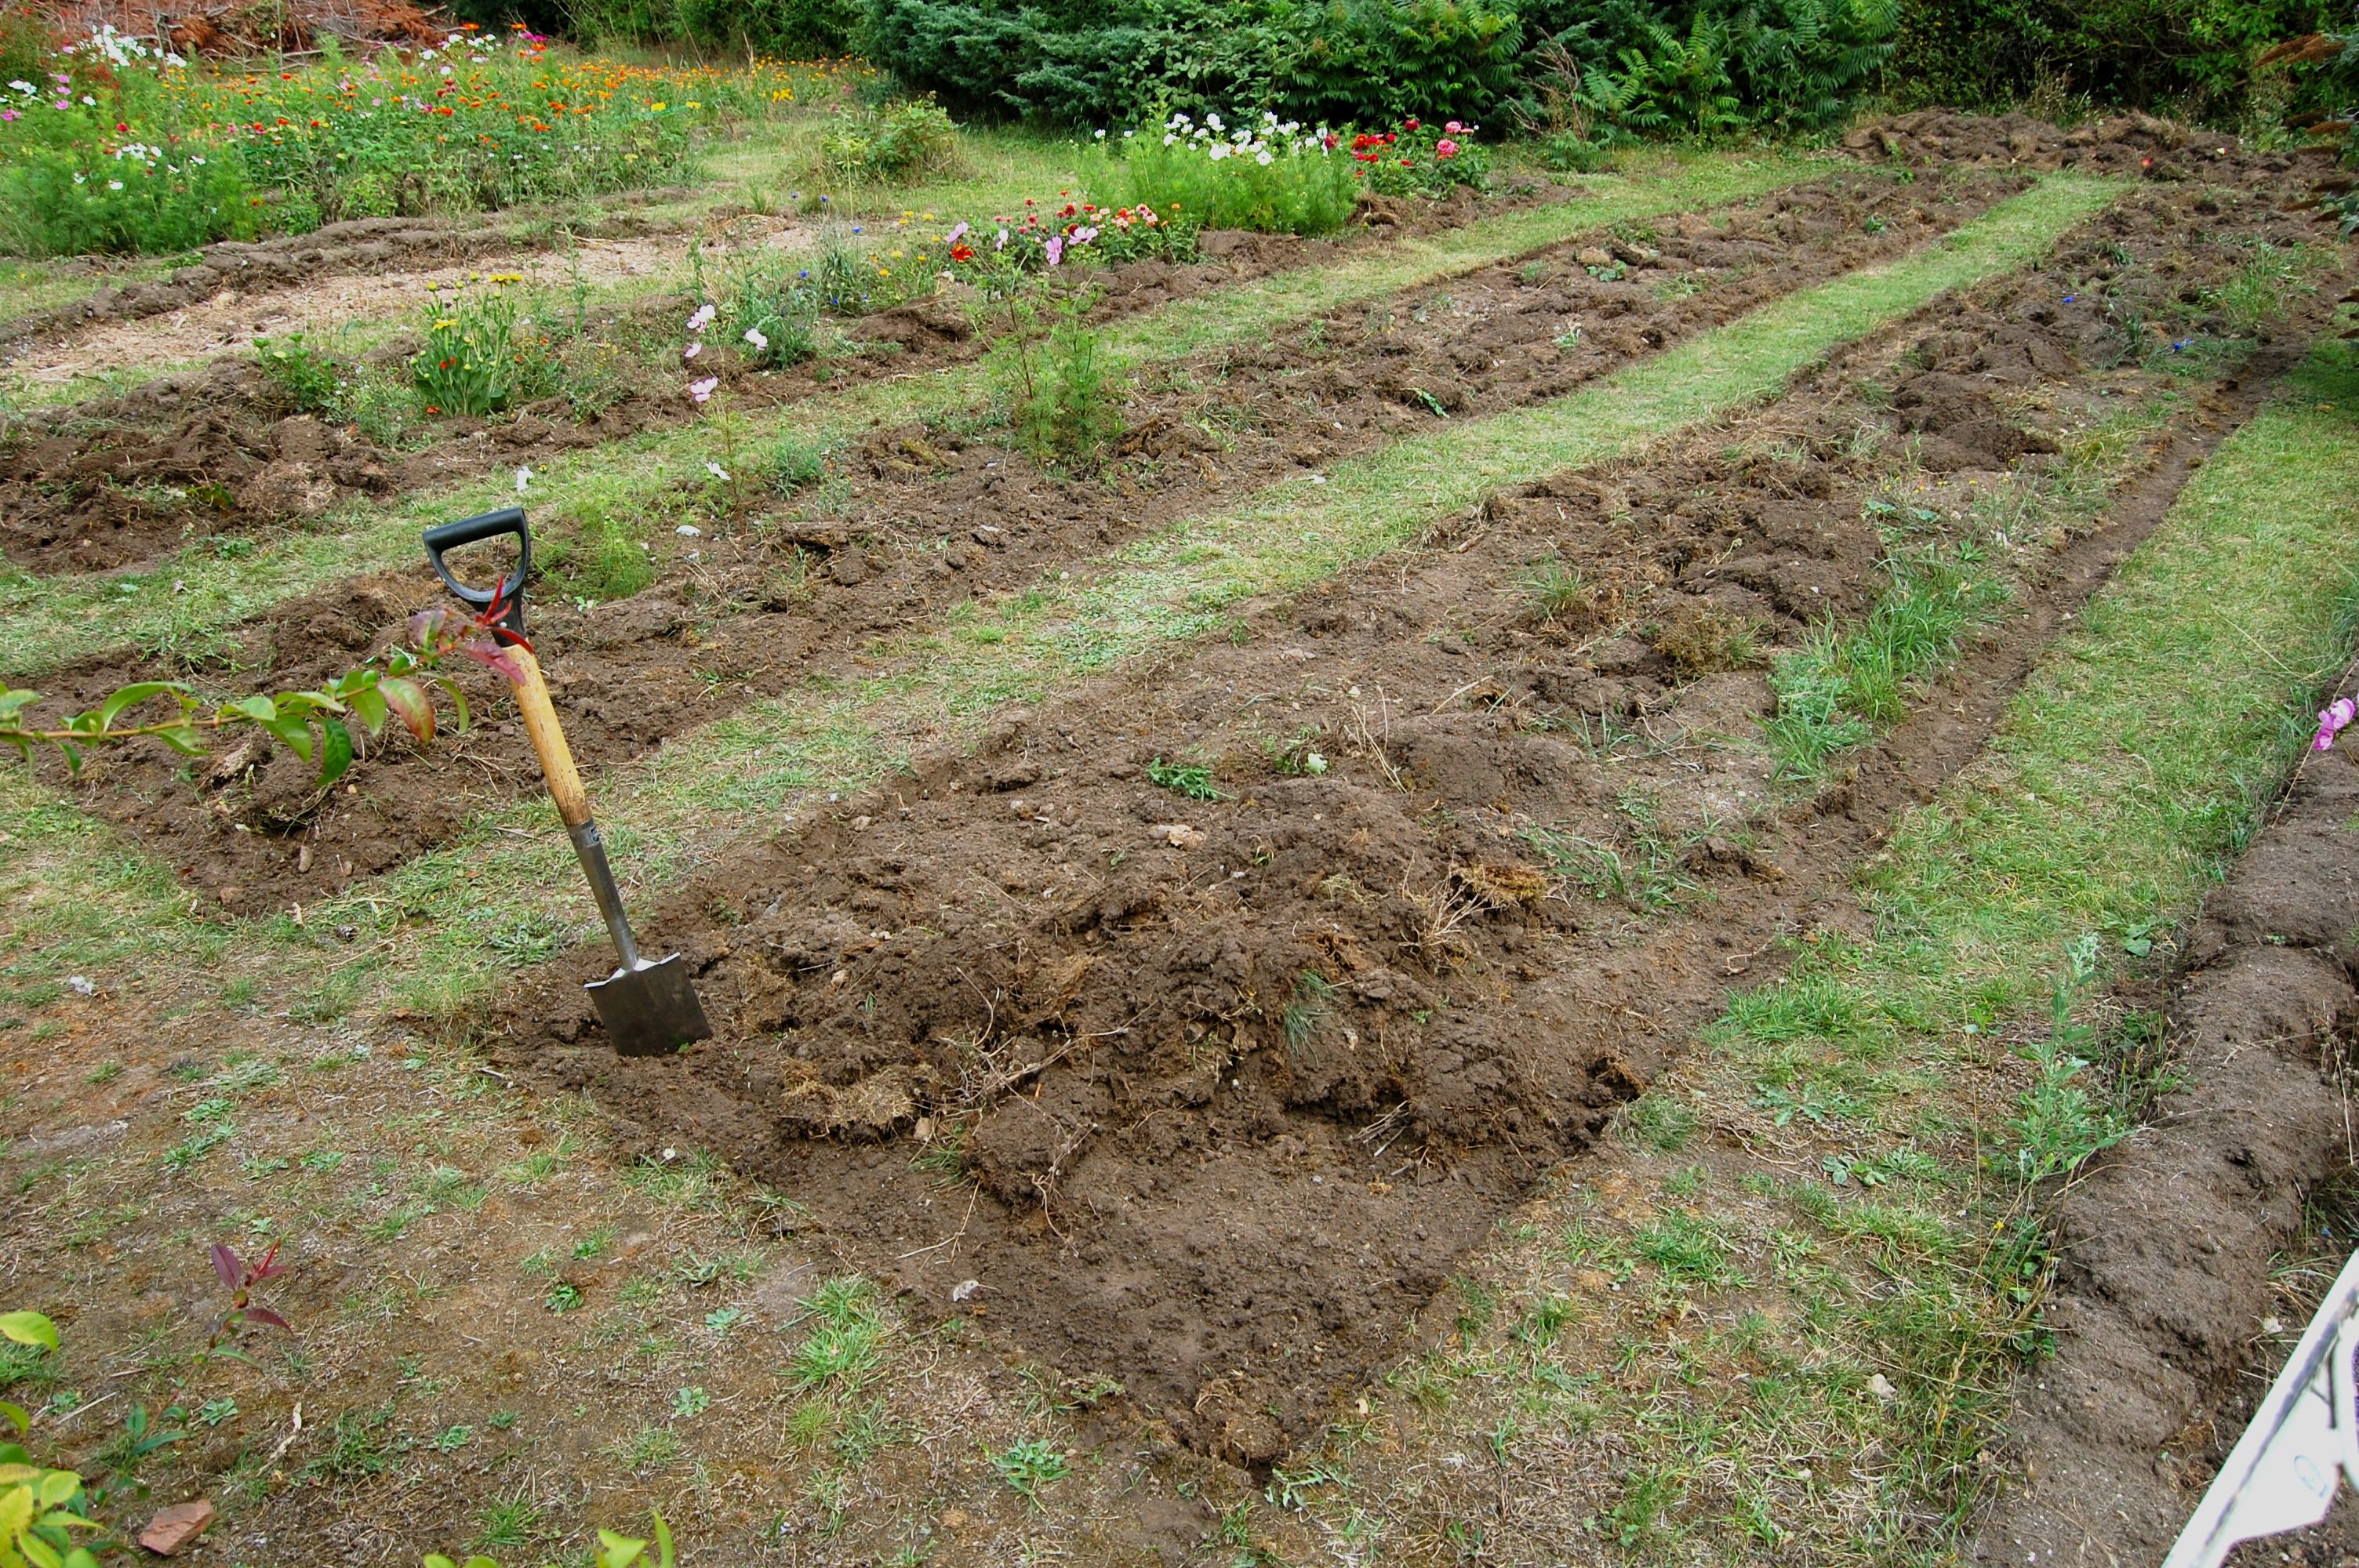
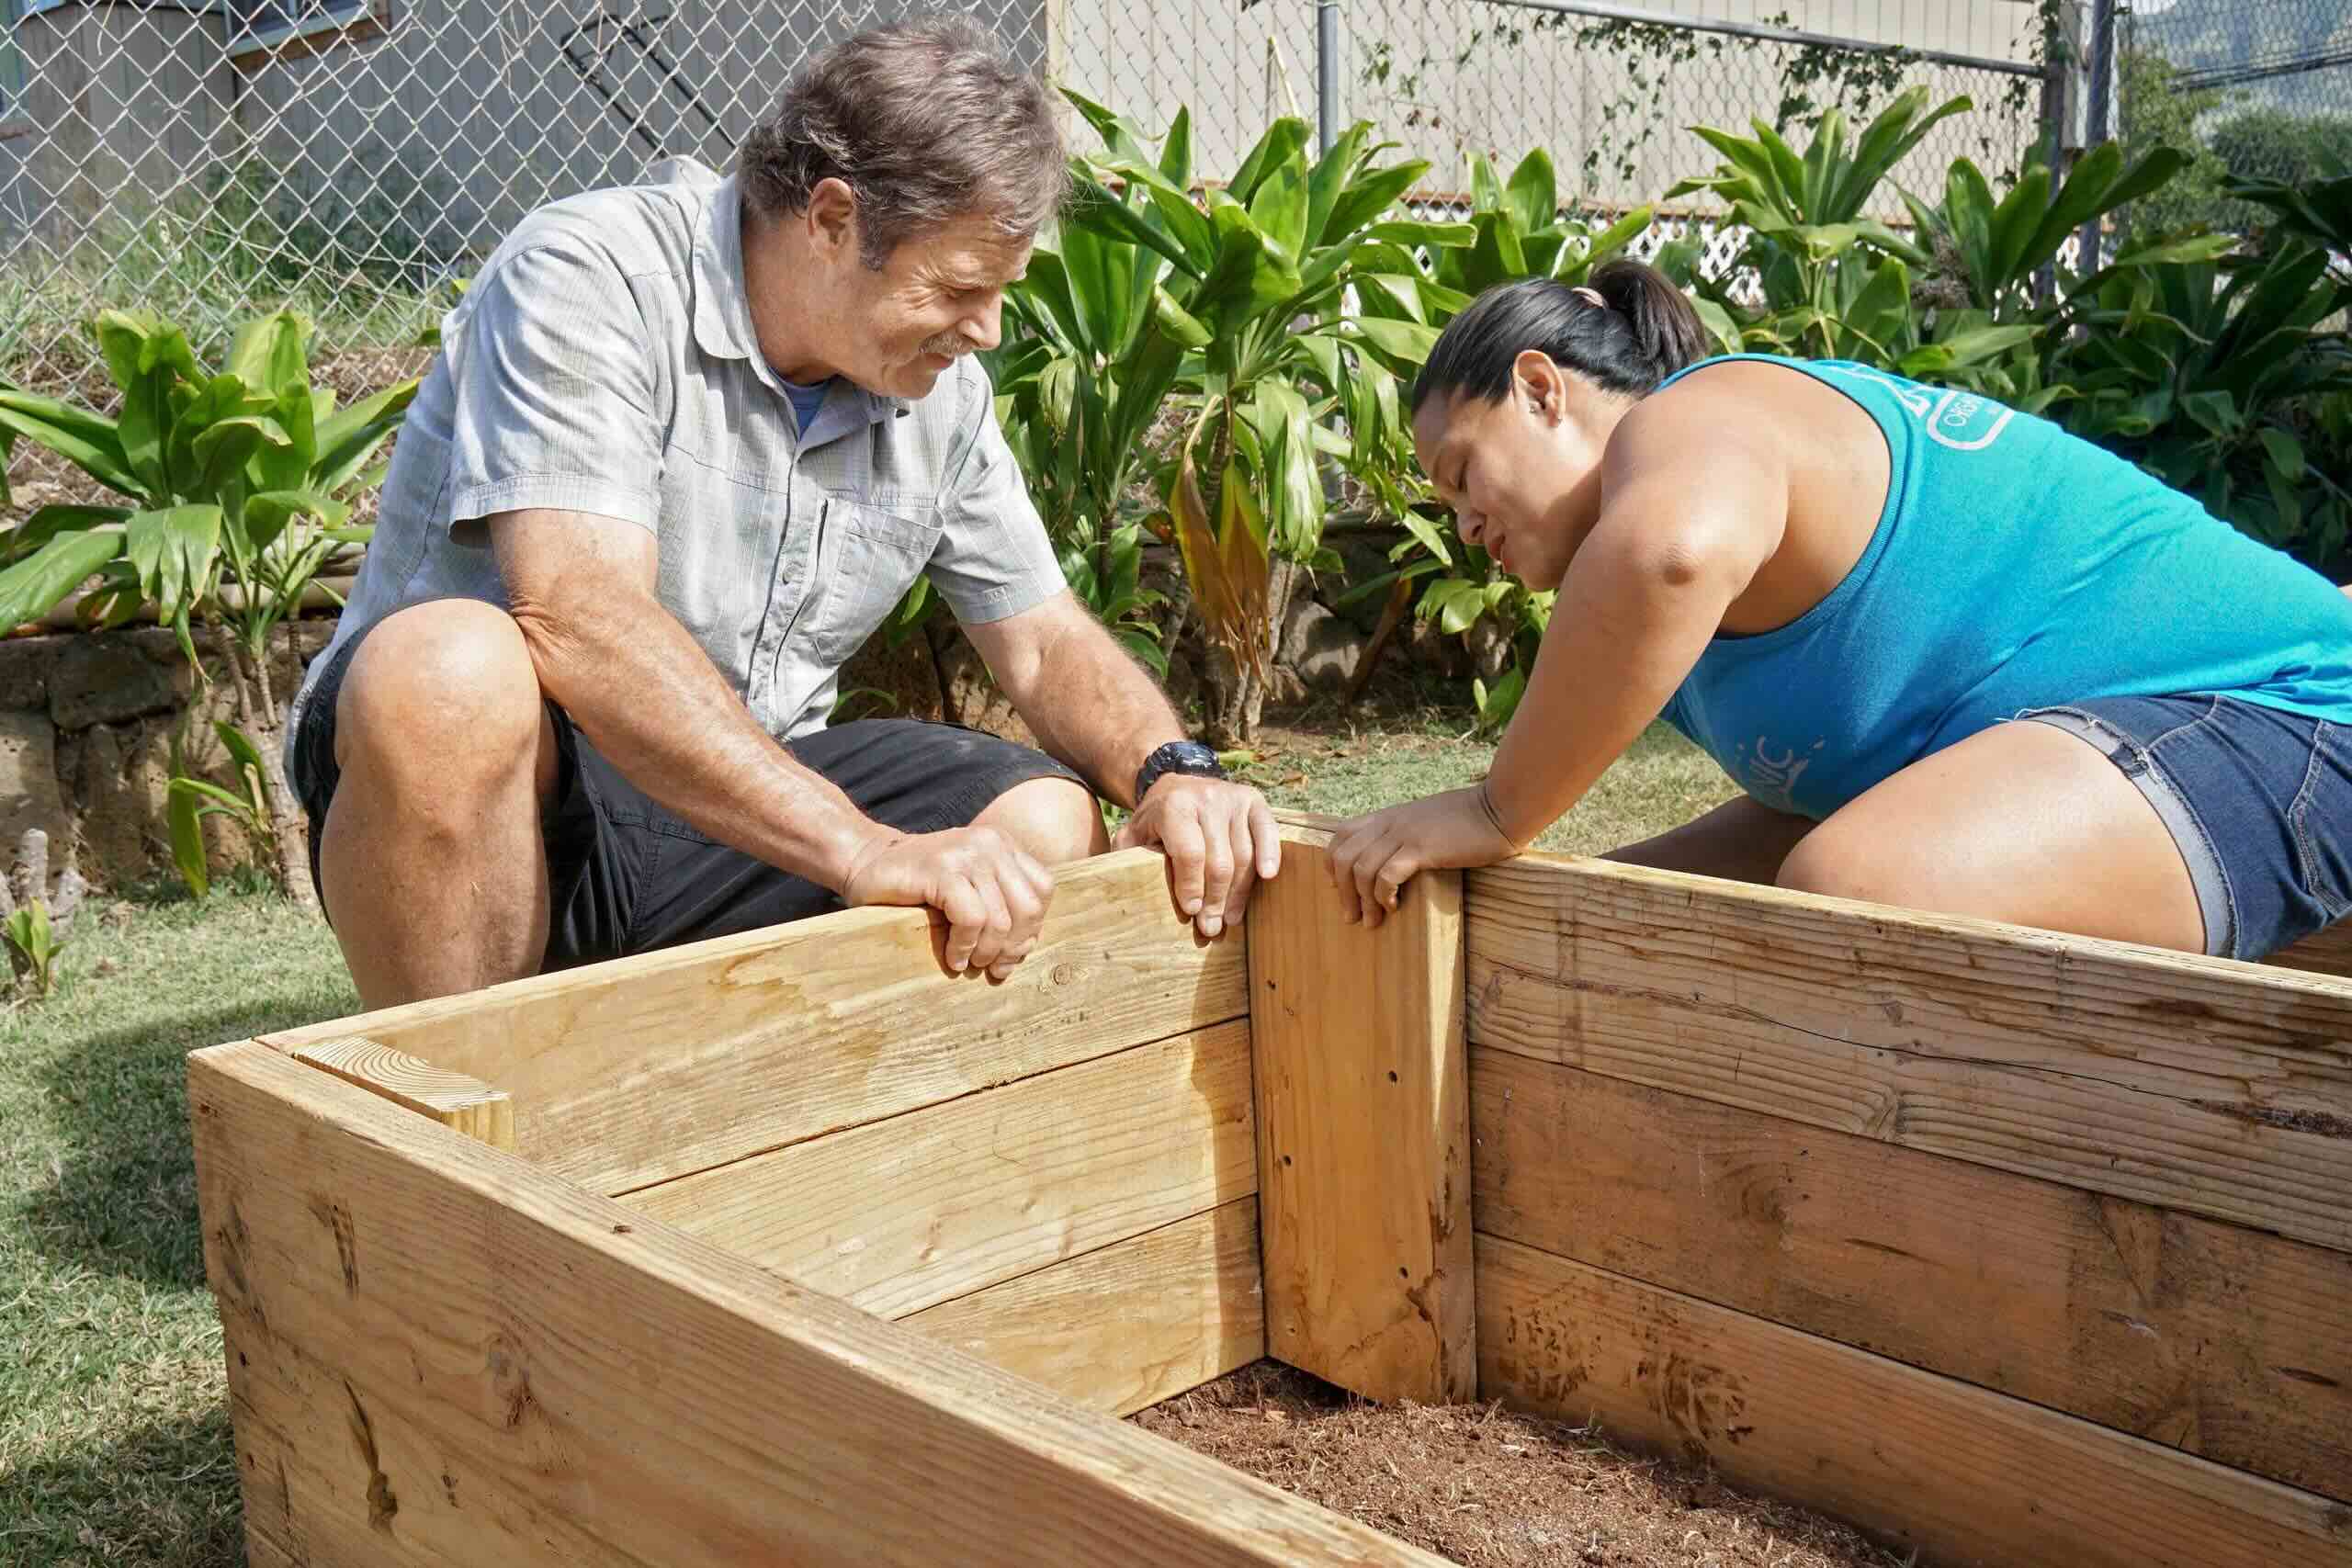
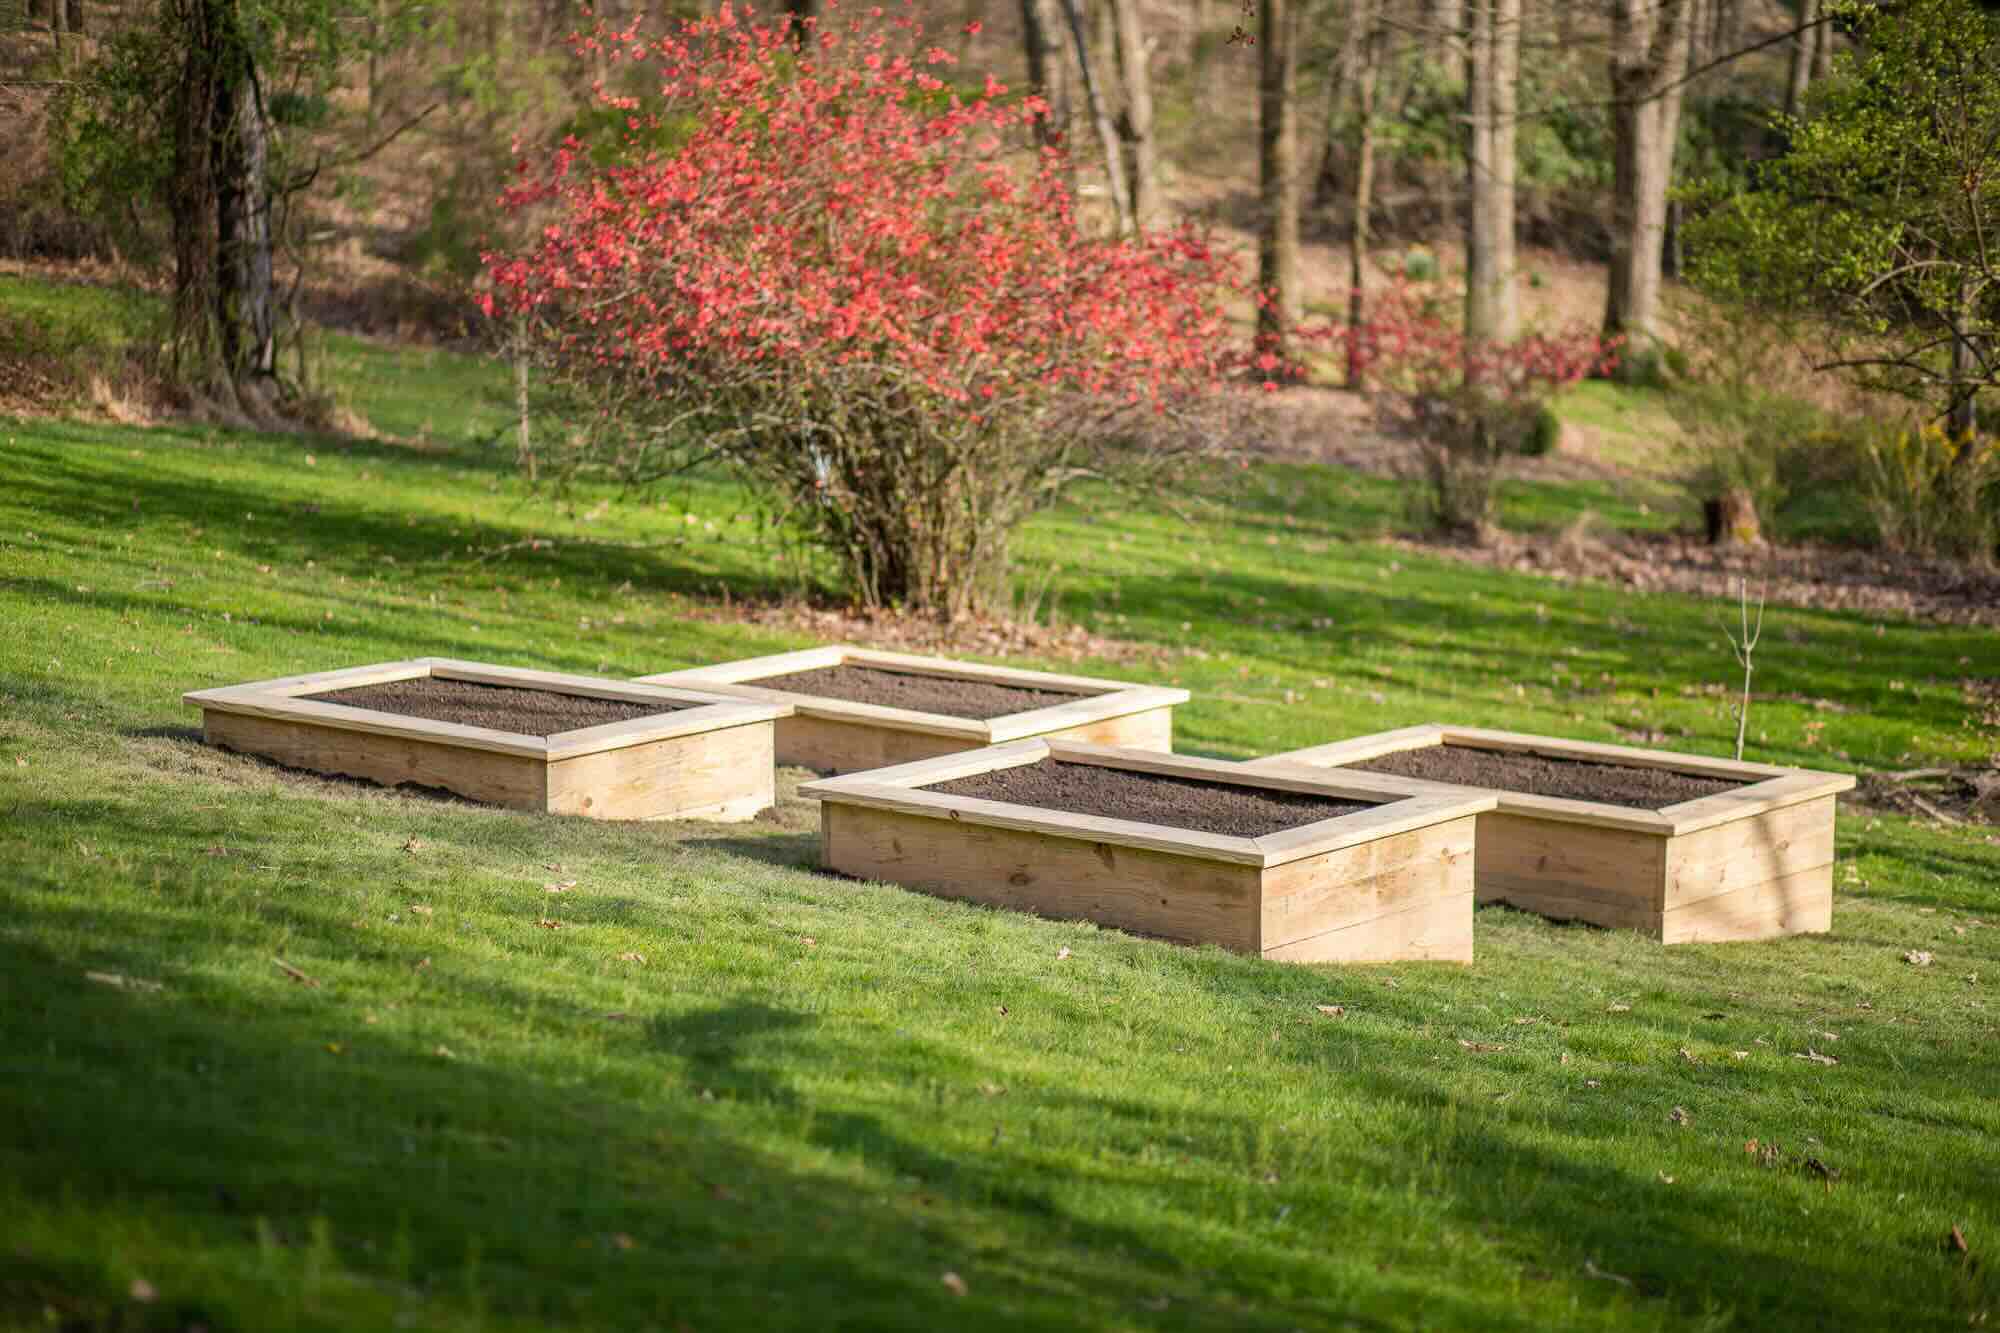
Step 3: Mark the Borders
With the area cleared and the ground prepared, the next crucial step in creating a garden bed is marking the borders. This process involves defining the precise boundaries of the bed, ensuring a well-organized and visually appealing layout for your plants. Here's a detailed guide on how to effectively mark the borders of your garden bed:
Read more: How To Create A Garden Bed
Define the Shape and Size
Begin by visualizing the desired shape and size of your garden bed. Whether you prefer a traditional rectangular bed, a circular arrangement, or a free-form shape, take the time to envision the layout that best suits your outdoor space. Consider the overall aesthetics of your garden and the specific plants you intend to grow, as different shapes can create varying visual impacts.
Using garden stakes, a string, or a garden hose, outline the chosen shape of the garden bed on the cleared ground. Take precise measurements to ensure uniformity and symmetry, adjusting the boundaries as needed to achieve the desired dimensions. This meticulous approach will result in a well-defined and visually pleasing layout for your garden bed.
Consider Plant Spacing and Accessibility
As you mark the borders, consider the spacing requirements for the plants you intend to grow. Different species and varieties have specific spacing needs to thrive and reach their full potential. Take these requirements into account when determining the size of the garden bed, ensuring that there is ample space between plants for optimal growth and airflow.
Additionally, consider accessibility within the garden bed. Leave sufficient room between the borders and any surrounding structures, such as fences or pathways, to facilitate easy access for planting, watering, and maintenance. A well-planned layout will contribute to a more efficient and enjoyable gardening experience.
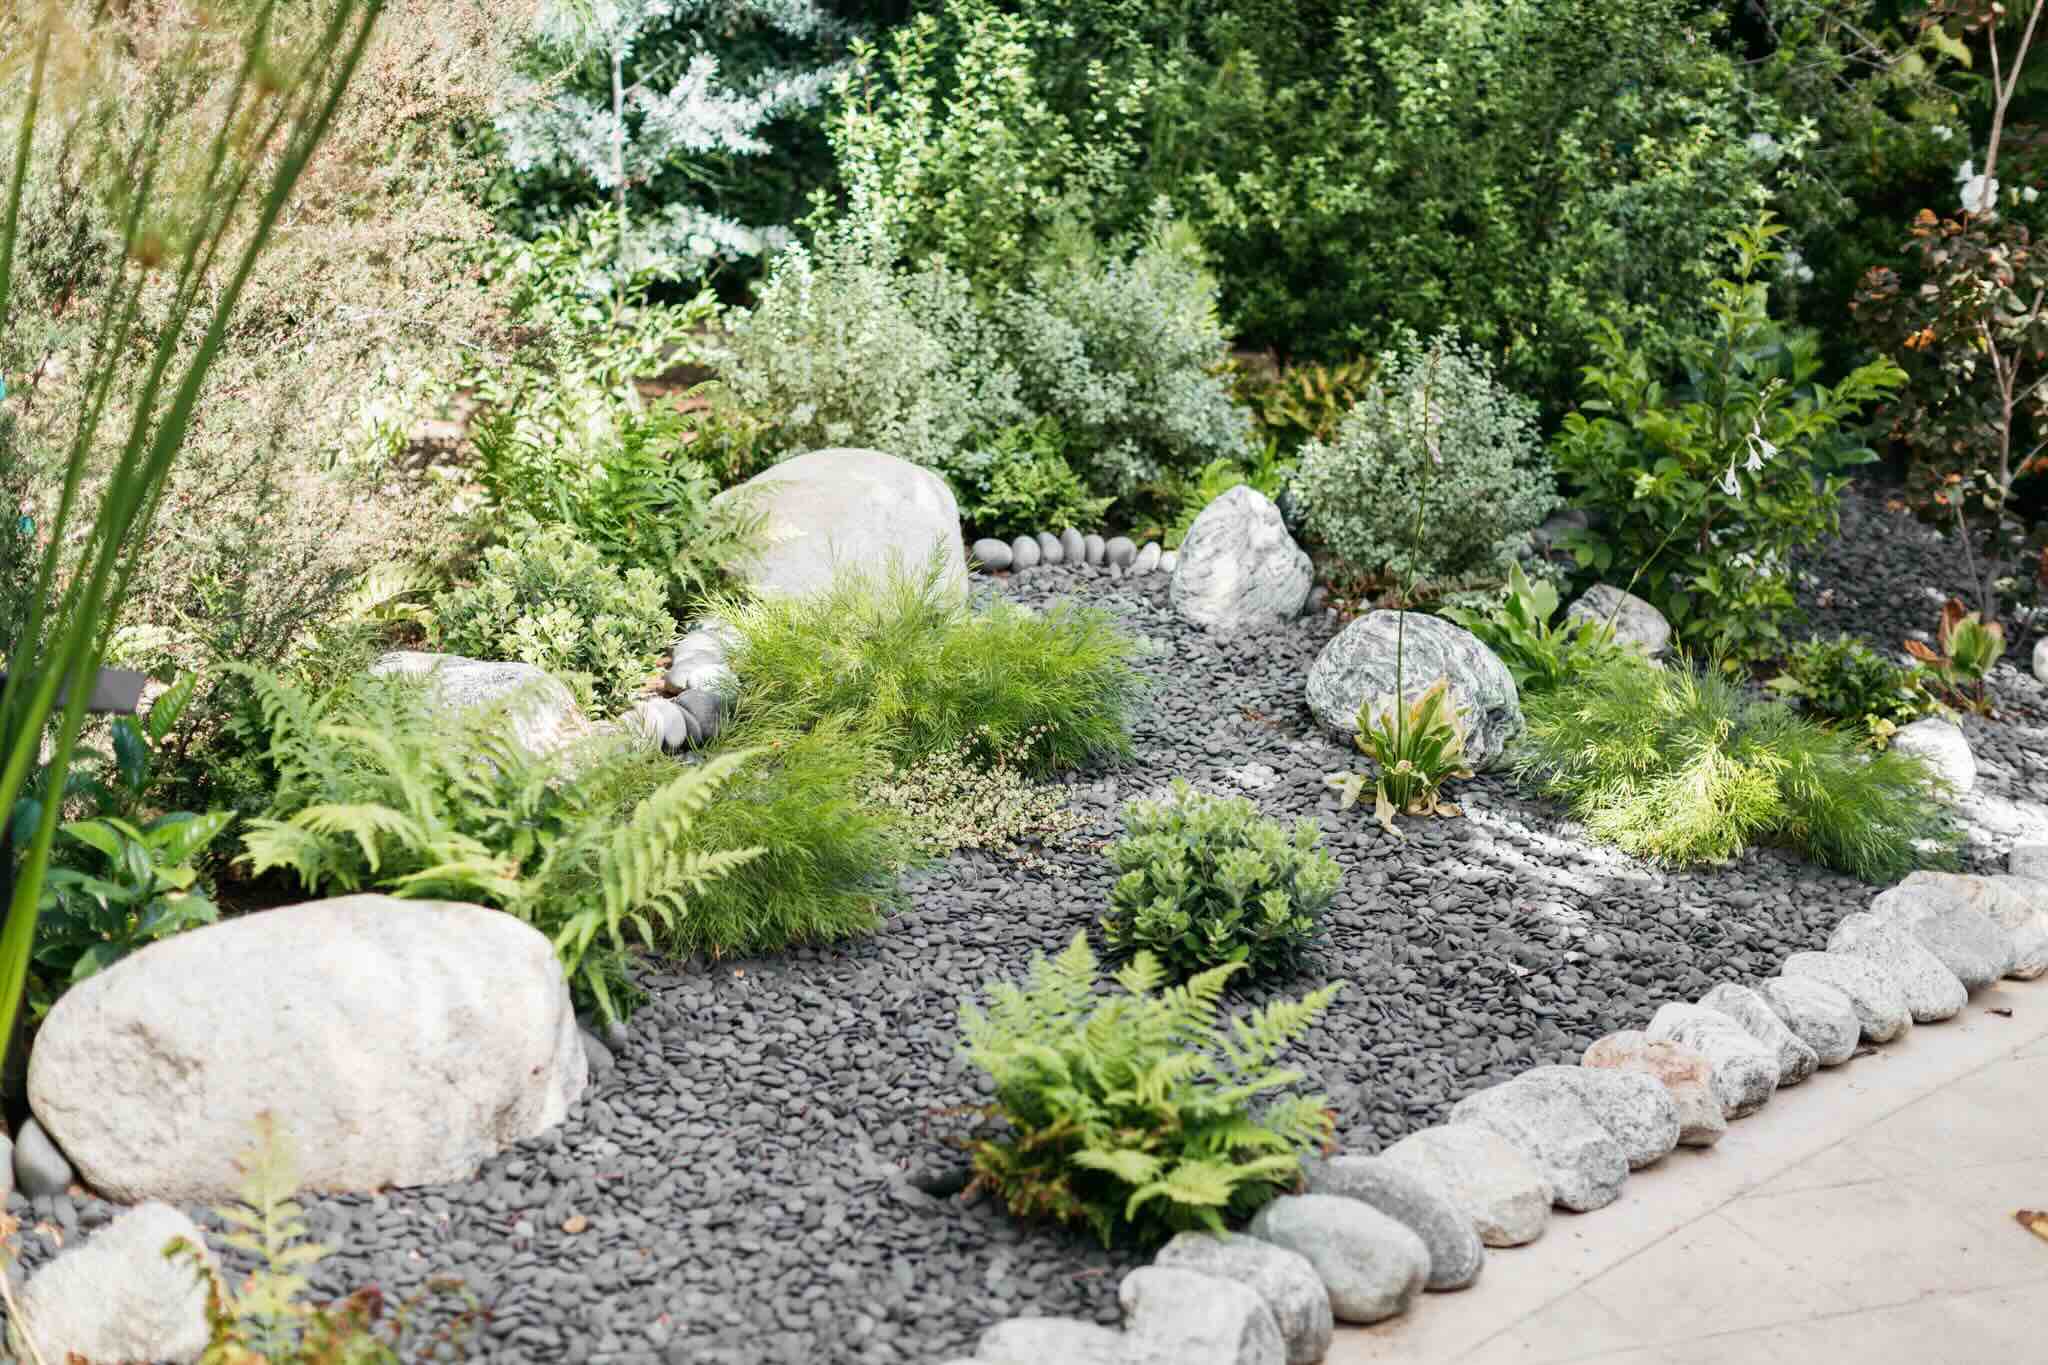
Incorporate Curved Edging or Pathways
For a visually striking garden bed, consider incorporating curved edging or pathways within the defined borders. Curved edges can add a sense of fluidity and elegance to the design, creating a soft and organic transition between the garden bed and the surrounding landscape. Use a garden edger or flexible landscaping materials to create smooth, flowing curves that enhance the aesthetic appeal of the bed.
If desired, designate pathways within the garden bed to allow for easy navigation and maintenance. These pathways can be lined with decorative stones, mulch, or stepping stones, adding both functionality and visual interest to the overall layout. Thoughtfully integrating curved edging and pathways will elevate the beauty and functionality of your garden bed.
Visualize the End Result
As you mark the borders, take a moment to step back and visualize the end result. Envision the garden bed as a focal point in your outdoor space, brimming with lush greenery, vibrant blooms, or bountiful harvests. Consider how the defined borders will frame and showcase the plants, creating a captivating display that harmonizes with the surrounding environment.
By meticulously marking the borders of your garden bed, you are laying the groundwork for a well-structured and visually appealing outdoor oasis. This thoughtful and deliberate approach sets the stage for the subsequent steps of digging, soil preparation, and planting, ensuring that your garden bed becomes a stunning centerpiece that enriches your outdoor living experience.
Read more: How To Design A Garden Bed
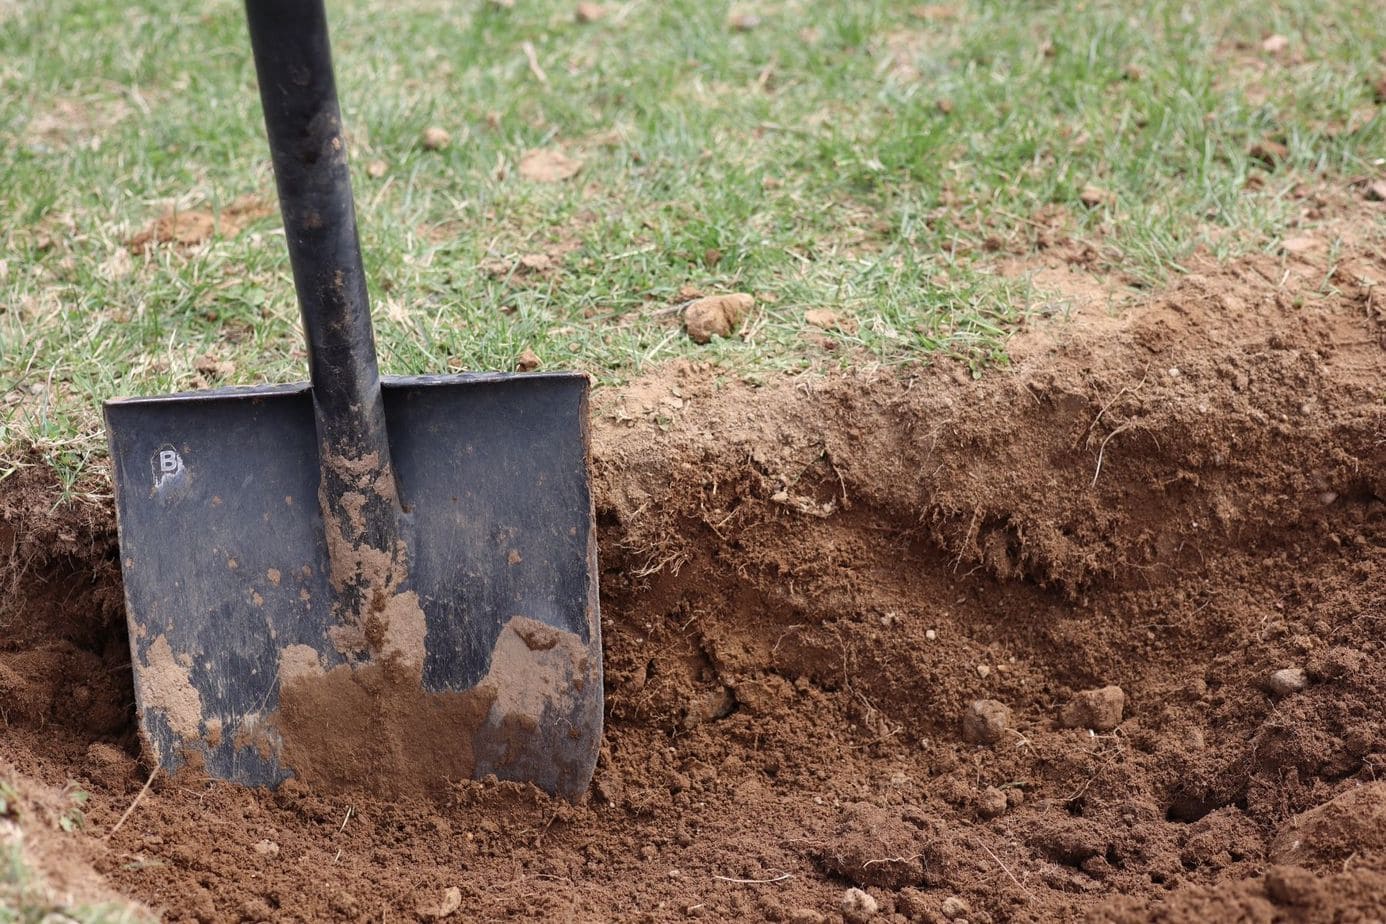
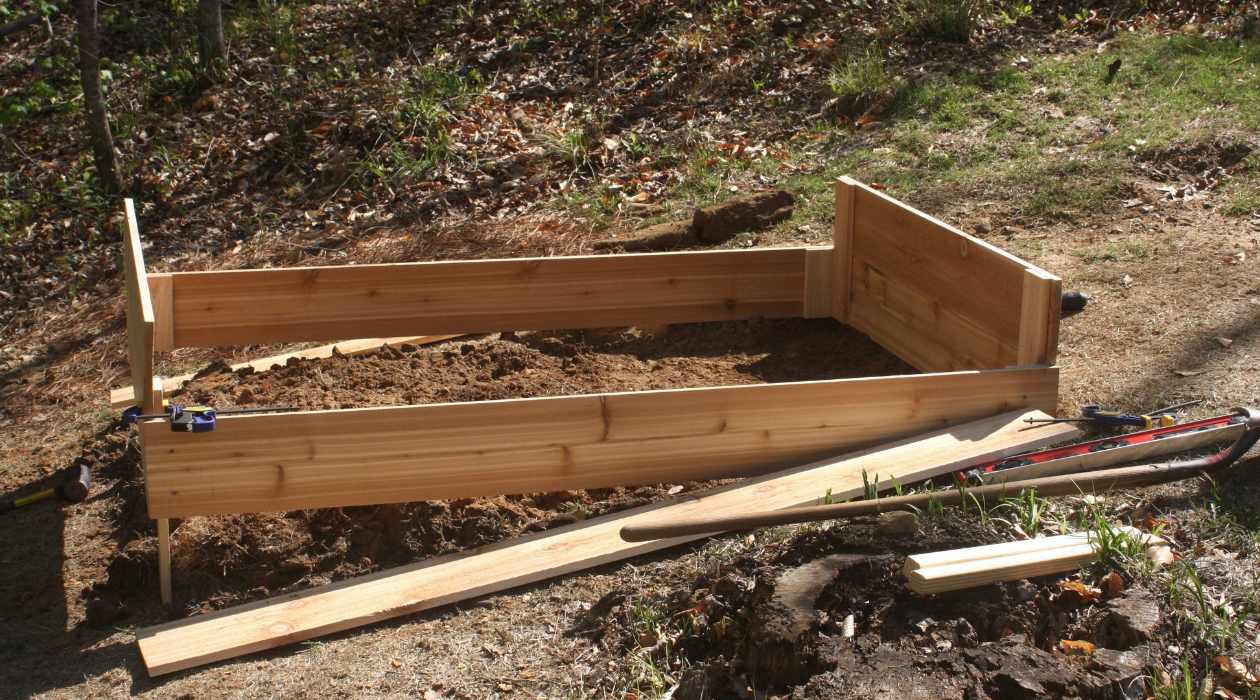
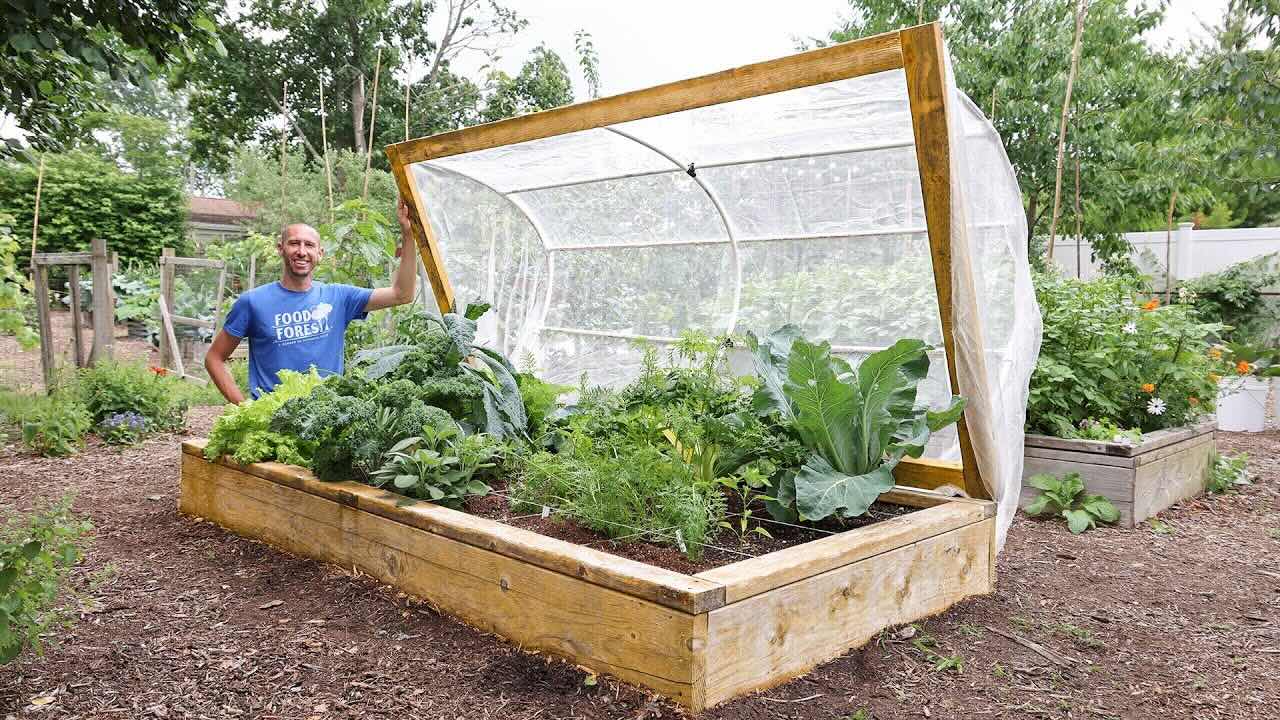
Step 4: Digging the Bed
With the location chosen, the area cleared, and the borders marked, it's time to embark on the transformative process of digging the garden bed. This pivotal step sets the stage for planting and provides the foundation for healthy root development and robust plant growth. Here's a comprehensive guide on how to effectively dig the bed for your garden:
Select the Right Tools
Before commencing the digging process, ensure that you have the appropriate tools on hand. A sturdy garden spade or shovel, a garden fork, and a rake are essential for breaking ground, loosening soil, and leveling the bed. Additionally, consider using a hand trowel for precision work and a wheelbarrow for transporting soil and amendments. Having the right tools at your disposal will streamline the digging process and contribute to a more efficient and enjoyable gardening experience.
Start Digging
Begin by using the garden spade or shovel to break ground within the marked borders of the garden bed. Insert the blade of the tool into the soil, leveraging your body weight to drive it downward. Work methodically, lifting and turning the soil to a depth of around 8-12 inches. This depth allows for adequate root penetration and promotes good drainage, essential for healthy plant growth.
Loosen and Aerated the Soil
After breaking ground, use a garden fork to further loosen the soil, breaking up any clumps and aerating the earth. This process improves soil structure, enhances water infiltration, and facilitates the movement of air and nutrients to the roots of your plants. Work the garden fork across the entire bed, paying attention to areas where the soil may be compacted or dense.
Read more: How To Mulch A Garden Bed
Remove Debris and Weeds
As you dig and aerate the soil, be vigilant in removing any remaining debris, rocks, or weed roots that may surface. Clearing the bed of these unwanted elements will create a clean and hospitable environment for your plants, minimizing competition for resources and reducing the risk of weed regrowth.
Level the Bed
Once the soil has been thoroughly loosened and cleared, use a rake to level the bed, smoothing out any uneven patches and creating a uniform surface. This step is essential for ensuring that the bed provides a stable and consistent foundation for planting, allowing for proper seed or plant placement and optimal root establishment.
Consider Soil Amendments
While digging the bed, take the opportunity to incorporate soil amendments to enhance fertility and structure. Organic matter such as compost, well-rotted manure, or peat moss can be mixed into the soil to enrich its nutrient content and improve its ability to retain moisture. Work the amendments evenly into the soil, ensuring thorough integration to benefit the future growth of your plants.
By diligently following these steps, you will have successfully dug the bed for your garden, laying the groundwork for a thriving and vibrant outdoor oasis. This preparatory phase sets the stage for the subsequent steps of planting and nurturing your chosen plants, ensuring that your garden bed becomes a flourishing testament to your gardening passion and creativity.
Step 5: Adding Soil Amendments
Adding soil amendments is a critical step in preparing the garden bed for optimal plant growth and vitality. Soil amendments are organic or inorganic materials that are incorporated into the soil to improve its structure, fertility, and overall health. By enriching the soil with essential nutrients and enhancing its ability to retain moisture, soil amendments create a nurturing environment that supports robust plant growth and resilience.
Read more: How To Clear A Garden Bed
Assessing Soil Composition
Before adding soil amendments, it's essential to assess the composition of the existing soil. Factors such as pH level, nutrient content, and texture play a significant role in determining the type and quantity of amendments needed. Conducting a soil test can provide valuable insights into the soil's characteristics, guiding the selection of appropriate amendments to address any deficiencies or imbalances.
Organic Amendments
Organic soil amendments, such as compost, well-rotted manure, and leaf mold, are valuable additions that contribute to soil fertility and structure. Compost, often referred to as "black gold," is a nutrient-rich organic matter that enhances soil health, promotes beneficial microbial activity, and improves moisture retention. Well-rotted manure, derived from animal waste that has decomposed over time, enriches the soil with essential nutrients and organic matter, fostering a fertile and conducive growing environment. Leaf mold, created from decomposed leaves, serves as a natural soil conditioner, enhancing moisture retention and promoting aeration.
Inorganic Amendments
Inorganic soil amendments, including perlite, vermiculite, and sand, are valuable for improving soil structure and drainage. Perlite, a lightweight volcanic glass, enhances aeration and drainage in the soil, preventing compaction and promoting healthy root development. Vermiculite, a mineral that undergoes expansion when heated, aids in moisture retention and improves soil texture. Sand, when incorporated in moderation, can improve drainage in heavy clay soils, promoting a more balanced and workable growing medium for plants.
Application and Integration
When adding soil amendments, it's important to distribute them evenly throughout the prepared garden bed. Use a garden fork or a hoe to work the amendments into the soil, ensuring thorough integration and uniform distribution. This process facilitates the blending of organic and inorganic materials with the existing soil, creating a harmonious and nutrient-rich growing medium that will benefit the plants in the long term.
Read more: How To Redo A Garden Bed
Benefits of Soil Amendments
The incorporation of soil amendments offers a multitude of benefits for the garden bed and the plants it will nurture. Improved soil structure enhances root penetration and aeration, fostering healthy root development and nutrient uptake. Enhanced fertility provides essential nutrients for plant growth, promoting vigor and resilience. Increased moisture retention reduces water stress on plants, particularly during dry periods, and contributes to overall water efficiency in the garden bed.
By adding soil amendments thoughtfully and purposefully, you are enriching the foundation of your garden bed, setting the stage for a flourishing and resilient plant ecosystem. This proactive approach to soil preparation ensures that your garden bed provides an optimal environment for the plants to thrive, resulting in a bountiful and visually captivating outdoor space.
Step 6: Planting the Garden Bed
Planting the garden bed is the culminating step in the transformative journey of creating a vibrant and flourishing outdoor oasis. This pivotal phase allows you to bring your vision to life, as you carefully select and position the plants that will adorn and enrich the garden bed. With thoughtful planning and attention to detail, you can create a harmonious and visually captivating tapestry of colors, textures, and fragrances that will delight the senses and elevate the beauty of your outdoor space.
Selecting Plants
Before embarking on the planting process, take the time to select plants that are well-suited to the growing conditions of your garden bed. Consider factors such as sunlight requirements, soil type, and climate suitability to ensure that the chosen plants will thrive in their new environment. Whether you opt for vibrant annual flowers, lush perennials, or bountiful vegetable seedlings, choose varieties that resonate with your aesthetic preferences and align with the overall design of the garden bed.
Positioning and Spacing
Carefully plan the positioning of each plant within the garden bed, taking into account their mature size and growth habits. Consider the visual impact of different plant combinations, arranging them in a way that creates a balanced and harmonious composition. Pay attention to spacing requirements, allowing ample room for the plants to spread and flourish without overcrowding. By strategically positioning the plants, you can create a dynamic and visually engaging arrangement that showcases their unique characteristics.
Read more: How To Winterize A Garden Bed
Planting Techniques
When planting the selected vegetation, employ proper techniques to ensure their successful establishment. Dig individual planting holes that are spacious enough to accommodate the root systems of the plants, gently loosening the soil at the bottom of each hole to promote root penetration. Carefully remove the plants from their containers, teasing out the roots if they are pot-bound, and position them at the appropriate depth in the planting holes. Backfill the holes with soil, gently firming the earth around the base of each plant to provide stability and support.
Watering and Mulching
After planting, thoroughly water the garden bed to settle the soil around the newly installed plants and provide essential moisture for their initial growth. Use a gentle spray or a watering can to ensure even distribution of water without disturbing the soil. Consider applying a layer of organic mulch, such as shredded bark or compost, around the base of the plants to conserve moisture, suppress weeds, and regulate soil temperature. Mulching also contributes to the visual cohesiveness of the garden bed, creating a polished and well-maintained appearance.
Nurturing and Maintenance
Once the plants are in place, commit to their ongoing care and maintenance to ensure their long-term health and vitality. Establish a regular watering schedule, tailored to the specific needs of the plants and the prevailing weather conditions. Monitor the garden bed for signs of pests, diseases, or nutrient deficiencies, addressing any issues promptly to safeguard the well-being of the plants. As the plants grow and flourish, consider implementing a feeding regimen using organic fertilizers to support their nutritional requirements and promote robust growth.
By meticulously following these planting guidelines, you will bring the garden bed to life with an array of vibrant and thriving plants, creating a captivating and visually stunning outdoor sanctuary. This transformative process culminates in the realization of your gardening vision, as the carefully selected and thoughtfully positioned plants come together to form a tapestry of natural beauty that enriches your outdoor living experience.
Conclusion
In conclusion, the process of digging and creating a garden bed is a deeply rewarding endeavor that allows you to cultivate a thriving and visually captivating outdoor space. By following the essential steps outlined in this guide, you have embarked on a journey that encompasses careful planning, thoughtful preparation, and the nurturing of plant life. As you reflect on the transformative process you have undertaken, it's important to recognize the profound impact that a well-crafted garden bed can have on your outdoor living experience.
The act of choosing the perfect location for your garden bed sets the stage for a flourishing plant ecosystem, ensuring that your selected plants receive the optimal sunlight, soil quality, and protection from the elements. Clearing the area and marking the borders represent the foundational steps that lay the groundwork for a well-organized and visually appealing garden bed. These preparatory phases not only create a clean canvas for planting but also contribute to the overall aesthetics and functionality of the outdoor space.
The meticulous process of digging the bed and incorporating soil amendments serves as a testament to your dedication to creating a nurturing environment for plant growth. By loosening the soil, removing debris, and integrating organic and inorganic amendments, you have enriched the foundation of the garden bed, fostering an environment that promotes healthy root development and robust plant vitality.
As you transition to the planting phase, you have the opportunity to bring your vision to life, carefully selecting and positioning plants that resonate with your aesthetic preferences and thrive in the chosen environment. The act of planting and nurturing these living organisms represents a deeply fulfilling connection with nature, as you witness the transformation of the garden bed into a vibrant and flourishing outdoor sanctuary.
In essence, the creation of a garden bed transcends the physical act of digging and planting. It embodies a profound connection with the natural world, a celebration of life, and a testament to the transformative power of gardening. As you tend to your garden bed, nurturing and caring for the plants within, you are not only cultivating a beautiful outdoor space but also fostering a deeper appreciation for the wonders of nature.
Ultimately, the journey of creating a garden bed is a testament to your creativity, passion, and commitment to enhancing your outdoor living experience. As the garden bed flourishes with life and color, it becomes a reflection of your unique style and personality, enriching your surroundings and providing a tranquil retreat amidst the beauty of nature.
Frequently Asked Questions about How To Dig A Garden Bed
Was this page helpful?
At Storables.com, we guarantee accurate and reliable information. Our content, validated by Expert Board Contributors, is crafted following stringent Editorial Policies. We're committed to providing you with well-researched, expert-backed insights for all your informational needs.


0 thoughts on “How To Dig A Garden Bed”