Articles
How To Turn Off Water To Washer
Modified: October 20, 2024
Discover step-by-step articles on how to easily turn off the water to your washer. Simplify your maintenance routine and prevent leaks with our expert guides.
(Many of the links in this article redirect to a specific reviewed product. Your purchase of these products through affiliate links helps to generate commission for Storables.com, at no extra cost. Learn more)
Introduction
When it comes to washing machines, there may be times when you need to turn off the water supply for maintenance, repairs, or even during extended periods of non-use. Knowing how to turn off the water to your washer is an essential skill that every homeowner should possess.
In this article, we will guide you through the step-by-step process of turning off the water supply to your washer. Whether you have a top-loading or front-loading machine, the procedure is generally the same. By following these simple instructions, you can easily and safely shut off the water flow to your washer.
Before we dive into the steps, it’s important to note that turning off the water supply to your washer will require a basic understanding of your plumbing system. Make sure to familiarize yourself with the location of your water supply valves and main shut-off valve before attempting to turn off the water.
Now, let’s get started with step one!
Key Takeaways:
- Takeaway 1: Safely shut off your washer’s water supply by locating and closing the hot and cold water valves. Verify the shut-off to prevent potential leaks and ensure a smooth maintenance process.
- Takeaway 2: In the absence of individual water supply valves, confidently turn off the water using the main shut-off valve. Prioritize safety and consult a professional plumber if unsure about your plumbing system.
Read more: How To Turn Off Water To Toilet
Step 1: Locate the Water Supply Valves
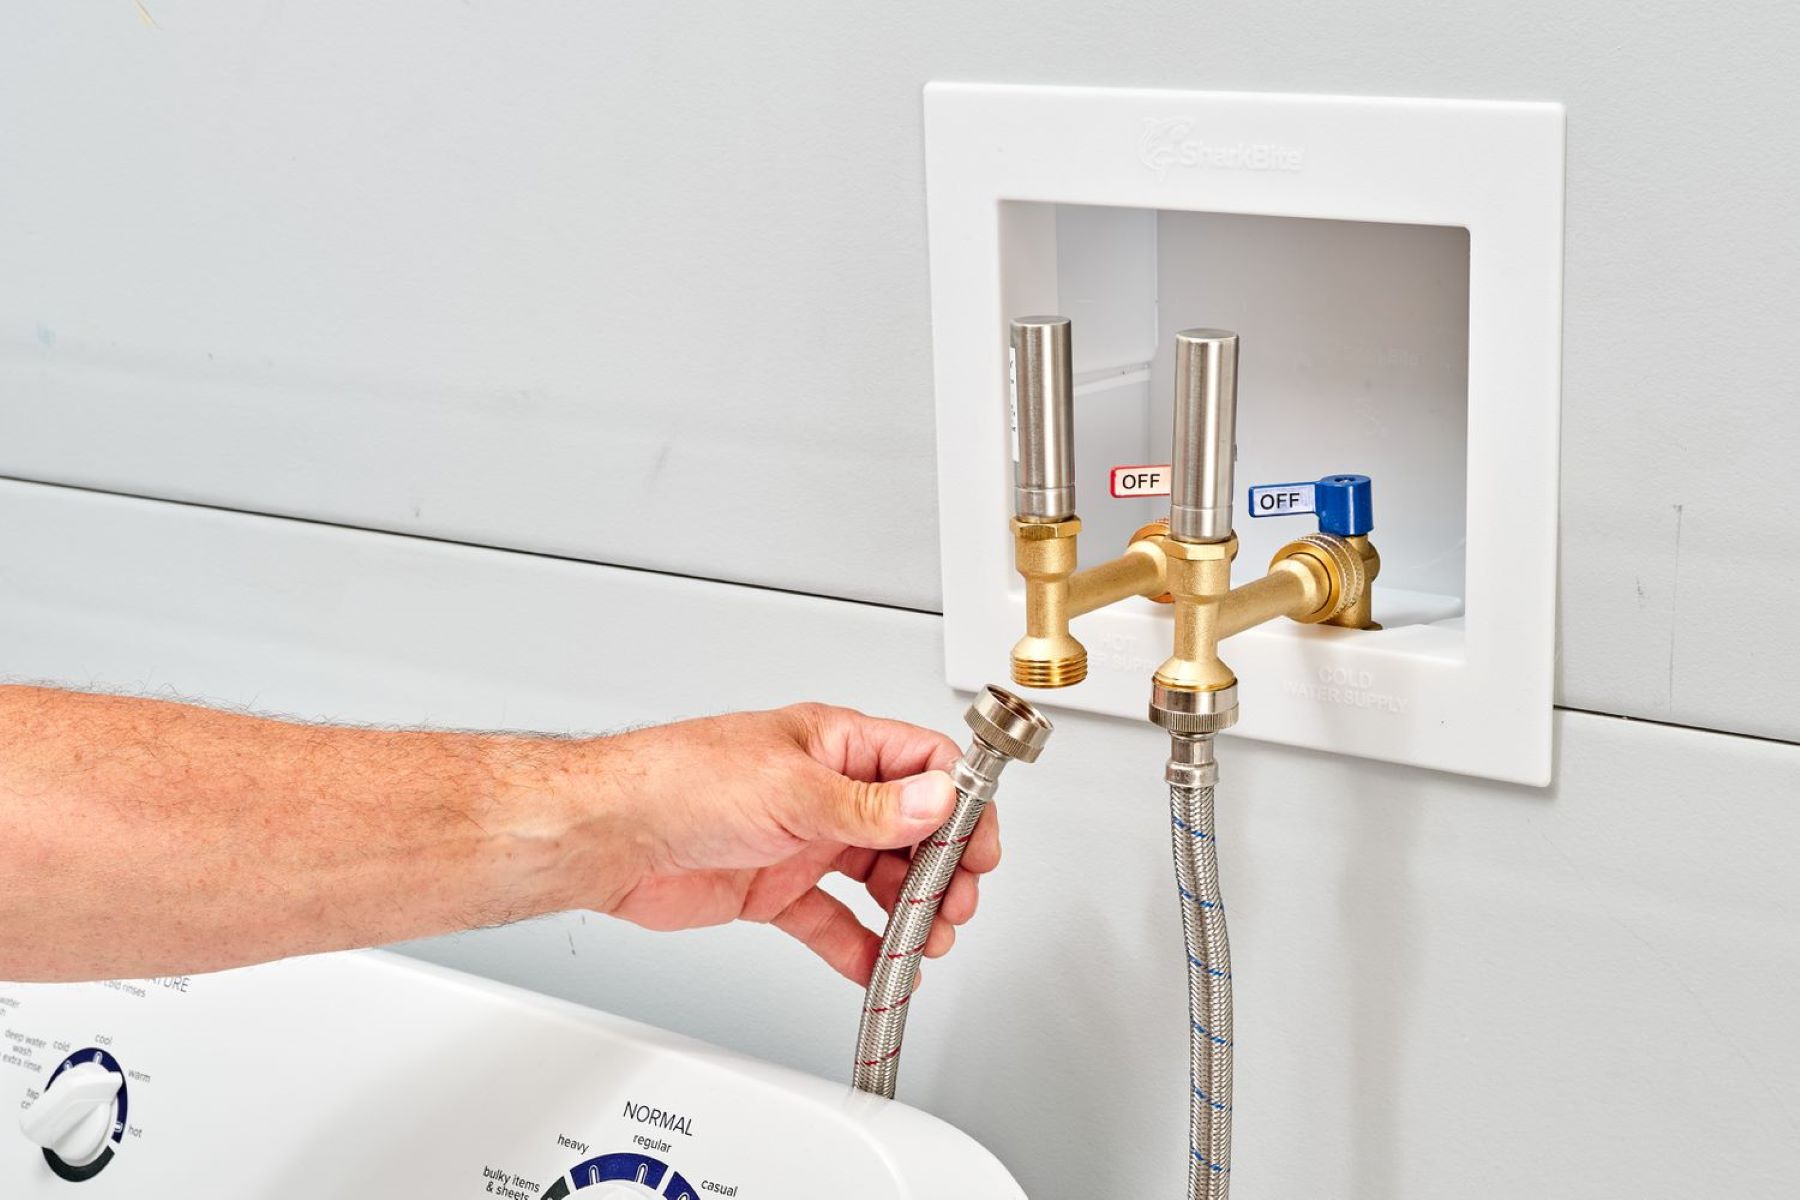
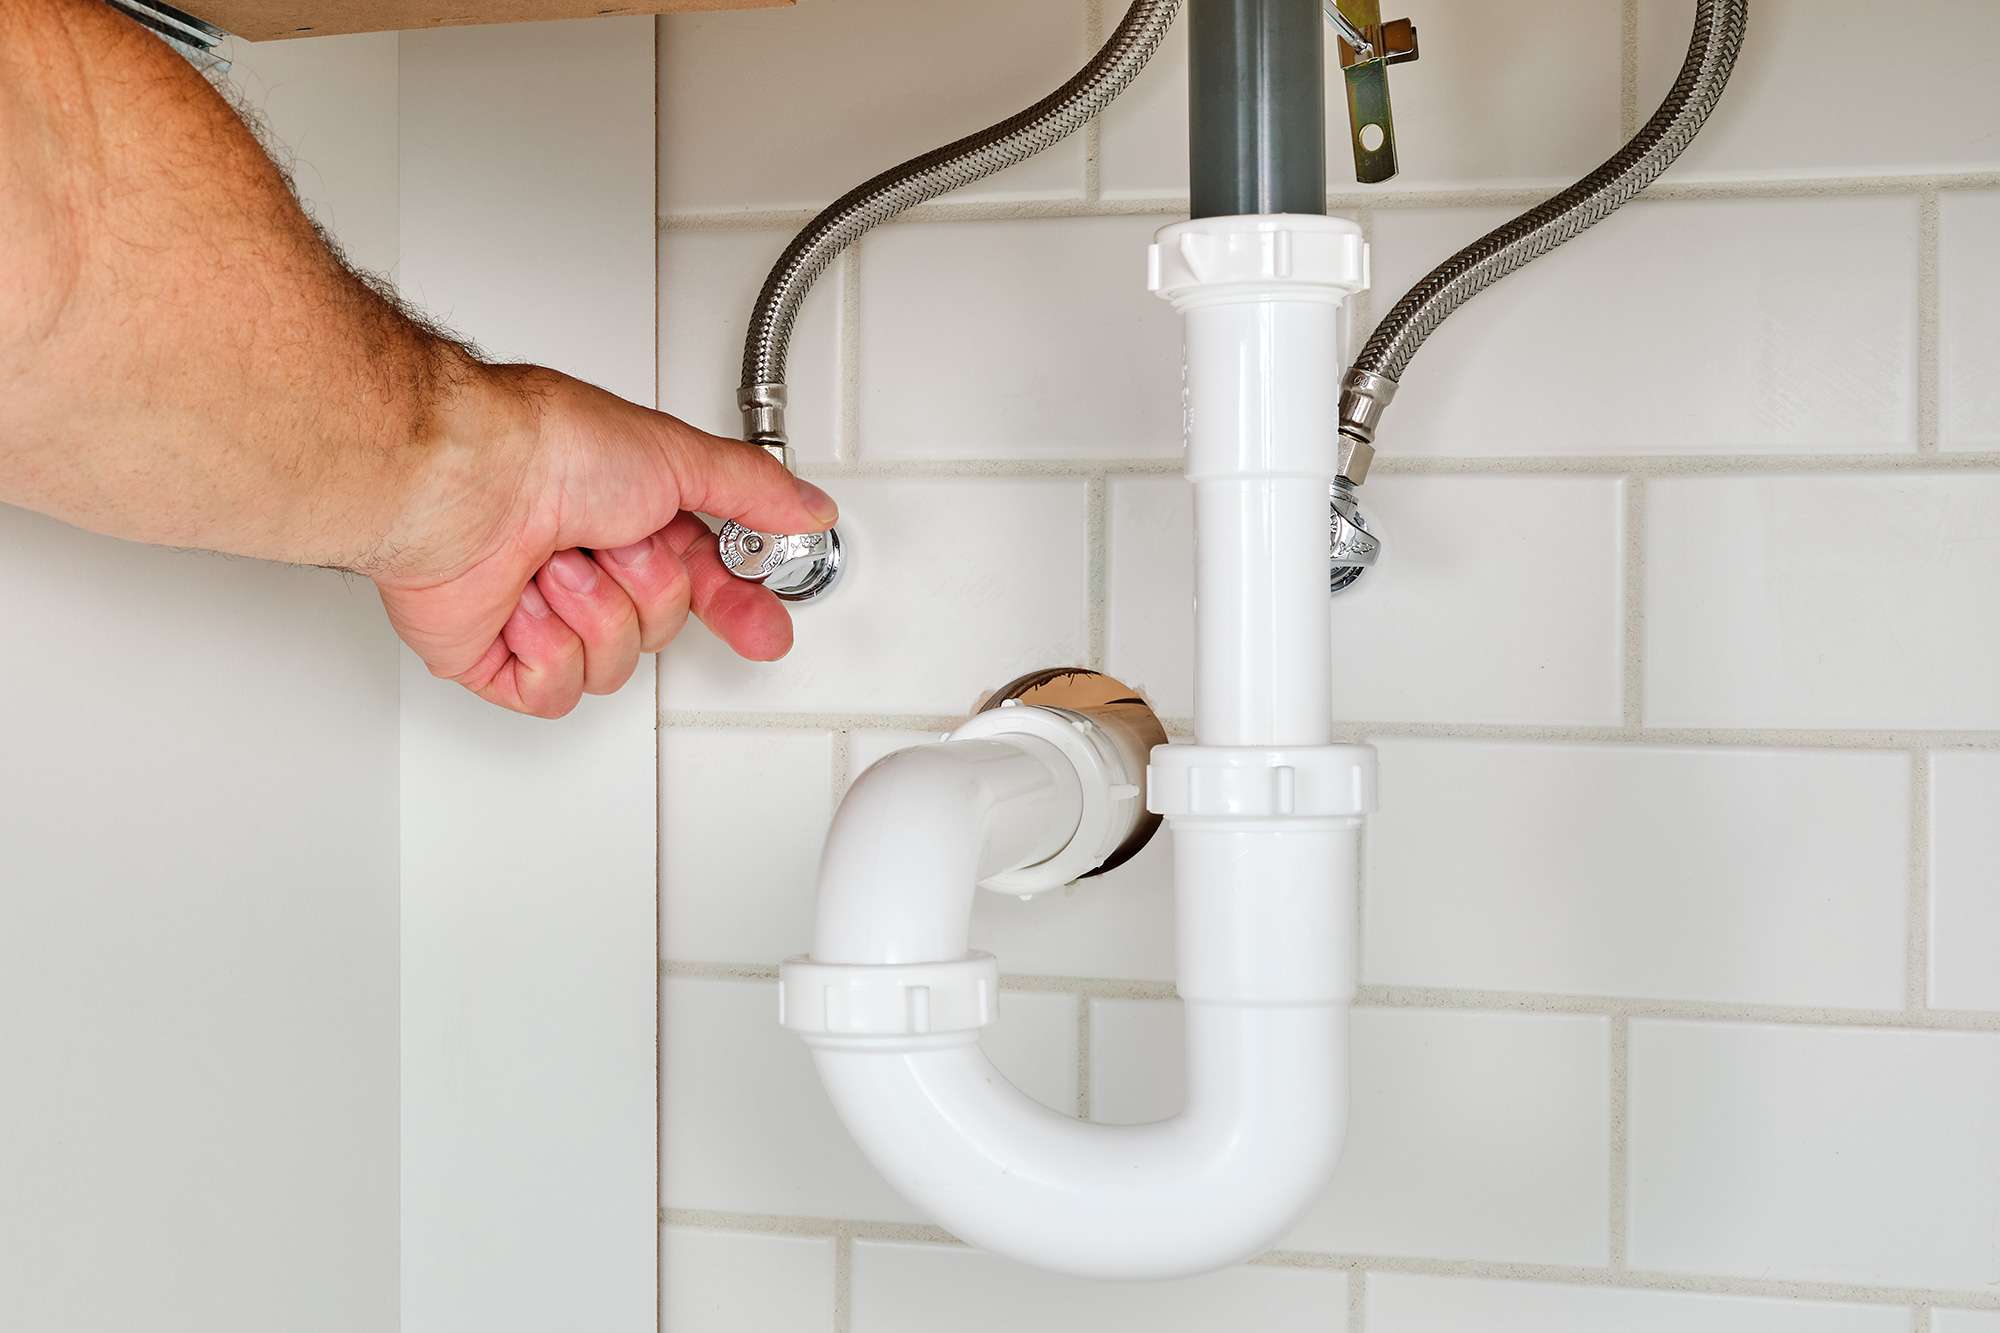
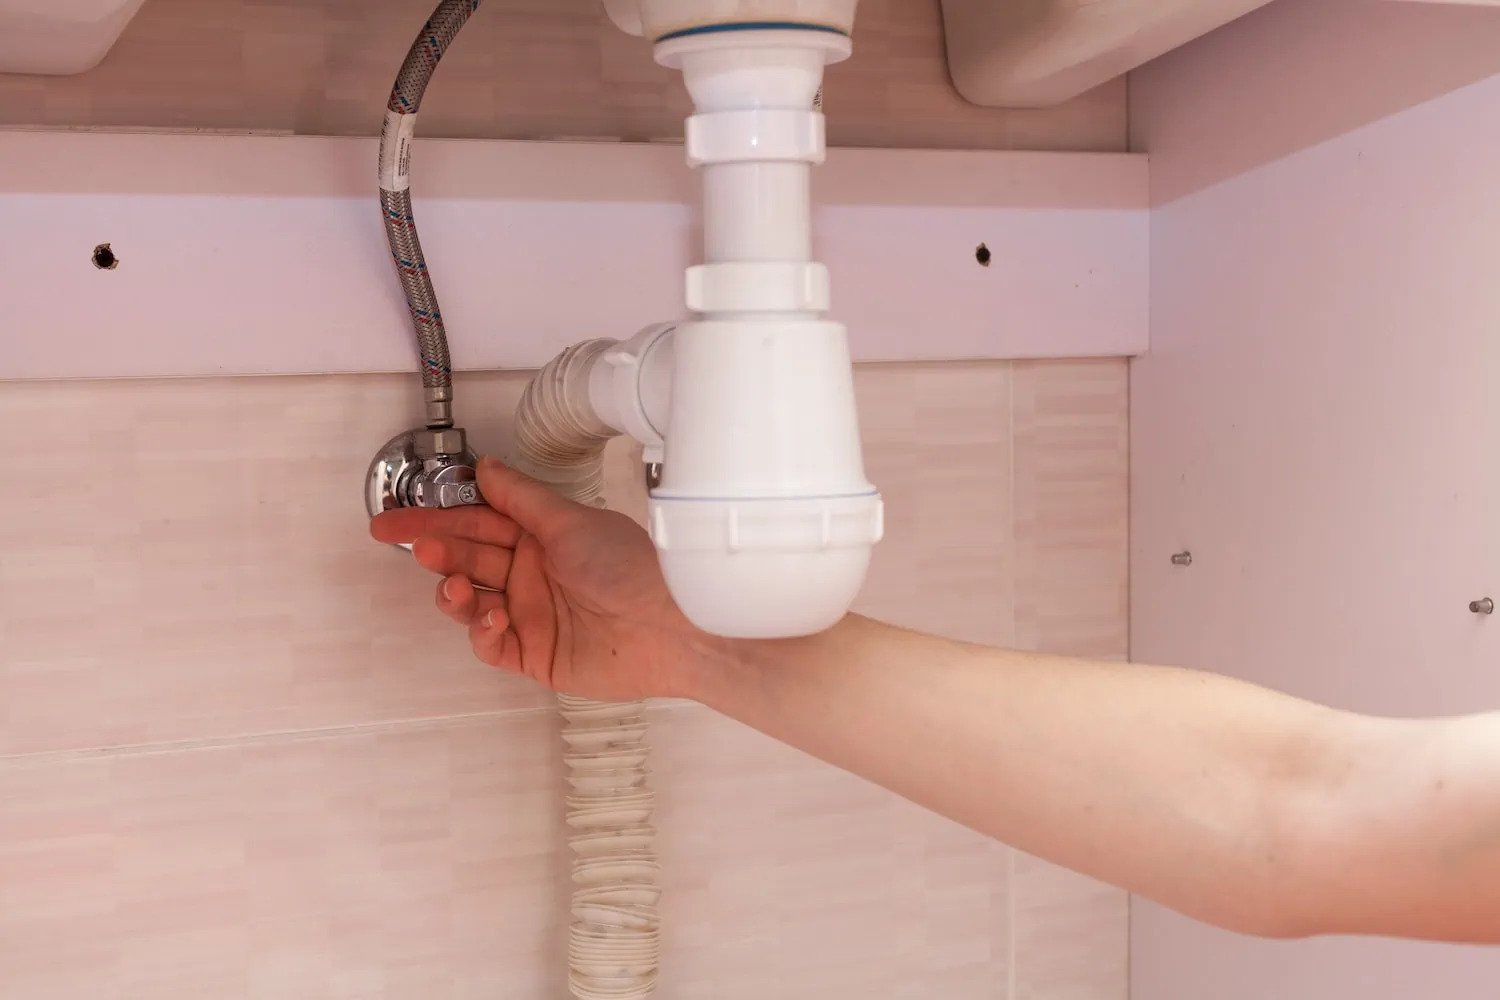
The first step in turning off the water to your washer is to locate the water supply valves. These valves are usually located on the wall behind the washer or in a nearby utility room. There are two valves that control the hot and cold water supply to your machine.
Start by visually inspecting the area behind your washer. Look for two small pipes that are connected to the back of the machine. One pipe will be connected to the hot water inlet, while the other will be connected to the cold water inlet.
Once you have identified the pipes, follow them to where they meet the wall. You should find two valves attached to the pipes. These valves are typically small knobs or levers that can be turned to control the water flow.
If the valves are located behind a panel or in a tight space, you may need to use a flashlight or mirror to get a better view. Take your time and be patient in locating the valves, as their position may vary depending on the setup of your plumbing system.
It is also worth noting that some washers may be directly connected to the main water supply without individual valves. In this case, you will need to proceed to step four to turn off the water using the main shut-off valve.
Once you have successfully located the water supply valves, proceed to the next step to start shutting off the hot water supply.
Step 2: Shutting off the Hot Water Supply
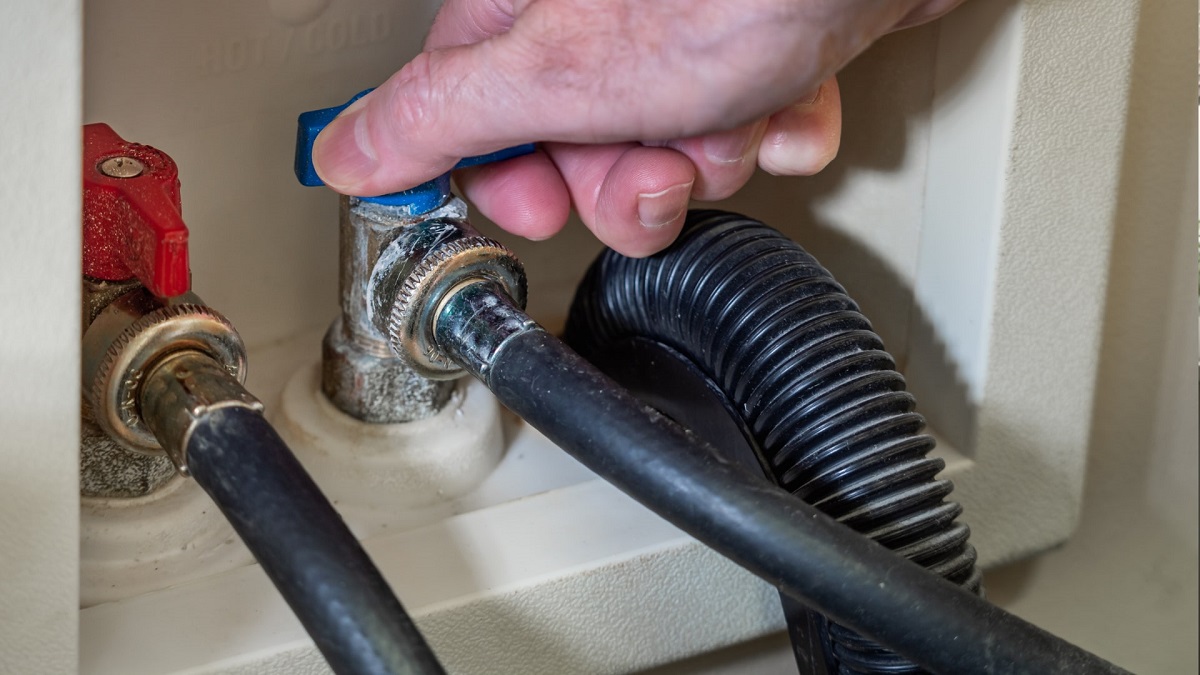
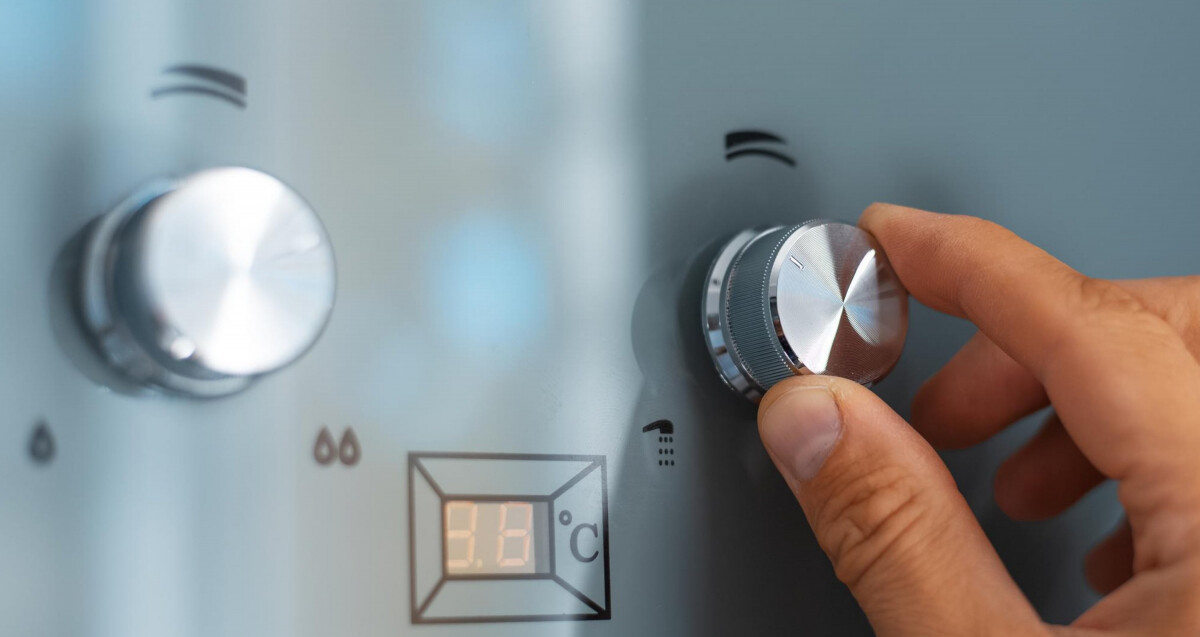
Now that you have located the water supply valves, it’s time to shut off the hot water supply. Remember, the hot water valve is typically labeled or indicated with a red marking, while the cold water valve is labeled with a blue marking or indicated with the letter “C” for cold.
Start by identifying the hot water valve. It should be connected to the pipe that is labeled as the hot water inlet. Rotate the valve clockwise (to the right) to close it. You may need to use a wrench or pliers to turn the valve if it is tight or difficult to move.
As you close the hot water valve, pay attention to any resistance or changes in the water flow. Once the valve is fully closed, the hot water supply to your washer should be shut off, preventing any water from entering the machine.
To ensure that the hot water supply is turned off, you can run a small amount of hot water from a nearby faucet or check the hot water flow at the washer. If there is no water running or the flow has stopped, you have successfully shut off the hot water supply.
Now that the hot water supply is off, let’s move on to step three to shut off the cold water supply.
Step 3: Shutting off the Cold Water Supply
With the hot water supply shut off, it’s time to turn off the cold water supply to your washer. As mentioned earlier, the cold water valve is usually labeled with a blue marking or indicated with the letter “C” for cold.
Identify the cold water valve, which should be connected to the pipe labeled as the cold water inlet. Just like with the hot water valve, rotate the cold water valve clockwise (to the right) to close it. Again, you may need to use a wrench or pliers to help with the turning, if necessary.
As you close the cold water valve, pay attention to any resistance or changes in the water flow. Once the valve is fully closed, the cold water supply to your washer should be shut off, preventing any water from entering the machine.
To confirm that the cold water supply is turned off, you can run a small amount of cold water from a nearby faucet or check the cold water flow at the washer. If there is no water running or the flow has stopped, you have successfully shut off the cold water supply.
Now that both the hot and cold water supplies are shut off, let’s move on to step four, which involves turning off the water using the main shut-off valve, if necessary.
Locate the shut-off valve behind the washer and turn it clockwise to shut off the water supply. If there is no valve, turn off the main water supply to the house.
Step 4: Turning off the Water Using the Main Shut-Off Valve
In some cases, your washing machine may not have individual water supply valves, or you may want to completely shut off the water to your entire house. In such situations, you will need to turn off the water using the main shut-off valve.
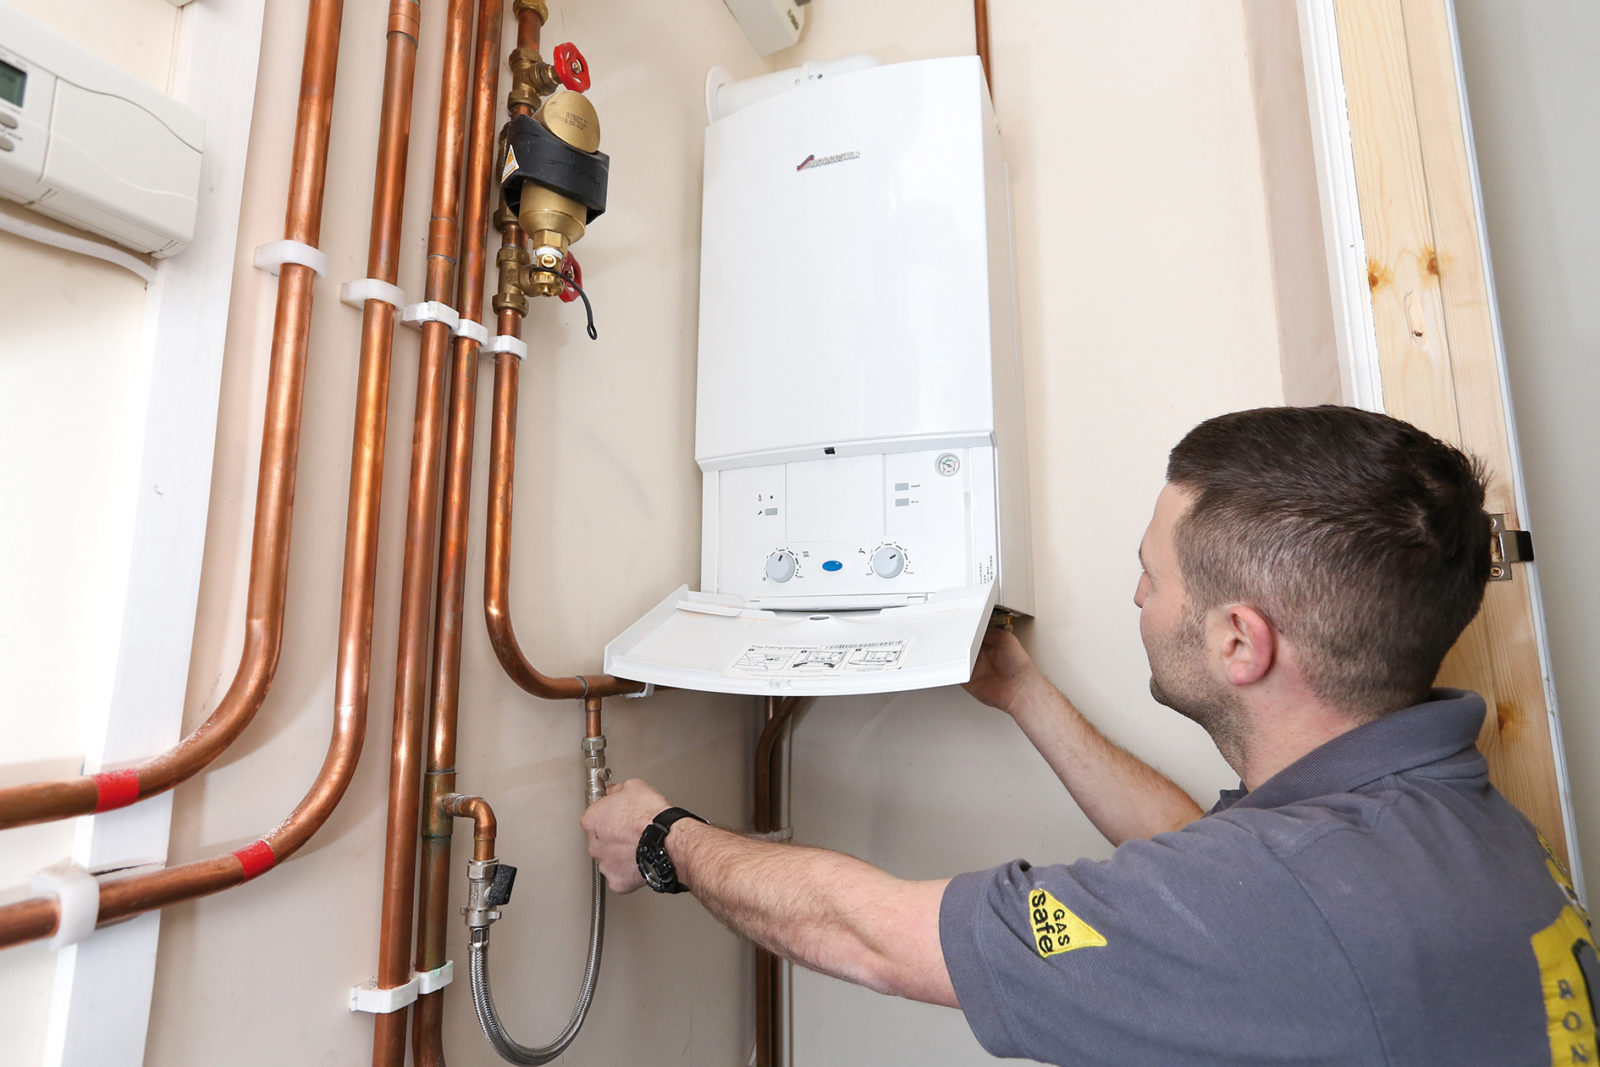
The main shut-off valve is typically located where the main water line enters your home, often in the basement or utility room. It is usually a larger valve that controls the flow of water for the entire house.
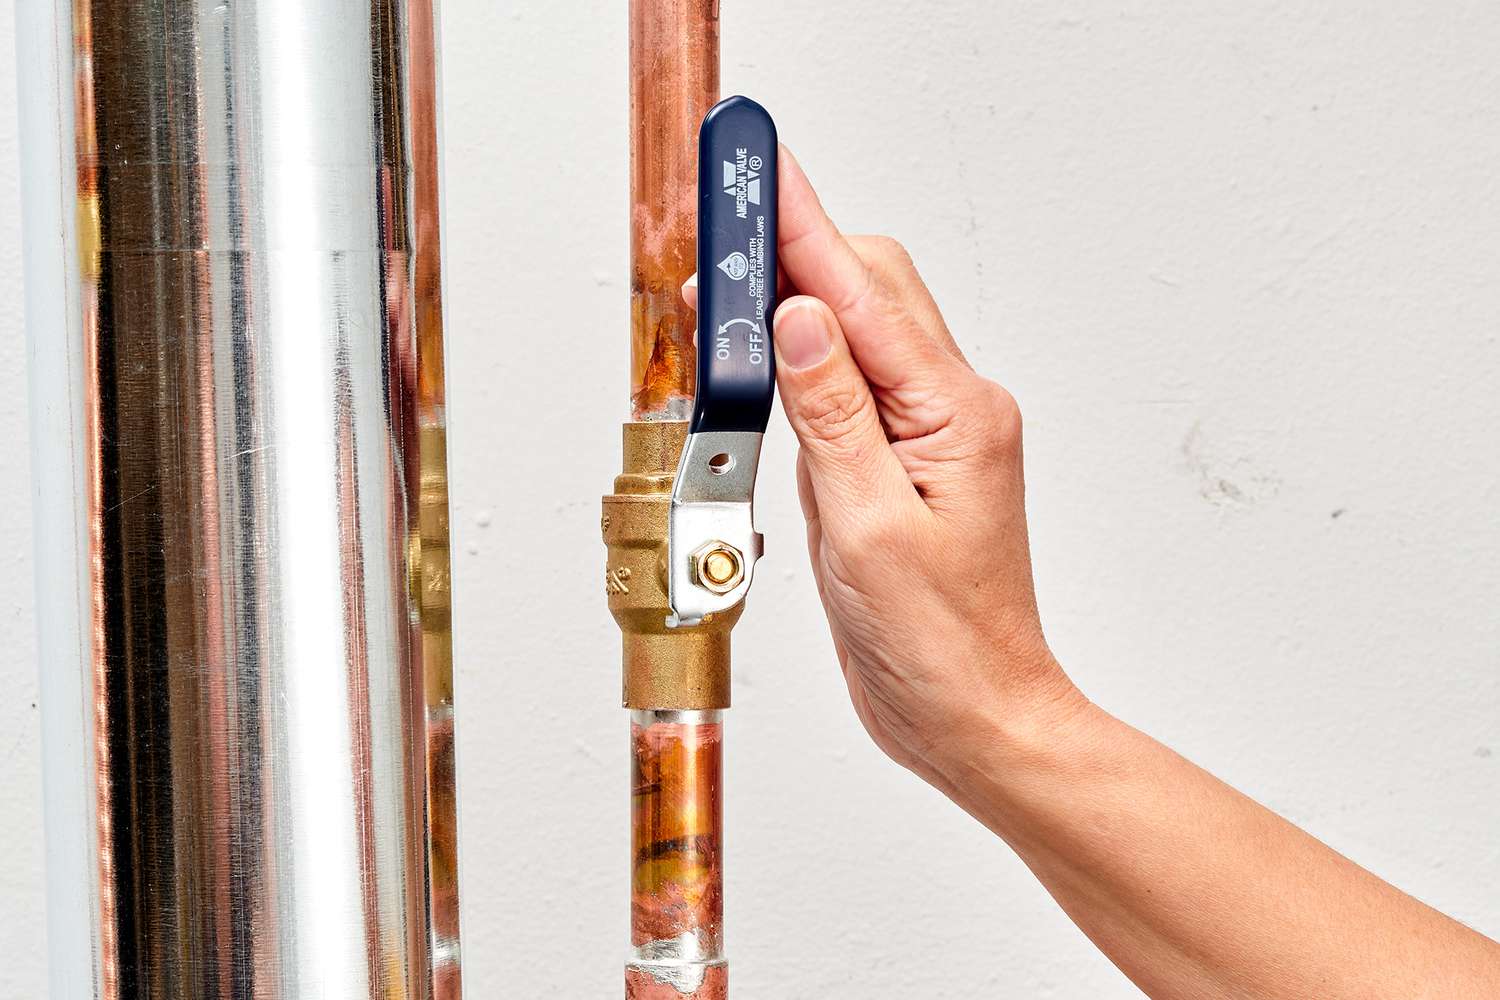
To locate the main shut-off valve, start by tracing the main water pipe from your water meter or well pump. Follow the pipe until you reach a valve that is larger and more prominent than the individual water supply valves. In most cases, the valve will have either a round wheel handle or a lever that can be turned or rotated.
To shut off the water using the main shut-off valve, turn the valve clockwise (to the right) until it is fully closed. Like before, you may need to use a wrench or pliers if the valve is difficult to turn.
As you close the main shut-off valve, be prepared for the water supply to your entire house to be shut off. This means that not only your washer, but all other water fixtures in your home, such as faucets, showers, and toilets, will also be without water.
Before proceeding, it’s important to note that turning off the main shut-off valve is a more advanced step and should only be done if you are comfortable and familiar with your plumbing system. If you are unsure or have any concerns, it’s best to consult a professional plumber.
Now that you have learned how to turn off the water using the main shut-off valve, let’s move on to the final step to verify that the water supply is turned off.
Read more: How To Turn Off Water In A Bathtub
Step 5: Verifying that the Water Supply is Turned Off
After turning off the water supply to your washer, it is crucial to verify that the water flow has been completely shut off. This step ensures that you can safely proceed with any maintenance or repairs without the risk of water leakage or damage.
To verify that the water supply is turned off, start by checking the faucets or fixtures connected to the hot and cold water supply lines. Run a small amount of water from a nearby faucet to see if any water flows out. If there is no water or the flow has stopped, it indicates that the water supply is successfully turned off.
Next, inspect the area around your washer. Look for any signs of water leaks, such as drips or puddles. If you spot any leaks, it may indicate that the water supply valves were not fully closed, or there may be a separate issue with your plumbing. In this case, it’s advisable to consult a professional plumber for assistance.
Additionally, you can check the water inlet hoses connected to your washer. Feel for any water flow inside the hoses by gently squeezing them. If there is no water movement or pressure, it confirms that the water supply is effectively shut off.
It’s important to remember that if you have shut off the main shut-off valve in step four, all water fixtures throughout your home should be without water. Therefore, checking other faucets, showers, and toilets should also confirm the absence of water flow.
By verifying that the water supply is turned off, you can proceed with confidence knowing that your washer is safe from any potential leaks or water damage.
With that, you have successfully learned how to turn off the water supply to your washer. Remember to restore the water flow when you are ready to use the machine again. Regularly inspect the water supply valves and address any issues promptly to ensure the proper functioning and longevity of your washer.
Thank you for following along with this step-by-step guide. Happy washing!
Conclusion
Knowing how to turn off the water supply to your washer is a valuable skill that can come in handy during maintenance or repair situations. By following the step-by-step process outlined in this article, you can confidently and safely shut off the water flow to your washer.
Remember to start by locating the water supply valves behind your washer and shutting off the hot water supply by turning the valve clockwise. Then, proceed to shut off the cold water supply using the corresponding valve. If your washer doesn’t have individual valves, you can turn off the water using the main shut-off valve.
Verify that the water supply is turned off by checking for any water flow from faucets or fixtures, as well as inspecting for any signs of leaks around your washer. This step ensures that the water flow is properly stopped before you proceed with any maintenance or repairs.
Regularly check and maintain your water supply valves to ensure their proper functioning. If you encounter any difficulties or have concerns about your plumbing system, it’s always best to consult a professional plumber for assistance.
Now that you have the knowledge and understanding of how to turn off the water supply to your washer, you can have peace of mind and take control of your home’s plumbing. Remember to always prioritize safety and follow the manufacturer’s instructions when performing any maintenance or repairs on your washer.
Thank you for reading this comprehensive guide. Happy washing!
Now that you've mastered turning off water to your washer, why not dive deeper into keeping your home running smoothly? Regular upkeep is vital, and knowing what home maintenance should I do will keep surprises at bay and save money in the long run. For those who spend a lot of time doing laundry, understanding what is a laundry room can enhance your efficiency and make this chore less of a hassle. Both articles offer practical advice that's easy to implement.
Frequently Asked Questions about How To Turn Off Water To Washer
Was this page helpful?
At Storables.com, we guarantee accurate and reliable information. Our content, validated by Expert Board Contributors, is crafted following stringent Editorial Policies. We're committed to providing you with well-researched, expert-backed insights for all your informational needs.


0 thoughts on “How To Turn Off Water To Washer”