Articles
How To Replace Rollers On Garage Door
Modified: October 22, 2024
Learn how to replace rollers on your garage door with step-by-step instructions and helpful tips. Read our informative articles on garage door maintenance.
(Many of the links in this article redirect to a specific reviewed product. Your purchase of these products through affiliate links helps to generate commission for Storables.com, at no extra cost. Learn more)
Introduction
When it comes to maintaining the functionality and longevity of your garage door, replacing worn-out rollers is an essential task. Over time, garage door rollers can become worn or damaged due to regular use, causing the door to operate less smoothly and potentially leading to larger issues down the line. In this article, we will guide you through each step of the process, providing you with the knowledge and confidence to replace the rollers on your garage door.
With the right tools and a little patience, this DIY project can be completed in just a few hours and will save you the hassle and expense of hiring a professional. Whether you’re a seasoned handyman or new to DIY repairs, this guide will walk you through the process, ensuring that you can successfully replace the rollers and restore the smooth functionality of your garage door.
Before we dive into the steps, let’s take a moment to understand the importance of maintaining properly functioning rollers. The rollers on a garage door enable smooth and effortless movement, allowing the door to open and close easily. Over time, these rollers can become worn, rusty, or misaligned, causing friction and resistance. This not only affects the smooth operation of the door but can also put unnecessary strain on other components, such as the tracks and opener mechanism.
Replacing the rollers at the first sign of wear or damage is crucial to prevent further issues and potentially costly repairs. It’s always a good idea to inspect your rollers periodically to ensure they are in good condition. If you notice any signs of wear, such as cracking, wobbling, or difficulty in opening and closing the door, it’s time to replace the rollers.
Now that we understand the importance of replacing garage door rollers, let’s move on to the first step: gathering the necessary tools and materials.
Key Takeaways:
- Regularly replacing worn-out rollers on your garage door is crucial for smooth functionality and preventing costly repairs. Follow the DIY steps and maintenance tips to ensure a well-maintained and secure home.
- Prioritize safety and invest a few hours in replacing garage door rollers to save on professional expenses and ensure a smooth-functioning door. With proper care and maintenance, your garage door will operate reliably for years to come.
Read more: How To Replace Patio Screen Door Rollers
Step 1: Gather the necessary tools and materials
Before you begin the roller replacement process, it’s important to gather all the tools and materials you’ll need. Having everything prepared in advance will ensure a smooth and efficient repair. Here are the essential tools and materials you’ll need:
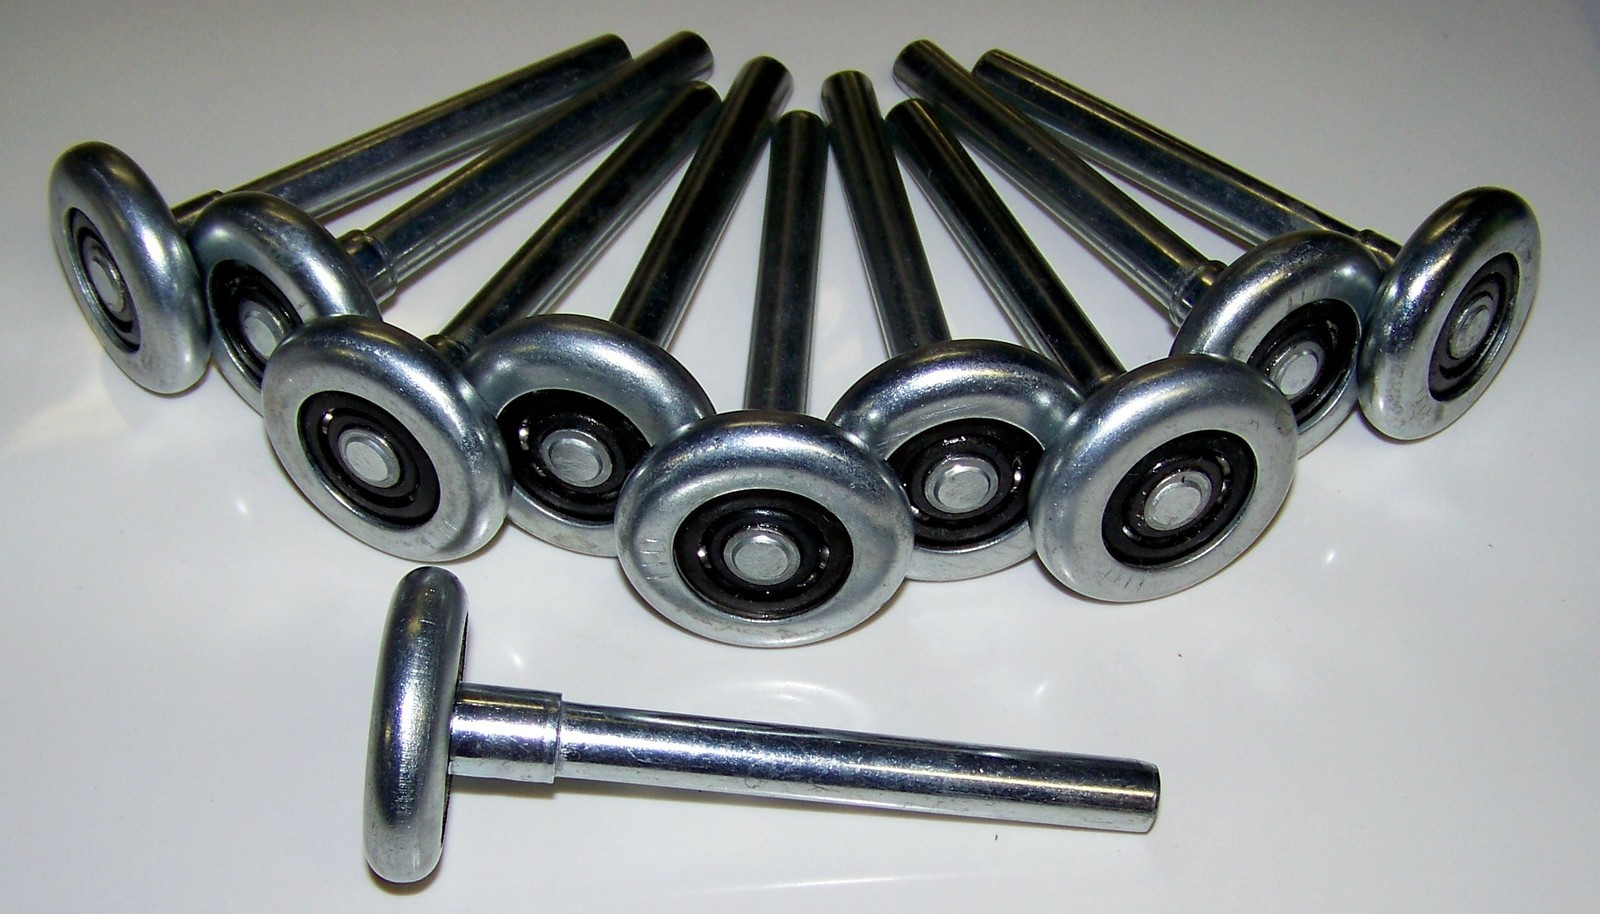
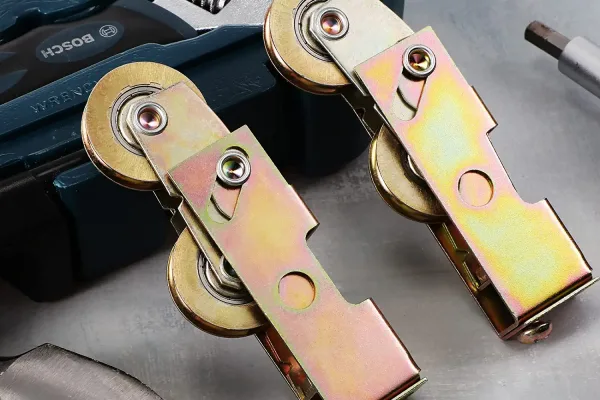
- Replacement rollers: Make sure to purchase the correct type and size of rollers for your garage door. There are several options available, such as nylon or steel rollers. Nylon rollers are quieter and require less maintenance, while steel rollers are more durable and suitable for heavy doors.
- Safety gloves and goggles: It’s important to protect your hands and eyes during the repair process. Safety gloves will shield your hands from any potential injuries and goggles will prevent any debris from getting into your eyes.
- Screwdriver: You’ll need a screwdriver, either flathead or Phillips, depending on the type of screws used on your garage door.
- Pliers: Pliers will come in handy for removing any stubborn or rusty roller brackets or for holding parts in place while you work.
- Lubricant: A high-quality garage door lubricant is essential for maintaining the smooth operation of your new rollers. Look for a lubricant specifically designed for garage doors to ensure optimum performance.
- Step ladder: Depending on the height of your garage door, you may need a step ladder to reach different parts of the door safely.
- Rags or paper towels: Keep some rags or paper towels handy to wipe away any excess lubricant or clean any dirty areas.
Once you have gathered all the necessary tools and materials, you’ll be well-prepared to begin the roller replacement process. It’s always a good idea to double-check that you have everything you need before you start the repair, as it can save you time and frustration later on. With your tools in hand, you’re now ready to move on to securing the garage door in step 2.
Step 2: Secure the garage door
Before you can safely replace the rollers on your garage door, it’s important to secure the door in place to prevent any accidents or injuries. Here’s how to properly secure the garage door:
- Ensure the garage door is in the closed position. This will provide stability and prevent the door from unexpectedly opening or closing during the repair process.
- Disconnect the power to the garage door opener. This can typically be done by unplugging it from the power source or by turning off the circuit breaker that supplies power to the opener. This step is crucial to prevent any unintentional activation of the opener while you’re working on the door.
- Place a clamp or locking pliers on the garage door track just above one of the rollers. This will prevent the door from moving while you’re working on it.
- Repeat the process and secure the door at multiple points along the track to ensure it remains stable and immobile.
- Test the stability of the garage door by gently tugging on it. If it feels secure and doesn’t move, you’re ready to move on to the next step.
Securing the garage door is crucial for your safety while performing the roller replacement. It prevents the door from accidentally falling or moving, which can cause serious injuries or damage. By following these steps, you can ensure a stable and secure working environment for the rest of the repair process.
Now that you’ve properly secured the garage door, you’re ready to proceed with the roller replacement. In the next step, we’ll guide you through removing the old roller brackets.
Step 3: Remove the old roller brackets
Once the garage door is securely positioned, it’s time to remove the old roller brackets. The roller brackets are typically attached to the door panels and hold the rollers in place. Here’s how to remove them:
- Locate the roller brackets along the bottom edge of the garage door panels. You may need a step ladder to get a better view.
- Using a screwdriver or pliers, remove any screws or bolts securing the roller brackets to the door panels. Set aside the hardware in a safe place for later use.
- Gently pull the roller bracket away from the door panel. Be mindful of any tension in the springs or cables attached to the door. If there is significant tension, it’s best to consult a professional to avoid injury.
- Repeat this process for each roller bracket along the bottom edge of the door until all old brackets are removed.
- Inspect the removed roller brackets for any signs of damage or wear. If necessary, replace them with new brackets before proceeding to the next step.
It’s important to handle the roller brackets with care during removal to avoid causing any additional damage or bending. Take your time and ensure that you properly remove each bracket before moving on to the next one.
By removing the old roller brackets, you’re one step closer to replacing the worn-out rollers and restoring the smooth functionality of your garage door. In the next step, we’ll guide you through the process of installing the new roller brackets.
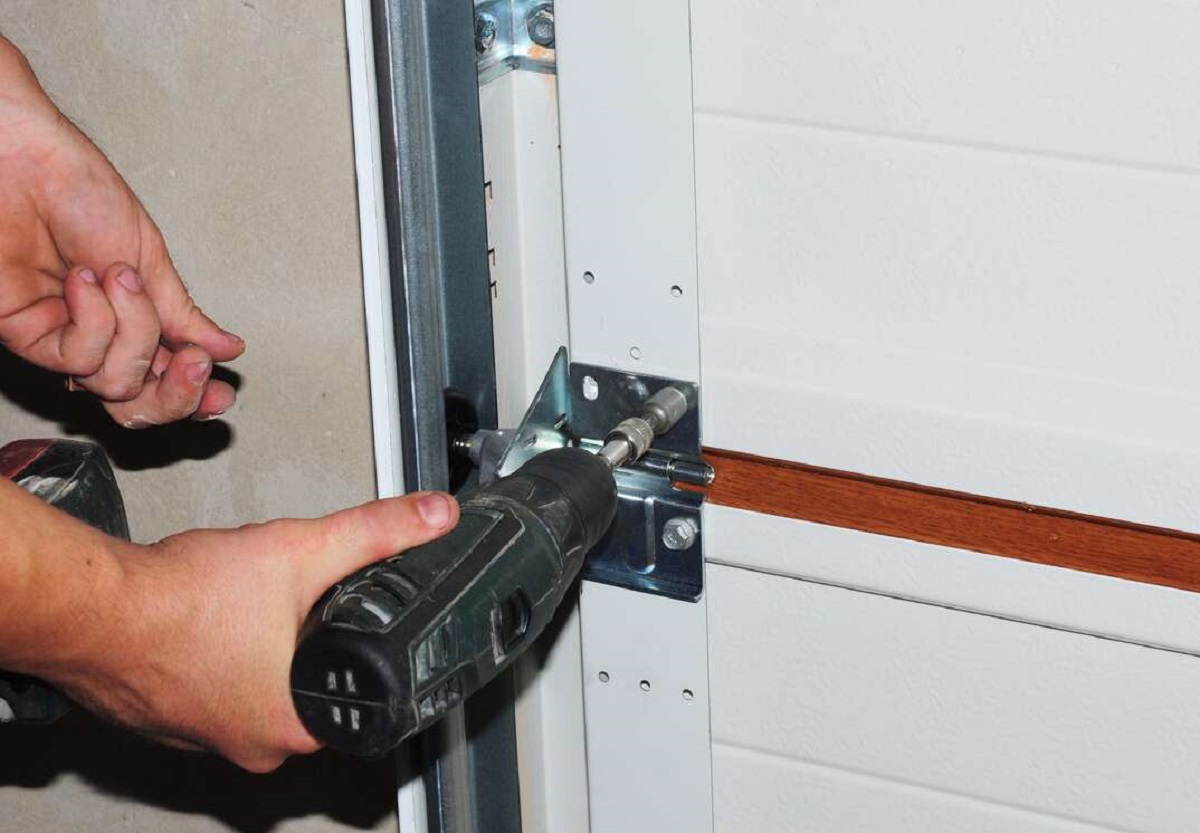
Step 4: Install the new roller brackets
With the old roller brackets successfully removed, it’s time to install the new ones. The new roller brackets will serve as the foundation for the replacement rollers. Here’s how to install them:
- Take one of the new roller brackets and position it at the same location where the old bracket was removed. Ensure that it is aligned properly with the holes on the door panel.
- Insert the screws or bolts into the holes of the bracket and tighten them securely using a screwdriver or a wrench. Make sure the bracket is firmly attached to the door panel.
- Repeat this process for each new roller bracket, ensuring that they are evenly spaced along the bottom edge of the garage door.
- Double-check the alignment and tightness of each bracket to ensure they are securely attached.
Properly installing the new roller brackets is essential for the smooth operation of the replacement rollers. Take your time during this step to ensure that the brackets are aligned correctly and securely fastened to the door panels. A properly installed bracket will provide a stable and secure foundation for the new roller.
Now that you have installed the new roller brackets, it’s time to move on to the next step: attaching the new rollers. In the following section, we’ll guide you through the process of attaching the replacement rollers to the brackets.
When replacing rollers on a garage door, make sure to unplug the automatic opener and secure the door in the open position to prevent accidents. Use caution and follow the manufacturer’s instructions.
Read more: How To Replace Rollers On Sliding Glass Door
Step 5: Attach the new rollers to the brackets
With the new roller brackets securely in place, it’s time to attach the replacement rollers. The rollers are what allow the garage door to move smoothly along the tracks. Here’s how to attach the new rollers:
- Take one of the new replacement rollers and align it with the roller bracket installed in Step 4. Ensure that the roller is properly seated on the bracket.
- If the roller has a bolt or pin, insert it through the bracket and roller to secure them together. Tighten the bolt or pin securely using a wrench or pliers.
- Repeat this process for each roller, making sure to evenly distribute them along the length of the garage door.
- Once all the rollers are attached, give them a gentle spin to ensure they move freely without any obstructions or misalignment.
Properly attaching the new rollers to the brackets is crucial for the smooth operation of your garage door. Take your time during this step to ensure that each roller is securely fastened and able to move freely.
With the new rollers successfully attached, you’re ready to move on to the next step: testing the functionality of the garage door. In the next section, we’ll guide you through testing the door and making any necessary adjustments.
Step 6: Test the functionality of the garage door
Now that you have replaced the old rollers with new ones, it’s important to test the functionality of your garage door. Testing will ensure that the door operates smoothly and without any issues. Here’s how to test the functionality:
- Remove any clamps or locking pliers that were used to secure the garage door in place.
- Slowly and carefully raise the garage door to the fully open position. Pay attention to any noises, jerks, or resistance that may indicate a problem.
- Lower the door back down to the fully closed position, again observing for any difficulty or irregularities.
- Open and close the garage door several times, monitoring its movement and listening for any unusual sounds.
If you notice any issues during the testing phase such as squeaking, grinding, or sticking, there are a few adjustments you can make:
- If the door doesn’t move smoothly, apply a small amount of lubricant to the rollers, tracks, and hinges to reduce friction.
- If the door is misaligned, adjust the roller brackets or track alignment to ensure proper movement.
- If the door doesn’t close or open all the way, adjust the travel limits using the settings on your garage door opener.
By testing the functionality of your garage door, you can identify any potential issues early on and make necessary adjustments. Ensuring that the door operates smoothly will not only extend the lifespan of the new rollers but also provide convenience and security for your home.
In the next step, we’ll provide you with some regular maintenance tips to keep your garage door rollers in top condition.
Step 7: Make necessary adjustments
After testing the functionality of your garage door in step 6, you may find that some adjustments are needed to ensure optimal performance. Here are the common adjustments you might need to make:
- Alignment: If the garage door is not moving smoothly along the tracks or if there is any noticeable misalignment, you may need to adjust the roller brackets or track alignment. This can be done by loosening the screws on the brackets or tracks, making the necessary adjustments, and then tightening them back securely.
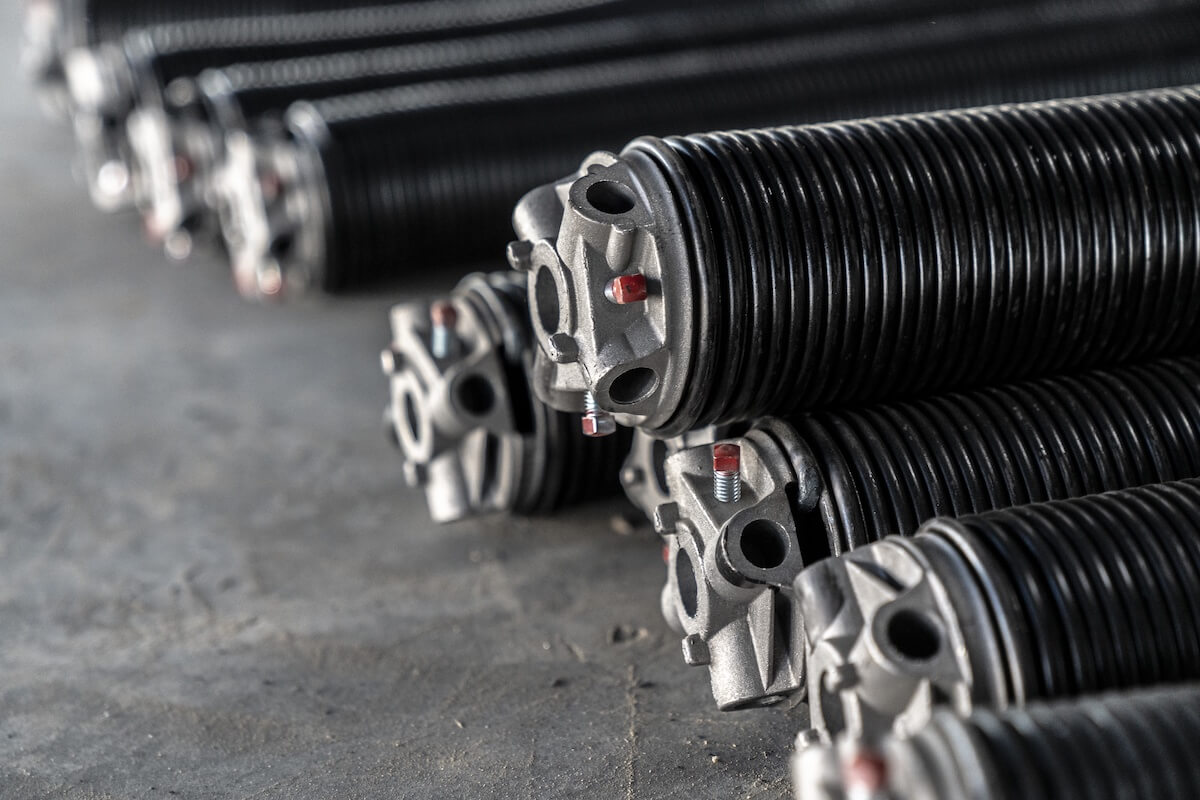
- Spring tension: Garage doors are typically equipped with torsion springs or extension springs that help counterbalance the weight of the door. If the door is not balanced properly or if it feels too heavy to open or close, you may need to adjust the tension of the springs. It’s important to exercise caution when working with springs as they are under high tension, so it’s often best to leave this adjustment to a professional.
- Track alignment: Ensure that the tracks on both sides of the garage door are aligned properly. If they are uneven or bent, it can cause the door to move erratically. Use a level to check the alignment and adjust the tracks if necessary.
- Lubrication: Regularly lubricate the rollers, hinges, and tracks of your garage door to ensure smooth operation. Use a silicone-based lubricant or a garage door lubricant and apply it sparingly to minimize buildup.
It’s important to make any necessary adjustments to your garage door to maintain its proper functioning. If you’re unsure about making certain adjustments or if you encounter more complex issues, it’s always recommended to seek the assistance of a professional garage door technician.
Now that you have made any necessary adjustments, your garage door is ready to operate smoothly and efficiently. In the final step, we’ll provide you with some regular maintenance tips to keep your garage door rollers in top condition.
Step 8: Regular maintenance tips for garage door rollers
Regular maintenance is key to keeping your garage door rollers in top condition and extending their lifespan. Here are some maintenance tips to help you maintain the smooth operation of your garage door:
- Clean the rollers: Periodically clean the rollers to remove any dirt, dust, or debris that may accumulate. Use a clean cloth or a brush to wipe away any build-up, ensuring that the rollers can move freely along the tracks.
- Inspect for wear and damage: Regularly inspect the rollers for any signs of wear, cracking, or damage. If you notice any issues, such as flat spots, excessive wobbling, or misalignment, it’s time to replace the rollers.
- Lubricate the rollers: Apply a small amount of lubricant to the rollers on a regular basis. This will help reduce friction and ensure smooth movement. Use a silicone-based lubricant or a garage door lubricant specifically designed for this purpose.
- Check the tracks: Inspect the tracks for any dents, bends, or obstructions. If you notice any issues, use a rubber mallet or a hammer and a block of wood to gently tap the tracks back into shape. Ensure the tracks are clean and clear of any debris.
- Tighten loose hardware: Regularly check and tighten any loose bolts, screws, or nuts on the roller brackets, tracks, and hinges. Loose hardware can cause misalignment and affect the operation of the door.
- Call a professional: If you’re unsure about any maintenance tasks or if you encounter more complex issues, it’s always best to consult a professional garage door technician. They have the expertise and tools to address any major repairs or replacements.
By following these regular maintenance tips, you can ensure that your garage door rollers continue to operate smoothly and efficiently. Taking proactive measures to maintain the rollers will not only extend their lifespan but also minimize the risk of unexpected breakdowns or malfunctions.
With these maintenance tips in mind, you now have all the knowledge and tools necessary to replace and maintain the rollers on your garage door. Remember to prioritize safety throughout the process and seek professional assistance if needed. By dedicating a few hours to this DIY project, you’ll be rewarded with a smooth-functioning garage door that enhances the convenience and security of your home.
Utilizing these steps and maintenance tips, you can confidently take on the task of replacing the rollers on your garage door and ensure its smooth operation for years to come.
Remember to always refer to your garage door manufacturer’s instructions for specific guidance and to adhere to any safety precautions provided. Now, go ahead and put this knowledge into action to upgrade your garage door’s performance!
Read more: When To Replace Garage Door
Conclusion
Replacing the rollers on your garage door is a crucial maintenance task that can significantly improve the functionality and lifespan of your door. By following the steps outlined in this guide and implementing regular maintenance, you can ensure that your garage door operates smoothly and efficiently for years to come.
We started by emphasizing the importance of replacing worn-out rollers to prevent further issues and costly repairs. We then guided you through each step of the roller replacement process, from gathering the necessary tools and securing the garage door to removing the old roller brackets, installing the new ones, and attaching the replacement rollers. We also discussed the significance of testing the functionality of the garage door and making necessary adjustments to ensure optimal performance.
To maintain the smooth operation of your garage door rollers, we provided you with some regular maintenance tips, such as cleaning the rollers, inspecting for wear and damage, lubricating regularly, checking the tracks, and tightening loose hardware. These simple steps can go a long way in preserving the functionality and reliability of your garage door.
It’s important to mention that safety should always be a top priority throughout the entire process. If you encounter any difficulties or are unsure about certain tasks, it’s best to consult a professional garage door technician. They have the expertise and knowledge to handle complex repairs and provide proper guidance.
By following this guide and investing a little time and effort, you can save money by avoiding costly repairs and ensure that your garage door operates smoothly and efficiently. A well-maintained garage door not only enhances the convenience of accessing your garage but also adds an extra layer of security to your home.
We hope this comprehensive guide has provided you with the necessary knowledge and confidence to successfully replace the rollers on your garage door. Remember to refer back to the instructions and maintenance tips as needed and always prioritize safety. With proper care and maintenance, your garage door will continue to provide reliable performance for years to come.
Frequently Asked Questions about How To Replace Rollers On Garage Door
Was this page helpful?
At Storables.com, we guarantee accurate and reliable information. Our content, validated by Expert Board Contributors, is crafted following stringent Editorial Policies. We're committed to providing you with well-researched, expert-backed insights for all your informational needs.


0 thoughts on “How To Replace Rollers On Garage Door”