Articles
How To Turn Off Gas Water Heater
Modified: August 24, 2024
Learn how to safely turn off your gas water heater with this informative article. Follow our step-by-step guide to ensure proper shutdown and prevent any hazards.
(Many of the links in this article redirect to a specific reviewed product. Your purchase of these products through affiliate links helps to generate commission for Storables.com, at no extra cost. Learn more)
Introduction
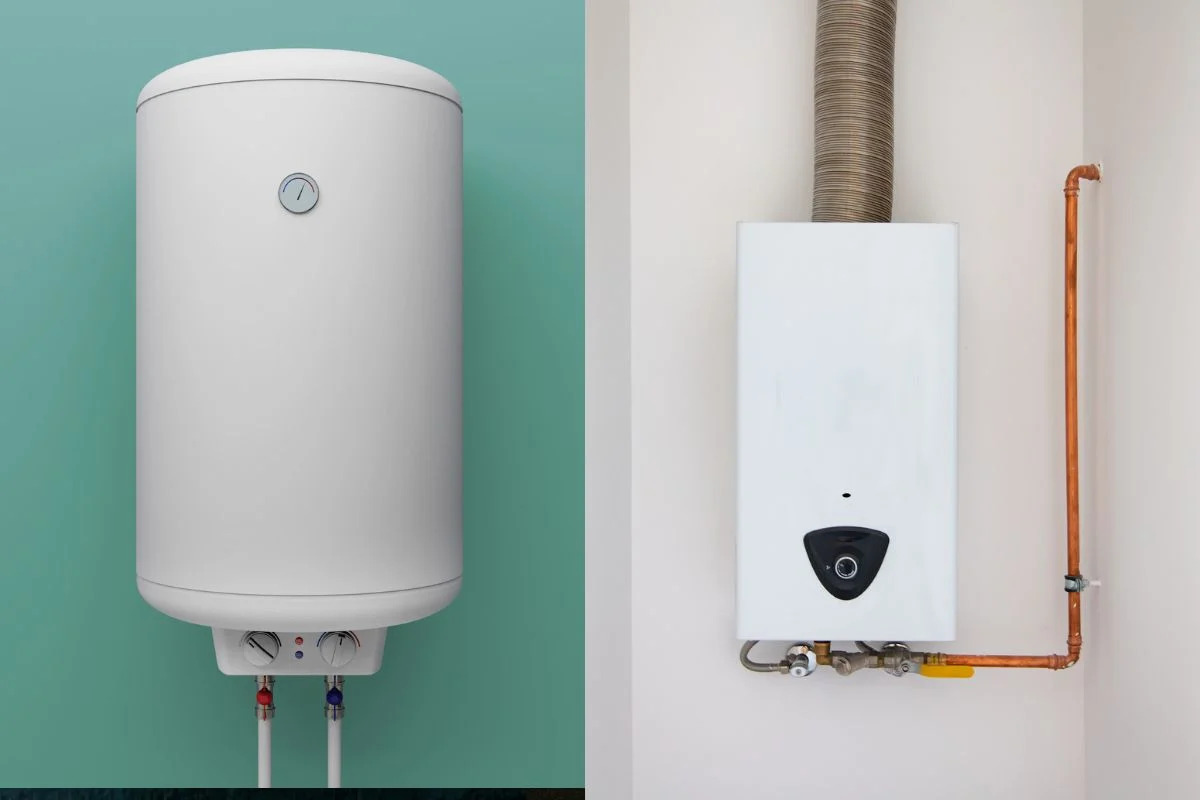
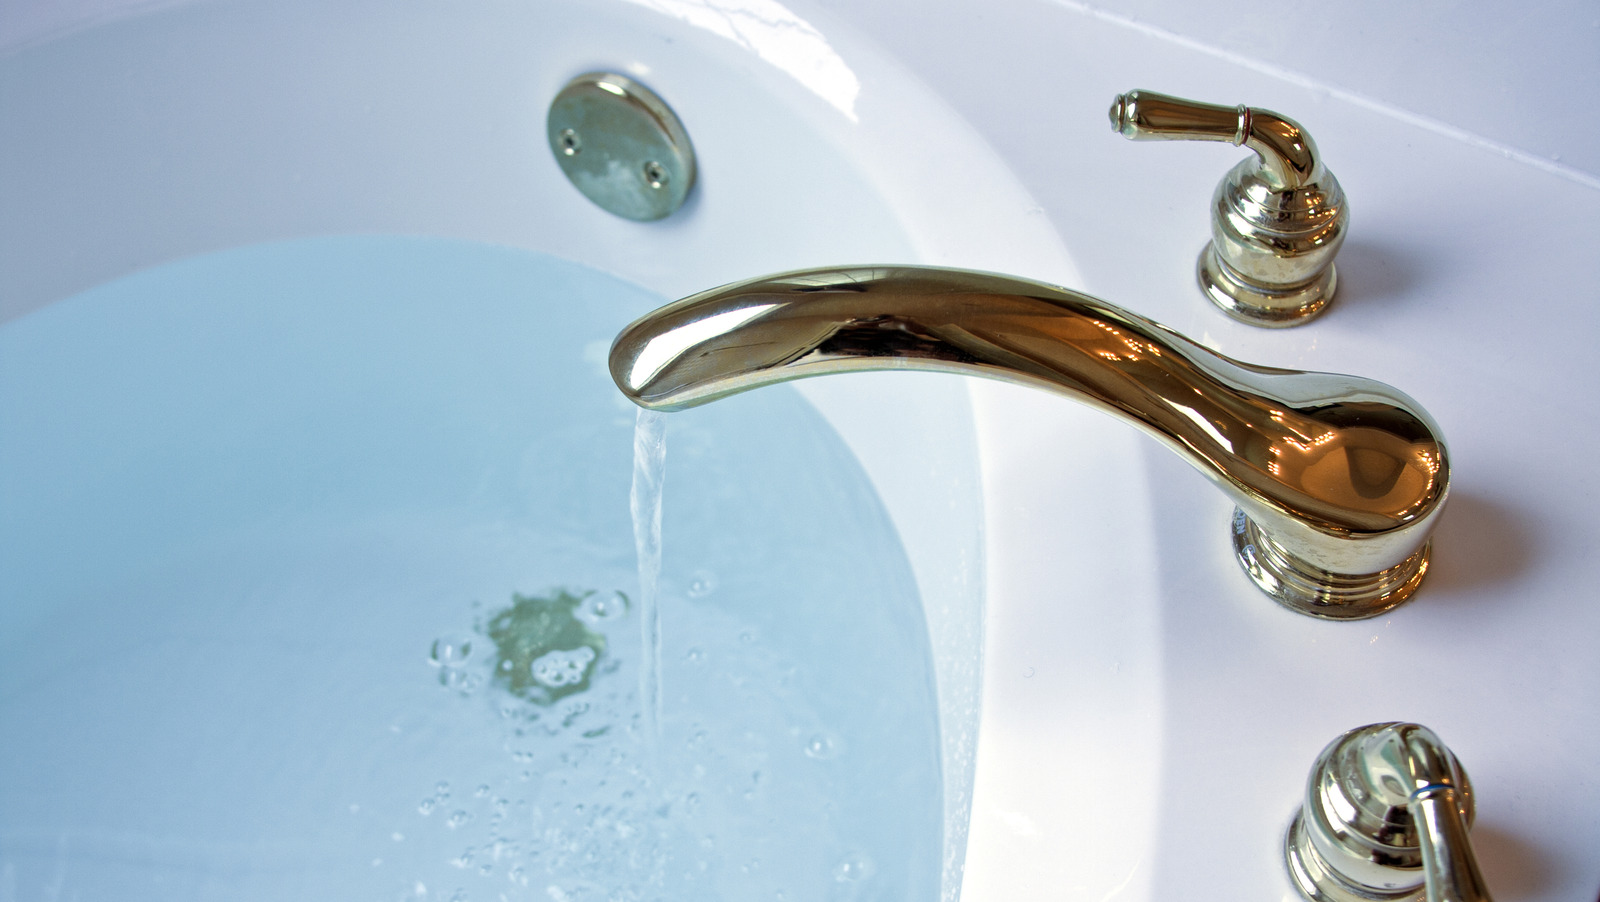
The gas water heater is an essential appliance in many households, providing hot water for daily tasks such as showering, washing dishes, and doing laundry. However, there may be instances when you need to turn off the gas water heater, whether it’s for maintenance, repair, or during an extended absence from home. Knowing how to safely and properly turn off the gas water heater is crucial to prevent any accidents or damage.
In this article, we will guide you through the step-by-step process of turning off a gas water heater. We will cover the necessary tools and materials you will need, as well as the important safety precautions to take before proceeding. By following these instructions, you can ensure that the gas water heater is shut off safely and efficiently.
Key Takeaways:
- Safely and efficiently turn off your gas water heater by following step-by-step instructions. Prioritize safety, gather necessary tools, and shut off gas and water supplies to prevent accidents and damage.
- Take control of your gas water heater by learning how to safely turn it off for maintenance or repairs. Follow the guide, prioritize safety, and consult a professional if needed to ensure a smooth process.
Read more: How To Turn Off Hot Water Heater
Step 1: Gather necessary tools and materials
Before you begin the process of turning off a gas water heater, it’s important to gather all the necessary tools and materials. Having everything on hand will make the task quicker and more efficient. Here’s a list of what you will need:
- Adjustable wrench
- Gas shut-off valve wrench (if applicable)
- Pliers
- Bucket or container
- Towels or rags
- Teflon tape
Make sure to have these tools and materials readily available. It’s also a good idea to wear safety gloves and goggles to protect yourself during the process. Once you have everything gathered, you’re ready to proceed to the next step.
Step 2: Turn off the gas supply
Now that you have all the necessary tools and materials, it’s time to turn off the gas supply to the water heater. This step is crucial to ensure your safety and prevent any potential gas leaks. Follow these instructions to turn off the gas supply:
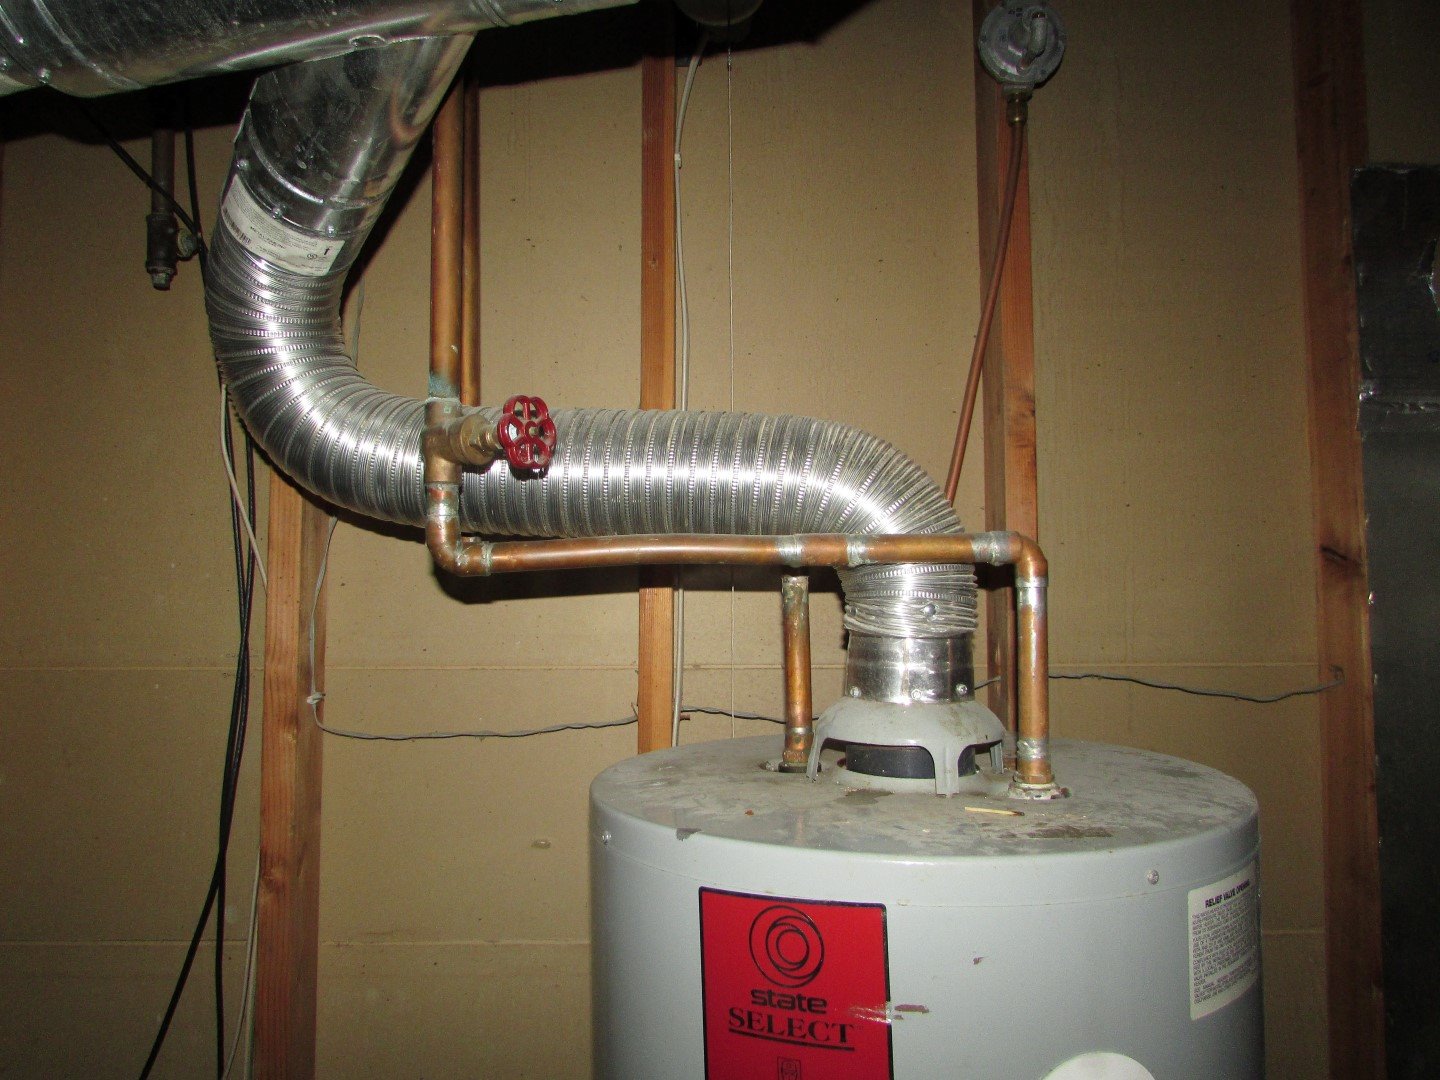
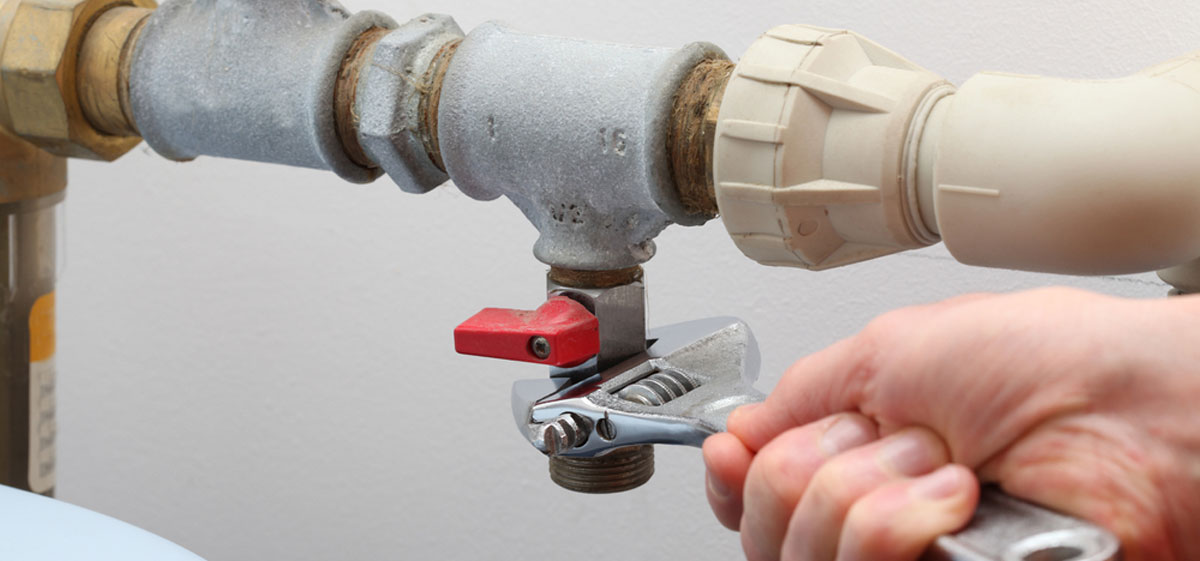
- Locate the gas shut-off valve on the gas line. This valve is usually located near the water heater or in the vicinity of your gas meter.
- Using an adjustable wrench, turn the valve clockwise until it is fully closed. This will shut off the flow of gas to the water heater.
- If your gas shut-off valve requires a specialized wrench, use the appropriate tool to close the valve.
- Double-check that the valve is completely closed by ensuring that the handle is perpendicular to the gas line.
Once the gas supply has been turned off, it’s important to avoid turning it back on until the water heater is ready to be used again. This ensures the safety of everyone in your household and prevents any potential gas leaks.
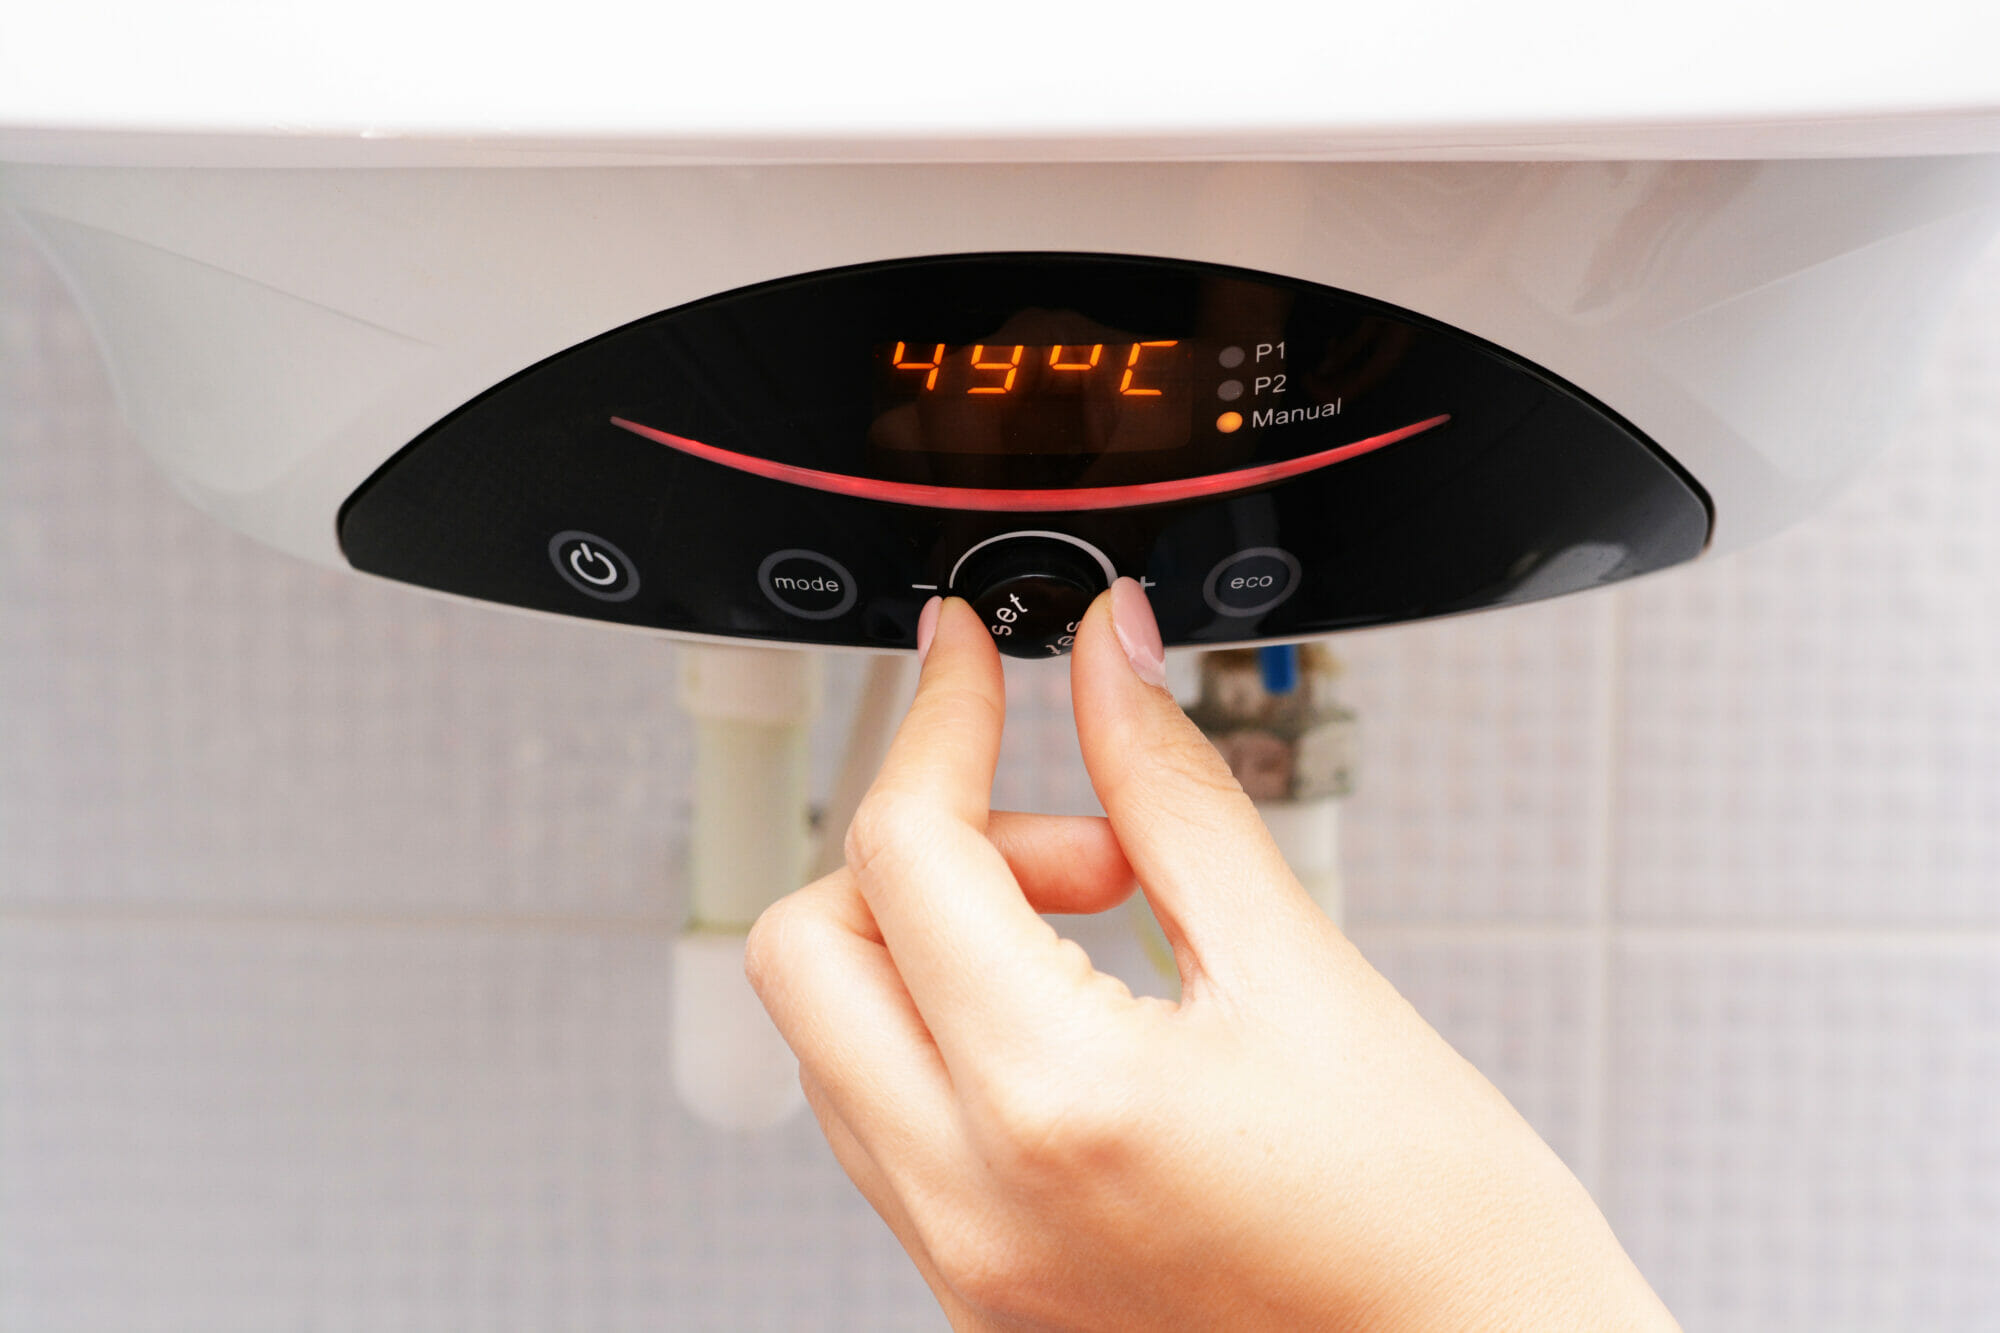
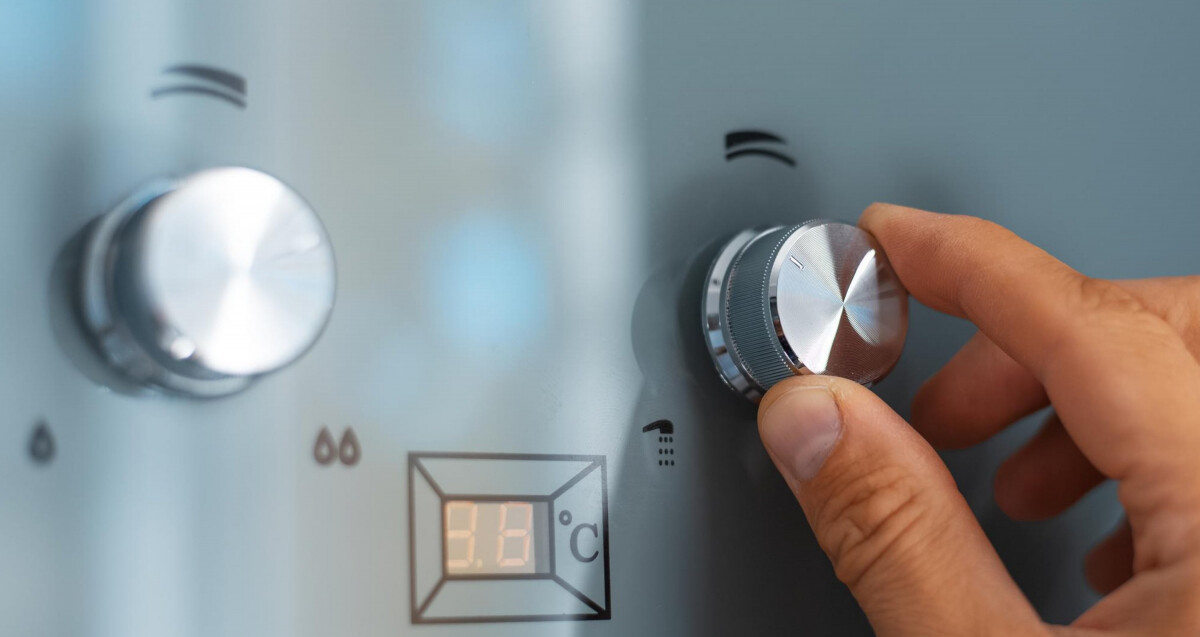
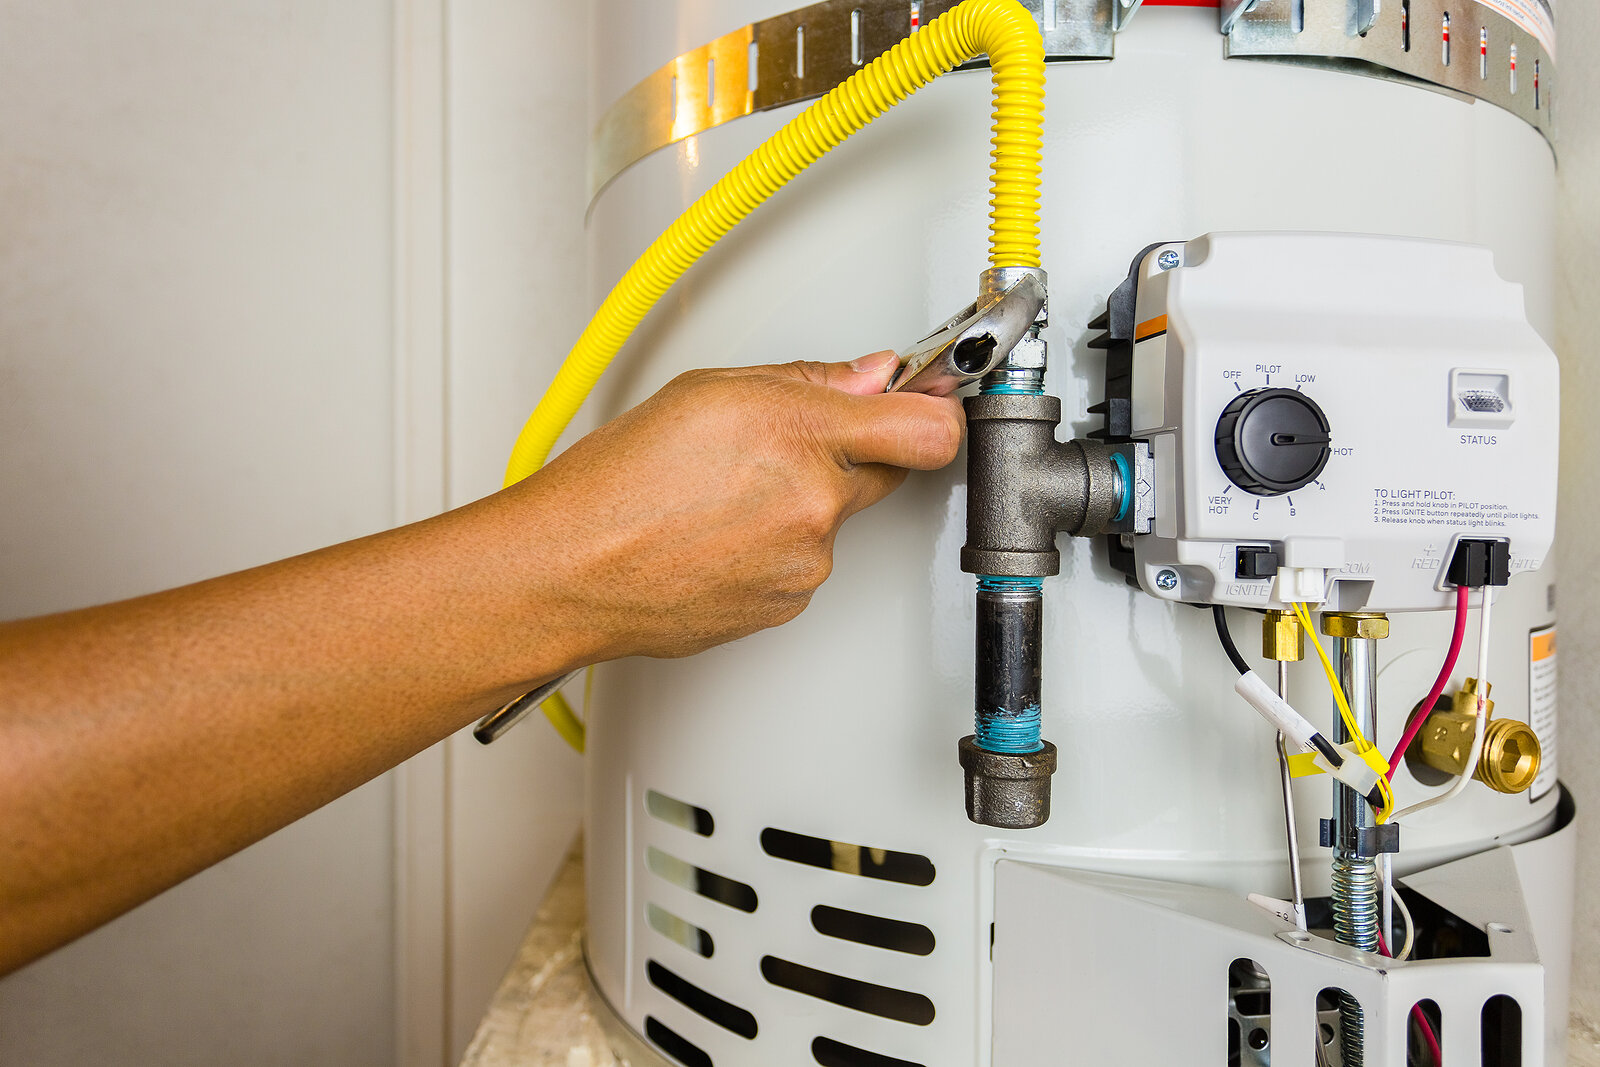
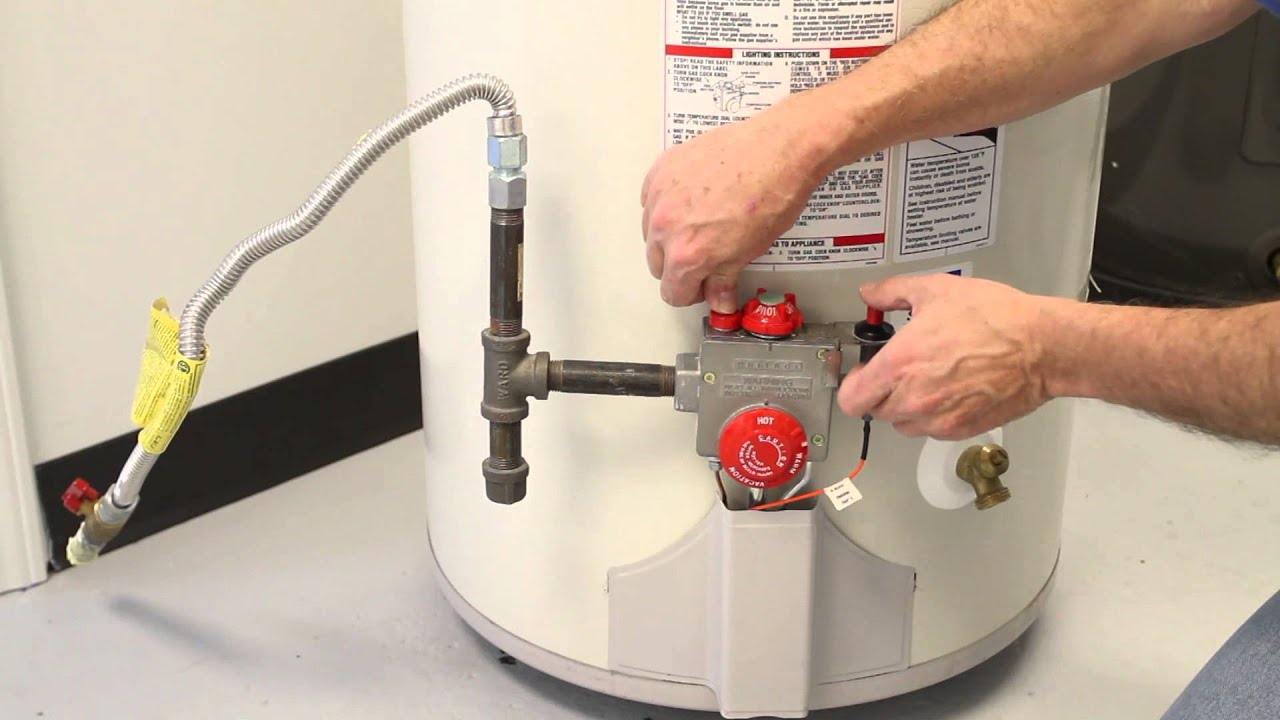
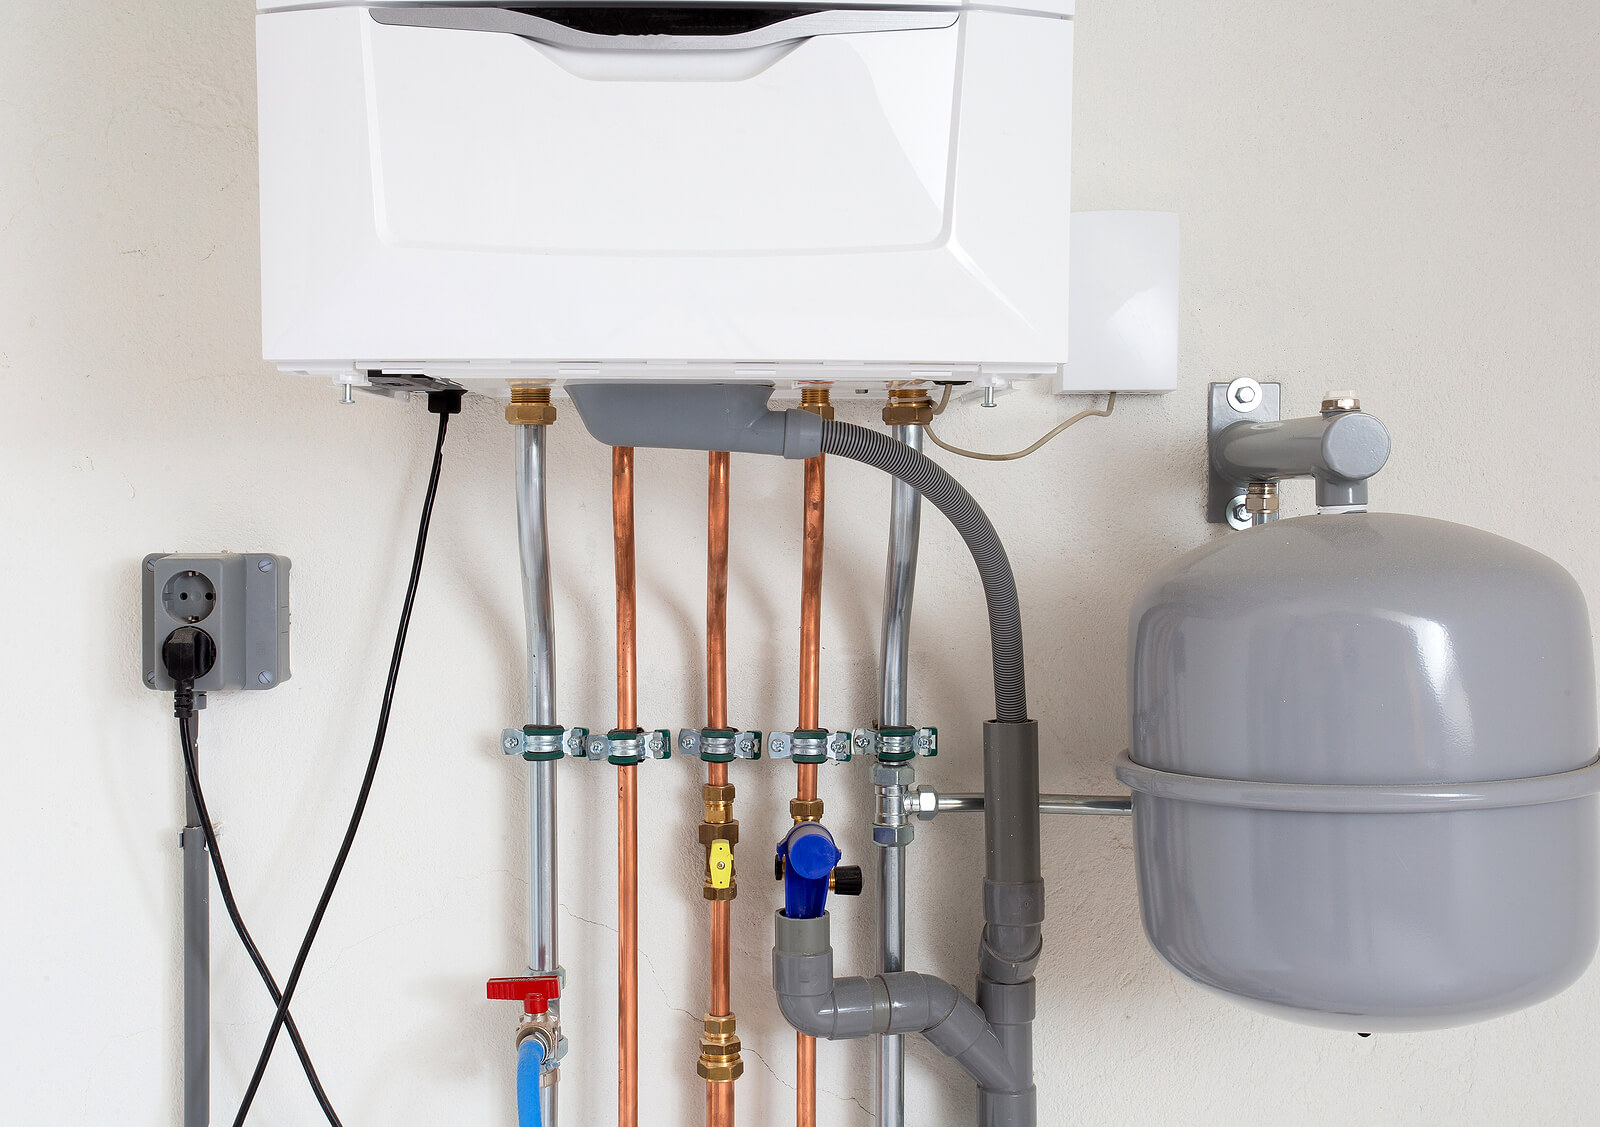
Step 3: Locate the gas control valve
After turning off the gas supply, the next step is to locate the gas control valve on the water heater. The gas control valve is responsible for regulating the flow of gas to the water heater and controlling the temperature. Follow these instructions to find the gas control valve:
- Look for a metal plate on the front of the water heater. This plate usually has information about the water heater’s make and model.
- Find the knob or dial on the metal plate. This is the gas control valve.
- The gas control valve may have different settings, such as “On,” “Off,” and “Pilot.” Take note of the current setting.
It’s important to familiarize yourself with the location and operation of the gas control valve. This will come in handy when turning off the pilot light and main burner in the subsequent steps. Understanding the gas control valve is crucial to safely turning off the gas water heater and preventing any potential hazards.
Step 4: Turn off the pilot light
With the gas control valve located, the next step is to turn off the pilot light. The pilot light is a small flame that ignites the main burner when hot water is needed. Follow these instructions to safely turn off the pilot light:
- Locate the pilot light assembly near the bottom of the water heater. It is usually behind a small access panel.
- Open the access panel to expose the pilot light assembly.
- Look for the pilot light control knob. It is typically labeled “Pilot” or “On/Off.”
- Turn the pilot light control knob to the “Off” position. This will shut off the gas supply to the pilot light and extinguish the flame.
After turning off the pilot light, it’s important to wait a few minutes to ensure that any residual gas has dissipated before proceeding to the next step. This precautionary measure reduces the risk of accidental ignition when working with other components of the water heater.
Before turning off a gas water heater, make sure to turn off the gas supply using the shut-off valve located on the gas line. Then, extinguish the pilot light by following the manufacturer’s instructions.
Read more: How To Turn On Outdoor Gas Heater
Step 5: Turn off the main burner
With the pilot light turned off, the next step is to turn off the main burner of the gas water heater. The main burner is responsible for heating the water and providing hot water throughout the house. Follow these instructions to safely turn off the main burner:
- Locate the main burner assembly, which is usually located near the bottom of the water heater.
- Look for the main burner control knob. It is typically labeled “On/Off” or “Control.”
- Turn the main burner control knob to the “Off” position. This will stop the flow of gas to the main burner, effectively shutting it off.
Ensure that the main burner control knob is securely in the “Off” position. This will prevent any gas from flowing to the main burner, reducing the risk of accidental ignition or gas leaks.
It’s also important to note that turning off the main burner will result in the loss of hot water in your home. If you need hot water during the time the water heater is turned off, consider alternative options such as using an electric kettle or heating water on the stovetop.
Step 6: Turn off the water supply
Once the gas components of the water heater are safely turned off, the next step is to turn off the water supply. Shutting off the water supply is essential to prevent any potential leaks or water damage during maintenance or repairs. Follow these instructions to turn off the water supply to the gas water heater:
- Locate the cold water inlet pipe connected to the top of the water heater. This pipe brings cold water into the tank.
- Identify the shut-off valve on the cold water pipe. It is usually a lever or a wheel.
- Turn the shut-off valve clockwise until it is fully closed. This will stop the flow of water into the water heater.
Once the cold water supply is shut off, it’s important to open a hot water faucet in your home to relieve any pressure in the water heater tank. This will prevent any potential splashing or spraying when draining the water heater in the later steps.
By turning off the water supply, you can ensure that no water enters the water heater during the maintenance or repair process. This step is essential for protecting your home and the water heater from any potential water damage.
Step 7: Drain the water heater
Draining the water heater is an important step to remove any remaining water from the tank. This is necessary for maintenance or repairs and ensures that the water heater is empty before proceeding. Follow these instructions to drain the water heater:
- Attach a garden hose to the drain valve located at the bottom of the water heater.
- Place the other end of the hose in a suitable draining location, such as a floor drain or outside area.
- Open a hot water faucet in your home to allow air into the system, which will help the water heater drain more efficiently.
- Slowly open the drain valve on the water heater to start draining the tank. Be careful as the water may be hot.
- Allow the water to flow until it stops and the tank is empty. This may take some time depending on the size of your water heater.
Once the tank is completely drained, close the drain valve and remove the garden hose. Ensure that the drain valve is tightly closed to prevent any water from leaking out. The water heater is now ready for the next step in the process.
It’s important to note that when draining the water heater, you may notice sediment or debris in the water. This is natural and can accumulate over time. If there is excessive sediment buildup, it may be necessary to flush the water heater to remove it completely.
Step 8: Turn off the cold water inlet
Once the water heater is drained, the next step is to turn off the cold water inlet to prevent any water from entering the empty tank. This is an important safety measure during maintenance or repairs. Follow these instructions to turn off the cold water inlet:
- Locate the cold water inlet pipe connected to the top of the water heater. This pipe brings cold water into the tank.
- Look for the shut-off valve on the cold water pipe. It is usually a lever or a wheel.
- Turn the shut-off valve clockwise until it is fully closed. This will stop the flow of cold water into the water heater.
By turning off the cold water inlet, you ensure that no water enters the empty water heater tank during maintenance or repairs. This prevents any potential flooding or damage and allows you to work on the water heater safely.
Remember to keep the cold water inlet shut off until you are ready to re-start the water heater. This step is crucial to prevent any accidents or water damage during the process.
Read more: How To Turn Off The Gas To Fireplace
Step 9: Conclusion
Turning off a gas water heater may be necessary at times for maintenance, repairs, or during extended periods of absence. Knowing how to properly shut off the gas water heater is crucial for your safety and the well-being of your home.
In this step-by-step guide, we have covered the process of turning off a gas water heater in a safe and efficient manner. By following these instructions, you can ensure that the gas supply, pilot light, main burner, water supply, and any remaining water in the tank are properly turned off or drained.
Remember to always prioritize safety when working with gas appliances. Take the necessary precautions and ensure that you have all the required tools and materials before starting the process. If you are unsure or uncomfortable with any step, it is strongly recommended to consult a professional plumber or gas technician.
Once you have completed the necessary maintenance or repairs, ensure that you reverse the steps outlined in this guide to properly turn on your gas water heater again. Follow the recommended instructions provided by the manufacturer or seek professional assistance if needed.
By following these steps, you can confidently turn off your gas water heater when needed. This knowledge empowers you to take care of your water heater and address any necessary maintenance or repairs. Remember, safety should always be your top priority.
Frequently Asked Questions about How To Turn Off Gas Water Heater
Was this page helpful?
At Storables.com, we guarantee accurate and reliable information. Our content, validated by Expert Board Contributors, is crafted following stringent Editorial Policies. We're committed to providing you with well-researched, expert-backed insights for all your informational needs.


0 thoughts on “How To Turn Off Gas Water Heater”