Home>Articles>How To Turn Off Ice Maker On Kitchenaid Fridge
Articles
How To Turn Off Ice Maker On Kitchenaid Fridge
Modified: August 25, 2024
Looking for articles on how to turn off the ice maker on your Kitchenaid fridge? Find step-by-step guides, tips, and tricks here to help you navigate the process successfully.
(Many of the links in this article redirect to a specific reviewed product. Your purchase of these products through affiliate links helps to generate commission for Storables.com, at no extra cost. Learn more)
Introduction
Welcome to the ultimate guide on how to turn off the ice maker on your KitchenAid fridge. Having control over your ice maker can be useful for various reasons, such as conserving energy, dealing with maintenance or repair issues, or simply not needing ice at a particular time. By following a few simple steps, you’ll be able to turn off the ice maker and enjoy the convenience of controlling your ice production.
Your KitchenAid fridge is equipped with a built-in ice maker, which automatically produces and dispenses ice cubes. While it’s a convenient feature, there might be instances when you want to temporarily or permanently disable the ice maker. Before we dive into the steps, it’s essential to note that the process may vary slightly depending on the model of your KitchenAid fridge. It’s always a good idea to consult your user manual for model-specific instructions.
Turning off the ice maker involves shutting off the water supply and disabling the ice making function. Additionally, you may choose to clean the ice maker before turning it off to maintain optimal performance. Let’s explore each step in more detail to help you effectively turn off the ice maker on your KitchenAid fridge.
Key Takeaways:
- Takeaway 1: Take control of your ice production by following simple steps to turn off the ice maker on your KitchenAid fridge. Save energy, address maintenance, and enjoy the flexibility of managing your ice supply.
- Takeaway 2: Keep your ice maker in top condition by optionally cleaning it before turning it off. Ensure a well-maintained appliance ready for future use, and enjoy the convenience of controlling your ice production.
Read more: How To Turn Off Ice Maker on Samsung Fridge
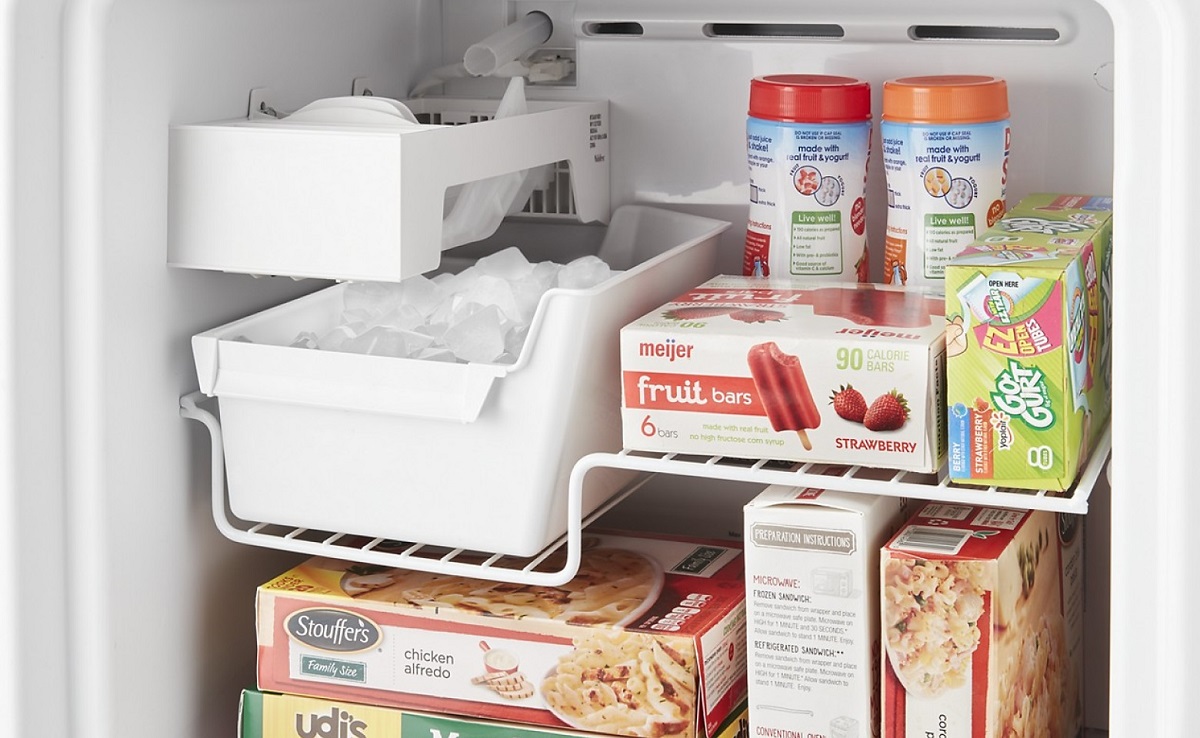
Step 1: Locate the Ice Maker
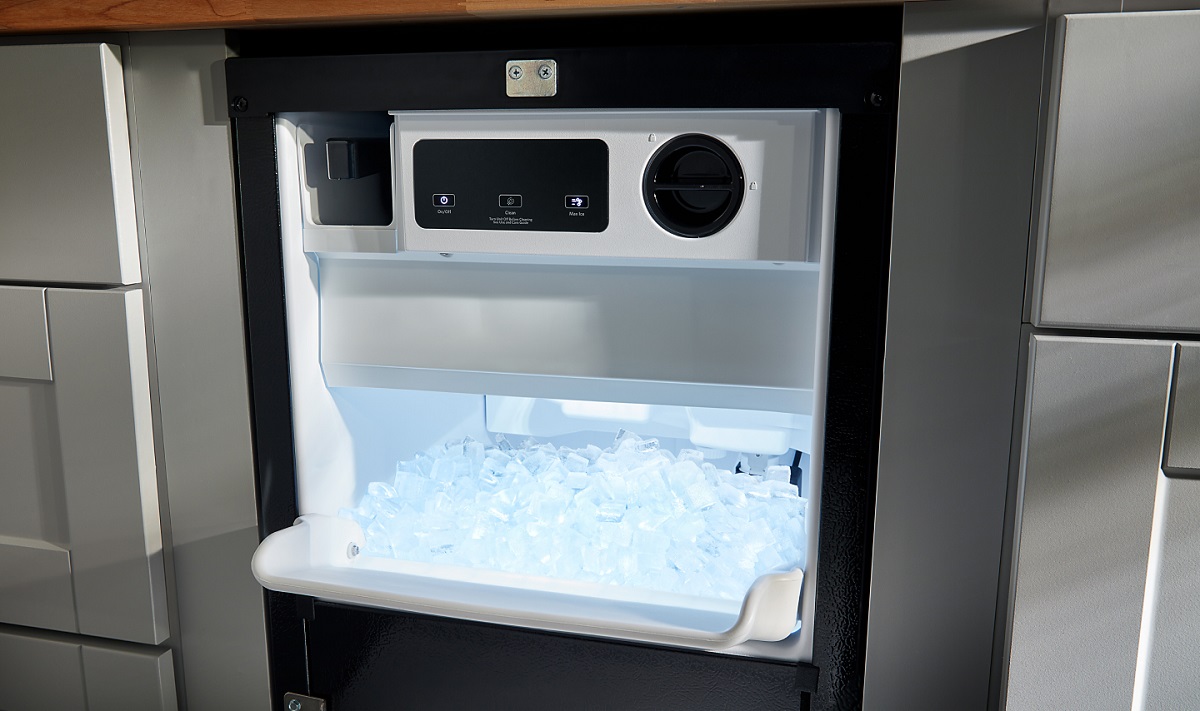
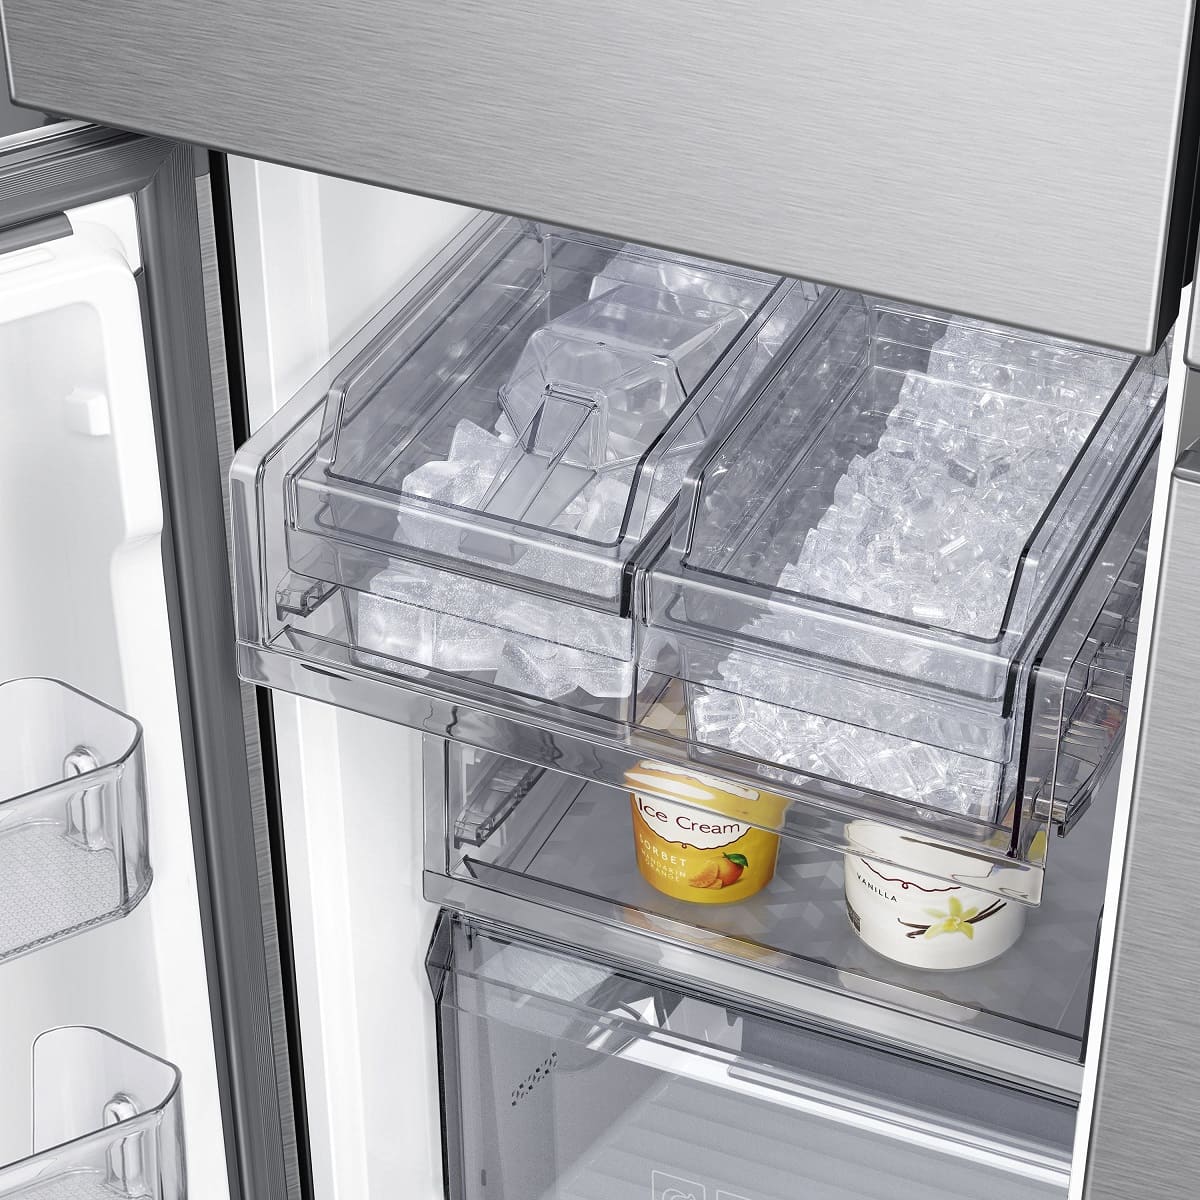
The first step in turning off the ice maker on your KitchenAid fridge is to locate its position. The exact location may vary depending on the model of your fridge, but typically, the ice maker is located in the freezer compartment.
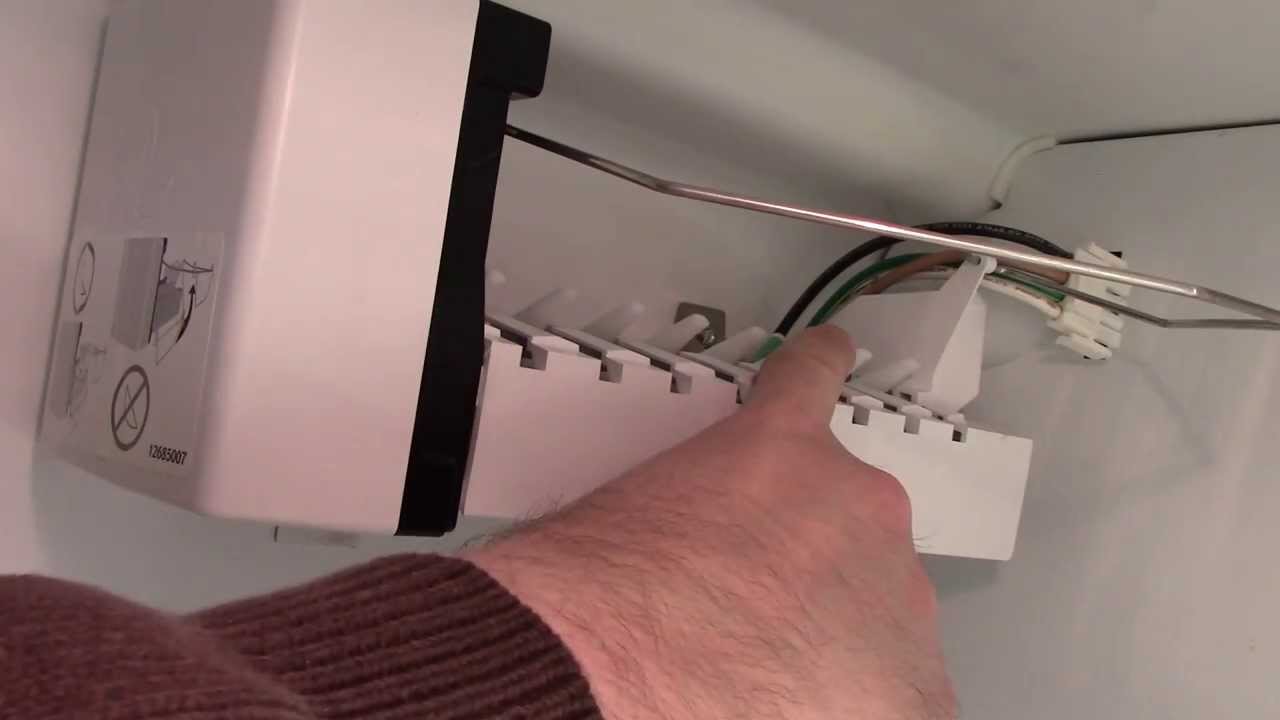
Open your freezer door and look for a metal or plastic box attached to the back wall or the side wall of the freezer. This box is the ice maker and is connected to the water supply line. It may have a small control panel on the front with buttons or switches for ice production control.
If you’re having trouble finding the ice maker, consult your user manual or refer to the manufacturer’s website for your specific model. They will often provide detailed diagrams or guides to help you locate it.
Once you have located the ice maker, make sure you have easy access to it to perform the necessary steps to turn it off. This includes having enough space to reach the control switch, the water supply line, and the ice bin if you decide to remove it for cleaning or maintenance.
Step 2: Shut Off the Water Supply
After locating the ice maker, the next step is to shut off the water supply to prevent any ice production. This is an important step to ensure that no water continues to flow into the ice maker and create new ice cubes.
First, locate the water supply line connected to the back of your fridge. This line is responsible for delivering water to the ice maker. It is usually connected to a valve or a water pipe.
Find the valve or lever that controls the water flow to the fridge’s ice maker. It may be located near the water inlet, behind the fridge, or under the sink. Once you’ve located it, turn it clockwise to shut off the water supply. You may need to use a wrench or pliers for extra leverage if the valve is tight.
Once the water supply is shut off, it’s a good practice to check for any leaks or drips. Examine the water line and connections for any signs of moisture or water accumulation. If you notice any leaks, you may need to address them before proceeding further.
Remember, shutting off the water supply ensures that no additional water enters the ice maker, allowing you to effectively turn it off and prevent ice production. It’s an essential step in the process, so take the time to locate and shut off the water supply to your KitchenAid fridge’s ice maker.
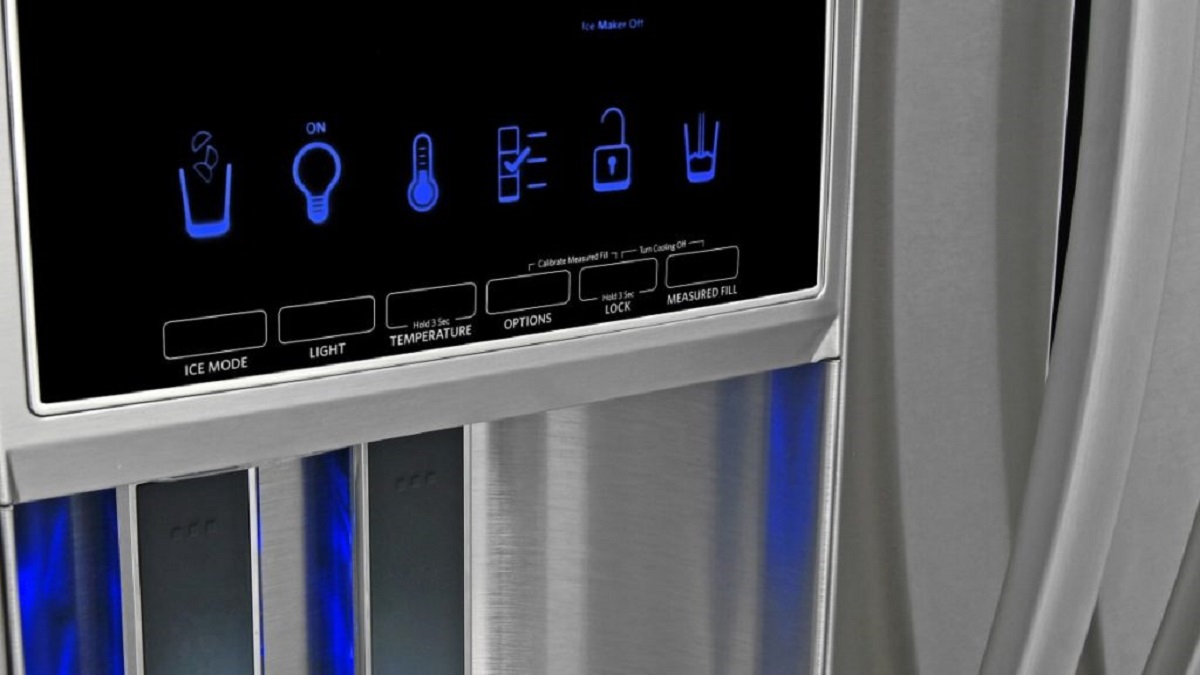
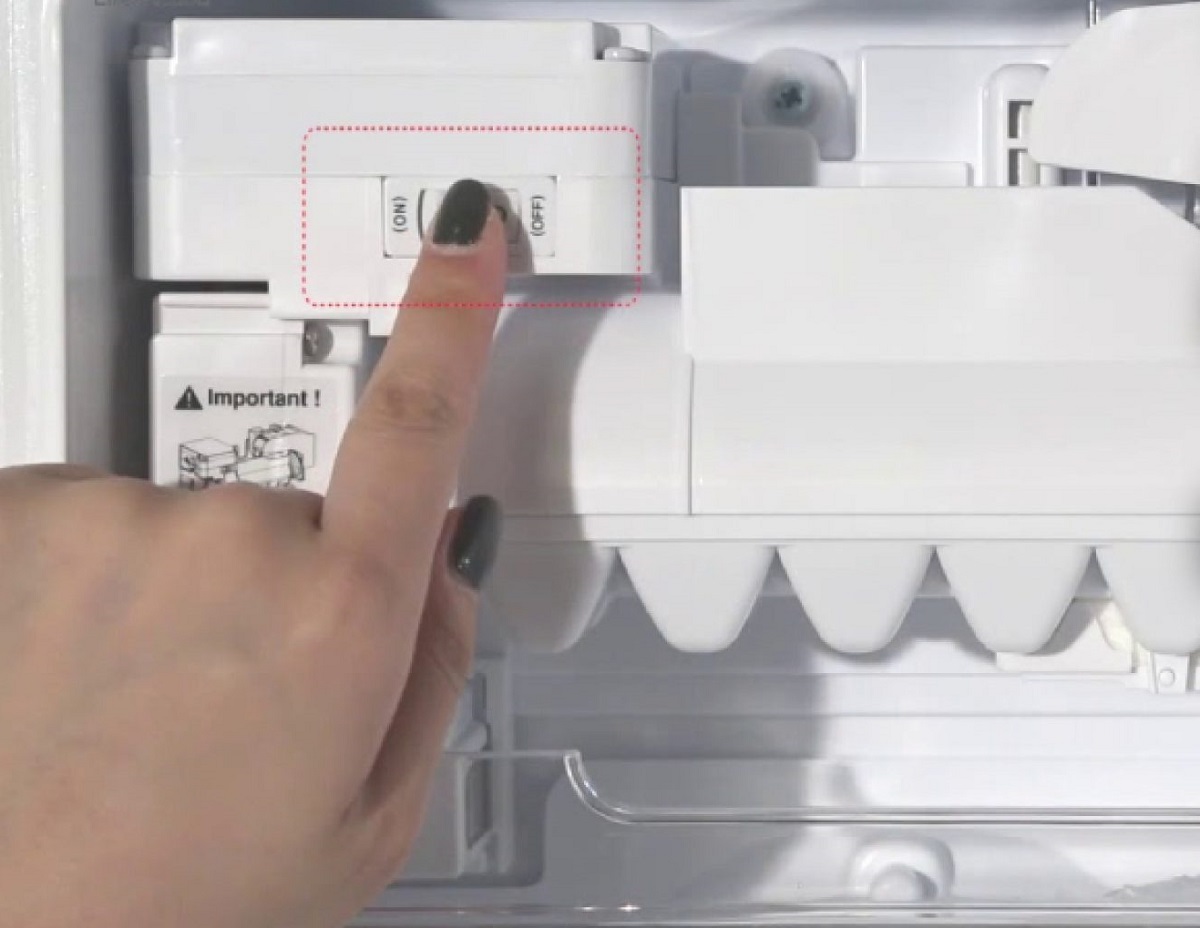
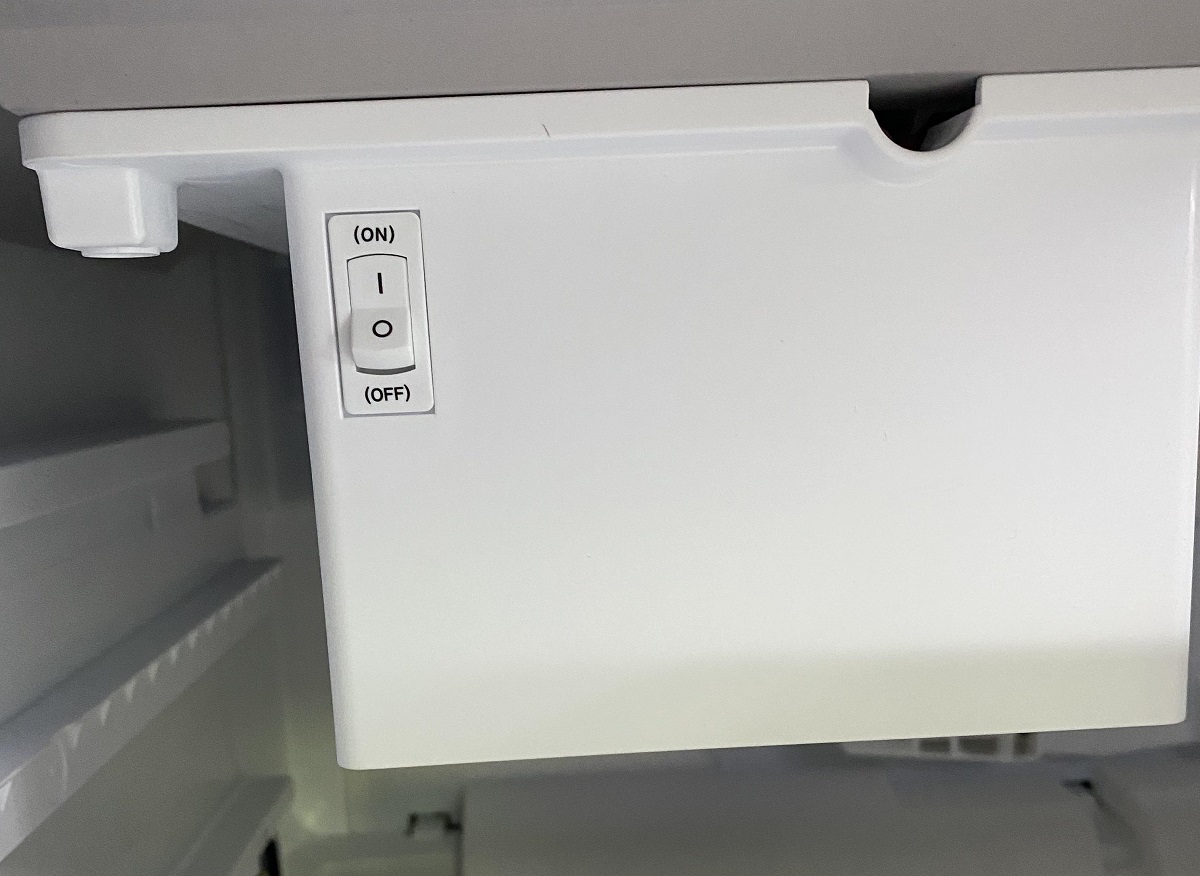
Step 3: Turn Off the Ice Maker Control Switch
Now that you’ve shut off the water supply, it’s time to turn off the ice maker control switch. This switch is responsible for activating or deactivating the ice-making function of your KitchenAid fridge’s ice maker.
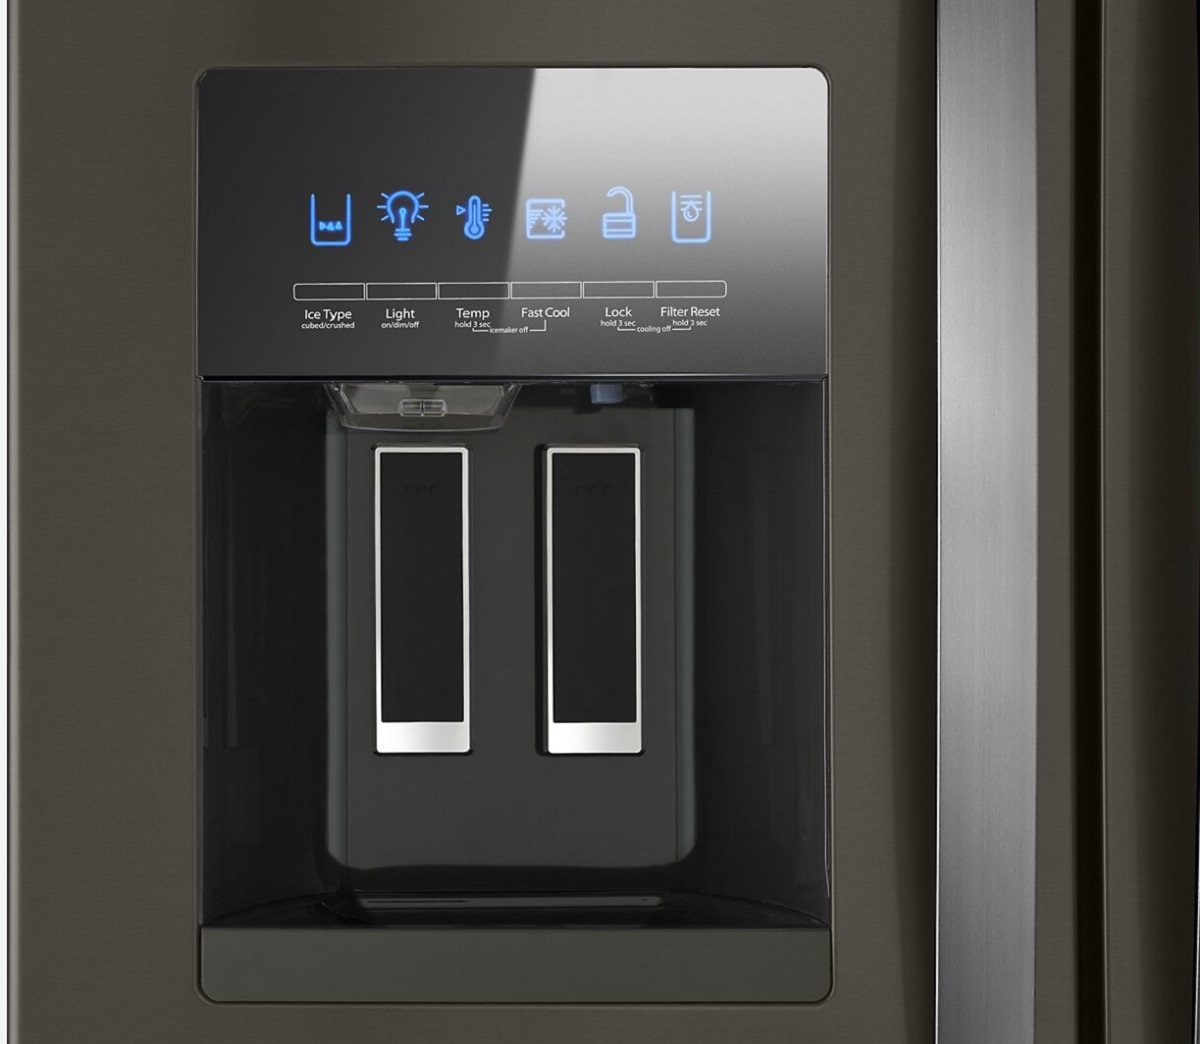
Locate the control switch for the ice maker. It is usually located on the front panel of the ice maker, near the ice storage bin or on the control panel of your fridge.
Depending on your model, the control switch may be a simple on/off switch, a button, or a combination of buttons and indicators. Refer to the user manual or manufacturer’s website for your specific model to ensure you follow the correct procedure.
To turn off the ice maker, simply switch the control switch to the “OFF” position or press the corresponding button to deactivate it. Some models may have indicators or lights that indicate the status of the ice maker. Ensure that the indicator light for the ice maker is off or shows that it is deactivated.
Once the control switch is turned off, the ice maker will no longer produce ice even if the water supply is still connected. This step is crucial in effectively disabling the ice-making function and preventing any further ice production.
Take a moment to ensure that the control switch is in the correct position and that the ice maker is indeed turned off. This will help conserve energy and ensure that no ice is made until you turn it back on.
To turn off the ice maker on a Kitchenaid fridge, locate the power switch on the ice maker and switch it to the “off” position. This will stop the ice production.
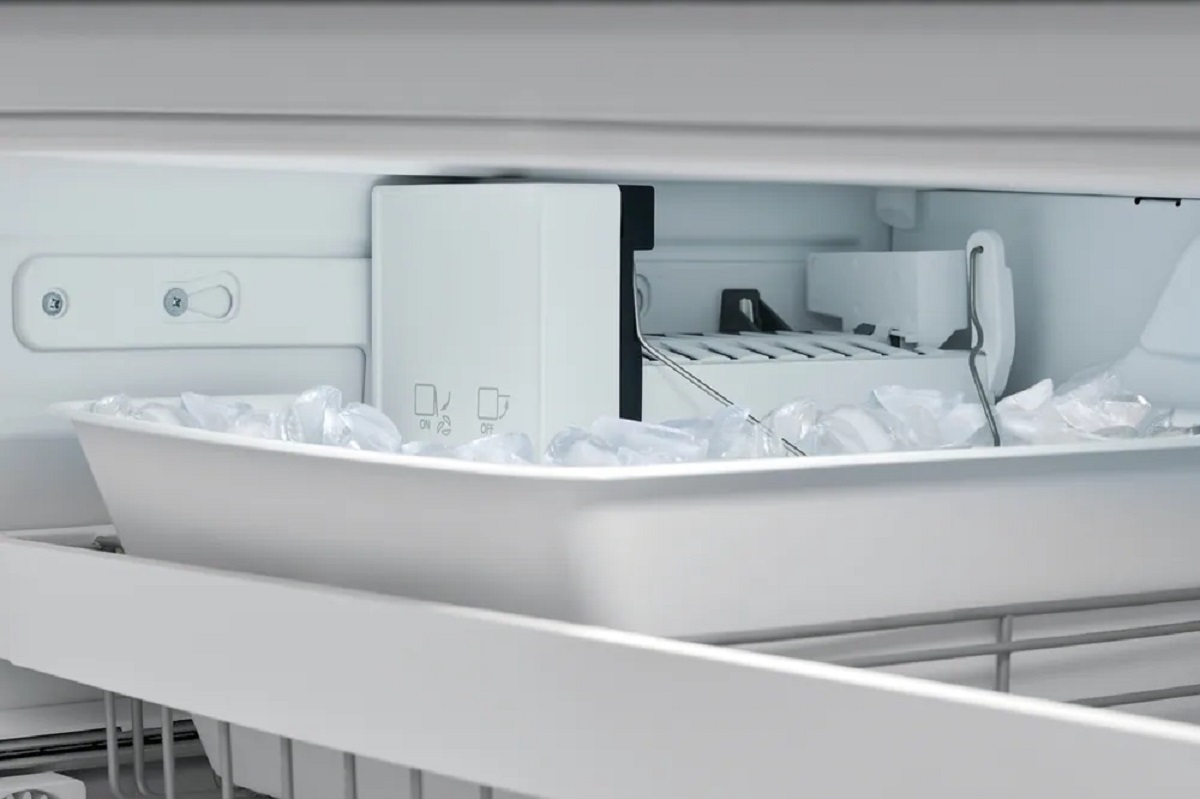
Step 4: Disable Ice Making Function
After turning off the ice maker control switch, the next step is to disable the ice-making function itself. This step ensures that even if the control switch is accidentally turned back on, the ice maker will not produce any ice.
To disable the ice-making function, you will need to take a closer look at the ice maker and perform specific actions depending on your model. Here are a few common methods to disable the ice-making function:
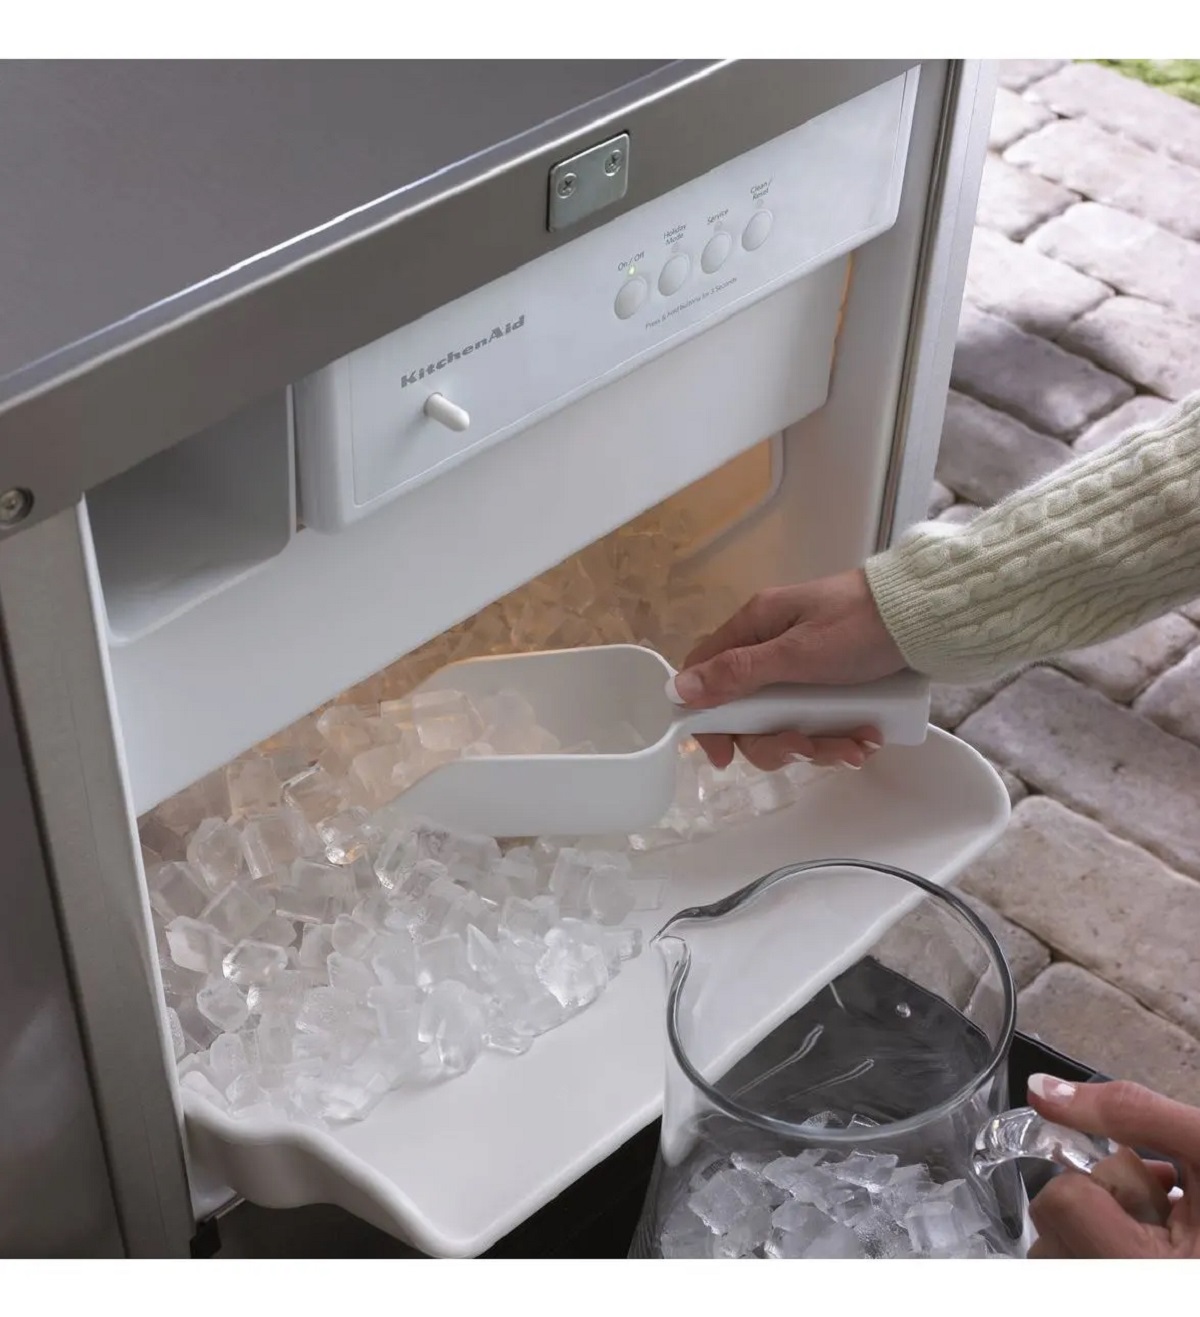
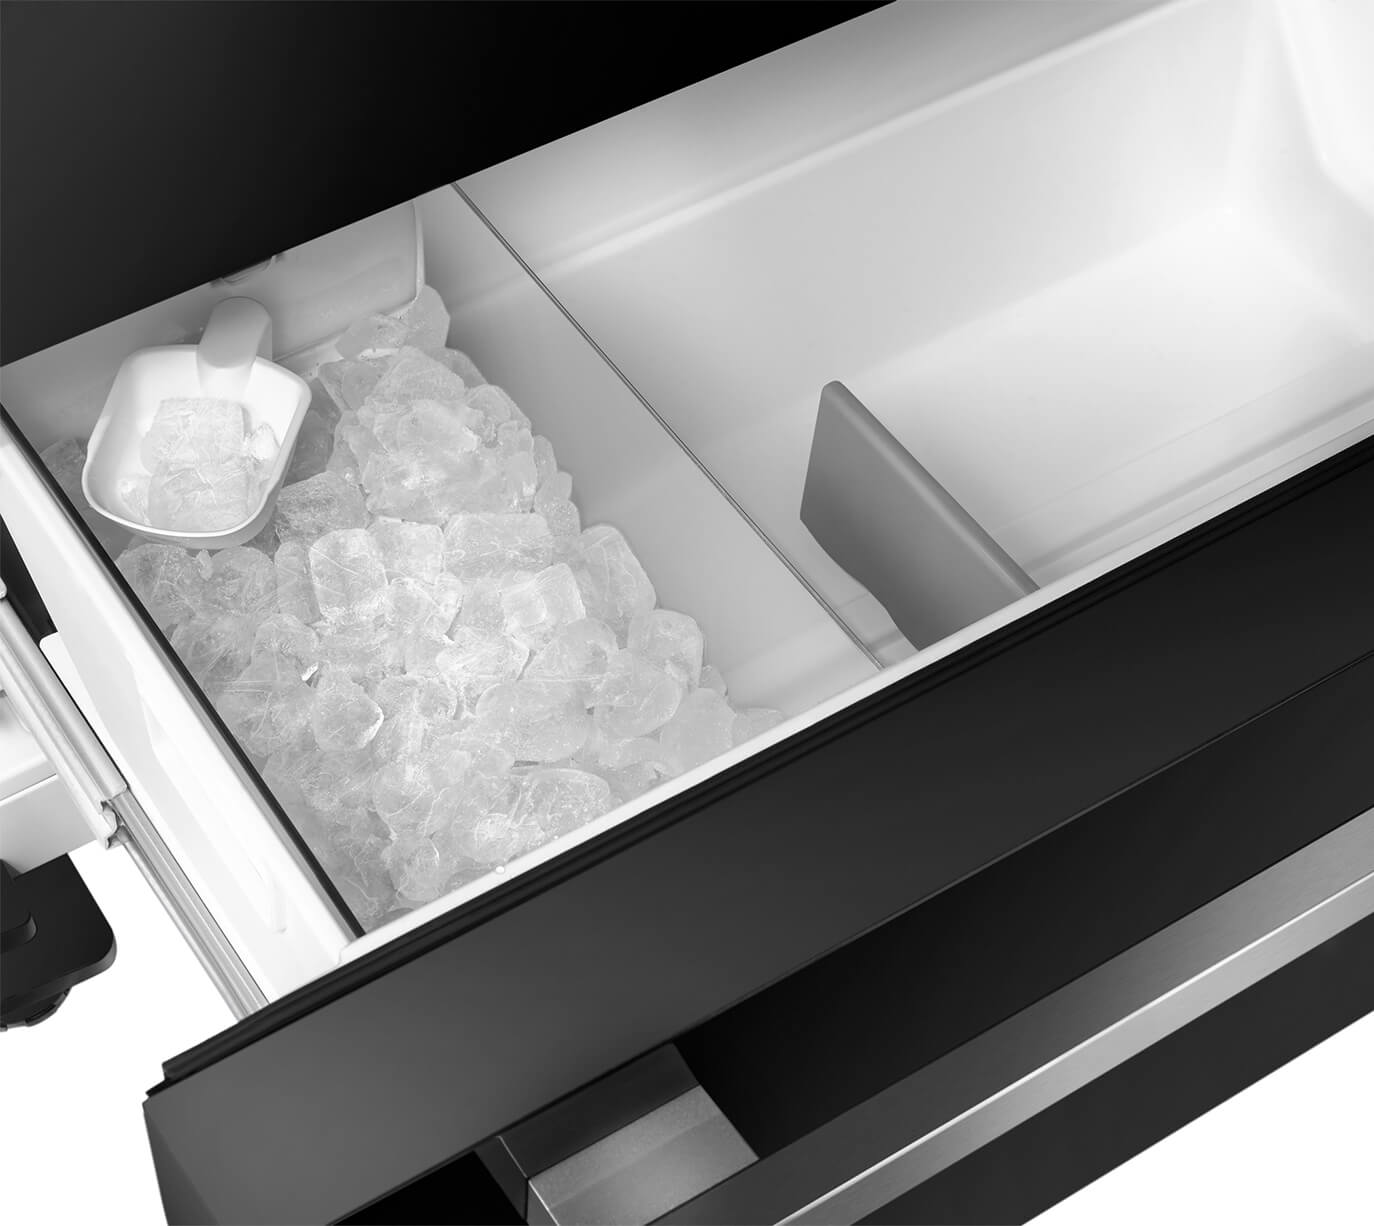
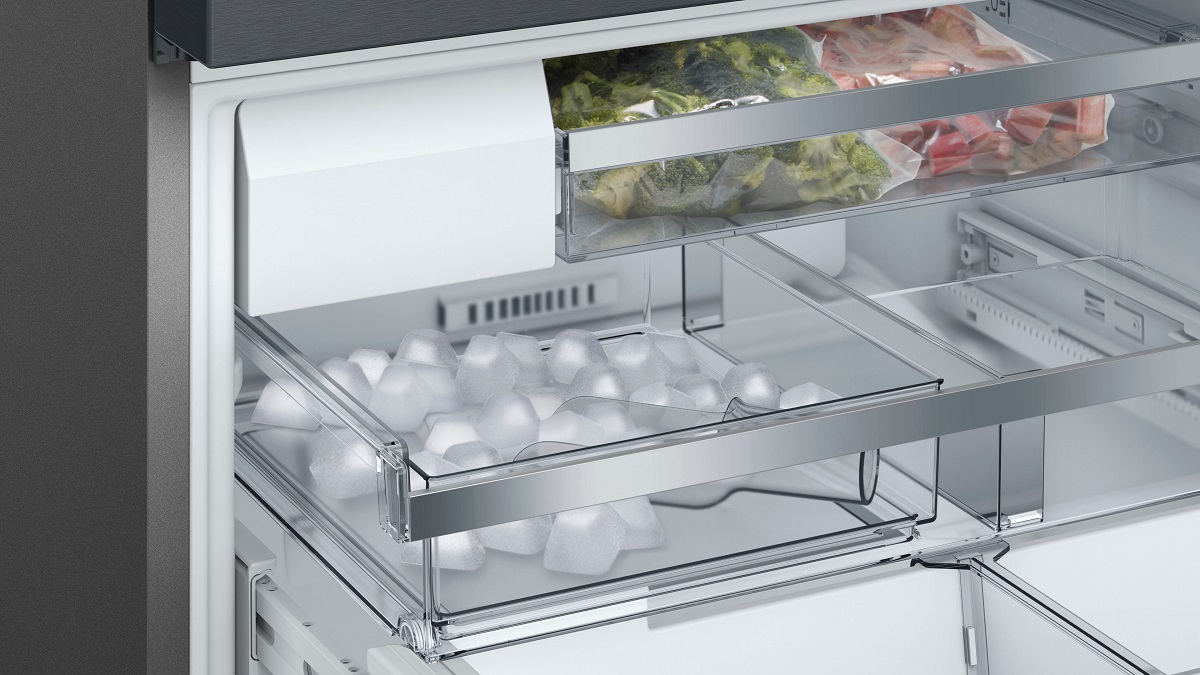
- Remove the ice bin: Some ice makers have a removable ice storage bin. By removing the ice bin, you prevent the ice maker from being able to dispense or collect ice cubes. Follow the user manual’s instructions to safely remove the ice bin, empty it, and store it in a safe place.
- Block the sensor: Some ice makers have a sensor that detects the ice level in the bin. By blocking the sensor, the ice maker will think that the bin is full and will not try to make more ice. Refer to the user manual for your specific model to locate the sensor and follow the instructions on how to block or disable it.
- Turn off the power: If your ice maker has a dedicated power switch or can be disconnected from the power source, you can turn off the power to completely disable it. This is particularly useful if you don’t plan on using the ice maker for an extended period. Consult the user manual or the manufacturer’s guidelines on how to safely disconnect or turn off the power to the ice maker.
Choose the method that is applicable to your KitchenAid fridge model and preferences. Keep in mind that disabling the ice-making function is an additional step to ensure that no ice is produced, even if the control switch is accidentally turned back on.
By following this step, you effectively disable the ice-making function of your KitchenAid fridge’s ice maker, providing you with full control over the ice production process.
Read more: How To Turn Off Ice Maker On Maytag Fridge
Step 5: Clean the Ice Maker (Optional)
While not necessary for turning off the ice maker, cleaning it can help maintain its performance and prevent any potential issues when you decide to turn it back on. Cleaning the ice maker is especially useful if you haven’t used it for an extended period.
To clean your KitchenAid fridge’s ice maker, follow these steps:
- Empty and clean the ice bin: Start by removing any remaining ice cubes from the ice bin. Empty the bin and discard any old ice. Rinse the bin with warm water and mild dish soap, then dry it thoroughly.
- Clean the ice maker parts: Use a soft cloth dampened with warm water and mild dish soap to clean the ice maker components. Gently wipe the ice maker’s exterior, including the control switch and the area around it. Pay special attention to any visible residue or dirt. Be cautious not to use harsh or abrasive cleaners, as they may damage the ice maker.
- Clean the water supply line: If you notice any buildup or mineral deposits in the water supply line, you can use a specialized ice maker cleaner or a mixture of vinegar and water to flush the line. Consult the user manual or manufacturer’s guidelines for specific instructions on cleaning the water supply line.
- Allow time to dry: After cleaning, give the ice maker and its components enough time to dry completely. This helps prevent any moisture buildup that may lead to odors or mold growth.
Remember, cleaning the ice maker is an optional step but can contribute to its overall performance and longevity. It ensures that when you decide to turn on the ice maker again, you have a clean and well-maintained appliance ready to produce fresh ice cubes.
With this optional step completed, you are now ready to enjoy full control over your KitchenAid fridge’s ice maker, knowing that it is in good condition and ready for future use.
Conclusion
Congratulations! You have successfully learned how to turn off the ice maker on your KitchenAid fridge. By following the steps outlined in this guide, you can have complete control over your ice production, conserve energy, and address any maintenance or repair issues.
Remember, the process may vary slightly depending on the model of your KitchenAid fridge. Always refer to the user manual or manufacturer’s guidelines for your specific model to ensure accurate instructions.
Turning off the ice maker involves locating the ice maker, shutting off the water supply, turning off the ice maker control switch, and optionally cleaning the ice maker. These steps combined empower you to control when and how your ice maker operates.
Whether you need to temporarily disable the ice maker, conserve energy, or address maintenance concerns, this guide has provided you with the knowledge and steps needed to do so effectively.
Enjoy the convenience and flexibility that comes with having control over your ice production. And when you’re ready to turn on the ice maker again, simply reverse the steps in this guide to reactivate it.
Thank you for choosing this guide for turning off the ice maker on your KitchenAid fridge. We hope you found it helpful, and we wish you success in your ice maker control journey!
Now that you've mastered turning off your ice maker, why not keep that appliance in prime condition? Dive into our guide on refrigerator maintenance to ensure your ice maker stays clean and efficient. Curious about where your reliable appliance originated? Our detailed article sheds light on the origins of KitchenAid refrigerators, offering fascinating insights into the brand's history and manufacturing process.
Frequently Asked Questions about How To Turn Off Ice Maker On Kitchenaid Fridge
Was this page helpful?
At Storables.com, we guarantee accurate and reliable information. Our content, validated by Expert Board Contributors, is crafted following stringent Editorial Policies. We're committed to providing you with well-researched, expert-backed insights for all your informational needs.


0 thoughts on “How To Turn Off Ice Maker On Kitchenaid Fridge”