Articles
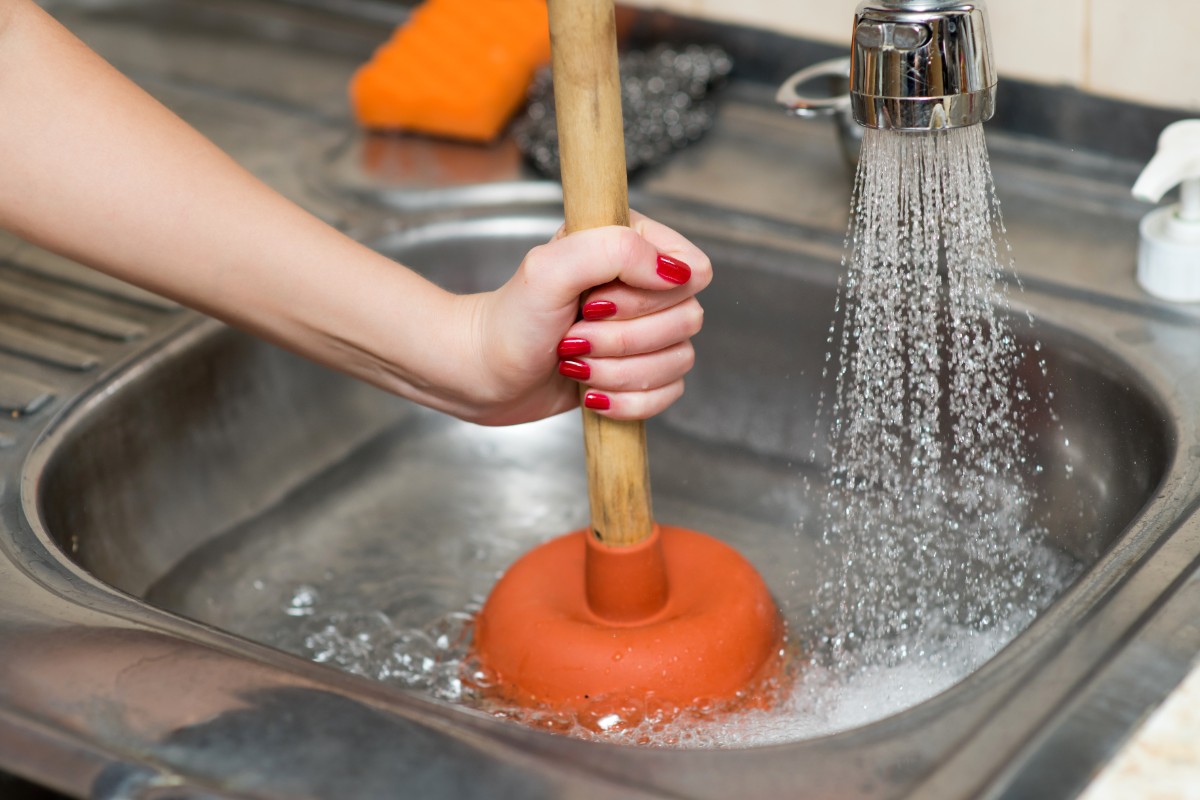
How To Unclog Kitchen Sink With Plunger
Modified: December 7, 2023
Learn how to use a plunger to easily unclog your kitchen sink with this helpful article. Find step-by-step instructions and tips to keep your sink running smoothly.
(Many of the links in this article redirect to a specific reviewed product. Your purchase of these products through affiliate links helps to generate commission for Storables.com, at no extra cost. Learn more)
Introduction
Dealing with a clogged kitchen sink can be a frustrating experience. It can disrupt your daily routine and hinder your ability to properly clean dishes and utensils. Fortunately, there is a simple and effective solution that can help you unclog your kitchen sink – using a plunger. Plunging is a tried and true method that can quickly clear out most sink clogs, saving you time and money on plumbing services. In this article, we will guide you through the process of using a plunger to unclog your kitchen sink, step by step.
Before we dive into the details, it’s important to mention the importance of safety. Always exercise caution when working on plumbing issues, and if you encounter a stubborn or persistent clog, it is best to consult a professional plumber.
Key Takeaways:
- Easily unclog your kitchen sink using a plunger, hot water, and dish soap. Follow simple steps to prepare, create a seal, plunge, and test the drain for effective results.
- Save time and money by DIY unclogging your kitchen sink with a plunger. Exercise caution, patience, and regular maintenance to keep your sink running smoothly.
Read more: How To Unclog A Sink With A Plunger
Step 1: Gather necessary materials
Before you start unclogging your kitchen sink with a plunger, make sure to gather all the necessary materials. Having everything prepared in advance will ensure a smooth and hassle-free unclogging process. Here are the materials you will need:
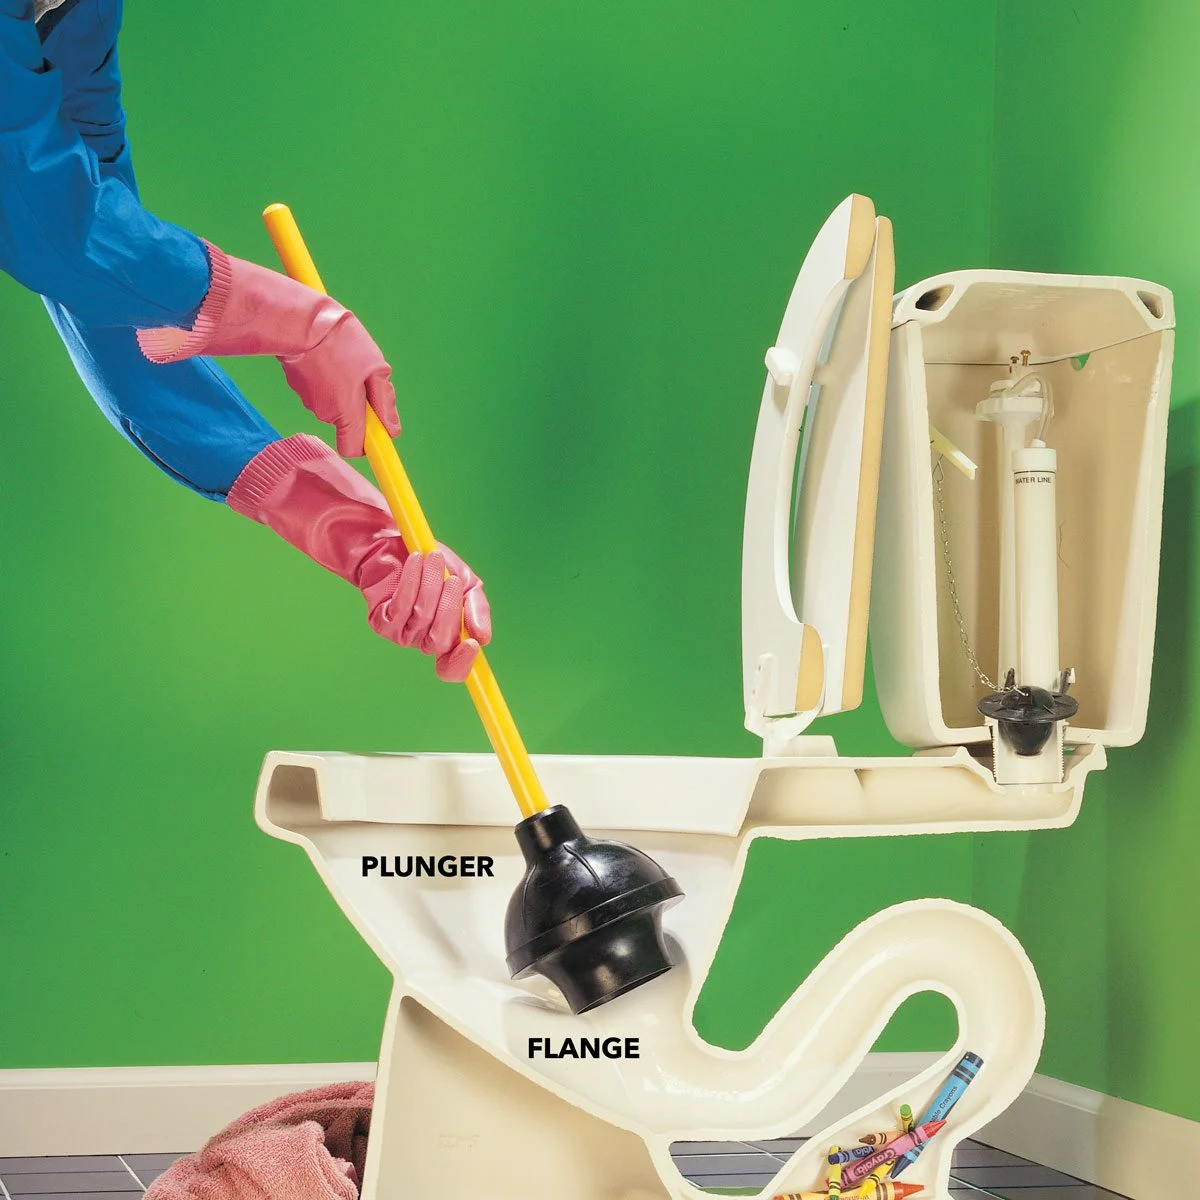
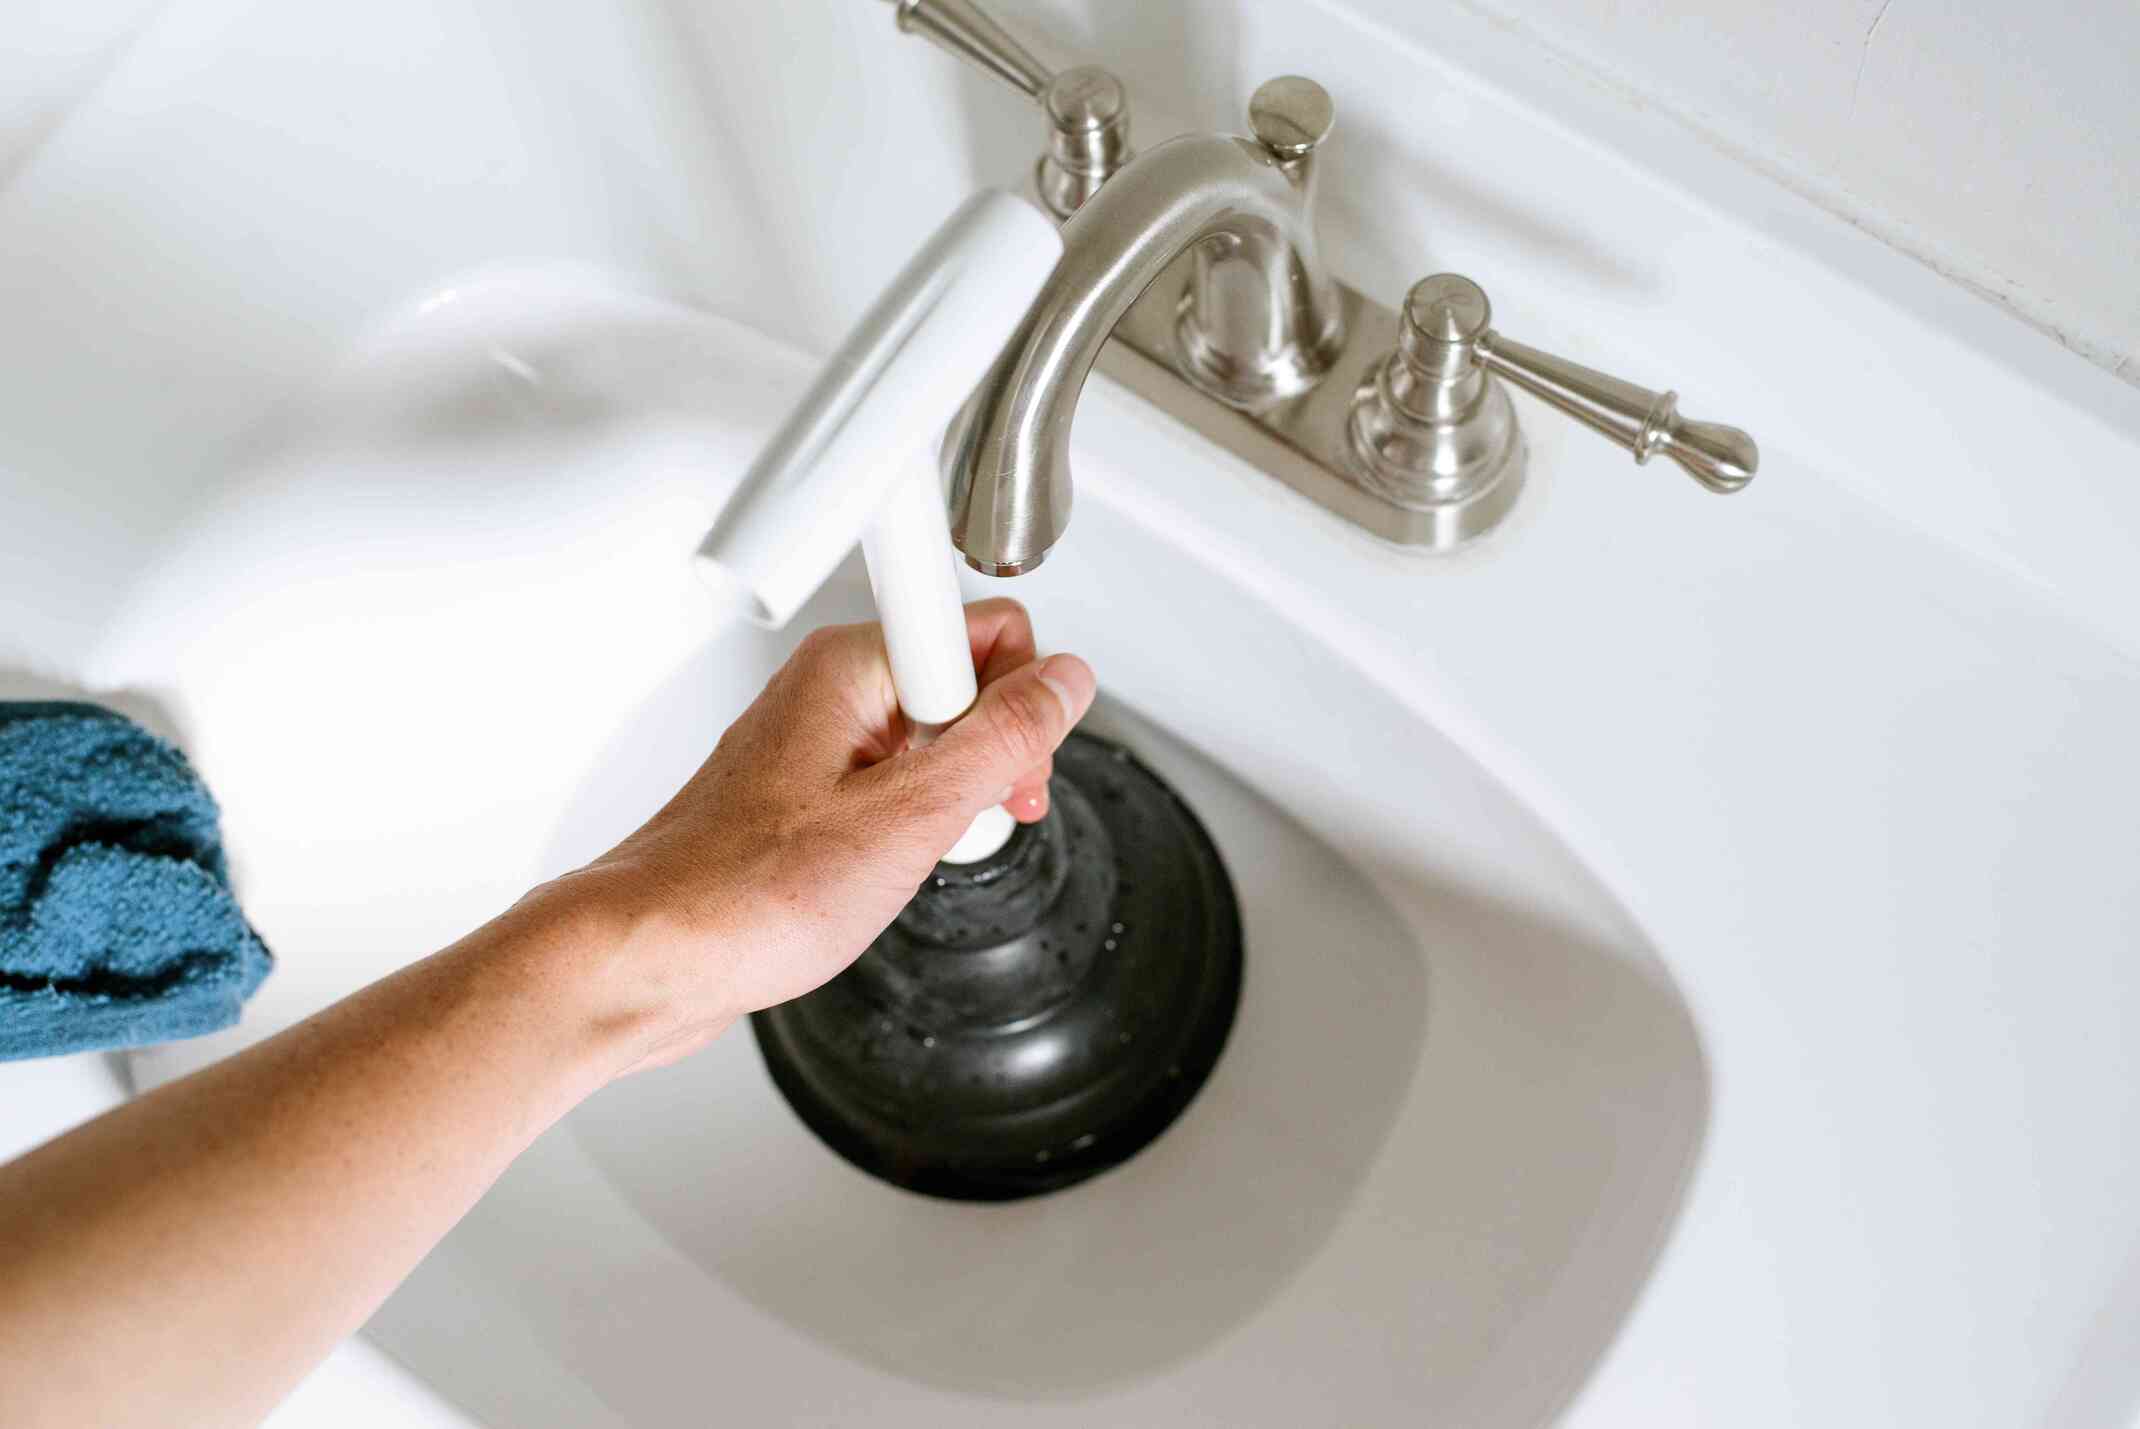
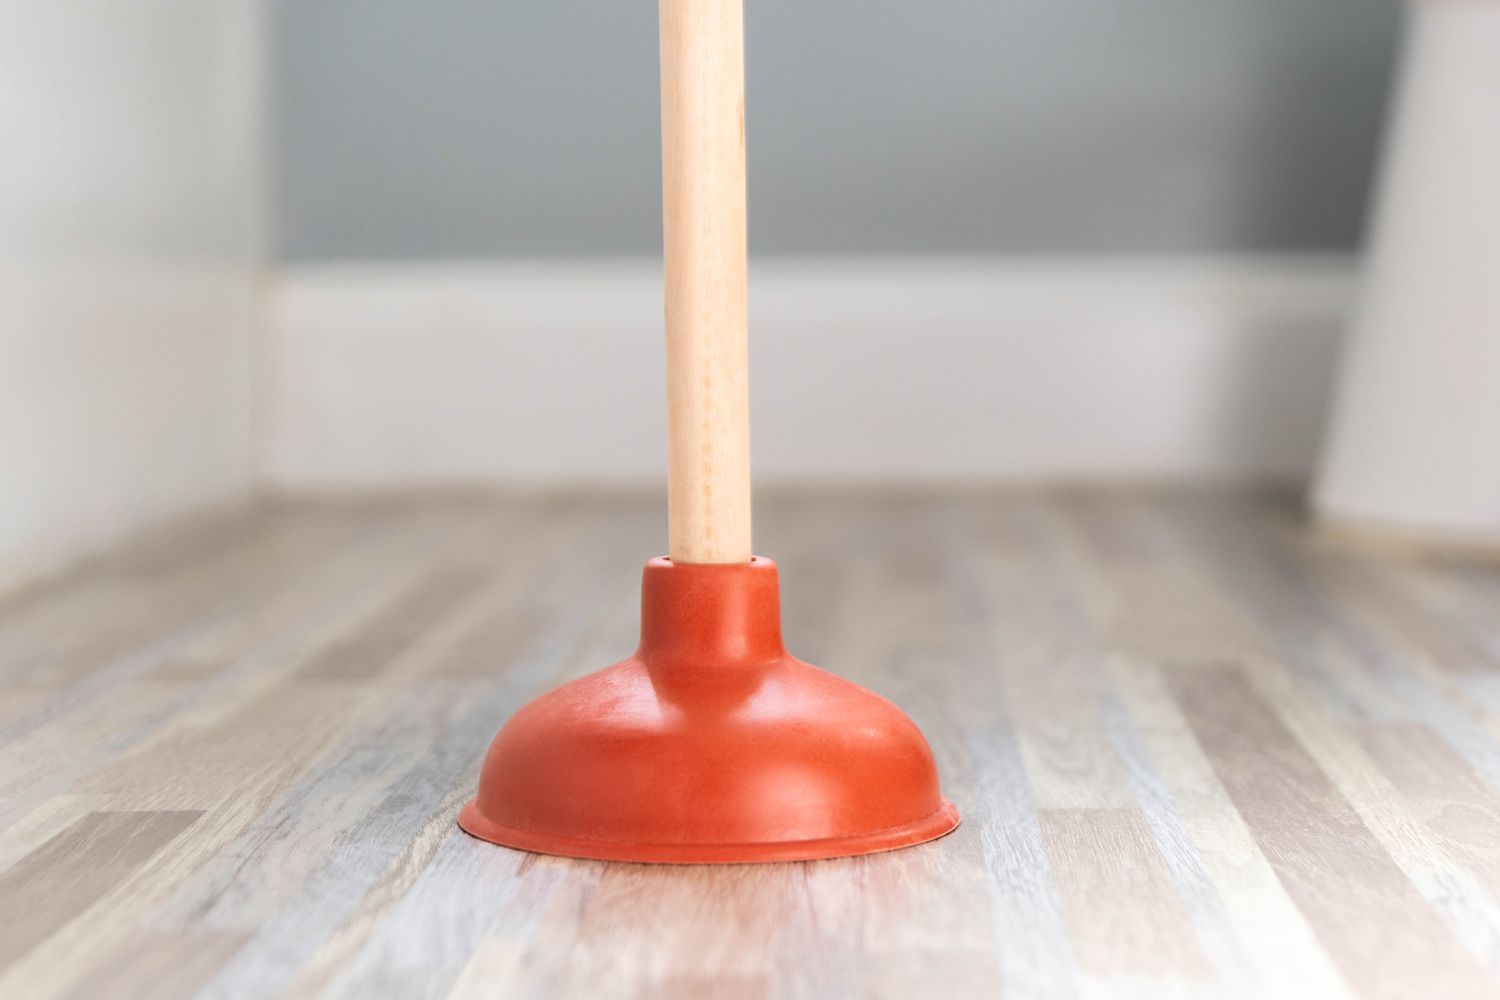
- Plunger: Choose a sink plunger with a flat bottom and a sturdy handle. This type of plunger is specifically designed for sink drains and provides better suction.
- Hot water: Heat up a pot or kettle of water until it’s hot, but not boiling. Hot water helps to soften and break down stubborn clogs.
- Dish soap: Dish soap acts as a lubricant and helps create a better seal between the plunger and the sink drain. It also helps to break down any grease or food particles that may be contributing to the clog.
Having these materials on hand will ensure that you are well-prepared to tackle the clog in your kitchen sink. Once you’ve gathered everything, it’s time to move on to the next step – preparing the sink for plunging.
Step 2: Prepare the sink
Before you begin plunging your kitchen sink, it’s essential to prepare the area properly. This step involves removing any standing water from the sink and clearing out any debris that could potentially hinder the plunging process. Follow these steps to prepare your sink for unclogging:
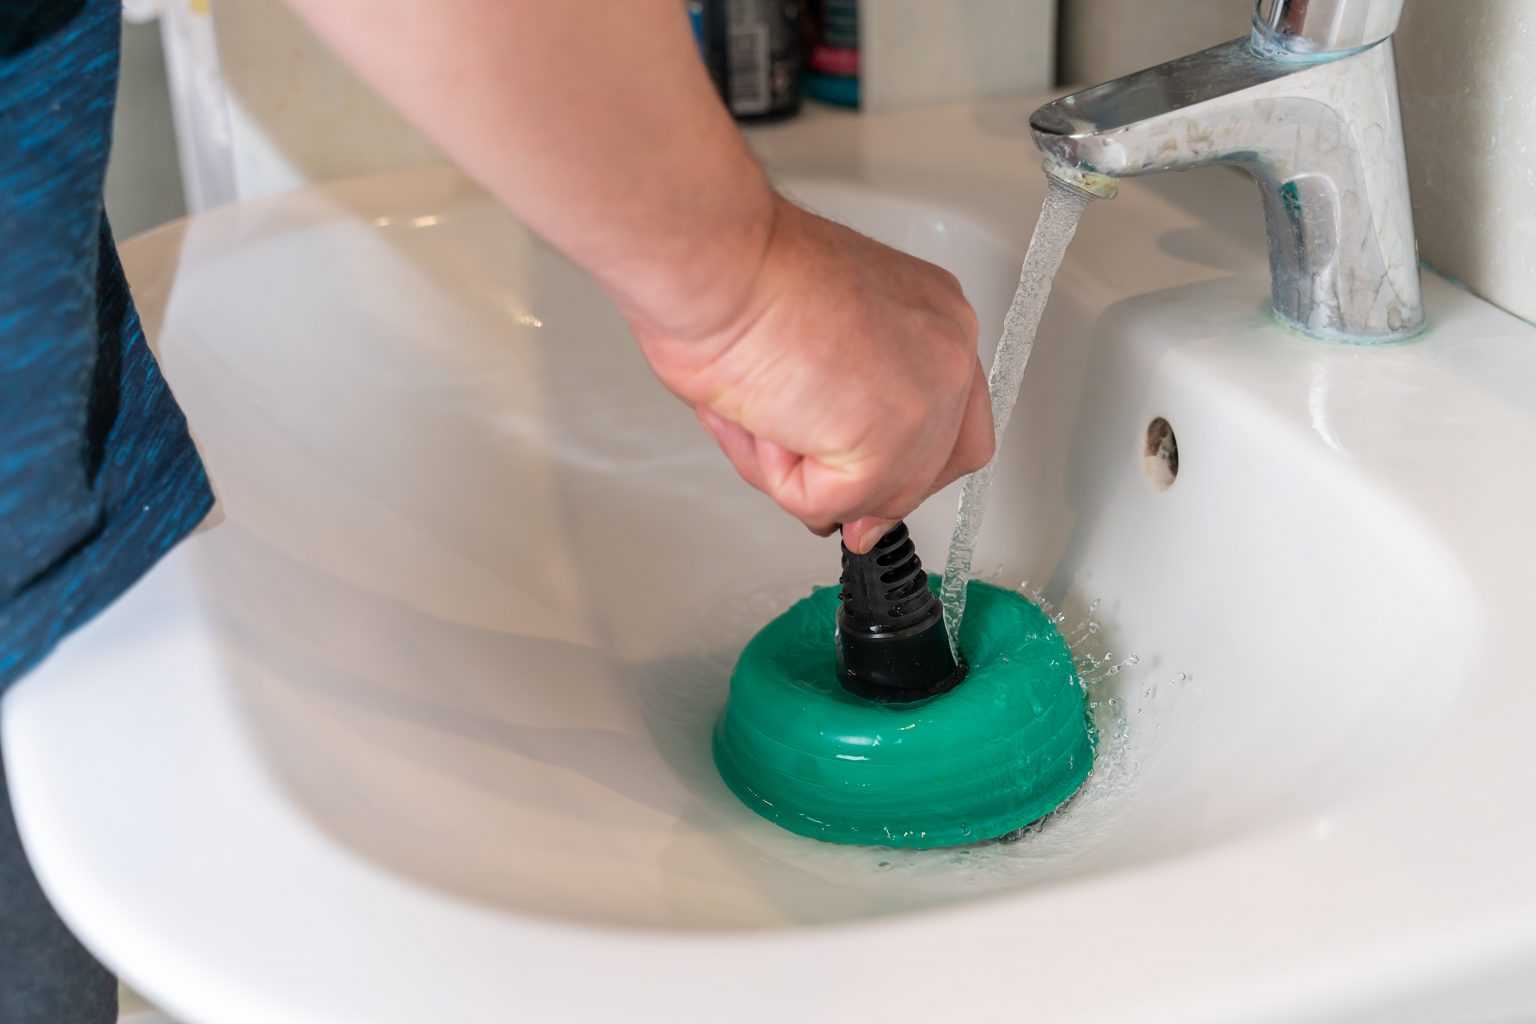
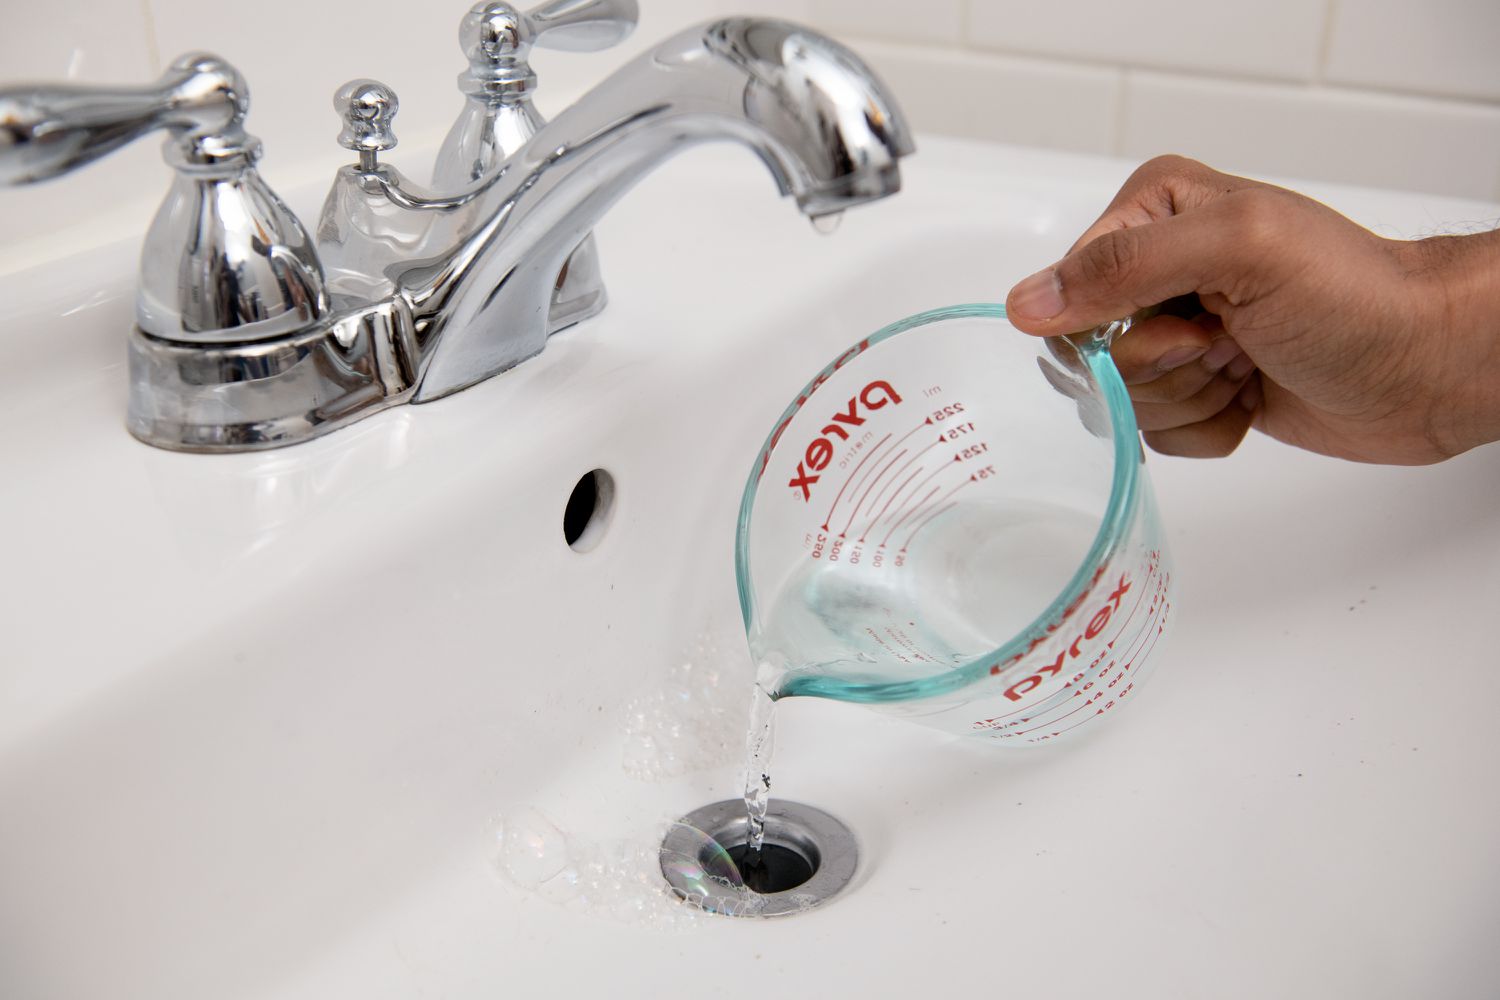
- Remove any standing water: If there is any water in the sink, use a cup or a bucket to scoop it out and empty it into a nearby drain or bucket. Removing the standing water will allow for better suction during the plunging process.
- Clear out any debris: Inspect the sink drain for any visible debris, such as food particles or grease buildup. Use a pair of tongs or a small brush to remove any obstructions. Getting rid of debris will ensure a more efficient and effective plunge.
Taking the time to remove standing water and clear out debris will set the stage for a successful unclogging attempt. With a water-free and debris-free sink, you can move on to the next step – creating a seal with the plunger.
Step 3: Create a seal
Creating a proper seal between the plunger and the drain is crucial for effective plunging. This seal allows for maximum suction, increasing the chances of successfully unclogging your kitchen sink. Follow these steps to create a seal with the plunger:
- Apply dish soap to the plunger: Squirt a generous amount of dish soap onto the bottom of the plunger. The dish soap acts as a lubricant, making it easier to form a tight seal with the sink drain.
- Position the plunger over the drain: Place the plunger directly over the drain, ensuring that it covers the entire opening. Press the plunger firmly onto the sink surface to create an airtight seal. Make sure there is no air escaping from around the edges of the plunger.
By applying dish soap to the plunger and positioning it properly over the drain, you’ll have a secure and airtight seal. This seal is essential for generating the necessary suction to dislodge the clog. Now that you have a good seal, it’s time to move on to the next step – plunging the sink.
Make sure to cover the overflow opening with a wet cloth before using the plunger to create a strong seal. This will help to increase the pressure and improve the effectiveness of the plunging action.
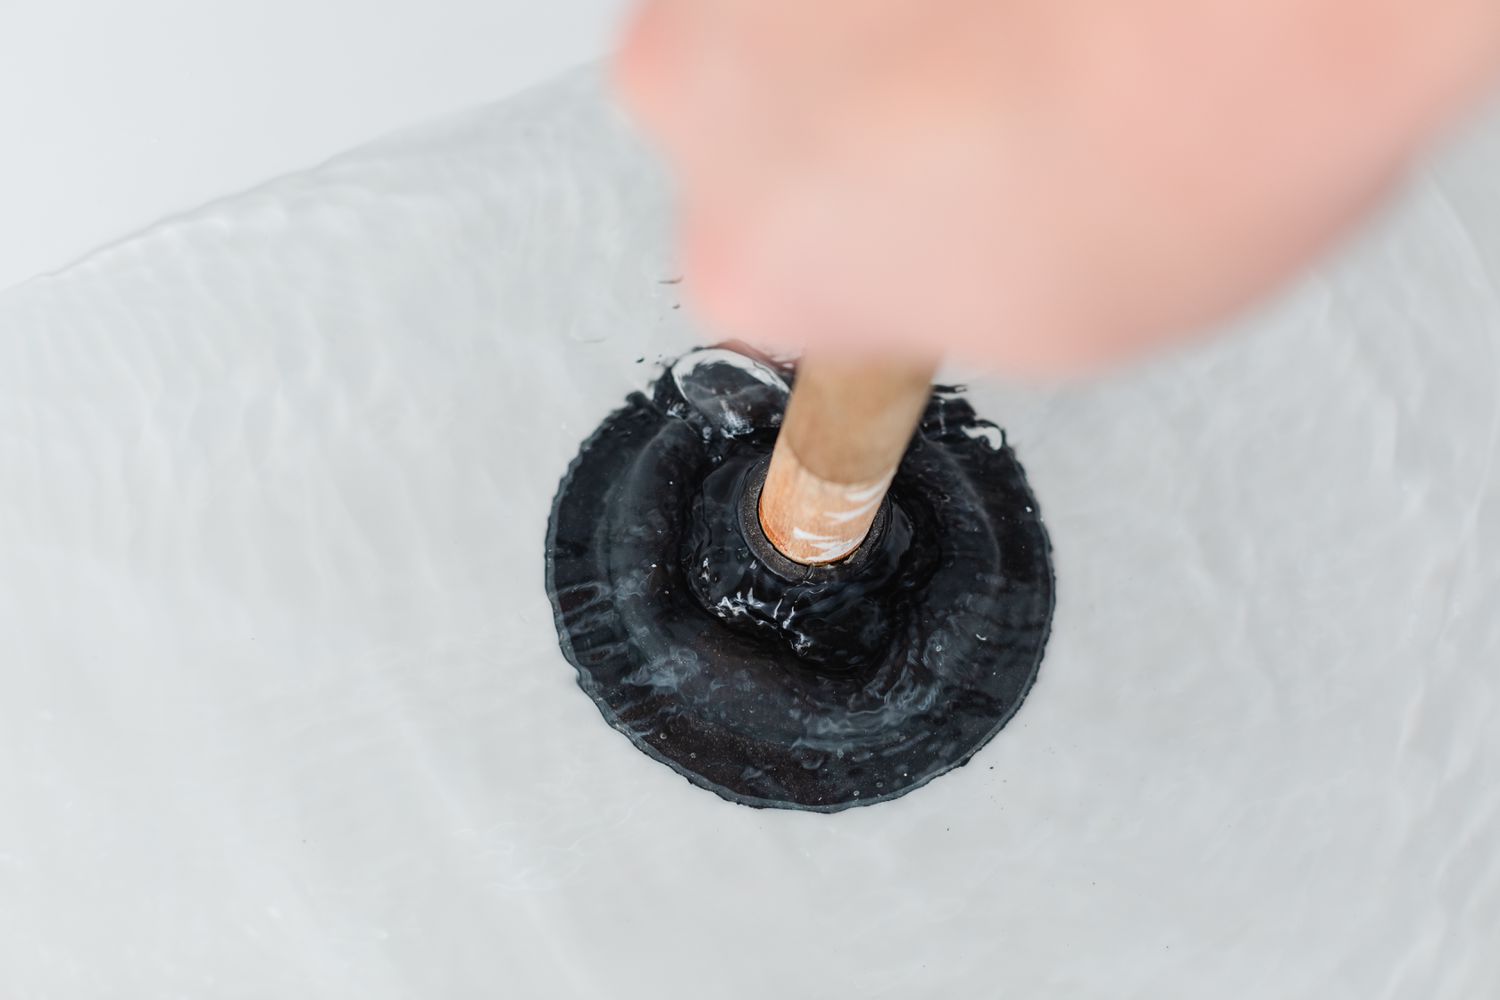
Step 4: Plunge the sink
Now that you have created a seal between the plunger and the drain, it’s time to start plunging. Plunging is a powerful technique that uses suction and pressure to dislodge the clog in your kitchen sink. Follow these steps to effectively plunge your sink:
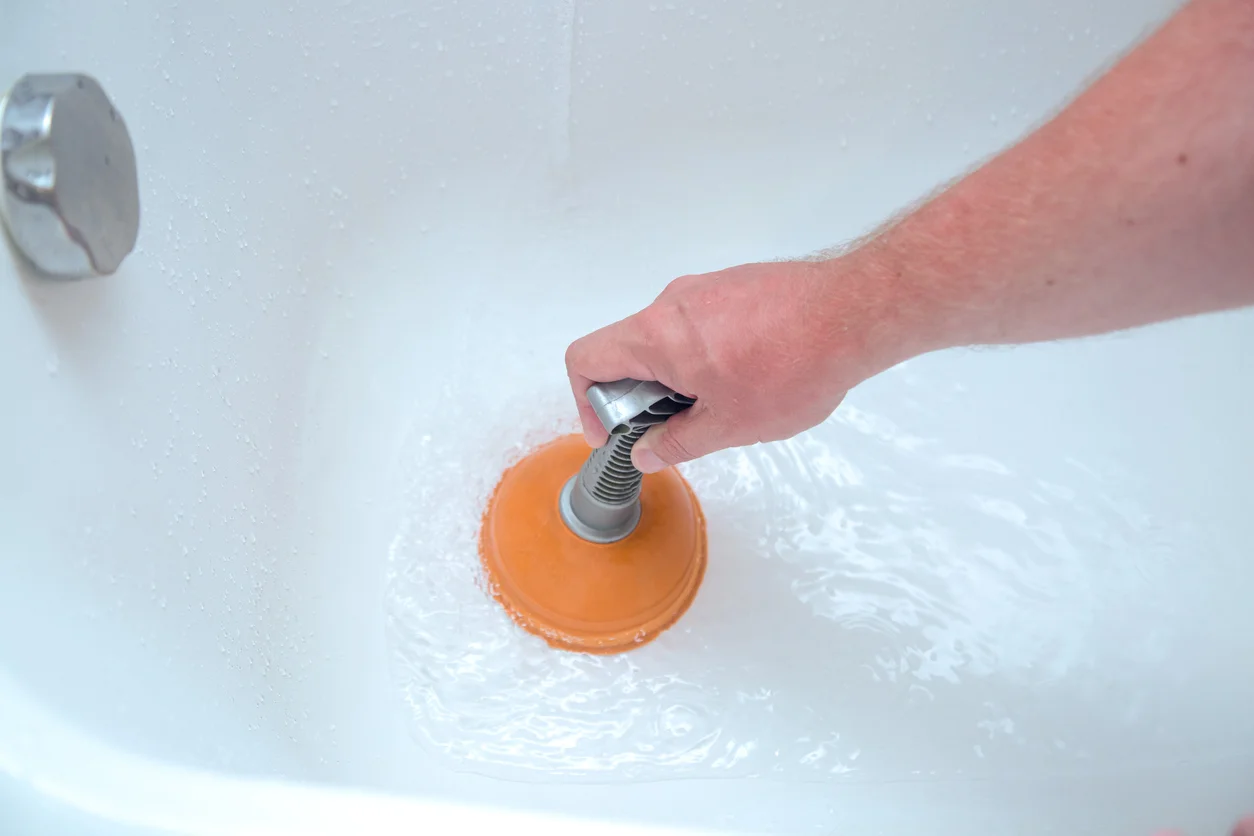
- Push down firmly on the plunger: With both hands, push down on the plunger handle firmly. Apply steady and consistent pressure to create a strong suction.
- Make several vigorous up-and-down motions: Once you have created a good amount of suction, start making vigorous up-and-down motions with the plunger. Use your arms and upper body strength to generate force and push and pull the plunger vigorously. Aim to create a strong flow of water through the drain.
The combination of downward pressure and vigorous plunging motions helps to dislodge the clog and flush it down the drain. Continue plunging for at least 10 to 15 seconds, or until you feel a change in resistance. The suction and pressure created by the plunger will help break up the clog and move it further down the pipe.
If you are having trouble maintaining the seal while plunging, you can try applying more dish soap or adjusting the position of the plunger. Remember to avoid using excessive force that could potentially damage the sink or pipes. Be patient and persistent, as it may take several attempts to fully clear the clog.
Once you feel confident that you’ve thoroughly plunged the sink, it’s time to move on to the final step – testing the drain.
Read more: How To Unclog A Sink Without A Plunger
Step 5: Test the drain
After you have completed the plunging process, it’s important to test the drain to determine if the clog has been successfully cleared. Follow these steps to check if the clog is cleared and to ensure proper drainage:
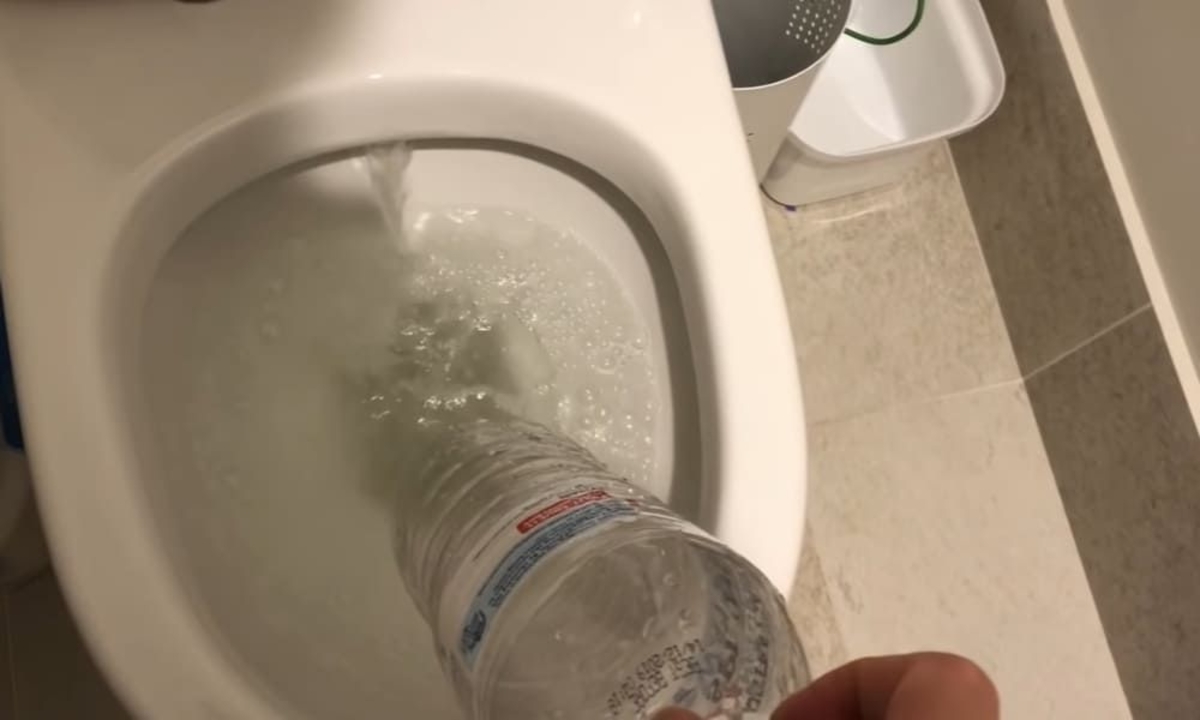
- Run hot water to check if the clog is cleared: Turn on the hot water faucet and let it run for a few minutes. Observe the water flow and listen for any signs of gurgling or slow drainage. If the water drains smoothly and without any issues, it is a good indication that the clog has been cleared.
- Repeat plunging if necessary: If the water still drains slowly or if you notice any signs of a partial clog, it may be necessary to repeat the plunging process. Remove any standing water in the sink and clear out any debris before reapplying the plunger and plunging again. Repeat the plunging process until the drain is fully cleared.
In some cases, especially if the clog is stubborn or deep within the plumbing system, additional measures may be required. If repeated attempts with the plunger do not yield satisfactory results, it is recommended to consult a professional plumber for further assistance. They have the expertise and specialized tools to handle more complex clogs and plumbing issues.
By testing the drain after plunging, you can ensure that the clog has been effectively cleared and that your kitchen sink is back to proper working order. Remember to practice regular maintenance and proper disposal of food scraps and grease to minimize future clogs and keep your sink running smoothly.
Conclusion
Unclogging a kitchen sink can be a daunting task, but with the right tools and techniques, you can tackle the problem effectively. Using a plunger is a simple and cost-effective way to clear most sink clogs, saving you time and money on professional plumbing services. By following the step-by-step process outlined in this article, you can successfully unclog your kitchen sink and restore proper drainage.
Remember to gather all the necessary materials before starting, including a plunger, hot water, and dish soap. Prepare the sink by removing standing water and clearing out any debris. Create a tight seal between the plunger and the drain by applying dish soap and positioning the plunger properly. Plunge the sink with firm pressure and vigorous up-and-down motions to dislodge the clog. Test the drain by running hot water and checking for proper drainage. Repeat the plunging process if necessary.
While plunging is effective for most sink clogs, there may be instances where professional assistance is required. If you encounter a stubborn or persistent clog that cannot be cleared with a plunger, it’s best to consult a professional plumber. They have the expertise and specialized equipment to handle more complex plumbing issues.
Regular maintenance and practicing proper disposal habits can also help prevent future sink clogs. Avoid pouring grease or food scraps down the drain, and use drain covers or strainers to catch any debris. Additionally, consider performing routine maintenance such as flushing your drain with hot water and mild drain cleaners to keep it running smoothly.
With the knowledge and guidance provided in this article, you can confidently tackle a clogged kitchen sink using a plunger. Remember to exercise caution and patience during the unclogging process, and don’t hesitate to seek professional help if needed. Happy plunging!
Frequently Asked Questions about How To Unclog Kitchen Sink With Plunger
Was this page helpful?
At Storables.com, we guarantee accurate and reliable information. Our content, validated by Expert Board Contributors, is crafted following stringent Editorial Policies. We're committed to providing you with well-researched, expert-backed insights for all your informational needs.

0 thoughts on “How To Unclog Kitchen Sink With Plunger”