Home>Furniture & Design>Bathroom Accessories>How To Unclog A Tub With A Plunger
Bathroom Accessories
How To Unclog A Tub With A Plunger
Published: February 11, 2024
Learn how to unclog a tub with a plunger and keep your bathroom accessories in top condition with our step-by-step guide. Say goodbye to clogged drains!
(Many of the links in this article redirect to a specific reviewed product. Your purchase of these products through affiliate links helps to generate commission for Storables.com, at no extra cost. Learn more)
Introduction
Dealing with a clogged tub drain can be a frustrating and inconvenient experience. Whether it's due to a buildup of hair, soap scum, or other debris, a clogged tub can disrupt your daily routine and leave you longing for a relaxing, uninterrupted bath. Fortunately, with the right tools and techniques, you can tackle this common household issue and restore your tub's drainage system to optimal functionality.
In this comprehensive guide, we will walk you through the process of using a plunger to unclog your tub drain effectively. By following the step-by-step instructions provided, you can confidently take on this task and achieve successful results. With a few simple tools and a bit of elbow grease, you'll be well on your way to enjoying a smoothly flowing tub drain once again.
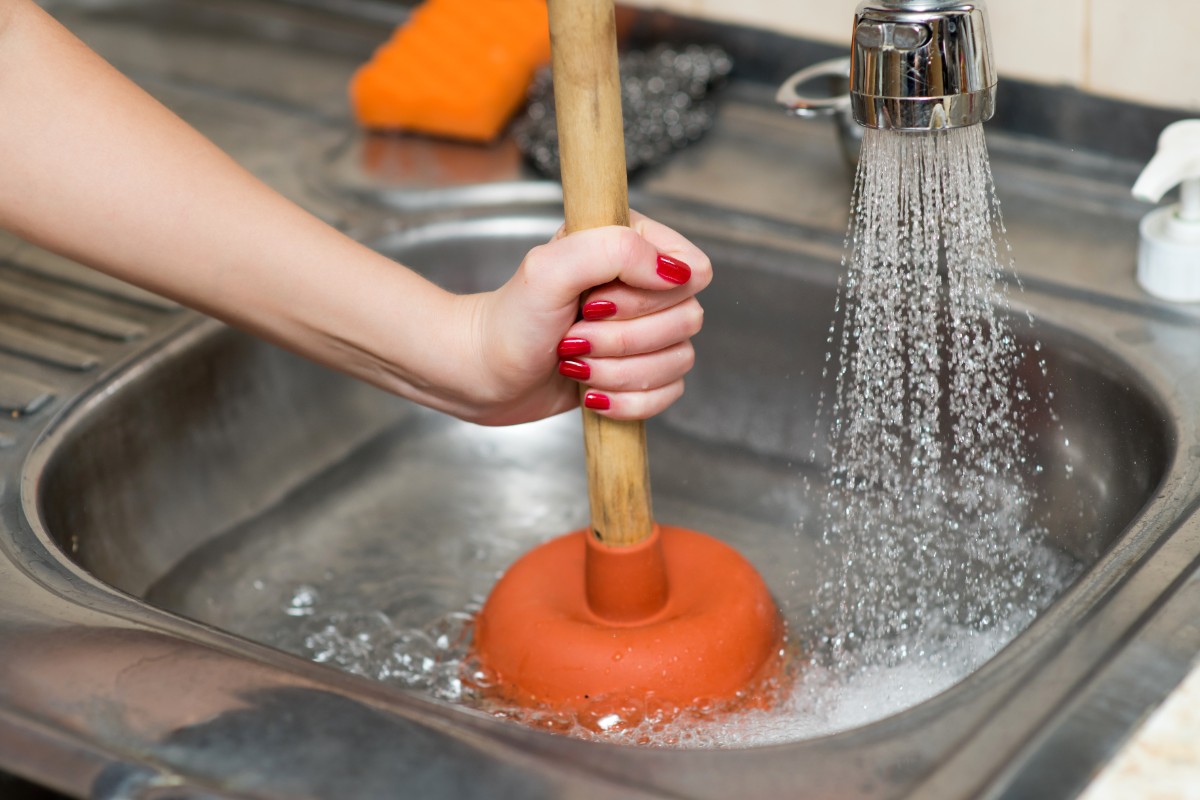
A plunger is a versatile and effective tool for clearing clogs in various plumbing fixtures, including tubs, sinks, and toilets. Its design, featuring a rubber cup that creates a seal over the drain opening, enables it to generate the necessary suction and pressure to dislodge and remove obstructions. By harnessing the power of hydraulic force, plungers offer a straightforward and environmentally friendly approach to resolving common plumbing issues without the need for harsh chemicals or professional assistance.
Whether you're a seasoned DIY enthusiast or a novice homeowner looking to expand your practical skills, learning how to unclog a tub with a plunger is a valuable skill that can save you time, money, and the hassle of dealing with persistent drain blockages. By mastering this fundamental plumbing technique, you can gain a sense of empowerment and independence in maintaining your home's essential systems.
Now, let's dive into the step-by-step process of preparing your tub and plunger, creating a proper seal, plunging the drain, and testing the results. With a clear understanding of each stage, you'll be equipped to tackle your tub's clog with confidence and efficiency. Get ready to bid farewell to the frustration of a slow-draining or backed-up tub and welcome the satisfaction of a job well done.
Key Takeaways:
- Mastering the art of unclogging a tub with a plunger empowers homeowners to confidently tackle common plumbing issues and restore optimal drainage to their bathroom fixture.
- By following the step-by-step process of preparing, plunging, and testing, you can confidently address clogged tub drains and maintain your home’s essential systems with ease.
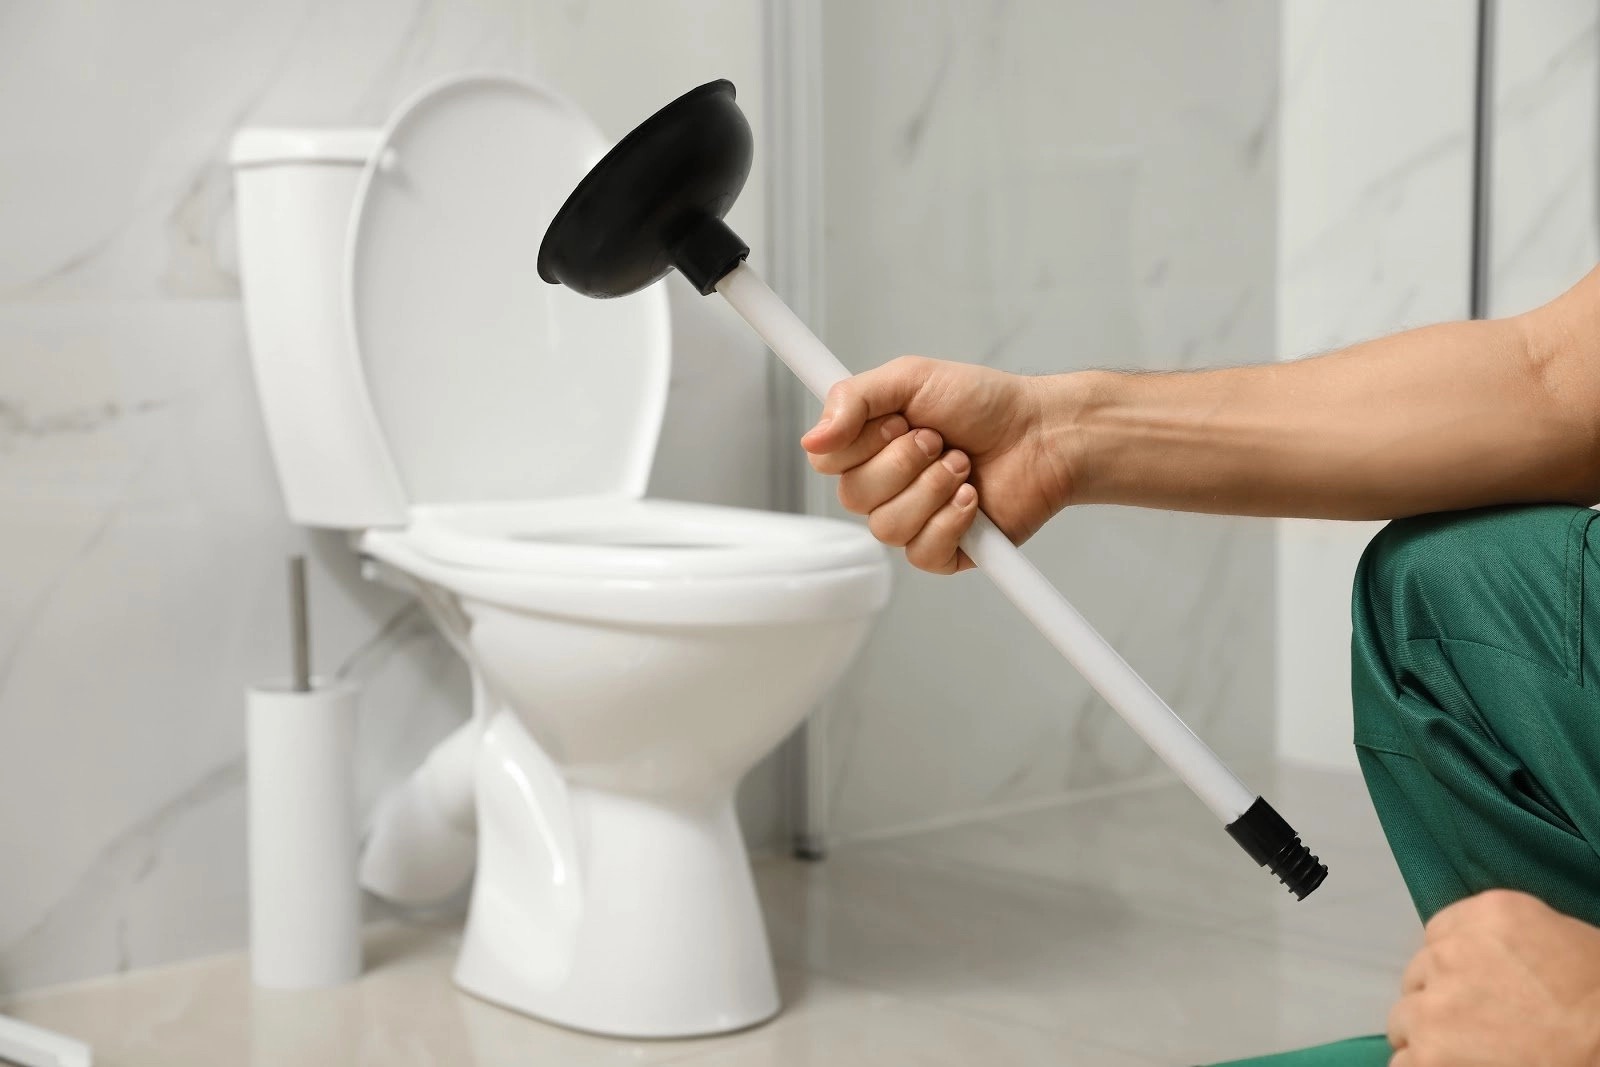
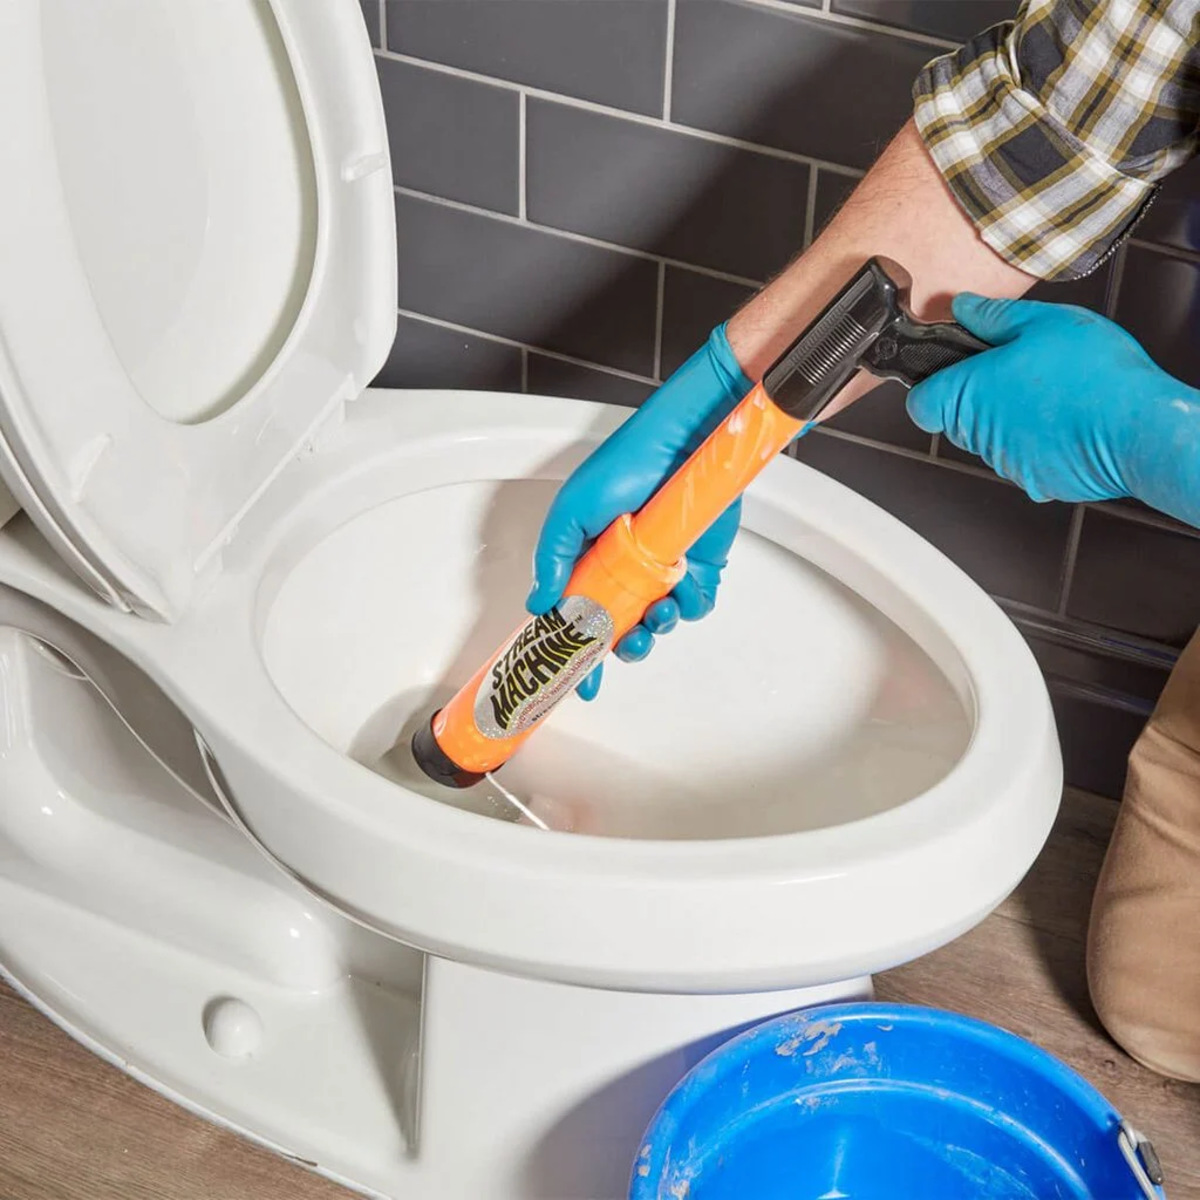
Read more: How To Unclog A Toilet With A Plunger
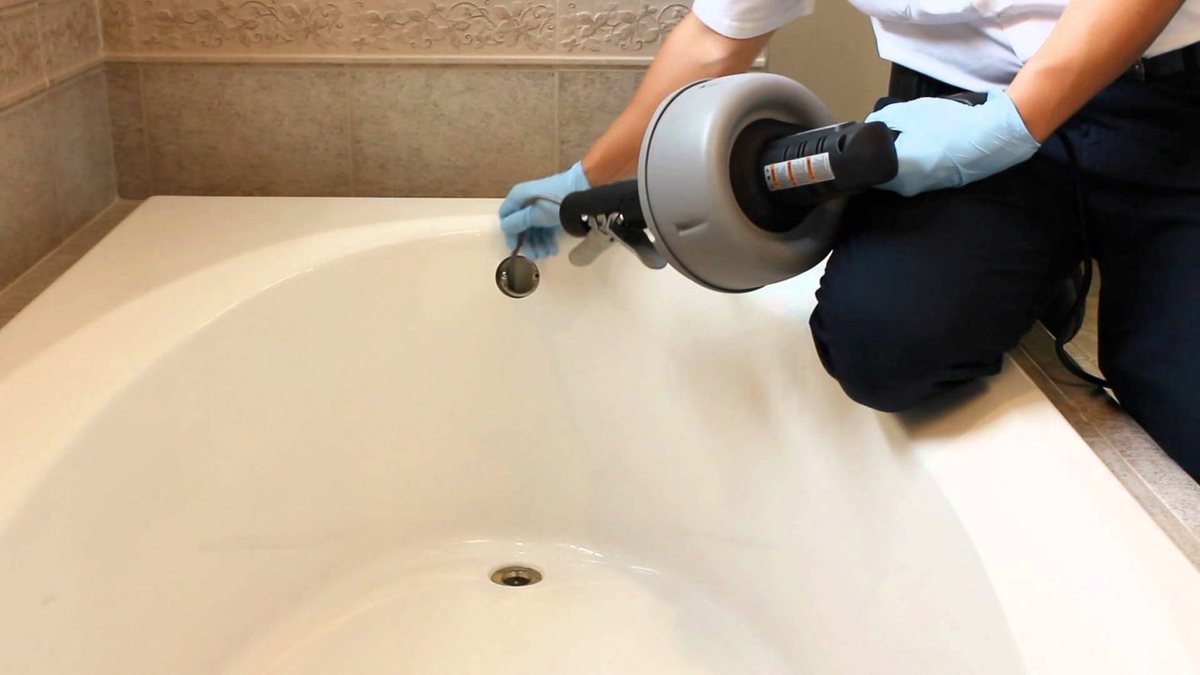
Step 1: Prepare the Tub and Plunger
Before diving into the unclogging process, it's crucial to prepare both the tub and the plunger to ensure optimal results. Here's how to get started:
-
Clear the Area: Begin by removing any bath mats, shower caddies, or other items from the tub to create a clear working space. This step helps prevent any obstructions that could interfere with the plunging process and ensures that the plunger can make direct contact with the drain.
-
Inspect the Drain: Take a moment to inspect the tub drain for any visible debris or blockages. Use a flashlight, if necessary, to get a clear view of the drain opening. Removing any hair, soap residue, or other visible obstructions with your fingers or a pair of tweezers can help improve the effectiveness of the plunging process.
-
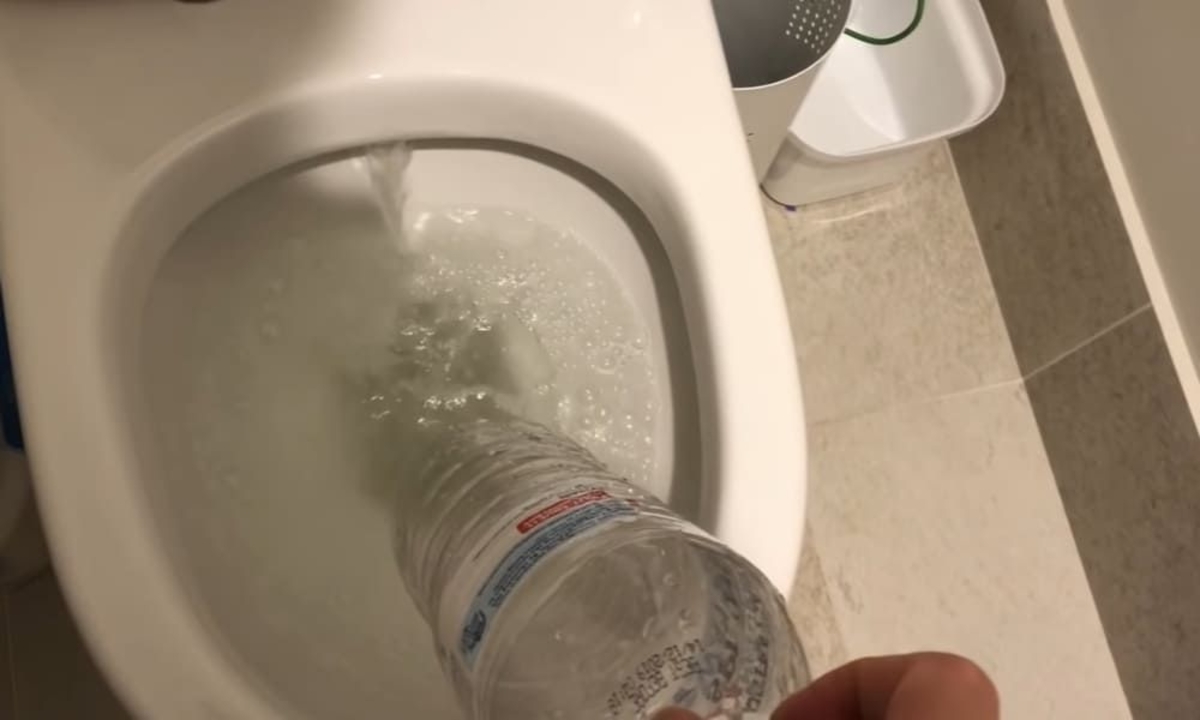
Fill the Tub with Water: Fill the tub with enough water to cover the bottom of the plunger cup. The water helps create a seal between the plunger and the drain, allowing for better suction and pressure during the plunging motion. It's important to use enough water to submerge the plunger cup but not so much that it spills over the edges when plunging.
-
Prepare the Plunger: Ensure that the plunger's rubber cup is clean and free of any tears or damage that could compromise its effectiveness. If the plunger cup is worn or cracked, consider using a different plunger to achieve a proper seal over the drain.
By taking the time to prepare the tub and plunger before starting the unclogging process, you can set the stage for a successful outcome. With a clear workspace, a well-prepared plunger, and the right amount of water in the tub, you'll be ready to move on to the next step and tackle the clog with confidence.
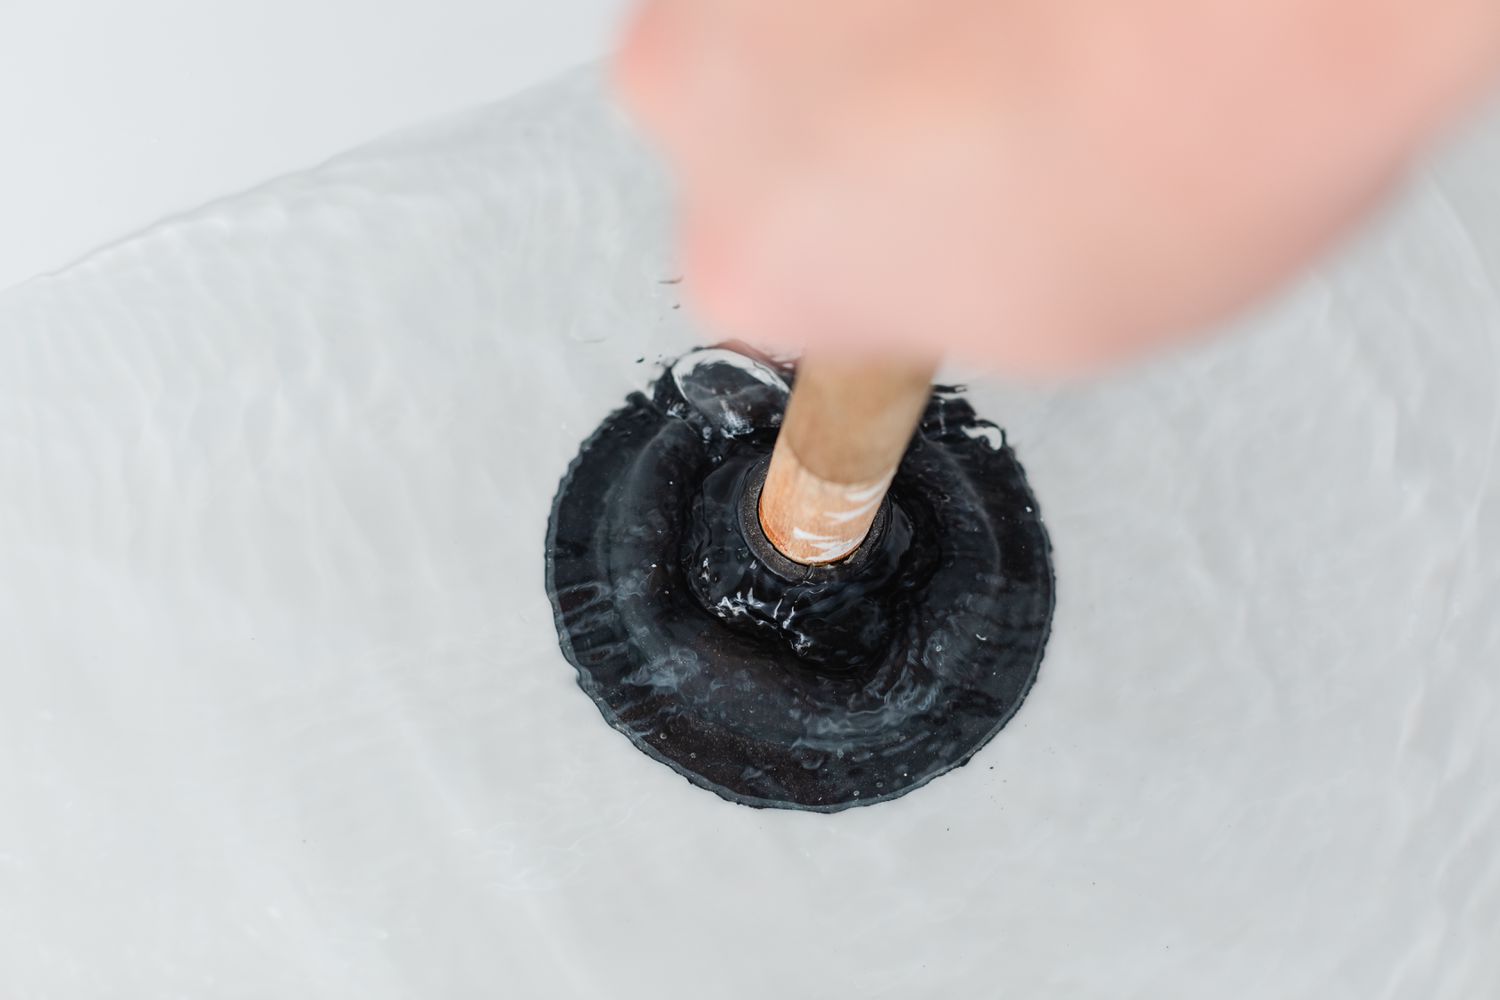
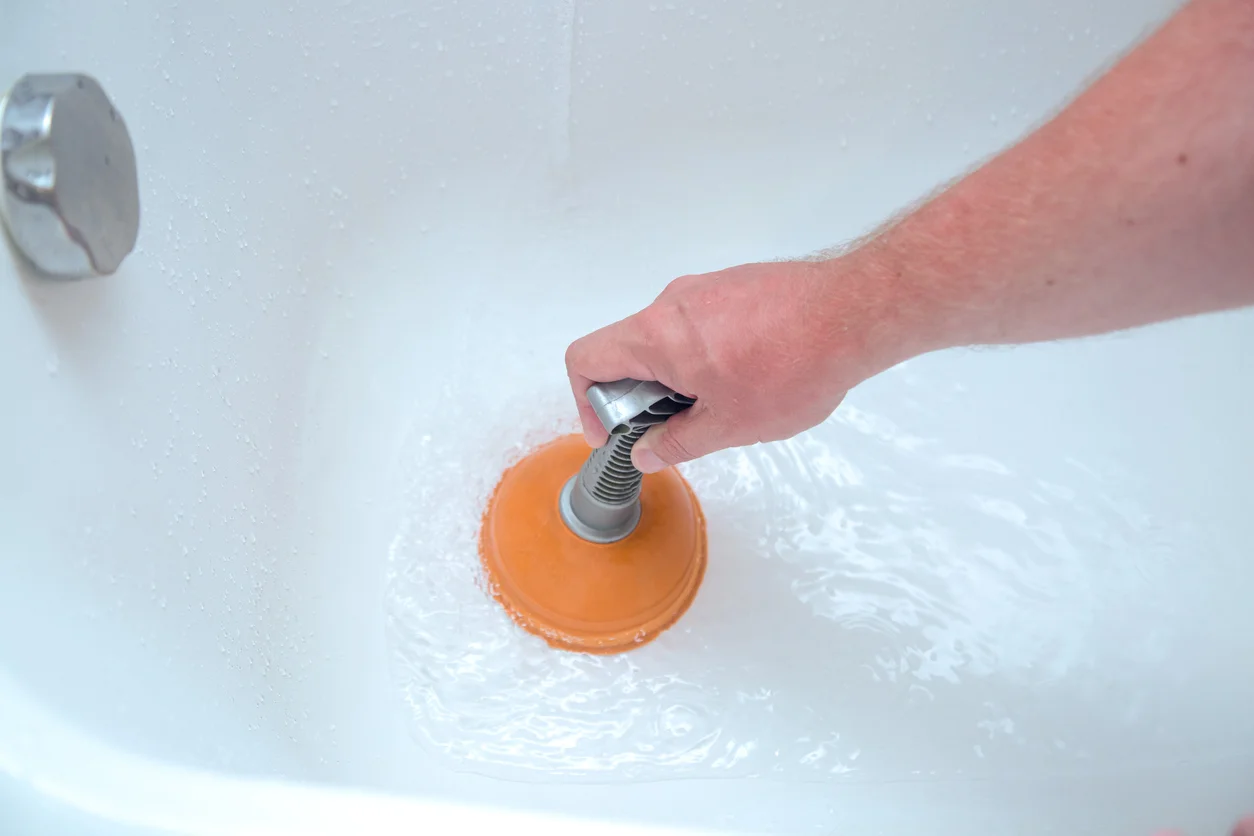
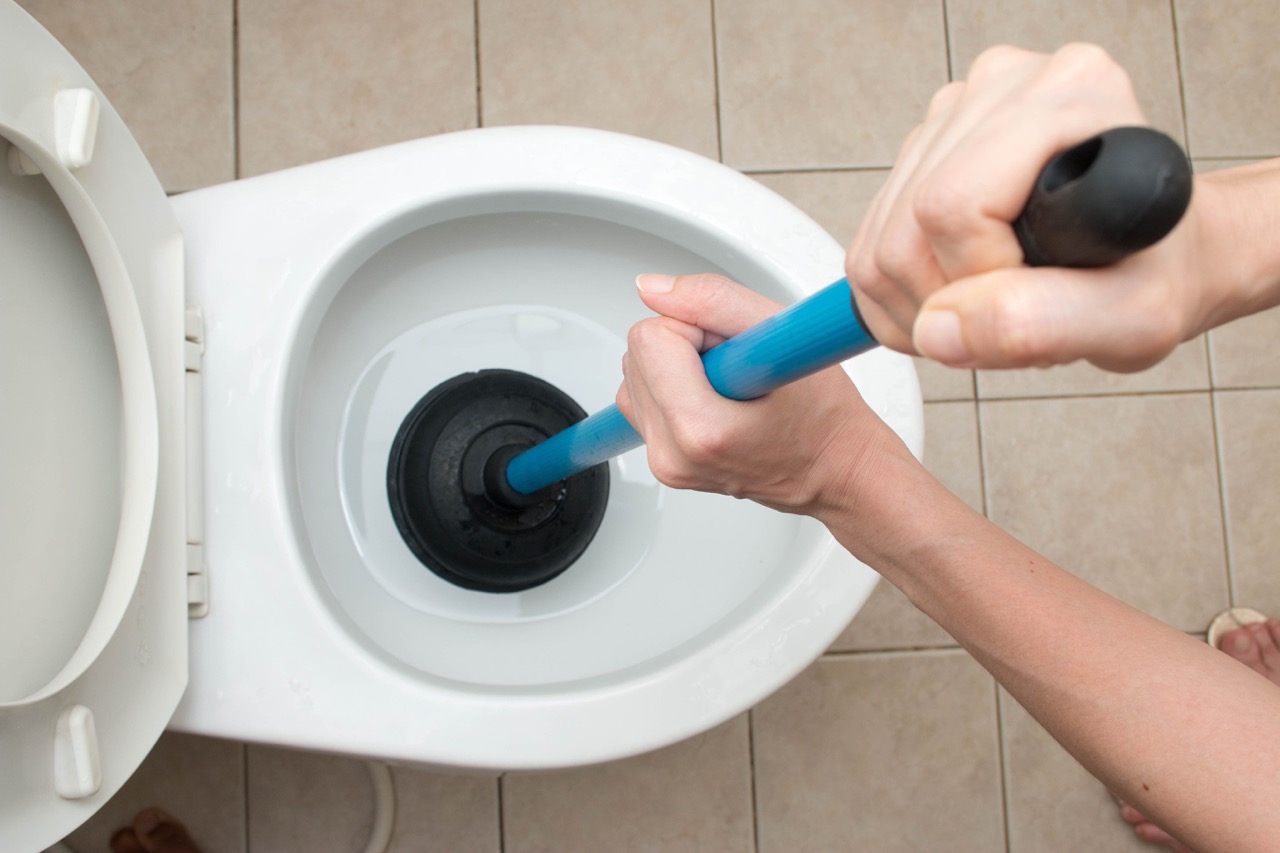
Step 2: Create a Seal
Creating a proper seal between the plunger and the tub drain is essential for maximizing the effectiveness of the plunging process. The seal allows the plunger to generate the necessary suction and pressure to dislodge the clog and restore the tub's drainage. Here's a detailed look at how to create a strong seal for optimal results:
-
Position the Plunger: Place the plunger directly over the drain opening, ensuring that the rubber cup completely covers the opening. The plunger should be held at a slight angle to allow any trapped air to escape as you begin the plunging motion.
-
Apply Firm Pressure: Press down firmly on the plunger handle to create a tight seal between the rubber cup and the drain. The goal is to eliminate any gaps or air pockets that could compromise the suction and hinder the plunging action.
-
Maintain a Secure Grip: With one hand on the plunger handle and the other supporting the base of the plunger, maintain a secure grip to prevent the plunger from slipping or losing its seal during the plunging process.
-
Avoid Lifting the Plunger: While plunging, it's important to avoid lifting the plunger off the drain opening, as this can break the seal and diminish the effectiveness of the plunging action. Instead, focus on generating a consistent and forceful plunging motion while keeping the plunger firmly in place.
-
Utilize Controlled Movements: Engage in controlled and deliberate plunging movements, using the full range of the plunger's handle to create a strong hydraulic force. The goal is to dislodge the clog by repeatedly pushing and pulling the plunger over the drain opening.
By following these steps, you can create a secure seal that enables the plunger to effectively dislodge the clog and restore the tub's drainage. A strong seal ensures that the plunging action generates the necessary suction and pressure to address the obstruction, setting the stage for a successful unclogging process.
With the seal in place, you're ready to move on to the next crucial step: plunging the drain to dislodge the clog and restore the tub's drainage. This pivotal stage harnesses the power of hydraulic force to address the obstruction and pave the way for a smoothly flowing tub once again.
Make sure there is enough water in the tub to cover the plunger. Place the plunger over the drain and push and pull it vigorously to create suction. This should help to dislodge the clog.
Step 3: Plunge the Drain
With the tub prepared and a secure seal in place, it's time to plunge the drain and tackle the clog head-on. This pivotal step harnesses the power of hydraulic force to dislodge the obstruction and restore the tub's drainage. Here's a detailed look at how to effectively plunge the drain for optimal results:
-
Engage in a Consistent Plunging Motion: Begin by positioning the plunger over the drain opening and engaging in a consistent plunging motion. Use the full range of the plunger's handle to create a strong hydraulic force, focusing on generating both suction and pressure to dislodge the clog. The goal is to create a steady and forceful plunging action that targets the obstruction within the drain.
-
Utilize Both Push and Pull Movements: Alternate between push and pull movements while maintaining a firm seal between the plunger and the drain. The push motion helps create suction, while the pull motion generates pressure, effectively dislodging the clog and allowing it to move through the drainage system. By combining these movements, you can maximize the impact on the obstruction and facilitate its removal.
-
Repeat the Plunging Process: Continue the plunging process for several cycles, repeating the push and pull movements to create a sustained hydraulic force. It's important to be patient and persistent, as some stubborn clogs may require multiple plunging attempts to fully clear the drain. By staying focused and committed to the process, you can increase the likelihood of achieving a successful outcome.
-
Adjust the Plunging Angle if Needed: If you find that the initial plunging angle is not effectively dislodging the clog, consider adjusting the angle of the plunger to create a better seal and target the obstruction from a different position. Experimenting with slight adjustments can help optimize the plunging action and improve its impact on the clog.
-
Observe for Signs of Progress: As you continue to plunge the drain, observe for signs of progress, such as the water level receding or the drain exhibiting improved flow. These indicators suggest that the plunging action is effectively addressing the clog, and the obstruction is beginning to clear. By staying attentive to these signs, you can gauge the effectiveness of the plunging process and adjust your approach as needed.
By following these steps and maintaining a focused, consistent approach, you can effectively plunge the drain and address the clog with confidence. The combination of suction and pressure generated through the plunging action creates a powerful force that targets the obstruction, paving the way for a successful unclogging process.
With the drain effectively plunged, you're ready to move on to the next crucial step: testing the drain to confirm the success of your efforts. This final stage provides valuable insight into the condition of the tub's drainage and allows you to assess the impact of the plunging process.
Step 4: Test the Drain
After completing the plunging process, it's essential to test the drain to assess the effectiveness of your efforts and confirm that the clog has been successfully addressed. Testing the drain provides valuable insight into the condition of the tub's drainage system and allows you to determine whether further action is needed. Here's a detailed look at how to test the drain and evaluate the results:
-
Remove the Plunger: Begin by carefully lifting the plunger off the drain opening, taking care to avoid splashing any water that may have accumulated on the plunger cup. Set the plunger aside in a designated area, ensuring that it remains clean and free of any debris.
-
Observe the Drainage: Watch the drain closely to observe the flow of water. If the clog has been successfully dislodged, you should notice improved drainage as the water flows more freely down the drain. Look for signs of smooth, uninterrupted flow, indicating that the obstruction has been effectively cleared.
-
Run Additional Water: To further test the drain, run additional water from the faucet into the tub. Observe how the water flows down the drain and assess whether any signs of backup or slow drainage are present. A clear and consistent flow of water indicates that the clog has been successfully addressed, and the tub's drainage system is functioning optimally.
-
Check for Residual Debris: While testing the drain, keep an eye out for any residual debris that may have been dislodged during the plunging process. If you notice any small particles or remnants of the clog, consider using a strainer or drain cover to capture these materials and prevent them from re-entering the drainage system.
-
Repeat if Necessary: In some cases, stubborn clogs may require multiple plunging attempts to fully clear the drain. If you observe persistent signs of slow drainage or backup during the testing process, consider repeating the plunging process to further address any remaining obstructions.
By testing the drain and carefully evaluating the flow of water, you can gain valuable insight into the success of your unclogging efforts. A clear and consistent flow of water indicates that the clog has been effectively addressed, while any signs of backup or slow drainage may suggest the need for additional plunging or alternative unclogging methods.
With the drain successfully tested and the clog addressed, you can enjoy the satisfaction of a smoothly flowing tub once again. By following the step-by-step process of preparing the tub and plunger, creating a strong seal, plunging the drain, and testing the results, you've effectively tackled the common household issue of a clogged tub drain. With these practical skills in your toolkit, you can confidently address similar plumbing challenges and maintain your home's essential systems with ease.
Read more: How To Unclog A Sink With A Plunger
Conclusion
In conclusion, mastering the art of unclogging a tub with a plunger is a valuable skill that empowers homeowners to address common plumbing issues with confidence and efficiency. By following the step-by-step process outlined in this guide, you can effectively tackle a clogged tub drain and restore optimal drainage to your bathroom fixture.
The journey begins with the crucial step of preparing the tub and plunger, ensuring that the workspace is clear, the drain is inspected, and the plunger is ready for action. This initial preparation sets the stage for a successful unclogging process and maximizes the effectiveness of the plunging action.
Creating a strong seal between the plunger and the drain is a pivotal stage that enables the plunger to generate the necessary suction and pressure to dislodge the clog. By following the detailed steps to position the plunger, apply firm pressure, and engage in controlled movements, you can optimize the seal and set the foundation for a successful unclogging endeavor.
The plunging process itself harnesses the power of hydraulic force to address the obstruction within the drain. By engaging in consistent, controlled movements and utilizing both push and pull actions, you can effectively dislodge the clog and pave the way for improved drainage. Patience and persistence are key during this stage, as some stubborn clogs may require multiple plunging attempts to achieve the desired results.
Testing the drain provides valuable insight into the success of your unclogging efforts, allowing you to assess the flow of water and confirm that the clog has been effectively addressed. By observing the drainage, running additional water, and checking for residual debris, you can confidently evaluate the condition of the tub's drainage system and make any necessary adjustments to achieve optimal results.
With the clog successfully addressed and the tub's drainage restored, you can take pride in your ability to navigate common household plumbing challenges and maintain your home's essential systems. The knowledge and practical skills gained from mastering the art of unclogging a tub with a plunger empower you to approach similar issues with confidence and achieve successful outcomes.
By embracing the process of preparing, plunging, and testing, you've unlocked a valuable skill set that enhances your ability to maintain a smoothly flowing tub and overcome common plumbing obstacles. With these practical skills in your toolkit, you're well-equipped to handle future challenges and ensure the continued functionality of your home's plumbing fixtures.
Frequently Asked Questions about How To Unclog A Tub With A Plunger
Was this page helpful?
At Storables.com, we guarantee accurate and reliable information. Our content, validated by Expert Board Contributors, is crafted following stringent Editorial Policies. We're committed to providing you with well-researched, expert-backed insights for all your informational needs.

0 thoughts on “How To Unclog A Tub With A Plunger”