Home>Furniture & Design>Bathroom Accessories>How To Unclog A Bathtub Drain With A Plunger?
Bathroom Accessories
How To Unclog A Bathtub Drain With A Plunger?
Published: February 18, 2024
Learn how to unclog a bathtub drain with a plunger and keep your bathroom accessories in top condition with our step-by-step guide. Say goodbye to clogs!
(Many of the links in this article redirect to a specific reviewed product. Your purchase of these products through affiliate links helps to generate commission for Storables.com, at no extra cost. Learn more)
Introduction
When it comes to maintaining a functional and inviting bathroom, ensuring that the bathtub drain is free from clogs is essential. A clogged bathtub drain can be a major inconvenience, causing water to pool and creating a less than ideal bathing experience. Fortunately, with the right tools and techniques, you can easily address this common issue. One of the most effective and accessible tools for unclogging a bathtub drain is a plunger. This simple yet powerful device can help dislodge blockages and restore proper drainage to your bathtub.
In this comprehensive guide, we will walk you through the process of using a plunger to unclog a bathtub drain. Whether you're dealing with a minor blockage or a more stubborn clog, this step-by-step approach will equip you with the knowledge and confidence to tackle the problem head-on. By following these instructions and incorporating a few handy tips, you can effectively clear the drain and get back to enjoying a fully functional bathtub.
So, if you're ready to bid farewell to standing water and slow drainage, grab your plunger and let's dive into the process of unclogging your bathtub drain. With a little effort and the right technique, you'll soon have your bathtub drain flowing smoothly once again.
Key Takeaways:
- Say goodbye to bathtub clogs by using a plunger! Follow simple steps to prepare, plunge, and test the drain for a smoothly flowing bathtub experience.
- Remember to be patient and persistent when unclogging a bathtub drain. Test the drain after plunging and seek professional help if needed for stubborn clogs.
Read more: How Unclog Bathtub Drain
Step 1: Prepare the bathtub
Before diving into the unclogging process, it's crucial to prepare the bathtub to ensure optimal conditions for using the plunger effectively. Here's how to get started:
-
Clear the Surrounding Area: Begin by removing any items or accessories from the bathtub area. This includes bath toys, shampoo bottles, and any other objects that might obstruct your movements or get in the way during the unclogging process.
-
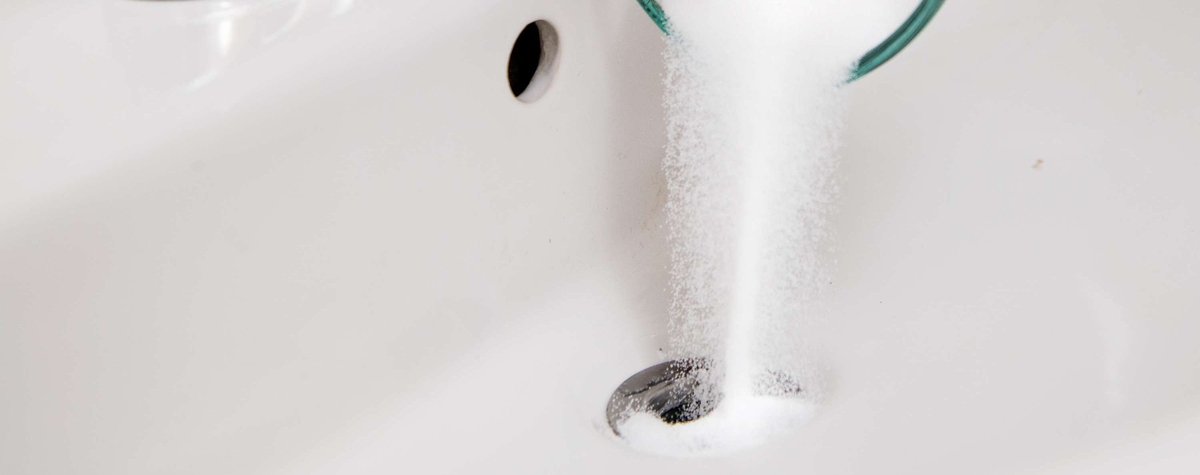
Remove Excess Water: If there is standing water in the bathtub, it's best to remove as much of it as possible before using the plunger. You can do this by using a small container, such as a bucket or cup, to scoop out the water and pour it down the drain or into a separate receptacle.
-
Inspect the Drain: Take a moment to visually inspect the bathtub drain. Look for any visible debris, hair, or other obstructions that may be contributing to the clog. If you can safely reach and remove any visible blockages, do so before proceeding with the plunging process.
-
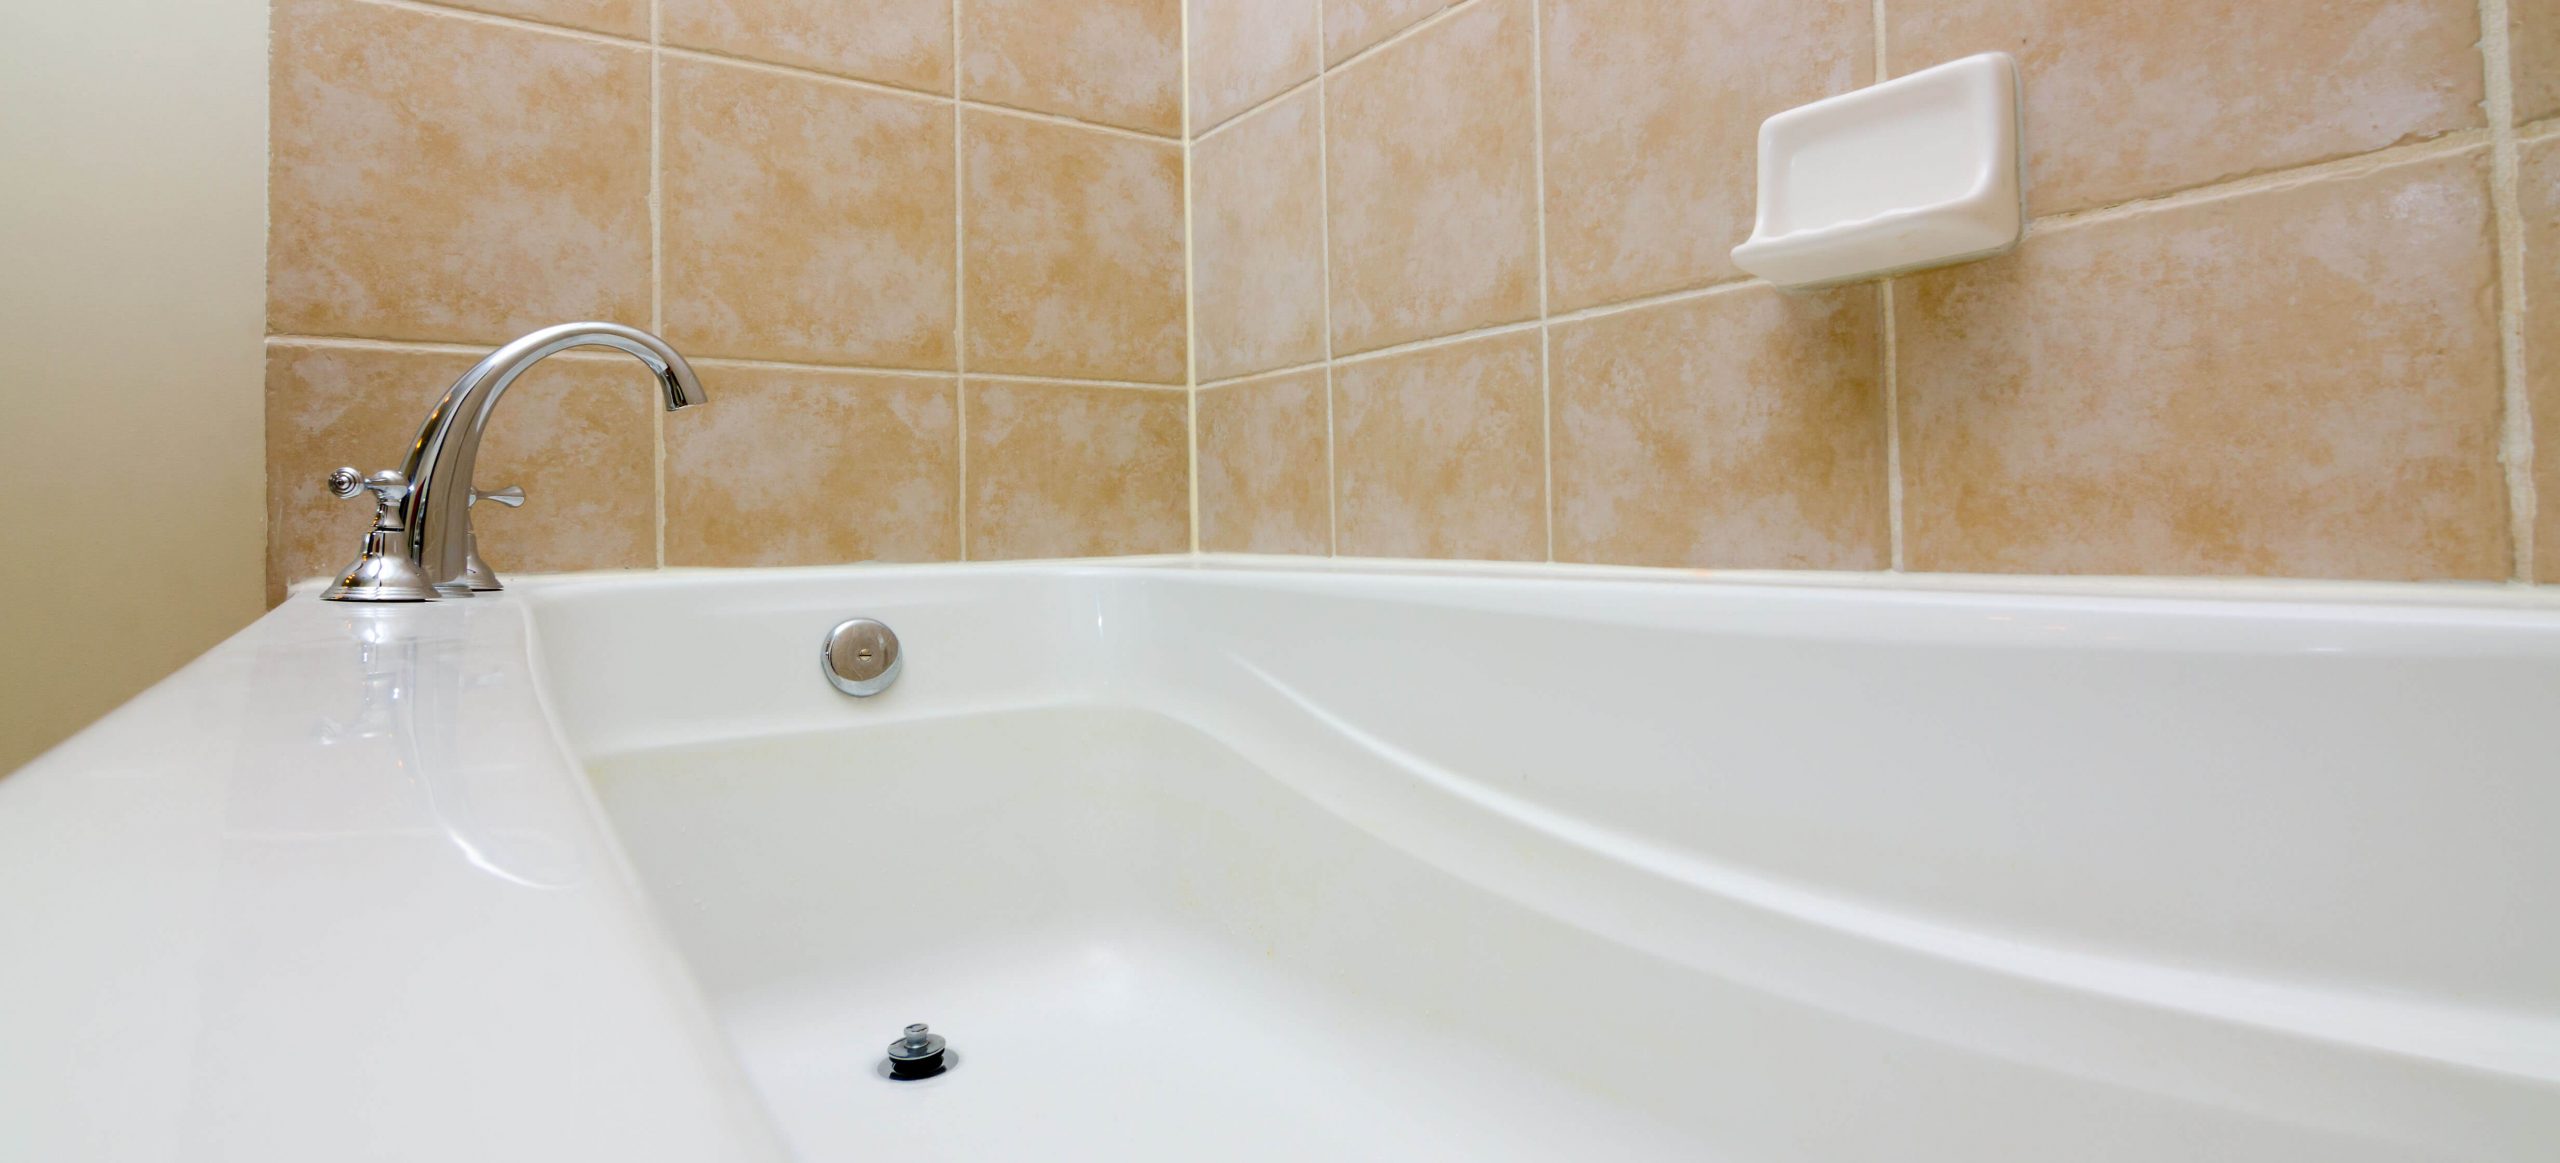
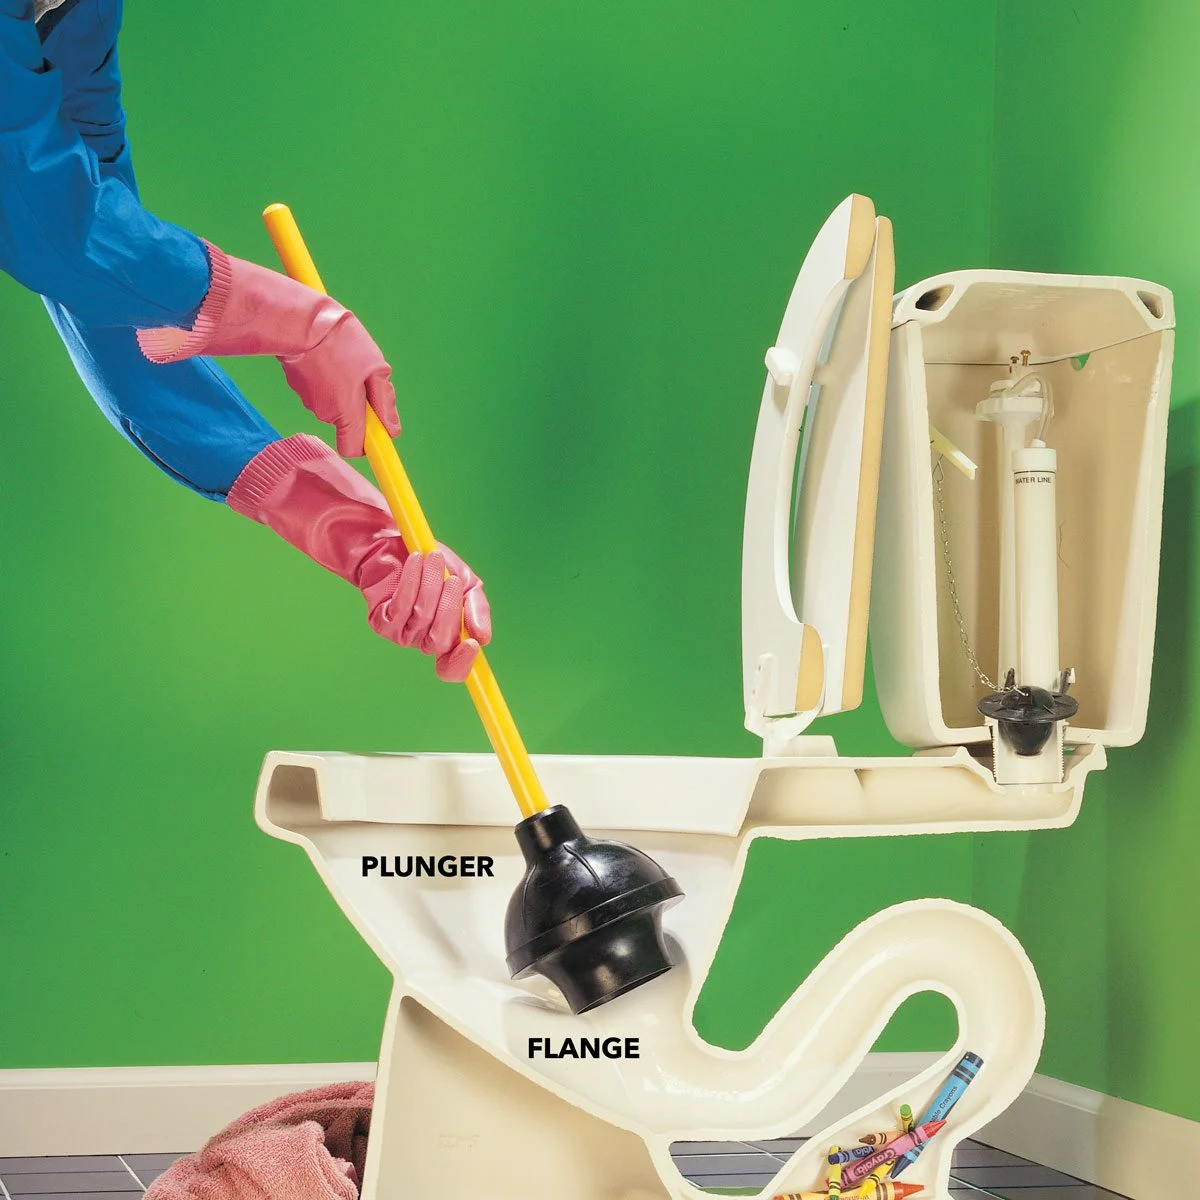
Cover Overflow Opening: In some bathtubs, there is an overflow opening located beneath the faucet. To create better suction when using the plunger, cover this opening with a damp cloth or a piece of duct tape. This will help ensure that the force exerted by the plunger is directed toward dislodging the clog in the drain.
-
Create a Seal: To effectively use the plunger, you'll need to create a tight seal around the drain opening. If your bathtub has a built-in stopper, ensure that it is removed to expose the drain. Position the plunger over the drain, pressing down firmly to create a secure seal between the plunger and the surface of the bathtub.
By taking these preparatory steps, you'll set the stage for a successful unclogging process. With the bathtub cleared, the drain inspected, and the plunger properly positioned, you'll be ready to move on to the next step and begin using the plunger to tackle the clog head-on.
Step 2: Use the plunger
With the bathtub prepared and the necessary precautions in place, it's time to put the plunger to work. Using a plunger to unclog a bathtub drain involves a specific technique to maximize its effectiveness. Here's a detailed breakdown of the process:
-
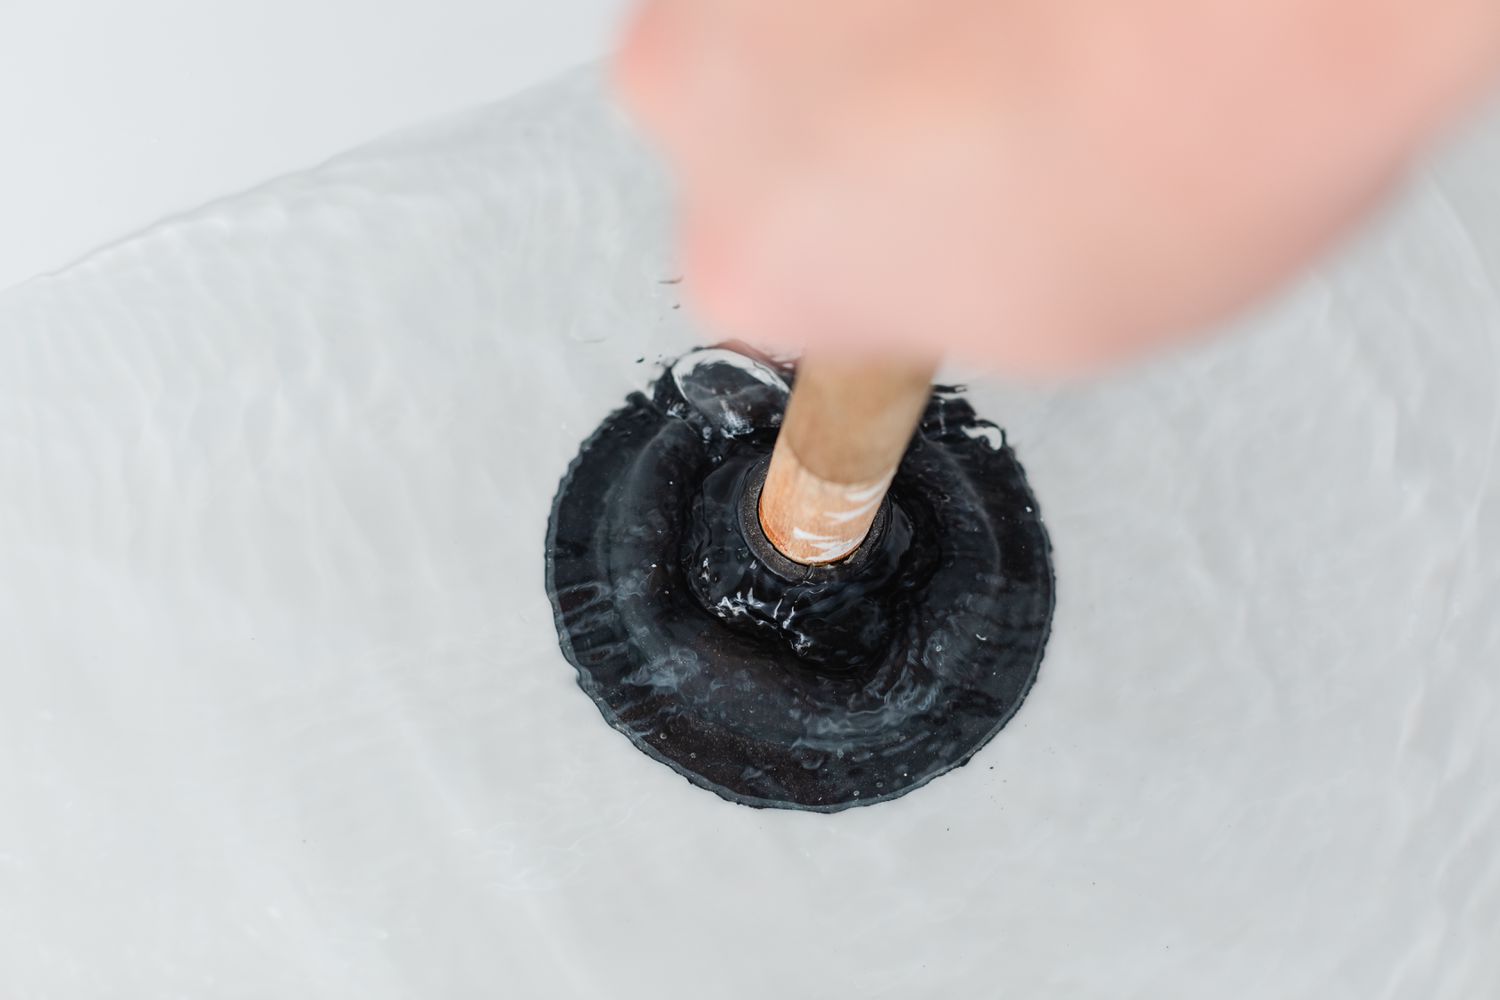
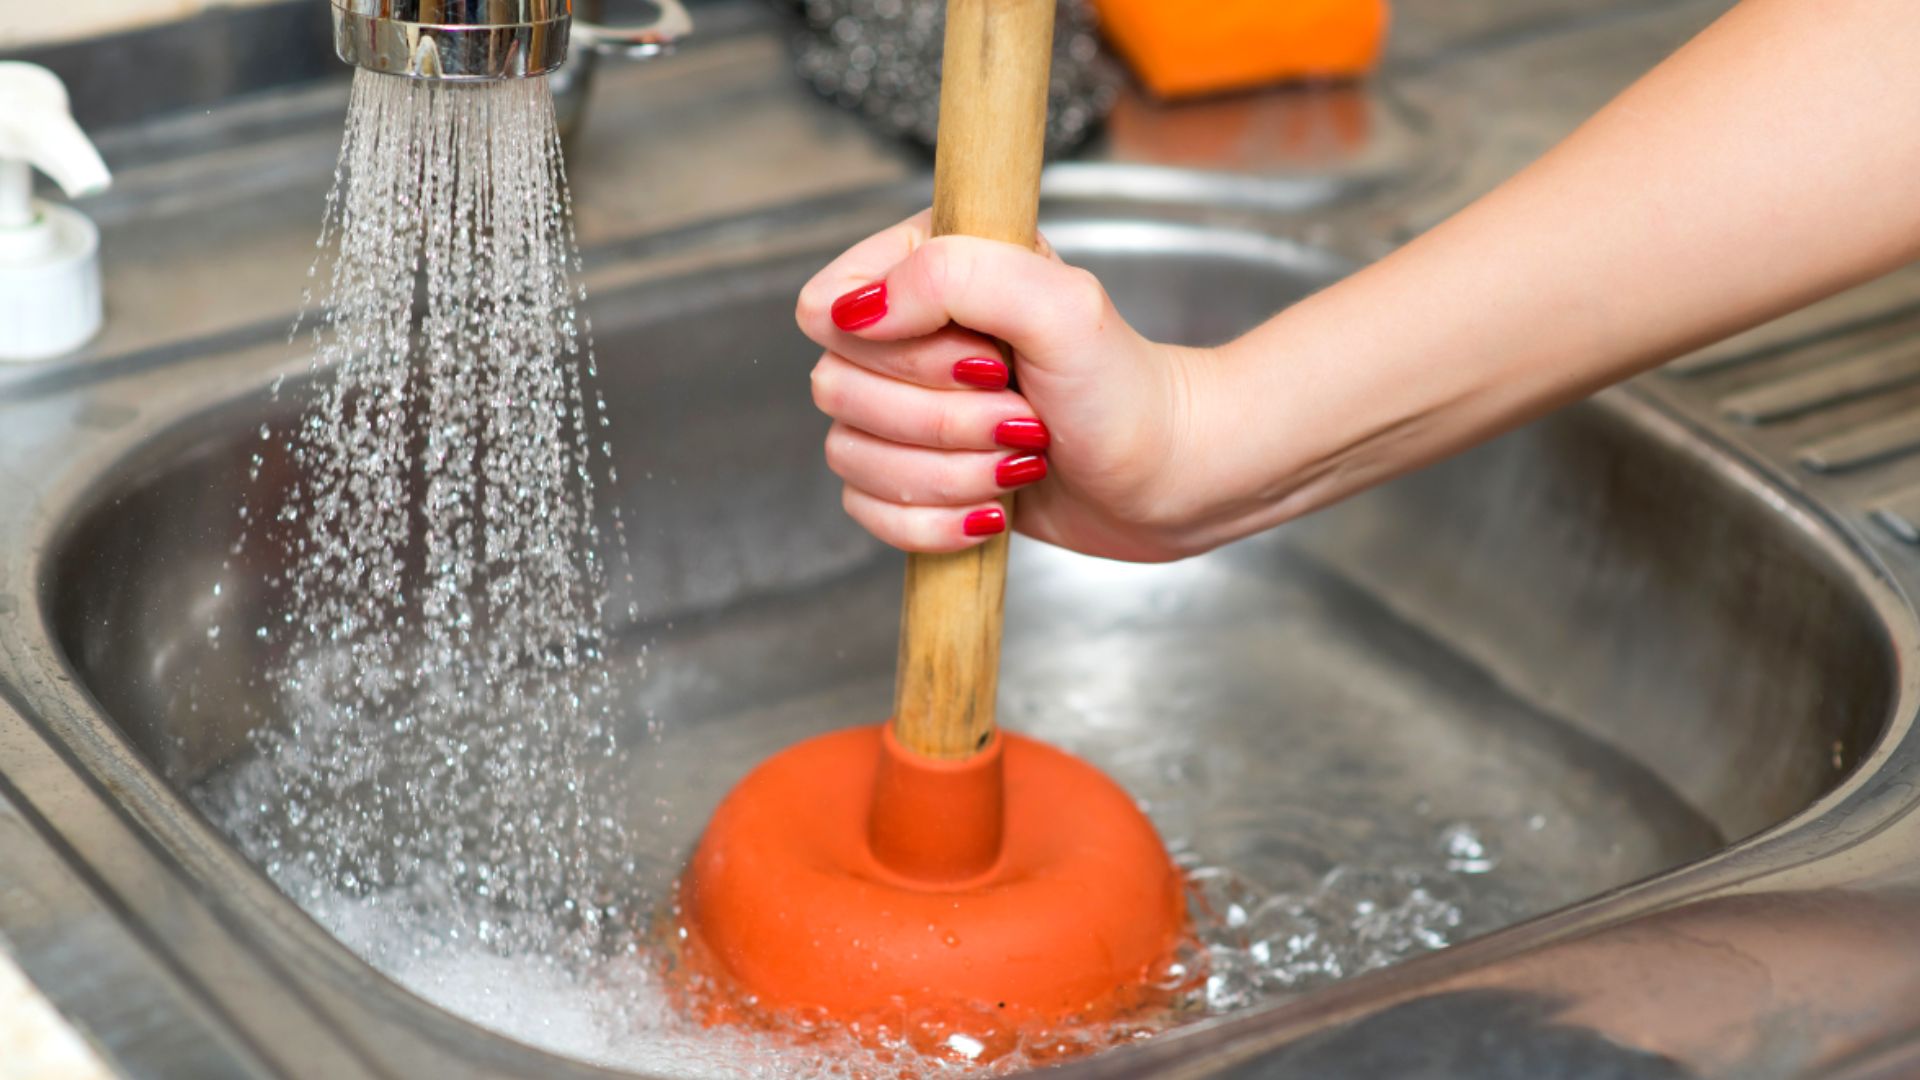
Position the Plunger: Start by positioning the plunger directly over the drain opening, ensuring that it forms a tight seal. The rubber cup of the plunger should completely cover the drain, creating a vacuum effect when pressure is applied.
-
Apply Firm Pressure: Once the plunger is in place, apply firm and steady pressure by pushing down on the handle. The goal is to create a strong seal and generate a forceful push-and-pull action that can dislodge the clog. It's important to maintain the seal and avoid any unnecessary movements that could break the suction.
-
Perform a Push-and-Pull Motion: With the plunger sealed over the drain, begin a push-and-pull motion. This action involves pushing down on the plunger to force air and water through the drain, followed by pulling up to create suction. The alternating push-and-pull motion helps to agitate and dislodge the clog, gradually breaking it apart.
-
Repeat the Process: Continue the push-and-pull motion for approximately 20 to 30 seconds, maintaining a consistent rhythm and pressure. This repetitive action is key to building momentum and encouraging the clog to loosen and move through the drain.
-
Adjust the Angle: If necessary, adjust the angle of the plunger to ensure that the seal remains intact and the force is directed downward into the drain. This may involve repositioning the plunger or applying pressure from a slightly different angle to target the clog effectively.
-
Observe for Movement: As you work the plunger, pay attention to any signs of movement or changes in the water level. If you notice the water beginning to drain or hear the sound of the clog shifting, it's a positive indication that the plunger is making an impact.
-
Repeat as Needed: If the clog persists, repeat the plunging process several times to maximize its effectiveness. Persistence and patience are key, as some stubborn clogs may require multiple attempts to fully clear.
By following these steps and employing the proper plunging technique, you can harness the power of this simple tool to dislodge the clog and restore proper drainage to your bathtub. With the plunger effectively utilized, you'll be well on your way to resolving the clog and enjoying a smoothly flowing bathtub drain.
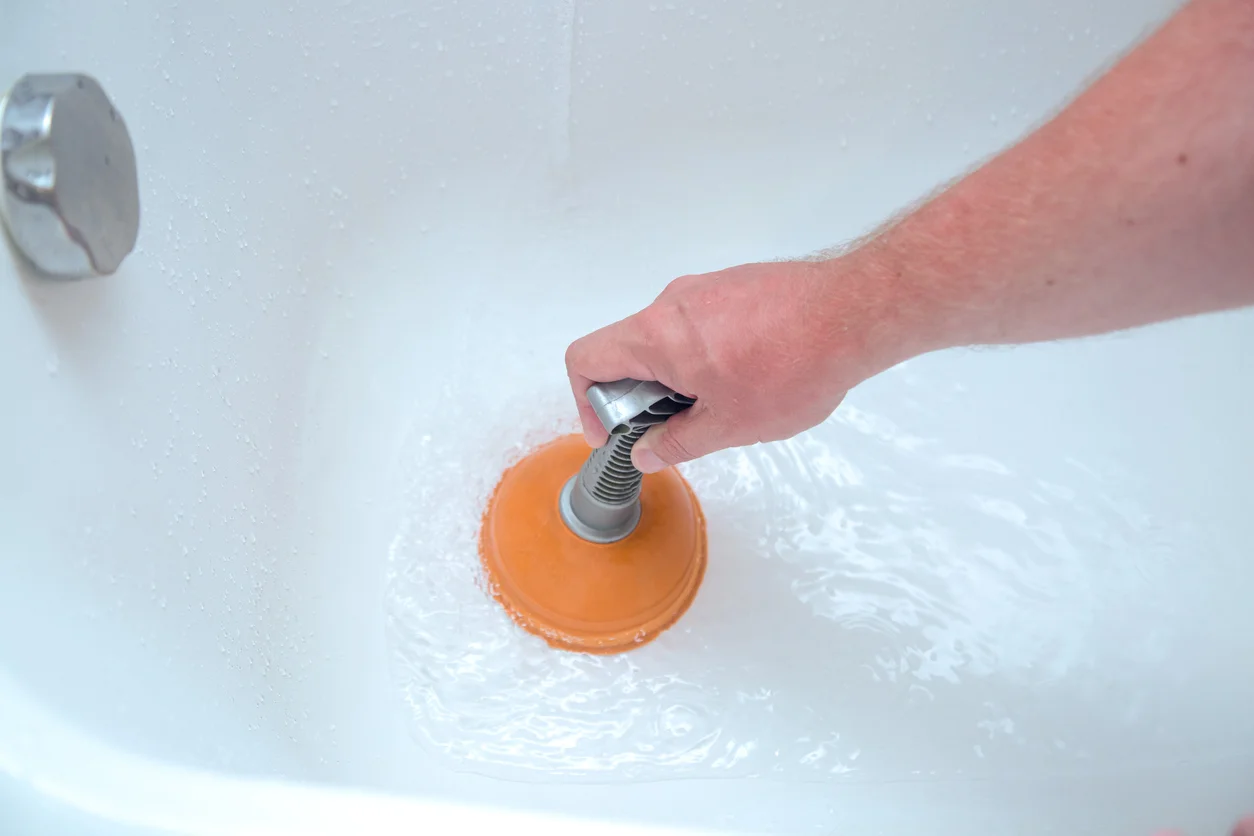
Make sure to cover the overflow drain with a wet cloth or tape to create a better seal. Then, plunge up and down vigorously to dislodge the clog.
Step 3: Test the drain
After diligently using the plunger to dislodge the clog, it's essential to assess the effectiveness of your efforts by testing the drain. This step allows you to gauge whether the clog has been successfully cleared and whether the water is flowing freely once again. Here's how to proceed with testing the drain:
-
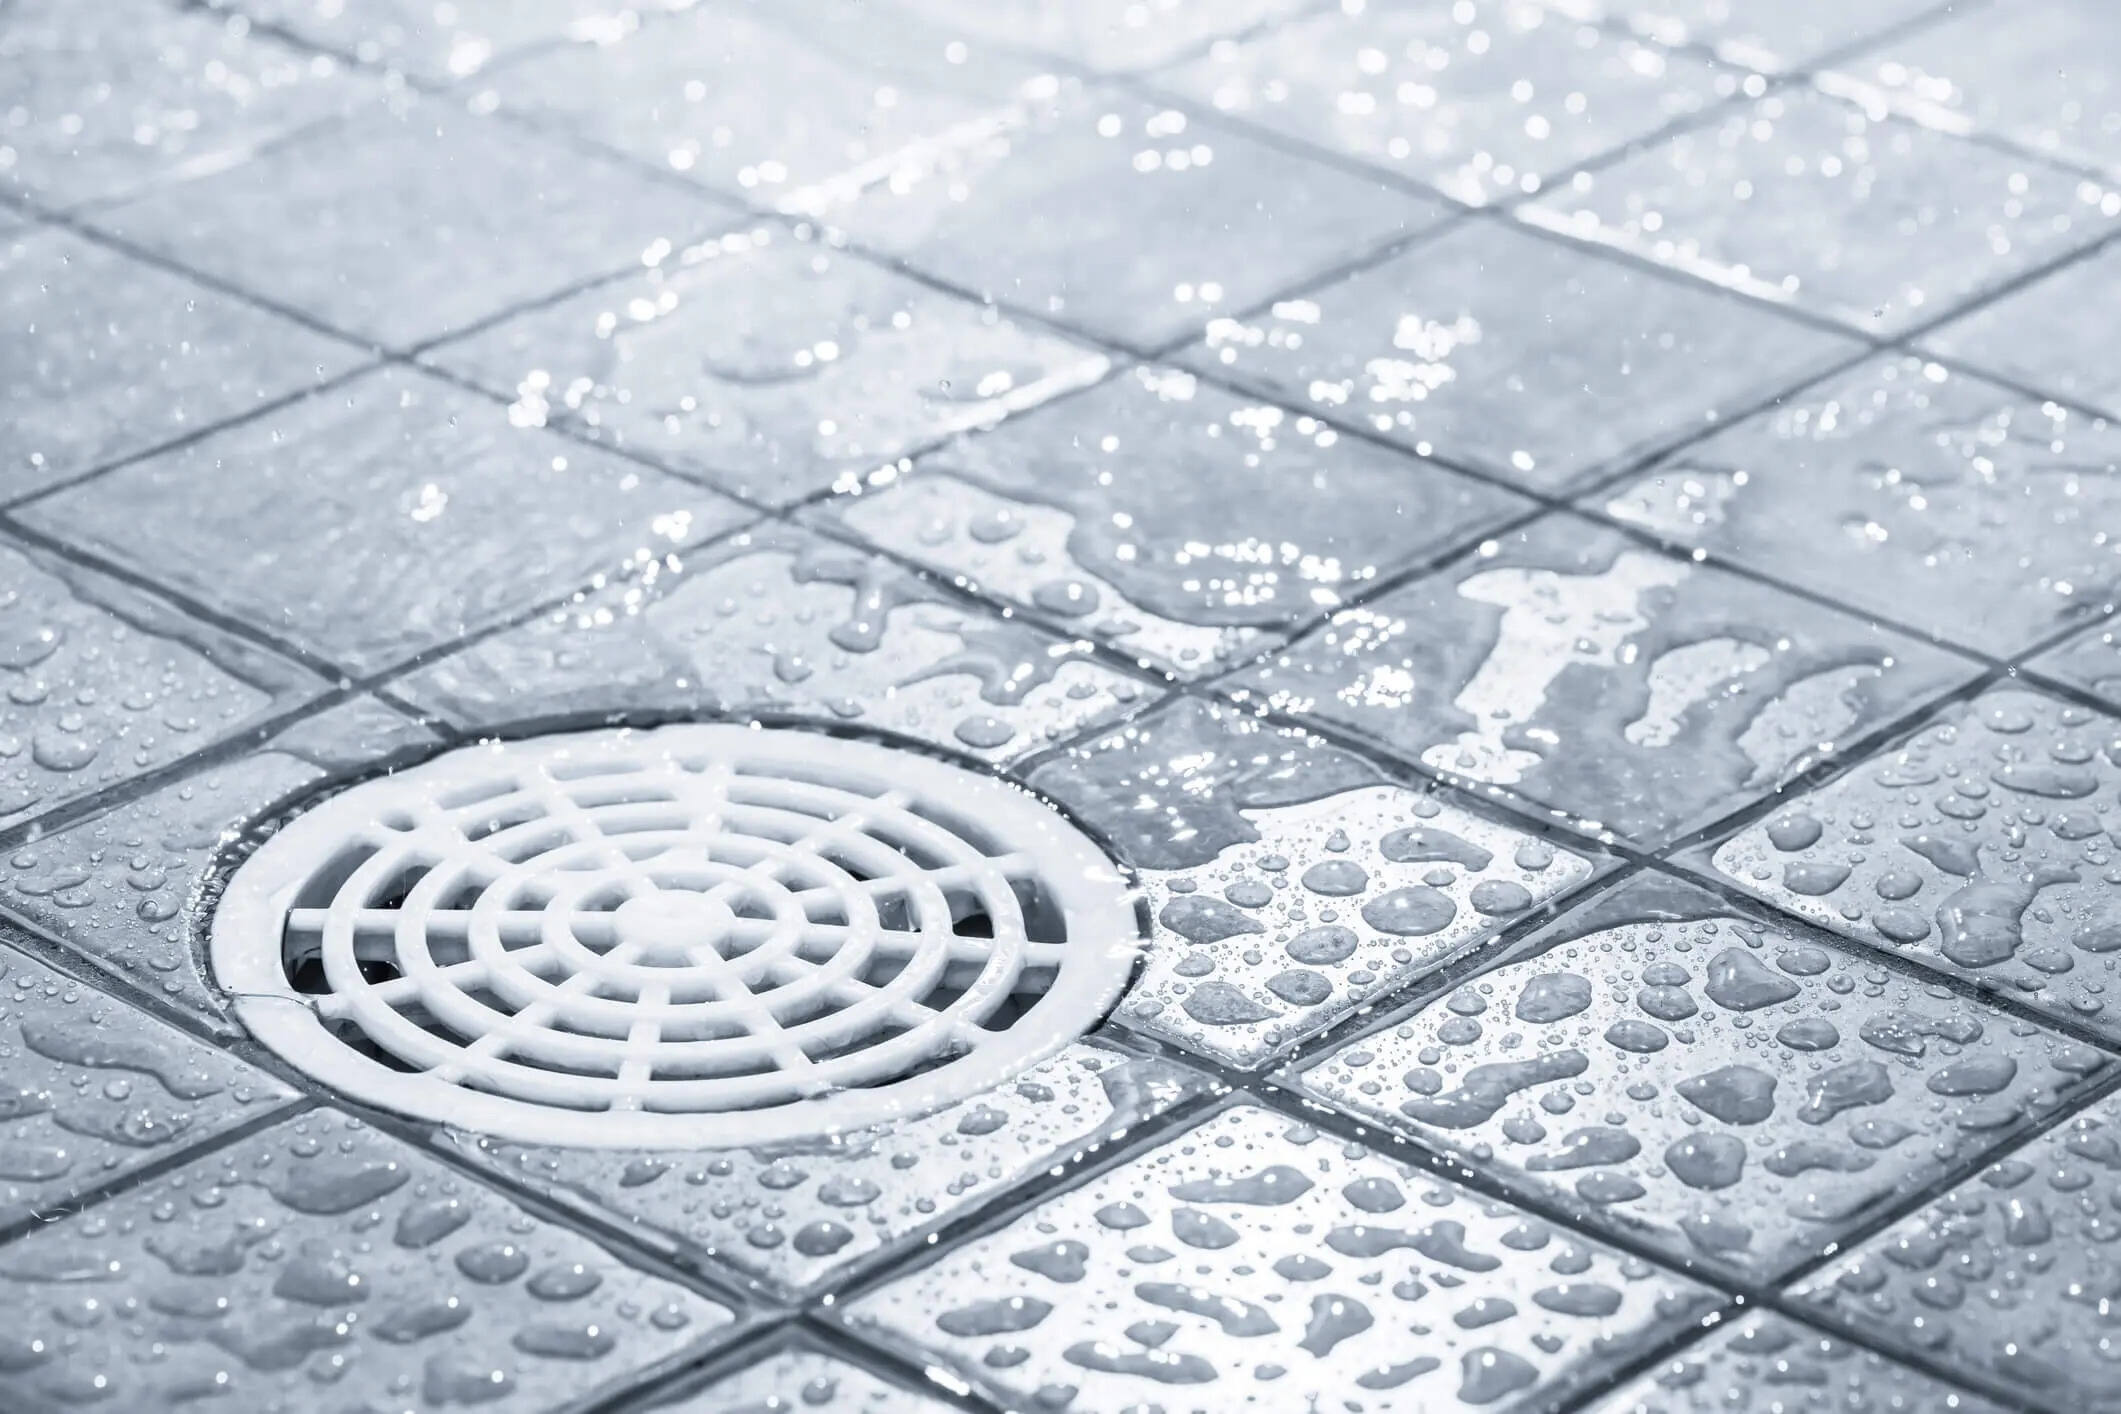
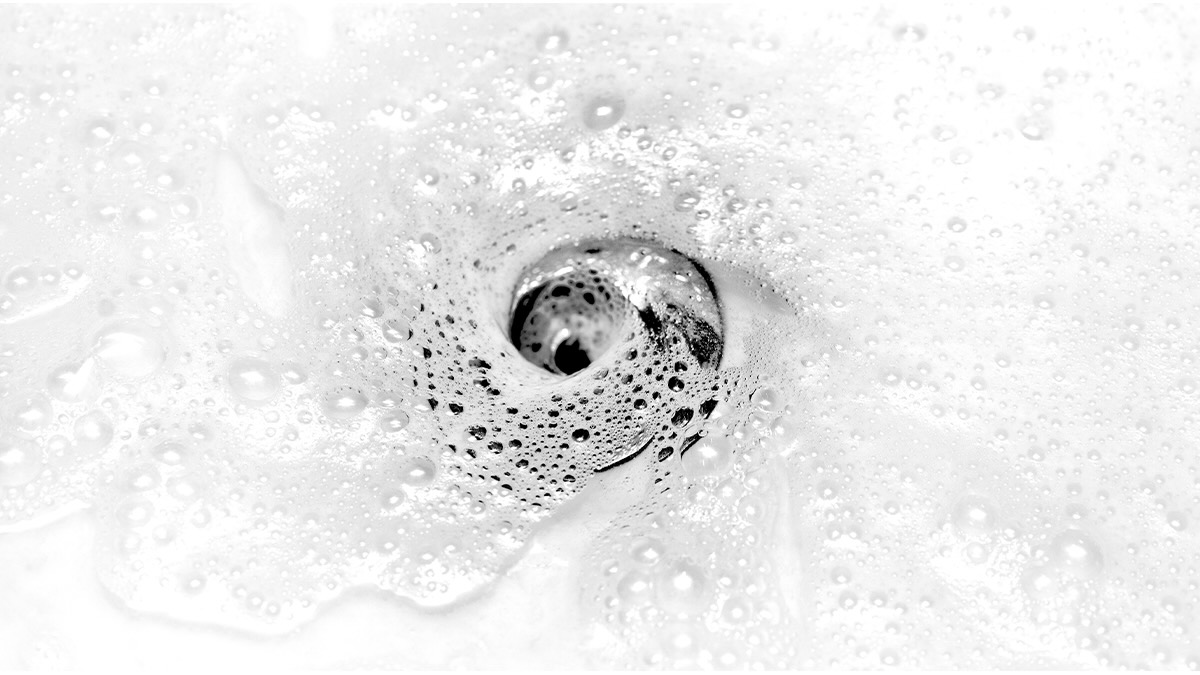
Run Water: Turn on the bathtub faucet and allow water to flow into the drain. Start with a slow and steady stream to observe how the water behaves as it enters the drain. If the water begins to accumulate or drain sluggishly, it's an indication that the clog may still be present.
-
Observe Drainage: As the water flows, pay close attention to the drainage pattern. Ideally, the water should flow smoothly and steadily down the drain without any signs of pooling or backing up. If you notice any irregularities or slow drainage, it suggests that the clog may require further attention.
-
Check for Residual Debris: While the water is running, keep an eye out for any residual debris or particles that may emerge from the drain. This could include hair, soap scum, or other materials that were dislodged during the plunging process. If you observe debris coming to the surface, it indicates that the clog is still present and may necessitate additional unclogging efforts.
-
Assess Water Level: After running the water for a sufficient duration, observe the water level in the bathtub. If the water level remains high or fails to drain completely, it suggests that the clog has not been fully cleared. This is a clear indicator that further action is required to address the underlying obstruction.
-
Repeat Plunging if Necessary: If the initial testing reveals ongoing drainage issues, it may be necessary to repeat the plunging process to target any remaining clog. Return to Step 2 and use the plunger once more, applying the same technique to dislodge any persistent blockages.
-
Seek Professional Assistance: In the event that repeated attempts to unclog the drain prove ineffective, or if you encounter persistent drainage problems, it may be prudent to seek the expertise of a professional plumber. A professional can assess the situation, identify any underlying issues, and implement advanced techniques to resolve the clog effectively.
By thoroughly testing the drain and closely observing the water flow, you can gain valuable insights into the success of your unclogging efforts. This step serves as a crucial checkpoint, allowing you to determine whether the clog has been fully addressed or if further action is required to achieve optimal drainage in your bathtub.
Conclusion
In conclusion, unclogging a bathtub drain with a plunger is a practical and effective solution for addressing common drainage issues. By following the step-by-step process outlined in this guide, you can confidently tackle clogs and restore optimal functionality to your bathtub. From preparing the bathtub and creating a tight seal to employing the proper plunging technique, each step plays a crucial role in dislodging the obstruction and promoting smooth drainage.
After using the plunger to agitate and dislodge the clog, testing the drain becomes a pivotal moment in the unclogging process. By observing the water flow, assessing drainage patterns, and checking for residual debris, you can gain valuable insights into the effectiveness of your efforts. This testing phase serves as a critical checkpoint, allowing you to determine whether the clog has been successfully cleared or if further action is necessary.
It's important to approach the unclogging process with patience and persistence, as some clogs may require multiple attempts to fully clear. If initial efforts prove insufficient, repeating the plunging process and closely monitoring the drain can lead to a successful resolution. Additionally, recognizing when professional assistance is warranted is essential, especially if persistent drainage issues persist despite repeated attempts to unclog the drain.
Ultimately, the ability to unclog a bathtub drain with a plunger empowers homeowners to address common plumbing challenges independently. By mastering the art of plunging and understanding the nuances of drain testing, individuals can effectively maintain their bathtub's functionality and prevent minor clogs from escalating into more significant plumbing issues.
Incorporating these techniques into your home maintenance repertoire equips you with the confidence and skills needed to address clogged bathtub drains promptly and effectively. With a plunger in hand and a clear understanding of the unclogging process, you can bid farewell to standing water and enjoy the satisfaction of a smoothly flowing bathtub drain.
Remember, regular maintenance and proactive measures can help prevent clogs from occurring in the first place. Simple practices such as using drain covers to catch hair and debris, implementing routine cleaning, and being mindful of what goes down the drain can contribute to a healthier and more resilient plumbing system.
By taking a proactive approach to maintaining your bathtub drain, you can minimize the likelihood of clogs and ensure that your bathing experience remains uninterrupted and enjoyable. With the knowledge and techniques gained from this guide, you're well-equipped to handle clogs and keep your bathtub drain flowing freely.
Frequently Asked Questions about How To Unclog A Bathtub Drain With A Plunger?
Was this page helpful?
At Storables.com, we guarantee accurate and reliable information. Our content, validated by Expert Board Contributors, is crafted following stringent Editorial Policies. We're committed to providing you with well-researched, expert-backed insights for all your informational needs.


0 thoughts on “How To Unclog A Bathtub Drain With A Plunger?”