Articles
How To Use A Sink Plunger
Modified: December 7, 2023
Learn how to effectively use a sink plunger in this informative article. Discover tips and techniques for unclogging your sink easily and efficiently.
(Many of the links in this article redirect to a specific reviewed product. Your purchase of these products through affiliate links helps to generate commission for Storables.com, at no extra cost. Learn more)
Introduction
Having a clogged sink can be a frustrating experience that disrupts your daily routine. Whether it’s due to food remnants, grease buildup, or other debris, a clogged sink can quickly turn into a messy and unhygienic situation. Fortunately, a sink plunger can be a helpful tool to resolve this issue. In this article, we’ll guide you through the steps of using a sink plunger effectively, so you can quickly get your sink back to its optimal functionality.
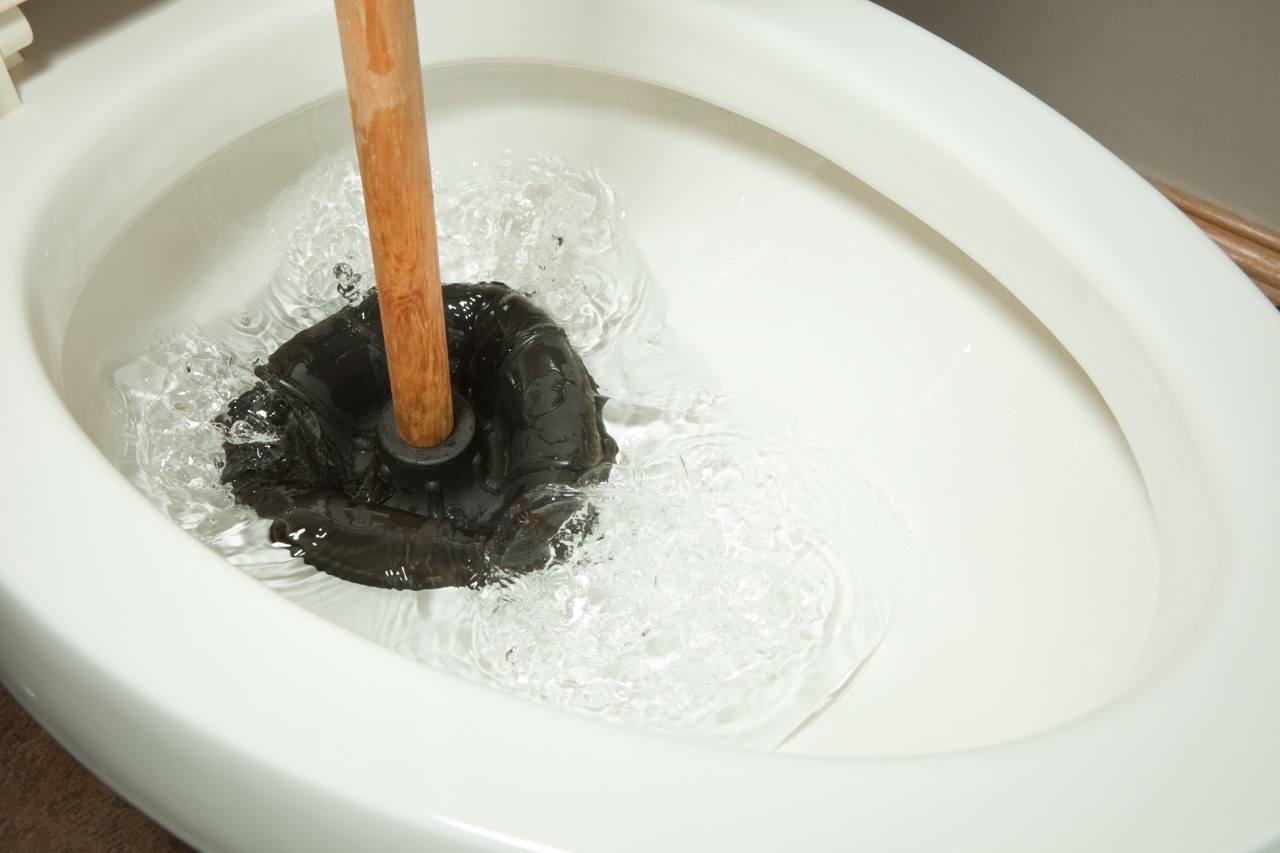
Before we dive into the details, it’s important to note that a sink plunger is different from a toilet plunger. While the basic concept remains the same, sink plungers are specifically designed to create a tight seal around the sink drain, allowing you to apply the necessary pressure to clear the clog. So, let’s get started on how to use a sink plunger and unclog your sink quickly and easily.
Key Takeaways:
- Choose a sink plunger with a large, rubber or silicone head and a long handle for optimal clog-clearing results. Invest in a quality plunger from a reputable brand to ensure reliability and effectiveness.
- Prepare the sink by removing water, clearing debris, and covering overflow holes before using the plunger. Create a tight seal, apply steady pressure, and repeat the process if necessary to effectively clear stubborn clogs.
Read more: How To Unclog A Sink Without A Plunger
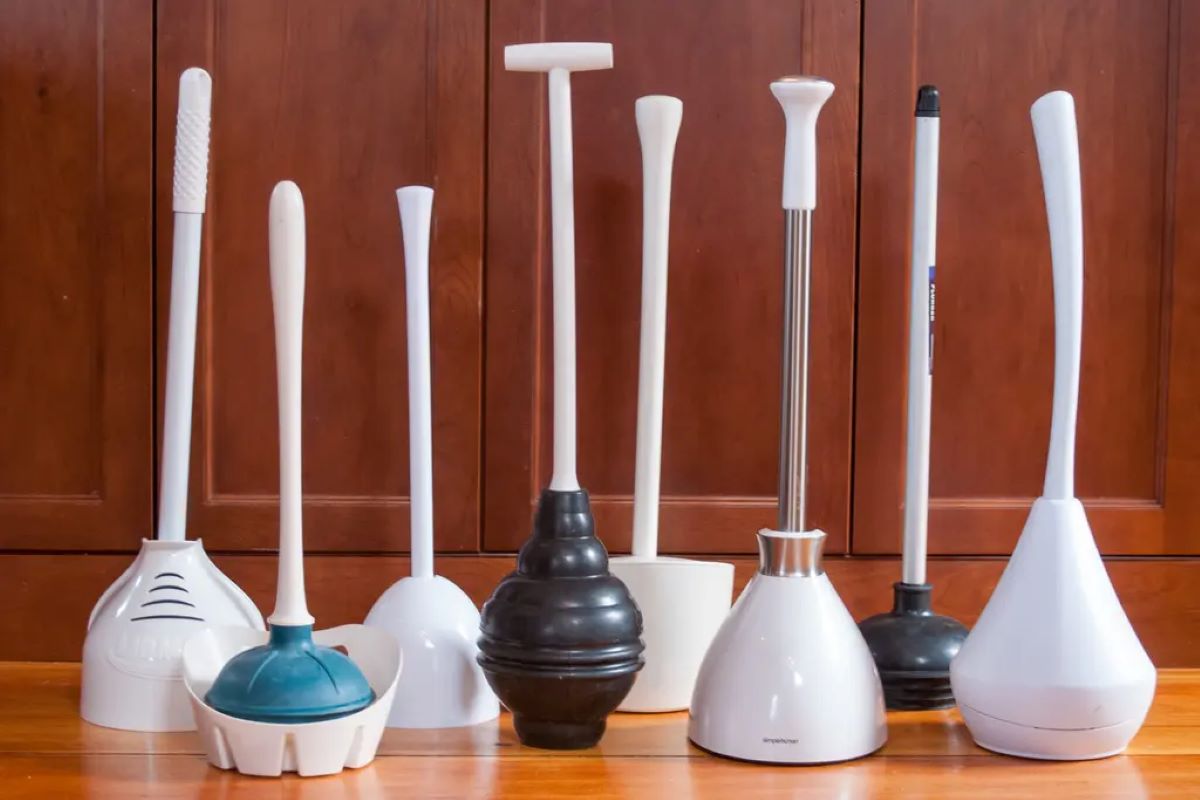
Choosing the Right Sink Plunger
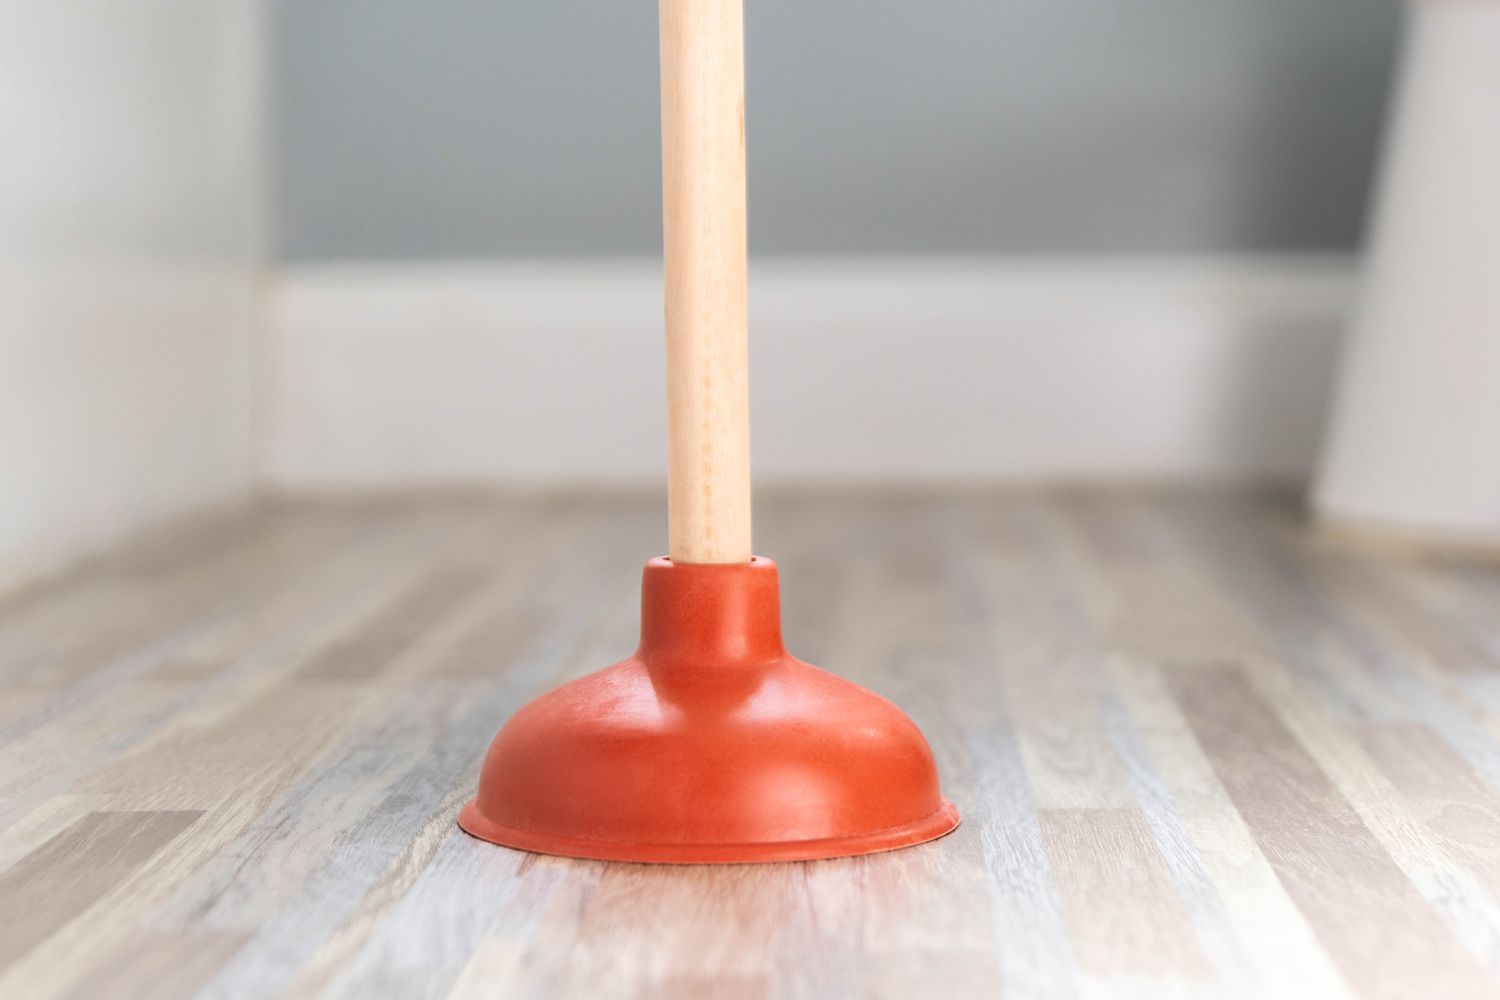
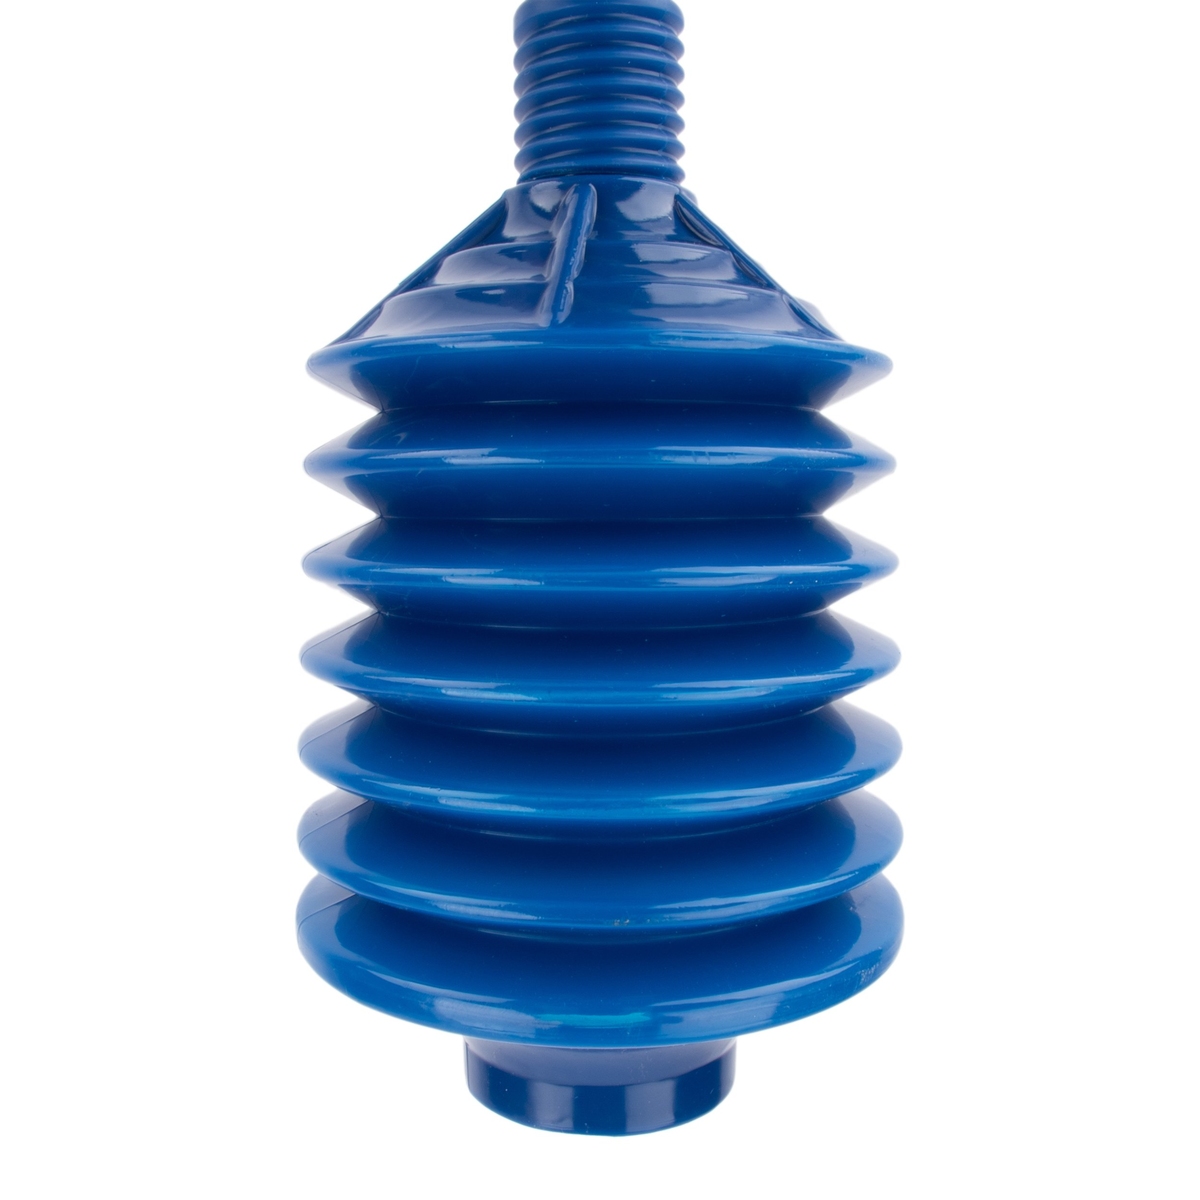
When it comes to choosing the right sink plunger, there are a few factors to consider. Firstly, the size of the plunger head is crucial. It should be large enough to cover the entire drain opening to create a tight seal. Look for a plunger with a diameter that matches the size of your sink drain for optimal results.
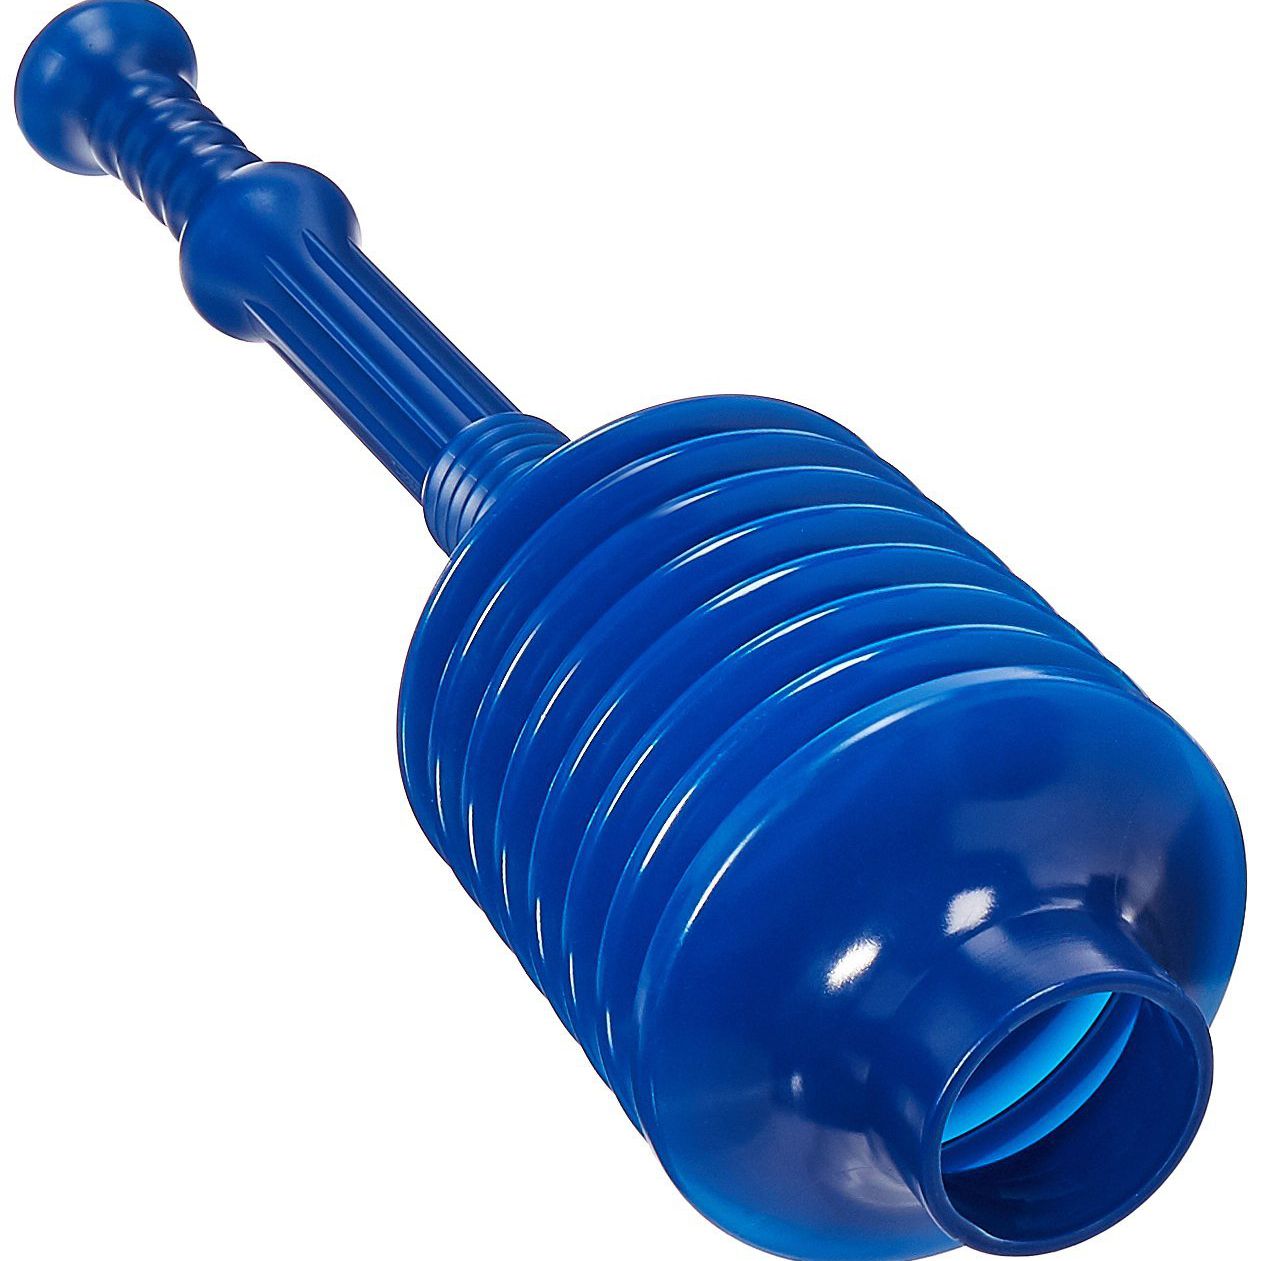
Additionally, the material of the plunger head is important. Rubber or silicone plungers are recommended as they provide flexibility and durability. Avoid plungers with hard plastic heads, as they may not form a proper seal.
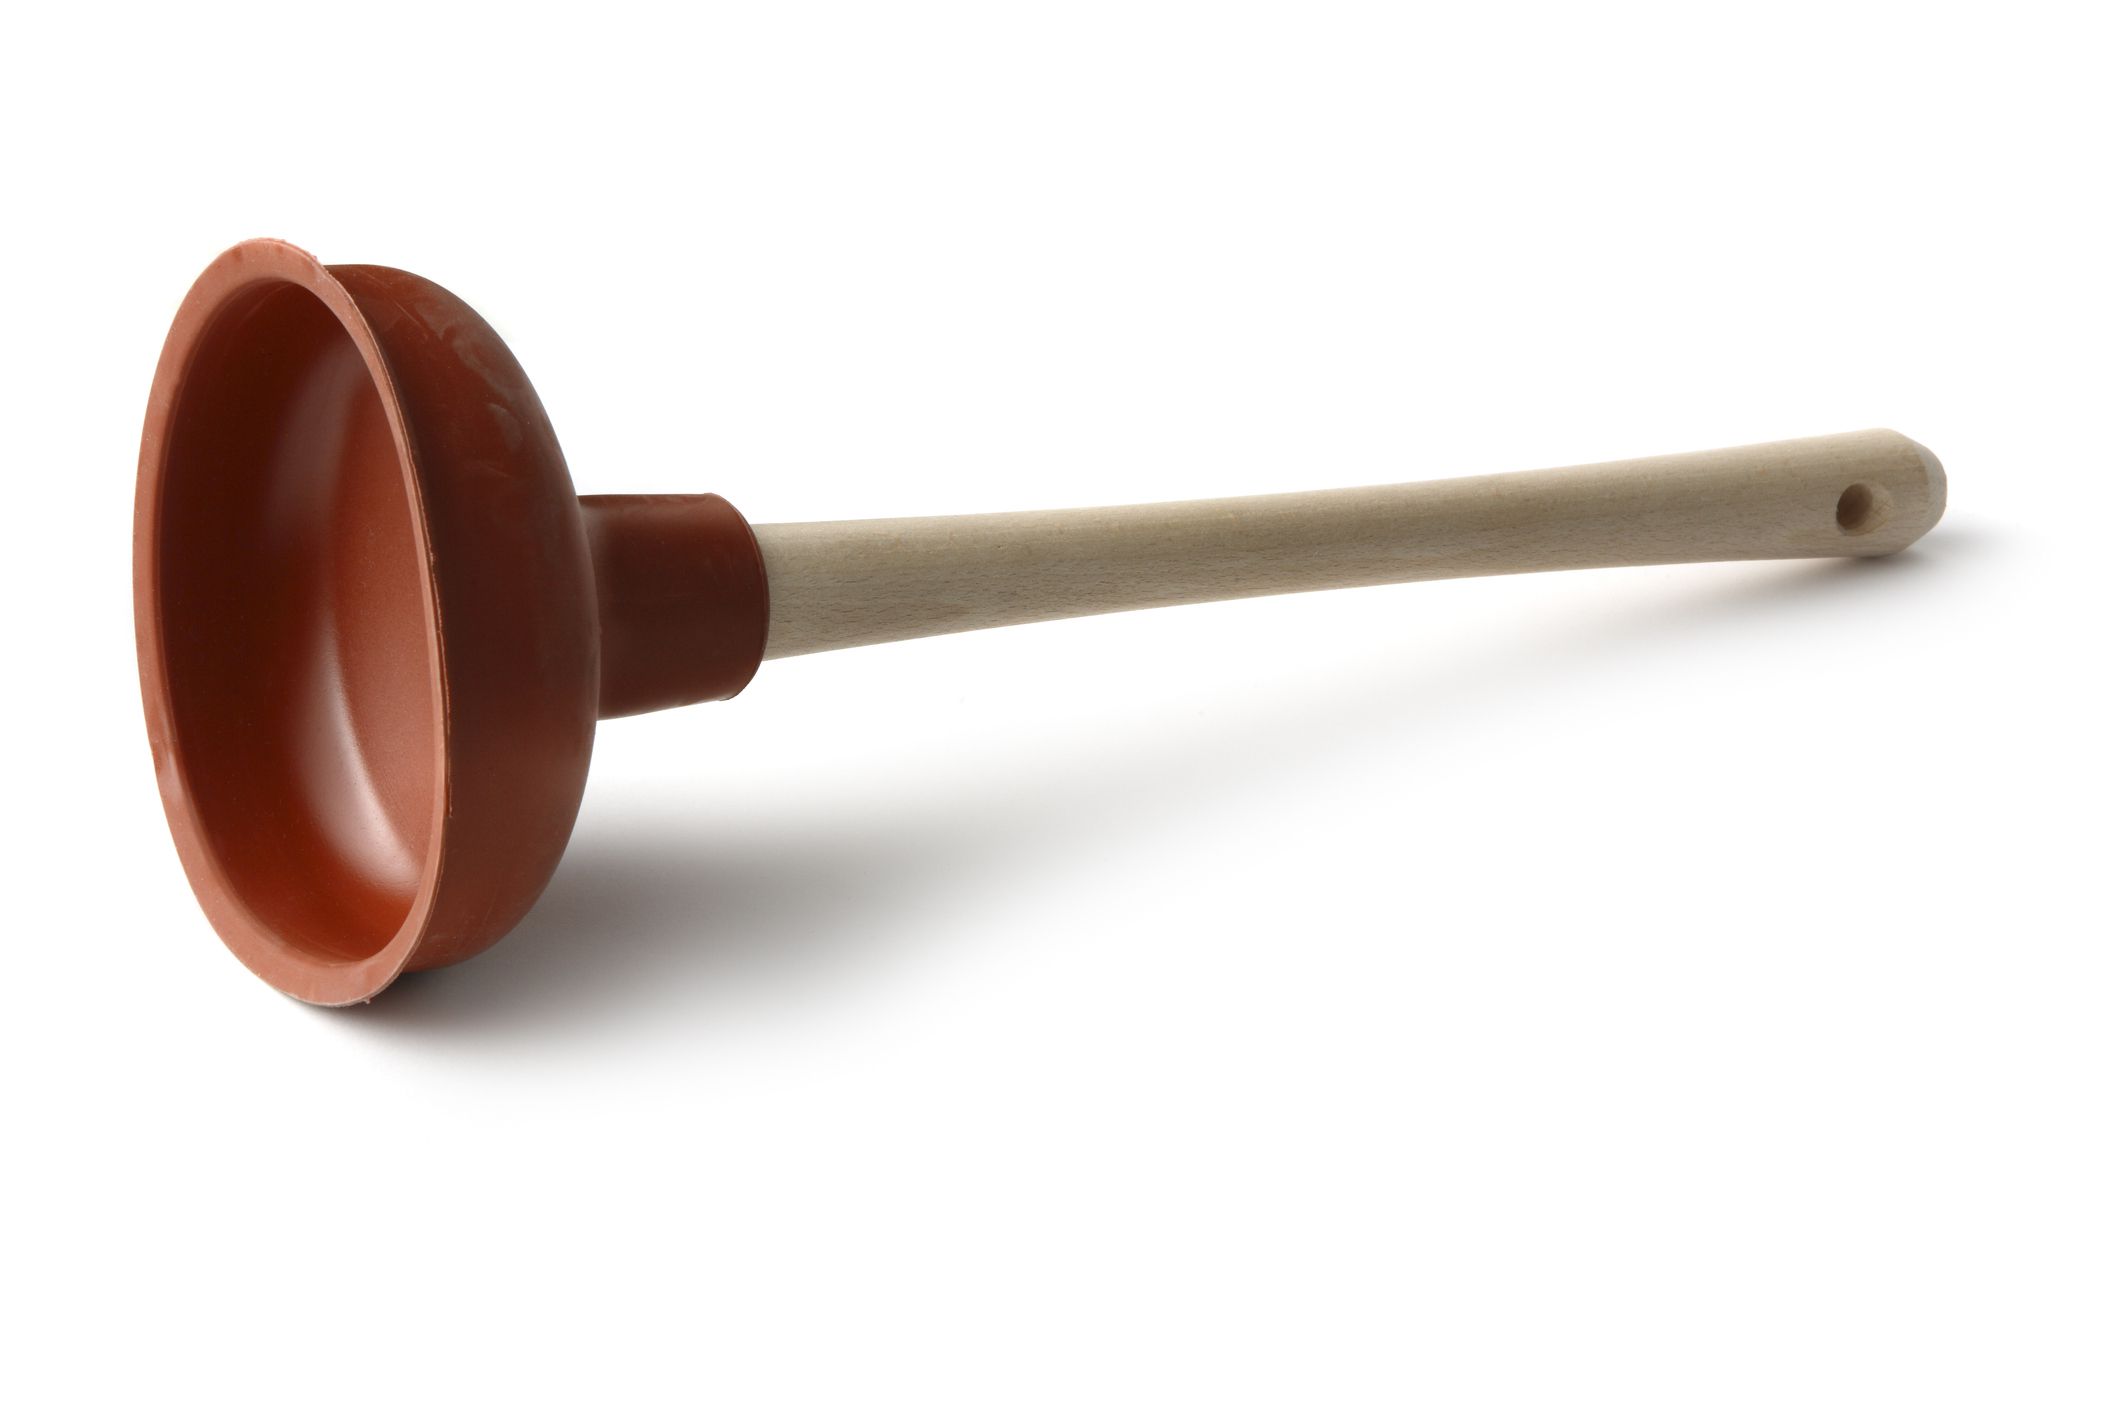
Another consideration is the handle. Opt for a sink plunger with a long handle, as it will give you better leverage and make plunging easier. A comfortable grip is also essential to ensure a firm hold during the plunging process.
Lastly, it’s worth investing in a quality sink plunger. While there are plenty of inexpensive options available, some may be poorly made and not as effective in unclogging sinks. Look for reputable brands that are known for their reliability and quality.
By choosing the right sink plunger, you can ensure that you have the necessary tools to tackle any clog with confidence and efficiency.
Preparing the Sink
Before you start plunging, it’s important to prepare the sink properly to maximize the effectiveness of your efforts. Begin by removing any standing water in the sink. You can use a bucket or a cup to scoop out the water or use a towel to soak it up.
Next, clear any visible debris or gunk from the drain opening. Use a pair of gloves or a small brush to remove any solid particles that may be contributing to the clog. This step will help create a smoother plunging process.
It’s also a good idea to cover the overflow holes in your sink. Most sinks have these small holes near the top edge to prevent overflowing. By covering these holes, you ensure that the air pressure generated by the plunger is focused solely on the clog.
Lastly, ensure that the sink’s surrounding area is clear. Remove any items such as soap dispensers, sponges, or dishes that may obstruct your plunging motion. Having a clear workspace will make it easier to maneuver the plunger and apply the necessary pressure.
Once you’ve prepared the sink, you’re ready to move on to the next step of using the sink plunger.
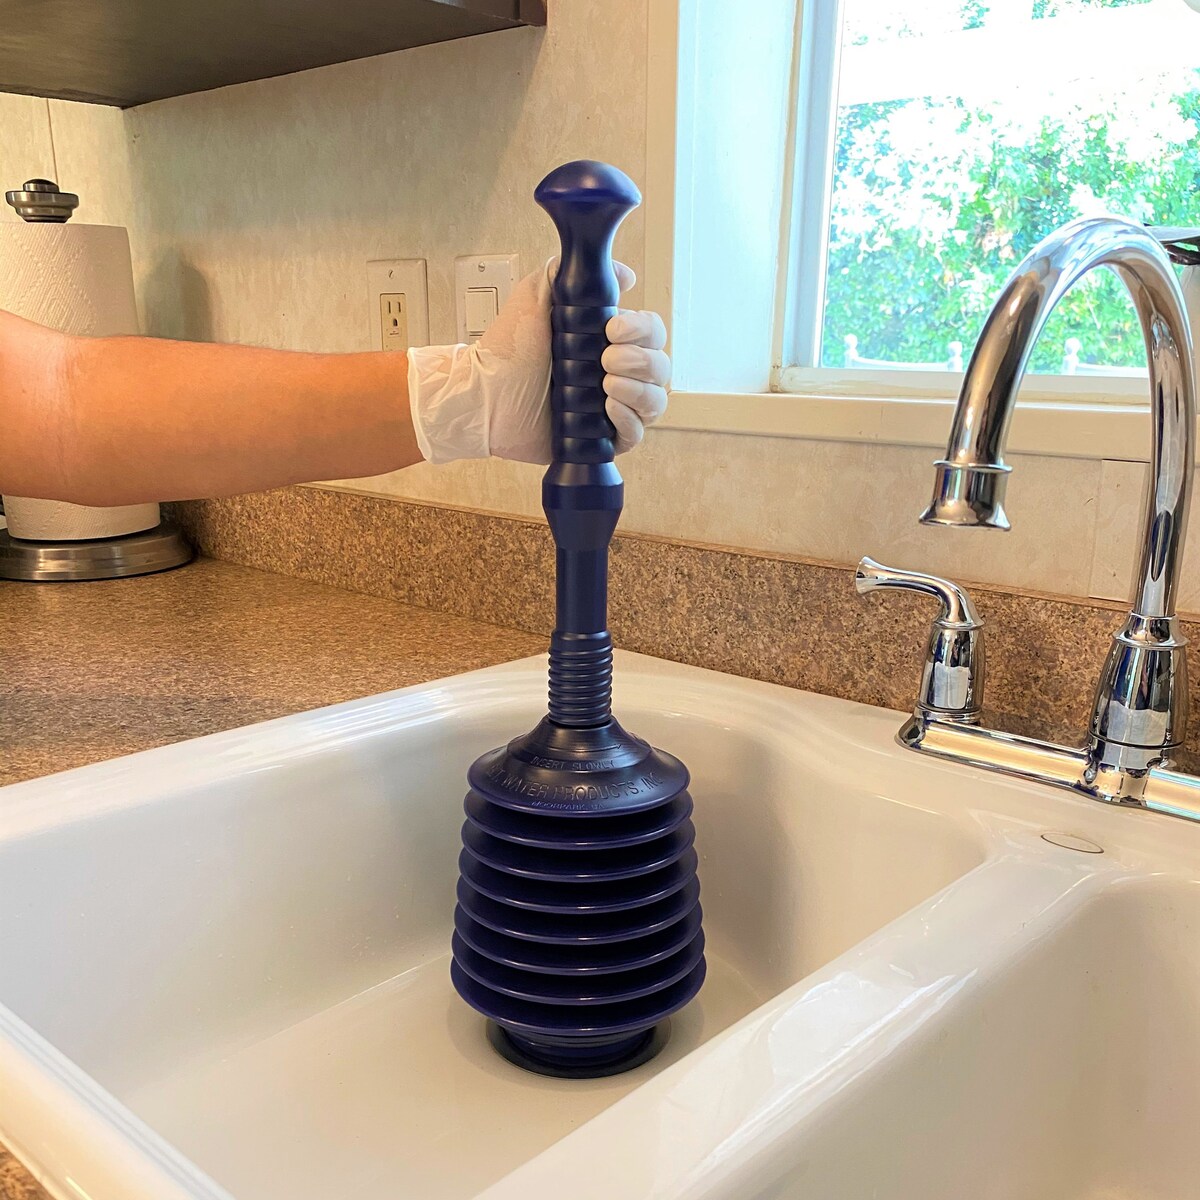
Placing the Plunger
Now that you’ve prepared the sink, it’s time to position the sink plunger over the drain opening. Start by ensuring that the plunger head is clean and free from any debris that could compromise the seal.
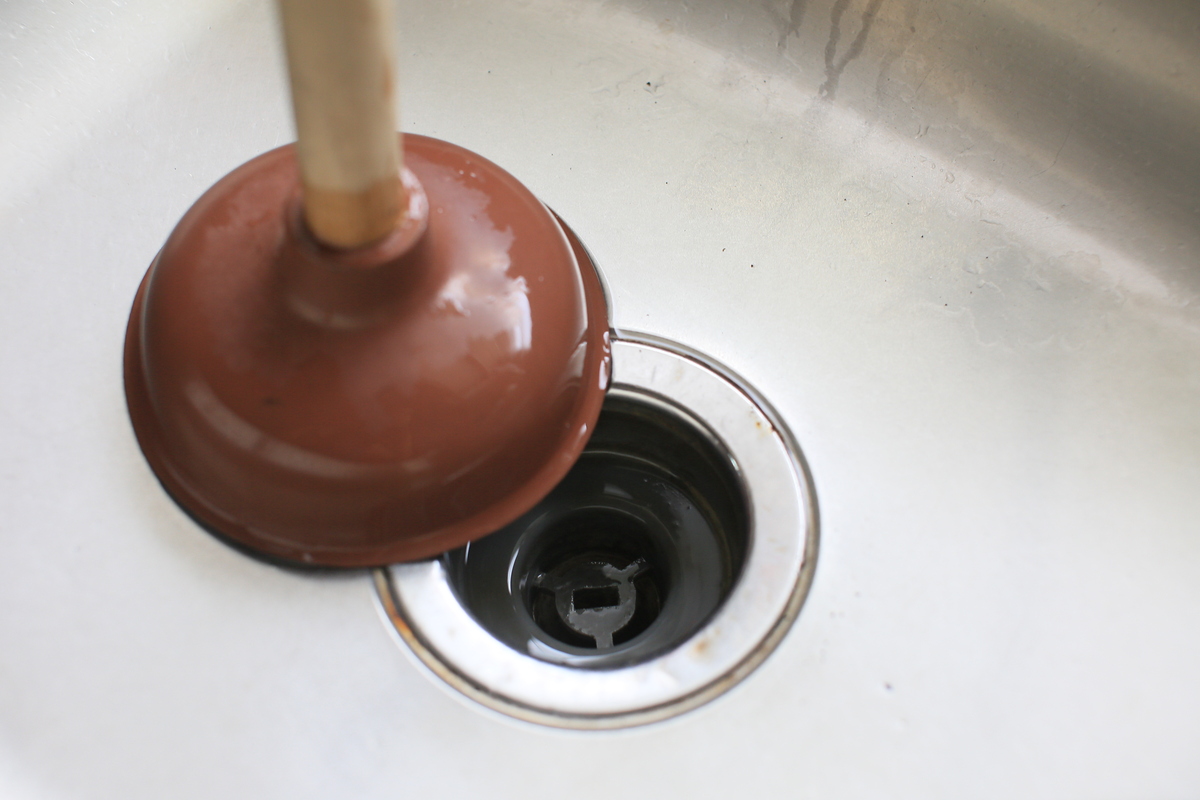
Place the plunger directly over the drain opening, ensuring that the entire plunger head covers the area. The plunger should sit flush against the surface of the sink, creating a tight seal. This seal is crucial for creating the necessary suction to dislodge the clog.
Make sure the plunger is held firmly and securely in place. You should feel a slight resistance when pressing down on the plunger, indicating a tight seal. Take a moment to double-check the positioning to ensure there are no gaps that could cause air to escape.
It’s worth noting that double-bowl sinks with two separate drain openings will require the use of an additional plunger. In this case, you’ll need to place a plunger over each drain opening to create individual seals and unclog both sides of the sink.
With the plunger properly positioned, you’re ready to move on to the next step of creating a seal to effectively plunge the sink.
Creating a Seal
Creating a tight seal between the plunger and the sink drain is essential for effective plunging. The seal allows you to generate the necessary suction and pressure to dislodge the clog. Here’s how to create a seal:
- Press the plunger down firmly, using your body weight to create a secure seal.
- Ensure that the plunger head is fully covering the drain opening and making direct contact with the sink surface.
- Hold the plunger handle tightly while maintaining downward pressure.
- Be mindful of any gaps or leaks between the plunger and the sink. If there are any, adjust the position or press down harder to create a tighter seal.
Creating a proper seal may require a few adjustments and some trial and error. It’s essential to take the time to ensure a tight seal, as it significantly affects the effectiveness of the plunging process.
Once you’ve created a solid seal, you’re ready to move on to the next step of applying pressure and releasing to dislodge the clog.
When using a sink plunger, make sure to create a tight seal around the drain to maximize suction. Push and pull the plunger vigorously to dislodge clogs.
Read more: How To Fix A Plunger In A Bathroom Sink
Applying Pressure and Releasing
With the plunger in place and a solid seal created, it’s time to start applying pressure to dislodge the clog. The plunging motion involves alternating between applying pressure and releasing it. Here’s how to do it:
- Push the plunger down with a firm and even force. Use your body weight to provide the necessary pressure.
- Make several vigorous up-and-down plunging motions, maintaining the seal between the plunger and the sink surface.
- Avoid using excessive force, as it may damage the plumbing system. Instead, focus on creating a steady and consistent plunging rhythm.
- After a few plunges, release the pressure and lift the plunger up. You should hear a sucking sound as the clog starts to loosen.
- Repeat the process of applying pressure and releasing it several times. This action helps to dislodge the clog and restore the normal flow of water.
Continue the plunging motion for about 20-30 seconds or until you notice an improvement in the drainage. If the clog is particularly stubborn, you may need to repeat the process several times.
Remember to maintain a firm seal throughout the process and to keep your plunging motions smooth and controlled. This will maximize the efficiency of the plunger and increase your chances of successfully unclogging the sink.
Repeating if Necessary
If the initial attempts with the plunger haven’t fully resolved the clog, don’t worry. Sometimes, stubborn clogs require a bit more persistence. Here’s what you can do if you need to repeat the plunging process:
- Start by clearing any water or debris that may have accumulated in the sink during the previous plunging attempts.
- Ensure that the plunger head and the drain opening are clean and free of any obstructions or residue.
- Reposition the plunger and create a new seal, making sure it covers the entire drain opening.
- Apply pressure and release, following the plunging technique mentioned earlier. Make several vigorous up-and-down motions, maintaining a steady rhythm.
- Continue this process for about 20-30 seconds or until you see improvement in the sink’s draining ability.
- If necessary, repeat the plunging process multiple times, adjusting your technique and ensuring a tight seal each time.
Remember, persistence is key. Sometimes, it may take several attempts to fully dislodge a stubborn clog. By repeating the plunging process, you increase your chances of clearing the sink and restoring proper drainage.
If after several attempts the clog still persists, it may be time to consider other methods or seek professional help to address the issue.
Cleaning Up
Once you’ve successfully cleared the clog and restored proper drainage, it’s important to properly clean up the sink and the plunger. Here are a few steps to follow to ensure a clean and hygienic finish:
- Remove the plunger from the sink and rinse it thoroughly with warm water. This will help remove any residual debris or particles that may have collected on the plunger head.
- Use a mild detergent or dish soap to clean the plunger. Apply the soap directly to the plunger head and scrub it gently with a brush or sponge. Rinse it again with warm water to remove any soap residue.
- Wipe down the sink with a clean cloth or sponge to remove any remaining water, soap, or debris. Pay attention to the drain opening and the surrounding areas.
- Dispose of any debris or gunk that may have been collected during the plunging process. You can use a paper towel or a disposable bag for this purpose.
- Sanitize the sink by using a mixture of one part water and one part vinegar. Apply the solution to the sink, focusing on the drain opening, and let it sit for a few minutes. Rinse it thoroughly with warm water to remove any vinegar scent.
- Dry the sink with a clean towel to prevent water spots and ensure a sparkling finish.
By following these steps, you can maintain a clean and hygienic sink after successfully unclogging it with a plunger.
Conclusion
Using a sink plunger is a cost-effective and efficient way to unclog your sink and restore its functionality. By following the steps outlined in this article, you can tackle even the most stubborn sink clogs with ease.
Remember to choose the right sink plunger that matches the size of your drain opening and provides a tight seal. Preparing the sink by removing water, clearing debris, and covering overflow holes is essential for successful plunging.
Properly placing the plunger and creating a solid seal ensures that you can apply the necessary pressure and suction to dislodge the clog effectively. By applying pressure and releasing it in a rhythmic motion, you can break up the clog and restore proper drainage.
If necessary, don’t hesitate to repeat the plunging process to fully clear the clog. Persistence and patience are key when dealing with stubborn clogs.
After successfully unclogging the sink, take the time to clean up both the sink and the plunger. Proper cleaning and sanitizing will ensure a hygienic finish and prevent future clogs.
With the knowledge and steps provided in this article, you can confidently use a sink plunger to tackle sink clogs and maintain a clean and functional sink in your home. Happy plunging!
Frequently Asked Questions about How To Use A Sink Plunger
Was this page helpful?
At Storables.com, we guarantee accurate and reliable information. Our content, validated by Expert Board Contributors, is crafted following stringent Editorial Policies. We're committed to providing you with well-researched, expert-backed insights for all your informational needs.


0 thoughts on “How To Use A Sink Plunger”