Articles
How To Unhook A Gas Dryer
Modified: October 19, 2024
Discover step-by-step instructions and expert tips in our comprehensive articles on how to safely unhook a gas dryer.
(Many of the links in this article redirect to a specific reviewed product. Your purchase of these products through affiliate links helps to generate commission for Storables.com, at no extra cost. Learn more)
Introduction
Unhooking a gas dryer may seem like a daunting task, but with the right knowledge and tools, it can be a straightforward process. Whether you are moving your dryer to a new location, performing maintenance, or replacing it altogether, knowing how to safely disconnect the gas dryer is essential.
In this article, we will guide you through the step-by-step process of unhooking a gas dryer. We will also highlight important safety precautions you should take to ensure a smooth and accident-free disconnection.
Before we delve into the specific steps, it is crucial to mention the importance of safety and caution when working with gas appliances. If you feel uncomfortable or inexperienced, it is always best to hire a professional to handle the task.
Now, without further ado, let’s get started! In the following sections, we will discuss the necessary safety precautions, gather the required tools, and guide you through each step of unhooking a gas dryer.
Key Takeaways:
- Prioritize safety by wearing protective gear, shutting off the gas supply, and inspecting for gas leaks when unhooking a gas dryer. Always exercise caution and seek professional help if uncertain.
- Gather necessary tools such as adjustable wrenches, pliers, and gas line sealant before unhooking a gas dryer. Follow the step-by-step process with caution and ensure proper ventilation for a safe disconnection.
Read more: How To Unhook A Dryer Vent
Safety Precautions
Before undertaking any tasks involving a gas dryer, it is crucial to prioritize safety. Follow these precautions to ensure your well-being and prevent potential accidents:
- Wear Protective Gear: Prior to beginning any work, put on safety goggles, gloves, and appropriate clothing to protect yourself from potential hazards.
- Turn Off the Gas Supply: Locate the gas shut-off valve near your dryer and make sure it is in the “Off” position. This will prevent gas flow to the appliance during the disconnection process.
- Disconnect the Power: Unplug the dryer’s power cord from the electrical outlet to eliminate the risk of electric shock.
- Ensure Adequate Ventilation: Make sure the area is well-ventilated to minimize the risk of gas accumulation.
- Proper Handling of Gas Line: Handle the gas line with care to prevent damage or gas leaks. Do not bend or kink the line during the disconnection process.
- Inspect for Gas Leaks: Before and after the disconnection, perform a thorough check for any gas leaks. Use a soap and water solution and apply it to the connections. If bubbles form, there is a gas leak. In such cases, turn off the gas supply and seek professional assistance.
- Avoid Smoking or Open Flames: Do not smoke or have any open flames nearby when working with a gas dryer. Gas leakage can be highly flammable.
- Consult the Manufacturer’s Manual: Refer to the appliance’s manual for any specific safety instructions provided by the manufacturer.
- Ask for Professional Help if Uncertain: If you are uncertain about any step or lack experience working with gas appliances, contact a qualified professional to assist you.
By following these safety precautions, you can ensure a safe working environment as you proceed with unhooking your gas dryer. Now, let’s move on to gathering the necessary tools.
Gathering the Necessary Tools
Before you can begin the process of unhooking your gas dryer, it’s essential to gather the necessary tools. Having these tools prepared in advance will make the task easier and more efficient. Here’s a list of the tools you’ll need:
- Adjustable wrench
- Socket wrench
- Pliers
- Gas line sealant
- Bucket or container
- Soap and water solution for leak detection
By having these tools on hand, you’ll be prepared for any disconnection issues that may arise. Now that you have the necessary tools, let’s move on to the step-by-step process of unhooking your gas dryer.
Step 1: Shutting Off the Gas Supply
Before you start disconnecting your gas dryer, it is crucial to shut off the gas supply. This step ensures that no gas will flow through the lines while you work, reducing the risk of leaks or accidents.
Follow these steps to shut off the gas supply:
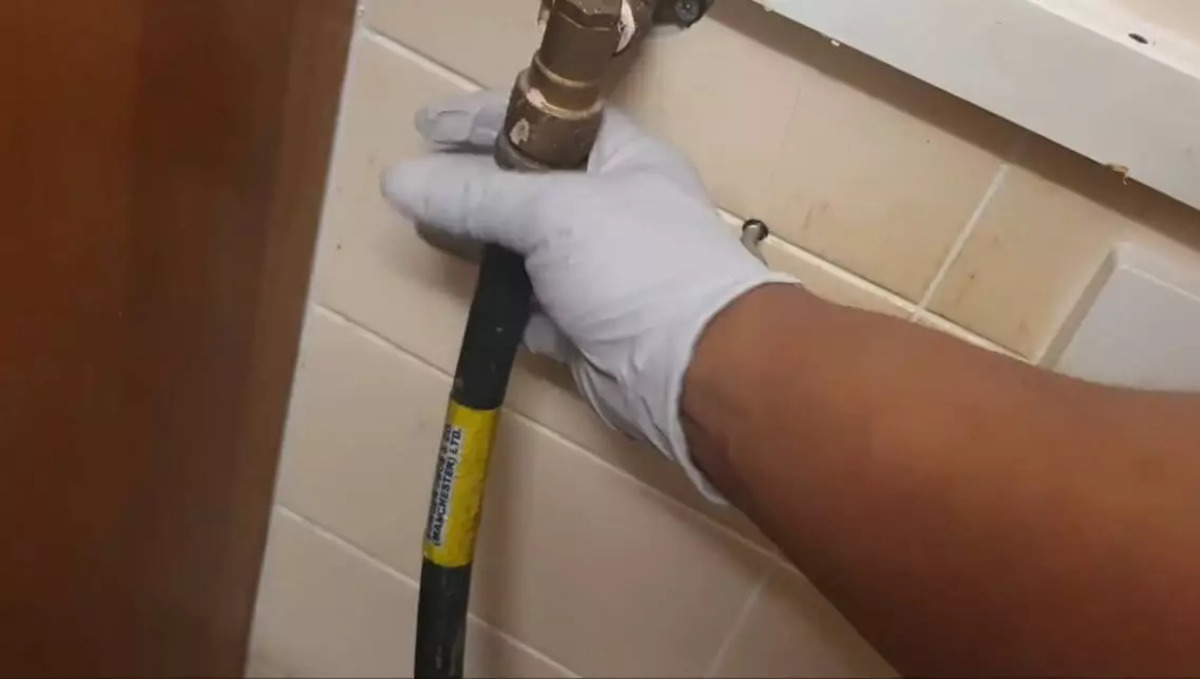
- Locate the gas shut-off valve: This valve is typically located behind or beside the dryer. It may be a lever or a knob that you can turn to shut off the gas flow.
- Turn the valve to the “Off” position: Use an adjustable wrench or pliers to turn the valve clockwise until it is fully closed.
- Verify the gas supply is closed: Once you have turned off the valve, check that the gas supply is closed by attempting to start the dryer. If the dryer fails to start, it indicates that the gas supply has been successfully shut off.
It’s important to note that if you encounter any difficulties or if you are unsure about shutting off the gas supply, it is recommended to consult a professional to avoid any potential hazards.
With the gas supply safely shut off, you can now move on to the next step: disconnecting the gas line.
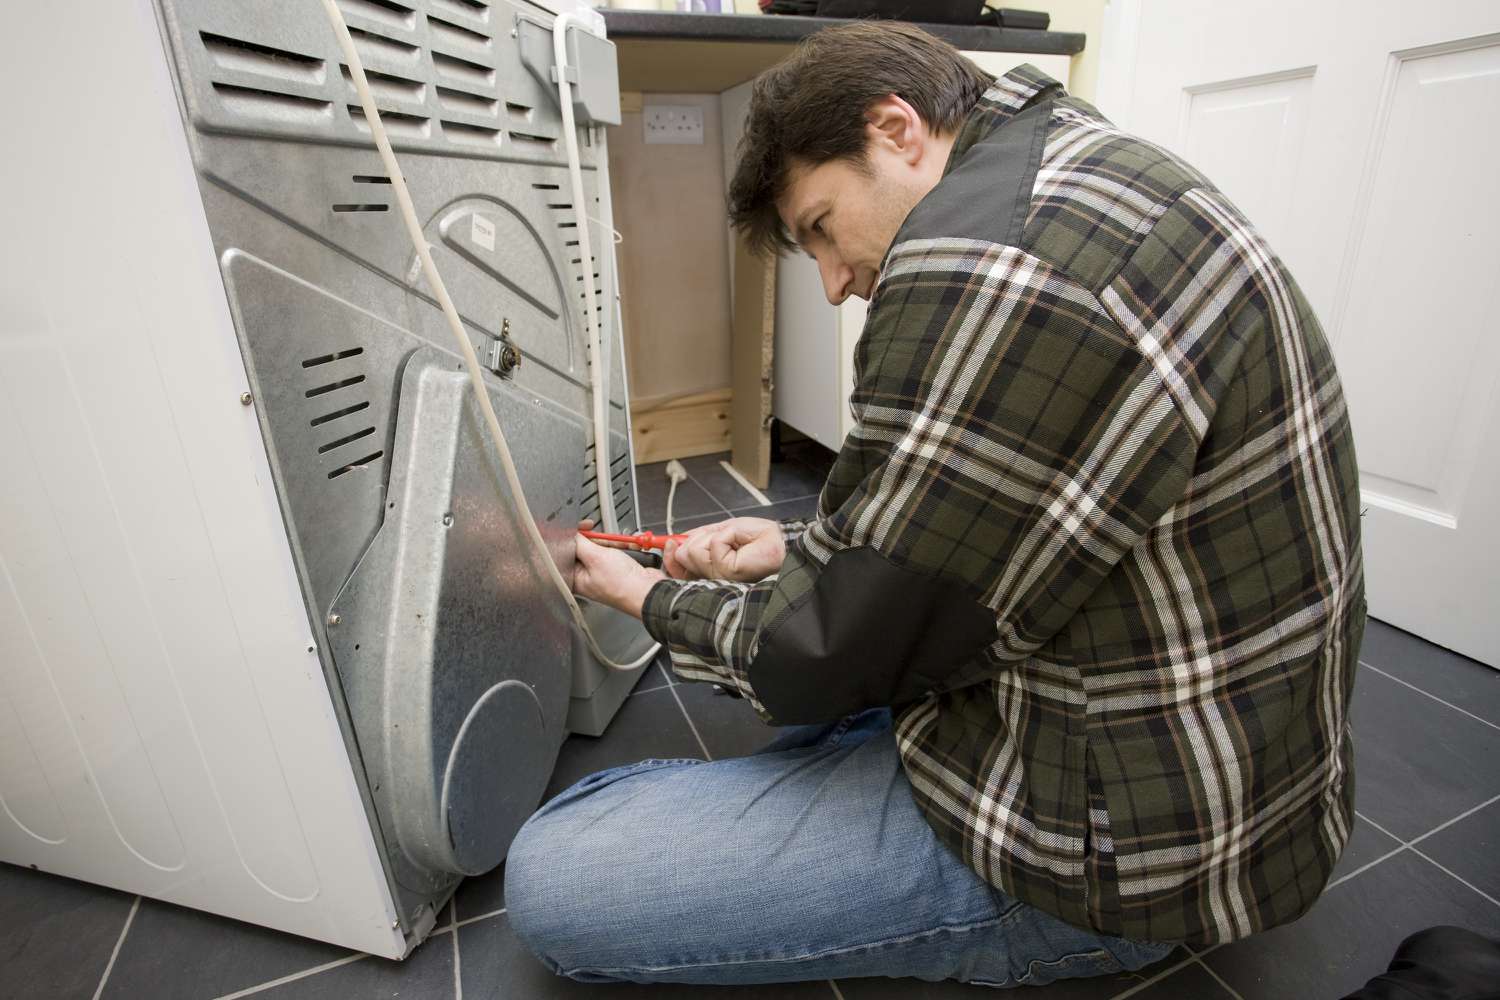
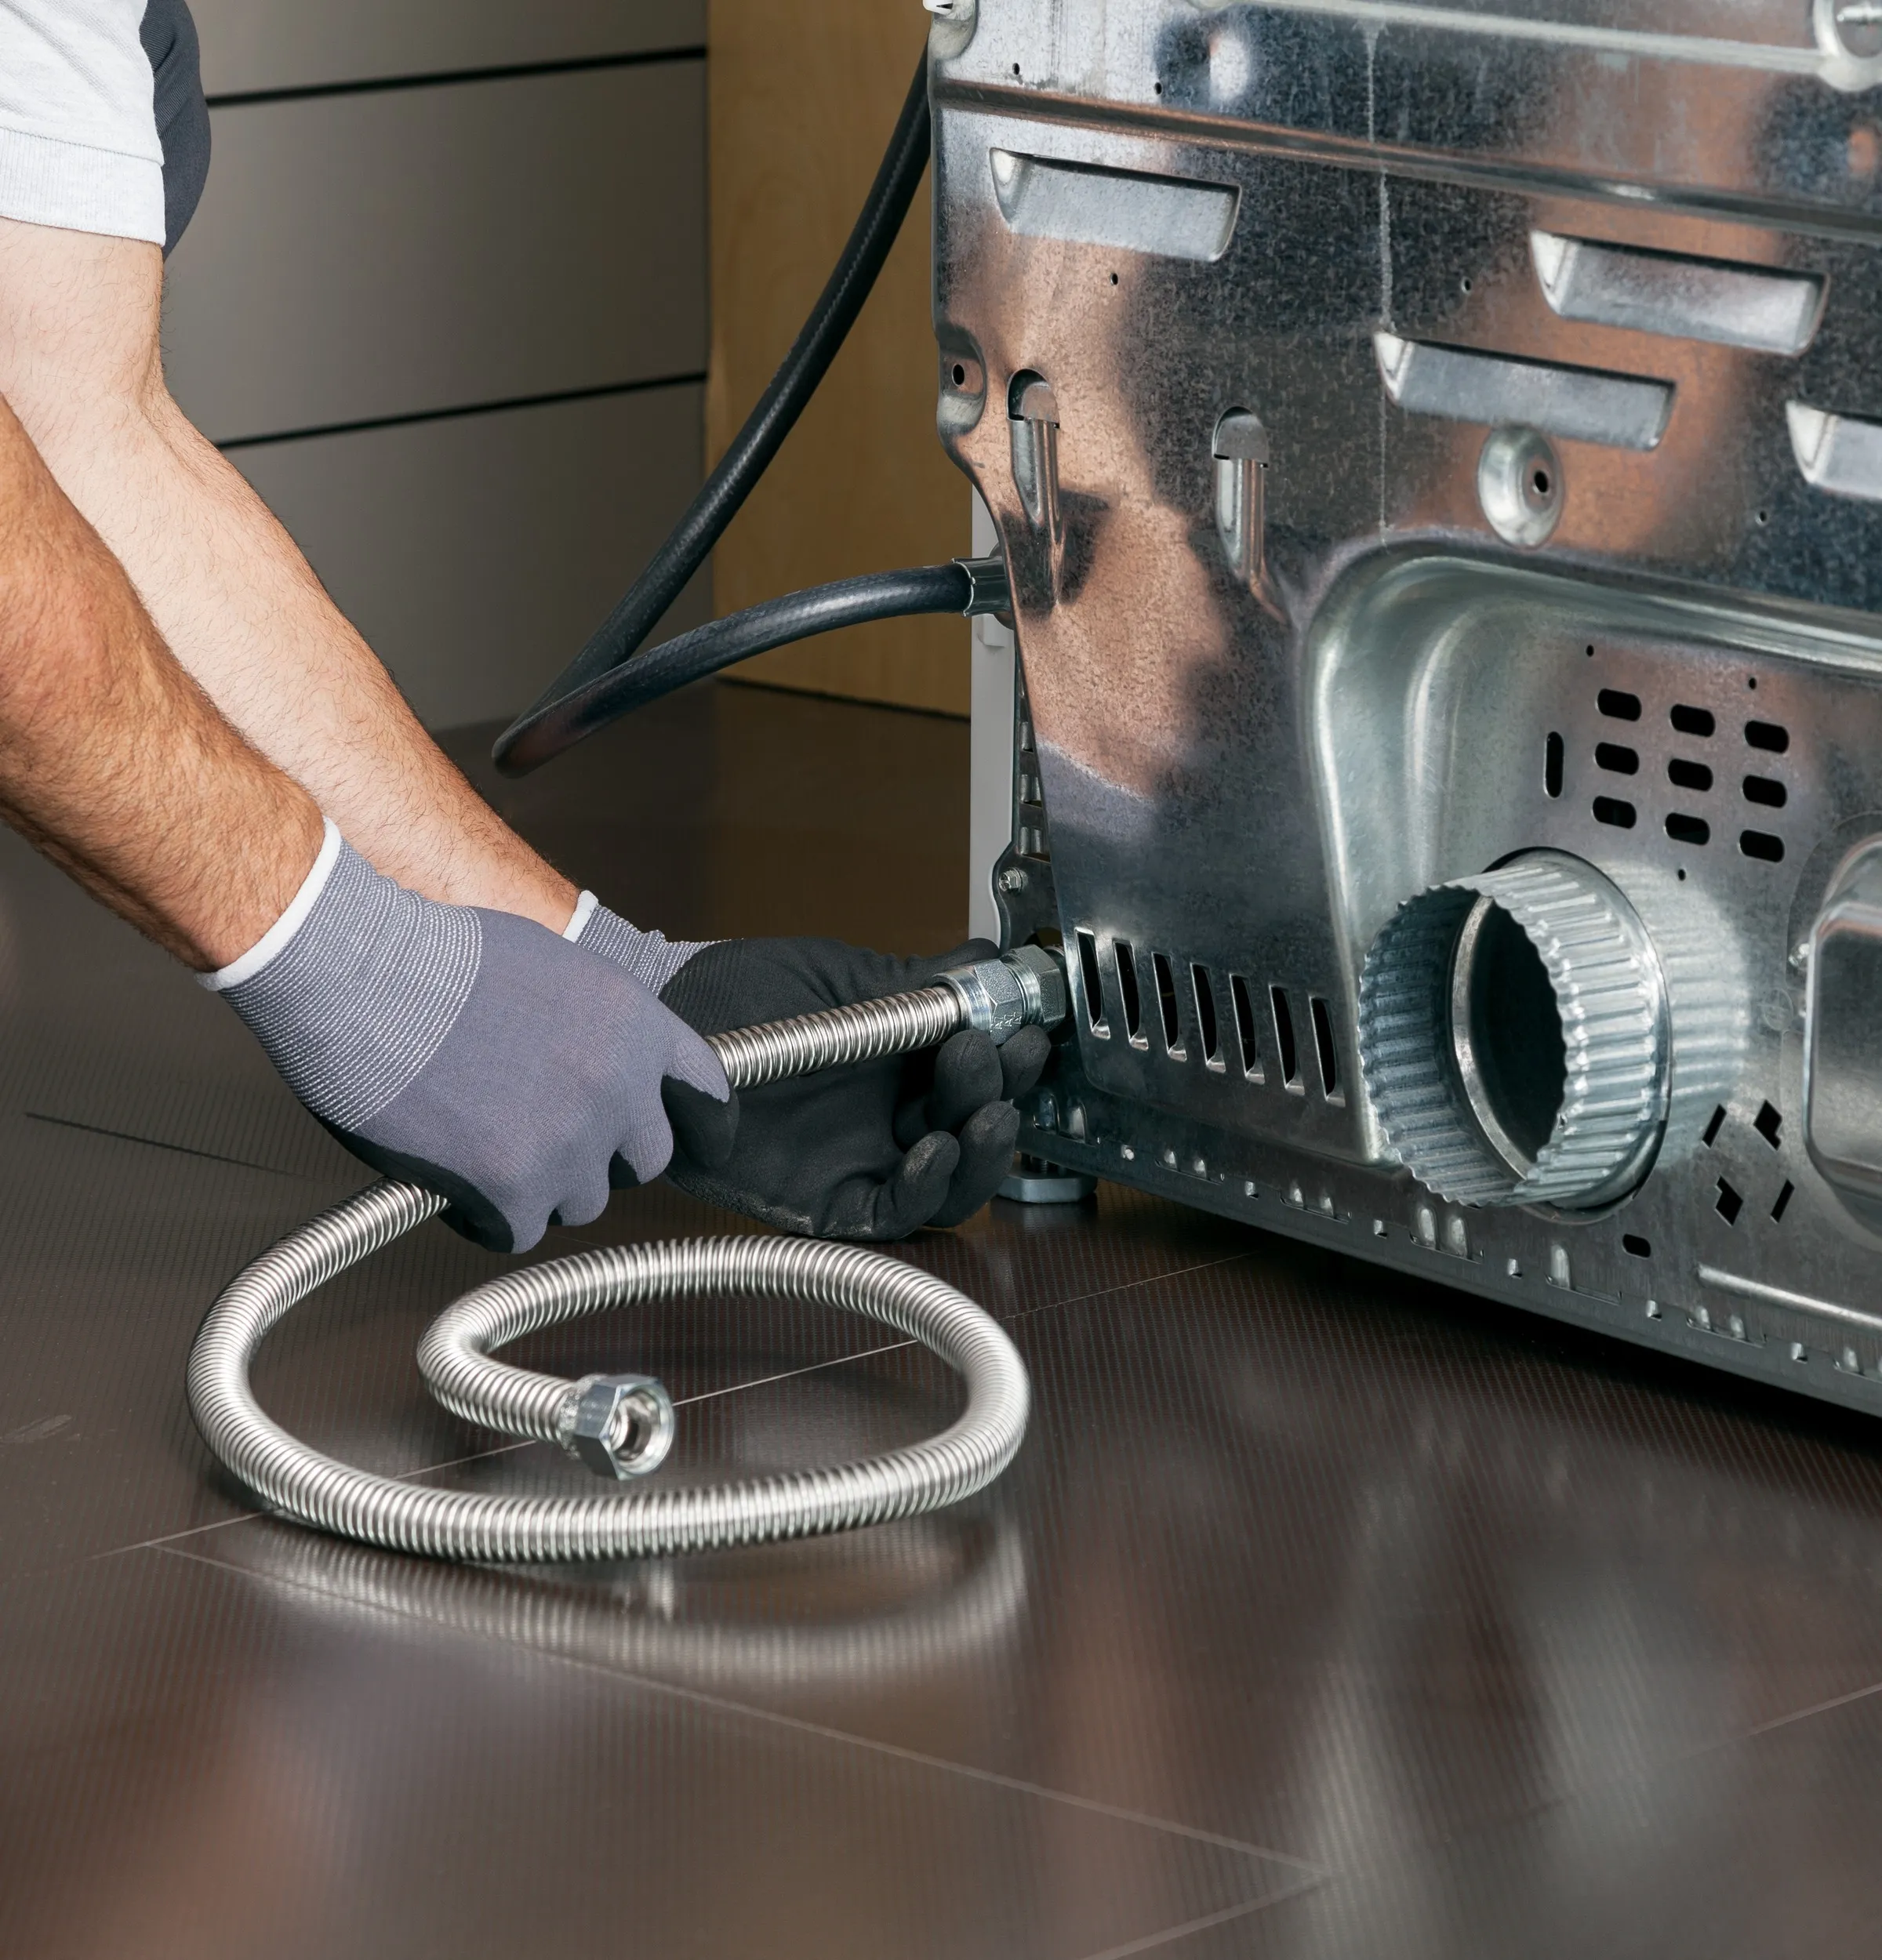
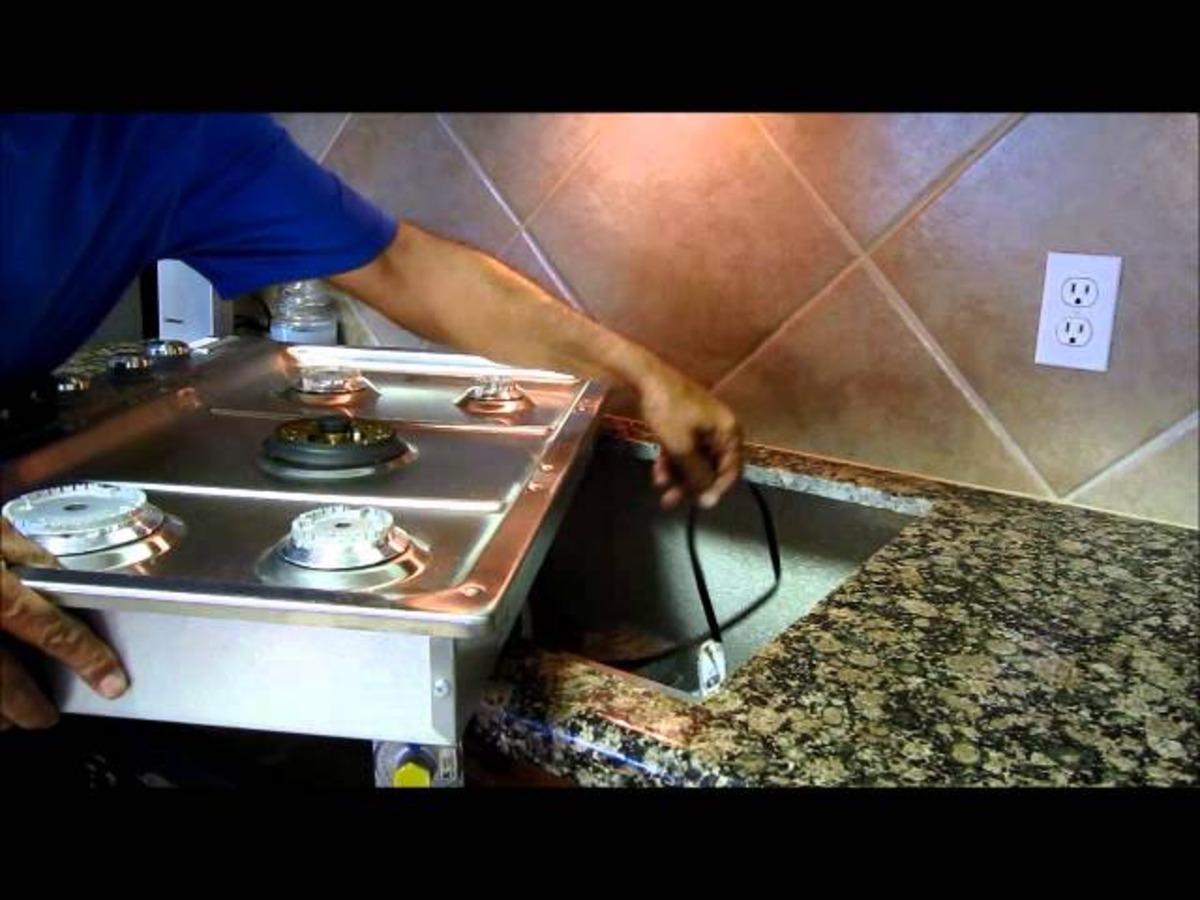
Step 2: Disconnecting the Gas Line
Once you have successfully shut off the gas supply, it’s time to disconnect the gas line from your dryer. This step requires careful handling to avoid any gas leaks or damage to the gas line. Follow these steps:
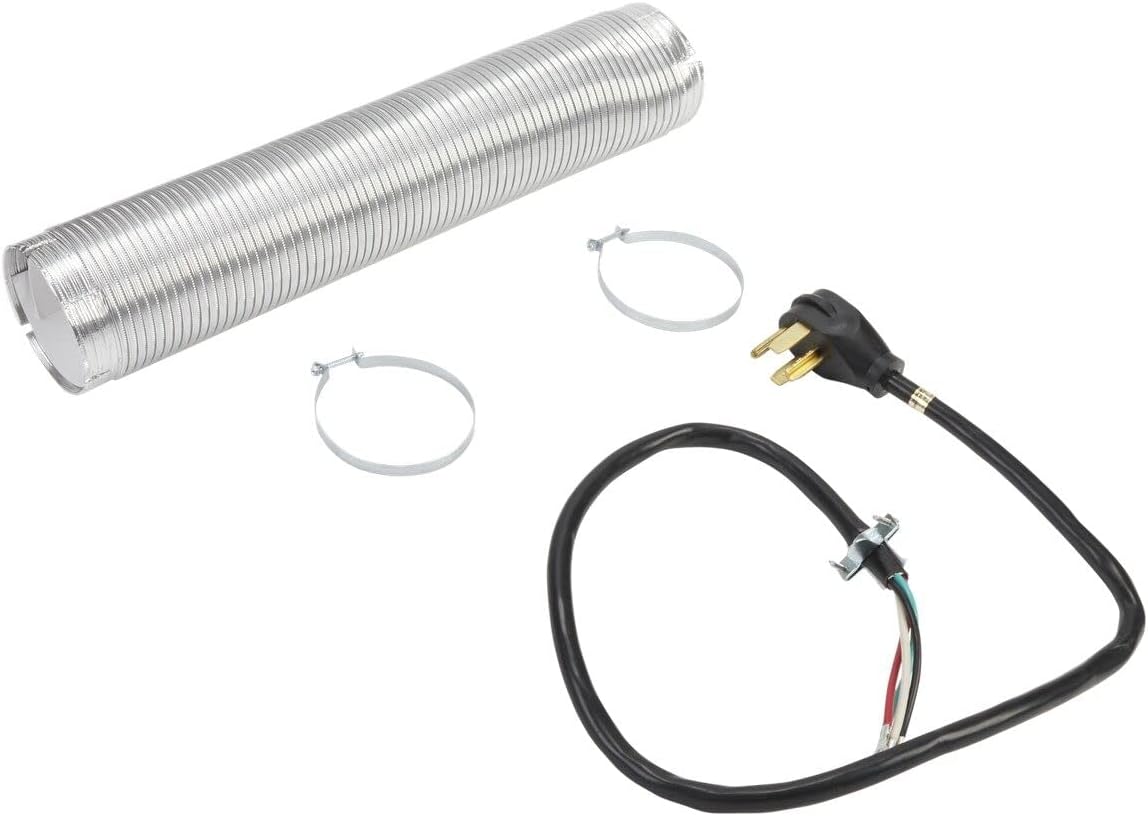
- Locate the gas connection: The gas connection is located at the back of the dryer. It is usually a flexible metal hose or copper tubing.
- Use an adjustable wrench: Place an adjustable wrench on the fitting or coupling of the gas line where it attaches to the back of the dryer. Hold the valve with one wrench to keep it from turning while you use another wrench to loosen the connection in a counterclockwise direction.
- Disconnect the gas line: Once the connection is loose, continue to unscrew it by hand until it is completely separated from the dryer. Be cautious as there might be some residual gas in the line.
- Cap the gas line: To avoid any gas leakage, it is recommended to cap the open end of the gas line with an appropriate cap or plug. This will prevent dust or debris from entering the line and also help ensure its integrity.
It’s important to note that if you detect any gas odor or suspect a gas leak during this process, immediately stop and leave the area. Contact your gas supplier or a qualified professional to assess and resolve the situation. Do not continue until the issue has been addressed.
With the gas line disconnected and properly capped, you can now proceed to the next step: detaching the venting hose.
When unhooking a gas dryer, always turn off the gas supply valve first to ensure safety. Then, carefully disconnect the gas line and the vent hose before moving the dryer.
Read more: How To Unhook A Washer
Step 3: Detaching the Venting Hose
Detaching the venting hose is the next step in unhooking your gas dryer. The venting hose connects the dryer to the external vent, allowing hot air and moisture to be released outside of your home. Follow these steps to disconnect the venting hose:
- Locate the venting hose: The venting hose is typically connected to the back of the dryer and extends to the wall or an external vent.
- Loosen the clamp: Using a screwdriver or pliers, loosen the clamp that holds the venting hose in place at the back of the dryer. This will allow you to slide the hose off the dryer’s exhaust vent.
- Remove the hose from the wall or external vent: Carefully pull the venting hose away from the wall or external vent. It may be connected with a clamp or screwed in place. Loosen any screws or clamps and gently detach the hose.
- Inspect the venting hose: Take a moment to inspect the venting hose for any signs of damage, such as cracks or tears. If you notice any damage, it is advisable to replace the hose before reinstalling the dryer.
Once the venting hose is detached and inspected, you can move on to the next step: removing the dryer from the wall.
Keep in mind that proper ventilation is essential when operating a gas dryer. If the venting hose is obstructed or damaged, it can impact the dryer’s efficiency and safety. Make sure to check and clean the venting system regularly to maintain optimal performance.
Step 4: Removing the Dryer from the Wall
Now that the gas line and venting hose are disconnected, the next step is to remove the dryer from its current position against the wall. This step requires caution and may require some assistance if the dryer is heavy. Follow these steps:
- Ensure sufficient space: Clear any obstacles or items near the dryer to create ample space for removal.
- Unplug the power cord: Locate the power cord connected to the back of the dryer and unplug it from the electrical outlet.
- Move the dryer away from the wall: Gently pull the dryer away from the wall, ensuring that it moves smoothly without any obstructions.
- Ask for assistance if needed: If the dryer is too heavy or difficult to move alone, ask for help from a friend or family member to ensure a safe removal.
While moving the dryer, be mindful of any attached hoses or cords that may still be connected. Take care not to damage the walls or flooring during the process.
Once the dryer is successfully removed from the wall, you can proceed to the next step: disconnecting the power cord.
Remember to handle the dryer with caution and avoid excessive pulling or jerking to prevent any potential injuries or damage.
Step 5: Disconnecting the Power Cord
With the dryer now removed from the wall, it’s time to disconnect the power cord. Safely disconnecting the power cord ensures that there is no electrical supply to the dryer while you work on it. Follow these steps:
- Locate the power cord: The power cord is typically located at the back of the dryer and connected to an electrical outlet.
- Unplug the power cord: Firmly grasp the power cord plug and gently pull it out of the electrical outlet.
- Inspect the power cord: Take a moment to visually inspect the power cord for any signs of damage, such as frayed wires or exposed insulation. If you notice any damage, it is essential to replace the power cord before reconnecting the dryer.
- Secure the power cord: Once the power cord is disconnected, you can either tuck it safely behind or to the side of the dryer, or wrap it up and secure it with a cord tie or Velcro strap.
By disconnecting the power cord, you eliminate the risk of electric shock while working on the dryer. Ensure that the power cord remains disconnected throughout the entire process.
With the power cord safely disconnected, you are now ready to move on to the final step: removing the dryer from the laundry area.
Remember to handle the power cord with care and avoid bending or damaging it during the disconnection and removal process.
Step 6: Removing the Dryer from the Laundry Area
In the final step of unhooking a gas dryer, you will remove the dryer from the laundry area. This step involves safely navigating the dryer out of the room or space it is located in. Follow these steps:
- Ensure a clear path: Clear any obstacles or items that may be in the way of removing the dryer.
- Slide the dryer away from the wall: With the power cord disconnected, gently slide the dryer away from the wall, ensuring that it moves smoothly without any obstructions.
- Assess the route: Evaluate the best path to navigate the dryer out of the room or space. This may involve turning the dryer sideways or angling it to fit through doorways or tight spaces.
- Ask for assistance if needed: If the dryer is heavy or difficult to maneuver, ask for help from a friend or family member to ensure a safe removal.
- Take precautions when maneuvering: Be cautious of the dryer’s weight and size. Use proper lifting techniques and avoid any sudden movements or jerking motions.
- Remove the dryer from the laundry area: Carefully guide the dryer out of the room or space, ensuring its stability and avoiding any damage to walls, doors, or flooring.
By following these steps, you can safely remove the gas dryer from the laundry area. Take your time and be cautious throughout the process to prevent any injuries or damage.
Once the dryer is successfully removed from the laundry area, you have completed the process of unhooking a gas dryer. You can now proceed with any maintenance, relocation, or replacement tasks as needed.
Remember to reconnect the gas line, venting hose, and power cord when reinstalling the gas dryer in its new location. If you are unsure or uncomfortable with any step of the reinstallation process, it is best to consult a professional to ensure proper installation and safety.
Read more: How To Tell If A Dryer Is Gas Or Electric
Conclusion
Unhooking a gas dryer may seem like a complex task, but by following the step-by-step process and taking necessary safety precautions, you can successfully disconnect the dryer from its current location. Whether you are moving, performing maintenance, or replacing the dryer, understanding how to safely disconnect the gas dryer is essential.
In this article, we covered the important safety precautions to prioritize, such as shutting off the gas supply, wearing protective gear, and checking for gas leaks. We also discussed the necessary tools you’ll need, including adjustable wrenches, pliers, and gas line sealant.
Through each step, we guided you on shutting off the gas supply, disconnecting the gas line, detaching the venting hose, removing the dryer from the wall, disconnecting the power cord, and finally, removing the dryer from the laundry area.
Always remember to exercise caution when working with gas appliances and to consult a professional if you are uncertain or uncomfortable with any step of the process. Safety should be the main priority throughout the entire unhooking process.
By following these steps and taking the necessary precautions, you can confidently unhook your gas dryer and proceed with your desired tasks, whether it’s relocating the dryer, performing maintenance, or replacing it altogether.
As with any home appliance, it’s important to refer to the manufacturer’s instructions and guidelines for specific details and recommended procedures. When in doubt, seeking professional assistance can provide peace of mind and ensure a smooth and safe disconnection process.
Now that you have the knowledge and understanding, you are ready to unhook your gas dryer with confidence, convenience, and most importantly, safety.
Now that you've mastered unhooking your gas dryer, consider maintaining your entire home to keep every space in tip-top shape. Our detailed guide on home upkeep offers practical advice and simple steps to ensure your living space remains safe, functional, and inviting. Whether you're tackling routine cleaning or preparing for seasonal changes, this resource is packed with valuable insights for homeowners. Don't miss out on these essential tips to extend the lifespan of your home's systems and appliances.
Frequently Asked Questions about How To Unhook A Gas Dryer
Was this page helpful?
At Storables.com, we guarantee accurate and reliable information. Our content, validated by Expert Board Contributors, is crafted following stringent Editorial Policies. We're committed to providing you with well-researched, expert-backed insights for all your informational needs.


0 thoughts on “How To Unhook A Gas Dryer”