
Articles
How To Unhook A Washer
Modified: October 20, 2024
Learn the step-by-step process of how to unhook a washer with this informative article. Expert tips and advice for a seamless disconnection.
(Many of the links in this article redirect to a specific reviewed product. Your purchase of these products through affiliate links helps to generate commission for Storables.com, at no extra cost. Learn more)
Introduction
Unhooking a washer may seem like a simple task, but it’s important to do it correctly to avoid any unnecessary damage or accidents. Whether you’re moving to a new home, replacing your old washer, or just need to access the back of the machine for maintenance, knowing how to safely unhook a washer is essential.
In this article, we will guide you through each step of the process to ensure a smooth and hassle-free experience. By following these instructions carefully, you’ll be able to unhook your washer with ease and without any complications.
Before we dive into the details, it’s crucial to emphasize the importance of safety. Make sure to wear appropriate protective gear, such as gloves and safety goggles, to avoid any injuries. Additionally, always disconnect the power supply and shut off the water source before starting the unhooking process.
Now, let’s gather the necessary tools and materials to get started.
Key Takeaways:
- Safety First!
Before unhooking your washer, prioritize safety by wearing protective gear, shutting off the water supply, and unplugging the appliance. This ensures a smooth and accident-free unhooking process. - Preparation is Key
Gather the necessary tools and materials, such as an adjustable wrench, pliers, and labels, to efficiently unhook your washer without unnecessary hiccups or delays.
Read more: How To Unhook A Dryer Vent
Step 1: Gather necessary tools and materials
Before you begin unhooking your washer, it’s important to have the right tools and materials on hand. This will ensure that you can complete the task efficiently and without any hiccups. Here are the essential items you’ll need:
- Adjustable wrench: This versatile tool will come in handy for loosening and tightening water hose connections.
- Pliers: You may need pliers to remove hose clamps or to help with other disconnection tasks.
- Screwdriver: Depending on the type of mounting screws used for your washer, you may need a regular or Phillips head screwdriver.
- Bucket or basin: Having a bucket or basin nearby will enable you to catch any remaining water in the hoses before disconnecting them.
- Tape or labels: To avoid confusion during reinstallation, it’s helpful to label or tape the electrical connections, water hoses, and drain hose.
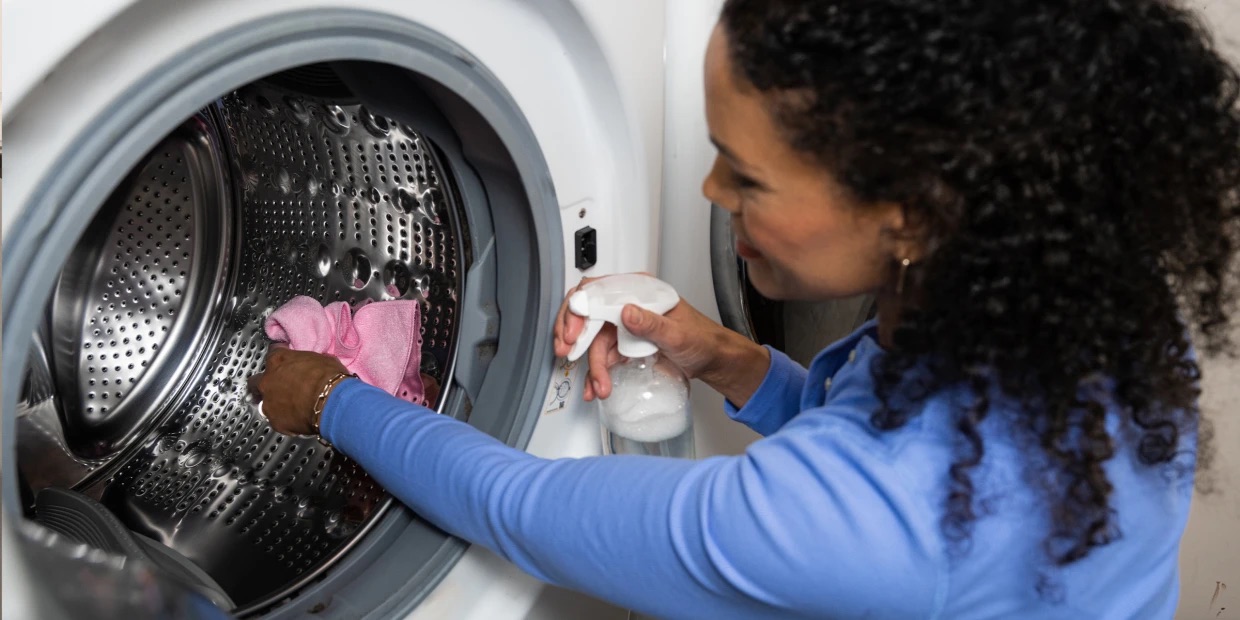
- Cleaning supplies: After unhooking the washer, you may want to clean the area and remove any accumulated dust or debris.
Having these tools and materials readily available will save you time and prevent any unnecessary trips back and forth while unhooking your washer.
Now that you’re well-equipped, let’s move on to the next step: shutting off the water supply.
Step 2: Shut off water supply
Before you can safely unhook your washer, it’s crucial to shut off the water supply. This step is necessary to prevent any water leakage or flooding during the disconnection process. Here’s how you can do it:
- Locate the water valves: Depending on the installation, the water valves will either be behind the washer or in a nearby utility room. These valves control the flow of water to the washer.
- Turn off the hot and cold water valves: Using your adjustable wrench, turn the valves clockwise (to the right) until they are fully closed. This will shut off the water supply to the washer.
- Test the water supply: To ensure that the water supply has been properly shut off, turn on the washer’s faucet or try running a quick rinse cycle. If no water comes out, it indicates that you have successfully shut off the water supply.
By shutting off the water supply, you eliminate the risk of any accidental leaks or water damage while unhooking your washer. Now that the water is off, let’s move on to the next step: disconnecting the water hoses.
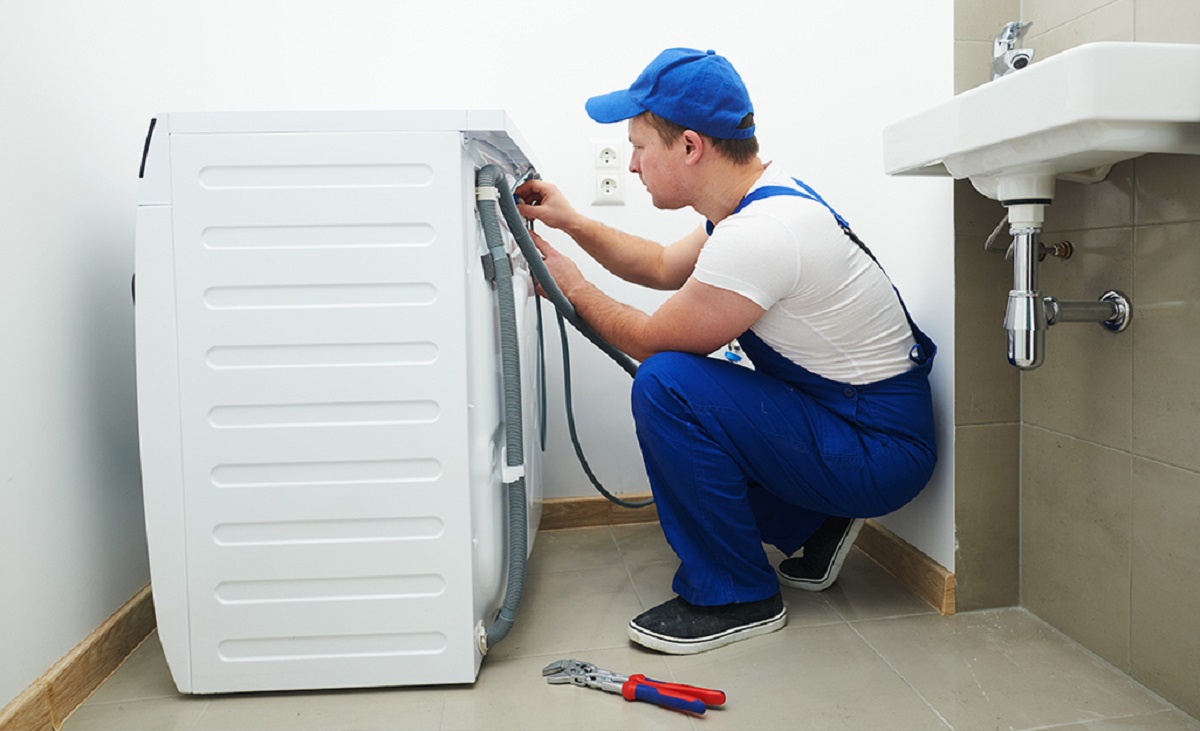
Step 3: Disconnect water hoses
Now that you have shut off the water supply, it’s time to disconnect the water hoses from the washer. Follow these steps to safely and effectively disconnect the hoses:
- Make sure the washer is completely powered off and unplugged from the electrical outlet.
- Locate the water hoses: The water hoses are typically connected to the back of the washer. They are usually color-coded, with blue indicating the cold water hose and red indicating the hot water hose.
- Using your adjustable wrench, loosen the hose connections: Place the wrench on the hose connection nut and turn it counterclockwise (to the left) to loosen it. Repeat this step for both the hot and cold water hoses.
- Once the connections are loosened, carefully remove the hoses: Gently pull the hoses away from the washer. You may need to wiggle them back and forth to loosen them completely.
- Keep a bucket or basin nearby to catch any water that may still be in the hoses. Some water may remain, so be prepared to empty it into the bucket.
- Inspect the hoses for any signs of damage or wear: Check for cracks, leaks, or worn-out washers. If any issues are found, it’s advisable to replace the hoses before reconnecting them.
- If necessary, use pliers to remove hose clamps: Some washers may have hose clamps securing the hoses to the washer. Use pliers to loosen and remove the clamps if needed.
With the water hoses successfully disconnected, you can now move on to the next step: disconnecting the drain hose.
Step 4: Disconnect drain hose
Now that you have disconnected the water hoses, it’s time to tackle the drain hose. The drain hose is responsible for removing the dirty water from the washer. Follow these steps to safely disconnect the drain hose:
- Locate the drain hose: The drain hose is usually positioned near the back of the washer and is connected to a drain pipe or utility sink.
- Ensure the washer is turned off and unplugged from the power source.
- If the drain hose is secured with a clamp, use pliers to loosen and remove it. Set the clamp aside for later use, if needed.
- Inspect the end of the drain hose for any water drain plugs or ties: Some washers have drain plugs or ties to prevent water from leaking during transport. If present, remove them to allow water to flow freely.
- With a firm grip on the drain hose, pull it out of the drain pipe or sink: Be cautious of any remaining water inside the hose. Aim it towards a bucket or basin to catch any residual water.
- Examine the drain hose for any signs of damage: Look for cracks, blockages, or discoloration. If the hose is damaged, it’s advisable to replace it before reinstalling your washer.
With the drain hose successfully disconnected, you can now proceed to the next step: unplugging the washer from the electrical outlet.
Read more: How To Unhook A Gas Dryer
Step 5: Unplug the washer
Before you can safely move or manipulate your washer, it’s crucial to unplug it from the electrical outlet. This step will protect you from any potential electrical hazards and ensure a safe disconnection process. Follow these steps to unplug your washer:
- Locate the power cord at the back of your washer.
- Ensure the washer is turned off.
- Safely grab the plug and firmly pull it out of the electrical outlet. Avoid yanking the cord to prevent any damage to the cord or the outlet itself.
- Evaluate the condition of the power cord: Inspect it for any visible signs of wear, fraying, or damage. If the cord is damaged, it’s essential to replace it before using the washer again.
- Secure the power cord: You can either bundle it together with twist ties or simply place it out of the way to prevent any tripping hazards or damage during the moving process.
With the washer safely unplugged from the electrical outlet, you have successfully completed the fifth step of unhooking your washer. The next step will involve removing the back panel of the washer, so let’s move on to that.
Before unhooking a washer, always turn off the water supply and unplug the machine to avoid any potential accidents or water damage.
Step 6: Remove back panel
To access the internal components of your washer and properly unhook it, you need to remove the back panel. Follow these steps to safely remove the back panel:
- Ensure that the washer is turned off and unplugged from the power source.
- Locate the screws securing the back panel: They are typically located along the perimeter of the back panel.
- Using a screwdriver that matches the type of screws, carefully loosen and remove all the screws. Place them in a secure location, so you don’t misplace them.
- Once all the screws are removed, gently pull the back panel away from the washer. Be cautious not to force it or damage any components inside.
- Set the back panel aside in a safe area where it won’t get damaged.
By removing the back panel, you have gained access to the internal workings of your washer. This will allow you to proceed with the next steps of the unhooking process, including disconnecting electrical connections.
Before moving on, take a moment to ensure that the area is well-lit, and you have clear visibility of the washer’s interior. This will make it easier to identify and disconnect the electrical connections in the following step.
Step 7: Disconnect electrical connections
Now that you have removed the back panel of your washer, it’s time to disconnect the electrical connections. Follow these steps to safely disconnect the electrical connections:
- Ensure that the washer is turned off and unplugged from the power source.
- Locate the electrical connections: These connections will vary depending on the make and model of your washer but commonly include a power supply cord, control board connections, and other wiring connections.
- Identify the type of electrical connections: Some connections may have locking mechanisms, while others may require gentle pulling or pressing on release tabs.
- If there are locking tabs, press or squeeze them to release the connection.
- If there are no locking tabs, carefully grip the connectors and gently pull them apart. Avoid pulling on the wires themselves, as this can cause damage.
- Repeat the process for all the electrical connections, labeling them if necessary to ensure proper reassembly.
- Inspect the electrical connections for any signs of damage, corrosion, or loose wires. If any issues are found, it’s crucial to address them before reconnecting the washer.
By disconnecting the electrical connections, you have successfully prepared your washer for the next step: removing the mounting screws. Before proceeding, take a moment to ensure that all the electrical connections are disconnected and easily accessible.
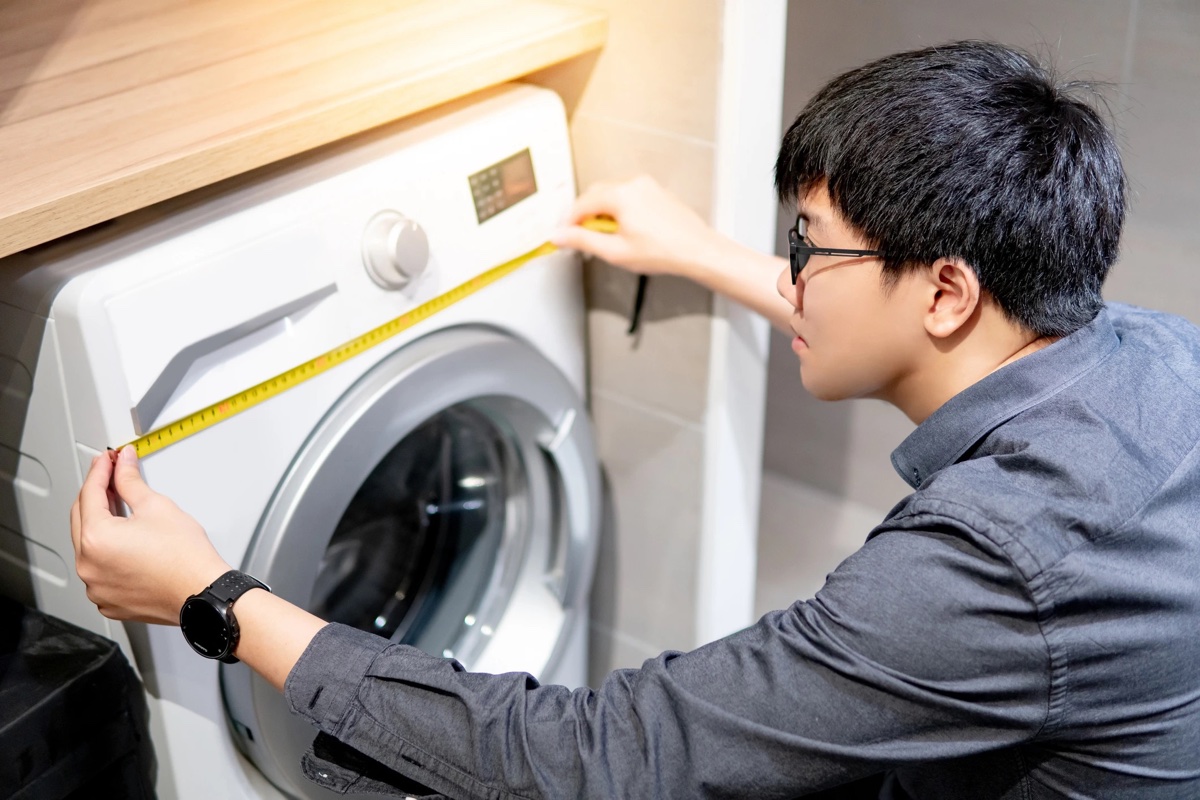
Step 8: Remove mounting screws
Now that you have disconnected the electrical connections, it’s time to remove the mounting screws that secure your washer in place. These screws keep the washer stabilized during operation and transportation. Follow these steps to safely remove the mounting screws:
- Ensure that the washer is turned off and unplugged from the power source.
- Locate the mounting screws: These screws are typically located at the top and bottom of the washer, securing it to the surrounding structure or brackets.
- Using a screwdriver that matches the type of screws, carefully loosen and remove the mounting screws. Be sure to keep track of them for reassembly.
- If the screws are tightly secured, consider using a bit of lubricant or penetrating oil to help loosen them.
- Once the screws are removed, place them in a secure location to avoid misplacing them.
Removing the mounting screws will allow the washer to be easily unhooked and moved. However, it’s important to exercise caution and ensure the washer is balanced and stable before proceeding to the next step.
Now that the mounting screws are removed, let’s move on to the next step: carefully pulling out the washer.
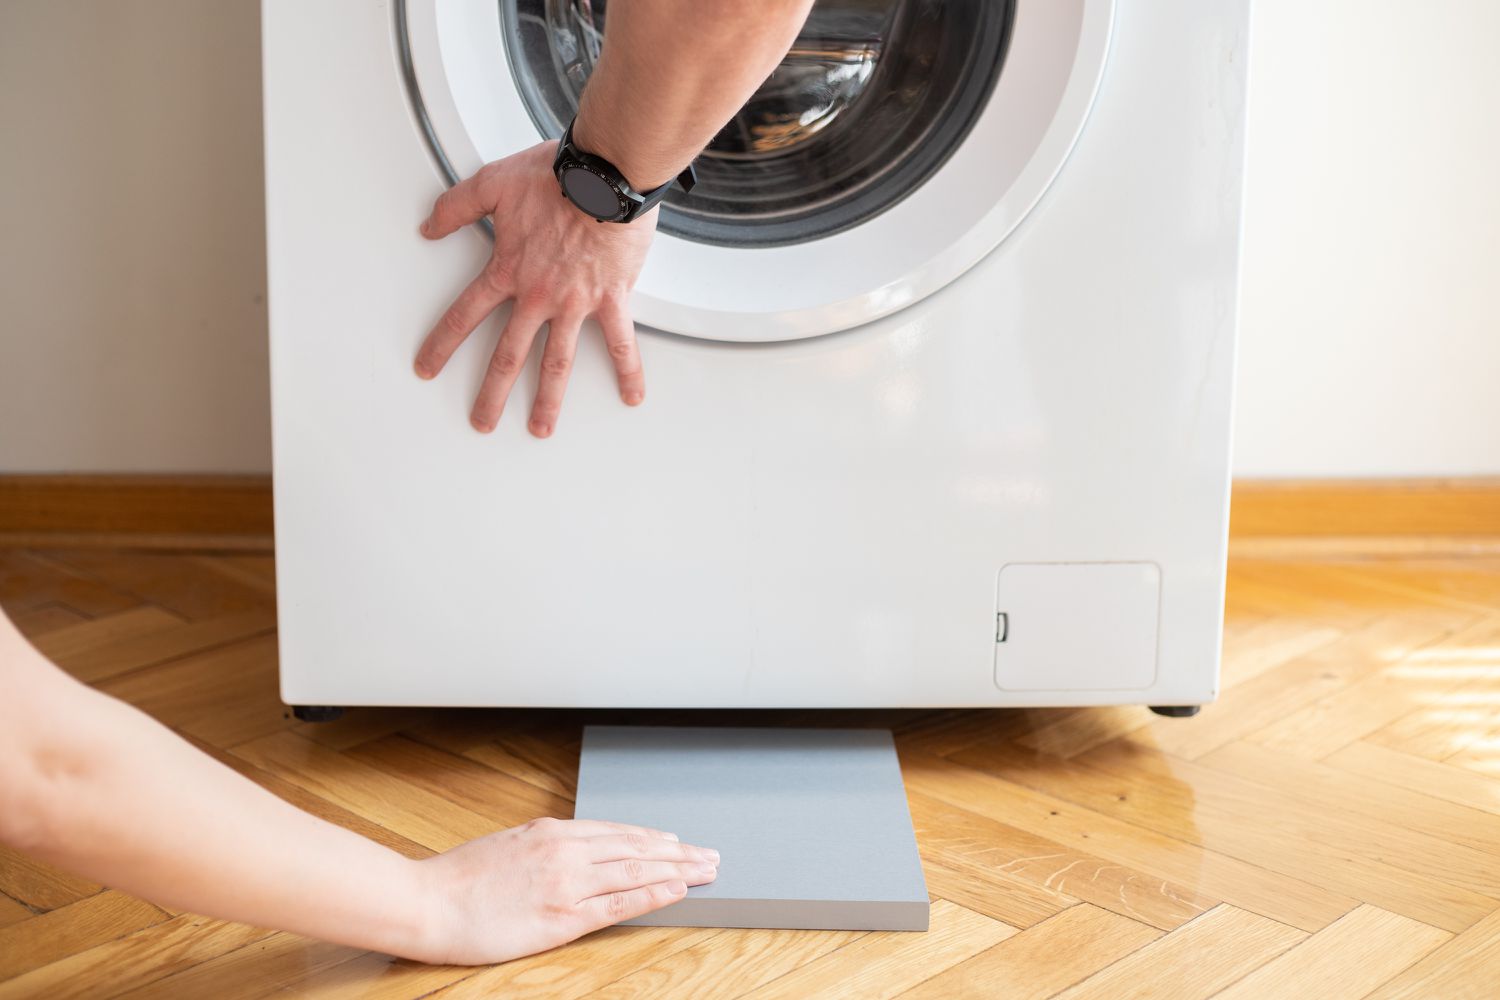
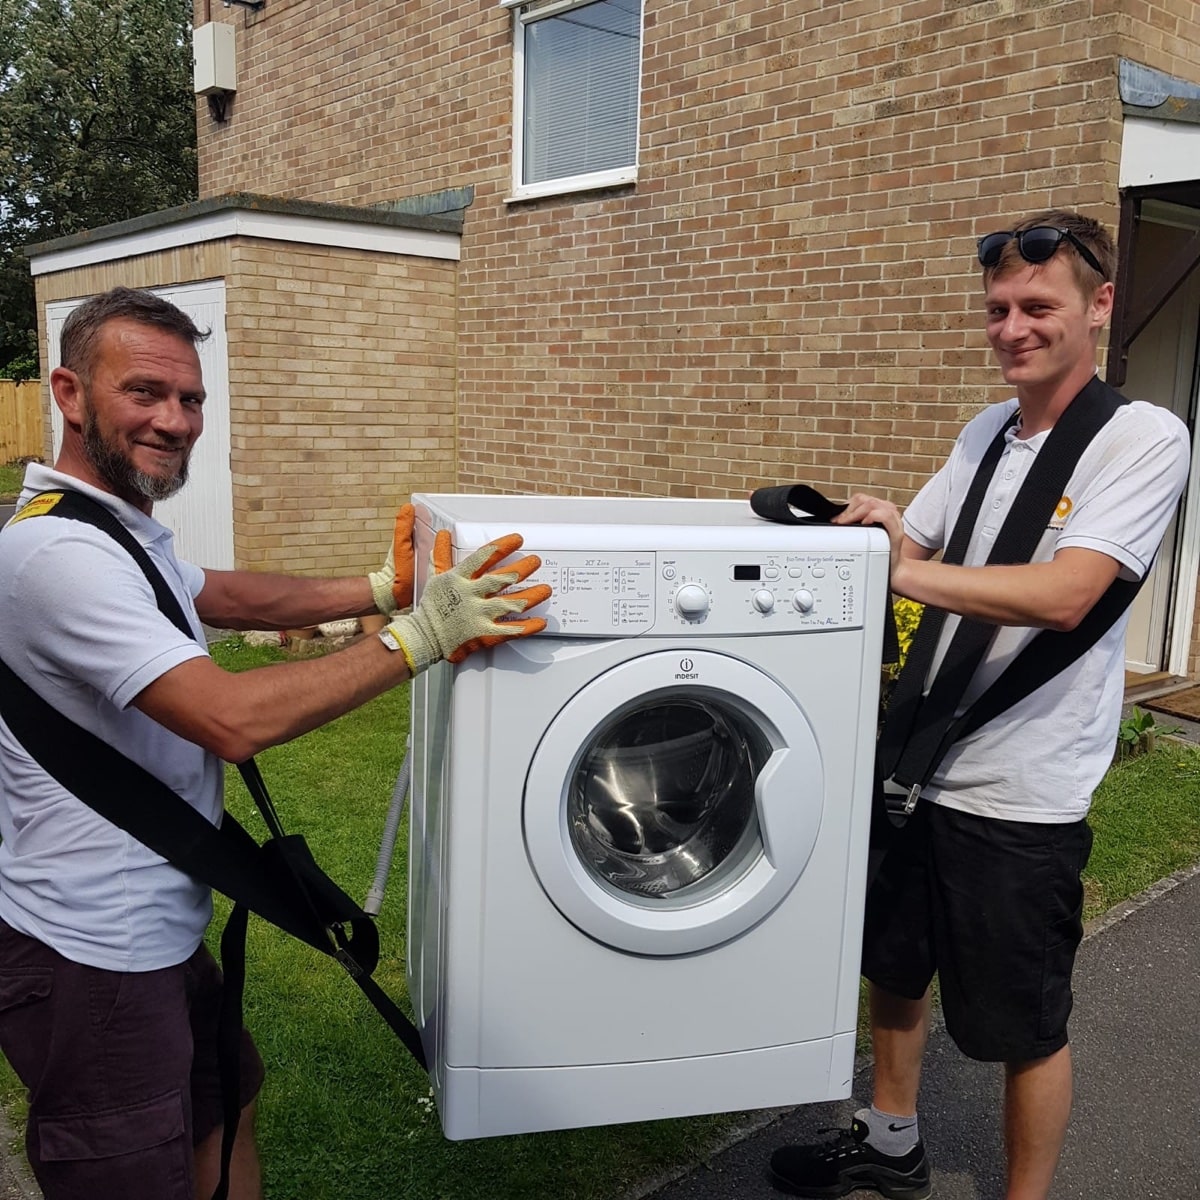
Step 9: Carefully pull out the washer
With the mounting screws removed, you’re now ready to carefully pull out the washer from its current position. Follow these steps to safely and effectively pull out the washer:
- Ensure that the washer is turned off and unplugged from the power source.
- Make sure there is ample space around the washer to maneuver it.
- Position yourself in front of the washer, firmly gripping both sides of the appliance.
- Slowly and steadily pull the washer towards you, using your legs and core muscles to provide support and avoid straining your back.
- Pay attention to any obstacles or wires that may still be connected to the washer as you move it.
- If you encounter any resistance, stop pulling and assess the situation. Ensure that all connections and hoses are properly disconnected before proceeding.
- Continue pulling the washer out until it is fully disengaged from its original position.
It’s important to exercise caution and patience when pulling out the washer to avoid any damage to the appliance or surrounding surfaces. Take your time and make sure you have a clear path before proceeding.
Now that the washer is successfully pulled out, let’s move on to the final step: cleaning and preparing the area for the next installation.
Step 10: Clean and prepare the area
Now that you have successfully unhooked your washer, it’s important to clean and prepare the area before reinstalling or moving in a new washer. Follow these steps to ensure a clean and well-prepared space:
- Remove any dust, debris, or detergent spills around the area where the washer was previously located. Use a broom, vacuum cleaner, or damp cloth to clean the floor and surrounding surfaces.
- Inspect and clean the water and drain connections: Check for any blockages, leakage, or dirt. If necessary, use a cleaning solution and a brush to clean the connections and remove any buildup.
- If you plan to install a new washer, check the area for any required modifications or adjustments. Ensure that the electrical outlet, water supply, and drain connections are in optimal condition and meet the specifications of the new washer.
- If you’re not installing a new washer immediately, consider covering the water and drain connections with protective caps or plugs to prevent debris or dust from entering.
- Take a moment to review the user manual or manufacturer’s guidelines for any specific cleaning or maintenance instructions regarding the area where the washer was positioned.
Cleaning and preparing the area not only ensures a clean and organized space but also helps maintain the functionality and longevity of your washer. By following these steps, you’re ready to either reinstall your washer or prepare the area for the arrival of a new appliance.
Congratulations! You have successfully unhooked your washer and completed all the necessary steps. Now you can move or replace your washer with confidence, knowing that you have taken the proper precautions and followed the correct procedures for a safe and efficient unhooking process.
Frequently Asked Questions about How To Unhook A Washer
Was this page helpful?
At Storables.com, we guarantee accurate and reliable information. Our content, validated by Expert Board Contributors, is crafted following stringent Editorial Policies. We're committed to providing you with well-researched, expert-backed insights for all your informational needs.


0 thoughts on “How To Unhook A Washer”