Articles
How To Unhook A Single Wall Towel Ring
Modified: March 1, 2024
Learn how to unhook a single wall towel ring with our informative articles. Get step-by-step instructions and expert tips to easily remove your towel ring.
(Many of the links in this article redirect to a specific reviewed product. Your purchase of these products through affiliate links helps to generate commission for Storables.com, at no extra cost. Learn more)
Introduction
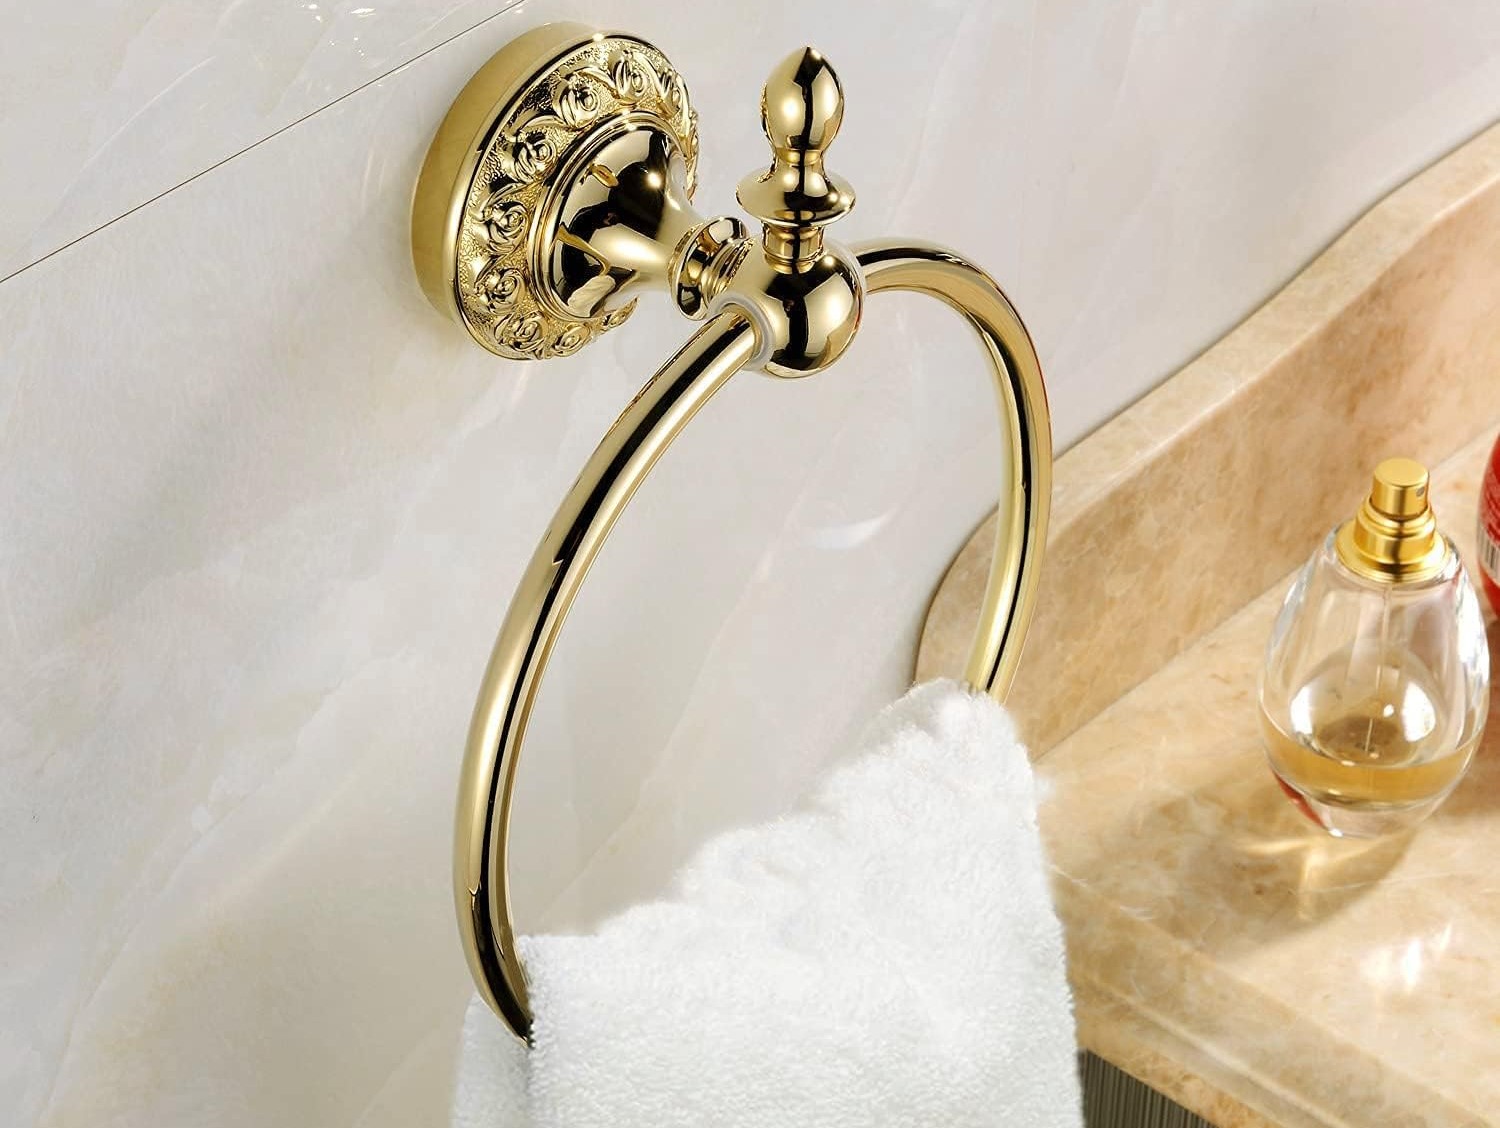
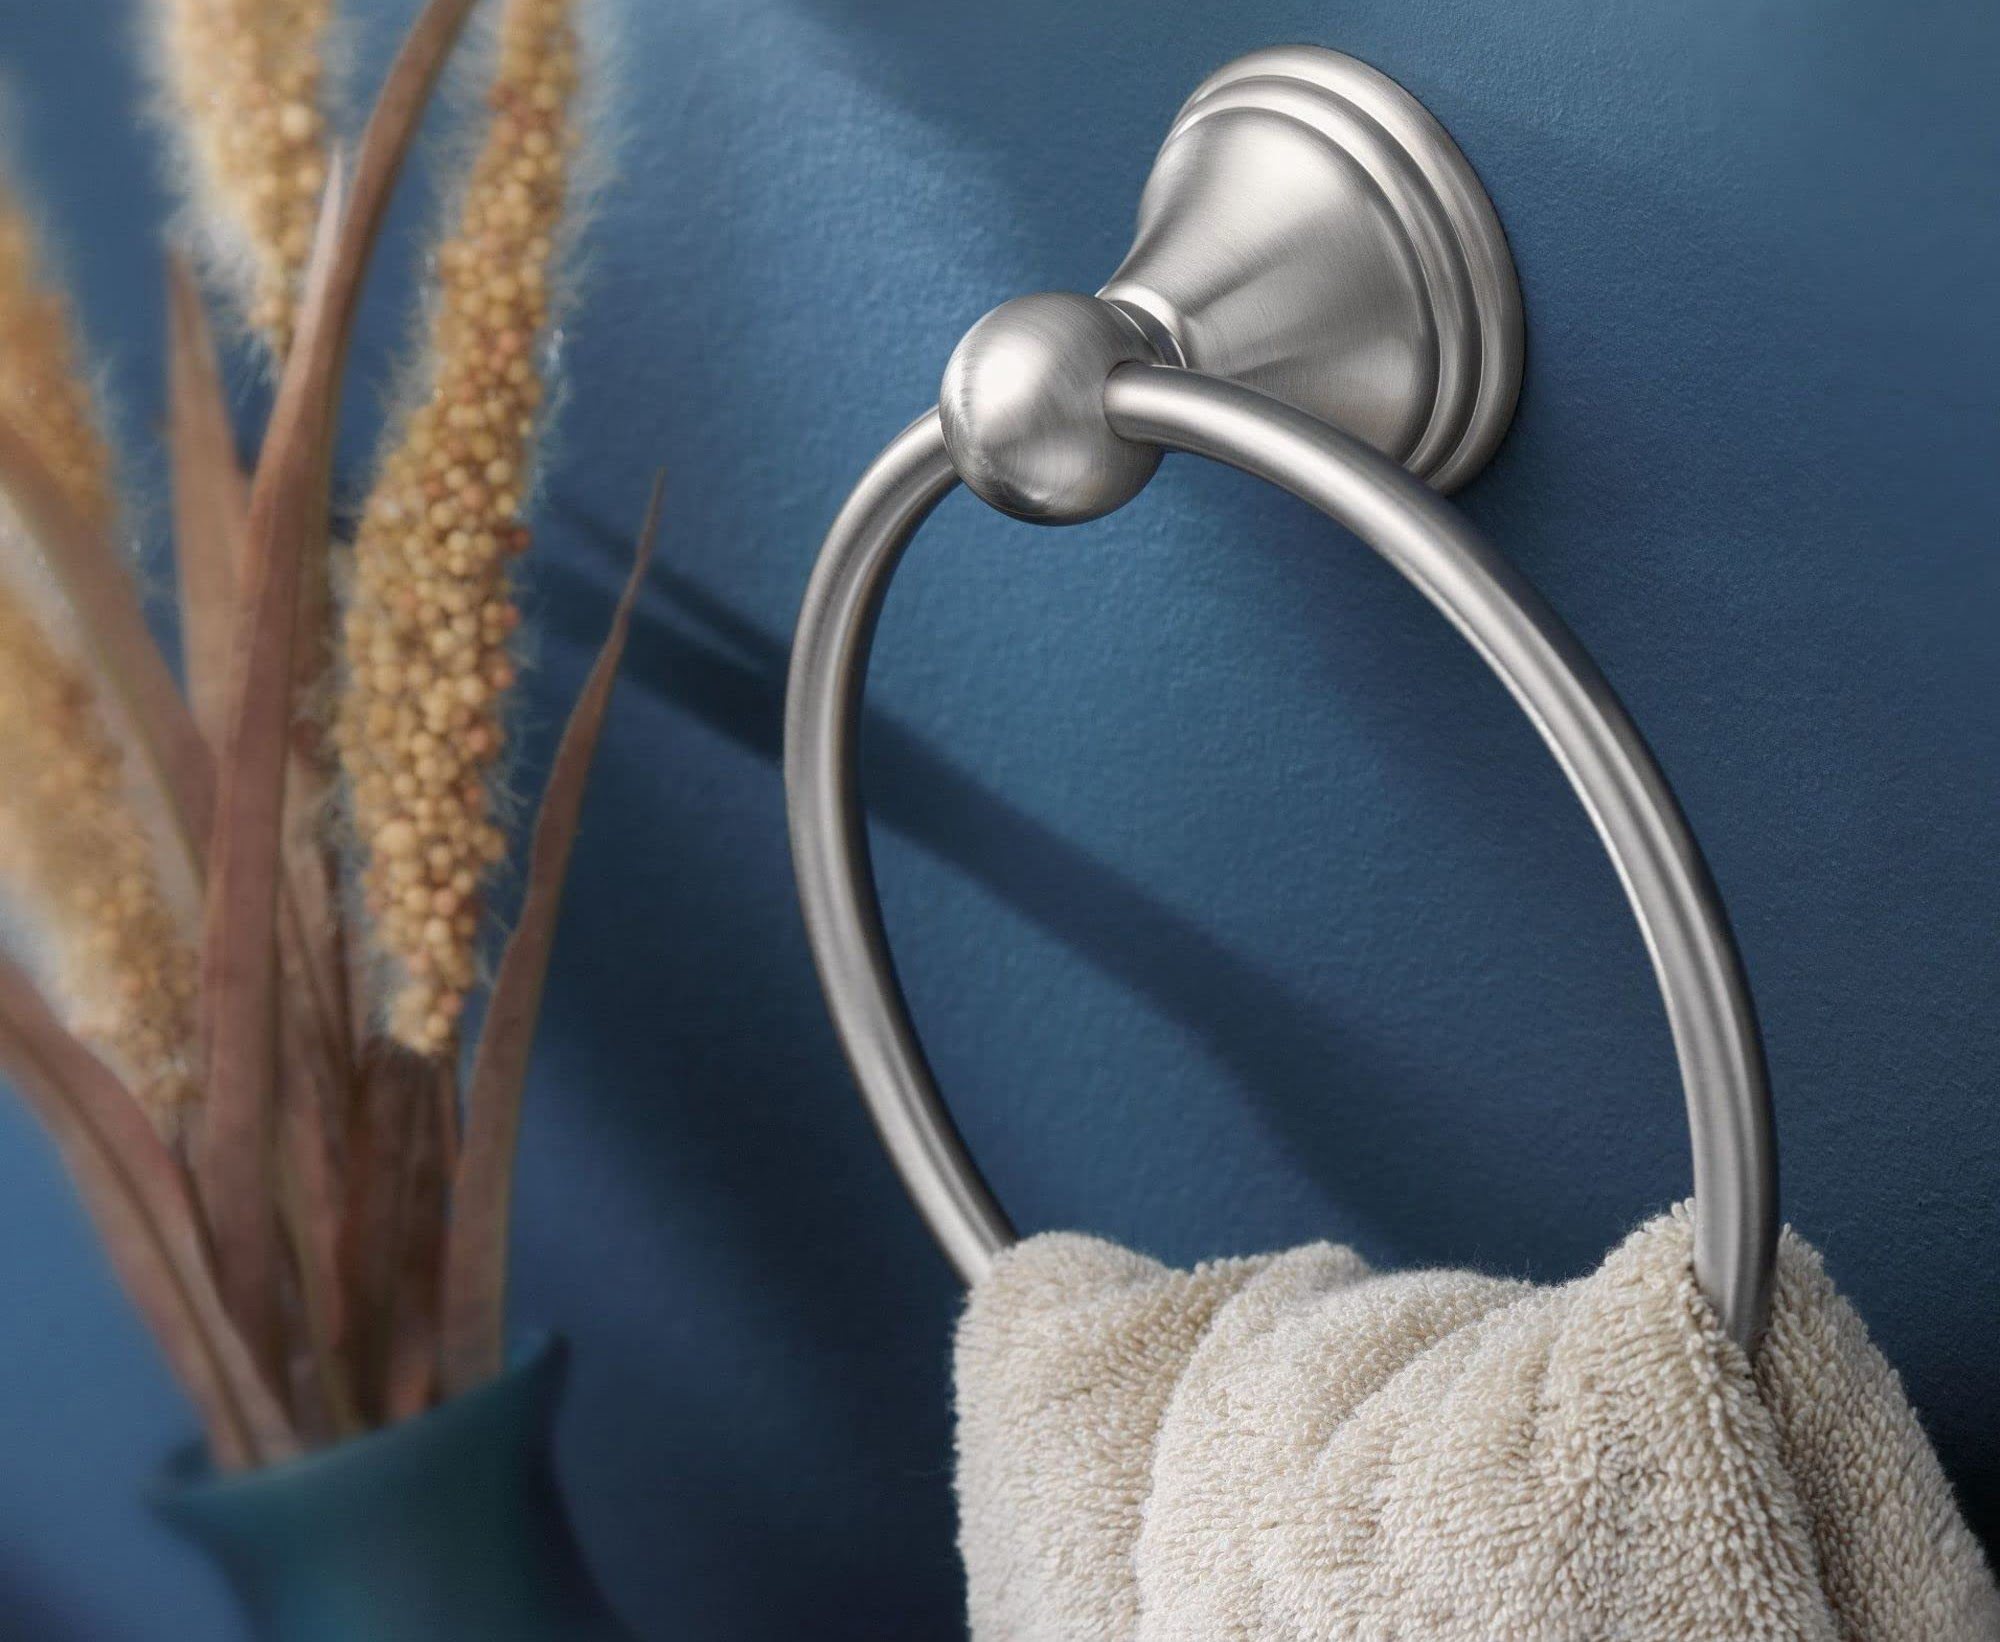
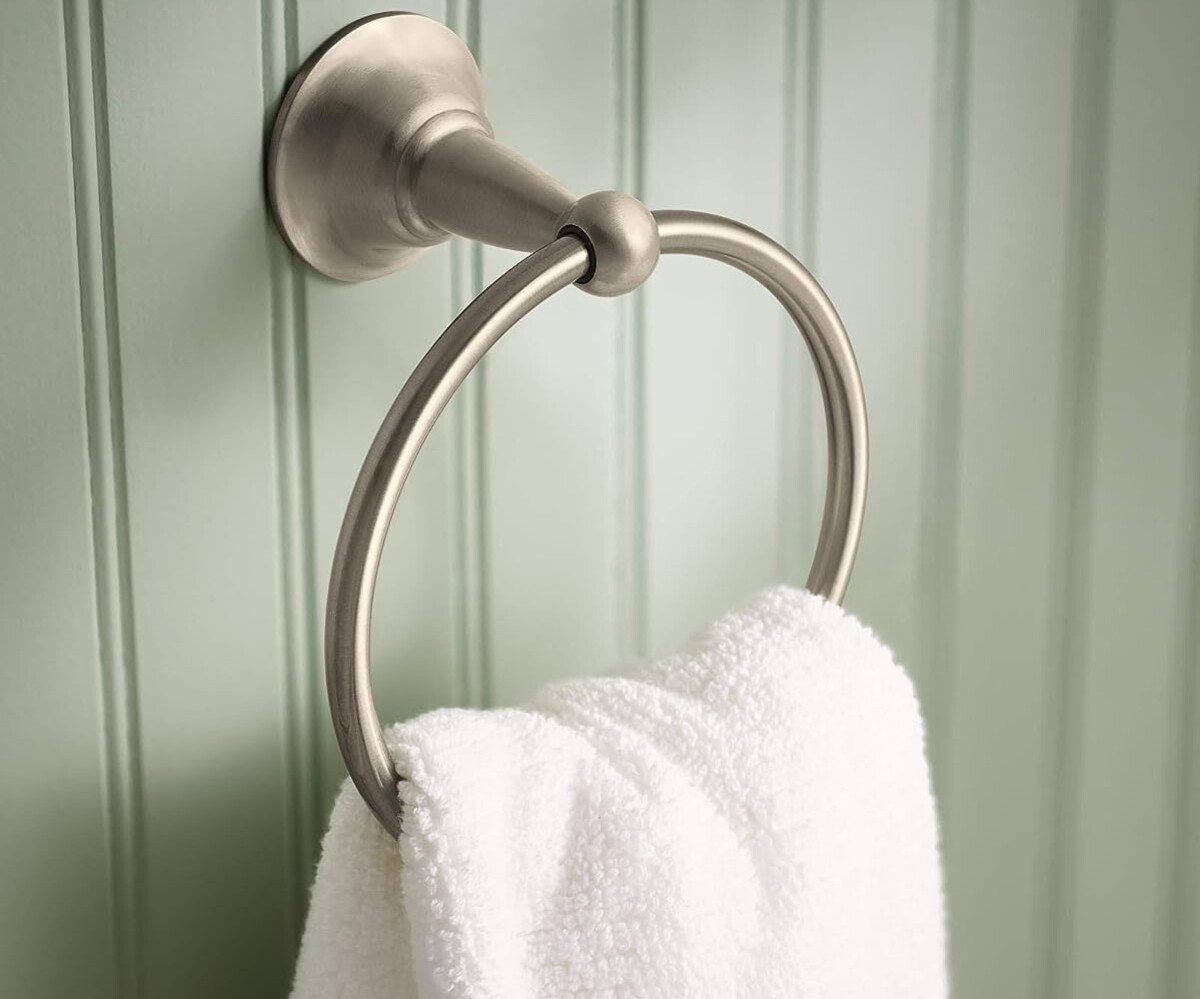
Having a towel ring in your bathroom is a convenient and stylish way to keep your towels within easy reach. However, there may come a time when you need to unhook or remove a single wall towel ring. Whether you’re redecorating, relocating the towel ring, or simply replacing it, knowing how to properly remove it is essential to avoid any damage to the wall. In this article, we will guide you through the step-by-step process of unhooking a single wall towel ring.
Before you begin, it’s important to gather the necessary tools and materials to ensure a smooth removal process. You will need:
- Phillips head screwdriver or Allen wrench (depending on the type of screws)
- Putty knife or scraper (optional)
- Spackle or wall putty (if you plan to patch or repair the wall)
- Sandpaper (if you plan to patch or repair the wall)
- New towel ring (optional)
Once you have these items ready, let’s proceed to the next step.
Key Takeaways:
- Removing a single wall towel ring requires gathering tools, assessing the mounting method, removing the bracket, unscrewing the ring, and optional wall repair. Whether installing a new ring or leaving the wall empty, follow safety guidelines and enjoy a stylish bathroom.
- Unhooking a single wall towel ring involves a step-by-step process, from gathering tools to assessing the mounting method and removing the ring. Whether replacing it or leaving the wall empty, prioritize safety and enjoy a well-maintained bathroom.
Read more: How To Take Towel Ring Off Wall
Step 1: Gather necessary tools and materials
Before you embark on unhooking a single wall towel ring, it’s important to collect the essential tools and materials that will facilitate the removal process. By having these items on hand, you can ensure a smooth and efficient task completion. Here’s a list of what you’ll need:
- Phillips head screwdriver or Allen wrench: These tools will be required to remove the mounting screws that connect the towel ring to the bracket or wall.
- Putty knife or scraper (optional): If you plan on patching or repairing the wall after removing the towel ring, having a putty knife or scraper will allow you to smooth out any imperfections.
- Spackle or wall putty: If you decide to patch or repair the wall, spackle or wall putty will be necessary to fill in any holes or gaps left behind by the mounting bracket.
- Sandpaper: After applying the spackle or wall putty, sandpaper can be used to achieve a smooth and even surface before repainting or wallpapering the wall.
- New towel ring (optional): If you’re planning to replace the old towel ring with a new one, make sure to have the new towel ring ready for installation.
Take a moment to gather these tools and materials before proceeding to the next step. Having everything prepared in advance will ensure a seamless removal process without any unnecessary interruptions.
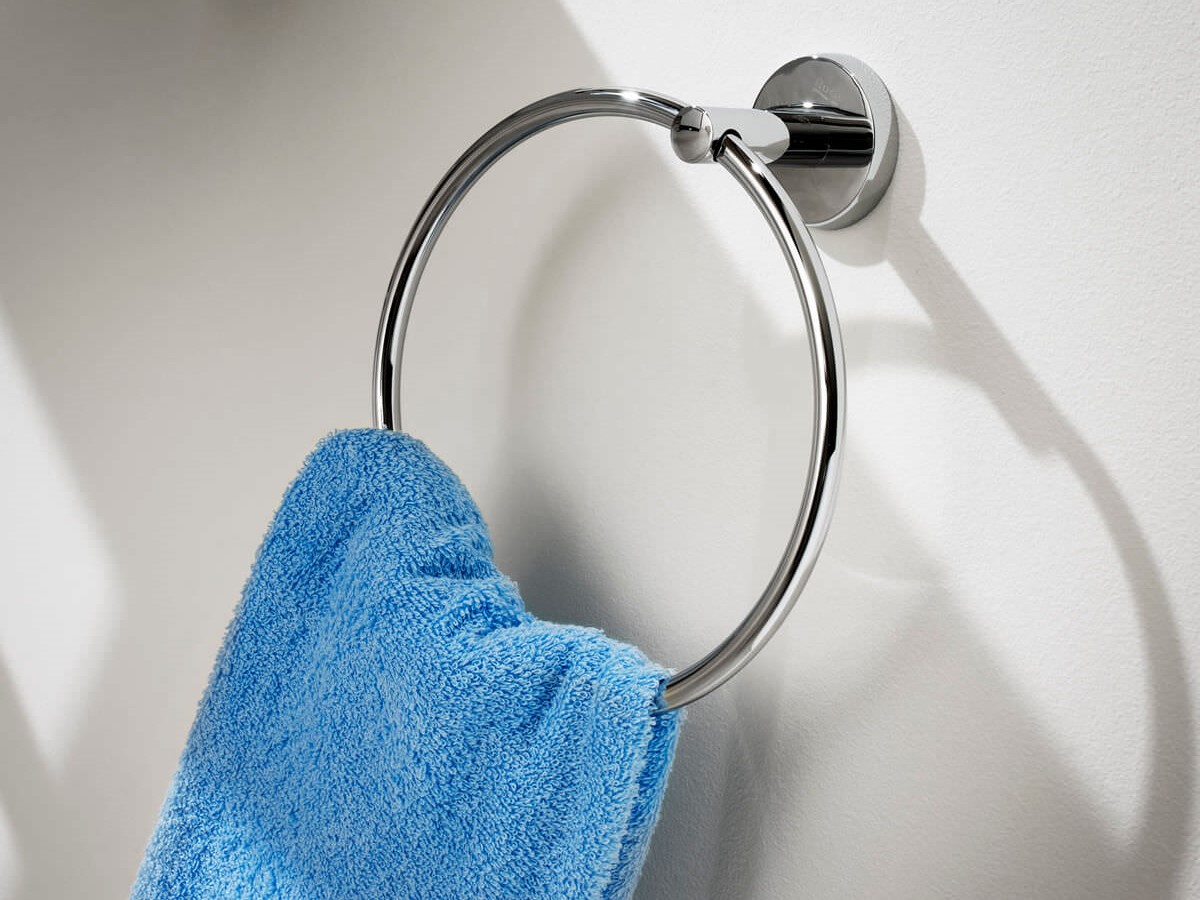
Step 2: Assess the towel ring mounting method
Once you have gathered all the necessary tools and materials, the next step in unhooking a single wall towel ring is to assess the mounting method. Different towel rings may use different mounting mechanisms, so understanding how your towel ring is attached to the wall will help you determine the best approach for removal.
There are generally two common mounting methods for towel rings:
- Screw-mounted: Many towel rings are secured to the wall using screws. These screws are typically located underneath or on the sides of the towel ring, connecting it to a mounting bracket or directly to the wall.
- Adhesive-mounted: Some towel rings utilize adhesive tapes or pads to attach them to the wall. These adhesive mounts can be strong enough to support a towel ring, but they can also be removed without damaging the wall.
Take a close look at your towel ring and try to identify the mounting method. If you see visible screws, you likely have a screw-mounted towel ring. If there are no visible screws and the towel ring appears to be attached directly to the wall or bracket, it may be adhesive-mounted.
Understanding the mounting method is crucial as it will dictate the specific removal steps you need to take. Screw-mounted towel rings require unscrewing the attachment points, while adhesive-mounted towel rings require a different approach to detach them from the wall.
By assessing the mounting method, you can proceed to the next step with a clear understanding of how to proceed with the towel ring removal process.
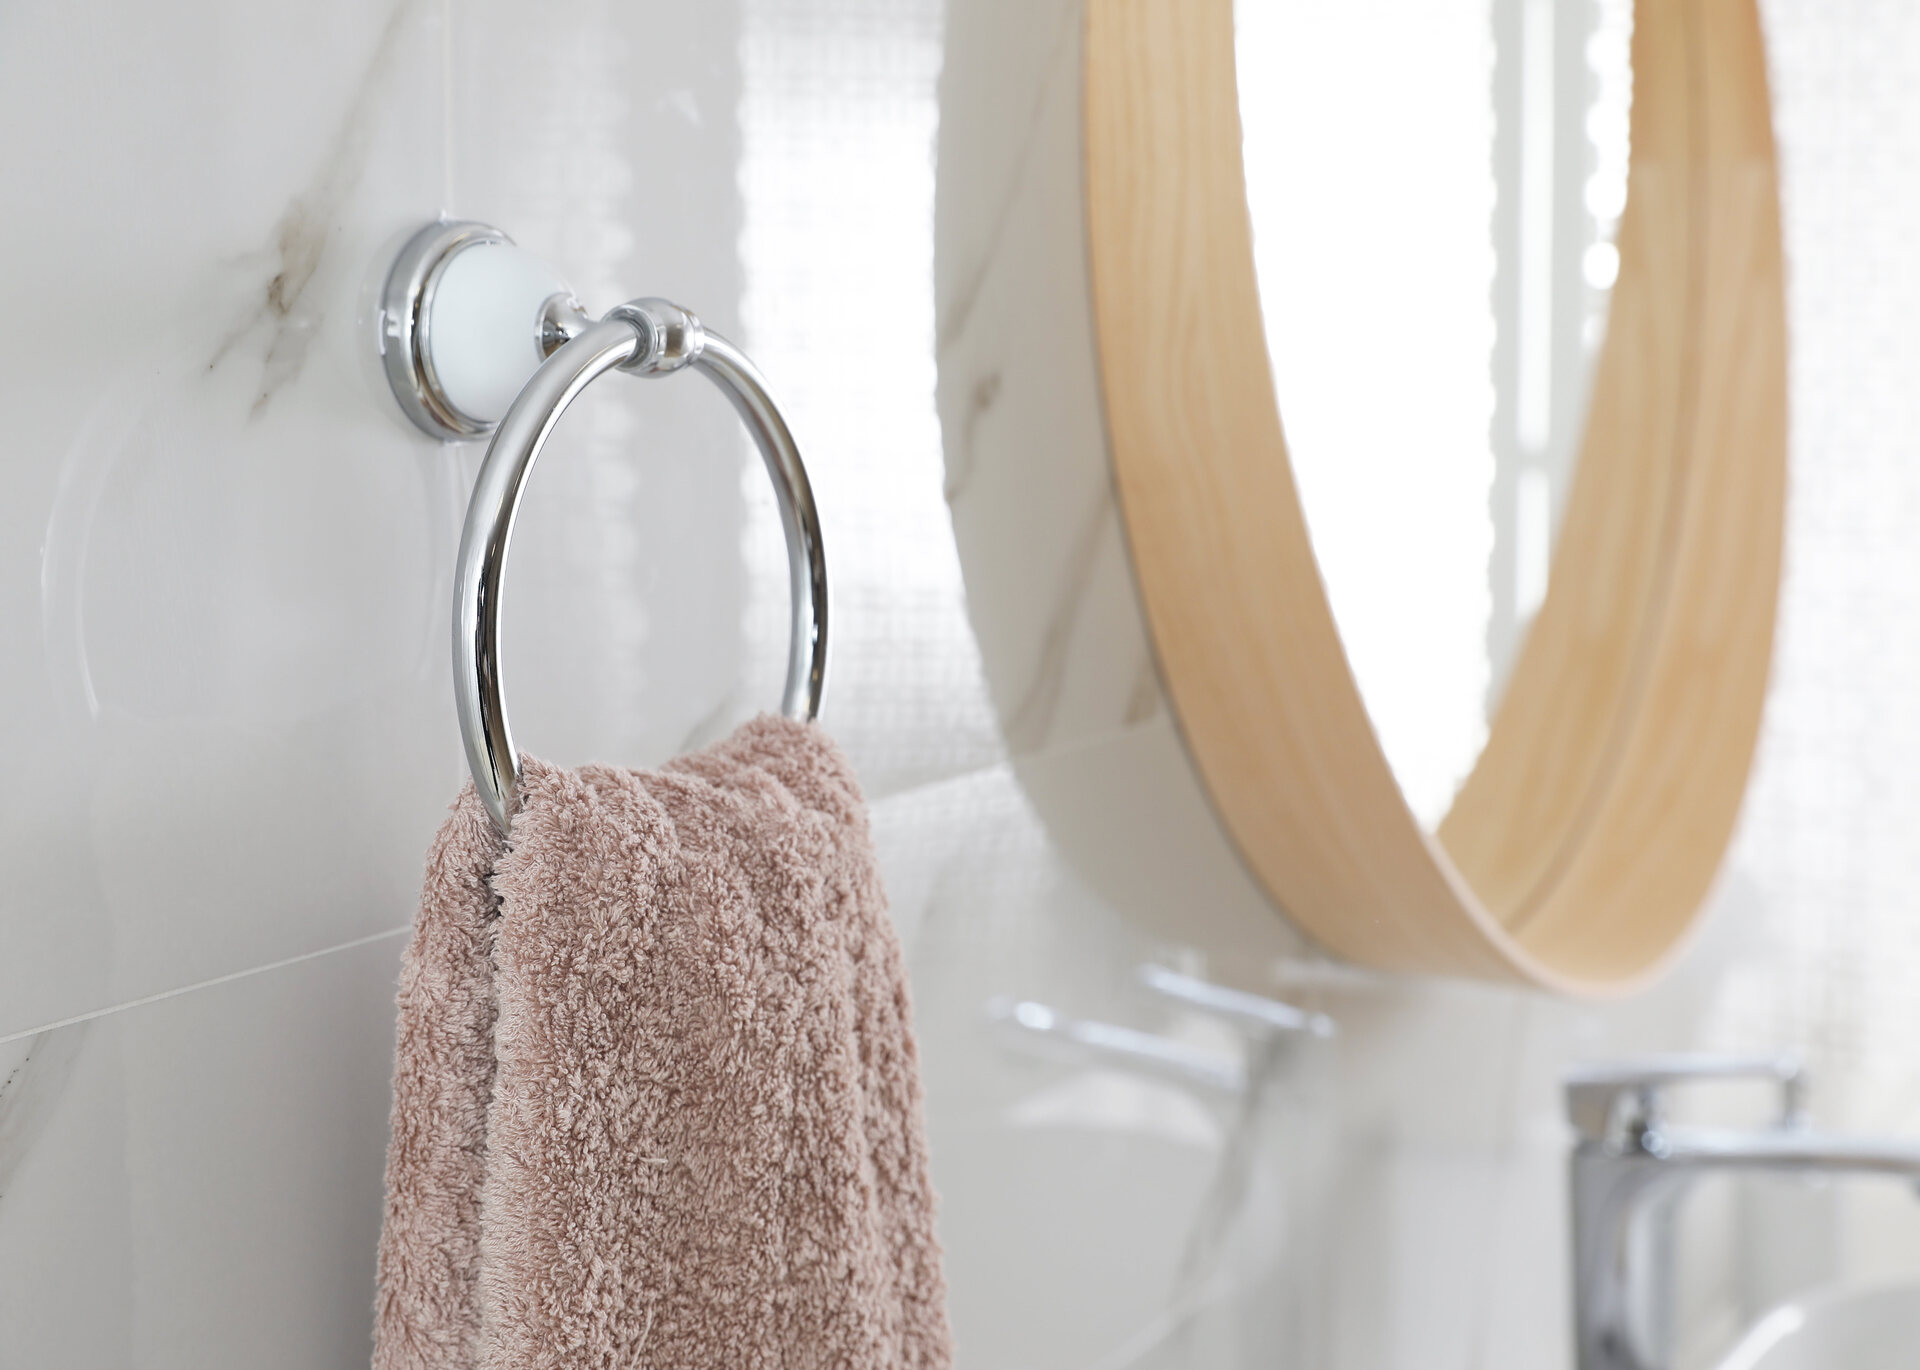
Step 3: Remove the mounting bracket
Once you have determined the mounting method of your towel ring, the next step is to remove the mounting bracket from the wall. This step is applicable for towel rings that are screw-mounted.
Before you begin, make sure you have the appropriate tool, such as a Phillips head screwdriver or an Allen wrench, to remove the screws. Follow these steps to remove the mounting bracket:
- Locate the screws: Inspect the towel ring and locate the screws that secure it to the mounting bracket or directly to the wall. They are typically located underneath or on the sides of the towel ring.
- Loosen the screws: Use the screwdriver or Allen wrench to loosen the screws. Depending on the design, you may need to turn the screw counterclockwise to loosen it. If the screws are tight, apply gentle pressure to avoid damaging the towel ring or the wall.
- Remove the screws: Once the screws are loosened, carefully remove them from the mounting bracket. Set them aside in a safe place to avoid misplacement.
- Detach the towel ring from the bracket: With the screws removed, you can now disconnect the towel ring from the mounting bracket. Gently pull the towel ring away from the wall, ensuring that it is completely free from the bracket.
Once you have successfully removed the mounting bracket, you can set it aside for future use, or if you’re planning to replace the towel ring, you can discard it and move on to the next steps. Assess the condition of the wall and proceed accordingly.
If your towel ring is adhesive-mounted, skip this step and proceed to the next section for instructions on how to unhook an adhesive-mounted towel ring.
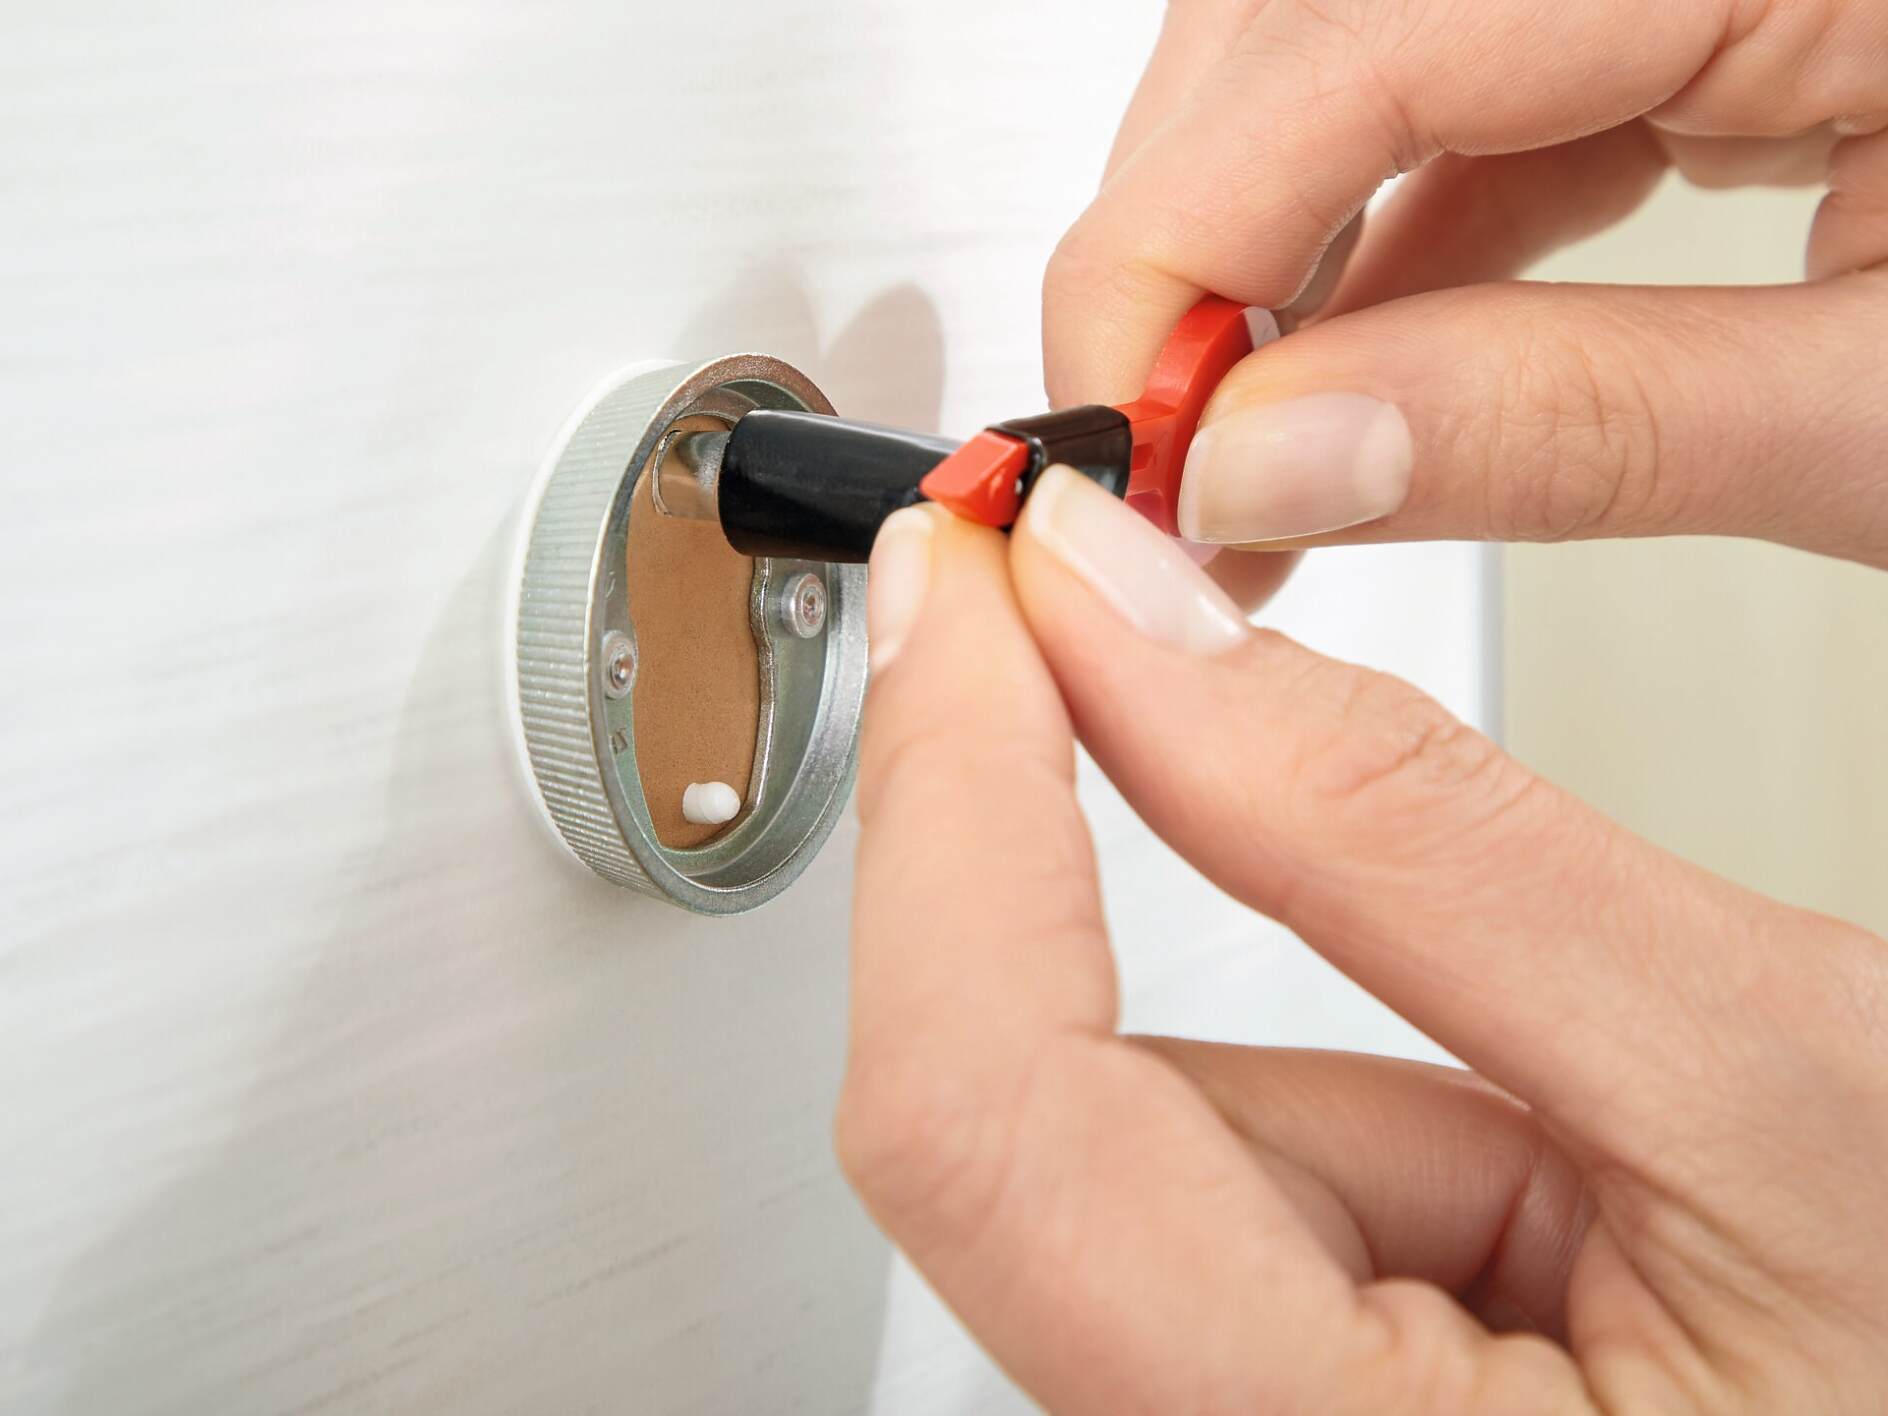
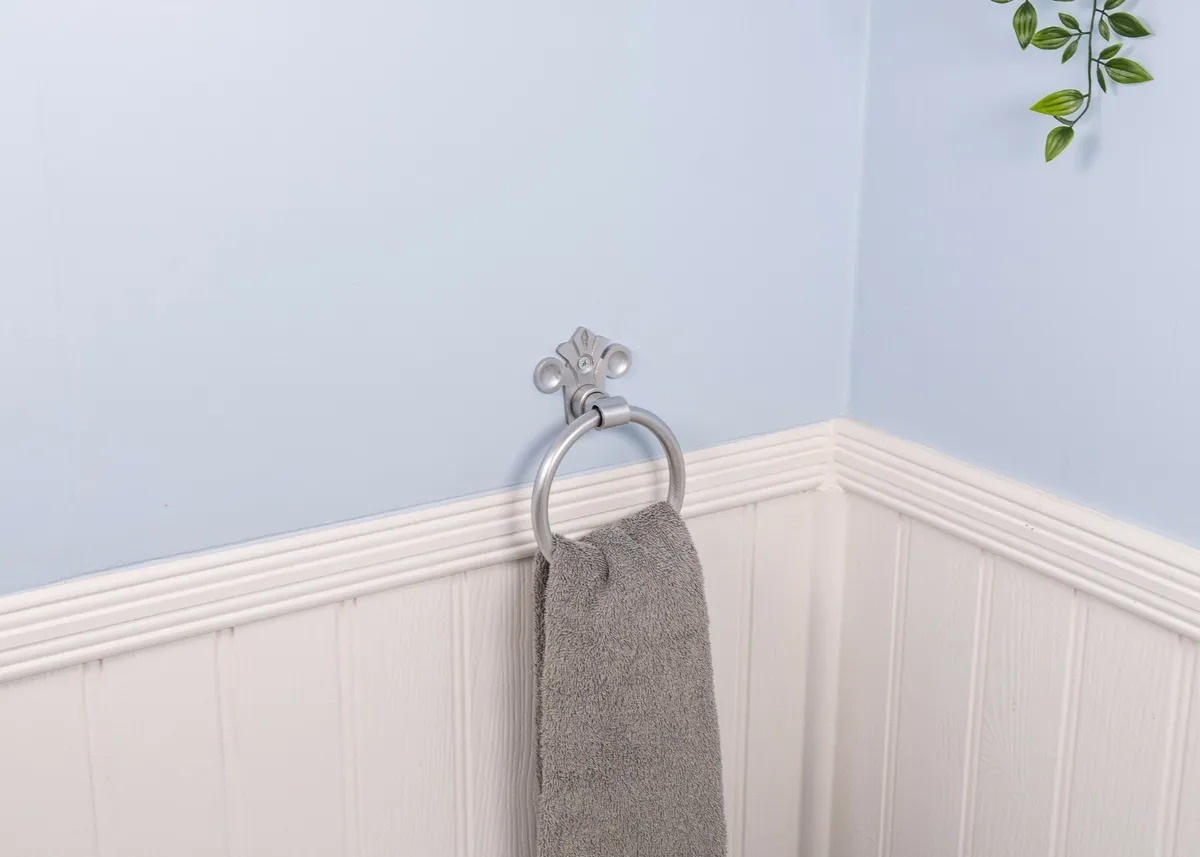
Use a flathead screwdriver to carefully pry off the decorative cover on the base of the towel ring. Then, use a screwdriver to loosen and remove the screws holding the base to the wall.
Step 4: Unscrew the towel ring from the bracket
After removing the mounting bracket, the next step is to unscrew the towel ring from the bracket. This step is applicable for towel rings that are screw-mounted.
Follow these steps to unscrew the towel ring:
- Inspect the towel ring: Take a moment to examine the towel ring and identify the screws that connect it to the mounting bracket. These screws are usually located on the underside of the towel ring or on the sides.
- Use the appropriate tool: Depending on the type of screws used, you may need a Phillips head screwdriver, an Allen wrench, or a similar tool. Select the appropriate tool and insert it into the screw head securely.
- Turn the screws counterclockwise: Apply gentle pressure and turn the screws counterclockwise to loosen them. Be careful not to use excessive force, as it may damage the towel ring or strip the screws.
- Remove the screws: Once the screws are loosened, continue turning them counterclockwise until they are completely removed from the towel ring. Set the screws aside in a safe place to prevent misplacement.
- Detach the towel ring: With the screws removed, the towel ring should be free from the bracket. Gently pull the towel ring away from the bracket, ensuring that it is disconnected completely.
Once you have successfully unscrewed the towel ring from the bracket, set it aside for further use or disposal. Take a moment to inspect the condition of the towel ring and determine if it can be reused or if it needs replacement.
If you’re planning to replace the towel ring, proceed to Step 6 for instructions on how to install a new towel ring. If you’re not replacing the towel ring, you can move on to Step 5 to patch or repair the wall, if necessary.
Read more: What Is A Towel Ring
Step 5: Patch or repair the wall (optional)
After removing the towel ring and the mounting bracket, you may want to take the opportunity to patch or repair the wall if there are any holes, marks, or imperfections left behind. This step is optional and depends on your preference and the condition of the wall.
If you decide to patch or repair the wall, follow these steps:
- Clean the area: Start by cleaning the area where the mounting bracket was attached. Use a damp cloth or sponge to remove any dust, dirt, or residue.
- Fill in holes: If there are any small holes from the screws or mounting bracket, use spackle or wall putty to fill them in. Apply a small amount of spackle to a putty knife or scraper, and spread it over the hole, ensuring a smooth and even surface. Allow it to dry according to the manufacturer’s instructions.
- Sand the patched area: Once the spackle has dried, use sandpaper to gently sand the patched area. This will help blend it with the surrounding wall, creating a seamless finish. Be careful not to sand too aggressively, as it may damage the wall surface.
- Inspect and touch up: After sanding, inspect the patched area to ensure it is smooth and well-blended. If necessary, apply another layer of spackle and repeat the sanding process until you achieve the desired result. Once you are satisfied with the patched area, wipe away any dust with a clean cloth.
It’s important to note that if you have textured or patterned walls, matching the texture or pattern exactly may require more advanced techniques or the assistance of a professional. In such cases, it’s advisable to consult with a professional to ensure a seamless repair.
Once you have patched or repaired the wall, you can proceed to Step 6 if you wish to install a new towel ring or leave the wall empty.
Step 6: Install a new towel ring or leave the wall empty
After removing the towel ring, the mounting bracket, and optionally patching or repairing the wall, you have reached the final step: deciding whether to install a new towel ring or leave the wall empty.
If you choose to install a new towel ring:
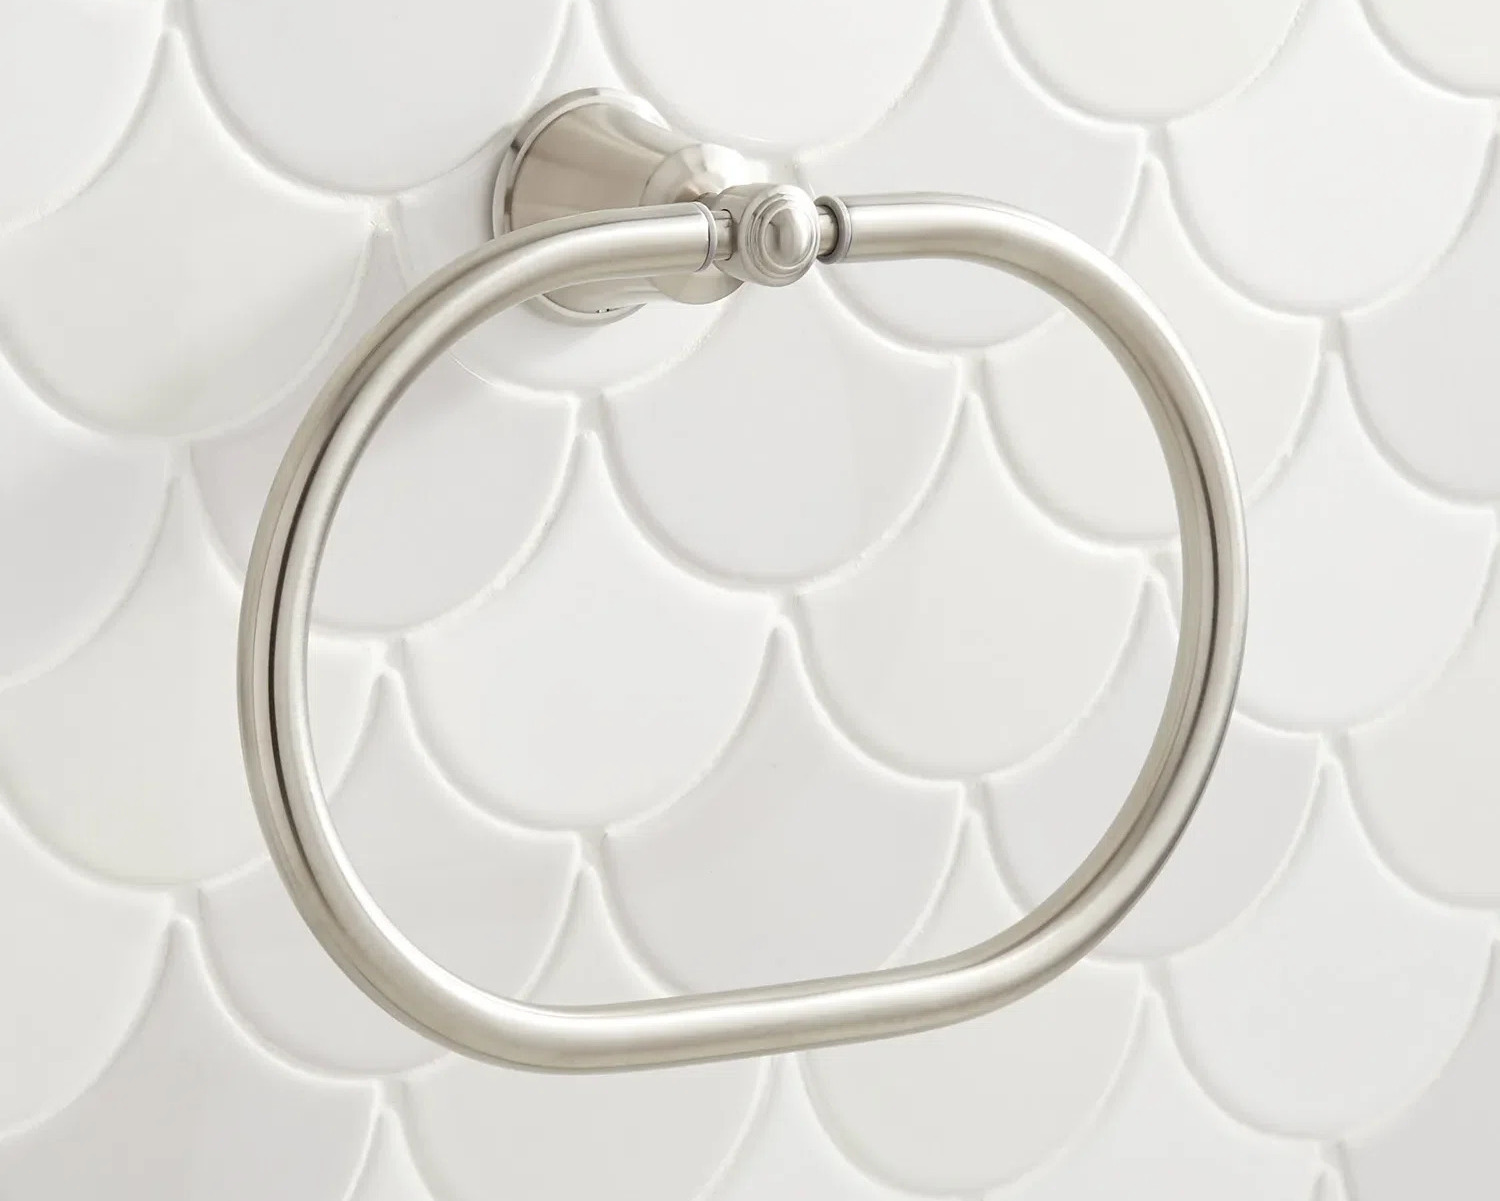
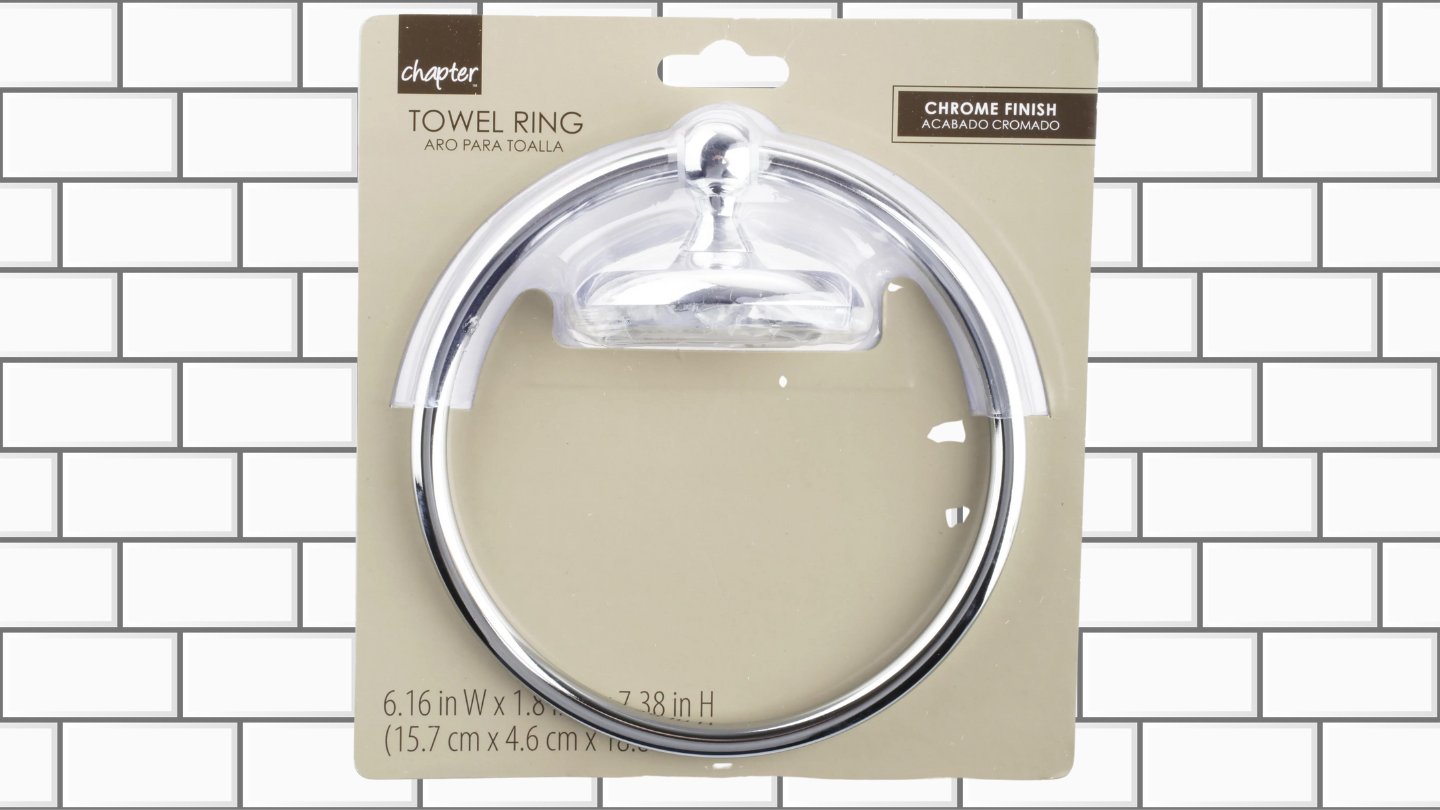
- Select a new towel ring: Choose a towel ring that suits your style and matches the overall aesthetic of your bathroom. Consider factors such as size, finish, and durability.
- Position the mounting bracket: Determine the desired location for the towel ring and mark the mounting holes on the wall using a pencil or a level. Ensure that the marked points are level and evenly spaced.
- Attach the mounting bracket: Using screws appropriate for the wall type, such as drywall anchors or masonry screws, attach the mounting bracket to the marked points on the wall. Make sure it is securely fastened.
- Attach the towel ring: Depending on the design of the towel ring, follow the manufacturer’s instructions to secure it to the mounting bracket. This may involve sliding the towel ring onto the bracket or using screws to attach it.
- Test the towel ring: Give the towel ring a gentle tug to ensure it is securely attached to the mounting bracket. It should feel stable and not wobble or come loose.
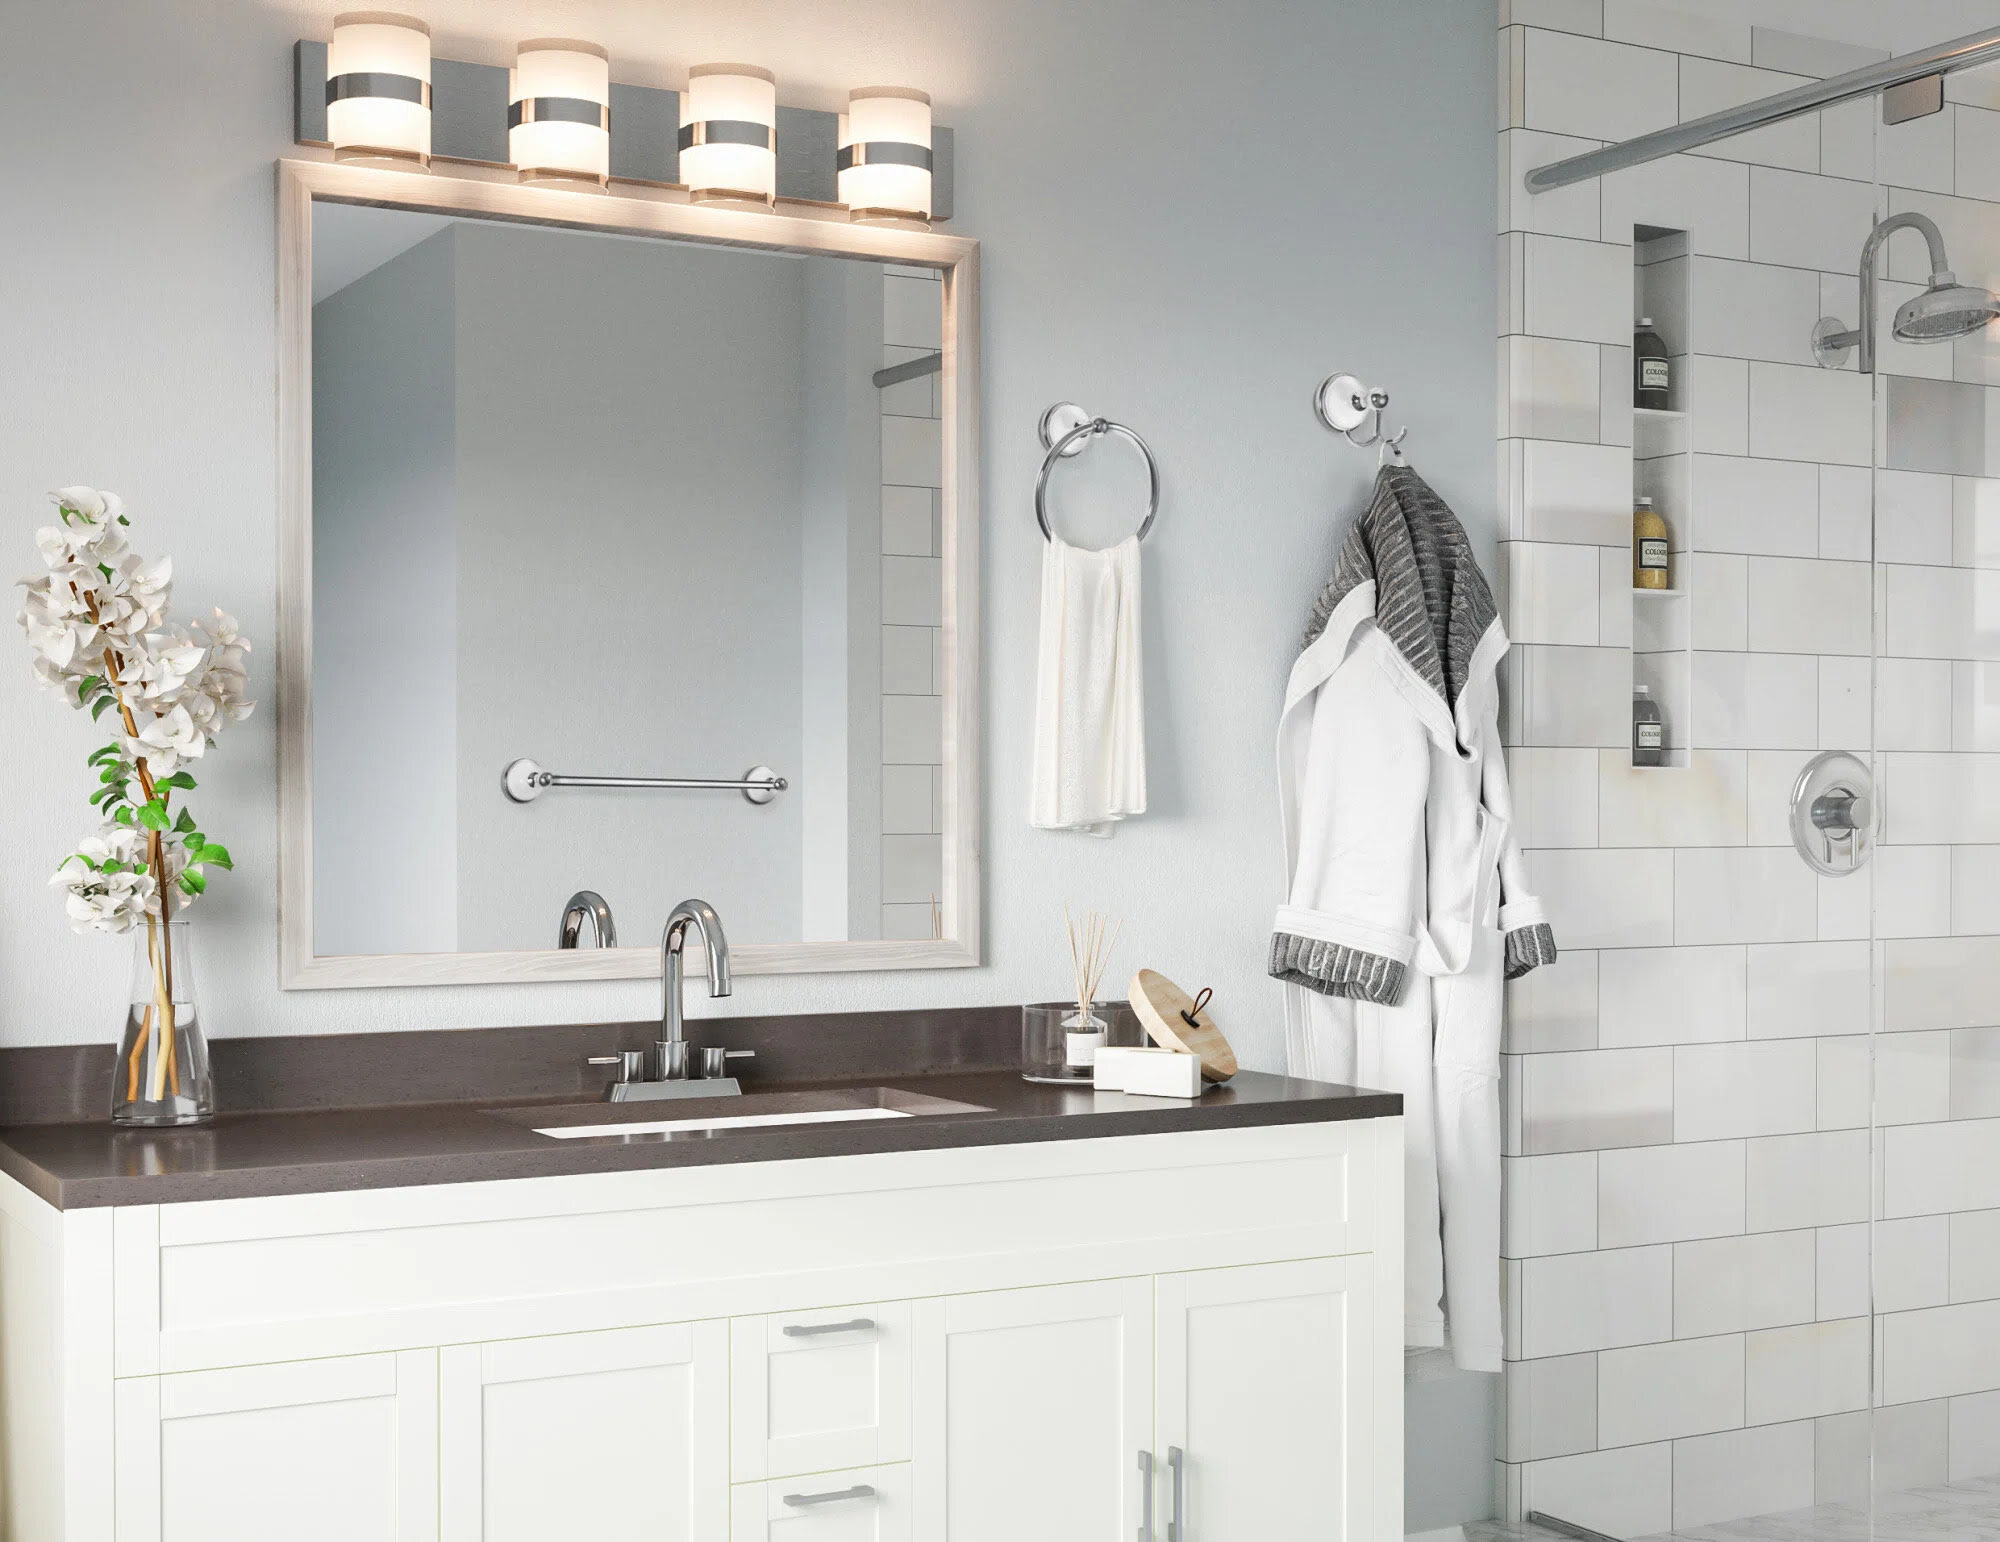
If you decide to leave the wall empty, you can use this opportunity to explore alternative storage solutions or decorative elements for your bathroom. Consider adding shelves, hooks, or artwork to fill the empty space and enhance the visual appeal of the room.
Whichever option you choose, take a step back and admire your work. A well-maintained bathroom is both functional and aesthetically pleasing.
Remember, when installing a new towel ring or any other hardware, always follow the manufacturer’s instructions for proper installation and use the appropriate tools and materials.
Congratulations! You have successfully unhooked a single wall towel ring and have the freedom to either install a new towel ring or leave the wall empty, depending on your preference and needs.
Conclusion
Unhooking a single wall towel ring may seem like a simple task, but it’s important to follow the right steps to ensure a smooth and successful removal process. By gathering the necessary tools, assessing the mounting method, removing the mounting bracket, unscrewing the towel ring, and optionally patching or repairing the wall, you can complete the task with ease.
Whether you choose to install a new towel ring or leave the wall empty, the decision is yours. Installing a new towel ring can add functionality and style to your bathroom, while leaving the wall empty gives you the opportunity to explore alternative storage solutions or decorative elements.
Remember to always prioritize safety and follow the manufacturer’s instructions when installing or removing any type of hardware. Use the appropriate tools and materials for the job and take care not to damage the wall or any other surfaces in the process.
By following the step-by-step guide outlined in this article, you can confidently unhook a single wall towel ring and make any necessary adjustments to your bathroom. Whether you’re redecorating, relocating the towel ring, or simply changing it out for a new one, this knowledge will be valuable in ensuring a successful removal process.
So go ahead, tackle that towel ring with confidence, and turn your bathroom into a functional and stylish space that meets your needs and personal style.
Frequently Asked Questions about How To Unhook A Single Wall Towel Ring
Was this page helpful?
At Storables.com, we guarantee accurate and reliable information. Our content, validated by Expert Board Contributors, is crafted following stringent Editorial Policies. We're committed to providing you with well-researched, expert-backed insights for all your informational needs.
0 thoughts on “How To Unhook A Single Wall Towel Ring”