
Articles
How To Use A Flip Waffle Iron
Modified: August 28, 2024
Learn how to make delicious and fluffy waffles with our comprehensive guide and articles on using a flip waffle iron. Expert tips and tricks included!
(Many of the links in this article redirect to a specific reviewed product. Your purchase of these products through affiliate links helps to generate commission for Storables.com, at no extra cost. Learn more)
Introduction
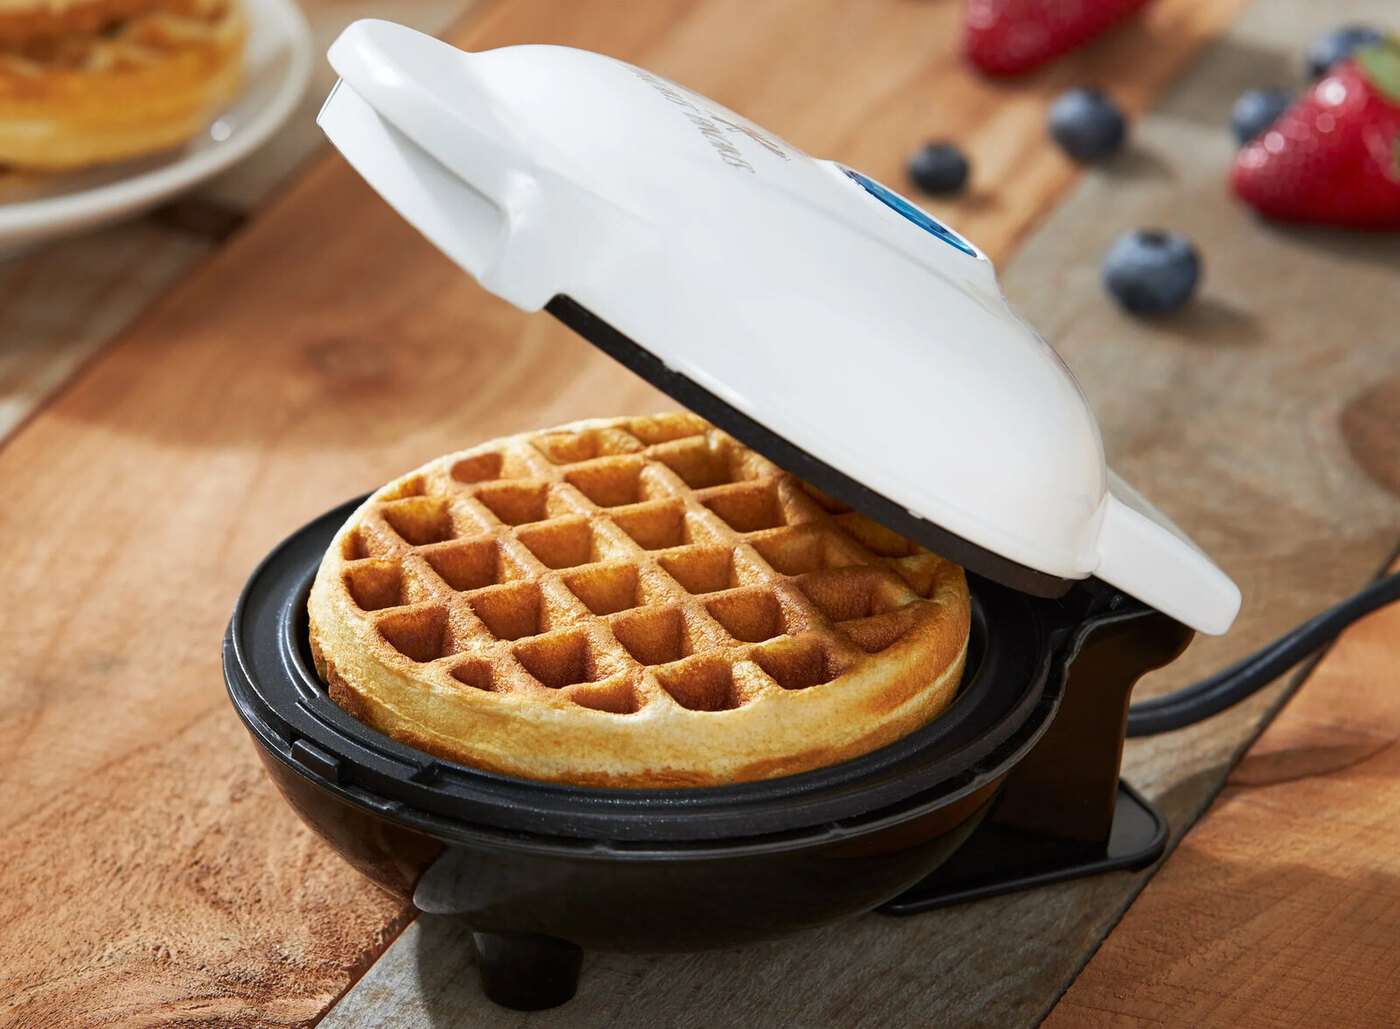
The waffle iron is a staple in many kitchens, capable of creating mouthwatering, golden-brown waffles. If you’re a fan of waffles, you may have heard about the flip waffle iron. Unlike traditional waffle irons, the flip waffle iron has a unique design that allows you to easily flip the cooking plates, ensuring even cooking and a perfectly crisp exterior.
In this article, we will guide you through the process of using a flip waffle iron, from preparing the appliance to making delicious waffles. Whether you’re a seasoned waffle-making expert or a beginner in the kitchen, we’ve got you covered.
So, grab your favorite waffle recipe and let’s dive into the world of flip waffle irons!
Key Takeaways:
- Master the art of creating perfect, crispy waffles with a flip waffle iron by understanding its unique design, preparing it correctly, and mastering the flipping technique for even cooking and delicious results.
- Embrace the joy of waffle-making with a flip waffle iron, experiment with different flavors and toppings, and enjoy the process of creating mouthwatering waffles that will impress your family and friends.
Read more: How To Use A Bella Flip Waffle Iron
Understanding the Flip Waffle Iron
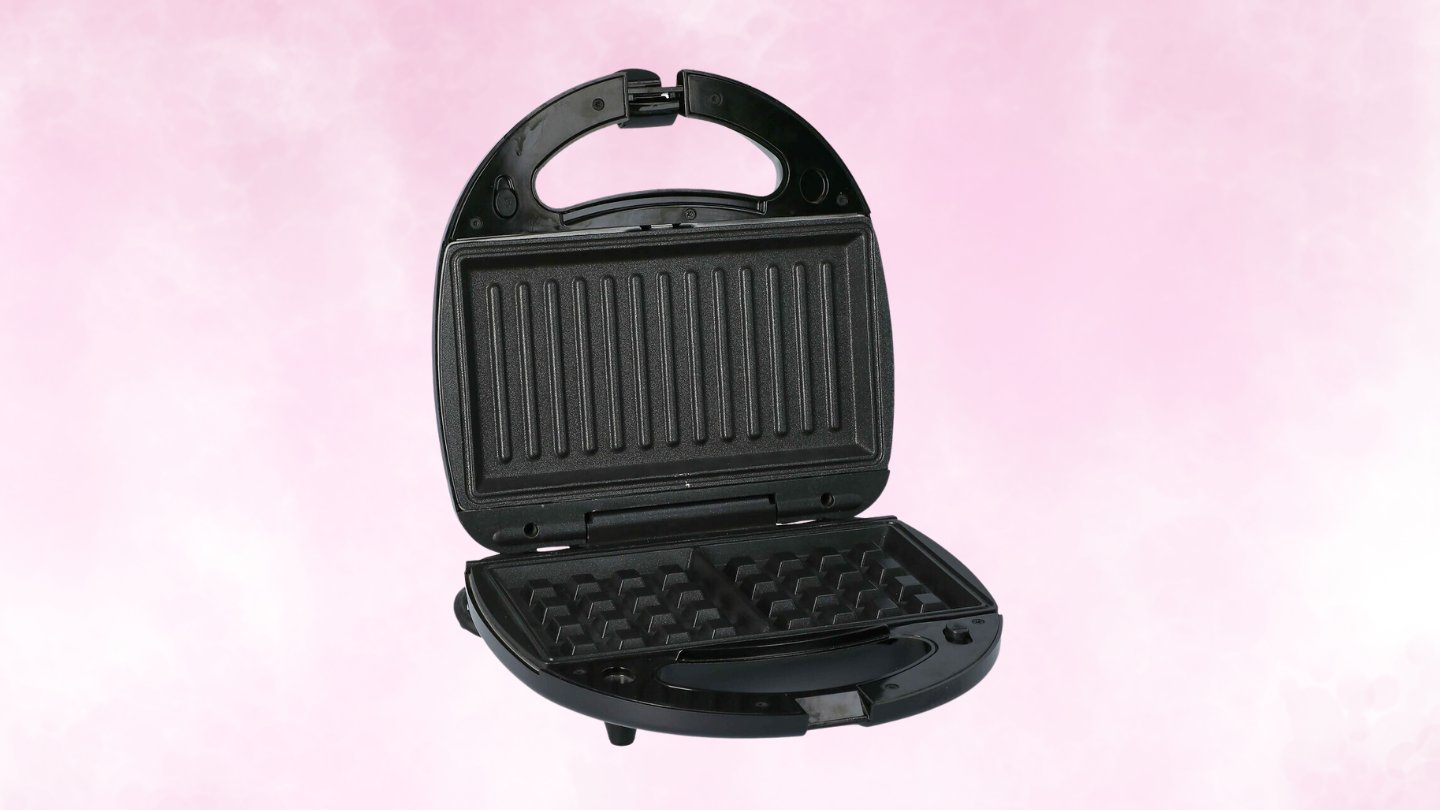
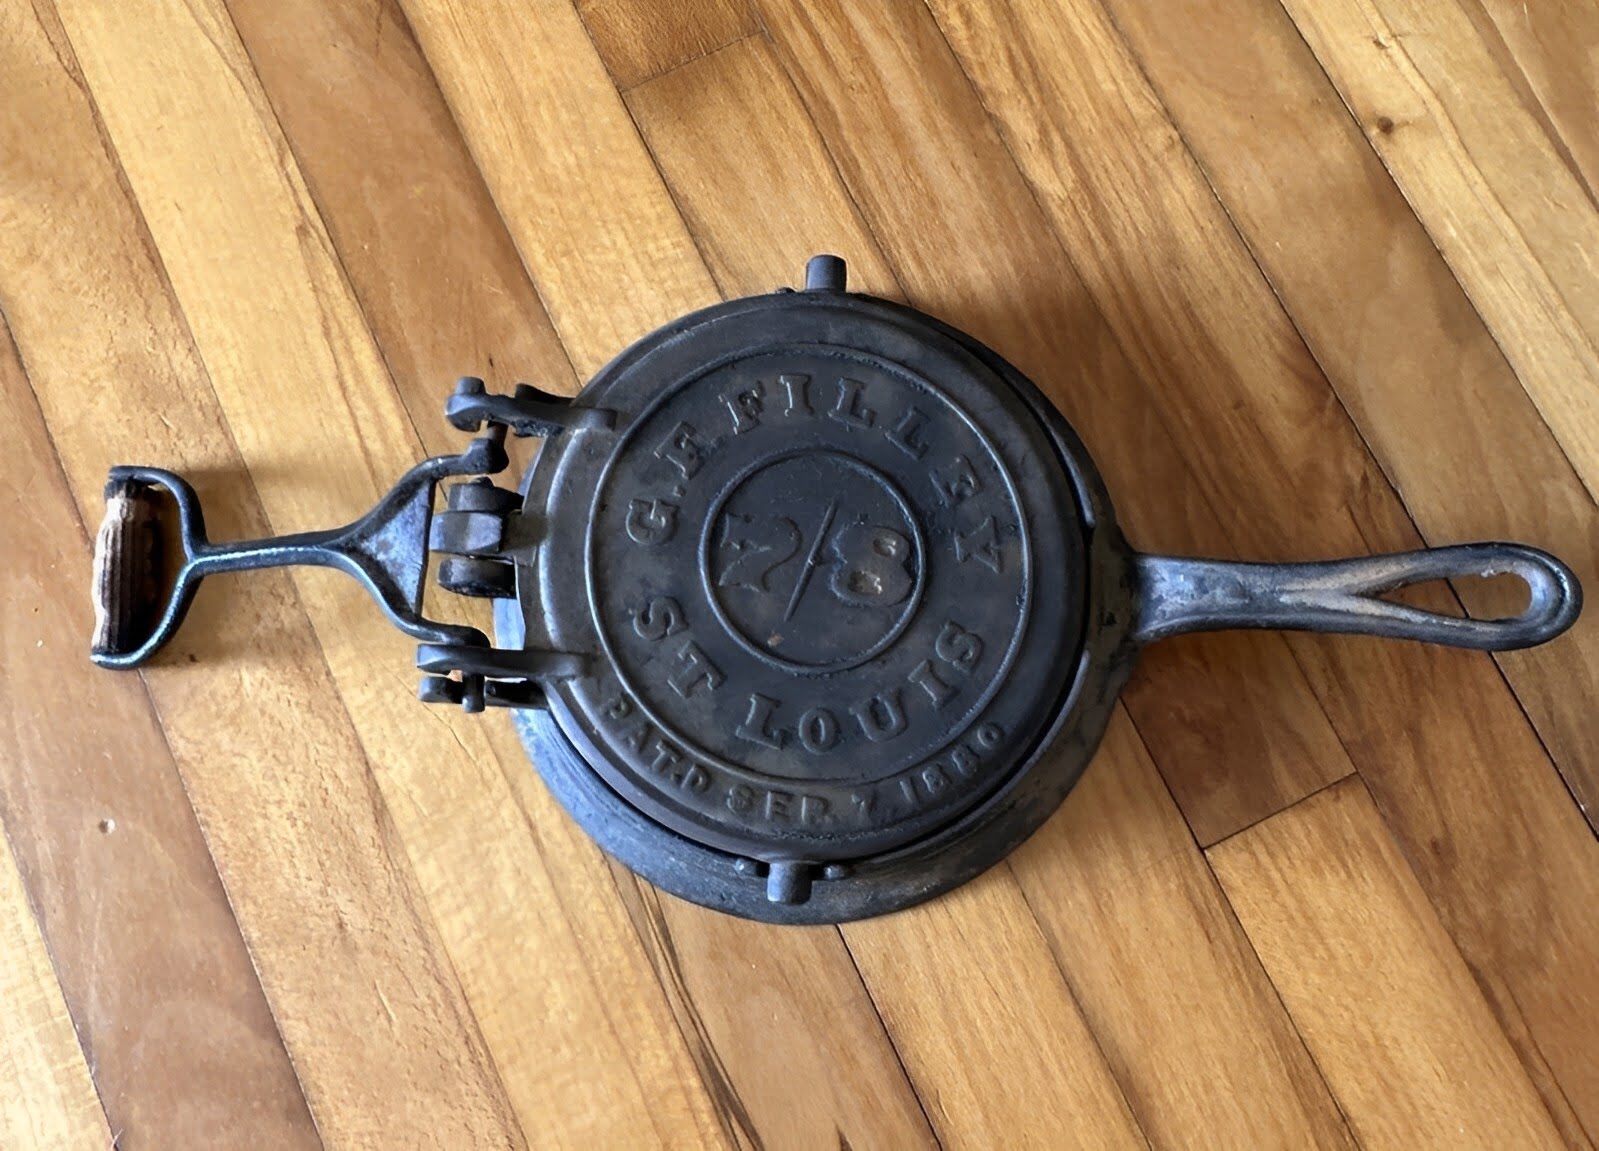
Before we begin using the flip waffle iron, let’s take a moment to understand its unique design and how it differs from traditional waffle irons.
The key feature of a flip waffle iron is its ability to rotate or flip the cooking plates. Traditional waffle irons have stationary plates, which may result in uneven cooking if the batter isn’t spread evenly. The flip waffle iron solves this problem by allowing you to flip the plates, ensuring that the batter is distributed evenly and cooks uniformly.
Flip waffle irons generally have a hinge that enables you to rotate the plates by 180 degrees. This rotation flips the batter, so both sides can cook evenly and achieve a deliciously crispy texture.
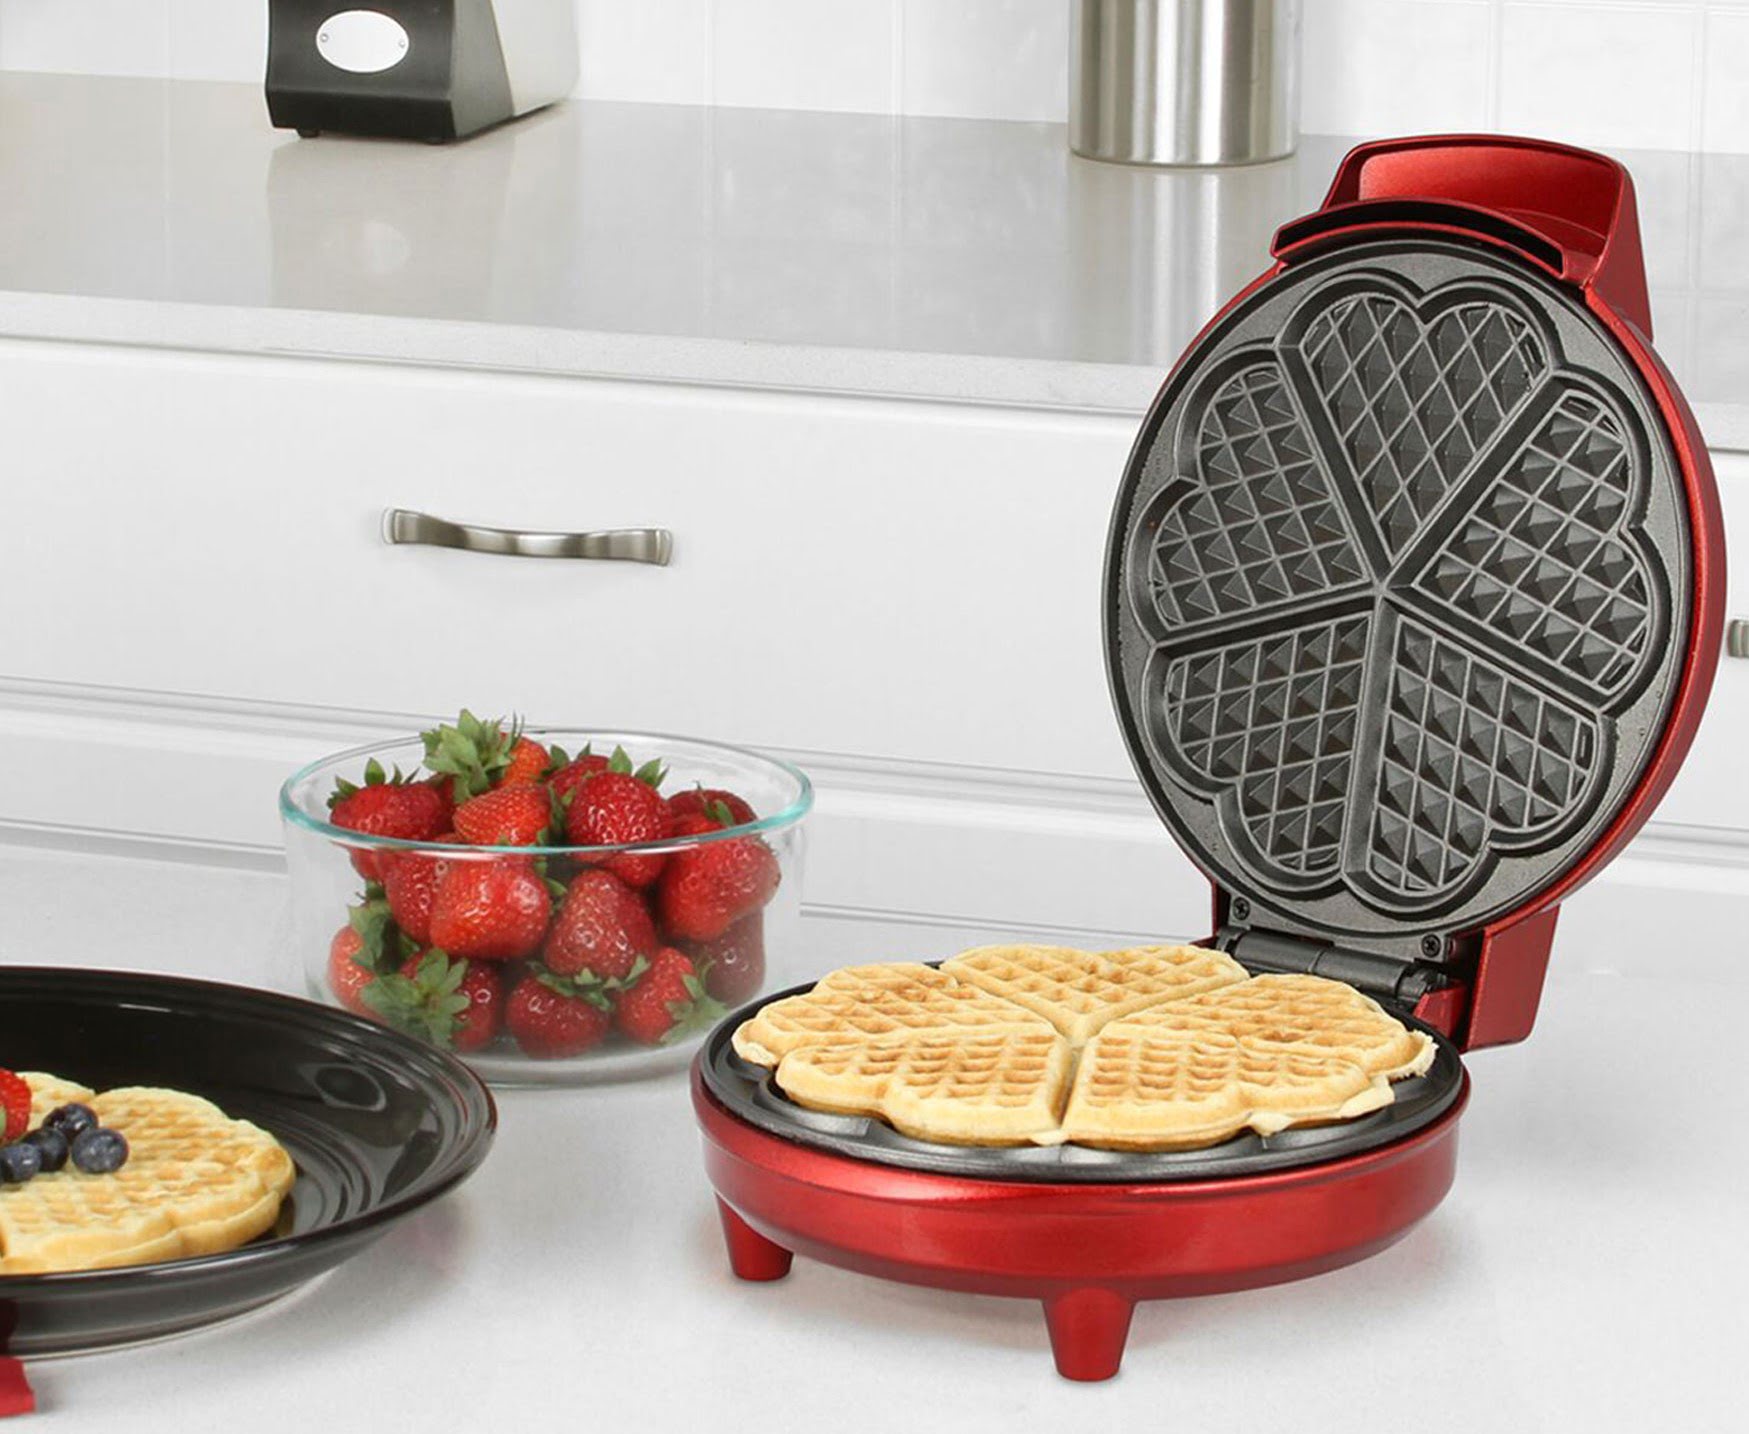
It’s important to note that flip waffle irons come in different sizes and shapes. Some have deep pockets, perfect for holding your favorite toppings and syrup, while others have smaller, more shallow pockets. Choose a flip waffle iron that suits your preference and the type of waffles you want to create.
Now that we have a basic understanding of the flip waffle iron’s design, let’s move on to preparation and getting ready to make some delectable waffles!
Preparing the Flip Waffle Iron
Before you start making waffles with your flip waffle iron, it’s important to properly prepare the appliance to ensure optimal results.
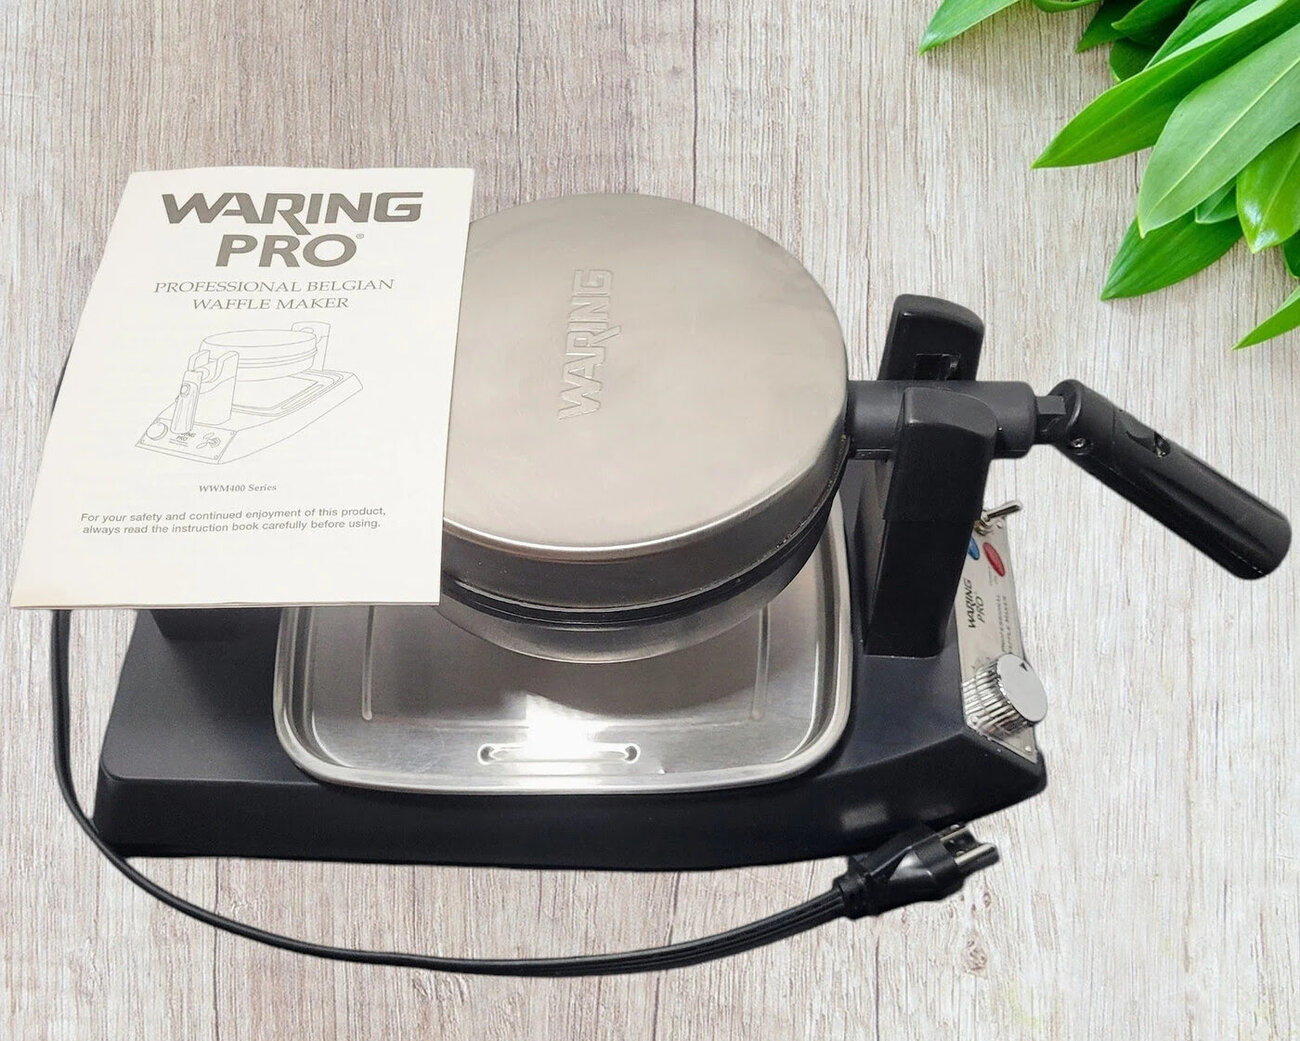
1. Read the instructions: Begin by carefully reading the instruction manual provided by the manufacturer. Different flip waffle irons may have specific setup and usage guidelines, so it’s important to familiarize yourself with these instructions.
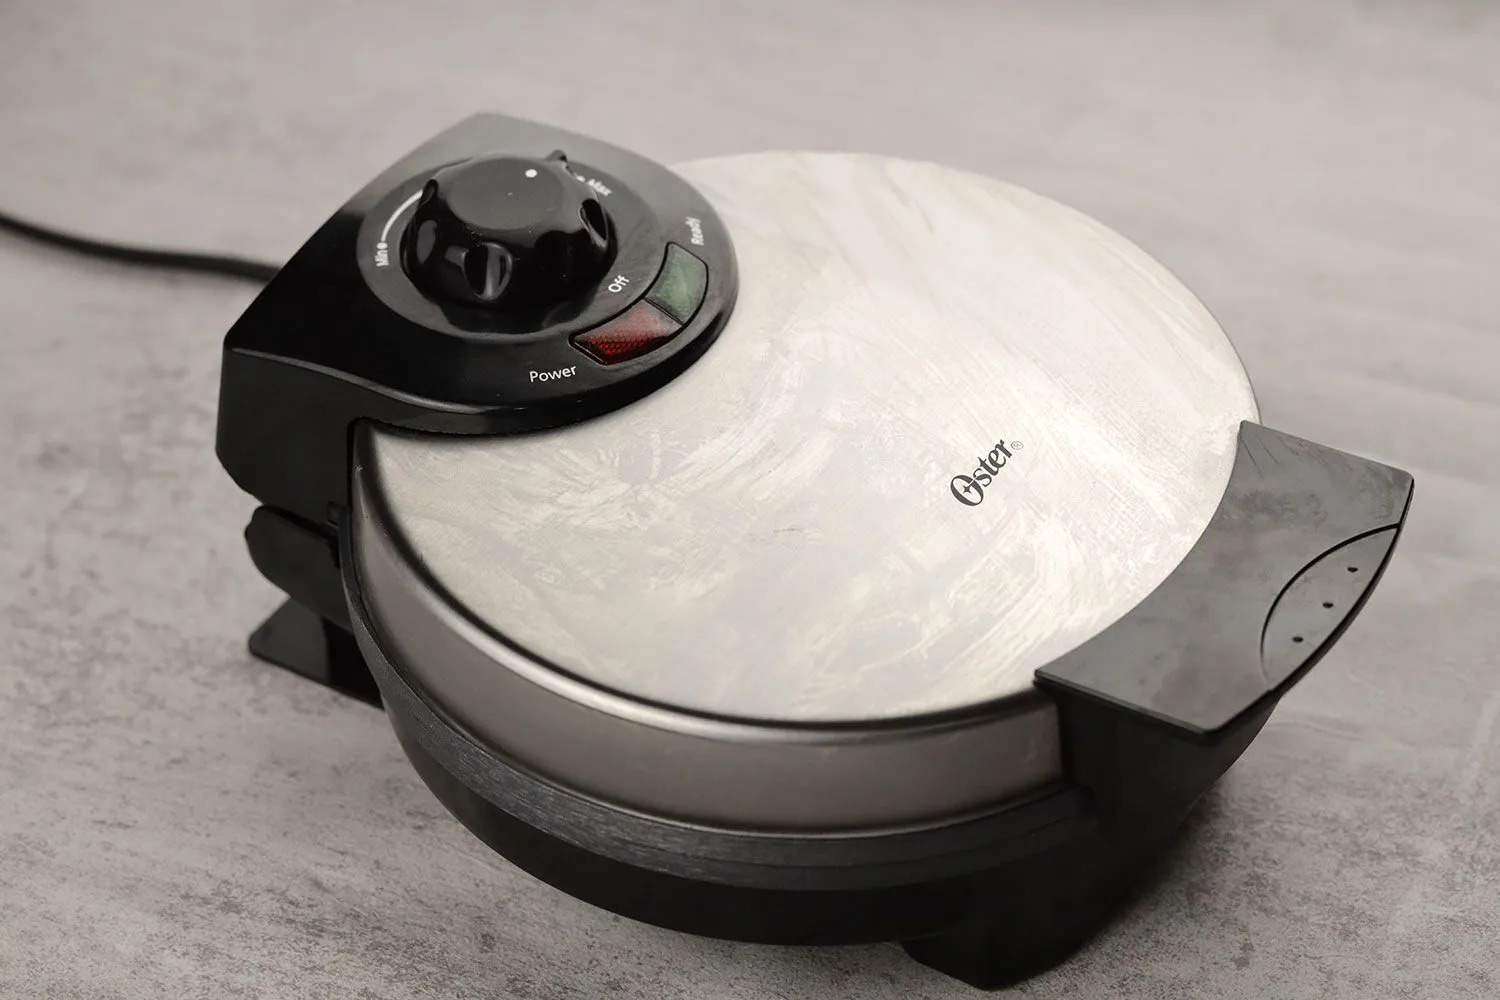
2. Preheat the waffle iron: Plug in the flip waffle iron and preheat it according to the manufacturer’s instructions. It usually takes a few minutes for the iron to reach the desired cooking temperature.
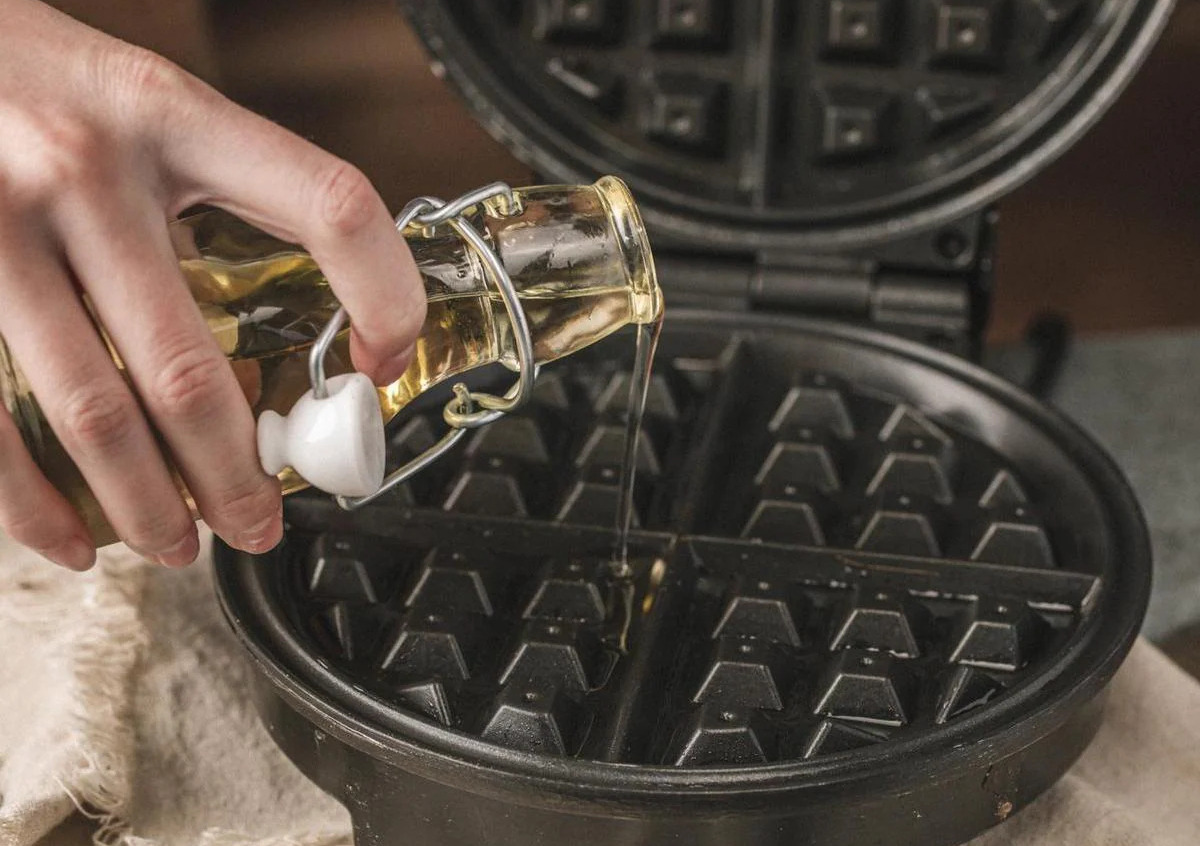
3. Lightly grease the cooking plates: To prevent the waffle batter from sticking, lightly grease the cooking plates with cooking spray or brush them with a small amount of melted butter or oil. Make sure to evenly coat the entire surface.
4. Allow for adequate ventilation: Flip waffle irons generate heat during the cooking process. Ensure that there is sufficient space around the appliance for proper ventilation. This will help prevent overheating and ensure even cooking.
5. Adjust the browning settings: Some flip waffle irons come with adjustable browning settings, allowing you to choose the level of crispiness you prefer. Set the browning control to your desired setting before pouring in the batter.
By following these preparation steps, you’ll set yourself up for waffle-making success with your flip waffle iron. With everything in order, it’s time to move on to the next step: adding the waffle batter!
Adding the Waffle Batter
Now that your flip waffle iron is prepared and ready to go, it’s time to add the waffle batter and create those delicious waffles.
1. Prepare the waffle batter: Start by preparing your favorite waffle batter recipe. Whether you prefer a classic buttermilk waffle or enjoy experimenting with different flavors, ensure that the batter is well mixed and smooth.
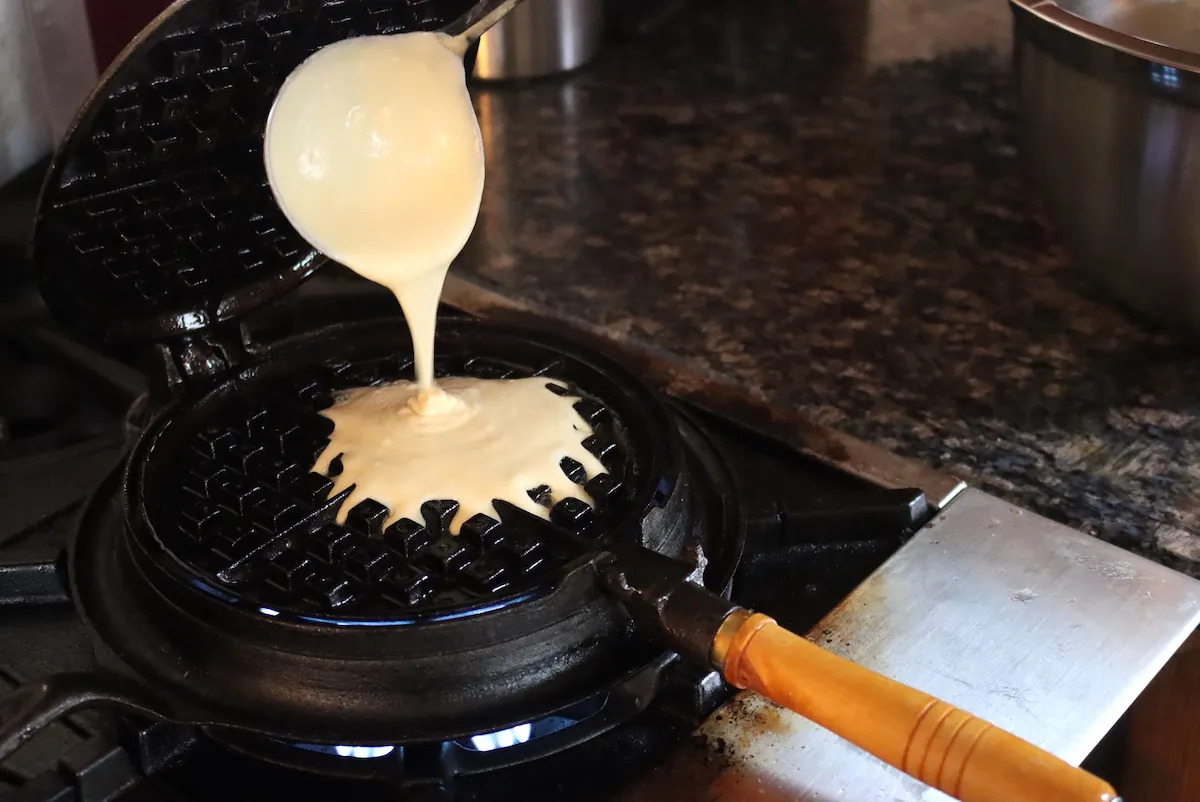
2. Pour the batter onto the center of the lower plate: Open the flip waffle iron and pour the batter onto the center of the lower cooking plate. Be careful not to overfill, as the batter will spread and expand during cooking.
3. Spread the batter evenly: Use a spatula or the back of a spoon to spread the batter evenly across the cooking plate. This will help ensure that the batter covers the entire surface and cooks uniformly.
4. Close the flip waffle iron: Gently close the top cooking plate over the batter. Ensure that it aligns properly with the bottom plate before proceeding.
5. Rotate or flip the waffle iron: Hold the handles of the flip waffle iron and rotate it by 180 degrees, flipping the entire appliance over. This action will distribute the batter evenly between the cooking plates, allowing for even cooking on both sides of the waffle.
Now that you’ve added the batter and flipped the waffle iron, it’s time to let the magic happen and cook your waffles to perfection. Let’s move on to the next step: flipping the waffle iron!
Flipping the Waffle Iron
One of the unique features of a flip waffle iron is its ability to rotate or flip the cooking plates. This action ensures even cooking and helps achieve a crispy exterior on your waffles. Here’s how to flip the waffle iron:
1. Check for readiness: Before flipping the waffle iron, make sure that the batter has had sufficient time to cook partially. This typically takes around 30 seconds to a minute, depending on the heat setting and the recipe you’re using. The partially cooked batter will hold its shape and won’t flow excessively when you flip the appliance.
2. Hold the handles securely: Firmly grip both handles of the flip waffle iron with your hands. This will provide stability and control as you perform the flip.
3. Rotate or flip the waffle iron: Using a smooth and swift motion, rotate or flip the waffle iron by 180 degrees. The top cooking plate will now be on the bottom, and the bottom plate will be on top. Be cautious while flipping, as the waffle iron may be hot.
4. Ensure a secure closure: Once you’ve flipped the waffle iron, confirm that the top and bottom cooking plates are securely closed and aligned. This will allow for even cooking of the batter and prevent any leaks or spills during the cooking process.
Flipping the waffle iron allows the batter to spread and cook evenly on both sides, resulting in a perfectly golden and crispy waffle. With the flip complete, it’s time to move on to the next step: cooking the waffle!
Preheat the flip waffle iron and lightly grease the plates with non-stick spray. Pour the batter into the center of the iron, close the lid, and flip it over to evenly distribute the batter. Cook until golden brown and crispy.
Read also: 10 Superior Flip Waffle Iron For 2025
Cooking the Waffle
Now that you’ve flipped the waffle iron and ensured a secure closure, it’s time to let the cooking process work its magic. Here’s how to cook your waffle to perfection:
1. Allow the waffle to cook: Close the flipped waffle iron and let the waffle cook for the recommended amount of time. The cooking time will vary depending on your waffle recipe, desired level of crispiness, and the heat setting of your flip waffle iron. Typically, it takes around 3 to 5 minutes for the waffle to cook completely.
2. Avoid opening the waffle iron prematurely: Resisting the temptation to open the waffle iron too soon is crucial. Opening it too early could cause the waffle to tear or be undercooked in the center. Trust the cooking time provided in your recipe or keep an eye out for any visual cues, such as steam escaping or the waffle appearing golden brown.
3. Check for doneness: Once the recommended cooking time has passed, open the waffle iron slightly to check the doneness of the waffle. It should be evenly browned on both sides and cooked through. If it needs more time, close the waffle iron and continue cooking for a little longer.
4. Adjust cooking time for personal preference: Some people prefer their waffles lighter and softer while others enjoy them crispy and golden. Adjust the cooking time to achieve your desired level of doneness. Experiment with a few batches to find the perfect cooking time that suits your taste.
With the cooking process complete, it’s time to savor the delicious aroma and move on to the final step: removing the waffle from the flip waffle iron.
Removing the Waffle
Now that your waffle is cooked to perfection, it’s time to remove it from the flip waffle iron. Here’s how to safely and easily remove your waffle:
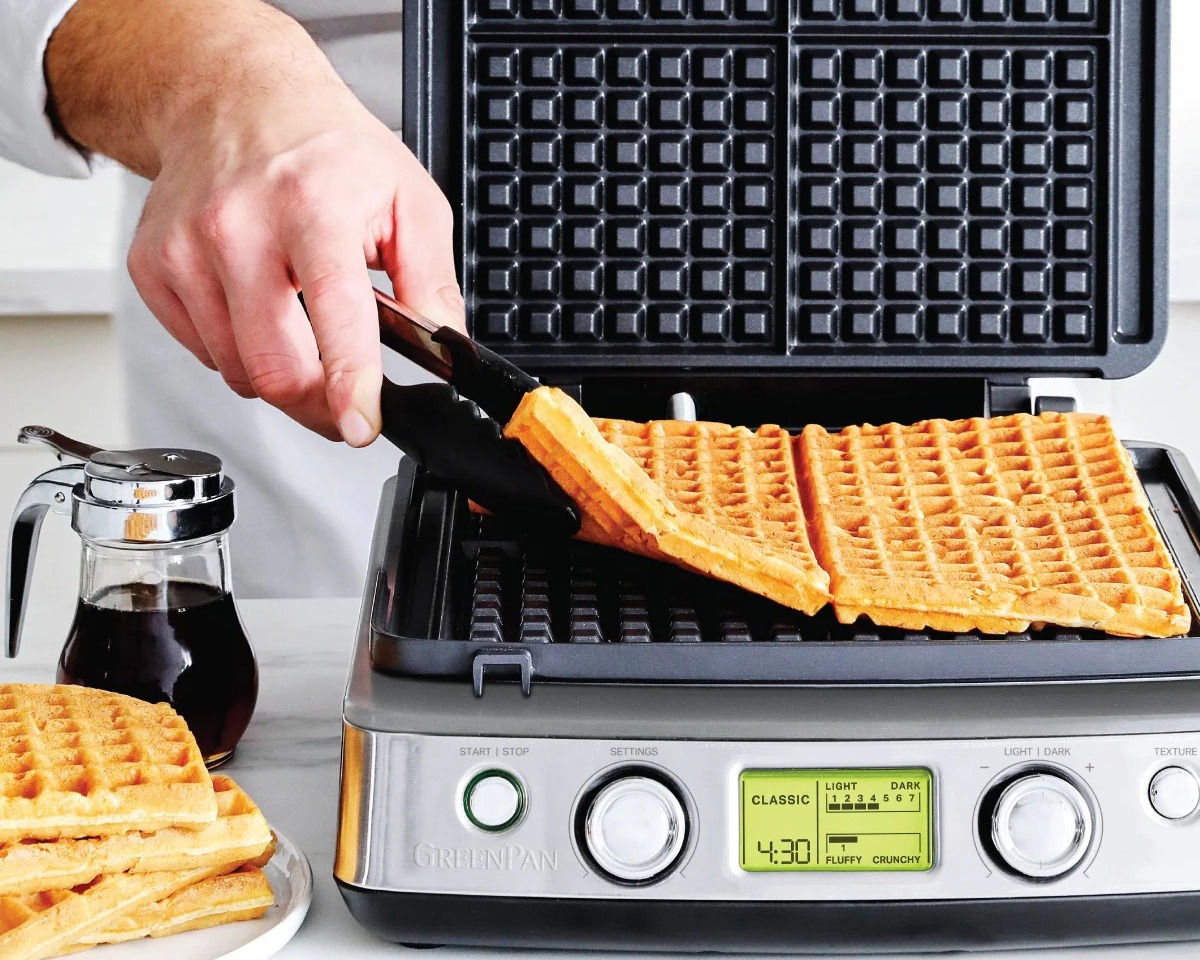
1. Use heat-resistant utensils: Before opening the flip waffle iron, make sure you have a pair of heat-resistant utensils, such as silicone-tipped tongs or a heat-resistant spatula, on hand. These tools will help you safely handle and remove the hot waffle.
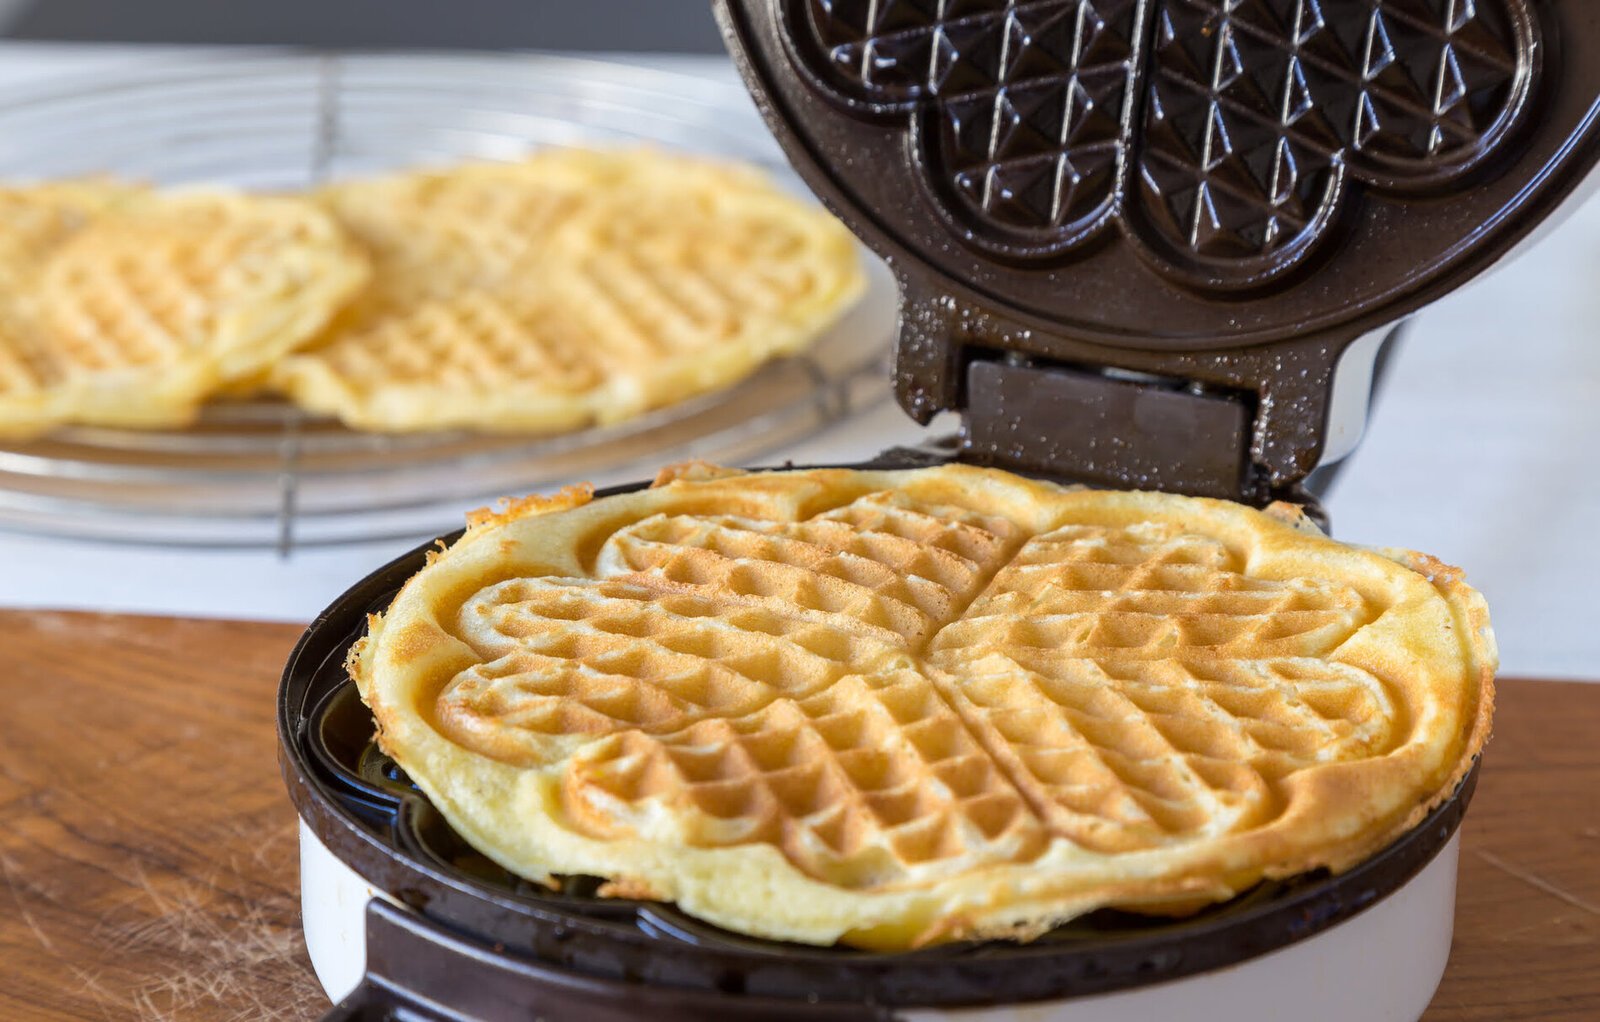
2. Open the waffle iron: Carefully open the flip waffle iron. The top cooking plate will now be facing upwards, and the cooked waffle will be resting on it.
3. Lift from the edges: Using your heat-resistant utensils, gently lift the edges of the waffle. Start with one side and work your way around to loosen the waffle from the cooking plate. Be cautious not to apply too much pressure, as it may cause the waffle to break apart.
4. Slide the utensils under the waffle: Once you’ve lifted the edges, slide your utensils further underneath the waffle to provide support. Lift the waffle off the cooking plate slowly and steadily, ensuring it remains intact.
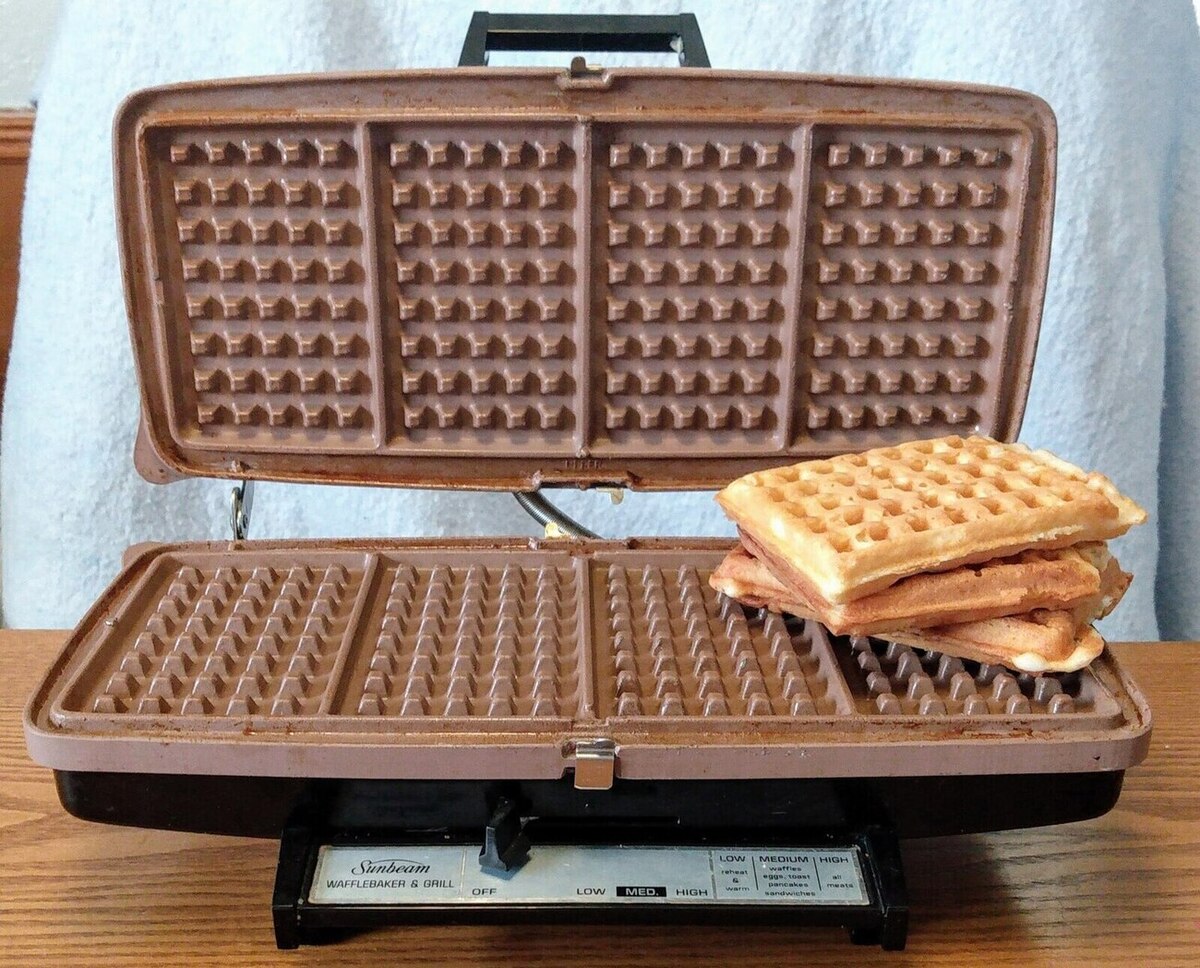
5. Transfer the waffle to a plate or wire rack: Carefully transfer the cooked waffle to a plate or wire rack for serving. If you’re making multiple waffles, you can stack them on top of each other for convenience.
6. Repeat the process: If you want to continue making more waffles, repeat the steps from adding the batter to removing the waffle. The flip waffle iron is designed to make multiple waffles quickly and efficiently.
With your waffle successfully removed from the flip waffle iron, it’s time to add your favorite toppings, such as maple syrup, fresh fruits, whipped cream, or melted chocolate. Enjoy your delicious creation!
Cleaning and Maintaining the Flip Waffle Iron
After indulging in a scrumptious waffle feast, it’s important to properly clean and maintain your flip waffle iron to ensure its longevity and optimal performance. Here are some tips for cleaning and maintaining your flip waffle iron:
1. Unplug the waffle iron: Before beginning the cleaning process, disconnect the flip waffle iron from the electrical outlet and allow it to cool down completely. This will ensure your safety and prevent any potential damage.
2. Wipe the exterior: Use a damp cloth or sponge to wipe the exterior surfaces of the flip waffle iron. This will remove any spills, drips, or crumbs that may have accumulated during the cooking process.
3. Clean the cooking plates: Depending on the model of your flip waffle iron, the cooking plates may be removable or non-removable. If they are removable, follow the manufacturer’s instructions to detach them from the appliance and clean them separately.
4. Non-removable plates: If the cooking plates are non-removable, use a soft-bristled brush or a cloth to gently scrub the plates, removing any residual batter or debris. Avoid using abrasive cleaners or metal utensils that may scratch the surface of the plates.
5. Removable plates: If your flip waffle iron has removable plates, submerge them in warm, soapy water and allow them to soak for a few minutes. Use a soft sponge or brush to scrub away any leftover batter or residue. Rinse the plates thoroughly and dry them completely before reattaching them to the waffle iron.
6. Clean the overflow channels: Flip waffle irons often have overflow channels or grooves that catch any excess batter. Use a toothpick or a small brush to clean out these channels and ensure they are free from any clogs or blockages.
7. Store properly: Once the flip waffle iron and its components are clean and dry, store it in a dry and cool place. Avoid wrapping the cord tightly around the appliance, as this may damage the cord or affect its durability.
Regular maintenance of your flip waffle iron will not only keep it clean and hygienic but also extend its lifespan. By following these cleaning and maintenance practices, you’ll be able to enjoy countless batches of delicious waffles without any worries.
Troubleshooting Common Issues
While using a flip waffle iron is generally straightforward, you may encounter a few common issues along the way. Here are some troubleshooting tips to help you overcome these challenges:
1. Waffles sticking to the plates: If your waffles are sticking to the cooking plates, it could be due to insufficient greasing or a low cooking temperature. Make sure to properly grease the plates before adding the batter, and ensure that the flip waffle iron is preheated to the recommended temperature.
2. Uneven cooking: If you notice that your waffles are not cooking evenly, it could be due to uneven distribution of the batter or an unevenly heated cooking surface. To resolve this, ensure that you spread the batter evenly across the cooking plate and that the flip waffle iron is placed on a level surface to allow for even heat distribution.
3. Batter overflowing: If you find that the batter overflows from the sides of the flip waffle iron, it could be due to overfilling the cooking plates. Make sure to pour the appropriate amount of batter onto the center of the lower plate, leaving some room for expansion as the waffle cooks.
4. Waffles not cooked through: If your waffles are not cooked through and appear soggy or undercooked, it could be due to insufficient cooking time or a low cooking temperature. Increase the cooking time slightly and ensure that the flip waffle iron is properly preheated before adding the batter.
5. Uneven browning: If your waffles are unevenly browned, it could be due to a fluctuating cooking temperature or improperly distributed batter. Make sure to preheat the flip waffle iron thoroughly and spread the batter evenly across the cooking plate for more consistent browning.
If you continue to experience issues with your flip waffle iron despite troubleshooting, refer to the manufacturer’s instructions or reach out to their customer support for further assistance. With a little practice and patience, you’ll soon be able to master the art of making perfect waffles with your flip waffle iron.
Read more: Why Do You Need To Use A Flip Waffle Iron
Conclusion
Congratulations! You have now learned how to use a flip waffle iron to create delicious, crispy waffles. By understanding the unique design of the flip waffle iron, preparing it correctly, adding the batter evenly, flipping the appliance, cooking the waffle to perfection, and safely removing it, you can enjoy homemade waffles that will surely impress your family and friends.
Remember to properly clean and maintain your flip waffle iron after each use to ensure its longevity and optimal performance. By following the troubleshooting tips, you can overcome common issues and continue to perfect your waffle-making skills.
So, gather your favorite waffle recipe, experiment with different flavors and toppings, and let your creativity shine in the kitchen. Whether it’s a lazy weekend brunch or a special treat any time of the day, the flip waffle iron will always deliver mouthwatering waffles that are sure to satisfy your cravings.
Now, go ahead and indulge in the joy of making and enjoying freshly made waffles with your flip waffle iron. Happy flipping and happy eating!
Excited to step up your breakfast game? Dive deeper with our detailed article on top flip waffle irons that promise to transform your morning meals. For those who love multitasking in the kitchen, don't miss our coverage on versatile kitchen tools from Kitchen Eight Five, all guaranteed dishwasher safe and ready to streamline your culinary endeavors. Both pieces are packed with insights and recommendations to ensure your kitchen performs at its best. Why settle for less when you can have the best tools at your fingertips?
Frequently Asked Questions about How To Use A Flip Waffle Iron
Was this page helpful?
At Storables.com, we guarantee accurate and reliable information. Our content, validated by Expert Board Contributors, is crafted following stringent Editorial Policies. We're committed to providing you with well-researched, expert-backed insights for all your informational needs.

0 thoughts on “How To Use A Flip Waffle Iron”