Articles
How To Use Oster Waffle Iron
Modified: August 26, 2024
Discover expert articles on how to use the Oster waffle iron. Gain valuable tips and techniques for creating perfect, crispy waffles every time.
(Many of the links in this article redirect to a specific reviewed product. Your purchase of these products through affiliate links helps to generate commission for Storables.com, at no extra cost. Learn more)
Introduction
Welcome to the world of delicious homemade waffles! There’s nothing quite like the smell of freshly cooked waffles wafting through the air to awaken your senses and start your day off right. If you’re a fan of indulging in this breakfast treat, then the Oster Waffle Iron is a must-have kitchen appliance. In this article, we will guide you on how to use the Oster Waffle Iron to create mouthwatering waffles that will impress your family and friends.
With its sleek design and advanced features, the Oster Waffle Iron offers the perfect combination of convenience and performance. Whether you prefer fluffy Belgian waffles or crispy classic waffles, this versatile appliance allows you to customize your waffle to perfection. But before we dive into the step-by-step instructions, let’s go over some essential safety precautions to ensure a safe cooking experience.
Key Takeaways:
- Safety First
Before diving into the delicious world of homemade waffles with your Oster Waffle Iron, prioritize safety by following essential precautions, such as reading the manual, handling with care, and keeping children and pets away during operation. - Perfect Waffles, Every Time
Master the art of waffle-making with your Oster Waffle Iron by preheating it, pouring the batter evenly, and adjusting cooking time and temperature to achieve the ideal golden brown, crispy-on-the-outside, fluffy-on-the-inside waffles.
Read more: How To Season Oster Belgian Waffle Iron
Safety Precautions
Before you start using the Oster Waffle Iron, it’s crucial to take some safety precautions to minimize the risk of accidents and injuries. Here are a few points to keep in mind:
- Always read and follow the manufacturer’s instructions and safety guidelines provided in the user manual.
- Ensure that the power cord is in good condition and there are no exposed wires or frayed edges.
- Never touch the waffle iron’s hot surface with bare hands. Always use oven mitts or heat-resistant gloves to handle the appliance.
- Keep the waffle iron away from water and other liquids to avoid the risk of electrical shock.
- Place the waffle iron on a stable and heat-resistant surface, away from any flammable materials.
- Never leave the waffle iron unattended while it’s in use.
- Keep children and pets away from the waffle iron during operation to prevent accidents.
- Wait for the waffle iron to cool down completely before cleaning or storing it.
By following these safety precautions, you can enjoy a worry-free cooking experience with your Oster Waffle Iron. Now that we’ve covered the basics of safety, let’s move on to choosing the right waffle iron for your needs.
Choosing the Right Waffle Iron
When it comes to selecting the perfect waffle iron, there are a few factors to consider. Here are some key points to help you make an informed decision:
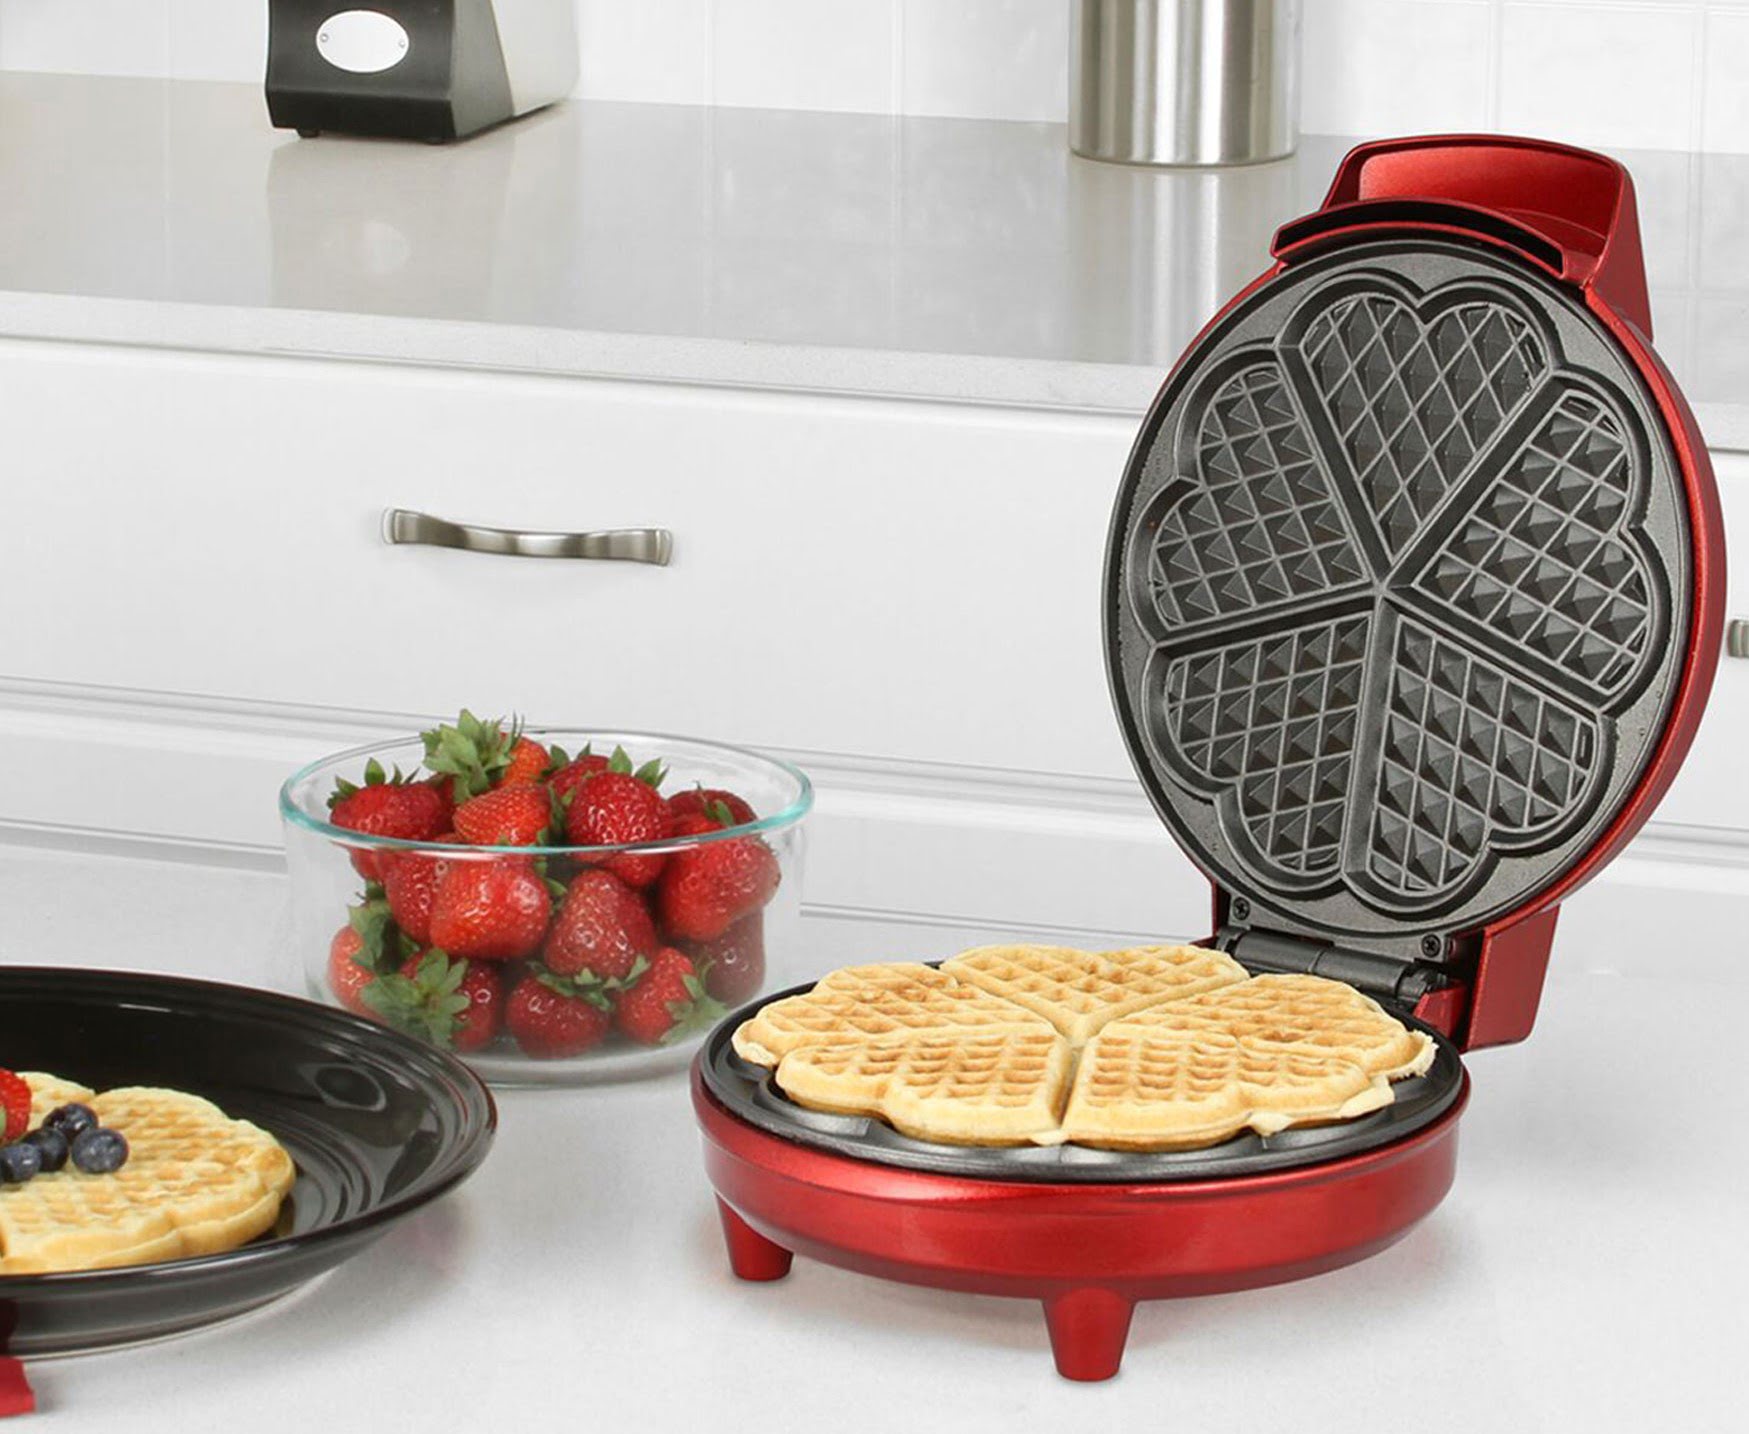
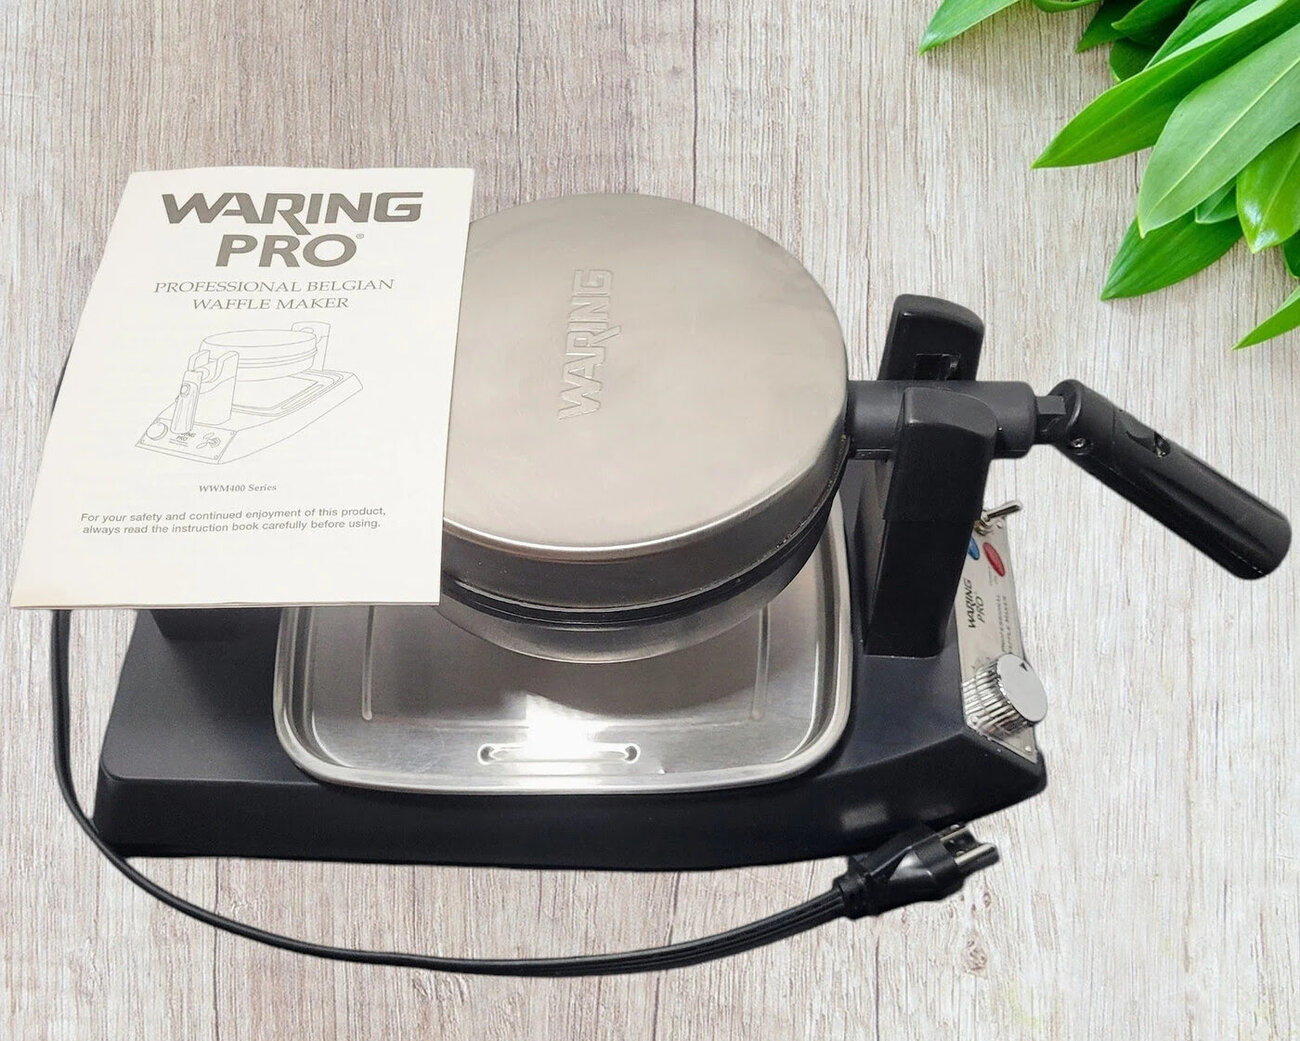
- Size and Shape: Waffle irons come in various sizes and shapes. Consider how many people you’ll be serving and whether you prefer smaller, individual waffles or larger ones. You can choose from round, square, or rectangular waffle irons.
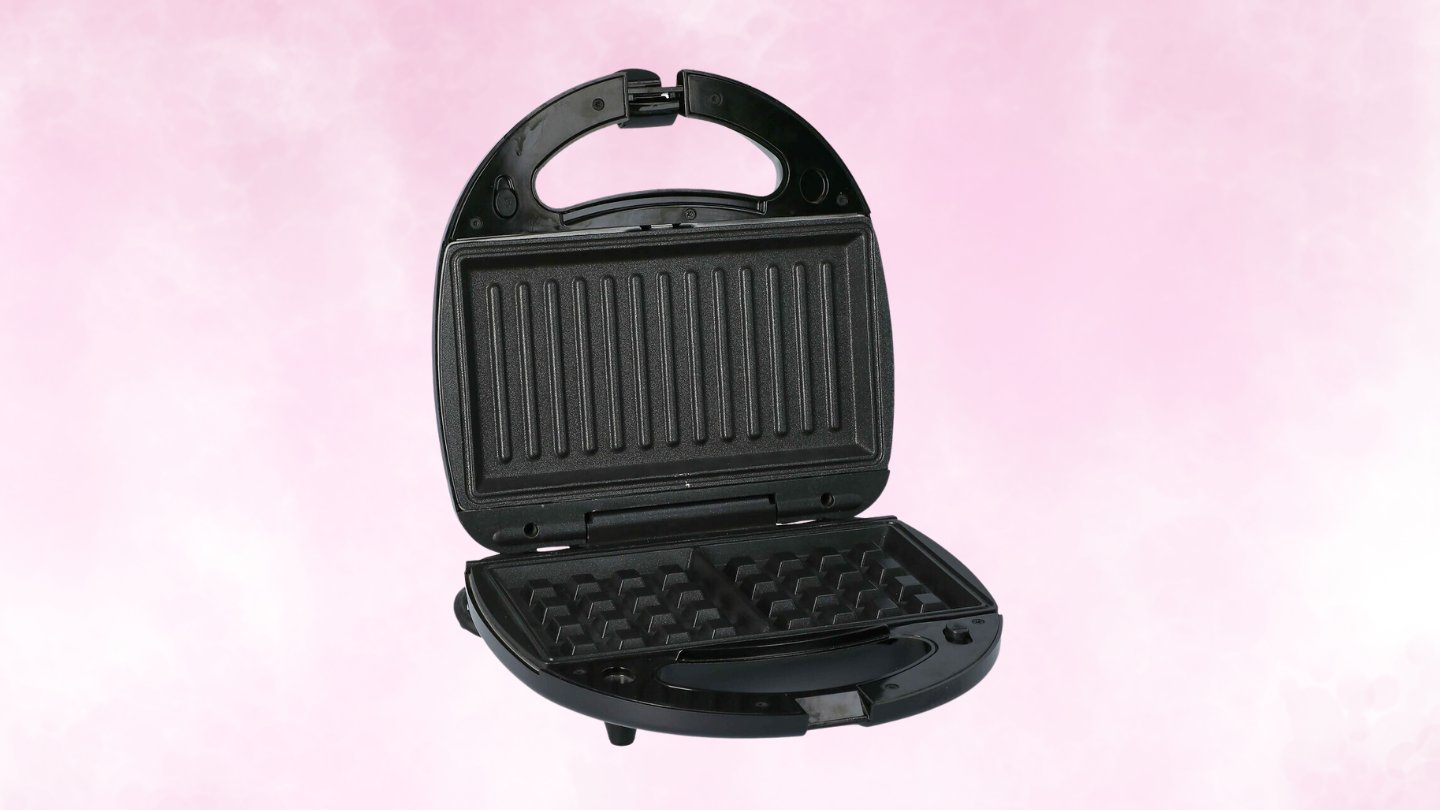
- Type of Waffles: Think about the type of waffles you enjoy. If you love Belgian-style waffles with deep pockets, opt for a waffle iron that specializes in making them. If you prefer thinner, crispier waffles, go for a classic waffle iron. Some models even offer interchangeable plates to give you the flexibility to make different types of waffles.
- Non-Stick Surface: Look for a waffle iron with a non-stick coating to ensure that your waffles release easily without sticking to the surface. This makes cleanup a breeze and helps you achieve perfectly shaped waffles every time.
- Temperature Control: Having control over the cooking temperature allows you to customize your waffles’ crispiness and browning levels. Look for a waffle iron with adjustable temperature settings to achieve your desired texture.
- Additional Features: Consider any additional features that might enhance your waffle-making experience. This could include indicator lights to show when the waffle iron is ready, a timer to ensure perfectly timed waffles, or a drip tray to collect excess batter and prevent messy spills.
By considering these factors, you can find the perfect waffle iron that suits both your preferences and cooking needs. Once you’ve chosen the right waffle iron, it’s time to move on to the next step – preparing the waffle iron for use.
Preparing the Waffle Iron
Before using your Oster Waffle Iron, it’s important to properly prepare it to ensure optimal performance and prevent sticking. Follow these steps to prepare your waffle iron:
- Read the Instructions: Familiarize yourself with the manufacturer’s instructions provided in the user manual. Different waffle irons may have specific preparation steps, so it’s essential to follow them accordingly.
- Wash the Plates: Remove any packaging materials and wash the waffle iron plates with warm soapy water. Rinse them thoroughly and dry them completely before proceeding.
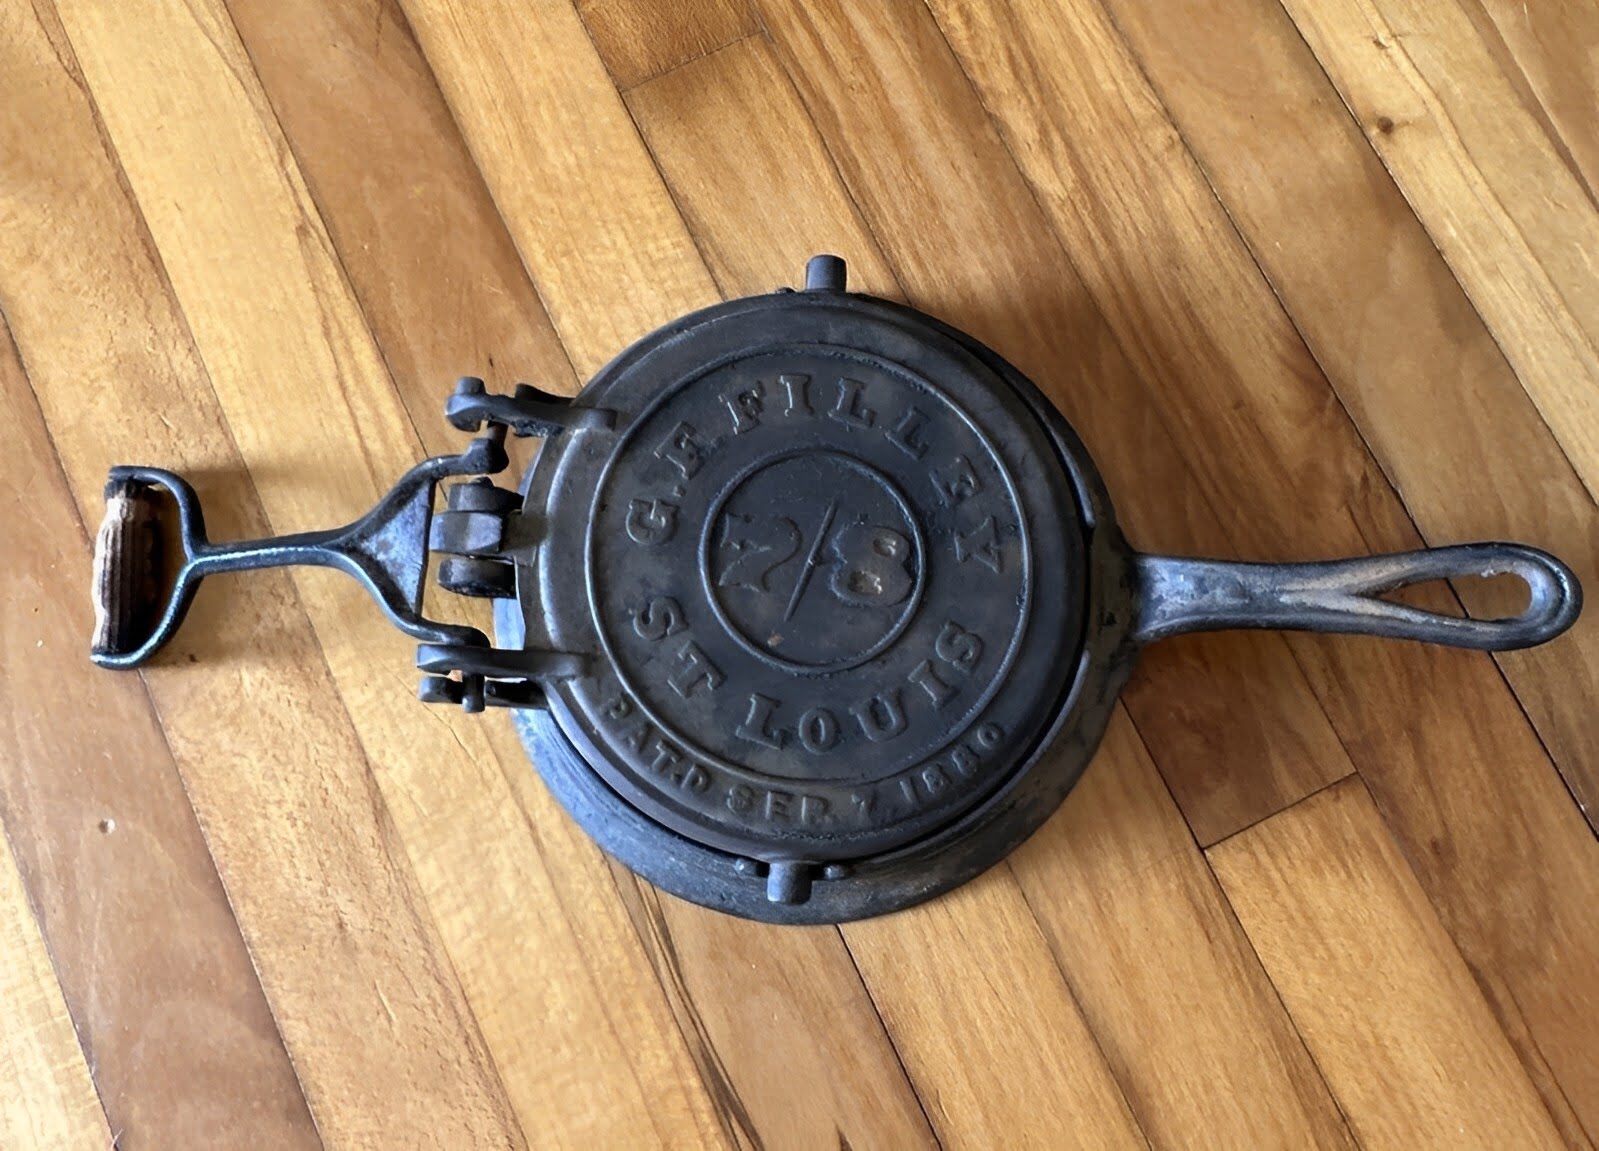
- Season the Plates (if required): Some waffle irons require seasoning, especially those with cast iron or non-stick surfaces. Seasoning helps create a natural non-stick coating, preventing food from sticking to the plates. Follow the instructions provided by the manufacturer to season the plates properly.
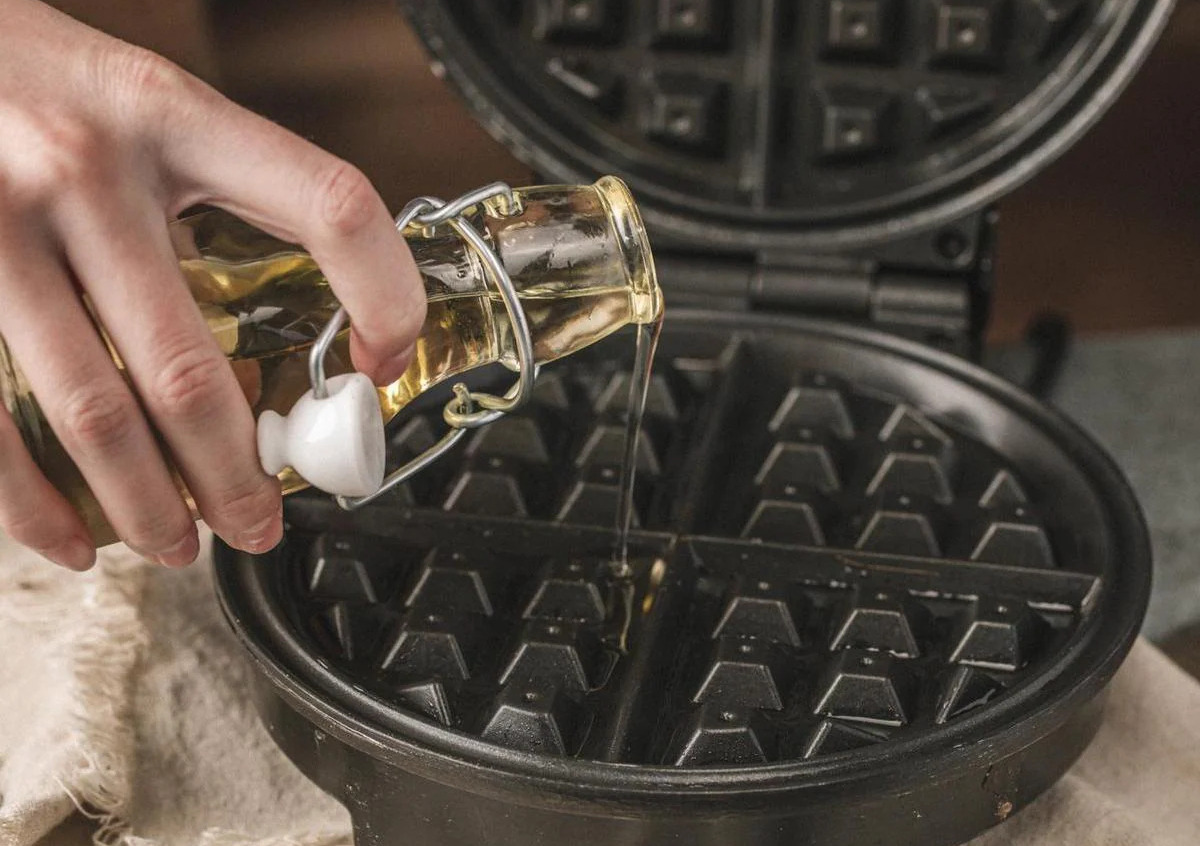
- Apply Cooking Spray or Oil (if required): Depending on the type of waffle iron you have, you may need to apply a thin layer of cooking spray or oil on the plates before each use. This further prevents sticking and facilitates easy removal of the waffles. Be sure to use a cooking spray or oil that is safe for high heat cooking.
Once the waffle iron is properly prepared, it’s time to preheat it to the right temperature. Preheating ensures even heat distribution and optimal cooking results. In the next section, we’ll discuss the process of preheating the Oster Waffle Iron.
Preheating the Waffle Iron
Preheating your Oster Waffle Iron is crucial to ensure that your waffles cook evenly and achieve the perfect golden brown color. Follow these steps to preheat your waffle iron:
- Plug in the Waffle Iron: Start by plugging in your waffle iron and make sure it is securely connected to a power source. Ensure that the power cord is safely positioned away from any hot surfaces or areas where it can be accidentally pulled.
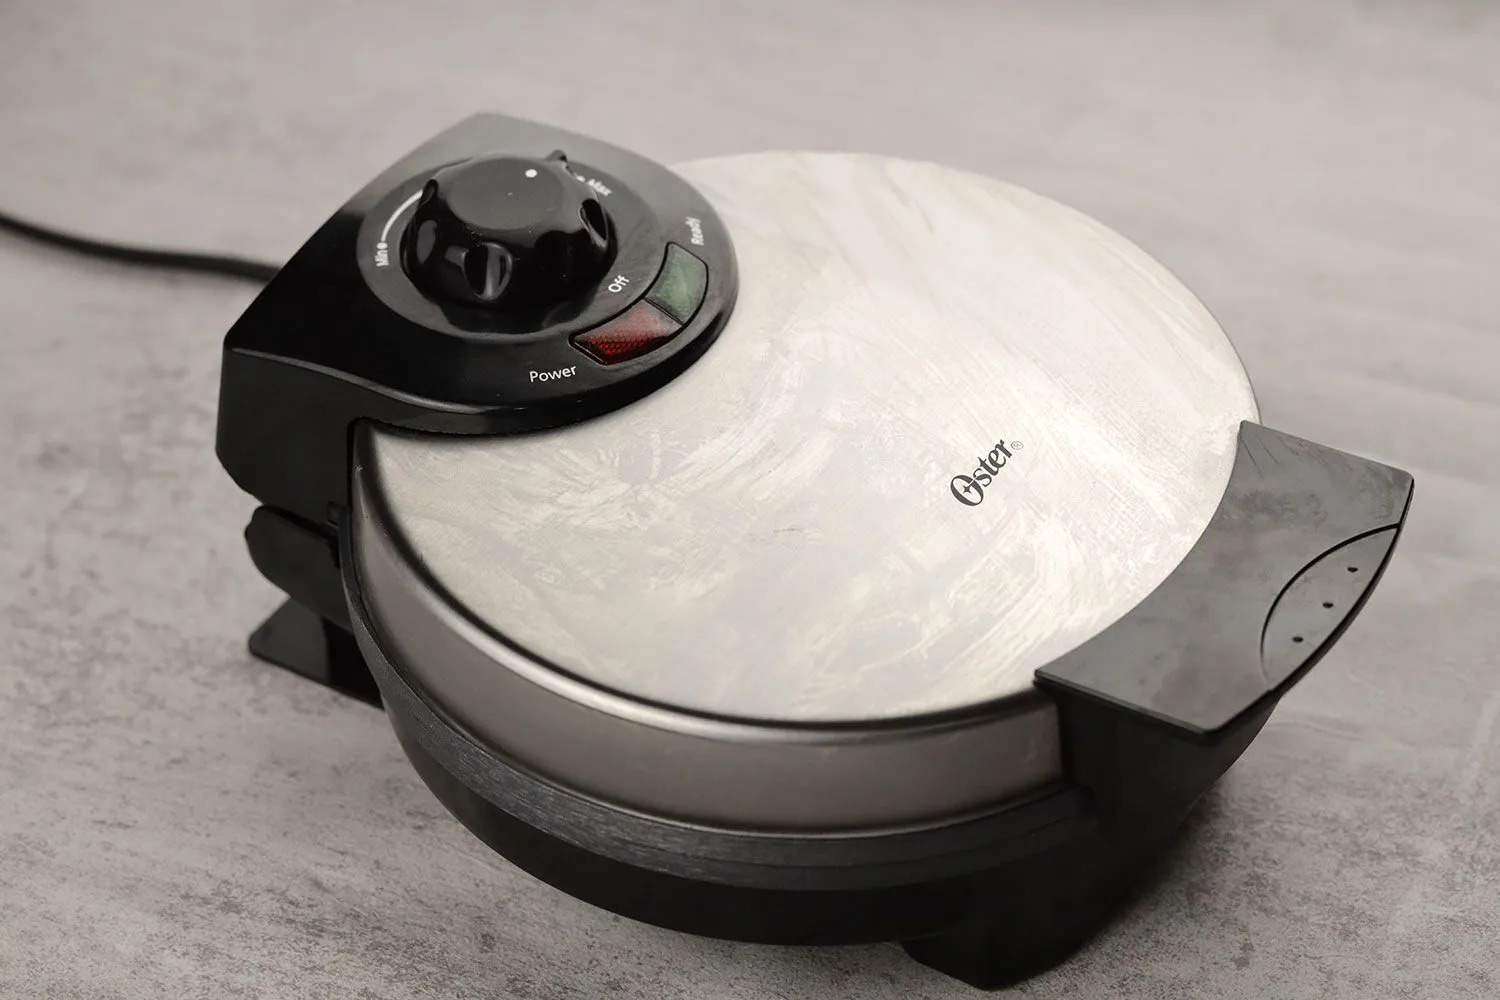
- Turn on the Waffle Iron: Locate the power switch or control dial on the waffle iron. Turn it on to begin the preheating process. Some models may have indicator lights to show when the waffle iron is heating up. Wait for the indicator light to illuminate, indicating that the iron is reaching the desired temperature.
- Check the Temperature: If your waffle iron has an adjustable temperature control, set it to the desired heat level for your waffles. If not, the waffle iron will automatically reach and maintain the optimal temperature for cooking waffles.
- Allow Ample Preheating Time: Give the waffle iron enough time to fully preheat. This typically takes a few minutes, but refer to the manufacturer’s instructions for the specific preheating time recommended for your model.
Preheating the waffle iron ensures that the batter cooks evenly and prevents the waffles from sticking to the plates. Once the waffle iron is properly preheated, it’s time to move on to the next step – making the waffle batter.
Read more: How To Use A Cast Iron Waffle Iron
Making the Waffle Batter
Creating a delicious and fluffy waffle starts with making the perfect waffle batter. Follow these steps to make the waffle batter for your Oster Waffle Iron:
- Gather the Ingredients: Start by gathering all the ingredients needed for the waffle batter. This typically includes flour, sugar, baking powder, salt, eggs, milk, and melted butter. Feel free to add your desired flavorings, such as vanilla extract or cinnamon, to enhance the taste.
- Combine Dry Ingredients: In a large mixing bowl, whisk together the flour, sugar, baking powder, and salt. Make sure the dry ingredients are well combined to ensure even distribution once the wet ingredients are added.
- Beat the Eggs: In a separate bowl, beat the eggs until they are light and frothy. This helps to incorporate air into the batter, resulting in lighter and fluffier waffles.
- Add Wet Ingredients: Slowly pour in the milk and melted butter into the beaten eggs while continuously whisking. Gradually mix in the wet ingredients until a smooth and homogeneous batter forms. Avoid overmixing, as it can lead to dense and tough waffles.
- Incorporate Dry Ingredients: Pour the wet ingredients into the bowl with the dry ingredients. Gently fold the mixture together using a spatula or a whisk until the dry ingredients are just incorporated. It’s okay if a few small lumps remain in the batter.
- Let the Batter Rest: Allow the batter to rest for a few minutes. This resting time allows the ingredients to hydrate and can lead to lighter, airier waffles.
Voila! Your waffle batter is now ready to be poured onto the Oster Waffle Iron. In the next section, we’ll guide you on how to pour the batter onto the iron for perfect, fluffy waffles.
Before using your Oster waffle iron, make sure to preheat it according to the manufacturer’s instructions. This will ensure that your waffles cook evenly and come out perfectly crispy.
Pouring the Batter onto the Iron
Now that you have prepared the delicious waffle batter, it’s time to pour it onto your Oster Waffle Iron. Follow these steps to ensure a smooth and mess-free pouring process:
- Preheat the Waffle Iron: Ensure that your waffle iron is properly preheated to the desired temperature.
- Open the Waffle Iron: Lift the top lid of the waffle iron to expose the plates. Depending on your Oster Waffle Iron model, the lid may have a hinge or detachable design.
- Coat the Plates (if necessary): If your waffle iron requires a light coating of cooking spray or oil, apply it to the plates before pouring the batter. This helps prevent sticking and ensures easy removal of the cooked waffles.
- Pour the Batter: Using a ladle or a measuring cup, pour the desired amount of batter onto the center of the bottom plate of the waffle iron. The amount of batter will vary depending on the size of your waffle iron and the thickness of the waffles you prefer.
- Spread the Batter: Use a spatula or the back of a spoon to spread the batter evenly towards the edges of the plates, ensuring that the batter covers the entire surface area. Be careful not to spread it too thinly, as this can result in thin and crispy waffles.
- Close the Waffle Iron: Close the top lid of the waffle iron gently, pressing it down slightly to spread the batter evenly between the plates.
It’s important to note that the first waffle you make may require some trial and error to determine the perfect amount of batter and cooking time. As you gain experience, you will become more familiar with your specific waffle iron’s requirements.
Now that your batter is poured, it’s time to cook the waffle to perfection using your Oster Waffle Iron. In the next section, we will guide you through the cooking process.
Cooking the Waffle
Now that the batter is poured onto your Oster Waffle Iron, it’s time to cook the waffle to golden perfection. Follow these steps to ensure a deliciously cooked waffle:
- Cooking Time: The cooking time will vary depending on your waffle iron model and personal preference for waffle texture (soft or crispy). As a general guideline, cook the waffle for around 3 to 5 minutes. Refer to the manufacturer’s instructions for specific cooking time recommendations.
- Don’t Peek: Resist the temptation to open the waffle iron while the waffle is cooking. Opening it too soon can disrupt the cooking process and result in undercooked waffles.
- Indicator Lights (if available): Some Oster Waffle Irons come equipped with indicator lights that signal when the waffle is cooked and ready to be removed. These lights typically turn from red to green or indicate “ready”.
- Steam and Aroma: As the waffle cooks, you will notice steam and a mouthwatering aroma. These signs indicate that the waffle is nearing completion. Keep an eye on the cooking process to prevent overcooking.
- Crispiness Control: If your waffle iron has adjustable temperature controls, you can experiment with different settings to achieve your desired level of crispiness. Higher temperatures tend to yield crispier waffles, while lower temperatures result in softer waffles.
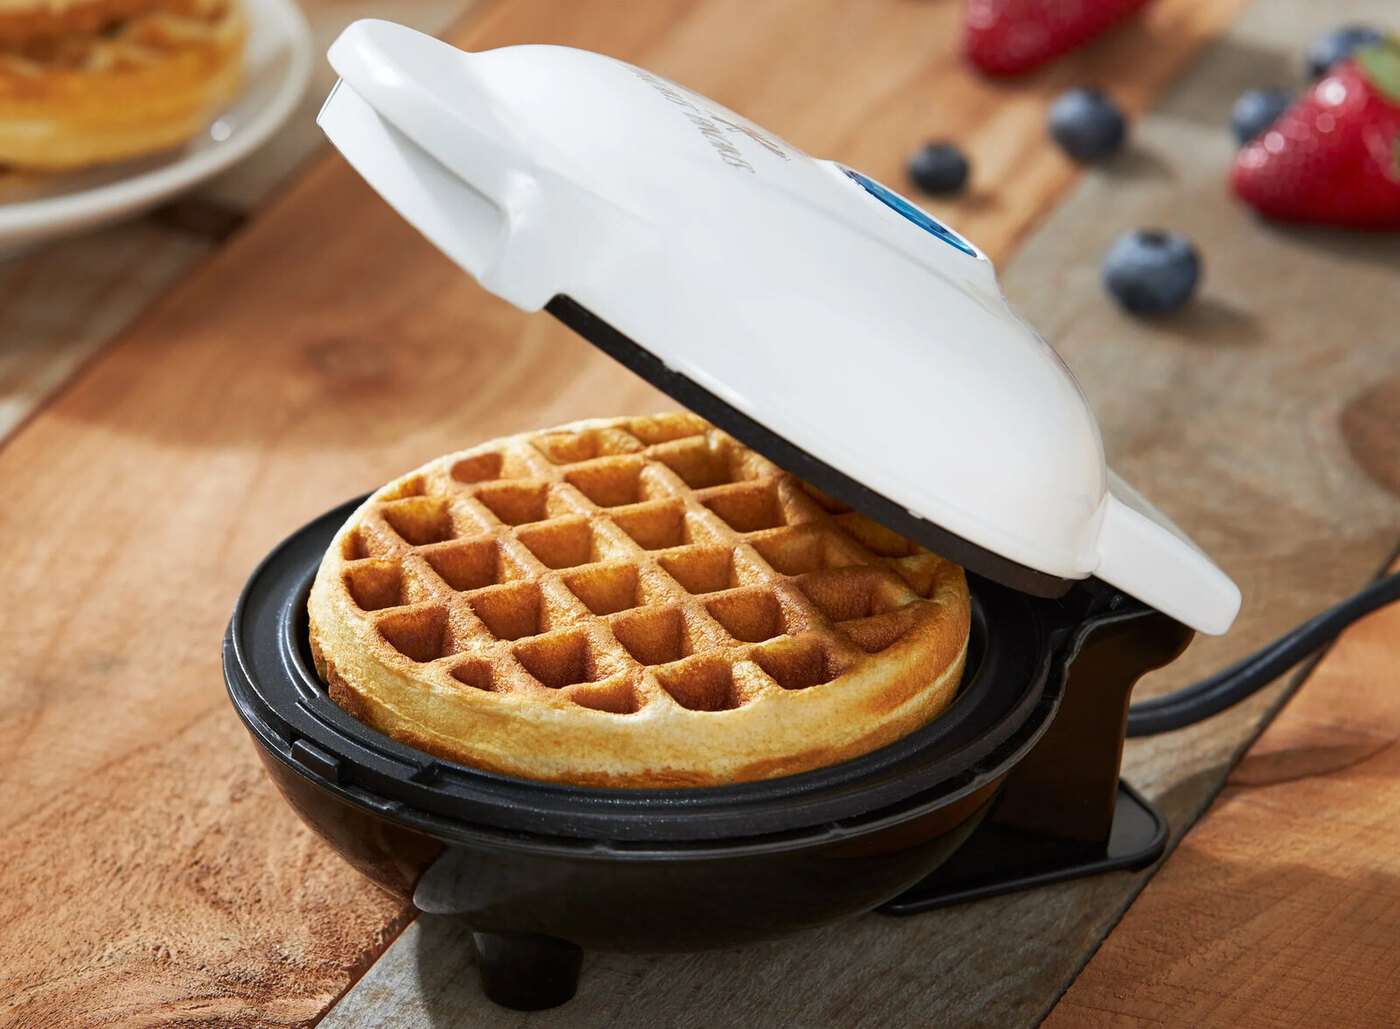
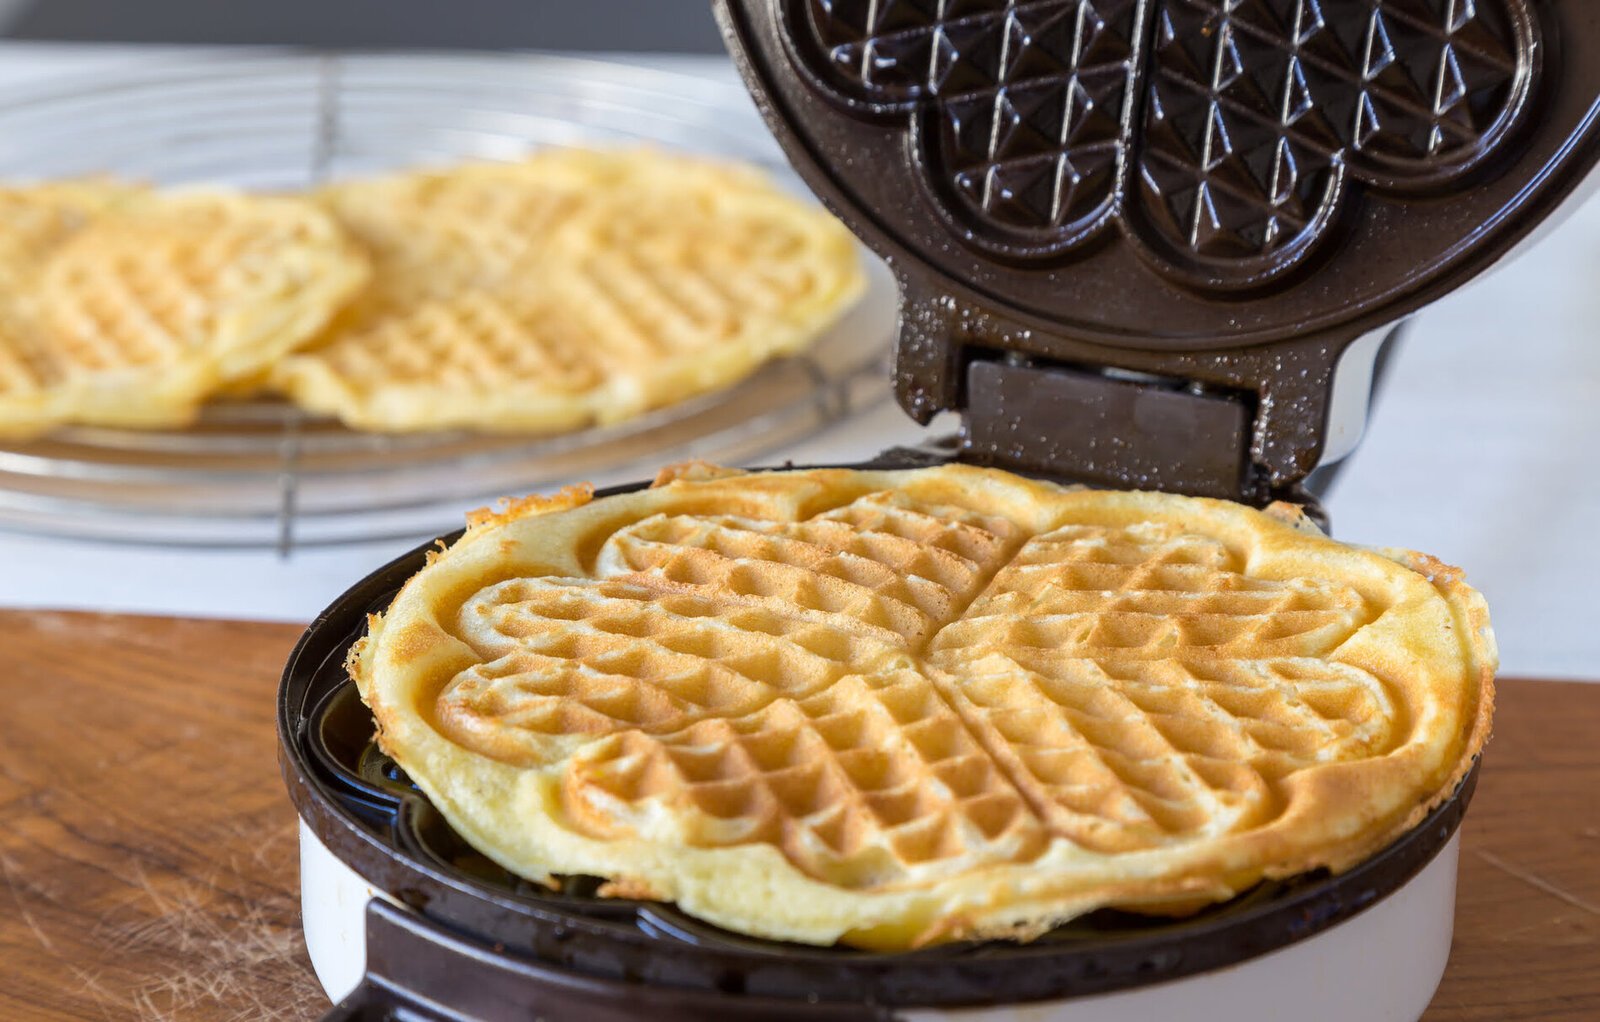
- Golden Brown Color: The ideal waffle should have a golden brown color on the surface. Keep an eye on the waffle’s color as it cooks and remove it from the iron once it reaches your desired shade.
Once the waffle is cooked to your liking, it’s time to remove it from the Oster Waffle Iron. In the next section, we will guide you on how to safely and easily remove the waffle.
Removing the Waffle from the Iron
Now that your waffle is cooked to perfection, it’s time to remove it from the Oster Waffle Iron. Follow these steps to safely and easily remove the waffle:
- Open the Waffle Iron: Unplug the waffle iron and carefully open the lid. Take caution as the plates and the surrounding areas may still be hot.
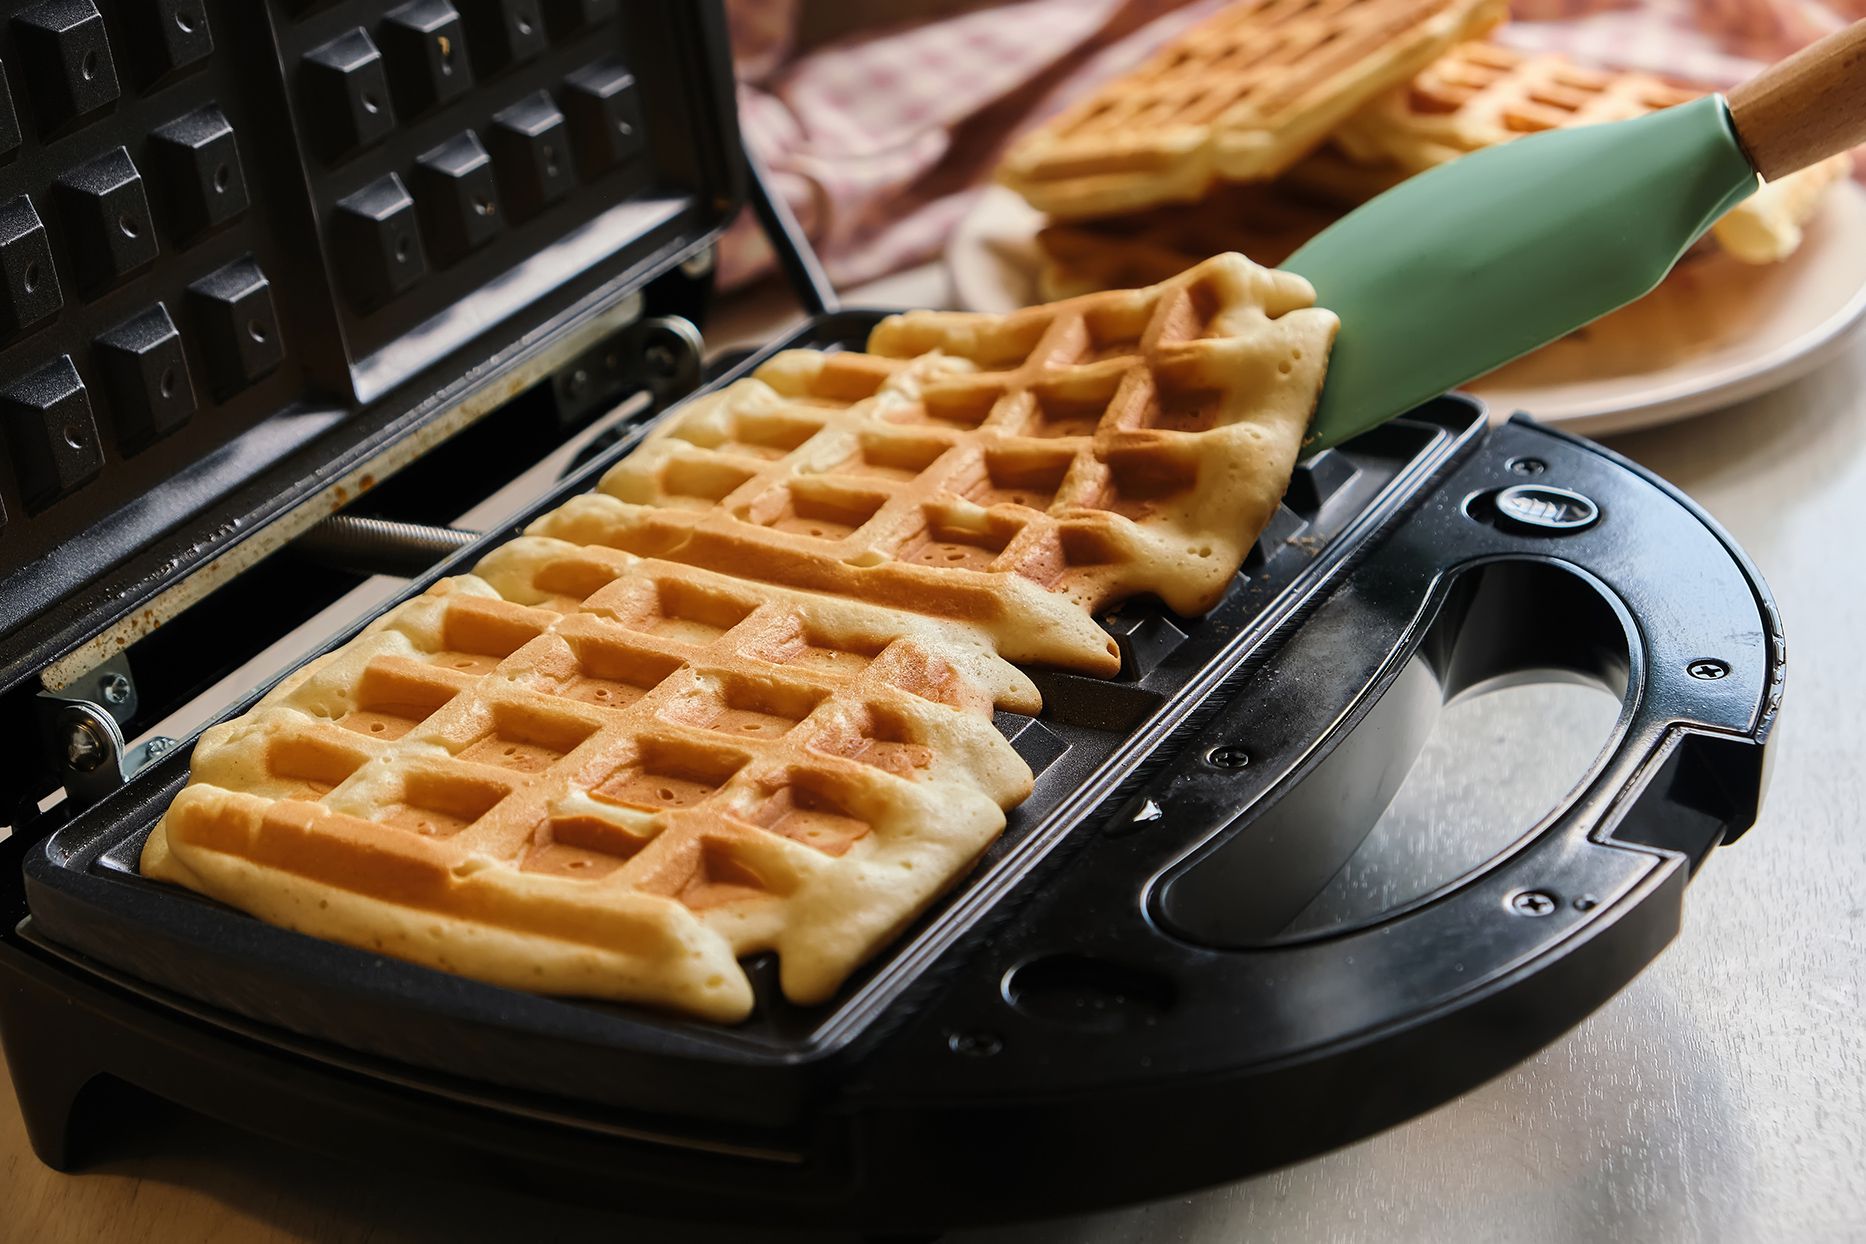
- Use a Heat-Resistant Utensil: Gently slide a heat-resistant spatula or tongs under the edges of the waffle to loosen it from the plates. Be gentle to avoid damaging the waffle or the non-stick coating of the plates.
- Lift the Waffle: Once the waffle is loosened, carefully lift it from the plates. The waffle should easily come off without sticking if you properly prepared the waffle iron and coated the plates with cooking spray or oil.
- Place the Waffle on a Plate: Transfer the waffle to a serving plate or a wire rack to allow it to cool slightly. This helps prevent the waffle from getting soggy and preserves its crispy texture.
- Repeat the Process: If you have more batter remaining, close the waffle iron and repeat the pouring, cooking, and removing steps to make additional waffles.
Congratulations! You have successfully removed the waffle from the Oster Waffle Iron. Now, you can serve and enjoy your freshly made waffles. In the next section, we will discuss how to clean and maintain your waffle iron to ensure its longevity.
Read more: How To Use A Waffle Iron
Cleaning and Maintaining the Waffle Iron
To keep your Oster Waffle Iron in optimal condition and ensure its longevity, it’s important to clean and maintain it properly. Follow these steps to clean and maintain your waffle iron:
- Cool Down the Waffle Iron: Allow the waffle iron to cool down completely before starting the cleaning process. This prevents the risk of burns and ensures safe handling.
- Remove Excess Batter: Use a heat-resistant spatula or a paper towel to gently scrape off any excess batter from the plates. Be careful not to scratch or damage the non-stick coating.
- Wipe with a Damp Cloth or Sponge: Dampen a cloth or sponge with warm soapy water and wipe the surfaces of the waffle iron. Pay close attention to the areas with leftover batter or stubborn residue. Avoid submerging the waffle iron in water to prevent damage to the electrical components.
- Clean the Plates: If the plates are removable, wash them separately with warm soapy water. Gently scrub with a soft sponge or brush to remove any remaining batter or grease. Rinse thoroughly and dry completely before reattaching them to the waffle iron.
- Exterior Cleaning: Wipe the exterior of the waffle iron with a damp cloth to remove any dirt or stains. Dry it thoroughly to prevent moisture buildup.
- Store Properly: Once the waffle iron is clean and dry, store it in a dry and safe place. Avoid stacking heavy objects on top of it to prevent any damage.
- Regular Maintenance: Periodically check the power cord for any signs of wear or damage. If you notice any issues, unplug the waffle iron and contact the manufacturer for assistance. Additionally, refer to the user manual for any specific maintenance requirements or recommendations.
By following these cleaning and maintenance practices, you can prolong the life of your Oster Waffle Iron and ensure that it continues to provide delicious waffles for years to come.
In the next section, we will address some common issues that may arise during the use of the waffle iron and troubleshooting tips to resolve them.
Troubleshooting Common Issues
While the Oster Waffle Iron is designed to provide excellent performance, you may encounter some common issues during its use. Here are a few troubleshooting tips to help you resolve these issues:
- Uneven Cooking: If your waffles are cooking unevenly, make sure that the batter is spread evenly across the plates. Additionally, check if the waffle iron is level and not tilting, as this can cause uneven heat distribution. Adjust the temperature if necessary.
- Sticking Waffles: If your waffles are sticking to the plates, ensure that the plates are properly coated with cooking spray or oil before pouring the batter. Preheating the iron adequately and allowing the waffles to cook for the recommended time can also help prevent sticking.
- Waffles Not Browning: If your waffles are not achieving the desired golden brown color, try adjusting the temperature settings of the waffle iron. Experiment with higher or lower temperatures until you find the optimal setting for your desired browning level.
- Overcooking: If your waffles are consistently turning out overcooked, reduce the cooking time and adjust the temperature accordingly. Keep a close eye on the waffles as they cook to prevent them from becoming too crispy or burnt.
- Insufficient Batter: If your waffles are coming out thin or not filling the entire plate, adjust the amount of batter you pour onto the iron. Add a little more batter and spread it evenly to cover the entire surface of the plates.
- Power Issues: If your Oster Waffle Iron is not turning on or is experiencing power issues, check that it is properly plugged into a functioning power outlet. If the issue persists, consult the user manual or contact the manufacturer’s customer support for assistance.
If you encounter any other issues or have specific concerns about your Oster Waffle Iron, refer to the user manual for troubleshooting steps or contact the manufacturer’s customer support for further assistance.
Now that we’ve covered some common troubleshooting tips, let’s wrap up this article.
Conclusion
Congratulations! You have now learned how to use the Oster Waffle Iron to create delectable homemade waffles. By following the safety precautions, choosing the right waffle iron, preparing it, preheating it, making the batter, pouring and cooking the waffles, and properly cleaning and maintaining the waffle iron, you can enjoy crispy-on-the-outside, fluffy-on-the-inside waffles in the comfort of your own home.
Remember to take the time to read the manufacturer’s instructions for your specific model of the Oster Waffle Iron and familiarize yourself with its features and functions. Experiment with different batters, cooking times, and temperature settings to find the perfect combination for your taste preferences.
Whether you top your waffles with fresh fruits, maple syrup, whipped cream, or any other delicious accompaniments, the Oster Waffle Iron allows you to customize your waffles to your liking. Share these delightful treats with your loved ones and enjoy the smiles that come with each bite.
With proper care, your Oster Waffle Iron will continue to bring you joy and tasty breakfasts for years to come. So, go ahead and indulge in the delightful world of homemade waffles with your Oster Waffle Iron.
Happy waffle-making!
Frequently Asked Questions about How To Use Oster Waffle Iron
Was this page helpful?
At Storables.com, we guarantee accurate and reliable information. Our content, validated by Expert Board Contributors, is crafted following stringent Editorial Policies. We're committed to providing you with well-researched, expert-backed insights for all your informational needs.


0 thoughts on “How To Use Oster Waffle Iron”