Articles
How To Use A Portable Ice Maker
Modified: October 27, 2024
Learn how to use a portable ice maker with our informative articles. Discover tips and tricks to make ice on the go for any occasion.
(Many of the links in this article redirect to a specific reviewed product. Your purchase of these products through affiliate links helps to generate commission for Storables.com, at no extra cost. Learn more)
Introduction
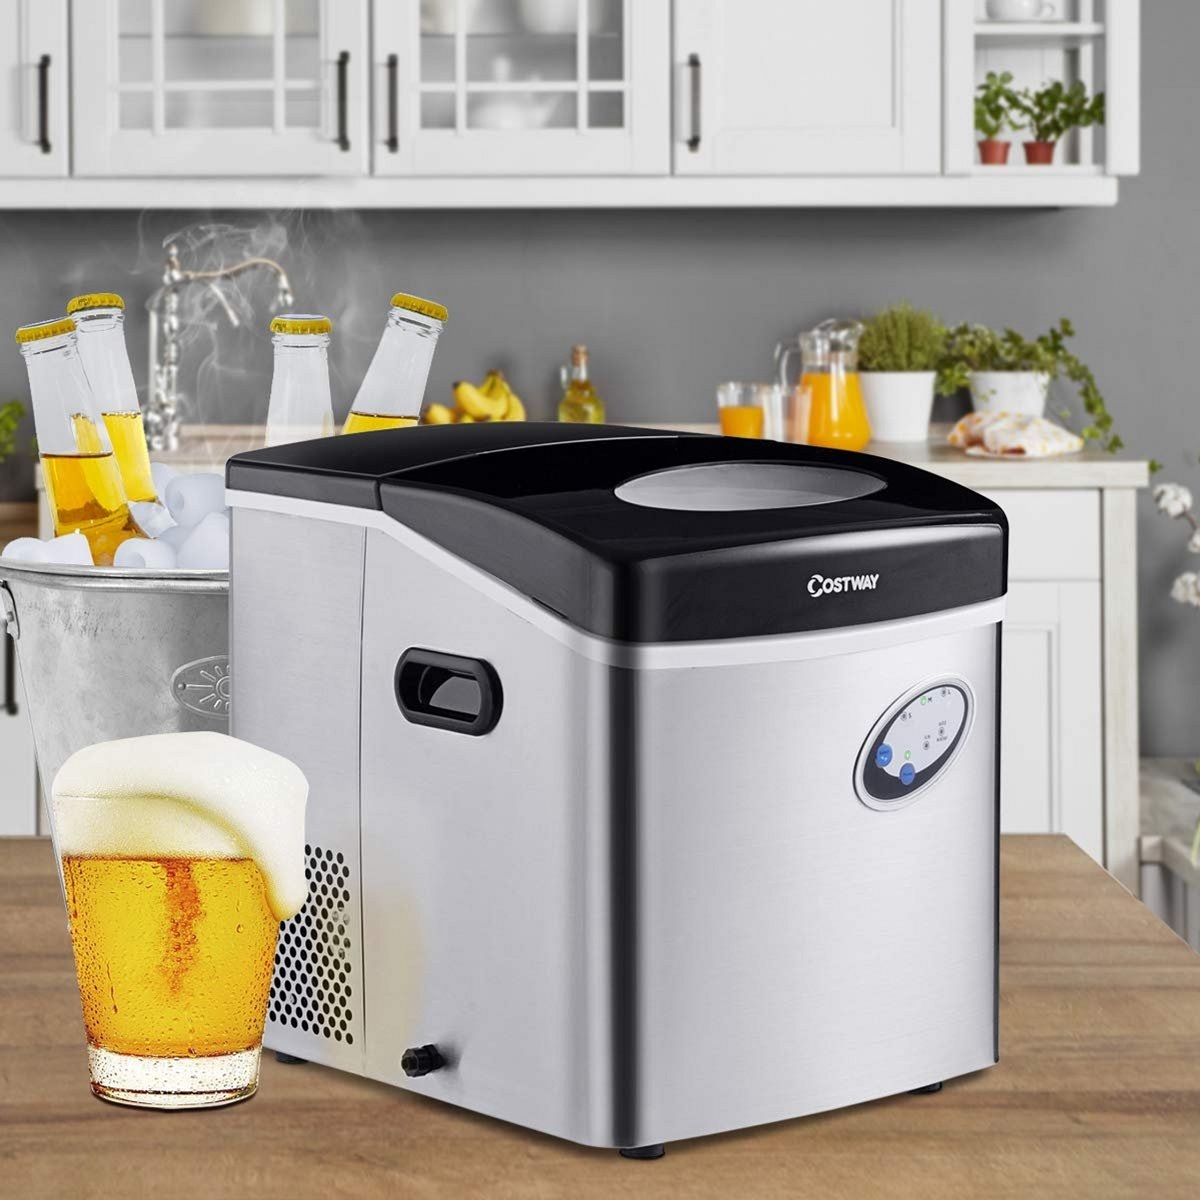
Welcome to the world of convenience and refreshing cold drinks with a portable ice maker! Whether you’re hosting a party, enjoying a picnic, or simply craving a cold beverage on a hot day, having a portable ice maker can be a game-changer. No more running to the store to buy bags of ice or waiting hours for your freezer to produce a measly amount. With a portable ice maker, you can have ice cubes ready in minutes, no hassle required.
In this article, we will take you through a comprehensive guide on how to use a portable ice maker effectively. We’ll cover everything from understanding how these handy appliances work to selecting the right one for your needs, setting it up correctly, operating it efficiently, and even troubleshooting common issues that may arise. By the end of this article, you’ll be a pro at making ice with your portable ice maker.
So, grab a cold drink, sit back, and let’s explore the world of portable ice makers!
Key Takeaways:
- Enjoy the convenience of instant ice with a portable ice maker, perfect for parties, picnics, or everyday use. Select, set up, and operate your ice maker with ease for refreshing drinks anytime.
- Keep your portable ice maker running smoothly with proper cleaning, maintenance, and troubleshooting. Ensure hygienic ice production and resolve common issues for a reliable ice-making experience.
Read more: Where To Buy Portable Ice Maker
Understanding Portable Ice Makers
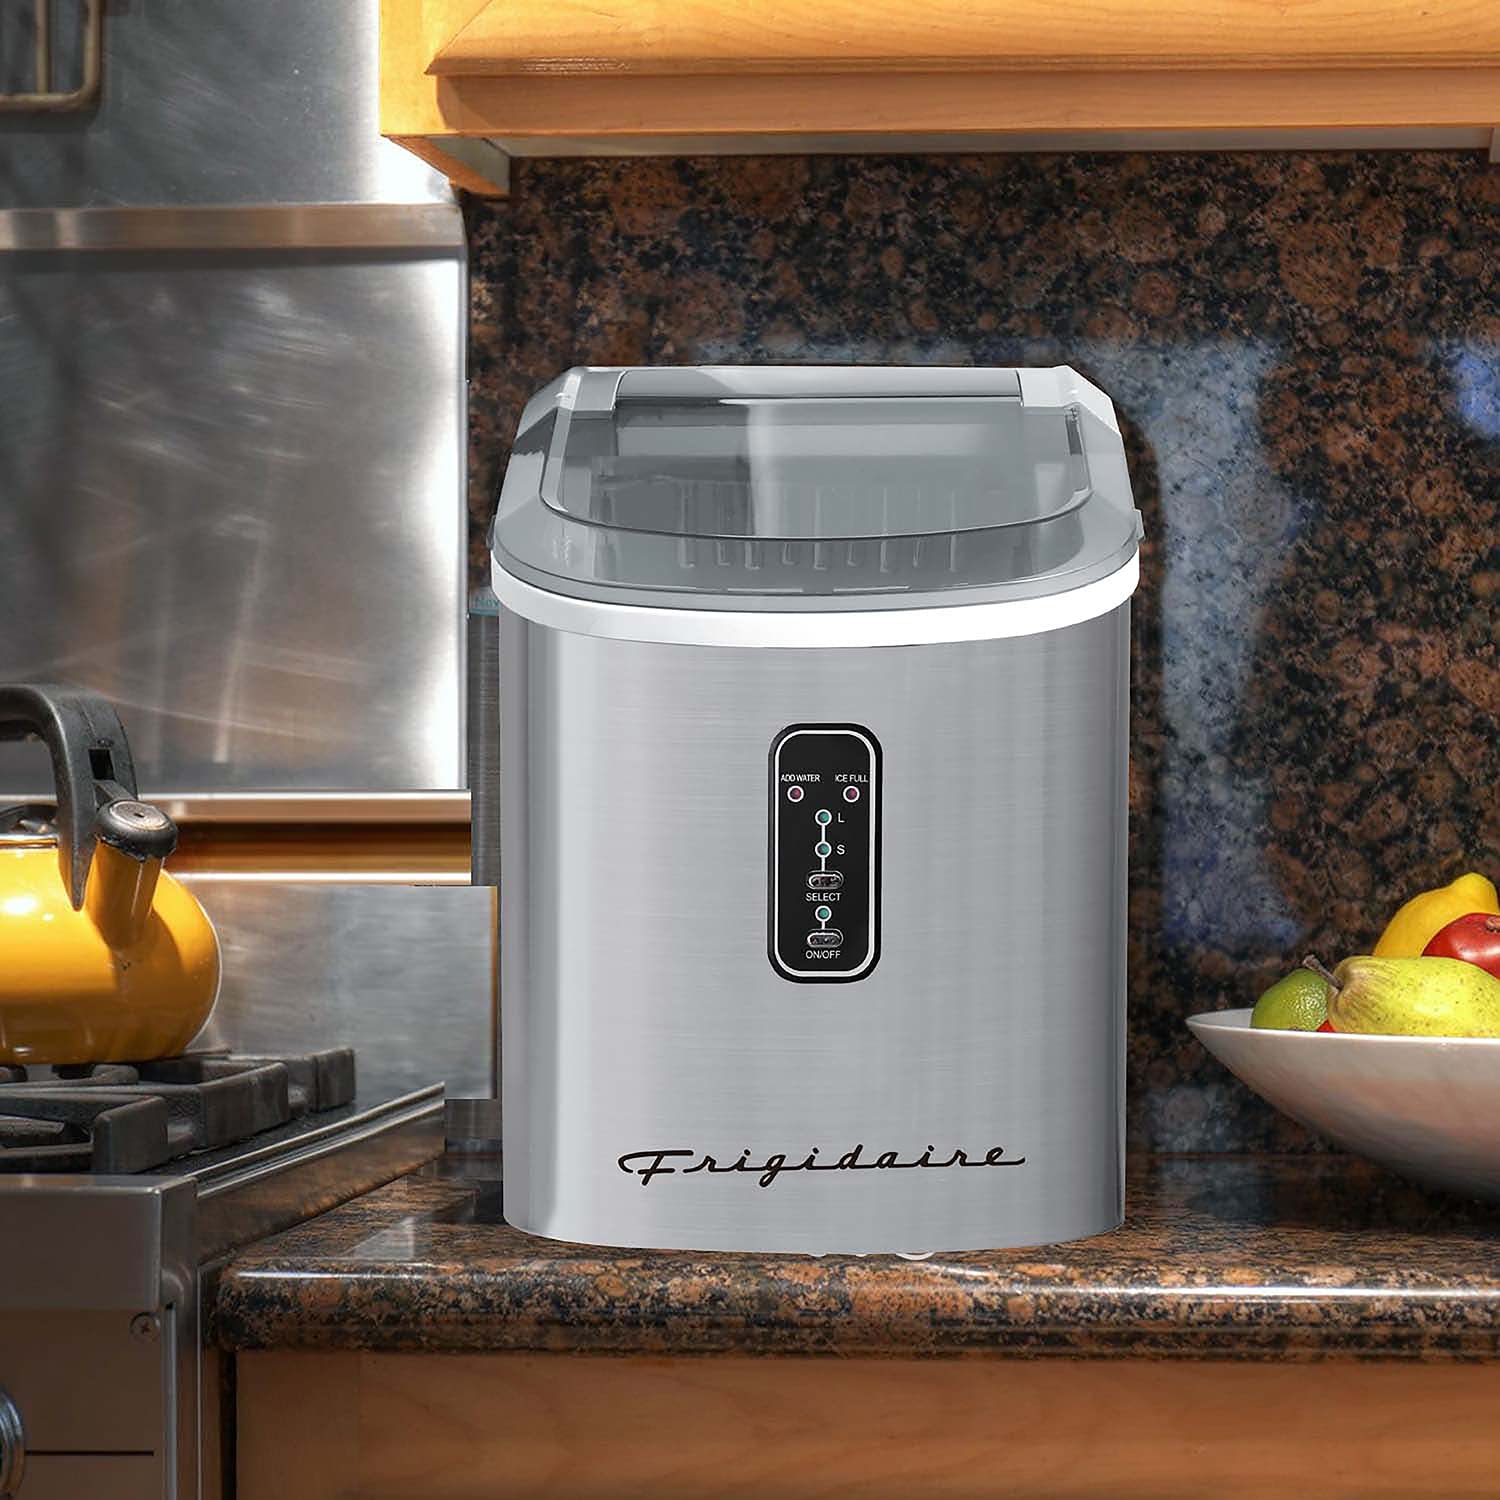
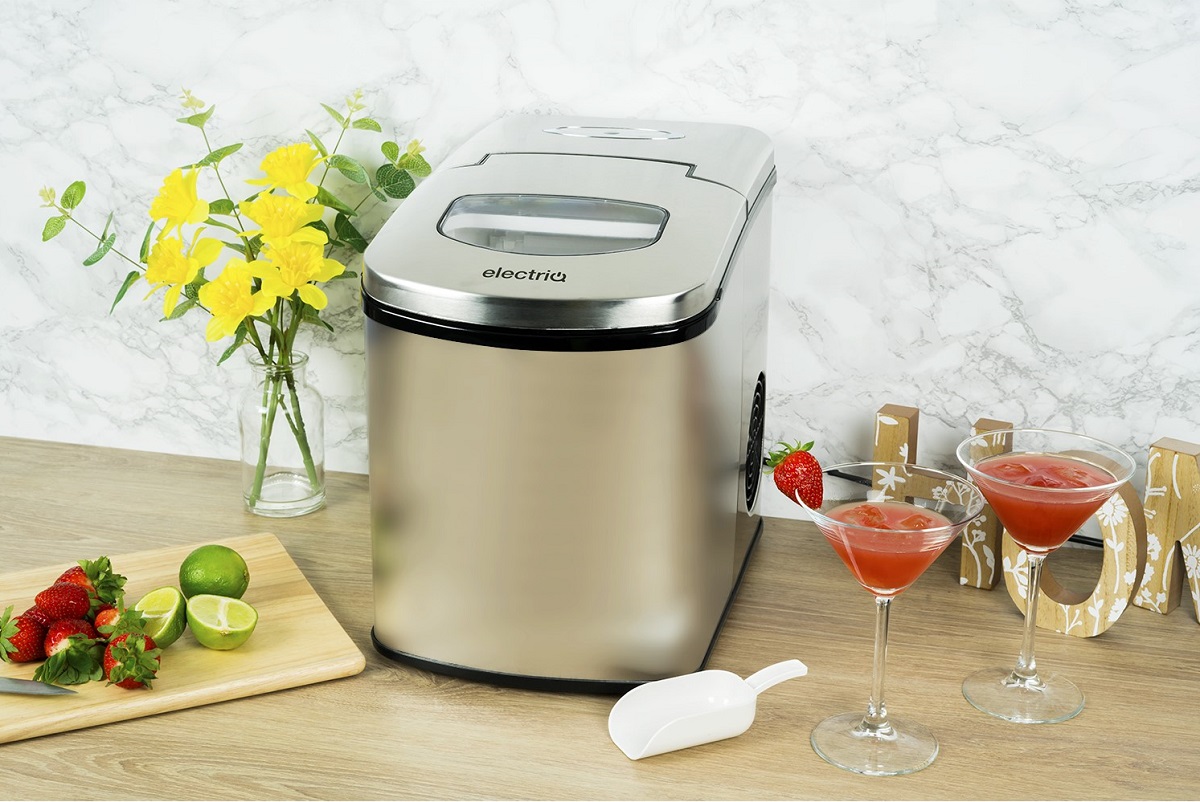
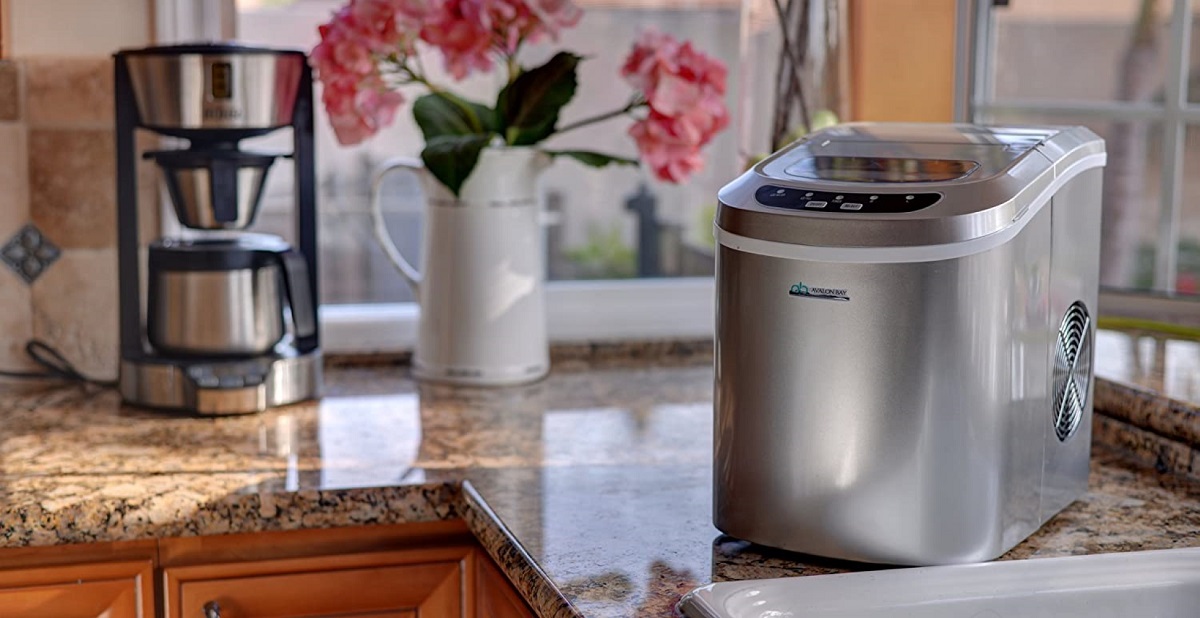
Before we dive into the specifics of using a portable ice maker, it’s essential to understand how these compact appliances work. A portable ice maker is a self-contained unit that is designed to produce ice cubes quickly and efficiently. Unlike traditional ice makers built into refrigerators, portable ice makers do not require a water line or the hassle of installation. They are small, lightweight, and can be easily transported wherever you need them.
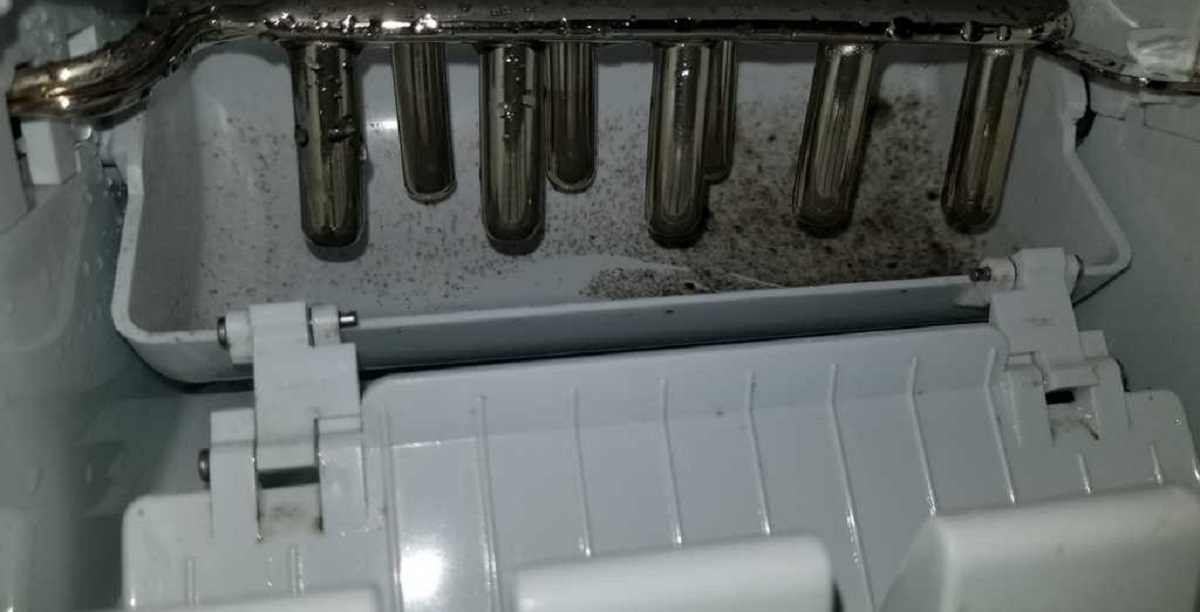
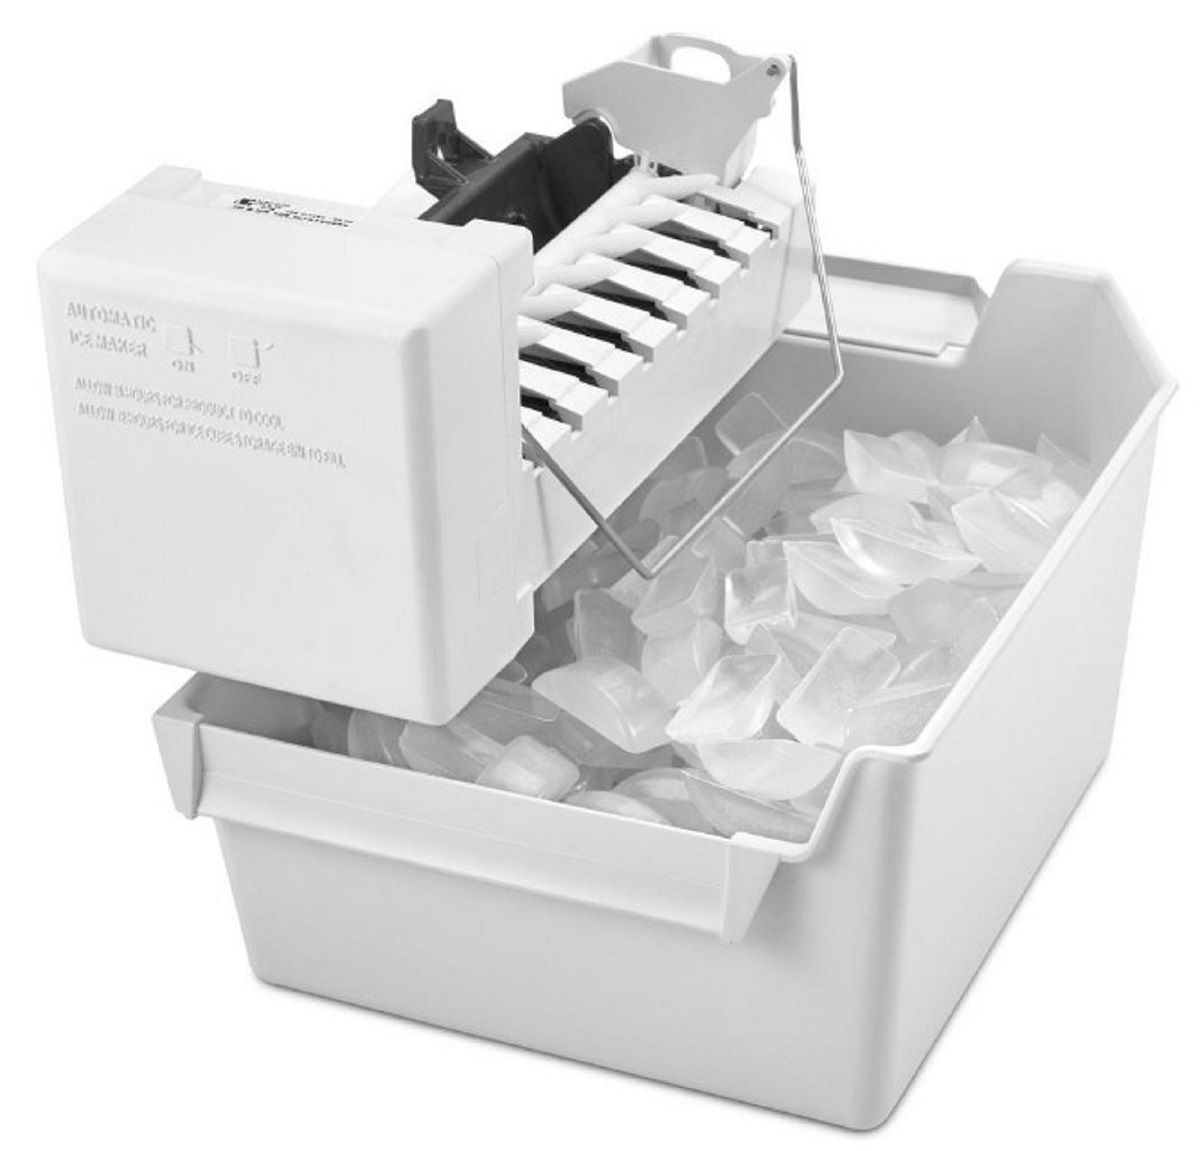
Portable ice makers operate by using a simple process. When you plug in the machine and add water to the reservoir, the ice maker starts its cycle. It typically consists of a refrigeration chamber, a water pump, and a set of metal pins known as evaporator rods. The water in the reservoir is pumped over the evaporator rods, where a cooling process takes place. As the water flows over the cold evaporator rods, it freezes into ice cubes. Once the ice cubes are formed, they are separated from the evaporator rods by a heating element, and they drop into the ice basket below.
It’s important to note that portable ice makers are designed to produce ice cubes exclusively. They do not produce crushed ice or have a mechanism for storing the ice for an extended period. The ice cubes produced are typically small and bullet-shaped, perfect for cooling your beverages quickly.
Now that we have a basic understanding of how portable ice makers work, let’s move on to the next step: selecting the right one for your needs.
Selecting the Right Portable Ice Maker
When it comes to selecting a portable ice maker, there are a few factors to consider to ensure you choose the right one for your specific needs.
1. Size and Capacity: Portable ice makers come in various sizes, so it’s essential to consider the available space you have and how much ice you typically need. If you plan to use it for small gatherings or personal use, a compact model with a lower ice production capacity may be sufficient. However, if you frequently entertain or need a larger supply of ice, opting for a larger model with a higher production capacity would be more suitable.
2. Speed: Different portable ice makers have different ice production speeds. Some models can produce a batch of ice cubes in as little as 6 minutes, while others may take 15-20 minutes. Consider how quickly you need the ice and choose a model that aligns with your requirements.
3. Ice Cube Size and Shape: Some portable ice makers allow you to select the size of the ice cubes it produces. This can be handy if you have a preference for larger or smaller ice cubes. Additionally, certain models may offer the option to produce different shapes of ice cubes, such as bullet-shaped or square-shaped.
4. Water Source: Most portable ice makers require manually filling the water reservoir. However, some models have a direct water line connection option, allowing them to automatically refill the reservoir as needed. If convenience is a top priority, opting for a model with a direct water line connection can save you the hassle of filling the reservoir repeatedly.
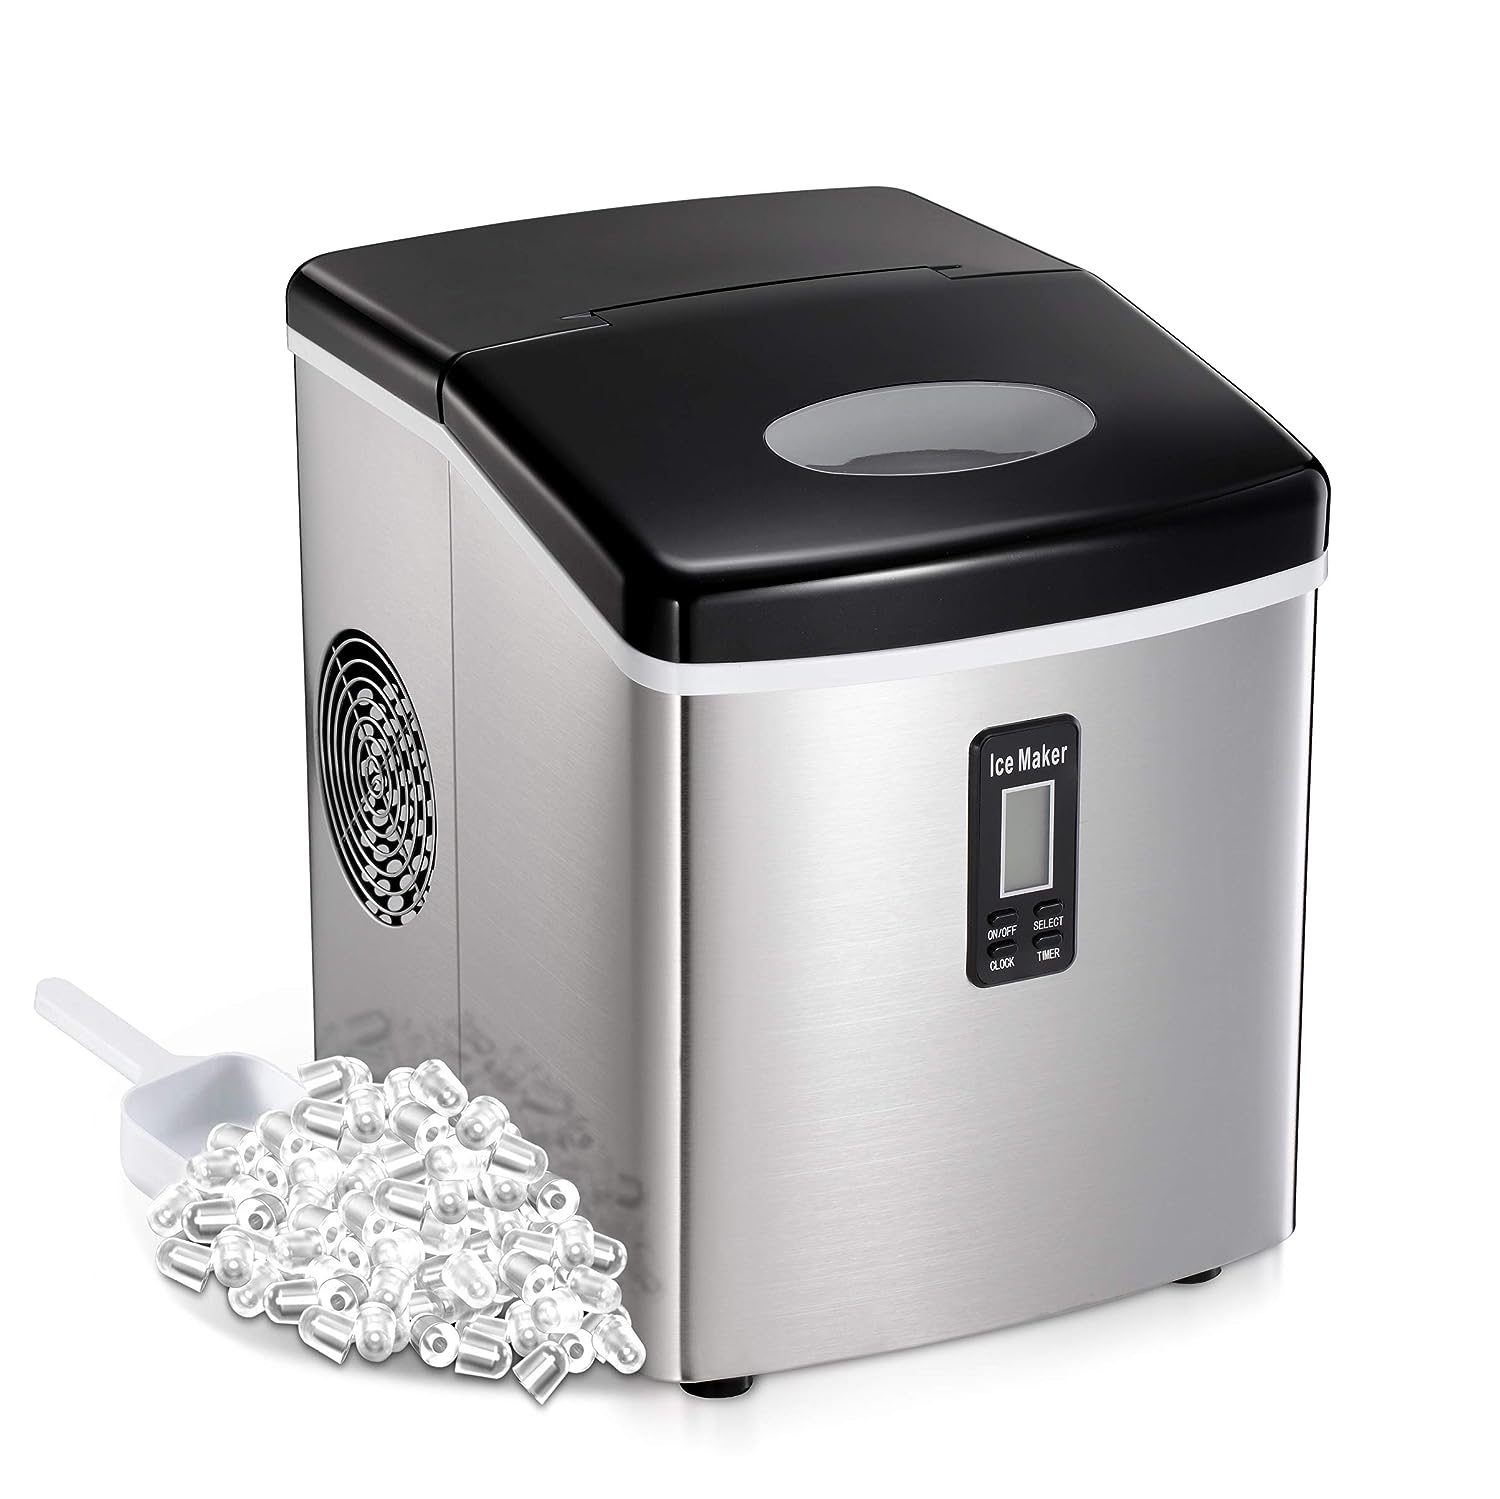
5. Additional Features: Some portable ice makers come with additional features such as a self-cleaning function, an insulated ice storage compartment, or a digital control panel for easy operation. Consider these extra features and determine which ones would enhance your ice-making experience.
6. Price: Last but not least, consider your budget. Portable ice makers are available at various price points, so it’s important to find a balance between your needs and budget. Remember that a higher price doesn’t always guarantee better performance, so read reviews and compare features before making a decision.
By taking these factors into account, you can find the perfect portable ice maker that meets your requirements and enhances your ice-making experience. With the right ice maker in hand, let’s move on to the next step: setting it up correctly.
Setup and Preparing the Ice Maker
Setting up your portable ice maker correctly is crucial to ensure optimal performance and longevity. Follow these steps to get your ice maker ready for use:
1. Read the Manual: Before starting, read the user manual that comes with your ice maker. This will provide specific instructions and guidelines from the manufacturer.
2. Choose a Suitable Location: Place your ice maker on a flat, stable surface. Make sure there is enough clearance around the unit for proper air circulation and ventilation.
3. Clean the Ice Maker: Before using it for the first time, clean the ice maker thoroughly. Use warm, soapy water to clean the interior and exterior surfaces. Rinse it well and let it air dry completely.
4. Plug it In: Connect the ice maker to a power source. Ensure that the outlet can handle the power requirements of the unit. If your ice maker has a separate on/off switch, turn it on.
5. Let it Stand: Allow the ice maker to stand upright for at least 2-3 hours before using it. This will ensure that any residual refrigerant settles properly and the unit reaches optimal operating temperature.
6. Preparing the Ice Maker: Check the water reservoir to ensure it is clean and free from any debris. Fill the reservoir with clean, filtered water to the maximum fill line. Do not overfill the reservoir, as it may cause water spillage or affect the ice-making process.
7. Power it Up: Once the water reservoir is filled, turn on the ice maker. Select the desired ice cube size, if applicable, using the control panel or settings provided on the unit.
8. Initial Ice Production: The ice maker will start its cycle, and you will begin to see the first ice cubes forming. During the initial cycle, discard the first few batches of ice to ensure any impurities or manufacturing residues are flushed out. This will help maintain the quality of the ice cubes.
9. Let it Run: Allow the ice maker to continue its ice-making process until it reaches maximum production capacity or until you have the desired amount of ice cubes.
10. Repeat Process: Once you have used the ice cubes, repeat the process by adding more water to the reservoir. Your ice maker is now ready to use whenever you need a fresh batch of ice cubes!
By following these setup and preparation steps, you can ensure that your portable ice maker is functioning optimally and ready to provide you with a consistent supply of ice cubes. Now that you have your ice maker up and running, it’s time to move on to the next step: filling the water reservoir.
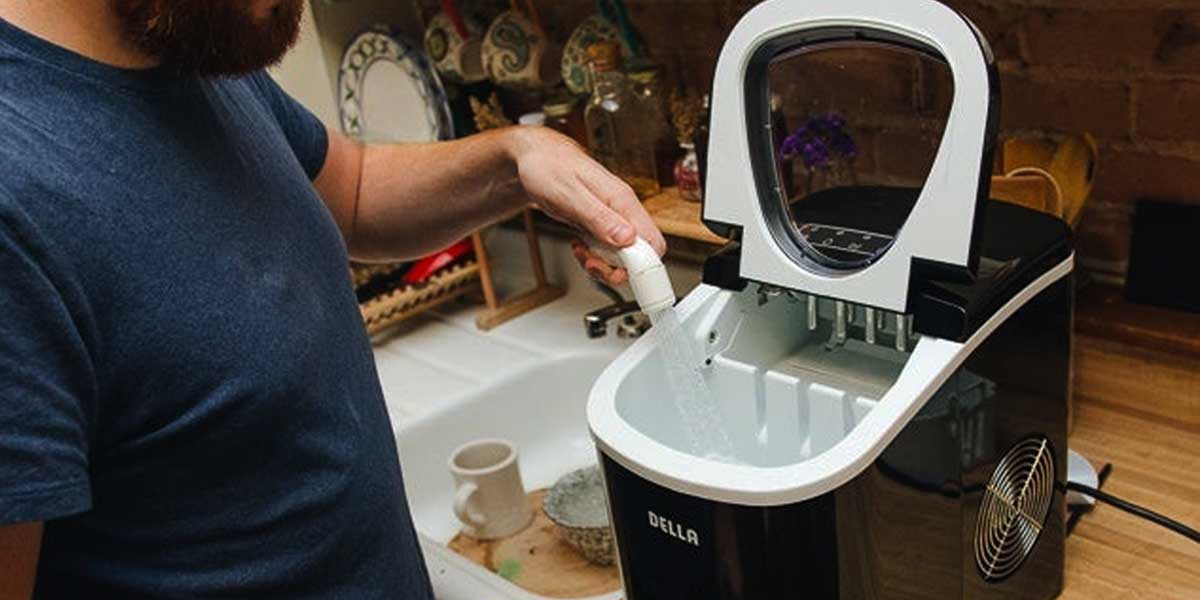
Filling the Water Reservoir
One of the essential steps in using a portable ice maker is filling the water reservoir. The water reservoir is where the machine draws water to produce ice cubes. Here’s how you can fill the water reservoir correctly:
1. Check the Water Level Indicator: Most portable ice makers have a water level indicator that shows the maximum fill line. Locate this indicator on your ice maker to ensure you do not overfill the reservoir.
2. Use Clean, Filtered Water: It’s important to use clean and filtered water to fill the reservoir. This will help ensure the quality and taste of the ice cubes. Avoid using water with high mineral content, as it can affect the performance of the ice maker over time.
3. Open the Reservoir: Depending on the model, the water reservoir can be accessed by removing a lid or a cover. Follow the instructions provided in the user manual to open the reservoir correctly.
4. Fill to the Maximum Fill Line: Carefully pour water into the reservoir, ensuring that it does not exceed the maximum fill line indicated. Overfilling can lead to water spillage or interfere with the ice-making process.
5. Close the Reservoir: Once you have filled the reservoir, securely close the lid or cover. Ensure that it is properly sealed to prevent any water leaks.
6. Let the Ice Maker Do Its Job: With the water reservoir filled, the ice maker is now ready to produce ice cubes. The machine will begin its ice-making cycle automatically, drawing water from the reservoir as needed.
7. Monitor the Water Level: Keep an eye on the water level throughout the ice-making process. As the ice maker generates ice cubes, the water level will gradually decrease. If the water level becomes too low, the machine may automatically pause or display a low water indicator. In this case, refill the reservoir following the same steps.
8. Regularly Refill: Depending on your ice usage, you may need to refill the water reservoir multiple times throughout the day. Monitor the ice levels and ensure the reservoir is filled as needed to keep the ice production uninterrupted.
By following these steps, you can ensure that the water reservoir of your portable ice maker is filled correctly, allowing the machine to produce a steady supply of ice cubes. With the water reservoir filled, let’s move on to the next step: operating the portable ice maker to start the ice-making process.
When using a portable ice maker, make sure to regularly clean and descale it to maintain optimal performance and ice quality. Follow the manufacturer’s instructions for proper maintenance.
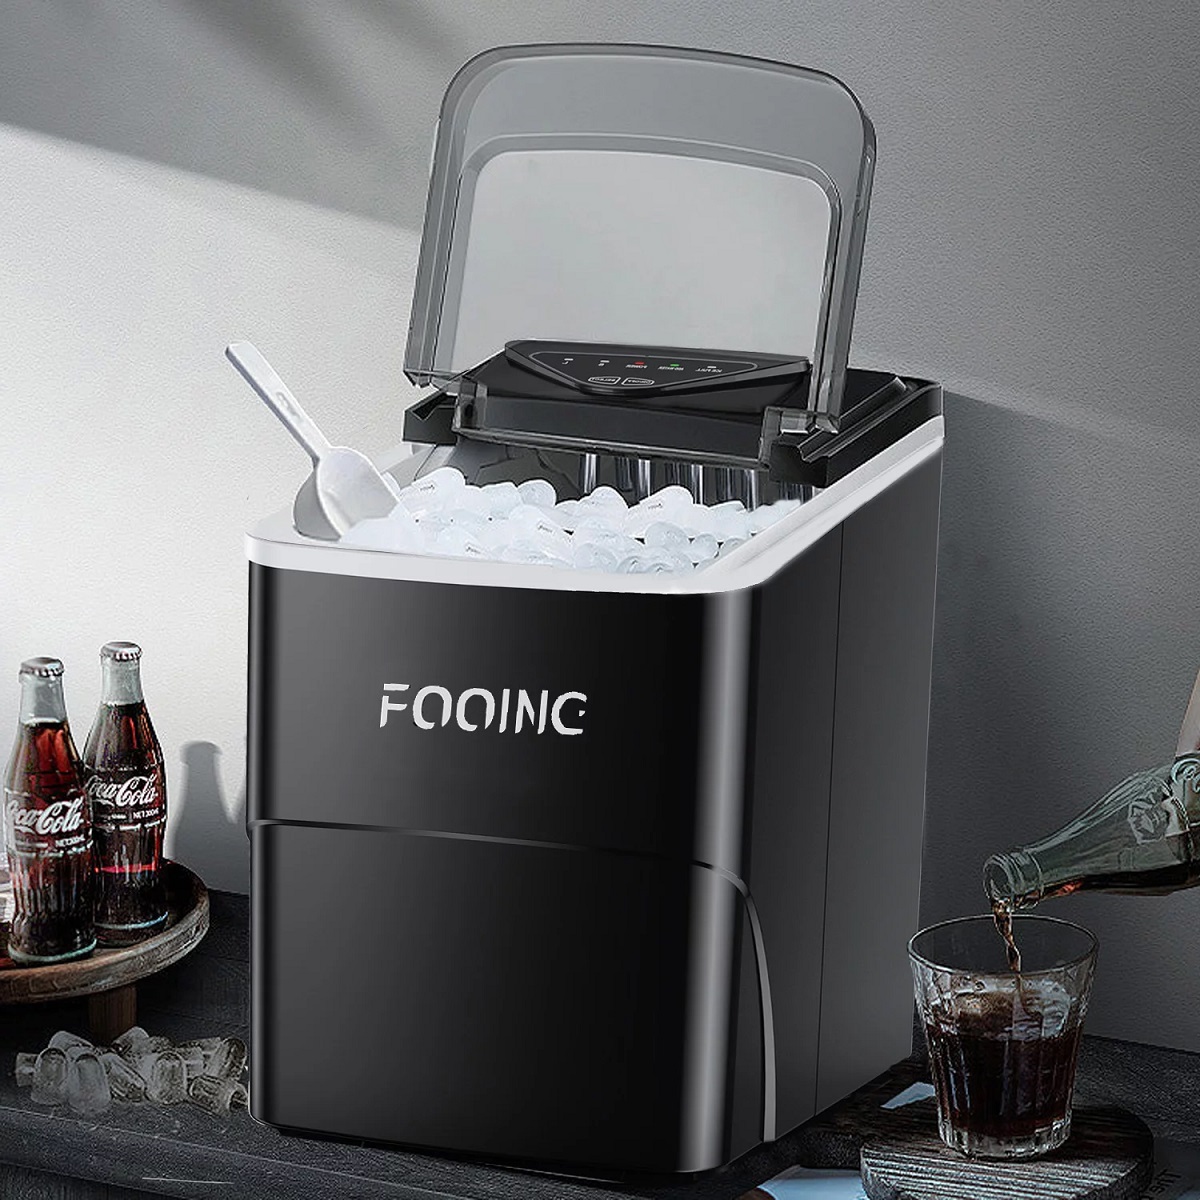
Operating the Portable Ice Maker
Operating a portable ice maker is a straightforward process once you have set it up and filled the water reservoir. Here’s how you can operate your portable ice maker:
1. Plug it In: Ensure that the ice maker is properly plugged into a power source. Make sure the outlet is compatible with the power requirements of the unit.
2. Power On: If your ice maker has a separate on/off switch, turn it on. Some models may start automatically once plugged in. Refer to the user manual for specific instructions on how to power on your ice maker.
3. Select the Ice Cube Size: If your ice maker offers different ice cube size options, use the control panel or settings provided to select your desired size. This step may vary depending on the model, so consult your user manual if you’re unsure.
4. Wait for Ice Production: Once you have powered on the ice maker and selected the ice cube size, the machine will begin its ice-making process. It may take a few minutes for the first batch of ice cubes to form, so be patient.
5. Monitor the Ice Production: As the ice maker operates, you will start to see ice cubes being formed. Depending on the model and environmental conditions, it may take anywhere from 6 to 20 minutes for a batch of ice cubes to be ready. Monitor the ice production levels and adjust as needed.
6. Collect the Ice Cubes: Once the ice cubes are formed, they will drop into the ice basket or collection area. Open the designated area to collect the ice cubes. Be careful not to overload the ice basket beyond its capacity, as it can interfere with the ice-making process.
7. Refill the Water Reservoir: As you collect the ice cubes, keep an eye on the water level in the reservoir. If it becomes low, refill it following the steps outlined earlier. Maintaining an adequate water level is crucial for continuous ice production.
8. Enjoy Your Ice: With a steady supply of ice cubes, you are now ready to enjoy cold and refreshing beverages. Whether it’s for a party, a picnic, or everyday use, your portable ice maker will provide you with a convenient and ready-to-use ice source.
9. Repeat the Process: As you use the ice cubes, the machine will continue to produce more ice as long as the water reservoir is filled. Repeat the process of collecting ice cubes, refilling the water reservoir, and enjoying your ice as needed.
Remember to consult your ice maker’s user manual for specific operating instructions and any additional features or settings it may have. With these simple steps, you can easily operate your portable ice maker and have a continuous supply of ice cubes whenever you need them.
Next, let’s move on to the important topic of collecting and storing the ice cubes that your portable ice maker produces.
Collecting and Storing the Ice
Once your portable ice maker has produced a batch of ice cubes, it’s important to handle them properly to maintain their quality and ensure they stay frozen. Here are some tips for collecting and storing the ice from your ice maker:
1. Collecting the Ice Cubes: Open the designated area of your ice maker where the ice cubes drop, usually an ice basket or collection tray. Use a clean scoop or tongs to collect the ice cubes, avoiding direct contact with your hands to prevent contamination.
2. Transfer to a Freezer or Cooler: If you plan to use the ice cubes immediately, you can transfer them directly to your drink or cooler. However, if you want to store the ice for later use, it’s best to transfer it to a freezer-safe container or bag.
3. Use Sealed Containers: To prevent the ice cubes from absorbing any odors or flavors from the freezer, use airtight containers or resealable freezer bags. This will help maintain the quality and taste of the ice cubes over time.
4. Label and Date: If you frequently store ice cubes, it’s a good idea to label the containers or bags with the date they were produced. This will help you keep track of the freshness of the ice cubes and ensure you use the oldest ones first.
5. Freezing Extra Ice: If your portable ice maker has produced more ice than you currently need, you can freeze the excess ice cubes in the freezer. Transfer them to a freezer bag or container, seal it tightly, and place it in the freezer. This way, you’ll always have extra ice on hand for future use.
6. Clean the Ice Basket: After collecting the ice cubes, it’s a good practice to clean the ice basket or collection tray of the portable ice maker. Use warm, soapy water to wash it, then rinse and dry thoroughly before placing it back in the machine.
7. Use Ice Frequently: It’s recommended to use the ice cubes stored in the freezer within a reasonable time. Ice may absorb odors and lose its freshness over time, so try to use the frozen ice cubes within a few weeks for optimal quality.
Remember to follow any specific instructions provided by your portable ice maker’s manufacturer regarding collecting and storing the ice cubes. By following these tips, you can ensure that the ice cubes from your portable ice maker stay fresh, clean, and ready to use whenever you need them.
Next, let’s delve into the importance of cleaning and maintaining your portable ice maker for efficient and hygienic operation.
Cleaning and Maintaining the Ice Maker
Regular cleaning and maintenance of your portable ice maker are essential to ensure optimal performance, prolong its lifespan, and maintain hygienic ice production. Follow these steps to clean and maintain your ice maker:
1. Unplug and Empty: Before cleaning, always unplug the ice maker from the power source and empty any remaining ice cubes from the ice basket. Allow the ice maker to reach room temperature before proceeding.
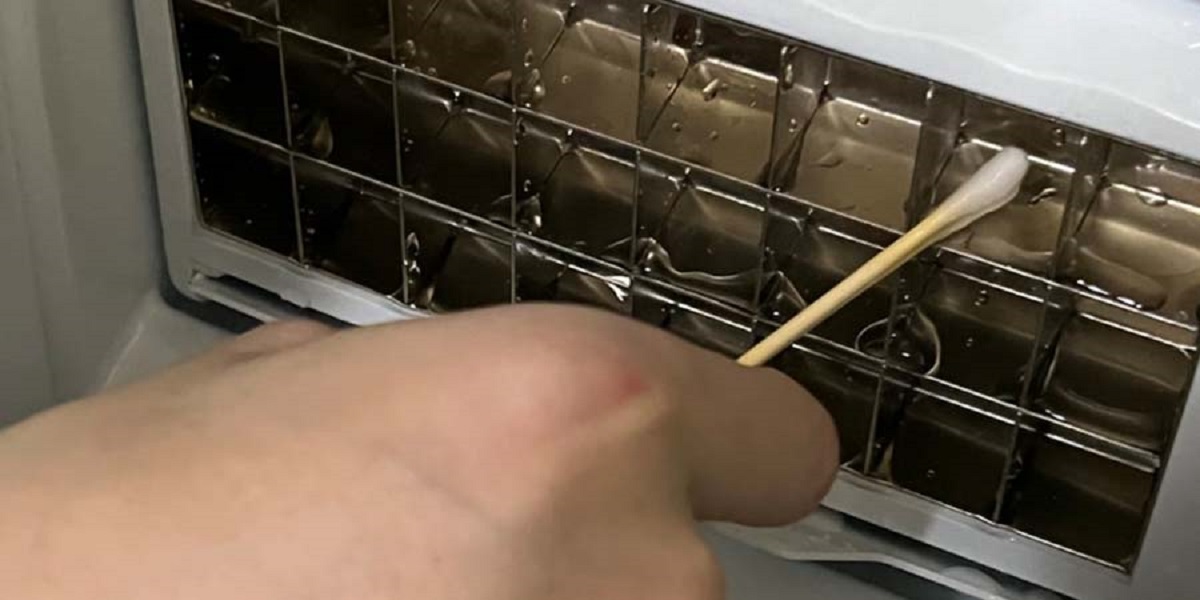
2. Clean the Interior: Use a soft cloth or sponge dampened with a mixture of warm water and mild detergent to clean the interior surfaces of the ice maker. Pay close attention to the areas where ice cubes form and the water reservoir. Rinse thoroughly with clean water to remove any soap residue.
3. Remove Mineral Deposits: Over time, mineral deposits from the water may build up in the ice maker, affecting its performance. To remove these deposits, mix equal parts of water and vinegar and use a cloth or sponge to wipe the interior surfaces. Rinse thoroughly afterward.
4. Clean the Exterior: Wipe the exterior surfaces of the ice maker with a damp cloth to remove any dust, dirt, or fingerprints. For stubborn stains, use a mild cleaner suitable for the material of your ice maker. Avoid using abrasive or harsh chemicals that could damage the surface.
5. Clean the Water Reservoir: Periodically clean the water reservoir to prevent bacterial growth and maintain the quality of the ice produced. Use warm water and a mild detergent to clean the reservoir thoroughly. Rinse well before refilling with fresh water.
6. Inspect and Clean the Air Vents: Check the air vents of the ice maker and ensure they are clear of any debris or obstructions. Use a soft brush or a cloth to remove any dust or dirt that may have accumulated. This will help maintain proper airflow and prevent the ice maker from overheating.
7. Drain the Water Reservoir: If you won’t be using the ice maker for an extended period, it’s advisable to drain the water reservoir completely. This will prevent any stagnant water from harboring bacteria or causing potential damage to the ice maker.
8. Regular Maintenance: Follow the specific maintenance instructions provided in the user manual for your ice maker. This may include periodic replacement of filters, descaling the machine, or other maintenance tasks to keep the ice maker functioning optimally.
Remember to consult the user manual for your specific ice maker model, as it may have unique cleaning and maintenance requirements. By following these cleaning and maintenance steps, you can ensure that your portable ice maker produces clean, high-quality ice cubes and operates efficiently for years to come.
Next, let’s discuss some common issues you may encounter with your portable ice maker and how to troubleshoot them.
Troubleshooting Common Issues
While portable ice makers are generally reliable and easy to use, you may encounter some common issues along the way. Here are a few troubleshooting tips to help you address these problems:
1. No Ice Production:
- Ensure that the water reservoir is properly filled and that the water level meets the minimum requirement.
- Check if the ice maker is plugged in and powered on.
- Verify that the ice maker is not in the defrosting or cleaning mode, as this can interrupt ice production.
- Check the water pump and ensure that it is functioning correctly. Clear any clogs or debris that may be affecting its operation.
- If the issue persists, refer to the user manual or contact customer support for further assistance.
2. Small or Misshapen Ice Cubes:
- Check the size selection settings on your ice maker. Adjust it to the desired ice cube size.
- Ensure that the water reservoir is properly filled and that the water level meets the recommended level for optimal ice cube formation.
- Check for any mineral deposits or clogs in the water lines or evaporator rods. Clean them properly to ensure a smooth ice-making process.
3. Ice Melts Quickly:
- If the ambient temperature is too high, it can cause the ice cubes to melt faster. Move the ice maker to a cooler location if possible.
- Check if the ice maker is positioned near a heat source, such as a stove or direct sunlight. Relocate it to a cooler spot if necessary.
- Ensure that the ice storage compartment is properly insulated and that the lid or cover is secured tightly to prevent heat infiltration.
4. Noisy Operation:
- The ice maker may produce some noise during its operation, but excessive noise can be indicative of an issue. Check for any loose parts, debris, or obstructions that may be causing the noise. Tighten loose components or clear any obstructions as necessary.
- Make sure that the ice maker is placed on a level surface to minimize vibrations and noise.
5. Unit Freezes Over:
- If the ice maker’s parts or components are iced over, it can affect its performance. Turn off the unit and allow it to thaw completely. Once thawed, clean the ice maker properly and ensure that it is free from any blockages.
- Regularly clean the air vents and ensure proper airflow to prevent the formation of ice around the unit.
If you have followed these troubleshooting tips and the issue persists, it’s recommended to consult the user manual or contact the manufacturer’s customer support for further assistance. They will be able to provide you with specific solutions or arrange for repair if necessary.
With these troubleshooting tips in mind, you’ll be well-equipped to handle any common issues that may arise with your portable ice maker.
Finally, let’s wrap up this comprehensive guide on how to use a portable ice maker.
Read more: How Do You Reset A Portable Ice Maker
Conclusion
Congratulations! You’ve reached the end of our comprehensive guide on how to use a portable ice maker. We hope this article has provided you with valuable insights and guidance on making the most out of your portable ice maker experience.
By understanding the basics of how portable ice makers work, selecting the right one for your needs, setting it up correctly, and operating it efficiently, you can enjoy the convenience of having ice cubes readily available in just a matter of minutes. Whether you’re hosting a party, enjoying a picnic, or simply craving a refreshing cold drink on a hot day, a portable ice maker can be your reliable companion.
Remember to prioritize proper cleaning and maintenance to keep your ice maker running smoothly. Regularly cleaning the interior and exterior surfaces, ensuring a clean water reservoir, and inspecting and clearing any debris will ensure optimal performance and hygienic ice production. And if you encounter any issues, our troubleshooting tips will help you resolve them quickly.
Now, armed with this knowledge, you can confidently select, set up, and operate your portable ice maker. So, sit back, relax, and enjoy the convenience of having ice cubes at your fingertips. Cheers to refreshing drinks and memorable gatherings!
Finally, don’t forget to refer to your specific ice maker’s user manual for model-specific instructions and recommendations. Each ice maker may have unique features, settings, and maintenance requirements.
Thank you for joining us on this ice-making journey. We hope you found this guide helpful, and may your portable ice maker continue to keep you cool and refreshed for many enjoyable moments to come!
Frequently Asked Questions about How To Use A Portable Ice Maker
Was this page helpful?
At Storables.com, we guarantee accurate and reliable information. Our content, validated by Expert Board Contributors, is crafted following stringent Editorial Policies. We're committed to providing you with well-researched, expert-backed insights for all your informational needs.
0 thoughts on “How To Use A Portable Ice Maker”