Articles
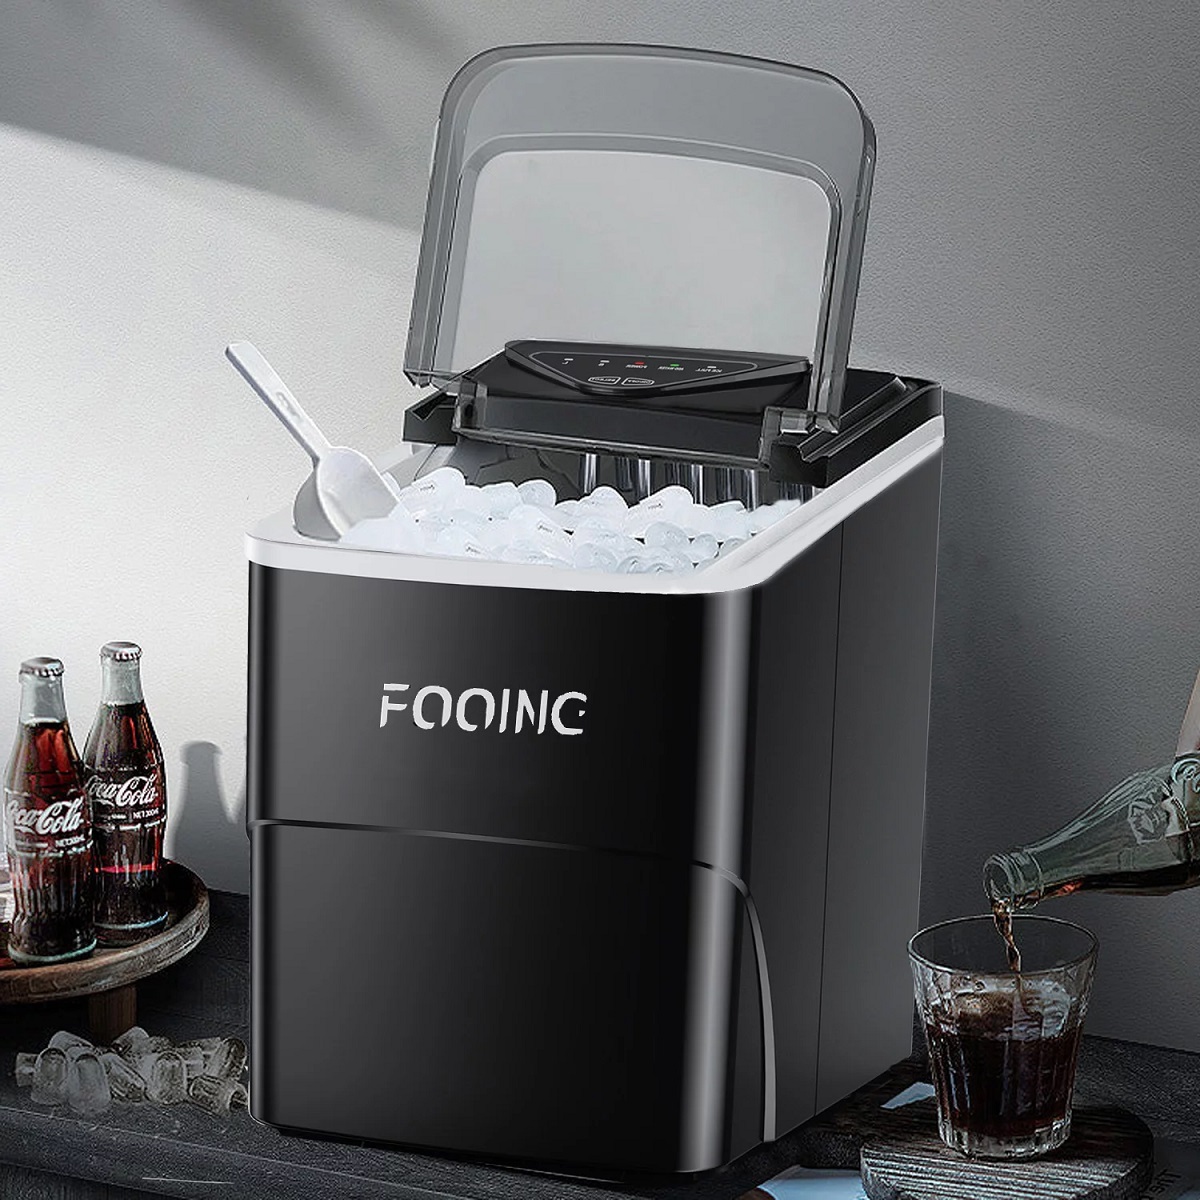
How To Use An Ice Maker
Modified: October 27, 2024
Learn how to effectively use an ice maker with these informative articles. Discover tips, tricks, and troubleshooting advice to enhance your ice-making experience.
(Many of the links in this article redirect to a specific reviewed product. Your purchase of these products through affiliate links helps to generate commission for Storables.com, at no extra cost. Learn more)
Introduction
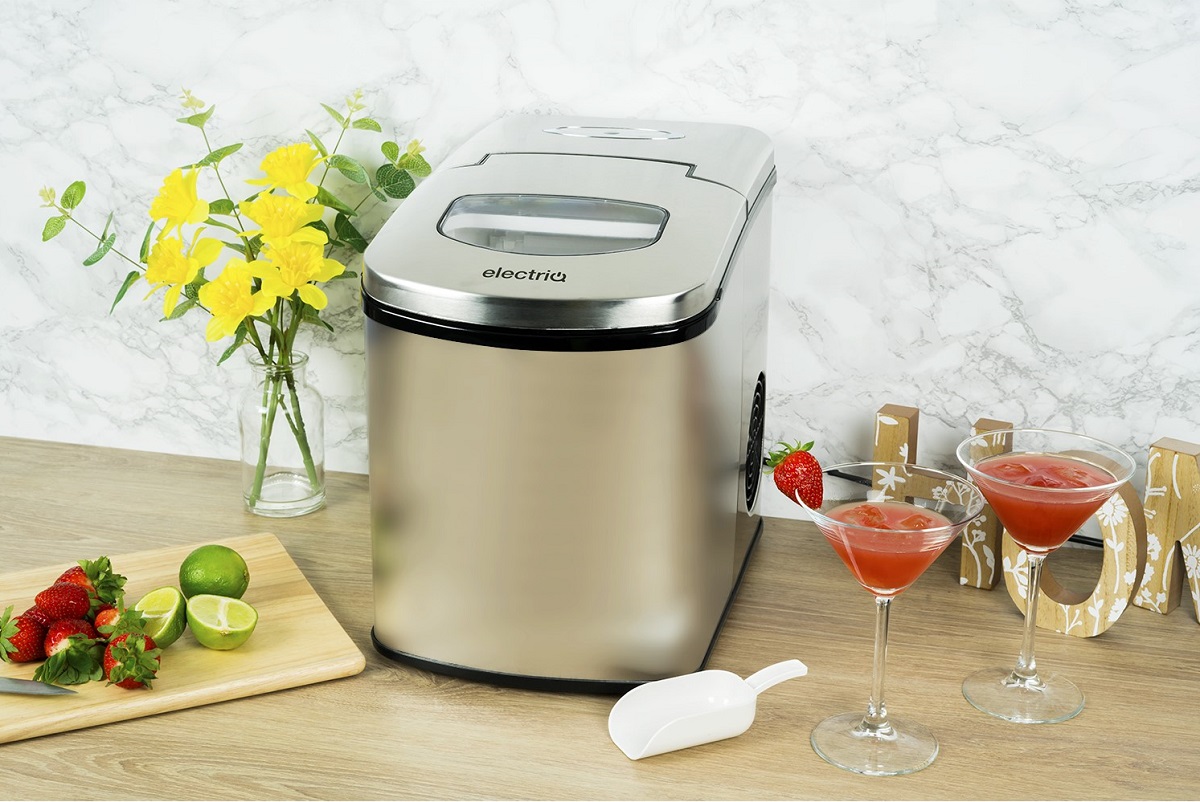
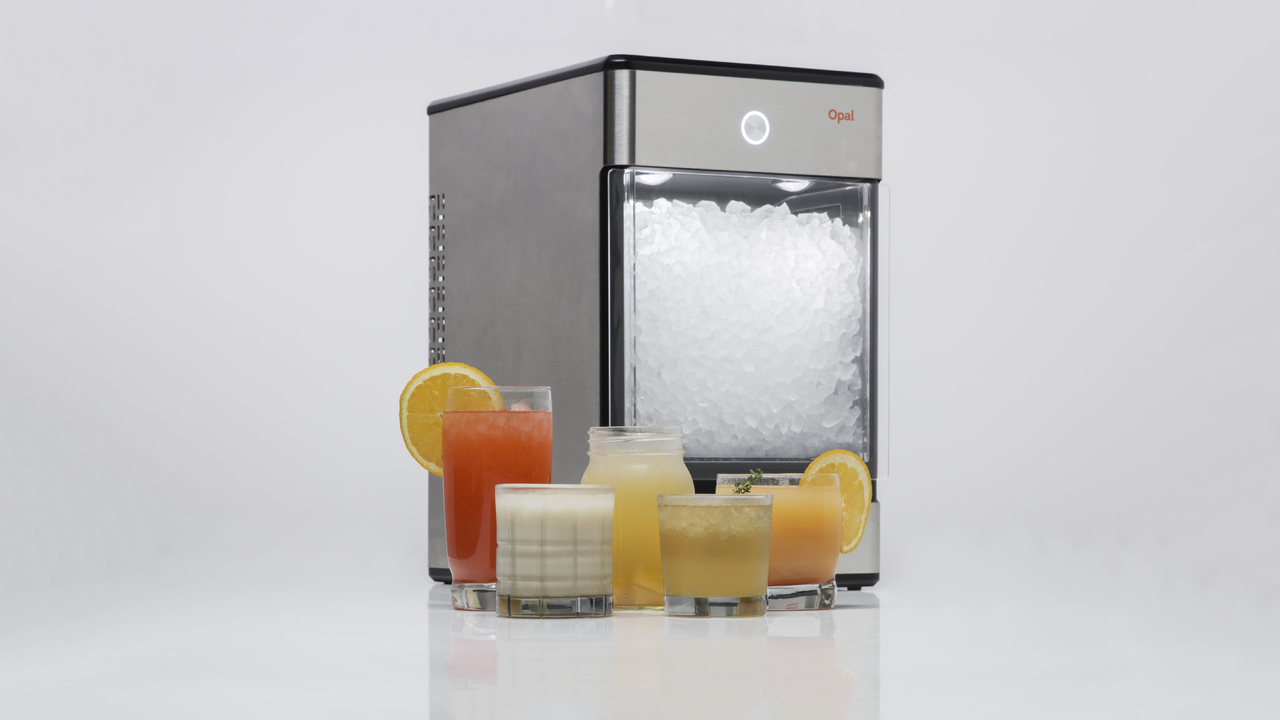
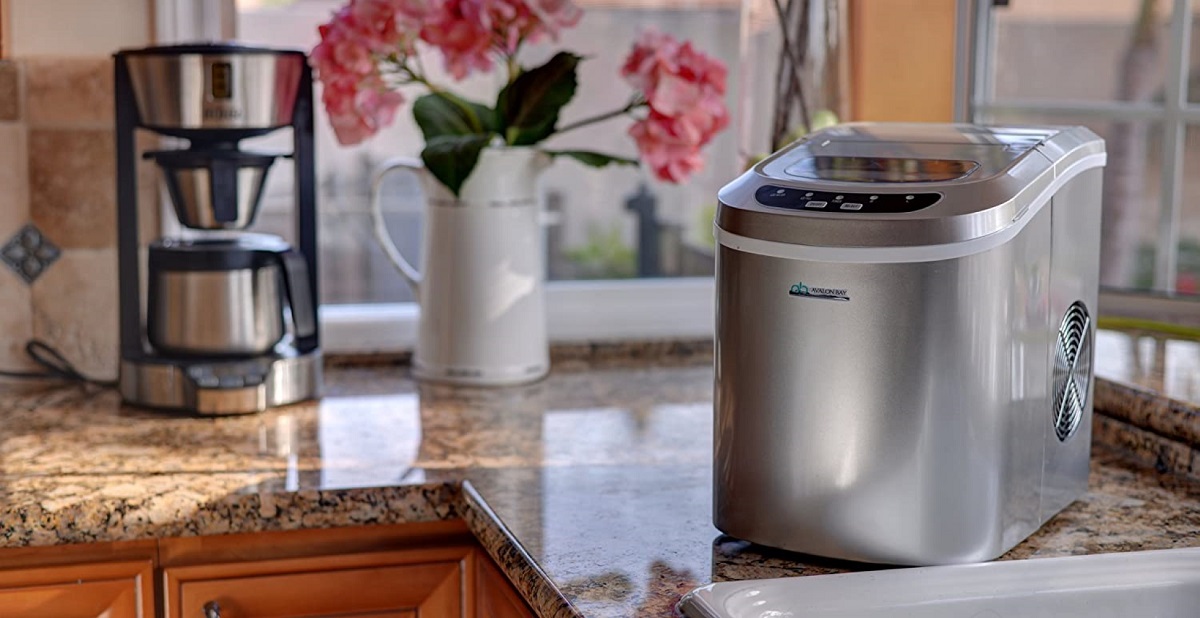
Ice makers are a convenient and essential appliance for any home or business, providing a constant supply of fresh ice cubes. Whether you’re hosting a party, running a restaurant, or simply want to keep your drinks cold, having an ice maker can save you time and effort. However, using an ice maker correctly is crucial to ensure its optimal performance and longevity.
In this article, we will guide you through the process of using an ice maker effectively. We will cover everything from understanding how an ice maker works to troubleshooting common issues. So let’s dive in and discover the ins and outs of using an ice maker like a pro.
Key Takeaways:
- Properly preparing and maintaining your ice maker is essential for optimal performance. Regular cleaning, inspecting the water supply, and following the manufacturer’s guidelines can ensure a steady supply of high-quality ice.
- Understanding how ice makers work and troubleshooting common issues can help you make the most of your appliance. By following the user manual and prioritizing cleanliness, you can enjoy the convenience of having a reliable ice maker.
Read more: How To Use An Igloo Ice Maker
Understanding Ice Makers
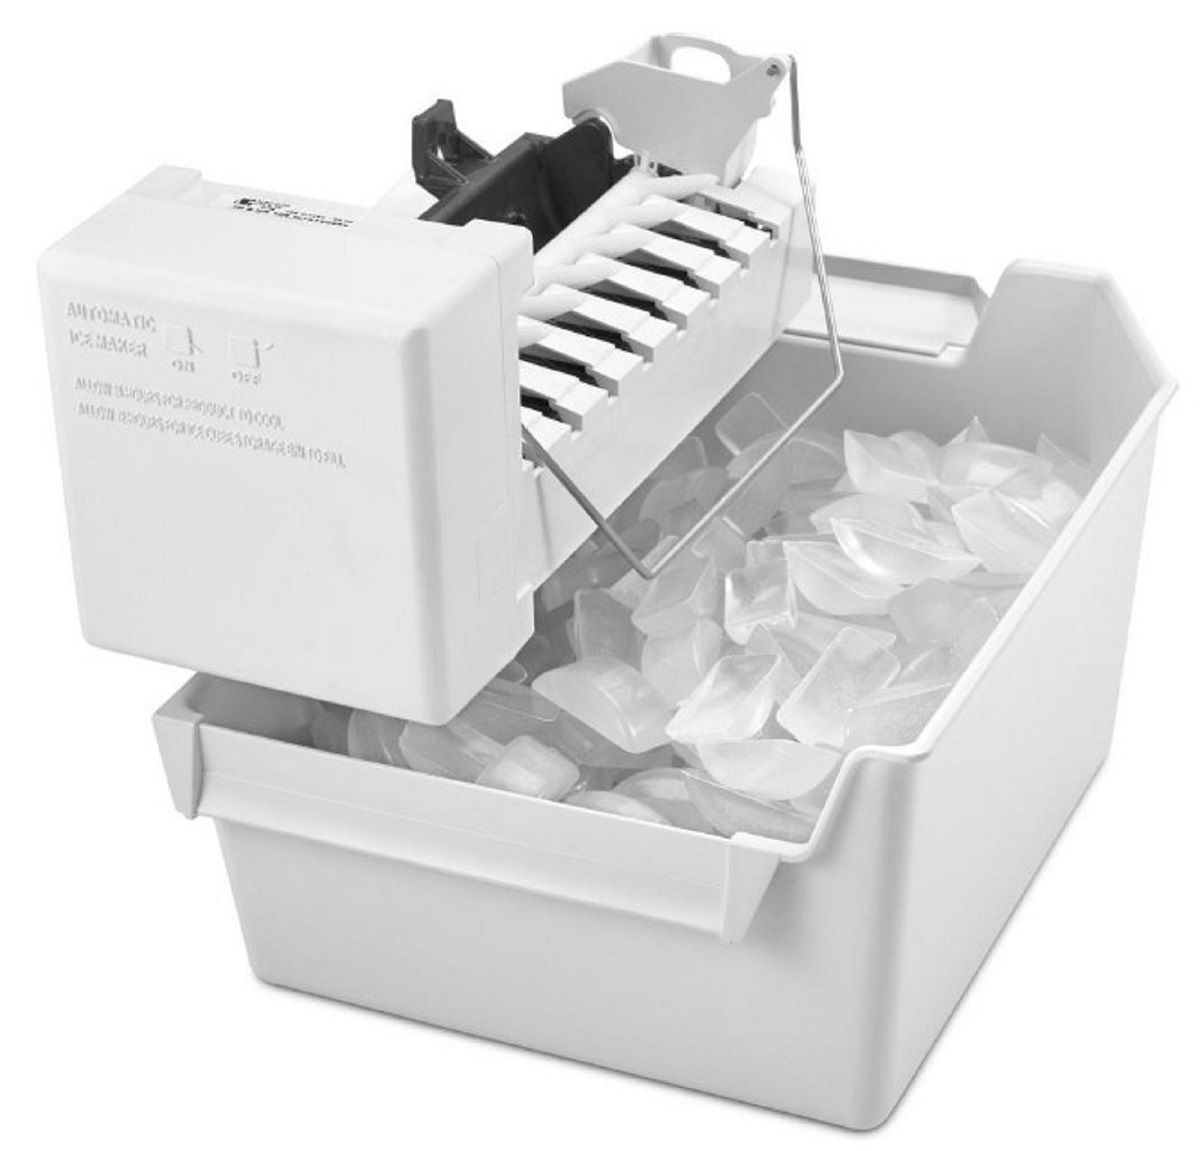
Before diving into the process of using an ice maker, it’s important to have a basic understanding of how these machines work. Ice makers typically consist of a few key components, including a water supply, a freezing mechanism, and an ice storage bin.
The water supply is connected to the ice maker, either through a direct water line or a water reservoir. This water is then filtered and pumped into the freezing mechanism, where it is transformed into ice. The freezing mechanism usually involves a set of metal prongs or a refrigeration system that cools the water below freezing point, causing ice to form.
Once the ice has formed, it is either automatically released into the ice storage bin or held in a tray until you manually release it. The ice storage bin is insulated to keep the ice frozen for longer periods. Some ice makers also come with additional features like a built-in ice crusher or dispenser.
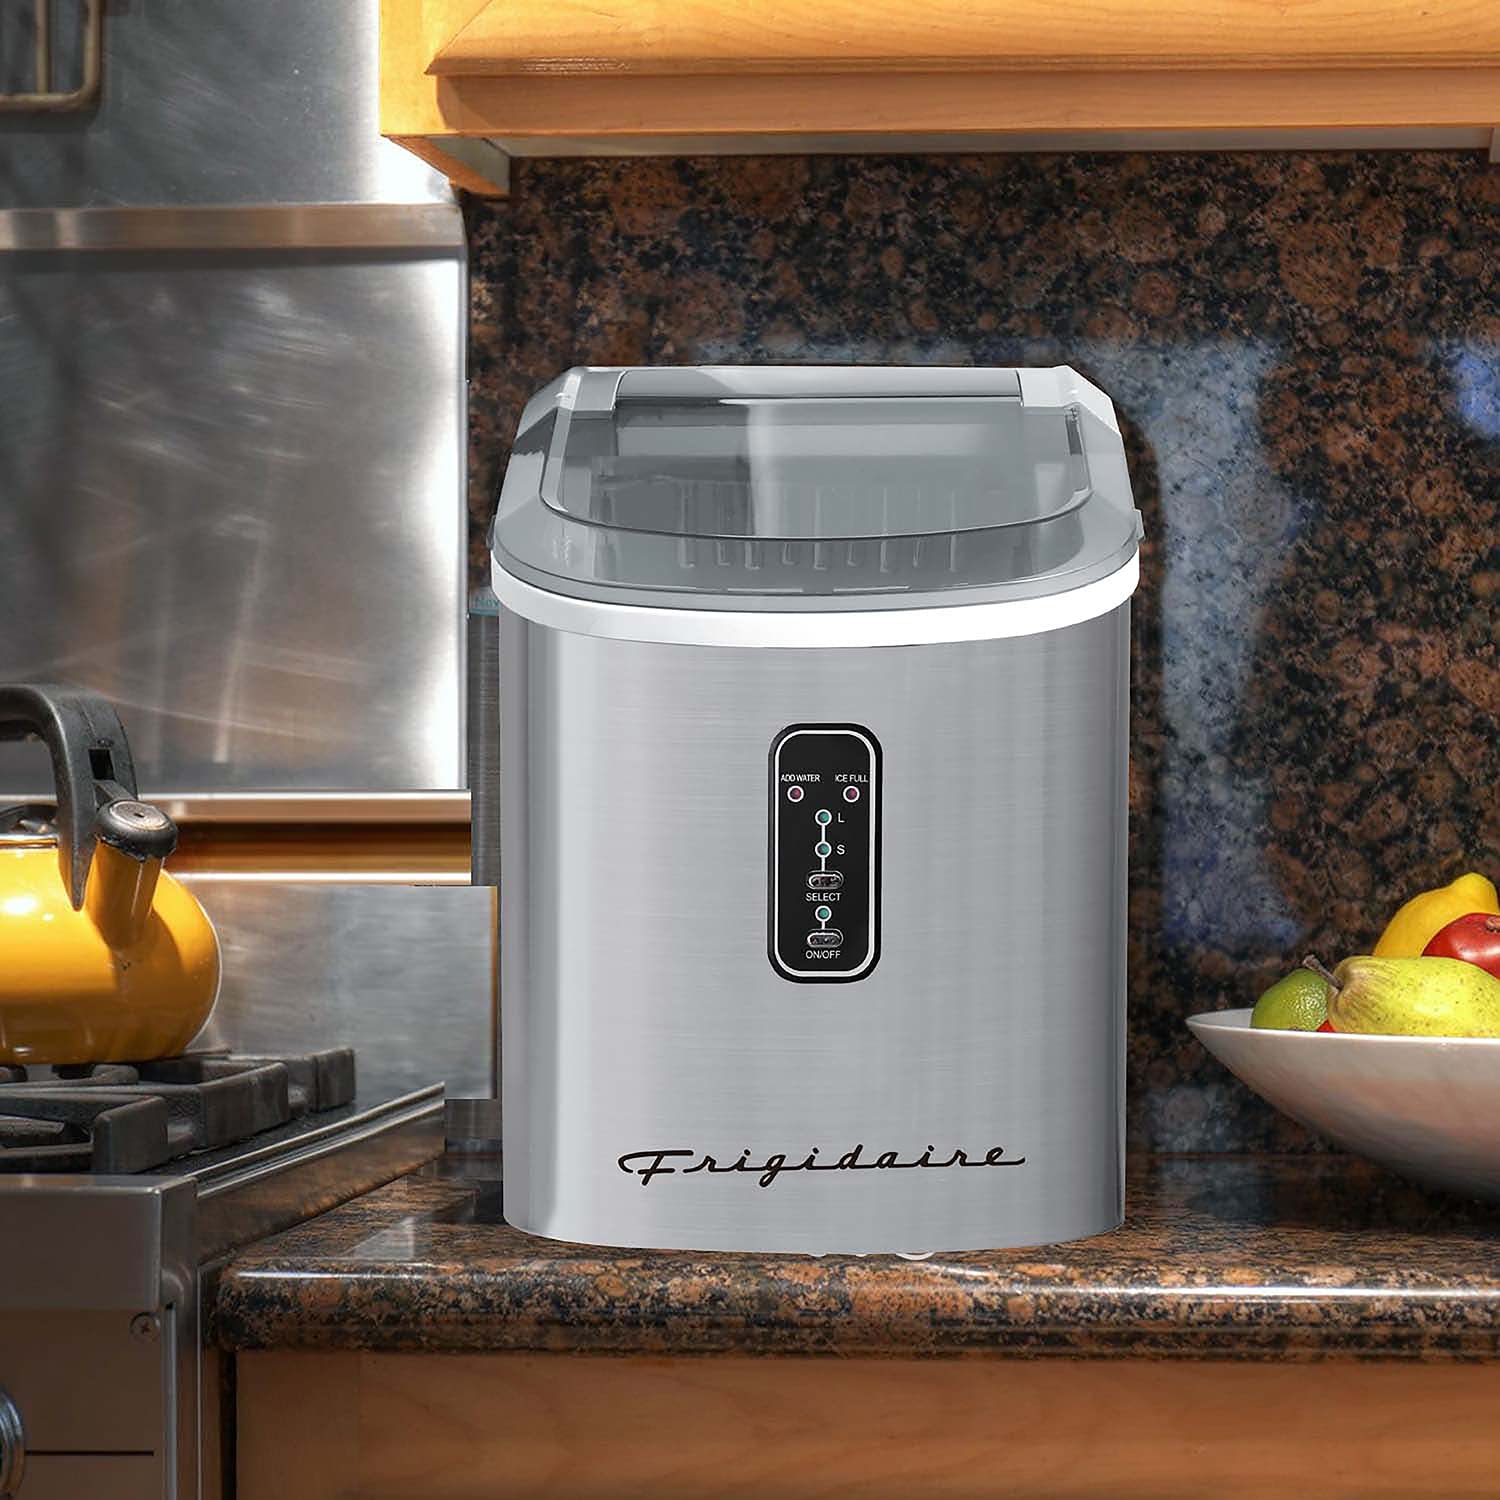
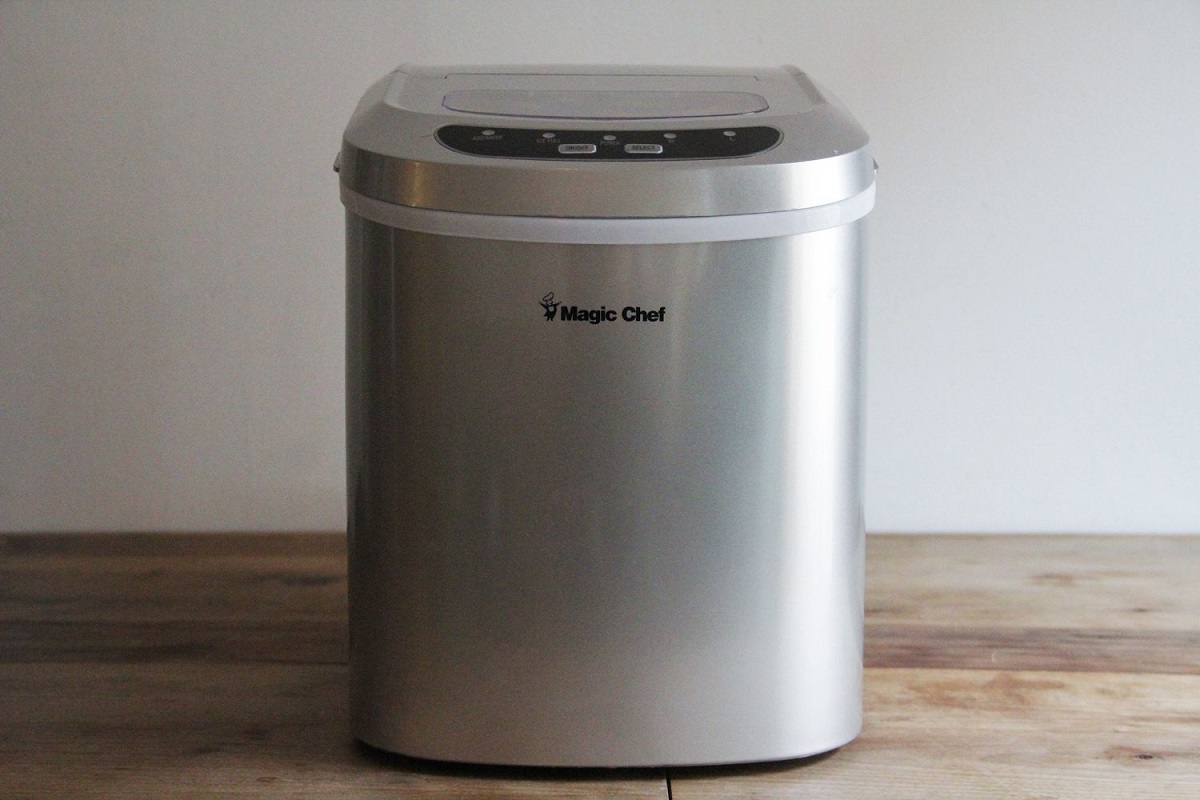
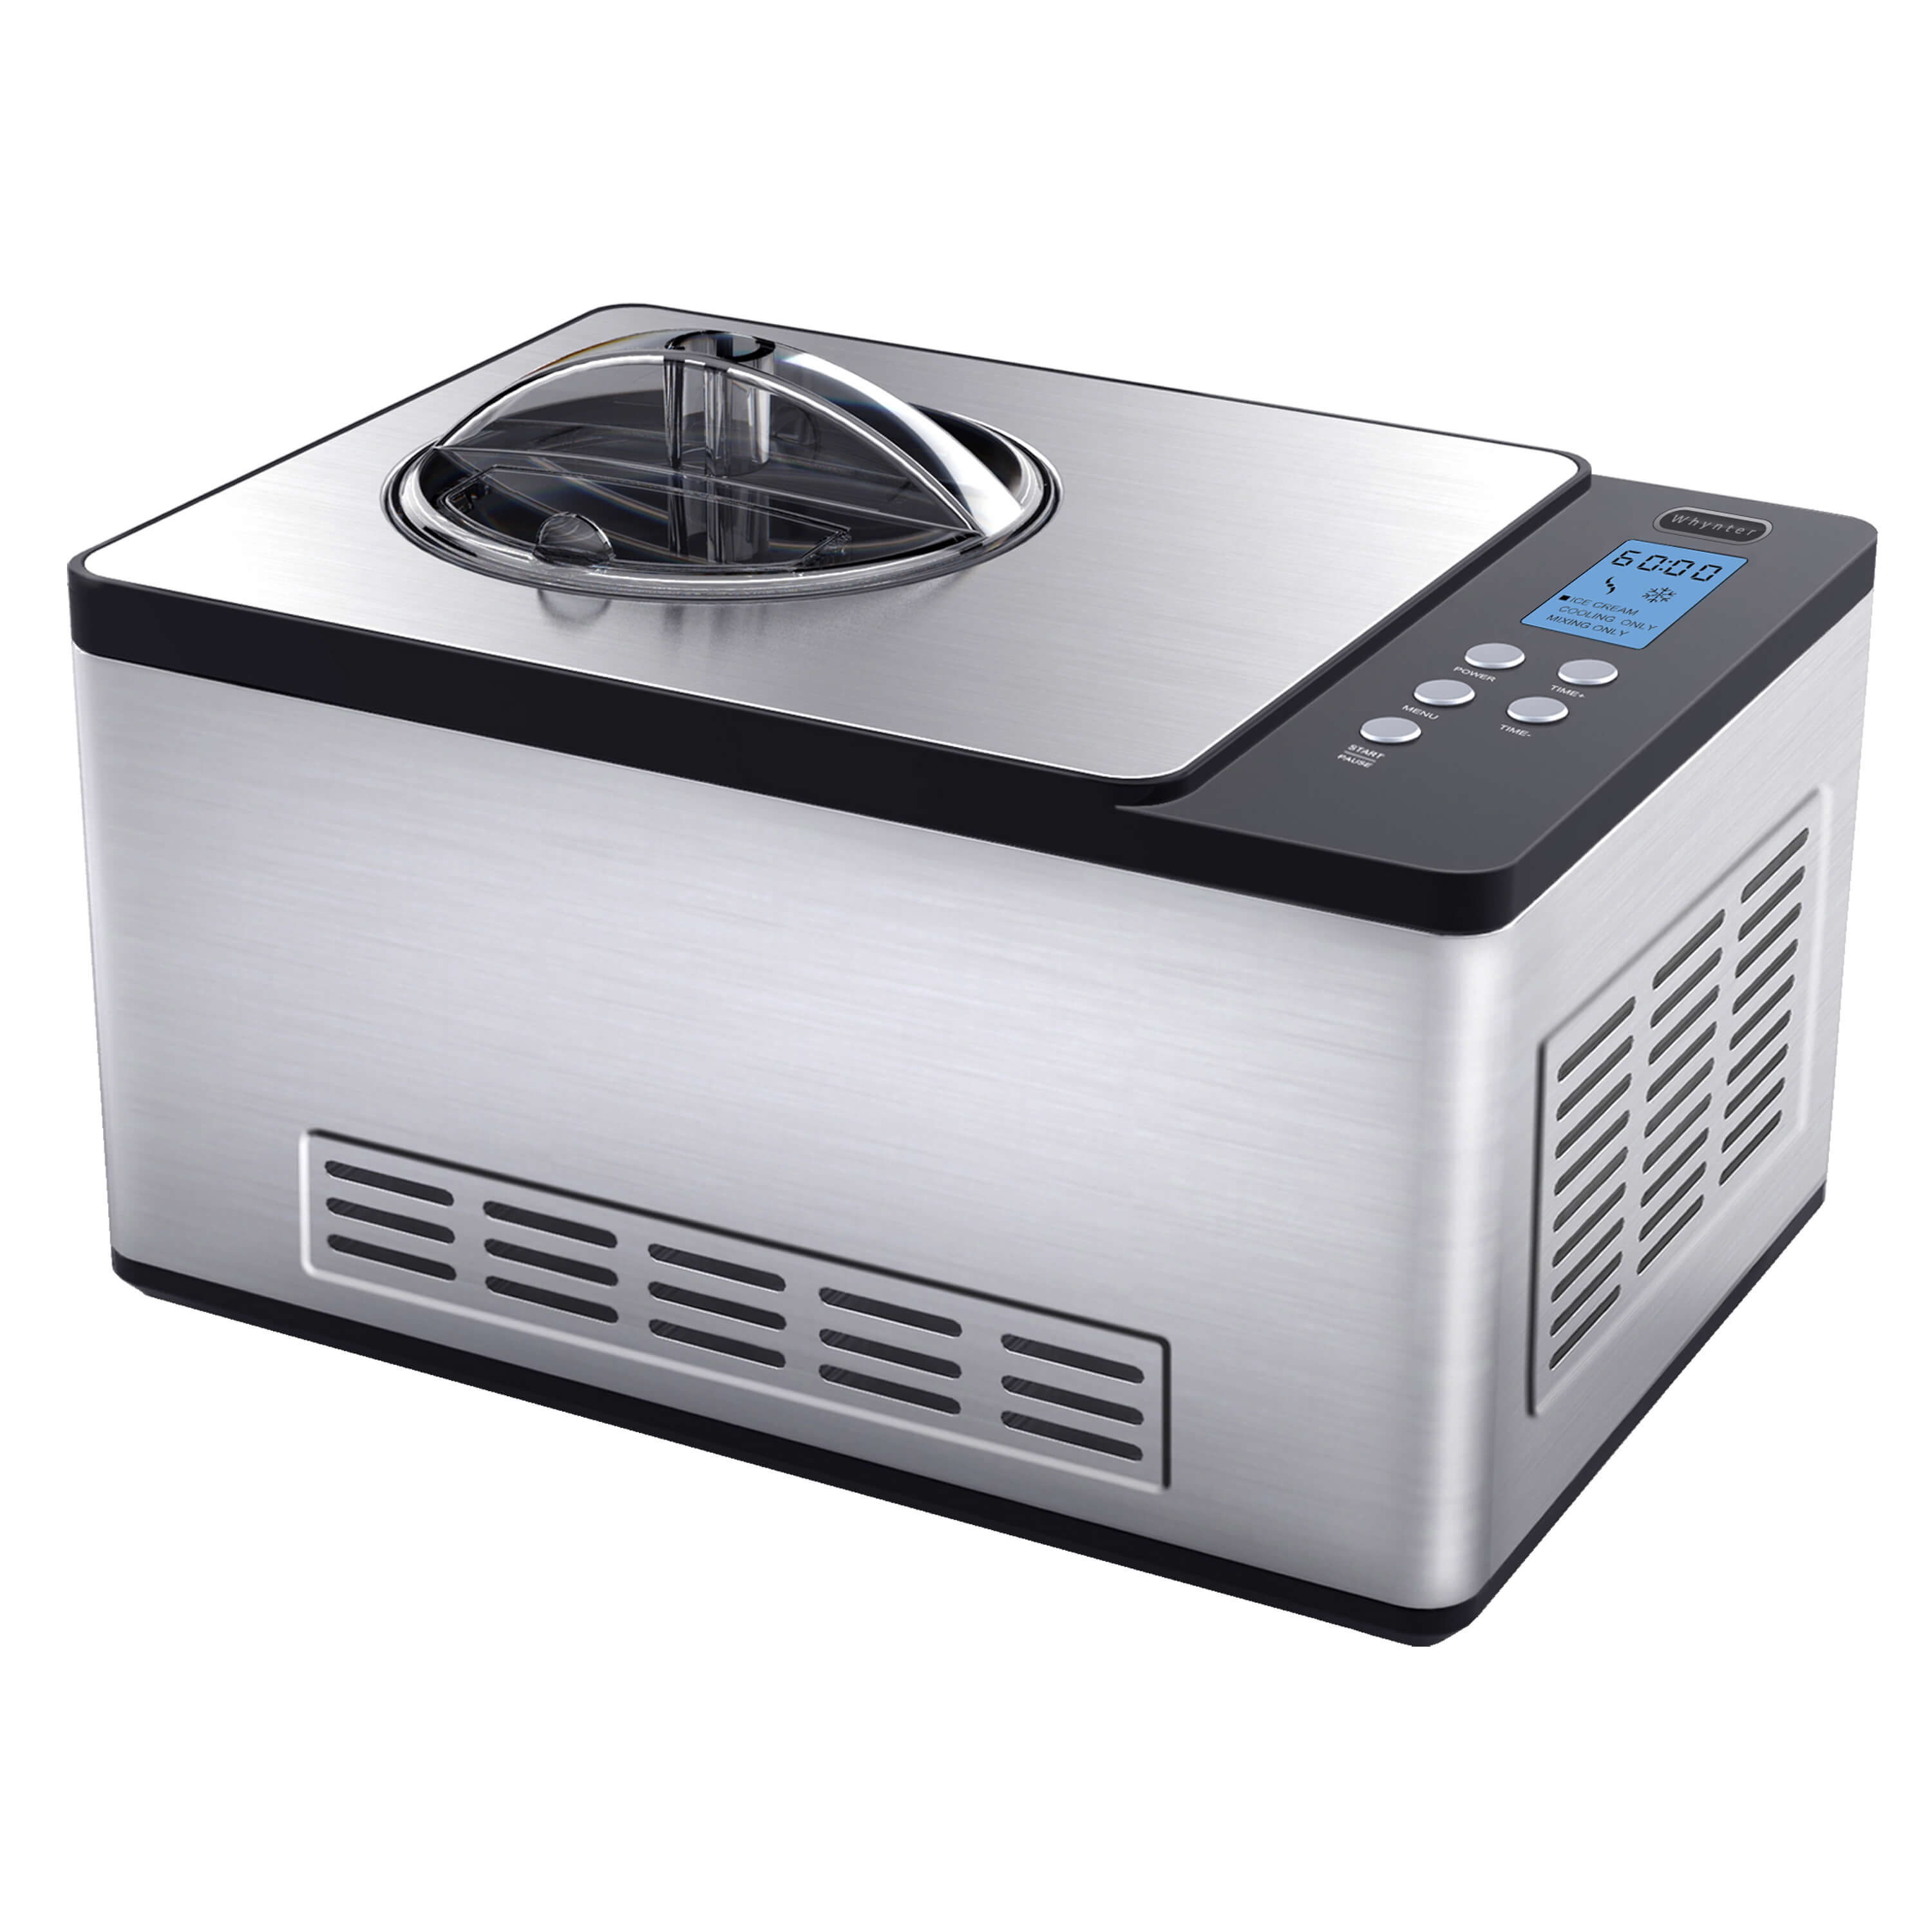
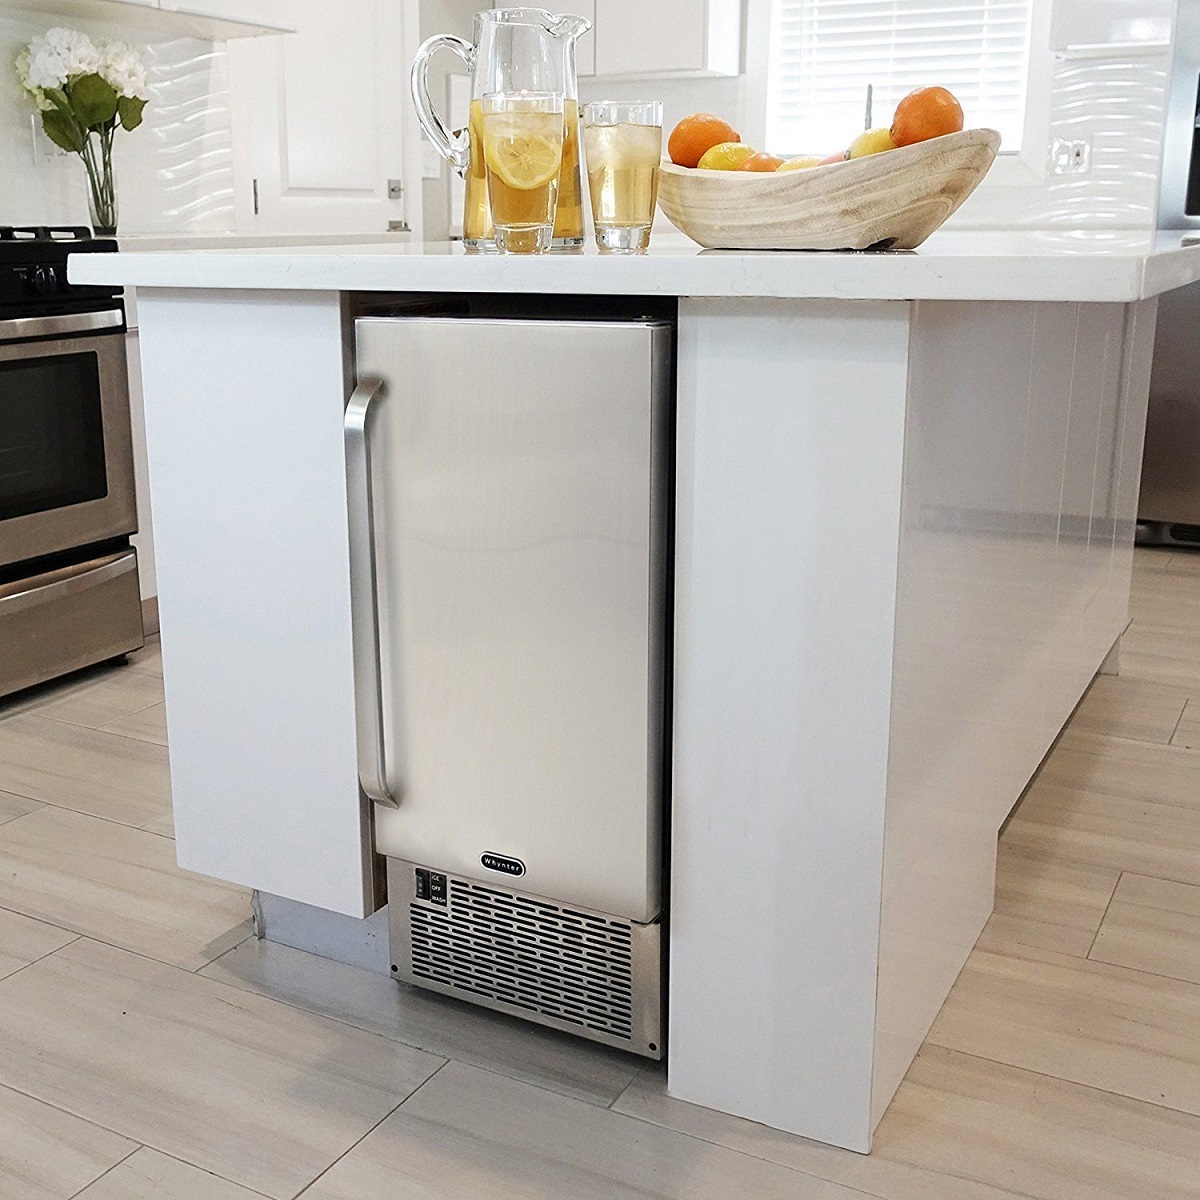
It’s worth noting that ice makers come in different types, such as portable ice makers, under-counter ice makers, and refrigerator ice makers. The specific type of ice maker you have may have slight variations in terms of operation and maintenance. Consulting the user manual that comes with your ice maker will provide the most accurate information for your specific model.
Now that you have a general idea of how ice makers work, let’s move on to preparing the ice maker for use.
Preparing the Ice Maker
Before using an ice maker for the first time or after a long period of storage, it’s important to properly prepare it. This involves a few simple steps to ensure the ice maker is clean and ready to produce high-quality ice. Let’s go through the process of preparing the ice maker:
- Read the user manual: Familiarize yourself with the specific instructions and guidelines provided by the manufacturer. This will help you understand any unique features or requirements of your ice maker.
- Clean the ice maker: Before using the ice maker, it’s crucial to clean it thoroughly. Start by unplugging the ice maker and removing any ice or water from the storage bin. Then, using a mild detergent and warm water, clean the interior and exterior surfaces of the ice maker. Rinse it well with clean water and allow it to dry completely.
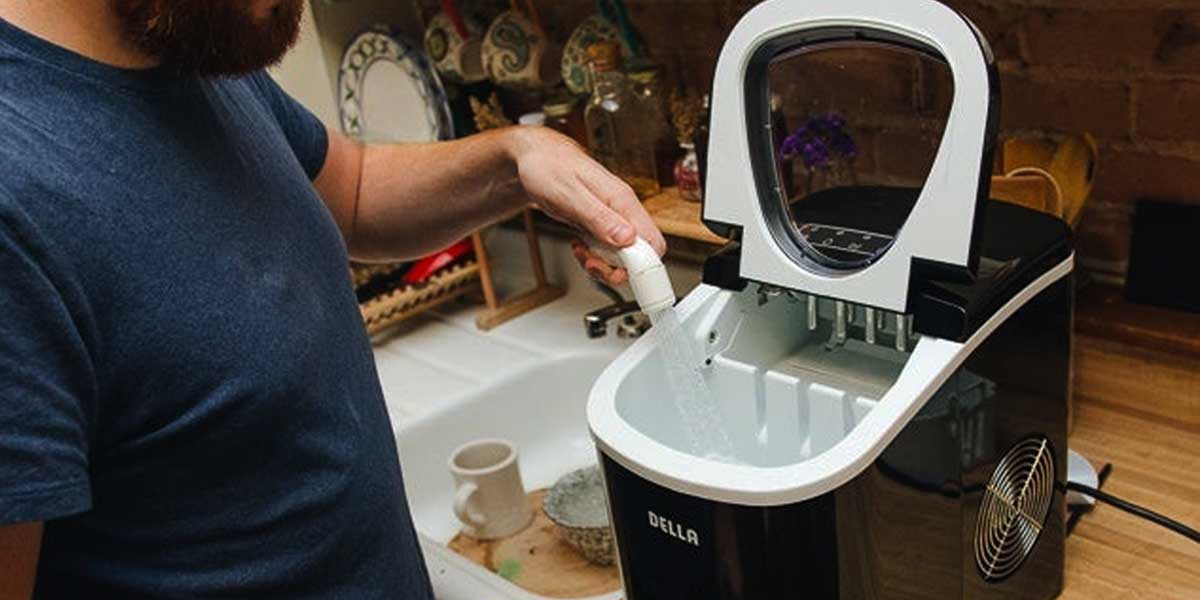
- Prepare the water supply: If your ice maker requires a direct water line connection, ensure that the water supply is properly connected and turned on. If it uses a water reservoir, fill the reservoir with clean water according to the manufacturer’s instructions.
- Inspect and replace filters: If your ice maker has a water filtration system, check the filters to see if they need to be replaced. Clean or replace the filters as recommended by the manufacturer to ensure clean and fresh-tasting ice.
- Allow for proper ventilation: Make sure that the ice maker has enough space around it for proper ventilation. This allows for optimal airflow and prevents overheating, ensuring the ice maker operates efficiently.
By following these preparation steps, you can ensure that your ice maker is clean, properly connected, and ready to produce ice. Once the ice maker is prepared, it’s time to connect it to the appropriate power source.
Connecting the Ice Maker
Connecting your ice maker correctly is crucial to ensure proper operation and functionality. The process may vary depending on the type of ice maker you have, so always refer to the user manual for specific instructions. Here are some general steps to help you connect your ice maker:
- Locate the power source: Depending on your ice maker, it may require a direct electrical connection or use a standard power outlet. Ensure that you have access to the appropriate power source near the installation area.
- Position the ice maker: Choose a suitable location for your ice maker, making sure it is level and stable. It’s important to place the ice maker on a flat, sturdy surface that can support its weight and vibrations during operation.
- Water line connection (if applicable): If your ice maker requires a direct water line connection, follow the manufacturer’s instructions to connect the water supply. This typically involves connecting the water line to a nearby water source and ensuring a secure and leak-free connection.
- Electrical connection: If your ice maker requires an electrical connection, carefully plug it into the appropriate power outlet. Ensure that the power cord is not damaged and that it is positioned away from any water sources to prevent electrical hazards.
- Allow for proper ventilation: Just like during the preparation stage, make sure there is enough space around the ice maker for proper ventilation. This will prevent overheating and prolong the lifespan of the ice maker.
Once the ice maker is properly connected, double-check all the connections and ensure everything is secure. Now it’s time to move on to the exciting part – operating the ice maker and enjoying a steady supply of ice.
Make sure to regularly clean and sanitize your ice maker to prevent the buildup of bacteria and mold. This will ensure that your ice is safe to consume.
Operating the Ice Maker
Now that your ice maker is prepared and connected, it’s time to start producing ice. The process of operating an ice maker may vary depending on the model and features, so it’s important to refer to the user manual for specific instructions. However, here are some general steps to help you get started:
- Power on the ice maker: Once the ice maker is properly connected to the power source, switch it on. Most ice makers have a power button or switch located either on the control panel or at the back of the unit. Press the power button to turn on the ice maker.
- Adjust the settings: Depending on your ice maker, you may have options to adjust the ice cube size, ice production rate, or other settings. Refer to the user manual to understand how to customize the settings to your preference.
- Allow time for ice production: After powering on the ice maker, give it some time to start producing ice. This can take anywhere from a few minutes to a few hours, depending on the model and ambient conditions. Be patient and avoid constantly opening the ice maker to check the progress.
- Collect the ice: Once the ice maker starts producing ice, carefully open the ice storage bin and collect the ice cubes using a scoop or your hands. Be cautious not to touch the inside of the ice maker or the freezing mechanism to prevent any injuries.
- Monitor ice levels: Keep an eye on the ice levels in the storage bin. Ensure that you don’t let the ice pile up too high as it can obstruct the ice production process. Use or transfer the ice as needed to maintain a sufficient level of storage space.
- Keep the ice maker clean: Regularly clean the interior and exterior of the ice maker to maintain optimal hygiene and performance. Follow the manufacturer’s recommendations for cleaning frequency and methods.
By following these general steps and referring to the user manual for your specific ice maker model, you can easily operate and maintain your ice maker. Remember to always prioritize safety and cleanliness when using and handling the ice maker.
Read more: How To Use Costway Ice Maker
Troubleshooting Common Issues
While ice makers are generally reliable appliances, occasional issues may arise. It’s important to troubleshoot and resolve these problems to ensure the continuous operation of your ice maker. Here are some common issues you may encounter and ways to troubleshoot them:
- Ice maker not producing ice: If your ice maker is not producing ice, check the water supply to ensure it is connected and turned on. Inspect the water inlet valve for any blockages or malfunctions. Additionally, make sure the ice maker is set to the “on” position and that the temperature is set correctly. If the issue persists, consult the user manual or contact the manufacturer for further assistance.
- Ice cubes are too small or misshapen: If your ice cubes are coming out too small or misshapen, the water inlet valve may be partially blocked or not allowing enough water into the freezing mechanism. Check and clean the water supply line and inlet valve if necessary. Another possible cause could be an issue with the temperature or ice cube size settings. Adjust the settings as needed and monitor the ice production.
- Ice maker is leaking water: Leaks in an ice maker can occur due to various reasons, such as a faulty water line connection, a cracked water reservoir, or a damaged water inlet valve. First, check all the connections and ensure they are secure and free from any leaks. If you notice any cracks or damage, replace the affected components. If the issue persists, it may require professional assistance to diagnose and fix the problem.
- Frozen or jammed ice cubes: Occasionally, ice cubes may freeze together or get stuck in the ice maker, preventing proper operation. Gently remove any ice cubes that are frozen together or stuck in the ice maker. If the problem persists, it may indicate an issue with the ice maker’s mechanisms, such as a faulty motor or dispenser. Contact the manufacturer or a professional technician to further diagnose and resolve the problem.
- Unusual noises or vibrations: Excessive noise or vibrations coming from the ice maker may indicate loose components or improper alignment. Check for any loose screws or parts and tighten them if necessary. Ensure that the ice maker is level and stable on a flat surface. If the noises or vibrations persist, it’s recommended to seek professional assistance to diagnose and rectify the issue.
Remember, these are just some common issues and troubleshooting steps. It’s important to consult your ice maker’s user manual for specific troubleshooting instructions provided by the manufacturer. If you’re unable to resolve the problem on your own, don’t hesitate to reach out to the manufacturer’s customer support or contact a professional technician for assistance.
Cleaning and Maintaining the Ice Maker
Maintaining a clean and well-maintained ice maker is essential to ensure its optimal performance and longevity. Regular cleaning and maintenance not only help prevent bacteria growth and foul odors but also ensure a steady supply of high-quality ice. Here are some important steps to follow when cleaning and maintaining your ice maker:
- Read the user manual: Familiarize yourself with the manufacturer’s recommended cleaning and maintenance procedures specific to your ice maker model. This will help you understand any unique features or requirements.
- Regularly clean the interior: Start by unplugging the ice maker and emptying the ice storage bin. Using a mild detergent and warm water, clean the interior surfaces of the ice maker, including the water reservoir, ice tray, and any other removable parts. Pay special attention to any areas prone to mold or bacteria growth. Rinse thoroughly and allow the components to dry before reassembling.
- Remove and clean the ice bin: If possible, remove the ice bin from the ice maker and clean it separately. Wash it with warm water and mild detergent, ensuring to remove any ice residue or buildup. Rinse it thoroughly and let it dry before replacing it in the ice maker.
- Clean and replace filters: If your ice maker has built-in filters, follow the manufacturer’s guidelines for cleaning or replacing them. Filters help remove impurities from the water supply, ensuring clean and fresh-tasting ice cubes.
- Inspect and clean the condenser coils: Over time, the condenser coils on the back of the ice maker can accumulate dust and debris, affecting the cooling efficiency. Use a vacuum cleaner or a soft brush to gently remove any buildup on the coils. Be careful not to damage the coils during the cleaning process.
- Check and maintain the water supply: Regularly inspect the water supply line for any leaks or blockages. Clear any obstructions and fix any leaks promptly. If your ice maker uses a water filter, follow the manufacturer’s recommendations for cleaning or replacing it.
- Monitor the ice quality: Keep an eye on the quality of the ice produced by the ice maker. If you notice any unusual taste, odor, or discoloration in the ice cubes, it could be a sign of a dirty or contaminated ice maker. In such cases, perform a thorough cleaning and monitor the ice quality thereafter.
- Follow cleaning schedule: Establish a regular cleaning schedule for your ice maker to maintain cleanliness and prevent potential issues. The frequency of cleaning depends on factors such as usage, water quality, and manufacturer recommendations. Aim to clean the ice maker at least every few months or as specified by the manufacturer.
By following these cleaning and maintenance practices, you can keep your ice maker in optimal condition, ensuring clean ice production and extending its lifespan. Remember to always refer to the user manual for specific cleaning instructions and guidelines provided by the manufacturer.
Conclusion
Using an ice maker can enhance convenience and ensure a steady supply of ice for various needs. By understanding how ice makers work, properly preparing and connecting them, operating them correctly, and troubleshooting common issues, you can make the most of your ice maker and enjoy a continuous supply of ice cubes.
Remember to always refer to the user manual provided by the manufacturer for specific instructions and guidelines tailored to your ice maker model. This will help you understand any unique features, maintenance requirements, and troubleshooting steps specific to your appliance.
Regular cleaning and maintenance are crucial to keep your ice maker functioning optimally and producing clean, fresh-tasting ice. By following the recommended cleaning schedule, inspecting and maintaining the water supply, and monitoring the ice quality, you can ensure that your ice maker serves you well for years to come.
In conclusion, using an ice maker doesn’t have to be complicated. With proper understanding, preparation, and maintenance, you can enjoy the convenience and benefits of having a reliable ice maker in your home or business. Cheers to always having ice on hand!
Frequently Asked Questions about How To Use An Ice Maker
Was this page helpful?
At Storables.com, we guarantee accurate and reliable information. Our content, validated by Expert Board Contributors, is crafted following stringent Editorial Policies. We're committed to providing you with well-researched, expert-backed insights for all your informational needs.


0 thoughts on “How To Use An Ice Maker”