Articles
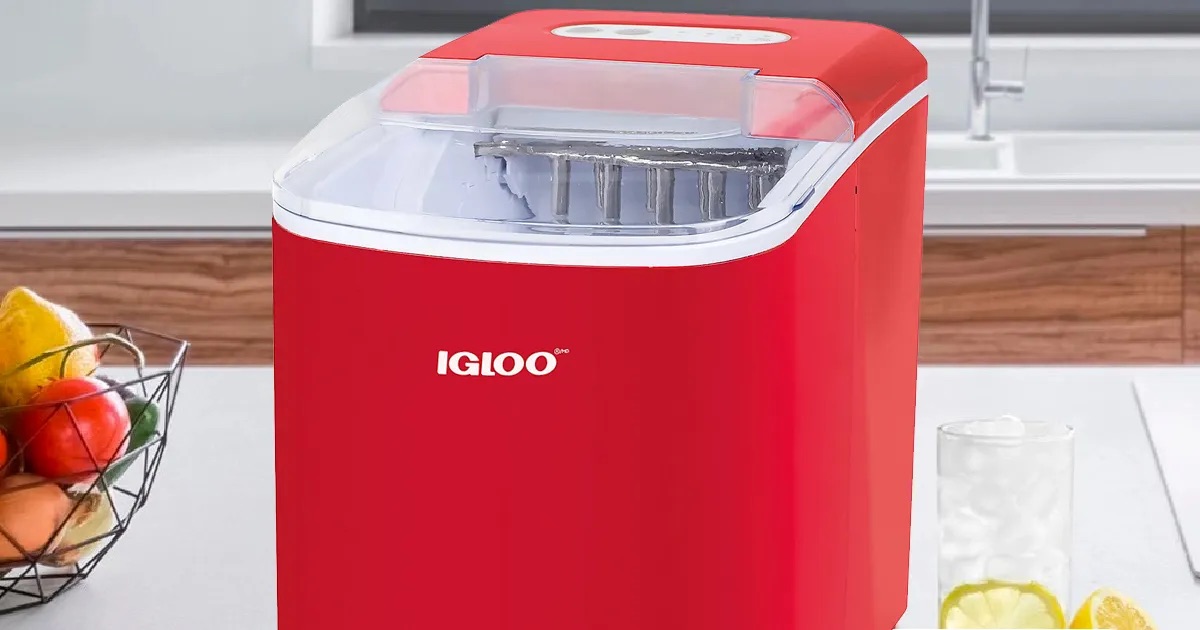
How To Use An Igloo Ice Maker
Modified: October 20, 2024
Learn how to effectively use an Igloo ice maker with our informative articles. Find helpful tips and tricks for optimal ice production and maintenance.
(Many of the links in this article redirect to a specific reviewed product. Your purchase of these products through affiliate links helps to generate commission for Storables.com, at no extra cost. Learn more)
Introduction
Welcome to our guide on how to use an Igloo Ice Maker! If you’re tired of constantly buying bags of ice or waiting hours for your ice trays to freeze, an Igloo Ice Maker is a game-changer. Whether you’re hosting a party, going on a camping trip, or simply want to keep your beverages cool, this compact and efficient appliance can produce a large quantity of ice in a short amount of time.
In this article, we will provide you with a step-by-step guide on how to use an Igloo Ice Maker effectively. We’ll cover everything from setting it up to troubleshooting common issues and even cleaning and maintenance tips.
So, let’s dive in and discover how you can make the most out of your Igloo Ice Maker.
Key Takeaways:
- Say goodbye to the hassle of buying bags of ice or waiting for trays to freeze. With an Igloo Ice Maker, you can enjoy a continuous supply of ice for any occasion, from parties to camping trips.
- Keep your Igloo Ice Maker running smoothly by following simple setup, operation, and maintenance steps. Say hello to convenience and endless ice-making possibilities!
Read more: How To Clean A Igloo Ice Maker
Understanding the Igloo Ice Maker
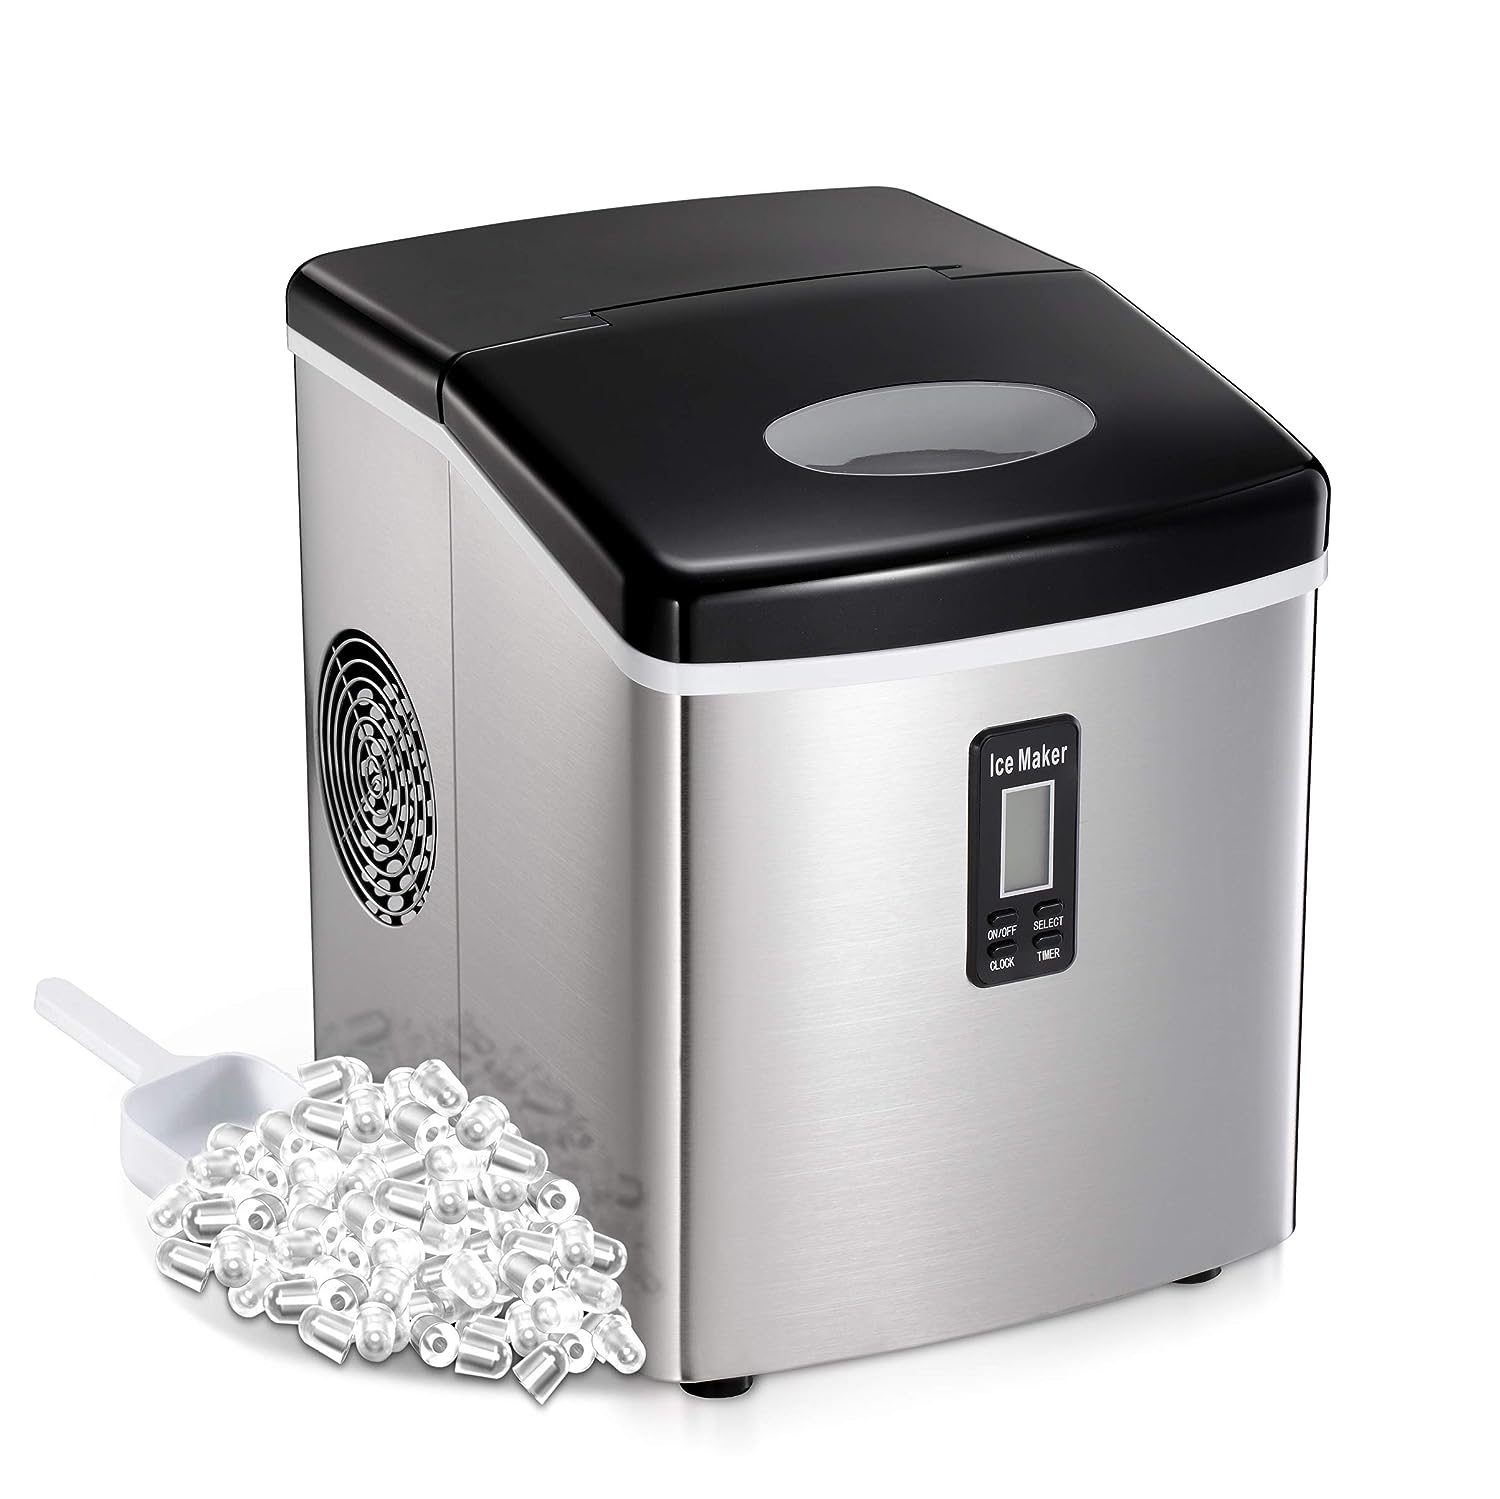
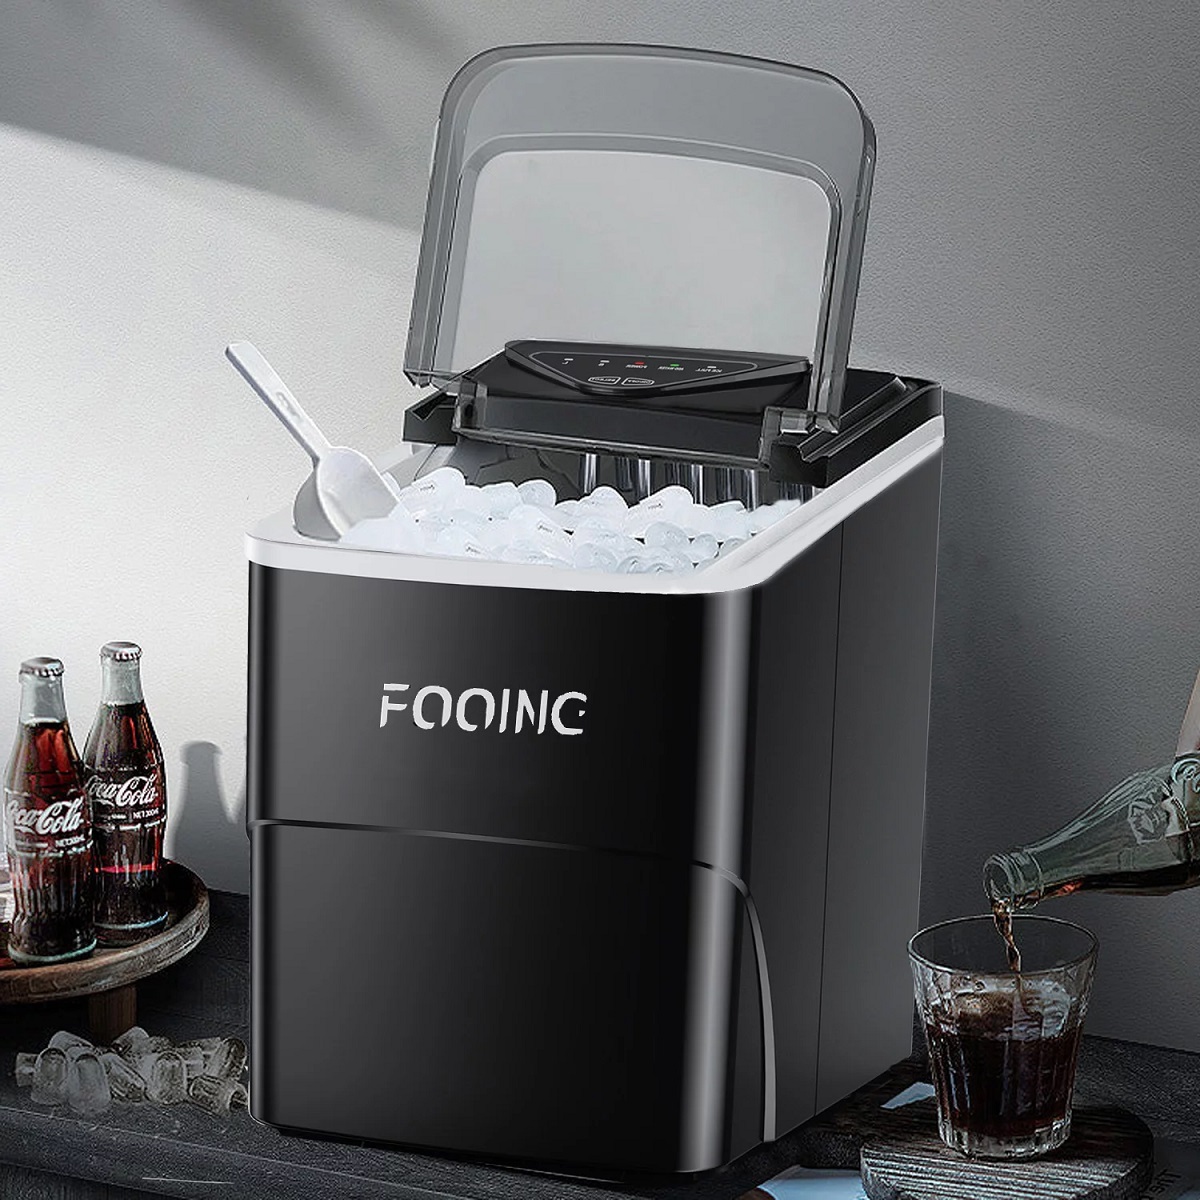
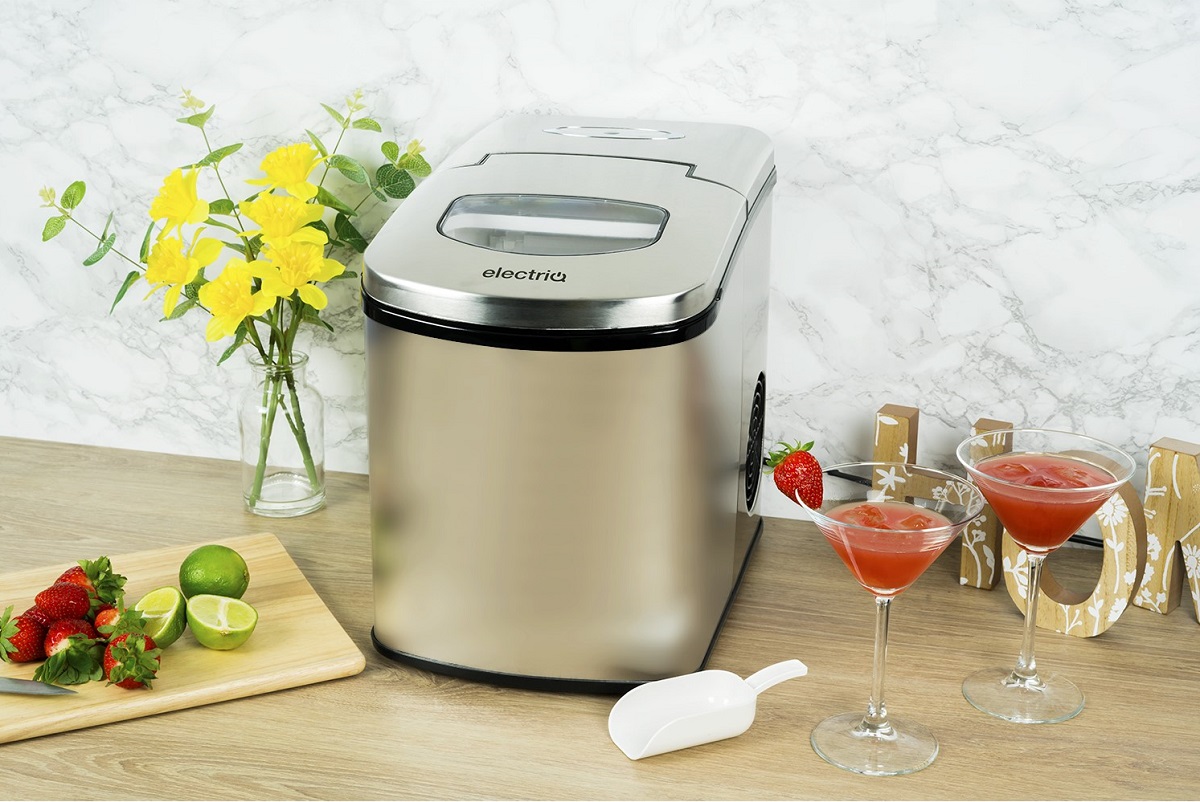
Before we get into the details of how to use the Igloo Ice Maker, it’s important to have a basic understanding of how this appliance works. The Igloo Ice Maker is a portable and compact machine designed to produce ice quickly and efficiently.
Unlike traditional ice makers that require a water supply and installation, the Igloo Ice Maker is a standalone unit that you can place on your countertop or take with you on the go. It operates by pouring water into a reservoir inside the machine, which is then pumped into ice molds where the ice is formed. The process typically takes around 6-15 minutes, depending on the model and size of the ice cubes.
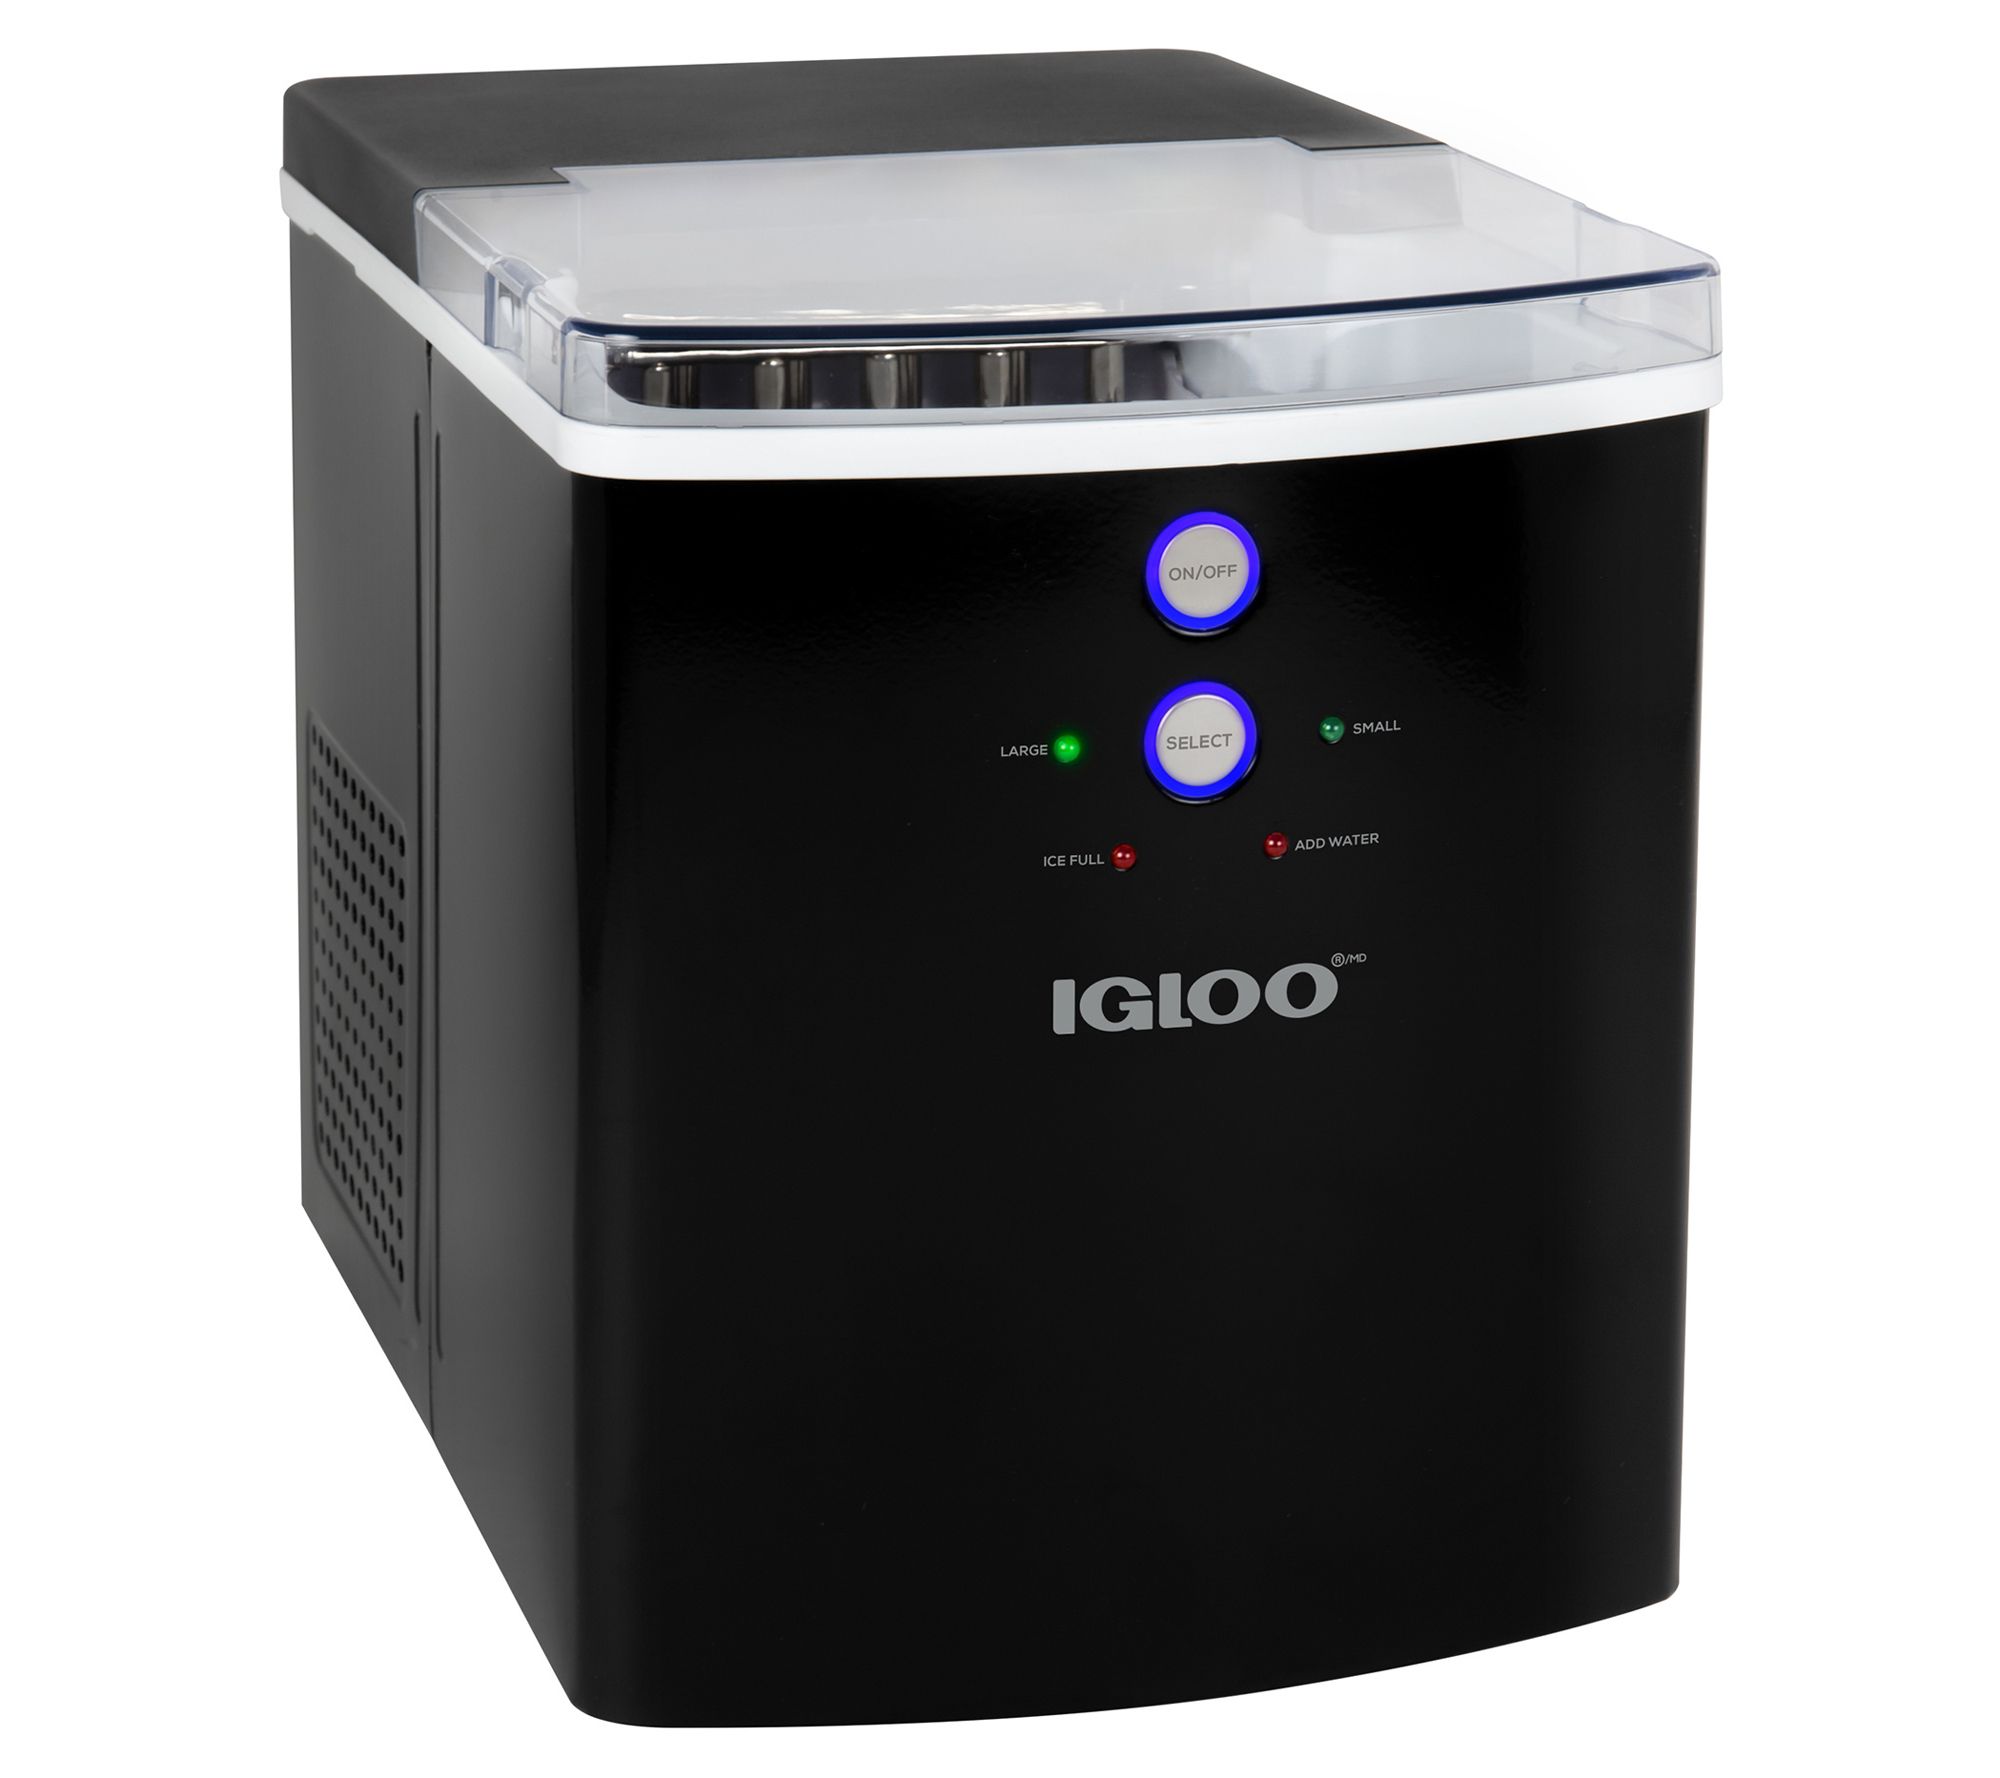
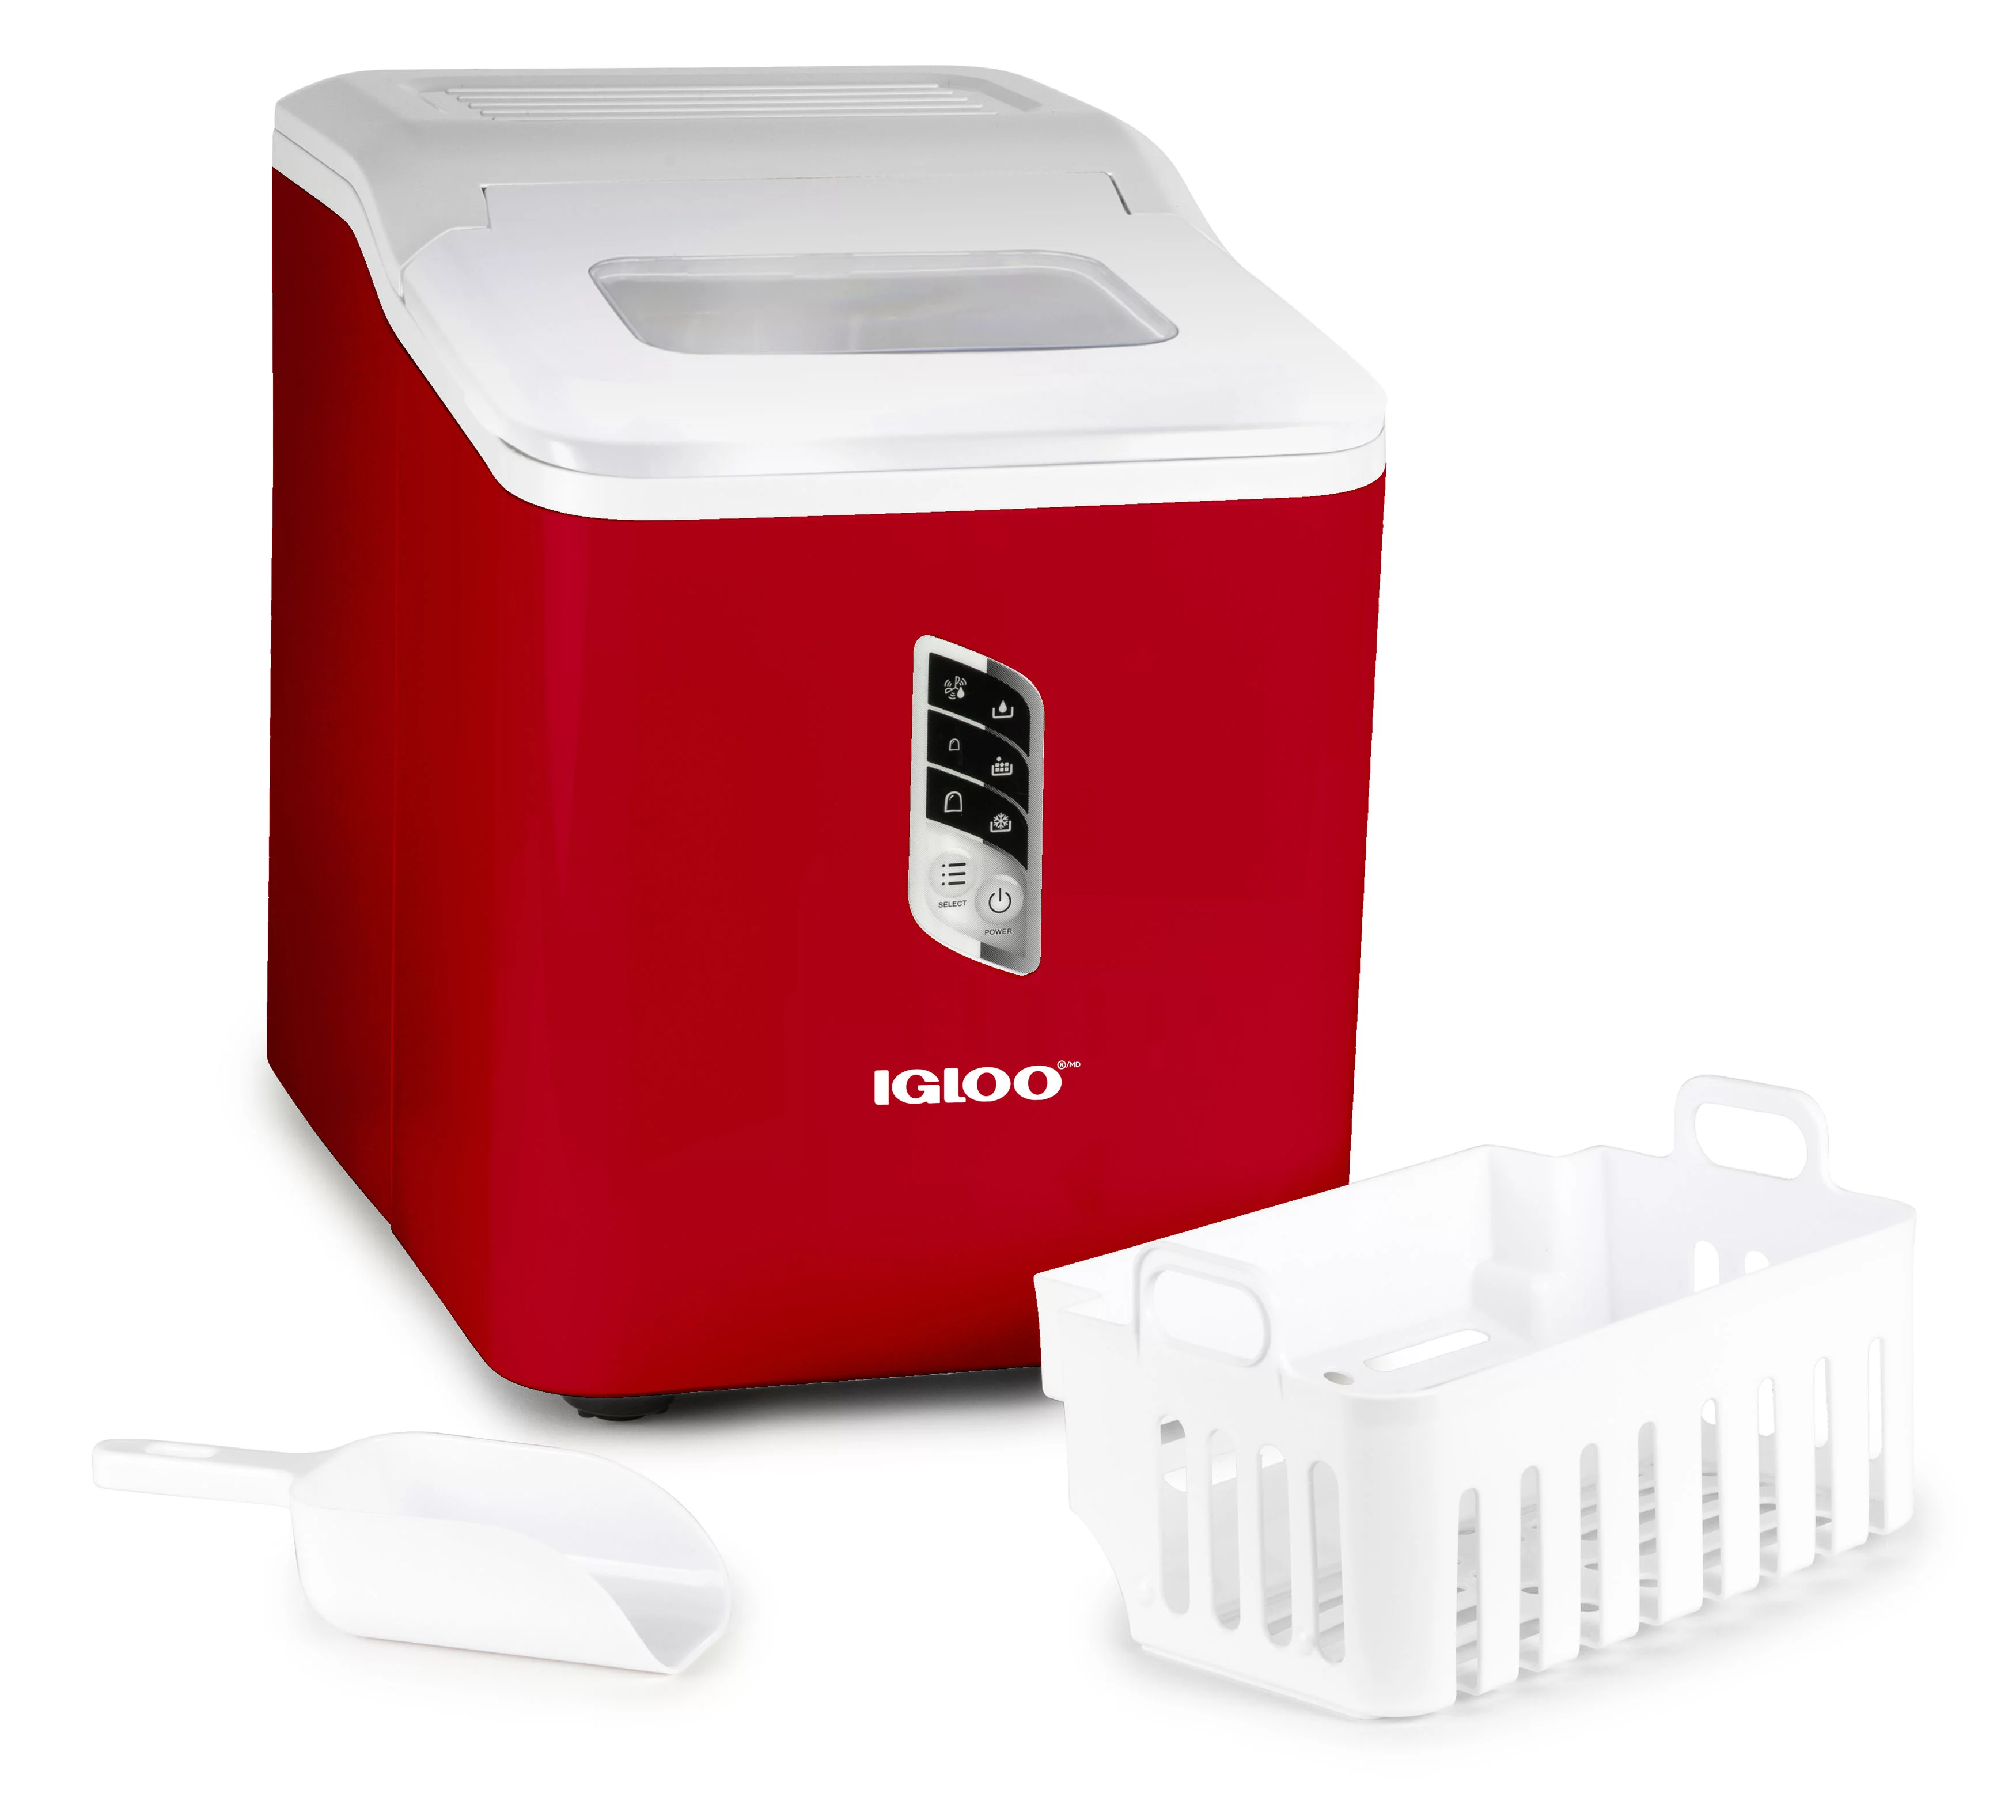
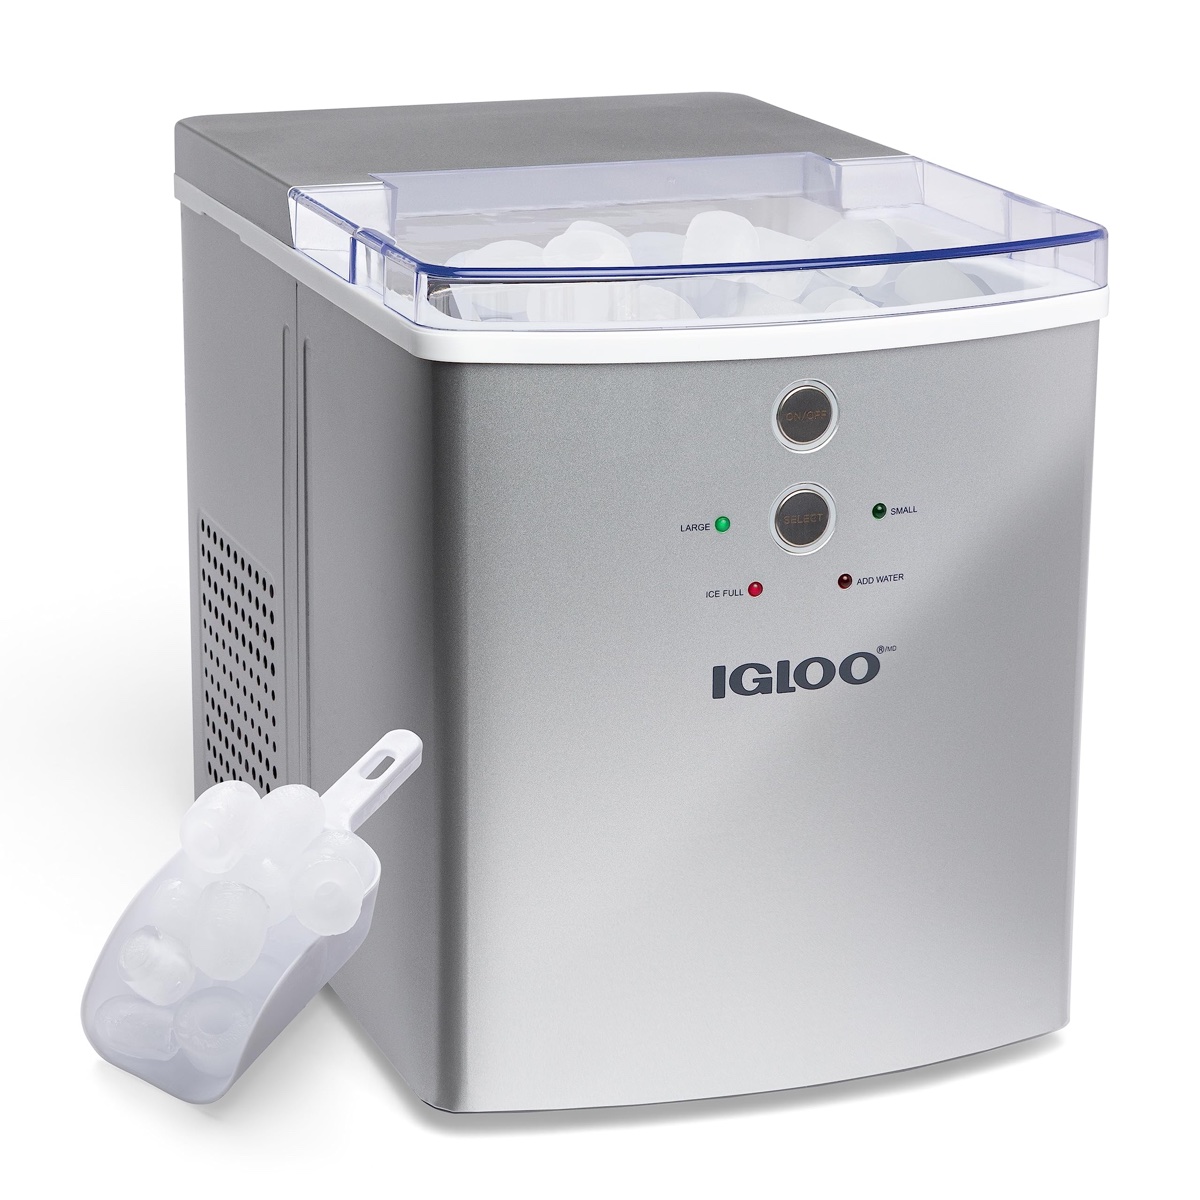
Igloo Ice Makers come in various sizes and capacities, allowing you to choose the one that best suits your needs. They are designed to be user-friendly and require minimal effort to operate. Most models come with an intuitive control panel or buttons that allow you to select the ice cube size, monitor the ice-making progress, and adjust settings if needed.
It’s important to note that while the Igloo Ice Maker is efficient and convenient, it does have its limitations. It produces ice cubes rather than crushed ice or ice nuggets, and it may not keep the ice frozen indefinitely. However, for most everyday uses, such as chilling beverages or making ice for small gatherings, the Igloo Ice Maker is an excellent choice.
Now that you have a better understanding of what the Igloo Ice Maker is and how it works, let’s move on to the next section where we’ll guide you through the setup process.
Step 1: Unpacking and Setting Up the Igloo Ice Maker
Congratulations on your new Igloo Ice Maker! To get started, follow these simple steps to unpack and set up your ice maker:
- Unbox the Ice Maker: Carefully remove the ice maker from its packaging. Take note of any protective packaging or accessories that may be included.
- Clean the Ice Maker: Before using the ice maker for the first time, clean the interior and exterior surfaces with a mild detergent and warm water. Rinse thoroughly and ensure it is completely dry.
- Find a Suitable Location: Choose a level surface with adequate ventilation and a power outlet nearby. Avoid placing the ice maker near heat sources or in direct sunlight.
- Remove the Water Reservoir: Lift the lid or remove the ice storage basket to access the water reservoir. Take it out and rinse it with clean water to remove any dust or residue.
- Add Water: Fill the water reservoir with clean, potable water. Make sure not to exceed the maximum water level indicated. Replace the reservoir back into the ice maker.
- Plug In the Ice Maker: Insert the plug into the power outlet. The control panel or LED indicator should light up, indicating that the ice maker is receiving power.
- Select the Ice Cube Size: Use the control panel or buttons to choose the desired ice cube size. Most models offer options for small, medium, or large ice cubes.
- Allow Time for the Initial Ice Cycle: Once you’ve set up the ice maker, it will need some time to cycle and condition. This is necessary for optimal ice-making performance. The exact duration may vary depending on the model, so refer to the user manual for specific instructions.
By following these steps, you will have successfully unpacked and set up your Igloo Ice Maker, bringing you one step closer to enjoying a continuous supply of ice. In the next section, we’ll walk you through the process of preparing the ice-making process.
Step 2: Preparing the Ice Making Process
Now that you have set up your Igloo Ice Maker, it’s time to prepare it for the ice-making process. Here are the steps to ensure a smooth and efficient ice-making experience:
- Check the Water Level: Before starting the ice-making process, ensure that the water reservoir is filled with enough water. Refer to the markings on the reservoir to determine the appropriate water level.
- Pre-Chill the Water: For faster ice production, it is recommended to use cold water rather than room temperature water. If possible, refrigerate the water before pouring it into the reservoir.
- Position the Ice Storage Basket: If your Igloo Ice Maker comes with a removable ice storage basket, place it back into its designated position. This will ensure that the ice cubes are collected and stored properly.
- Clear Any Blockages: Check the ice molds or trays and remove any obstructions or debris. This will prevent the ice cubes from sticking together or hindering the ice-making process.
- Close the Lid: Ensure that the lid of the ice maker is securely closed. This is important for maintaining proper temperature and preventing heat from entering the ice-making chamber.
- Power On the Ice Maker: Plug the ice maker into the power outlet and turn it on. The control panel or LED display should light up, indicating that the ice maker is ready to start producing ice.
By following these steps, you have prepared your Igloo Ice Maker for the ice-making process. Now it’s time to move on to the next section, where we’ll guide you through the operation of the ice maker.
When using an Igloo ice maker, make sure to regularly clean the machine and follow the manufacturer’s instructions for proper maintenance. This will help ensure that your ice maker continues to produce clean and high-quality ice.
Step 3: Operating the Igloo Ice Maker
Operating the Igloo Ice Maker is a straightforward process. Here is a step-by-step guide on how to operate the ice maker effectively:
- Select the Ice Cube Size: Use the control panel or buttons to choose the desired ice cube size. Most models offer options for small, medium, or large ice cubes. Select the size that suits your preference.
- Start the Ice-Making Cycle: Once you have selected the ice cube size, press the appropriate button or start the ice-making cycle using the control panel. The ice maker will begin to pump water into the ice molds or trays.
- Monitor the Ice-Making Progress: Keep an eye on the ice maker to track the progress of the ice-making process. Depending on the model, there may be LED indicators or a timer that display the remaining time or progress.
- Collect the Ice: As the ice maker produces the ice cubes, they will drop into the ice storage basket or tray. Once a sufficient amount of ice has been generated, open the ice maker and carefully collect the ice cubes.
- Repeat as Needed: If you require more ice, you can continue the ice-making process by refilling the water reservoir and starting a new cycle. Repeat the steps as necessary to produce the desired amount of ice.
- Transfer and Store the Ice: Once you have collected the ice cubes, transfer them to a separate container or ice bucket for storage. This will free up space in the ice storage basket and allow for continuous ice production.
As you can see, operating the Igloo Ice Maker is simple and user-friendly. By following these steps, you can enjoy a steady supply of freshly made ice cubes whenever you need them.
In the next section, we’ll cover common issues that you may encounter while using the Igloo Ice Maker and provide troubleshooting tips to help you resolve them.
Read more: How To Add Water To Igloo Ice Maker
Step 4: Troubleshooting Common Issues
While the Igloo Ice Maker is designed to provide trouble-free ice making, there may be instances when you encounter some common issues. Here are a few troubleshooting tips to help you resolve them:
- No Ice Production: If the ice maker is not producing any ice, ensure that the water reservoir is filled with water, the unit is plugged in, and the power is on. Also, check if there are any blockages in the ice molds or trays that are preventing the water from flowing properly.
- Slow Ice Production: If the ice maker is producing ice at a slower rate than expected, consider using colder water or reducing the ambient temperature around the ice maker. Also, make sure that the water level is sufficient and that there are no obstructions or debris affecting the ice-making process.
- Ice Cubes Stuck Together: If the ice cubes are sticking together, it may be due to a prolonged storage time or high humidity. Consider using the ice cubes immediately after they are made or transfer them to an airtight container to prevent clumping. Also, periodically check the ice storage basket and break up any ice cubes that have fused together.
- Loud Noise: If the ice maker is making loud or unusual noises, it may indicate an issue with the motor or other internal components. In this case, it is recommended to contact customer support or refer to the user manual for further assistance.
- Leaking Water: If water is leaking from the ice maker, check if the water reservoir is properly inserted and sealed. Additionally, inspect the water supply hose and ensure that it is securely connected and not damaged. If the issue persists, contact customer support for further assistance.
Remember to consult the user manual specific to your Igloo Ice Maker for detailed troubleshooting steps and contact information for customer support.
Now that you’re familiar with troubleshooting common issues, let’s move on to the final step—cleaning and maintenance of your Igloo Ice Maker.
Step 5: Cleaning and Maintenance
Regular cleaning and maintenance are essential to keep your Igloo Ice Maker in optimal condition and ensure a hygienic ice-making process. Follow these steps to clean and maintain your ice maker:
- Turn Off and Unplug the Ice Maker: Before cleaning, make sure to turn off the ice maker and unplug it from the power source. This will prevent any accidents or electrical hazards.
- Drain the Water: Open the drain plug or valve to empty any remaining water from the water reservoir. Dispose of the water appropriately.
- Clean the Interior and Exterior: Wipe the interior and exterior surfaces of the ice maker using a soft cloth or sponge dampened with a mild detergent and warm water. Do not use abrasive cleaners or abrasive materials that may scratch the surfaces.
- Remove and Clean the Ice Storage Basket: If your ice maker has a removable ice storage basket/tray, take it out and wash it with warm water and mild detergent. Rinse it thoroughly and allow it to dry completely before placing it back in the ice maker.
- Descale the Ice Maker: Over time, mineral deposits may accumulate inside the ice maker, affecting its performance. Use a descaling solution recommended by the manufacturer and follow the instructions provided to descale the ice maker. This will help remove any mineral buildup and restore optimal functionality.
- Rinse and Refill the Water Reservoir: Rinse the water reservoir with clean water to remove any cleaning solution residue. Refill it with fresh, potable water up to the recommended level.
- Regularly Check and Replace Filters: If your ice maker has a water filter, check it regularly according to the manufacturer’s instructions. Replace the filter as recommended to maintain the quality of the ice cubes.
- Keep the Ice Maker Ventilated: Ensure that the ice maker has proper ventilation and is not placed in a confined space. This will help prevent overheating and enhance the overall performance of the ice maker.
By following these cleaning and maintenance steps on a regular basis, you can prolong the lifespan of your Igloo Ice Maker and ensure clean and refreshing ice cubes every time.
Now that you’re equipped with the knowledge of cleaning and maintenance, you’re all set to enjoy the convenience and efficiency of your Igloo Ice Maker. Wrap up your ice maker journey with our concluding remarks in the next section.
Conclusion
Congratulations! You have reached the end of our comprehensive guide on how to use an Igloo Ice Maker. We hope this article has provided you with valuable insights and step-by-step instructions to make the most out of your ice maker.
From unpacking and setting up the ice maker to troubleshooting common issues and performing cleaning and maintenance tasks, you now have the knowledge and skills to keep your Igloo Ice Maker running smoothly and producing ice cubes efficiently.
Remember to refer to the user manual specific to your Igloo Ice Maker for detailed instructions and guidelines. Additionally, don’t hesitate to reach out to customer support for any specific queries or concerns.
With your Igloo Ice Maker, you can say goodbye to the hassle of constantly buying bags of ice and waiting for ice trays to freeze. Whether you’re hosting a party, going on a camping trip, or simply want to enjoy chilled beverages at home, your Igloo Ice Maker will be your reliable companion.
Don’t forget to enjoy the convenience and refreshing ice cubes your Igloo Ice Maker provides, and share this guide with others who may find it helpful.
Thank you for reading, and here’s to endless ice-making possibilities!
Now that you're up to speed on using your Igloo ice maker, why not ensure it keeps running smoothly? Proper upkeep is key, and that includes keeping it clean. If you're unsure where to start, our next guide on maintaining ice makers will walk you through the essentials of keeping your machine in top shape, ensuring you always have fresh ice at hand. You'll find that a little routine care can go a long way in preserving your appliance's efficiency and lifespan.
Frequently Asked Questions about How To Use An Igloo Ice Maker
Was this page helpful?
At Storables.com, we guarantee accurate and reliable information. Our content, validated by Expert Board Contributors, is crafted following stringent Editorial Policies. We're committed to providing you with well-researched, expert-backed insights for all your informational needs.

0 thoughts on “How To Use An Igloo Ice Maker”