Articles
How To Thaw Ice Maker
Modified: May 6, 2024
Looking for articles on how to thaw an ice maker? Find expert tips and step-by-step guides to help you troubleshoot and resolve ice maker freezing issues.
(Many of the links in this article redirect to a specific reviewed product. Your purchase of these products through affiliate links helps to generate commission for Storables.com, at no extra cost. Learn more)
Introduction
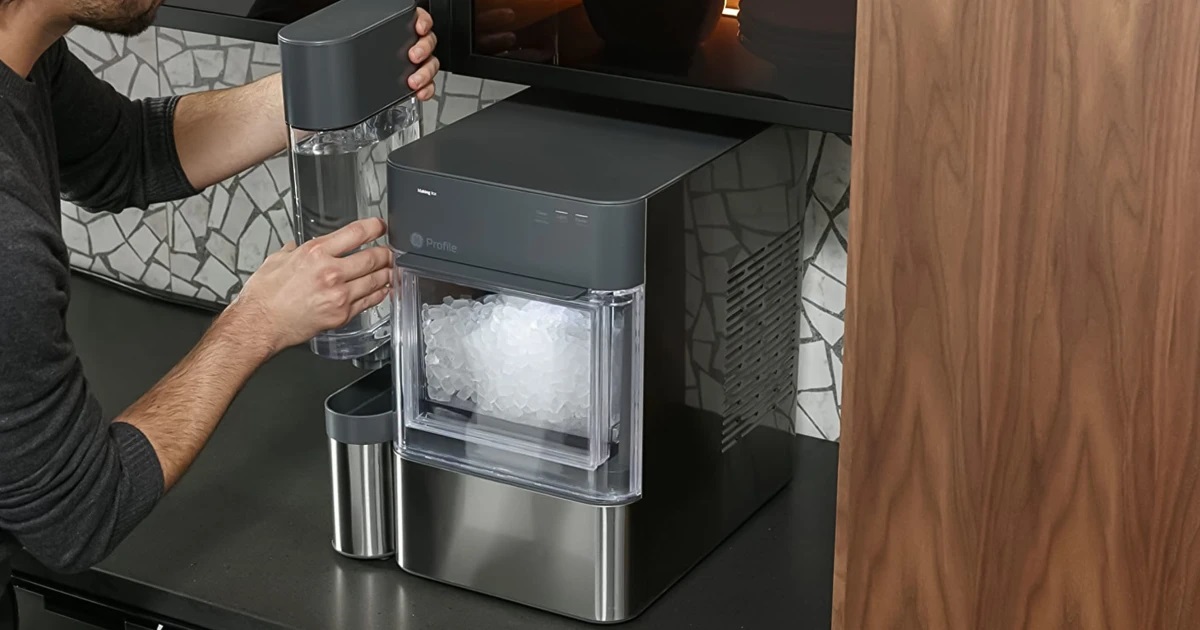
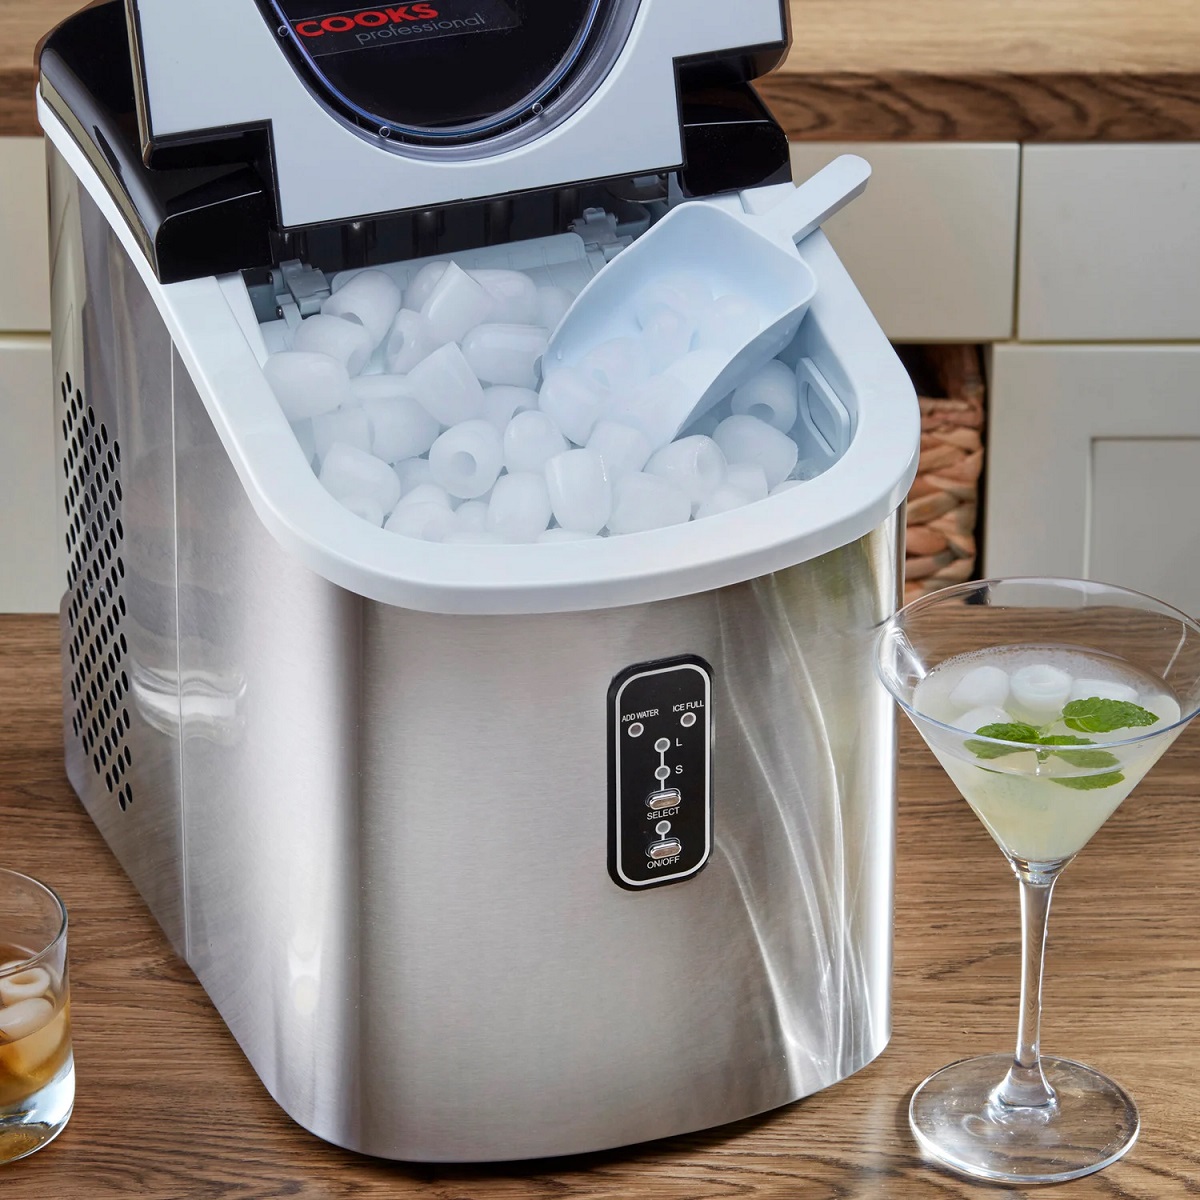
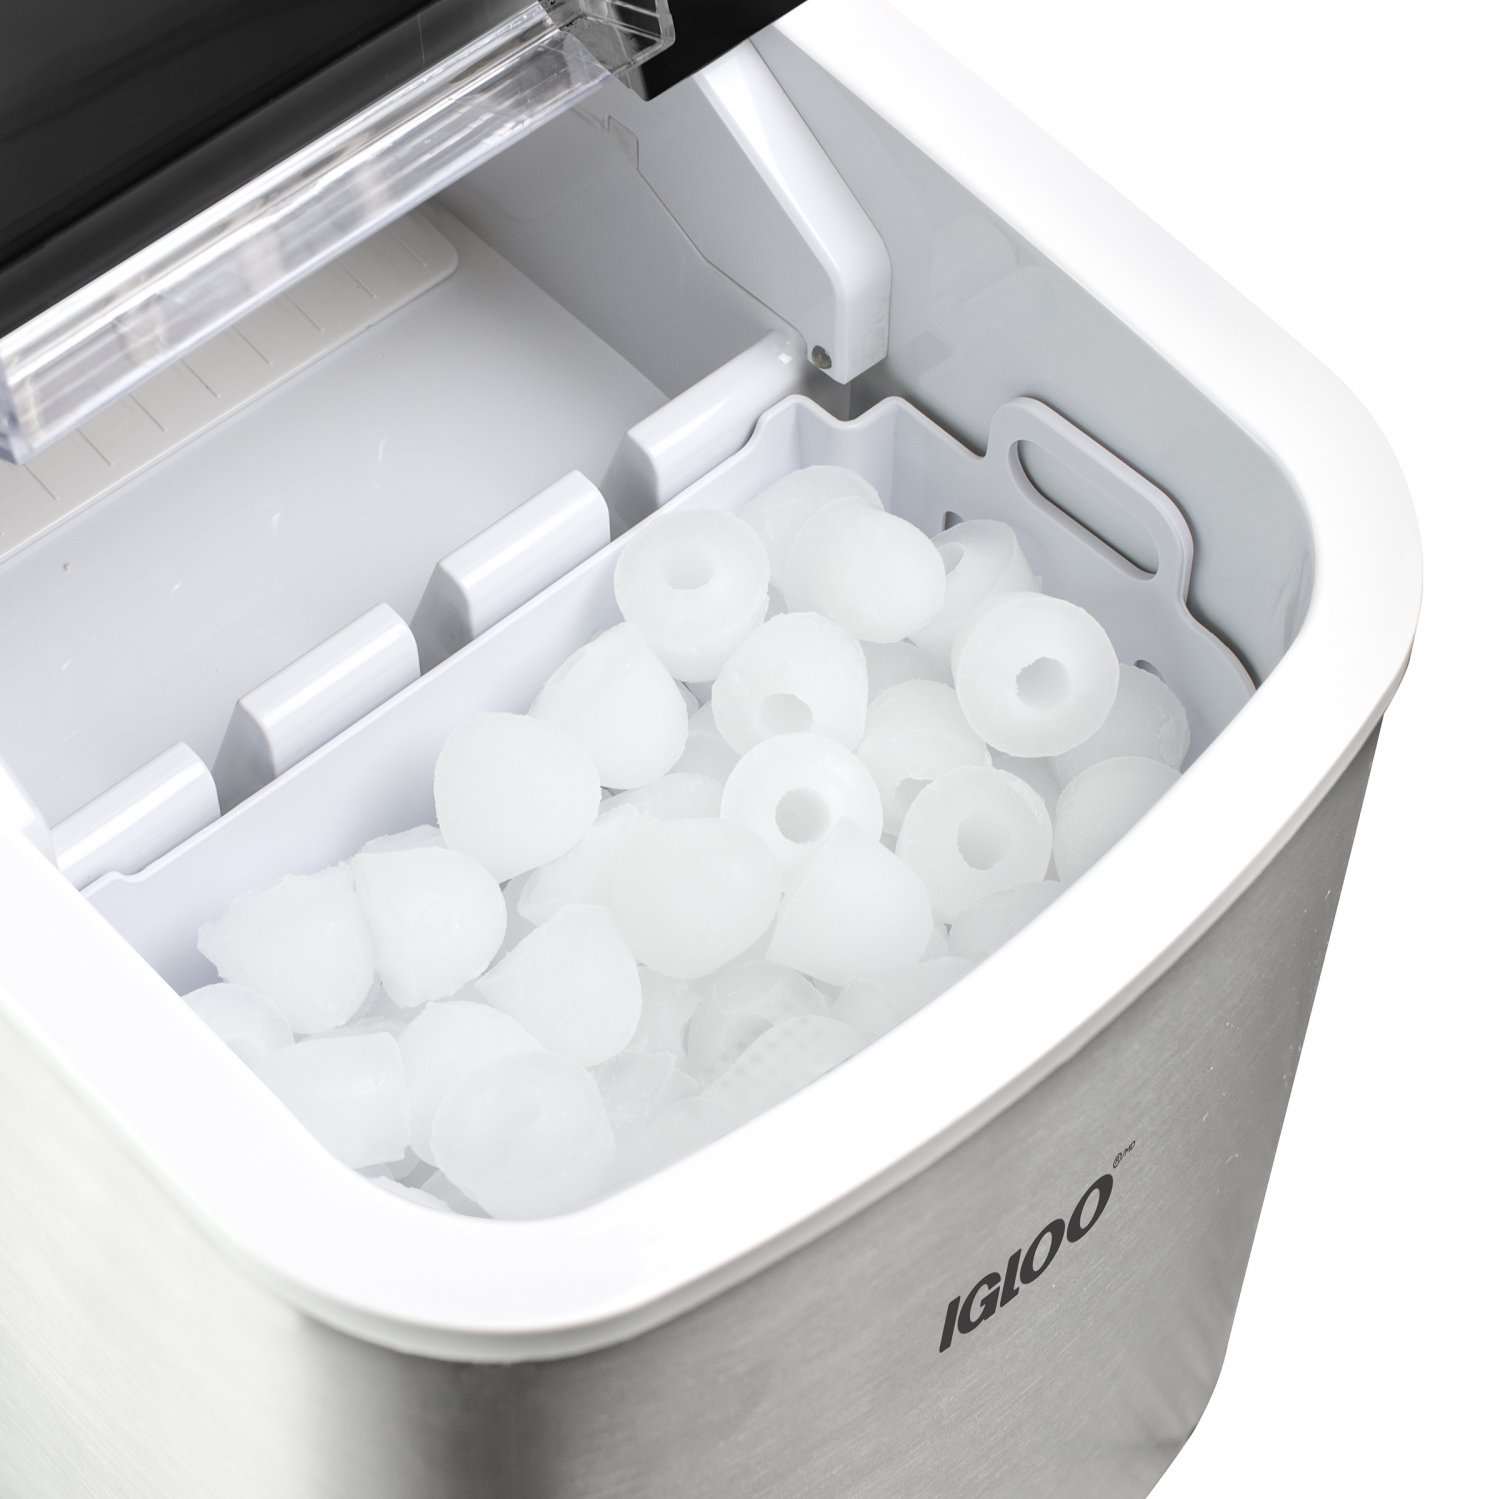
Having an ice maker at home can be a convenient and refreshing addition to your kitchen. However, like any appliance, ice makers can encounter issues from time to time. One common problem is when the ice maker freezes, preventing it from producing ice cubes. This can be frustrating, especially during hot summer months or when entertaining guests.
Understanding how an ice maker freezes, recognizing the signs of a frozen ice maker, and knowing how to thaw it effectively are essential skills every ice maker owner should have. In this article, we will guide you through the process of thawing an ice maker and provide tips on preventing it from freezing in the future.
Key Takeaways:
- Thawing an ice maker requires patience and attention to detail. Whether using a hair dryer, warm water, or simply unplugging and defrosting, following the right steps is crucial to avoid damage and restore functionality.
- Preventing ice maker freezing is essential for maintaining a properly functioning ice maker. Regularly inspecting the water supply, maintaining proper freezer temperature, and performing regular maintenance are key preventive measures to implement.
Read more: How To Thaw Frozen Ice Maker Water Line
Understanding How an Ice Maker Freezes
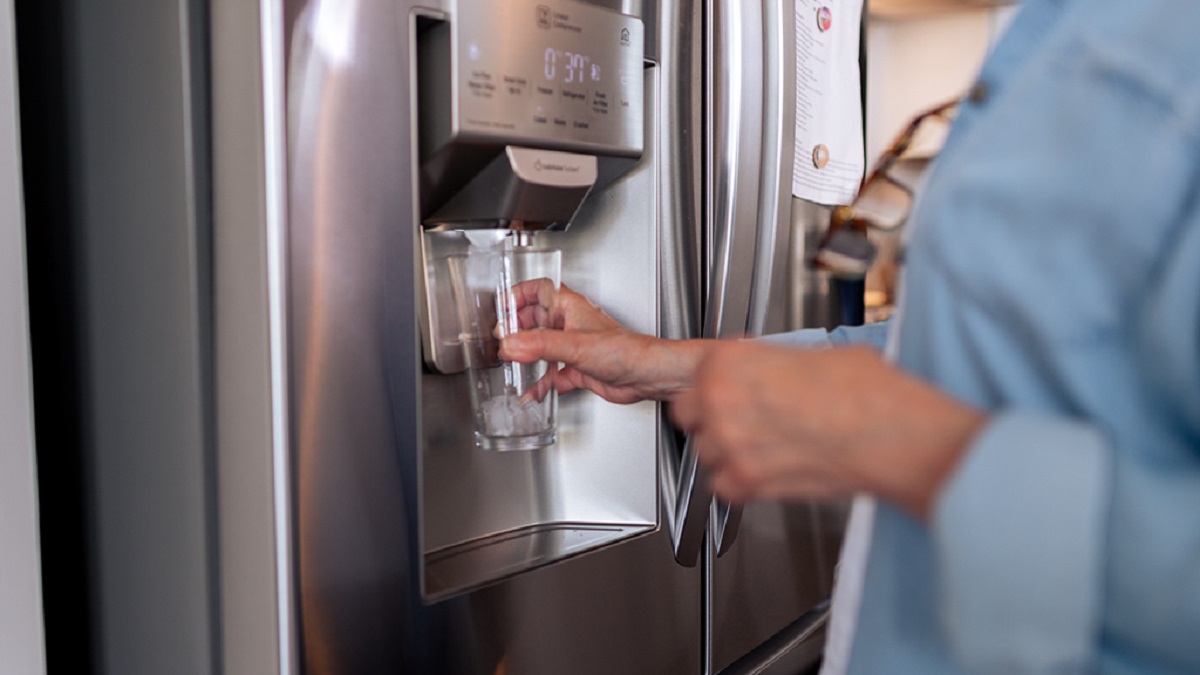
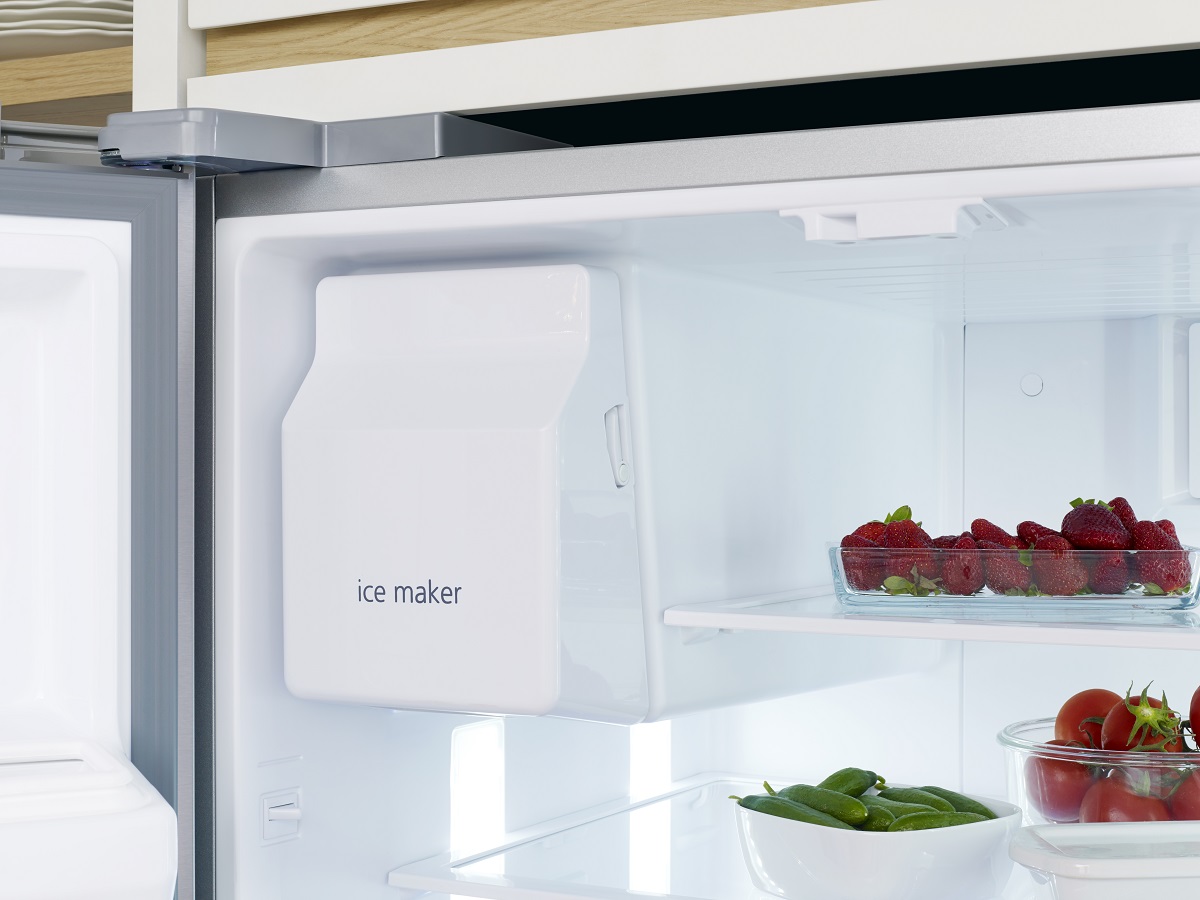
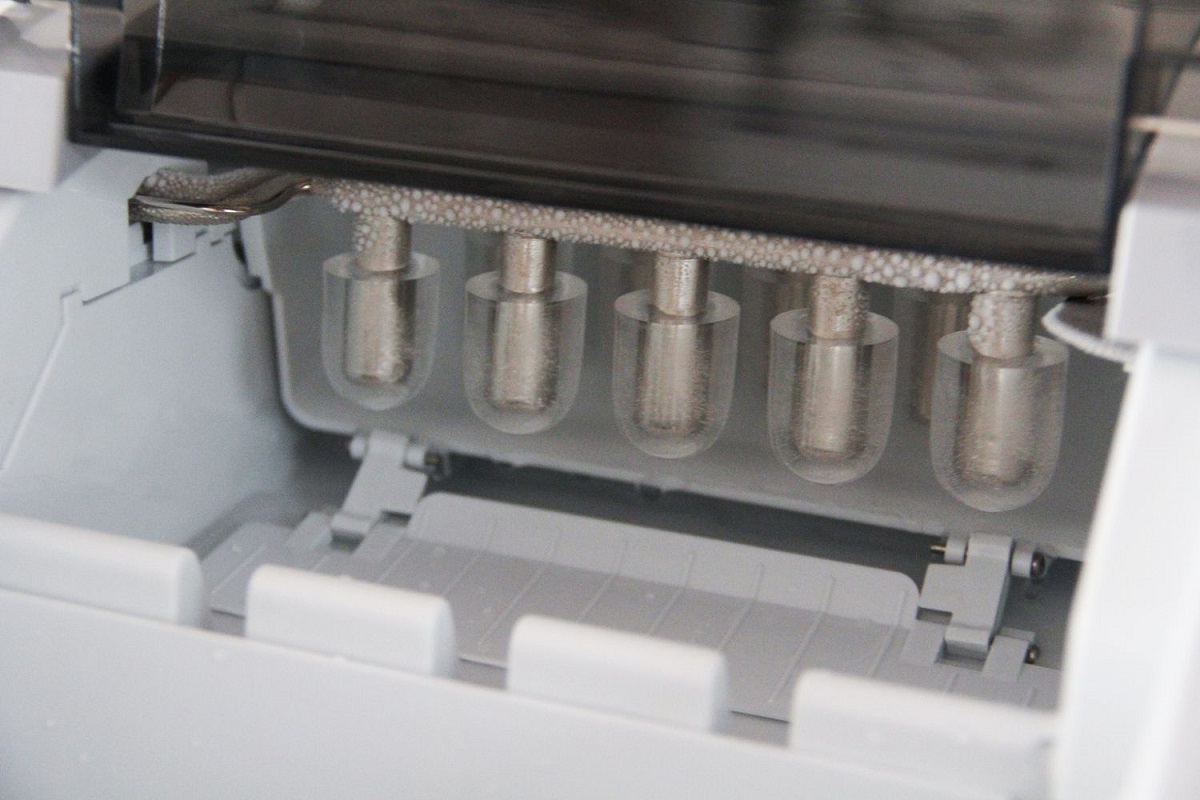
To effectively thaw an ice maker, it is crucial to understand how it freezes in the first place. Ice makers work by freezing water in a mold and then releasing the ice cubes into a storage bin. The process begins with a water supply line connected to the ice maker.
Once the ice maker is activated, a valve opens, allowing water to flow into the mold. The mold is typically made of plastic or metal and contains individual compartments where the water freezes into ice. The freezing process is facilitated by a cooling mechanism, usually in the form of a refrigeration system, located within the ice maker.
When everything is functioning correctly, the ice maker maintains a consistent temperature that ensures the water in the mold freezes solidly, creating perfectly formed ice cubes. However, various factors can disrupt this process and cause the ice maker to freeze, resulting in ice cubes that don’t release or a blockage that prevents new ice from forming.
One common reason for ice makers to freeze is low water flow. If the water supply line becomes clogged or restricted, insufficient water will fill the mold, leading to incomplete freezing or ice that sticks to the mold walls. Additionally, if the temperature within the ice maker becomes too low, the water may freeze too rapidly, resulting in a frozen block that prevents the mold from releasing the ice properly.
Other factors that can contribute to ice maker freezing issues include a faulty thermostat, improper insulation, improper ventilation, or even excessive ambient humidity.
By understanding how an ice maker freezes, you can better identify the root cause of the freezing problem and take the necessary steps to thaw it effectively.
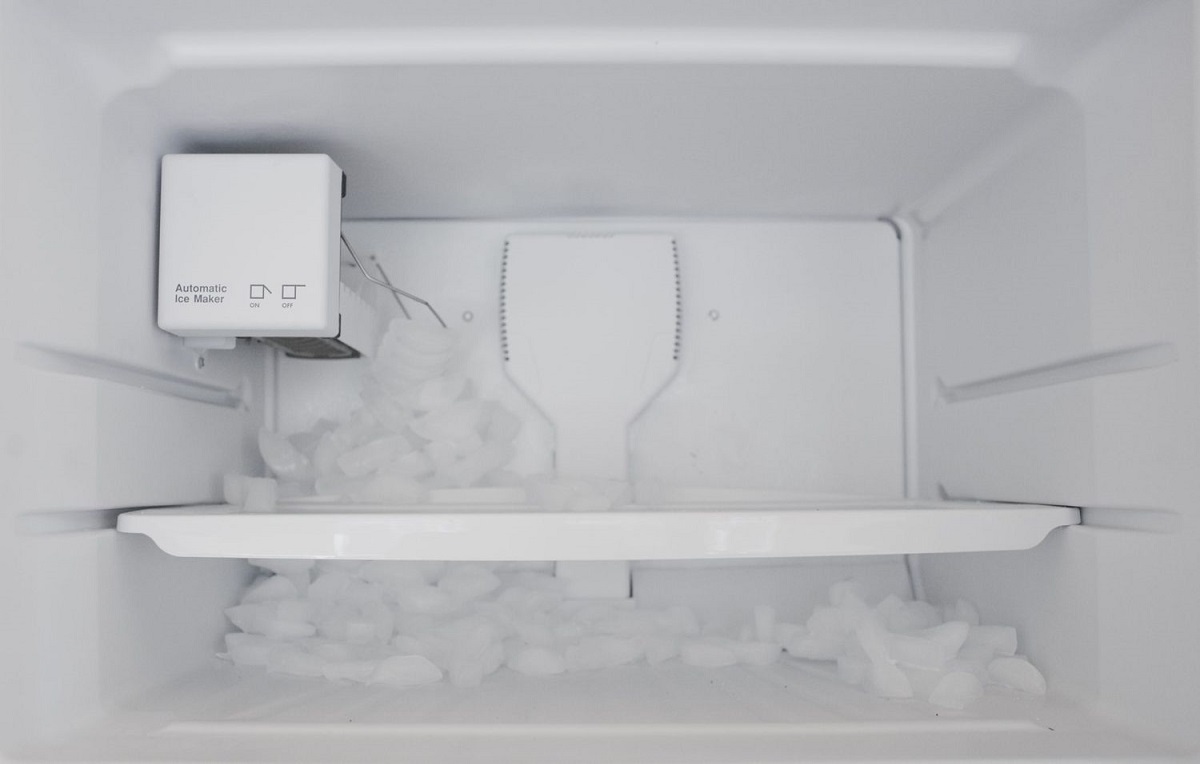
Signs of a Frozen Ice Maker
Recognizing the signs of a frozen ice maker is essential in identifying and addressing the issue promptly. Here are some common indications that your ice maker may be frozen:
- No ice production: The most obvious sign of a frozen ice maker is the lack of ice production. If the ice maker hasn’t produced any ice in a while, there’s a high chance that it is frozen.
- Partial ice cubes: If your ice maker is only producing partial or malformed ice cubes, this could be a result of the freezing process being disrupted. The frozen blockage may be preventing the proper formation and release of ice cubes.
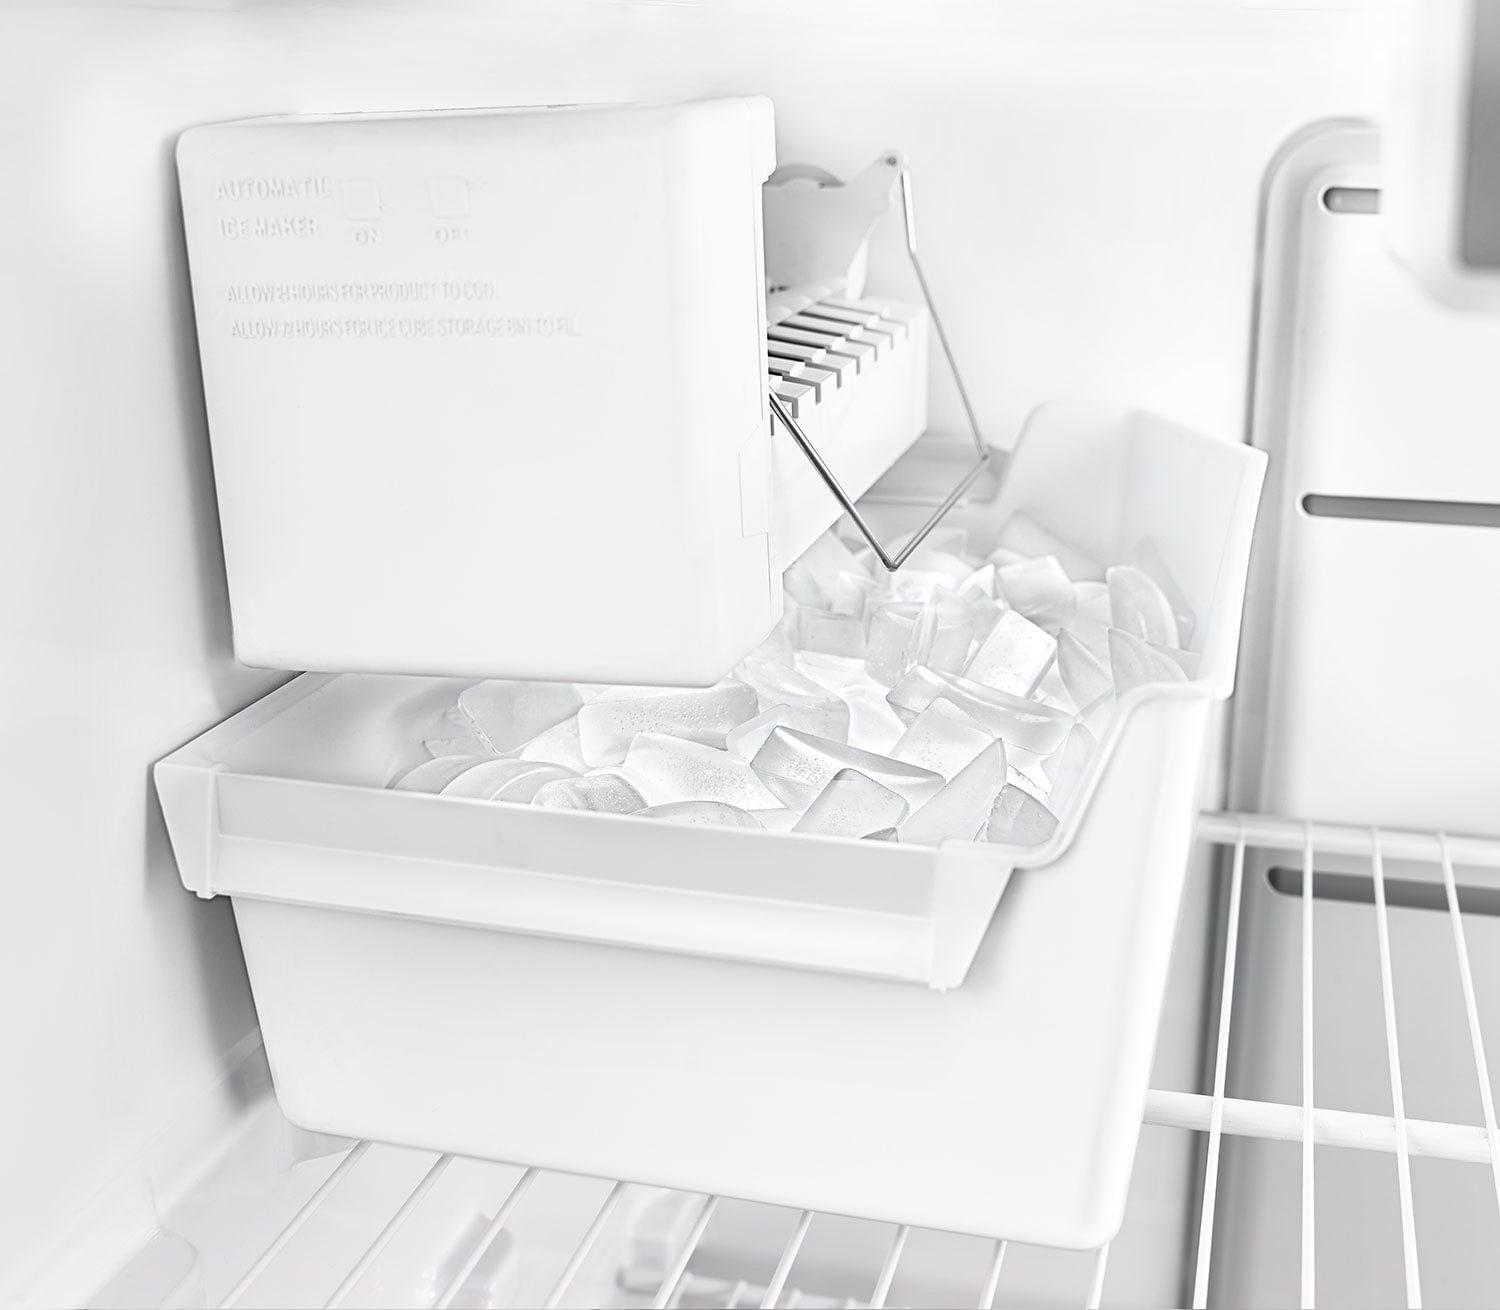
- Ice cubes stuck in the mold: Take a look inside the ice maker’s mold. If you see ice cubes that are still stuck to the mold or haven’t been released into the storage bin, it’s a clear indicator that freezing has occurred.
- Strange noises: Unusual sounds coming from your ice maker, such as grinding or popping noises, can be a sign that ice has formed in places where it shouldn’t be. These sounds typically occur when the ice maker attempts to dispense ice but encounters resistance due to freezing.
- Water leakage: A frozen ice maker can sometimes result in water leakage. If you notice water pooling around your ice maker or dripping from it, it could indicate that the freezing has caused a blockage, leading to water overflow.
If you experience any of these signs, it’s likely that your ice maker is frozen. By addressing the issue promptly, you can avoid further damage and restore your ice maker’s functionality.
Steps to Thaw an Ice Maker
Thawing an ice maker is a process that requires patience and attention to detail. Here are the steps to effectively thaw an ice maker:
- Step 1: Unplug and defrost: Start by unplugging the ice maker from its power source. This ensures that it is safe to work with and avoids potential electrical hazards. Allow the ice maker to defrost naturally at room temperature. Depending on the severity of the freezing, it may take a few hours to completely thaw.
- Step 2: Use a hair dryer: If you need to speed up the thawing process, you can use a hair dryer. Set it to a low heat setting and hold it a few inches away from the ice maker. Gently move the hair dryer around, focusing on the areas where ice is visible. Be cautious not to use excessive heat, as it can damage the ice maker.
- Step 3: Use warm water: Another method to thaw an ice maker is to use warm water. Take a cloth or sponge soaked in warm water and apply it to the frozen areas of the ice maker. This helps melt the ice and allows it to dislodge. Be careful to avoid getting water into electrical components or sensitive areas.
- Step 4: Remove ice maker unit: In some cases, you may need to remove the ice maker unit from your refrigerator to access and thaw it more effectively. Refer to your refrigerator’s manual for instructions on how to safely remove the ice maker. Once removed, follow the steps above to thaw the ice maker and ensure all ice is melted before reinstalling it.
Remember to monitor the thawing process and check for any signs of water leakage or damage. Once the ice maker is completely thawed, you can plug it back in and wait for it to cool down before testing its functionality by initiating an ice-making cycle.
Thawing an ice maker requires caution and patience. It’s important to follow these steps carefully to avoid any damage to the ice maker or other components of your refrigerator.
Method 1: Unplug and Defrost
One of the simplest and most common methods to thaw an ice maker is by unplugging it and allowing it to defrost naturally. Here’s how to do it:
- Step 1: Locate the power cord of your ice maker and unplug it from the electrical outlet. This ensures your safety and prevents any potential damage during the thawing process.
- Step 2: Open the freezer door where the ice maker is located. If necessary, remove any items or ice trays from the freezer to create more space for the ice maker to thaw.
- Step 3: Leave the ice maker to defrost naturally at room temperature. It’s important not to attempt to remove the ice or force any parts of the ice maker during this process. Allow the heat from the room to gradually melt the ice and improve the ice maker’s functionality.
- Step 4: Check the progress periodically. Depending on the degree of freezing, it may take several hours for the ice to completely thaw. Make sure there is no ice remaining in the ice maker compartments or any visible blockages.
- Step 5: Once you are confident that the ice maker is fully defrosted, plug it back into the electrical outlet. Wait for the ice maker to power up and begin its normal operation. It may take some time for the ice maker to cool down before it starts producing ice again.
By following these steps and allowing the ice maker to defrost naturally, you can effectively thaw the ice maker and restore its functionality. This simple method is often sufficient for dealing with minor ice blockages and freezing issues.
However, if the freezing problem persists or if your ice maker is severely frozen, you may need to explore other thawing methods or seek professional assistance to resolve the issue.
To thaw an ice maker, unplug it and remove any ice buildup. Use a hairdryer on a low setting to gently melt the ice. Be careful not to use any sharp objects that could damage the ice maker.
Read more: How To Make Ice in Frigidaire Ice Maker
Method 2: Use a Hair Dryer
Using a hair dryer is an effective and quicker method to thaw a frozen ice maker. Here are the steps to follow:
- Step 1: Gather a hair dryer with adjustable heat settings. It’s essential to use a hair dryer with a low heat setting to prevent damaging the ice maker or melting any plastic components.
- Step 2: Unplug the ice maker from the power source for safety purposes.
- Step 3: Position the hair dryer a few inches away from the ice maker, ensuring the airflow is directed towards the frozen areas. Start with the lowest heat setting to avoid overheating the ice maker.
- Step 4: Gently move the hair dryer in a sweeping motion, focusing on the areas where ice is visible. The heat from the hair dryer will help melt the ice, allowing it to dislodge and facilitating the thawing process.
- Step 5: Continue moving the hair dryer around the ice maker until all visible ice is melted. Be cautious not to concentrate the heat on one spot for too long, as this can cause damage to the ice maker or surrounding components.
- Step 6: Once the ice is melted, check for any residual ice or blockages inside the ice maker. Use a cloth or sponge to wipe away any remaining ice or moisture.
- Step 7: Plug the ice maker back into the power source and allow it to cool down before testing its functionality.
Using a hair dryer is a convenient method to thaw an ice maker, especially when you need to expedite the process. Just remember to be cautious and use low heat to prevent any damage.
If you’re unsure about using a hair dryer or if the freezing problem persists, it’s always recommended to consult the ice maker’s manual or seek professional assistance to avoid any potential risks.
Method 3: Use Warm Water
If you prefer a non-electrical method to thaw a frozen ice maker, using warm water can be effective. Follow these steps:
- Step 1: Unplug the ice maker from the power source for safety.
- Step 2: Take a cloth or sponge and soak it in warm water. It’s important to use warm water instead of hot water to prevent any damage to the ice maker.
- Step 3: Gently apply the warm, damp cloth or sponge to the areas of the ice maker where ice is visible. The heat from the warm water will help melt the ice, aiding in the thawing process. Be cautious not to get water into electrical components or sensitive areas of the ice maker.
- Step 4: Pay close attention to any specific areas where ice is stubbornly stuck or causing a blockage. Apply the warm water directly to those areas and gently loosen the ice with your fingers or a soft utensil.
- Step 5: As the ice melts, use a dry cloth or sponge to wipe away any excess water or moisture. It’s essential to keep the ice maker as dry as possible to prevent future freezing.
- Step 6: Plug the ice maker back into the power source and allow it to cool down before testing its functionality.
Using warm water is a safe and effective method to thaw a frozen ice maker. It’s especially useful when you prefer a non-heating method and want more control over the thawing process. However, ensure that you’re using warm water and not hot water to avoid any potential damage to the ice maker.
If you’re unsure about using warm water or if the freezing problem persists, it’s always recommended to consult the ice maker’s manual or seek professional assistance to resolve the issue without causing any damage.
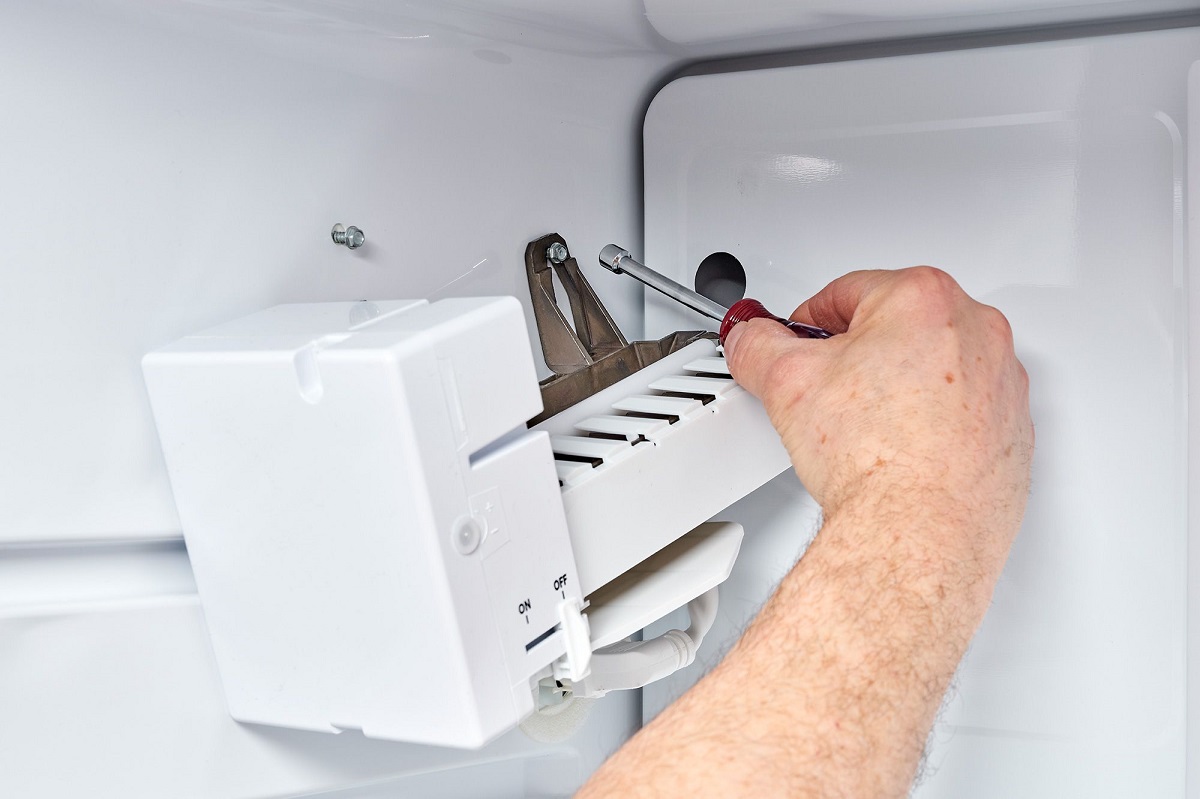
Method 4: Remove Ice Maker Unit
In some cases, removing the ice maker unit from your refrigerator is necessary to effectively thaw a frozen ice maker. Here’s how you can do it:
- Step 1: Before proceeding, ensure that you have read the instruction manual specific to your refrigerator model. It will provide guidance on how to safely remove the ice maker unit.
- Step 2: Locate the ice maker unit inside your refrigerator. It is typically positioned in the top freezer compartment or in a separate ice maker section.
- Step 3: Turn off the power to the refrigerator to prevent any electrical accidents. Unplug the refrigerator or switch off the corresponding circuit breaker.
- Step 4: Depending on your refrigerator model, you may need to remove any shelves, bins, or other components that obstruct access to the ice maker unit.
- Step 5: Carefully detach the ice maker unit from its mounting or housing. Follow the instructions in the manual to ensure you disconnect it properly and avoid damaging any connected wires or tubes.
- Step 6: Place the ice maker unit in a safe and well-ventilated area. Allow the unit to thaw naturally at room temperature. You can also use a hair dryer or warm water method, as described in the previous methods, to expedite the thawing process.
- Step 7: Monitor the unit closely and remove any melted ice or excess water. It’s crucial to ensure that all ice has melted before reinstalling the unit.
- Step 8: Once the ice maker unit is completely thawed, carefully reinstall it according to the manufacturer’s instructions. Make sure to reconnect any wires or tubes securely.
- Step 9: Turn the power back on to the refrigerator and allow the ice maker to cool down before testing its functionality.
Removing the ice maker unit can provide better access for thawing and resolving freezing issues. However, it’s essential to follow the instructions in the manual and handle the unit with care to avoid any damage or unnecessary complications.
If you’re unsure about removing the ice maker unit or if the freezing problem persists, it’s always recommended to consult the manual or seek professional assistance to address the issue effectively.
Tips for Preventing Ice Maker Freezing
Preventing ice maker freezing is essential for maintaining a properly functioning ice maker. Here are some tips to help you prevent ice maker freezing:
- Regularly inspect the water supply: Check the water supply line connected to the ice maker for any blockages or leaks. Ensure that the water pressure is adequate for proper ice production. If you notice any issues, such as low water flow, address them promptly to prevent freezing.
- Keep the freezer temperature regulated: Maintain the appropriate temperature in your freezer. The ideal freezer temperature for ice maker operation is typically around 0°F (-18°C). Verify the temperature settings and adjust as needed to prevent the ice maker from freezing.
- Avoid overfilling the ice maker: Make sure not to overfill the ice maker’s storage bin. Excessive ice buildup can restrict proper airflow, leading to freezing issues. Regularly remove excess ice and clear any blockages to prevent freezing.
- Insulate the ice maker: Insulating the ice maker can provide an extra layer of protection against freezing. Use insulating materials or blankets specifically designed for ice makers to wrap around or cover the unit, ensuring it remains at a stable temperature.
- Ensure proper ventilation: Adequate ventilation is crucial for the efficient operation of your ice maker. Check that there is enough space around the ice maker to allow air to circulate freely. Avoid overcrowding the freezer compartment, as this can obstruct airflow and contribute to freezing issues.
- Regularly clean the ice maker: Keep the ice maker clean and free from any debris or mineral deposits that can impede its performance. Follow the manufacturer’s instructions for proper cleaning techniques and frequency. This helps maintain optimal functioning and reduces the likelihood of freezing.
- Consider a water filter: Installing a water filter in the ice maker’s water supply line can help remove impurities that may contribute to freezing. A water filter can improve water quality and reduce the risk of blockages or ice buildup in the ice maker.
- Perform regular maintenance: Schedule regular maintenance for your ice maker, including professional inspections and servicing. Professional maintenance can identify and address any potential issues before they lead to freezing problems.
By following these preventive tips, you can minimize the chances of your ice maker freezing and ensure a continuous supply of ice for your needs. Keep in mind that proper maintenance and regular attention to your ice maker are key in preventing freezing and maximizing its performance.
Read more: New Ice Maker How Long To Make Ice
Conclusion
Dealing with a frozen ice maker can be frustrating, but by understanding how it freezes, recognizing the signs, and knowing how to thaw it effectively, you can quickly tackle the issue and restore your ice maker’s functionality. Whether you choose to unplug and defrost, use a hair dryer, warm water, or even remove the ice maker unit, there are various methods available to help you thaw a frozen ice maker.
Preventing ice maker freezing is equally important to ensure the smooth operation of your ice maker. Regularly inspecting the water supply, maintaining proper freezer temperature, avoiding overfilling the ice maker, insulating the unit, ensuring adequate ventilation, cleaning regularly, and considering a water filter are all helpful preventive measures to implement.
Remember, each ice maker may have different specifications and requirements, so be sure to consult the manufacturer’s manual for specific instructions and guidelines. If you encounter persistent freezing issues or are unsure about handling the situation, seeking professional assistance is always a viable option.
By taking proactive measures and staying vigilant, you can enjoy a properly functioning ice maker that produces plentiful ice cubes, offering refreshment and convenience whenever you need it.
Successfully thawed that ice maker but noticed it's not functioning optimally? You might need some tips on ice maker repair. And if you keep facing issues with ice buildup, understanding why frozen ice maker keeps happening could save you loads of hassle. Beyond the ice maker, if your entire cooling unit is acting up, it’s probably time to dive into some refrigerator repair strategies. Don’t let appliance glitches throw a wrench in your day—get ahead of common problems with our easy-to-follow guides!
Frequently Asked Questions about How To Thaw Ice Maker
Was this page helpful?
At Storables.com, we guarantee accurate and reliable information. Our content, validated by Expert Board Contributors, is crafted following stringent Editorial Policies. We're committed to providing you with well-researched, expert-backed insights for all your informational needs.

0 thoughts on “How To Thaw Ice Maker”