Articles
How To Use Ez Ice Maker
Modified: September 2, 2024
Learn how to effectively use Ez Ice Maker with our informative articles. Discover tips, tricks, and troubleshooting techniques for maximizing your ice making experience.
(Many of the links in this article redirect to a specific reviewed product. Your purchase of these products through affiliate links helps to generate commission for Storables.com, at no extra cost. Learn more)
Introduction
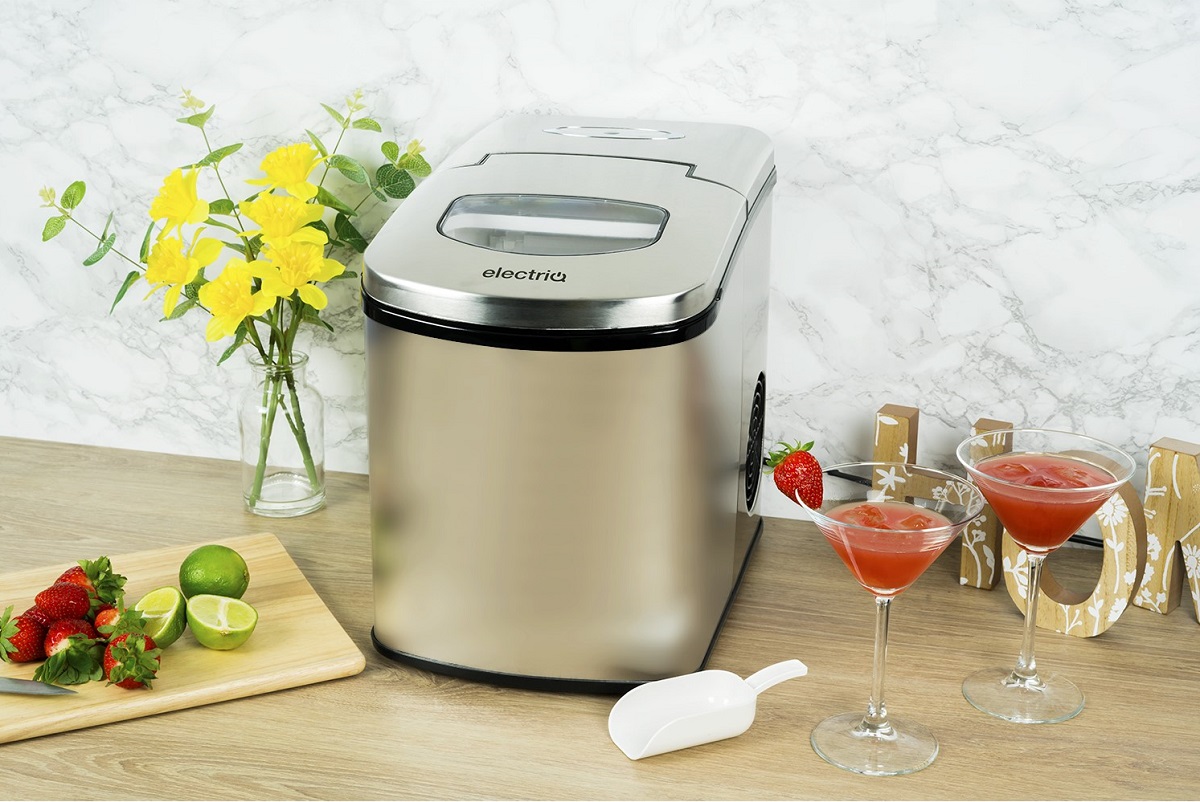
Welcome to the wonderful world of convenience and instant gratification with the Ez Ice Maker. Whether you’re hosting a party, camping in the great outdoors, or simply want to enjoy a refreshing beverage with perfectly chilled ice, this handy appliance is here to make your life easier. In this article, we will explore how to use the Ez Ice Maker effectively, guiding you through each step to ensure you get the most out of this fantastic device.
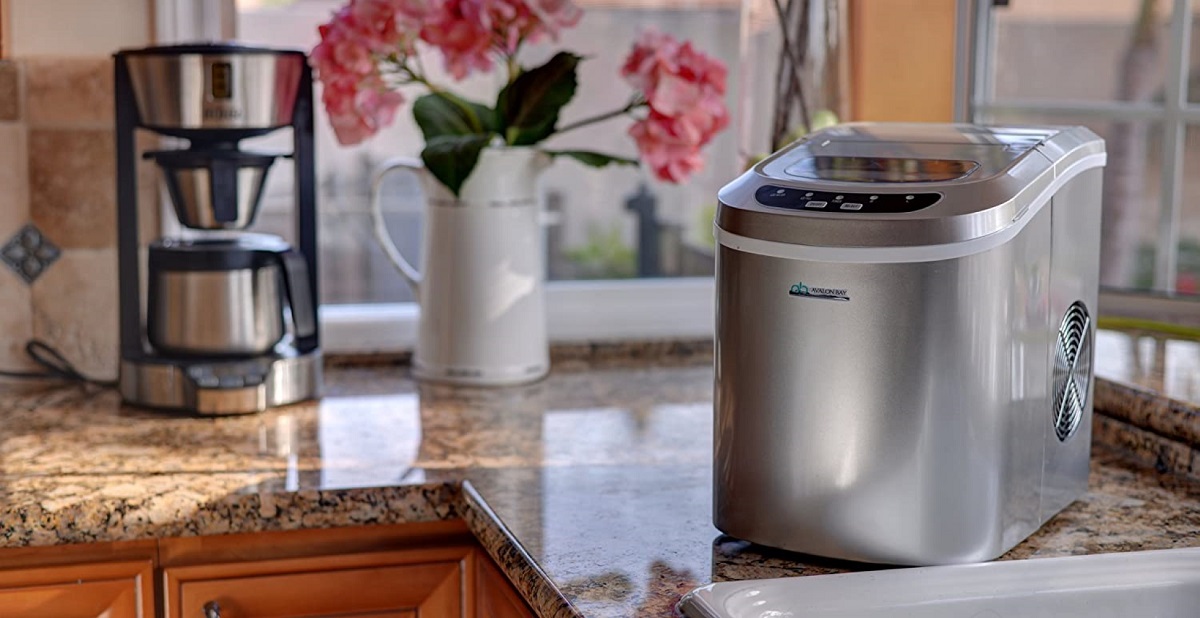
The Ez Ice Maker is a compact and portable appliance that can produce ice cubes in a matter of minutes. Gone are the days of waiting hours for ice to freeze in your traditional freezer. With the Ez Ice Maker, you’ll have a batch of ice ready whenever you need it, without any hassle or inconvenience.
Whether you’re new to using an ice maker or have been using one for a while, this comprehensive guide will walk you through the entire process, from unboxing and setup to cleaning and maintenance tips. So, let’s get started on your journey to enjoying ice at your fingertips!
Key Takeaways:
- Enjoy instant ice with the Ez Ice Maker, from unboxing to maintenance. Say goodbye to waiting for hours and hello to hassle-free ice whenever you need it!
- With the Ez Ice Maker, convenience is key. From selecting ice cube sizes to monitoring the process, you’ll have perfectly chilled beverages at your fingertips in minutes.
Read more: How To Use An Igloo Ice Maker
Step 1: Unboxing and Setup
Before you can start enjoying the convenience of the Ez Ice Maker, you’ll need to go through the unboxing and setup process. Here’s a step-by-step guide to help you get started:
- Remove the Ez Ice Maker from its packaging carefully. Make sure to keep all the components together and discard any packaging materials.
- Inspect the unit for any visible damage. If you notice any dents or cracks, contact the manufacturer for assistance.
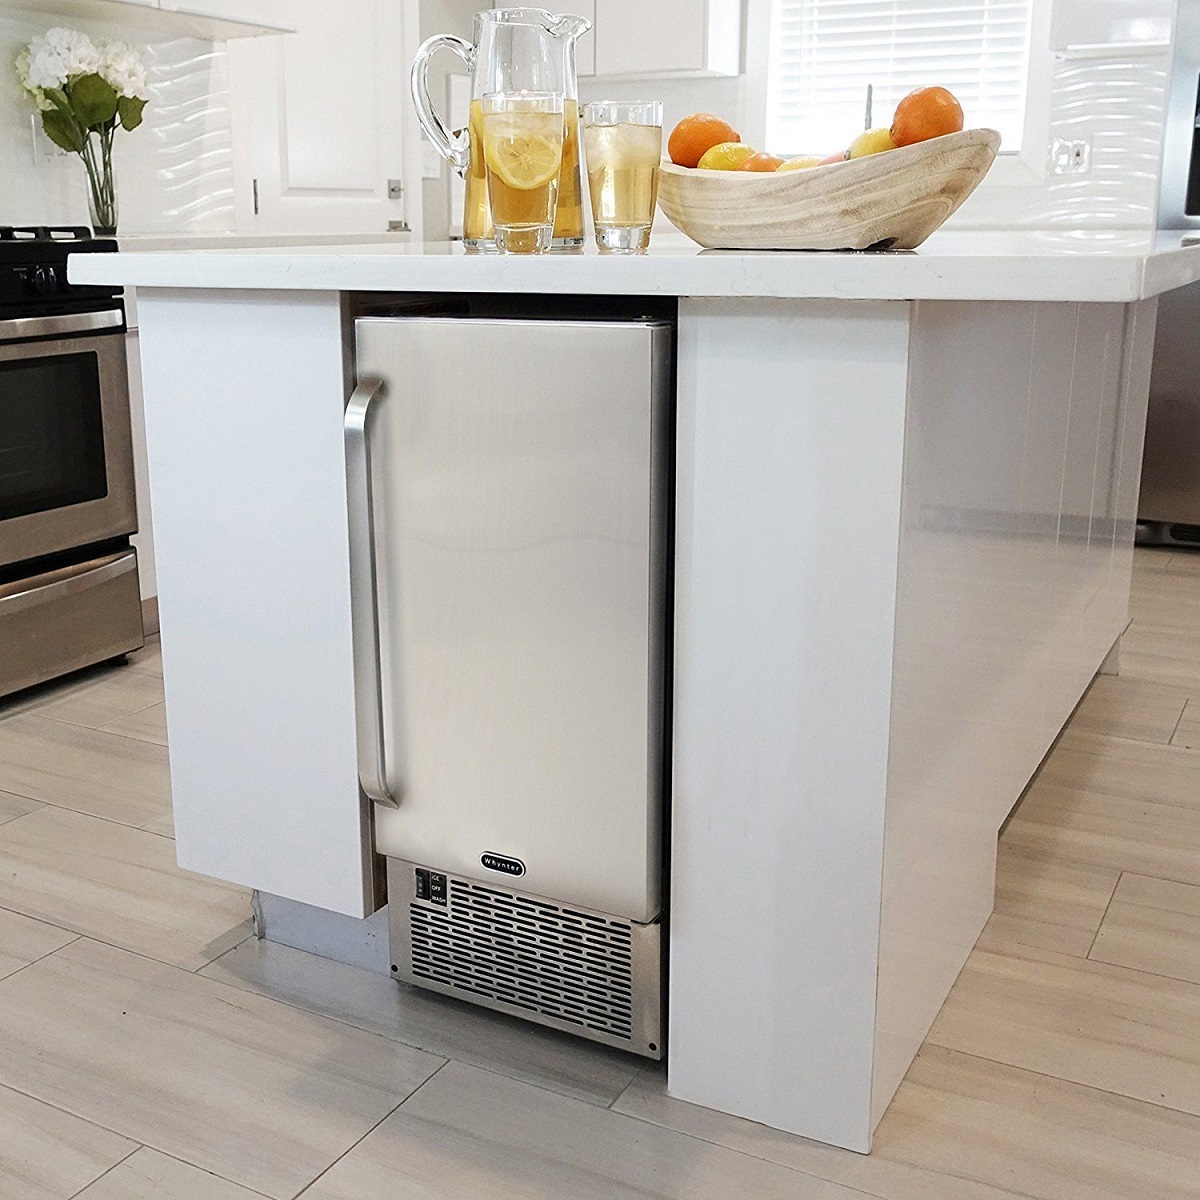
- Find a suitable location for the Ez Ice Maker. Choose a flat, stable surface that is close to a power outlet and can support the weight of the machine once filled with water.
- Clean the interior of the ice maker by wiping it down with a damp cloth. This will remove any dust or debris that may have accumulated during the packaging process.
- Open the lid of the ice maker and remove any accessories or components that may be inside, such as the ice scoop or removable ice basket.
- Fill the water tank with clean, cold water. Be sure not to overfill it, as it may cause spills or malfunctions.
- Replace the ice scoop and ice basket in their designated positions inside the ice maker.
- Close the lid securely, ensuring that it is properly aligned and latched.
- Plug the power cord into a nearby power outlet and switch on the Ez Ice Maker.
Once you have completed these steps, the Ez Ice Maker is ready to start producing ice. It’s important to note that the initial ice-making cycle may take longer than subsequent cycles. This is because the machine needs time to cool down and reach the optimal temperature for ice production.
Now that you have successfully set up your Ez Ice Maker, let’s move on to the next step: Filling the Water Tank.
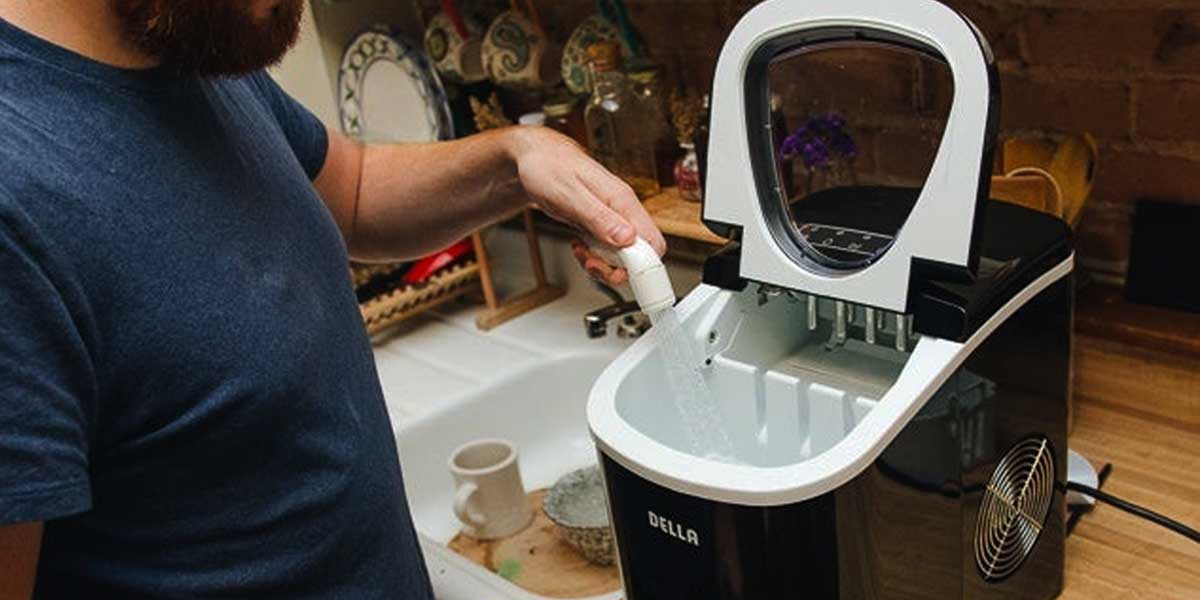
Step 2: Filling the Water Tank
Once you have set up the Ez Ice Maker, the next step is to fill the water tank. Here’s how you can do it:
- Open the lid of the ice maker by lifting it gently. You may need to apply slight pressure to release the latch.
- Locate the water tank, which is usually situated near the back or side of the machine. It is typically transparent, allowing you to see the water level.
- Using a clean jug or pitcher, carefully pour cold water into the tank. Be sure not to exceed the maximum water level indicated on the tank.
- Take care to avoid spills or splashes while filling the tank, as this can lead to a mess or damage the internal components of the machine.
- Once you have filled the water tank to the desired level, close the lid securely by aligning the indentations and pressing it down gently until you hear a click.
It’s important to use clean and cold water for optimal ice production. Avoid using hot water, as it can affect the ice-making process and the quality of the ice cubes.
Now that you have successfully filled the water tank, you’re ready to move on to the next step: selecting the ice cube size.
Step 3: Selecting Ice Cube Size
With the Ez Ice Maker, you have the option to choose from different ice cube sizes based on your preferences. Here’s how you can select the desired ice cube size:
- Locate the ice cube size selector, which is typically located near the control panel or display of the Ez Ice Maker.
- Depending on the model, you may have two or three options for ice cube size: small, medium, or large.
- Using your finger or a small tool, such as a pen or toothpick, press the corresponding button or switch to select the desired ice cube size. The selected size is usually indicated by a light or symbol.
- Take a moment to familiarize yourself with the different ice cube sizes available and choose the one that suits your needs best.
Keep in mind that the selected ice cube size will affect the ice-making cycle duration. Smaller ice cubes may freeze faster, while larger ones may take a bit longer to solidify.
Once you have selected the desired ice cube size, it’s time to move on to the next step: turning on the Ez Ice Maker.
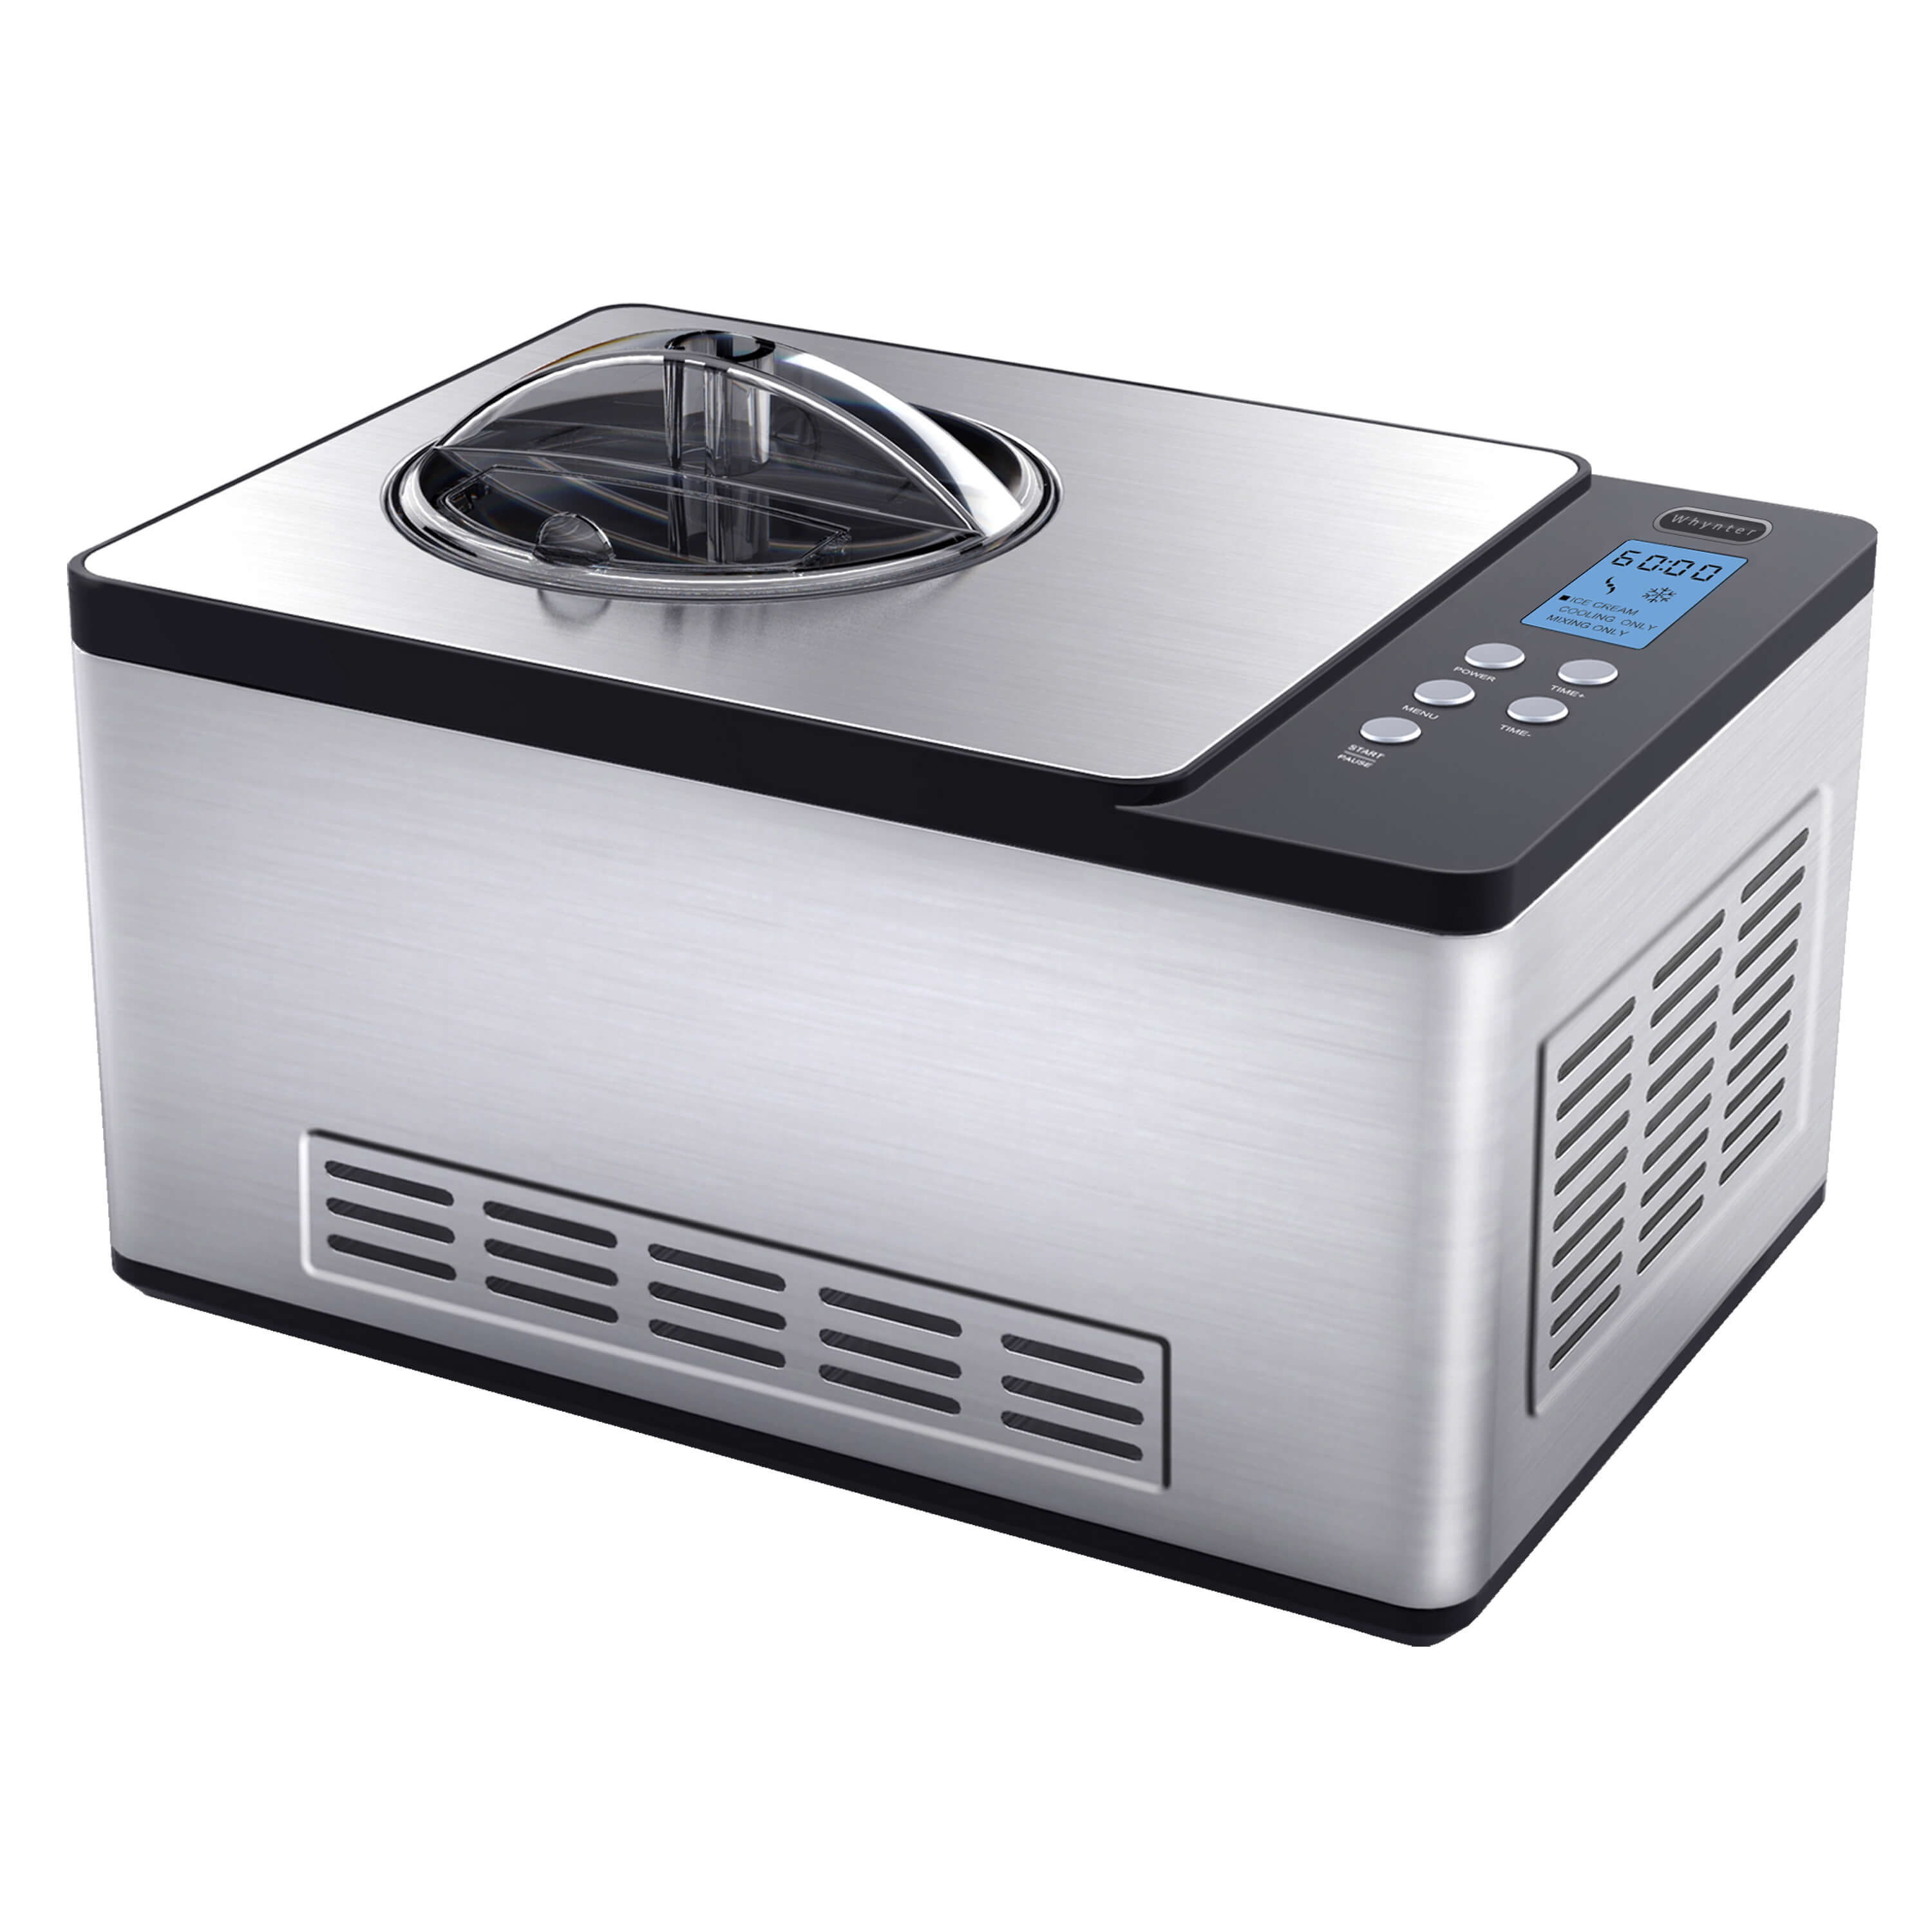
Step 4: Turning On the Ez Ice Maker
Now that you have set up the Ez Ice Maker, filled the water tank, and selected the desired ice cube size, it’s time to turn on the machine. Here’s how you can do it:
- Locate the power button or switch on the control panel of the Ez Ice Maker.
- Ensure that the machine is plugged into a functioning power outlet.
- Press the power button or flip the switch to the “On” position. This will initiate the ice-making process.
- Depending on the model, you may hear a beep or see an indicator light to confirm that the Ez Ice Maker is powered on and operational.
Once the Ez Ice Maker is turned on, it will start the ice-making cycle. The exact duration of the cycle may vary depending on various factors, such as the ambient temperature and the selected ice cube size. However, most ice makers can produce a batch of ice within 10 to 15 minutes.
During the ice-making process, you may hear the sound of water being pumped into the ice mold and the fan circulating air to facilitate freezing. This is normal and indicates that the machine is functioning properly.
Now that the Ez Ice Maker is up and running, let’s move on to the next step: monitoring the ice-making process.
When using the EZ Ice Maker, make sure to fill the water reservoir to the indicated level and allow the ice to fully freeze before removing it. This will ensure that you get the best quality ice for your drinks.
Read more: How To Use Costway Ice Maker
Step 5: Monitoring the Ice Making Process
Once you have turned on the Ez Ice Maker, it’s important to monitor the ice-making process to ensure optimal performance. Here are a few key things to keep in mind:
- Observe the machine as it goes through the ice-making cycle. You may notice the water being pumped into the ice mold and the formation of ice cubes.
- Pay attention to any unusual noises or vibrations that may indicate a problem. While some noise is to be expected during operation, any loud or persistent noise could be a sign of a malfunction.
- Check the water level in the water tank periodically. If the water level is low, you may need to refill it to ensure continuous ice production.
- Monitor the ice cube tray to see if the ice cubes are forming properly. They should be solid and well-formed without any deformities.
- If you notice any issues or irregularities during the ice-making process, consult the user manual or contact the manufacturer for troubleshooting guidance.
It’s important to note that the speed at which the ice is produced may vary depending on factors such as the ambient temperature, the water temperature, and the selected ice cube size. In warmer environments, the ice-making process may take slightly longer.
Once the ice cubes have formed and are ready for use, it’s time to proceed to the next step: removing and storing the ice.
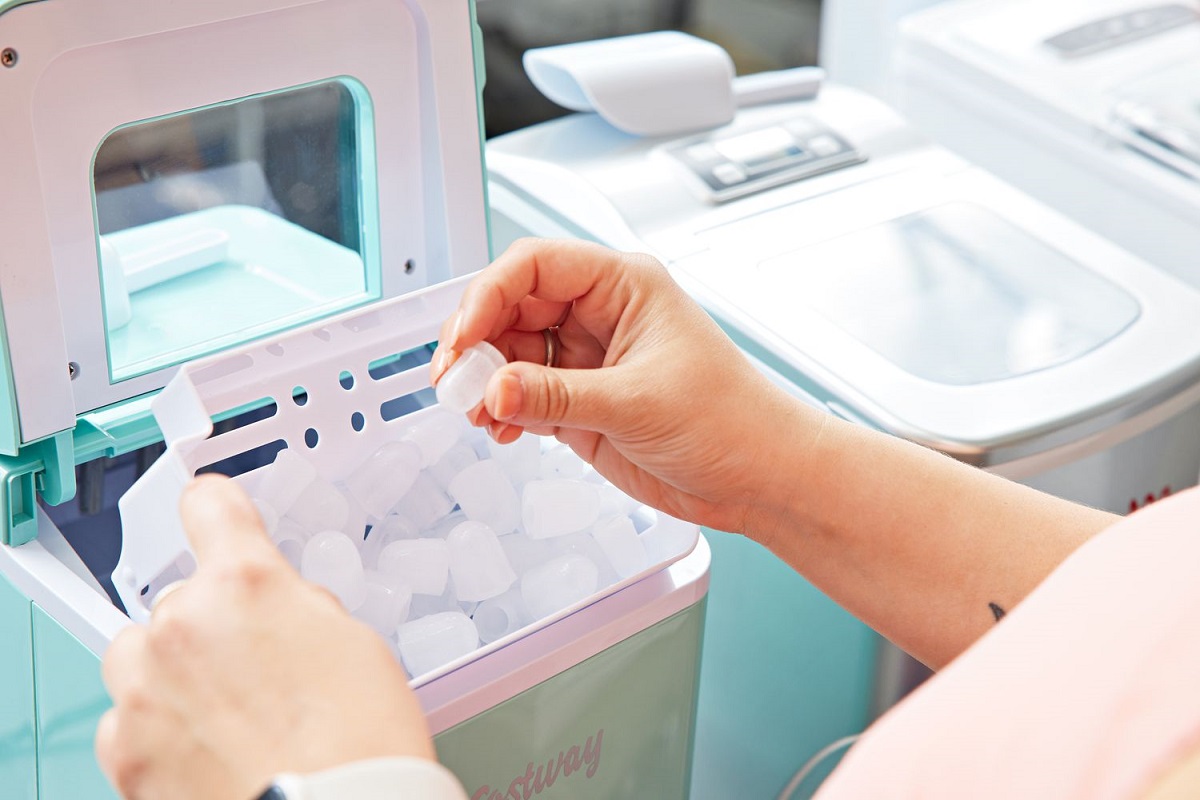
Step 6: Removing and Storing Ice
Now that the Ez Ice Maker has completed the ice-making process, it’s time to remove and store the ice cubes. Here’s how you can do it:
- Open the lid of the Ez Ice Maker by lifting it gently. Ensure that the machine is turned off before proceeding.
- Locate the ice scoop or removable ice basket inside the machine.
- Gently remove the ice scoop or lift the ice basket to access the ice cubes.
- Using the ice scoop or your hands, carefully collect the ice cubes from the ice scoop or basket. Be cautious not to drop any ice cubes or spill them on the surrounding surface.
- Transfer the collected ice cubes into a freezable container or directly into your desired storage container.
- If storing the ice cubes in a container, ensure that it has a lid to prevent any odors or contamination from affecting the ice cubes.
- Place the container with the ice cubes in the freezer for long-term storage, or use the ice cubes immediately as needed.
It’s important to use clean and food-safe containers when storing the ice cubes. Additionally, be mindful of the expiry date of the ice cubes and discard any unused ice cubes after a reasonable period of time to maintain their quality and freshness.
Now that you have successfully removed and stored the ice cubes, let’s move on to the final step: cleaning and maintenance tips for the Ez Ice Maker.
Step 7: Cleaning and Maintenance Tips
Maintaining the cleanliness and functionality of your Ez Ice Maker is crucial for optimal performance and longevity. Here are some essential cleaning and maintenance tips to keep in mind:
- Regularly clean the ice scoop, ice basket, and water tank. Use warm, soapy water and a non-abrasive sponge to remove any residue or buildup. Rinse thoroughly and dry before reusing.
- Periodically clean the interior of the ice maker to remove any ice residue or mineral deposits. Consult the user manual for specific instructions on how to clean the internal components.
- Avoid using harsh chemicals or abrasive cleaners, as they may damage the surfaces of the Ez Ice Maker. Stick to mild detergents and non-abrasive cleaning materials.
- Keep the exterior of the machine clean by wiping it with a damp cloth. This will prevent dust and dirt from accumulating and maintain its overall appearance.
- Ensure that the power cord and plug are kept dry and free from any spills or moisture. Unplug the machine before cleaning it or performing any maintenance tasks.
- Regularly check the water level in the water tank and refill it as needed to ensure uninterrupted ice production.
- Inspect the machine for any visible signs of damage or wear. If you notice any issues, contact the manufacturer for assistance or professional repair.
- Consider using filtered or purified water to minimize the buildup of mineral deposits and improve the quality of your ice cubes.
Following these cleaning and maintenance tips will help keep your Ez Ice Maker in excellent condition and ensure a consistently reliable supply of ice cubes.
Congratulations! You have successfully completed all the steps and now have a better understanding of how to use and maintain your Ez Ice Maker. Enjoy the convenience and pleasure of having ice at your disposal whenever you need it!
Remember to refer back to this guide whenever you need a quick refresher or troubleshooting tips. Cheers to refreshing beverages and hassle-free ice!
Conclusion
Using the Ez Ice Maker has never been easier with the step-by-step guide provided in this article. We have covered everything from the initial unboxing and setup process to selecting ice cube sizes, turning on the machine, monitoring the ice-making process, removing and storing ice, and cleaning and maintenance tips.
The Ez Ice Maker offers unparalleled convenience, allowing you to have ice cubes at your fingertips in a matter of minutes. No longer do you have to rely on traditional freezers and wait for hours for ice to freeze. With this compact and portable appliance, you can enjoy chilled beverages, host parties, and make any occasion a refreshing delight.
Remember to unbox and set up the Ez Ice Maker carefully, making sure all components are intact and the machine is clean. Fill the water tank with cold water, select your desired ice cube size, and turn on the machine. Monitor the ice-making process, ensuring proper operation and water level. Once the ice cubes are formed, remove and store them in a suitable container, and clean the machine regularly to maintain its performance.
By following these instructions and maintaining the Ez Ice Maker properly, you can enjoy a consistent supply of ice cubes whenever you need them. Whether you”re hosting a party, going on a camping trip, or simply want to cool down on a hot day, the Ez Ice Maker has got you covered. Its simplicity, efficiency, and convenience make it a must-have appliance for any ice lover.
So, what are you waiting for? Go ahead and start enjoying the convenience and satisfaction of having ice at your fingertips with the Ez Ice Maker. Cheers to endless refreshing moments!
Frequently Asked Questions about How To Use Ez Ice Maker
Was this page helpful?
At Storables.com, we guarantee accurate and reliable information. Our content, validated by Expert Board Contributors, is crafted following stringent Editorial Policies. We're committed to providing you with well-researched, expert-backed insights for all your informational needs.

0 thoughts on “How To Use Ez Ice Maker”