
Articles
How To Use A Laser Level To Level Ground
Modified: January 8, 2024
Learn how to level ground using a laser level with our informative articles. Get step-by-step instructions and expert tips for accurate and efficient leveling.
(Many of the links in this article redirect to a specific reviewed product. Your purchase of these products through affiliate links helps to generate commission for Storables.com, at no extra cost. Learn more)
Introduction
Welcome to our comprehensive guide on how to use a laser level to level ground. Whether you’re a DIY enthusiast or a professional contractor, having a level and even ground is essential for a variety of projects, from laying foundations to building outdoor structures. While traditional leveling tools like bubble levels are effective for small-scale projects, they can be time-consuming and less accurate when it comes to larger areas. This is where a laser level becomes your best friend.
A laser level is a modern tool that projects a beam of light onto a surface, creating a perfectly level reference line. Not only does it provide superior accuracy, but it also speeds up the leveling process significantly. In this guide, we’ll walk you through the steps of using a laser level to level ground, ensuring that your projects are completed with precision and efficiency.
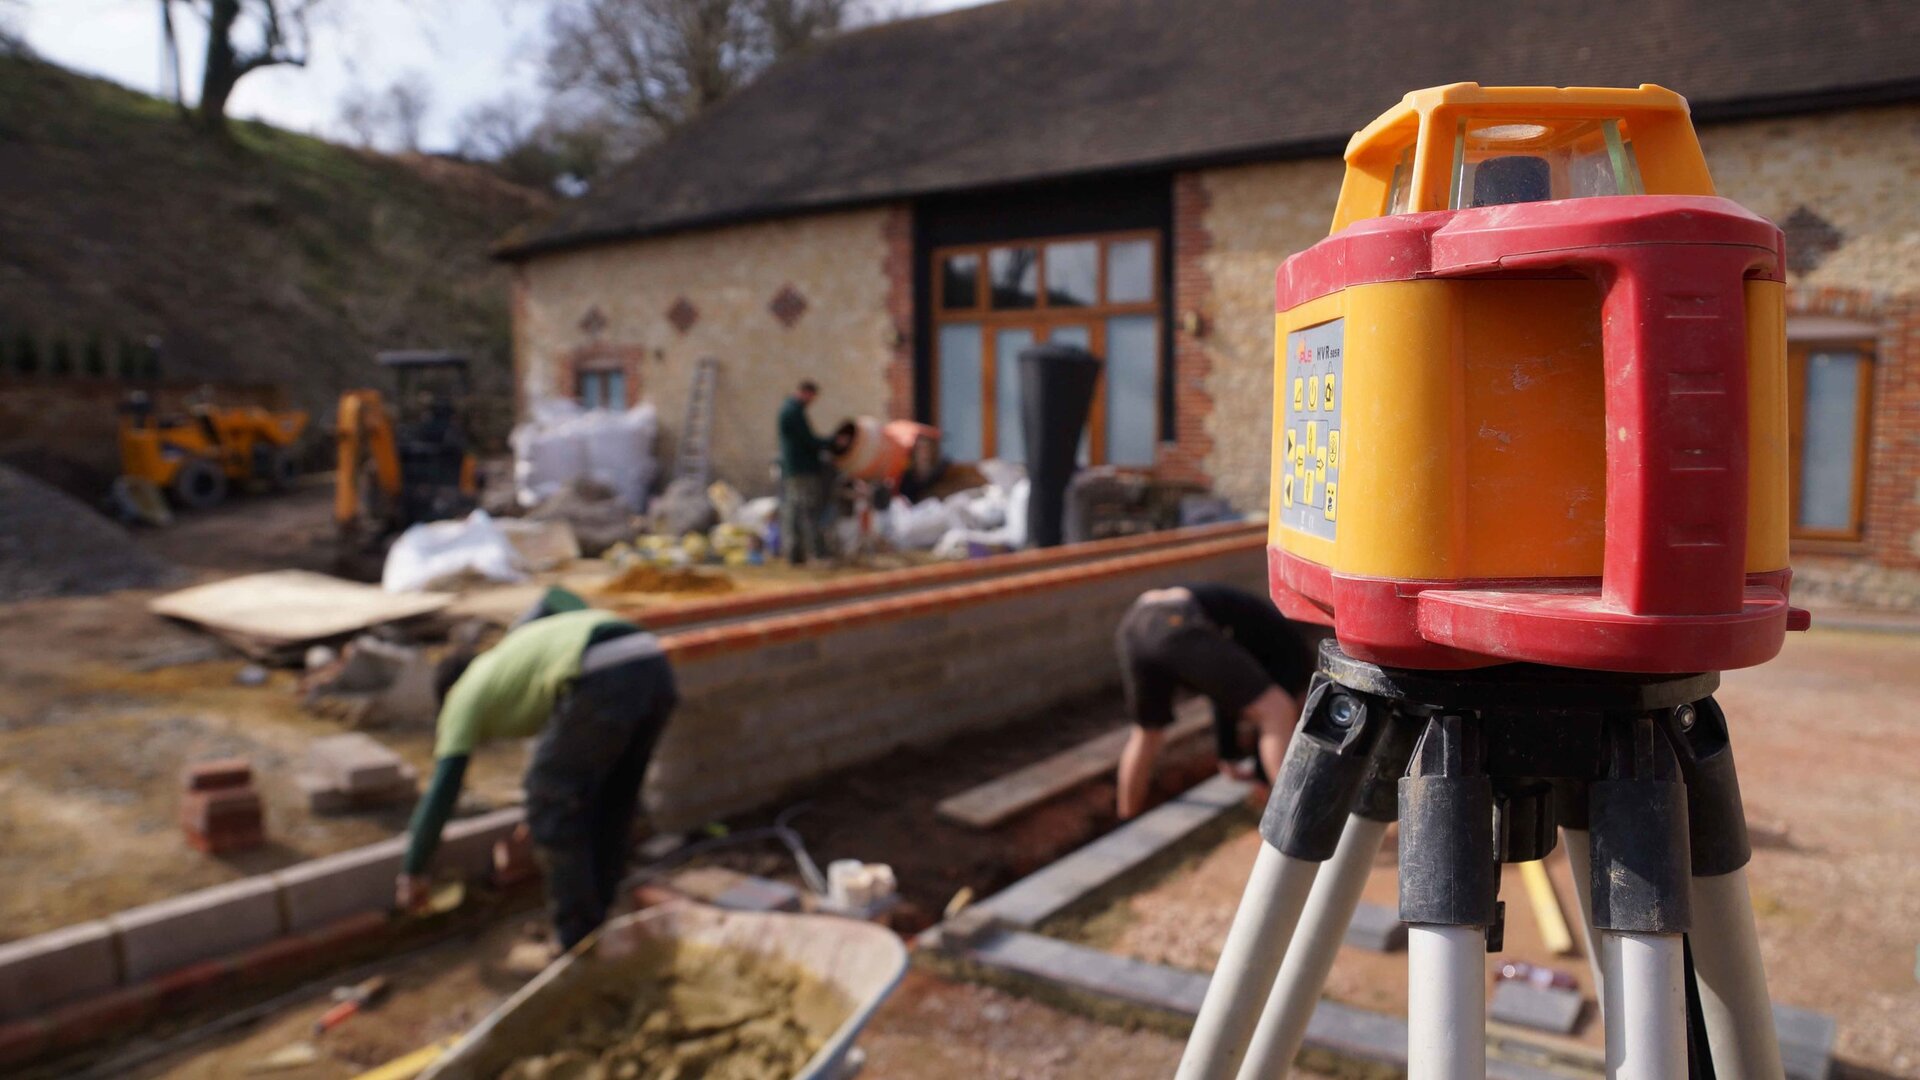
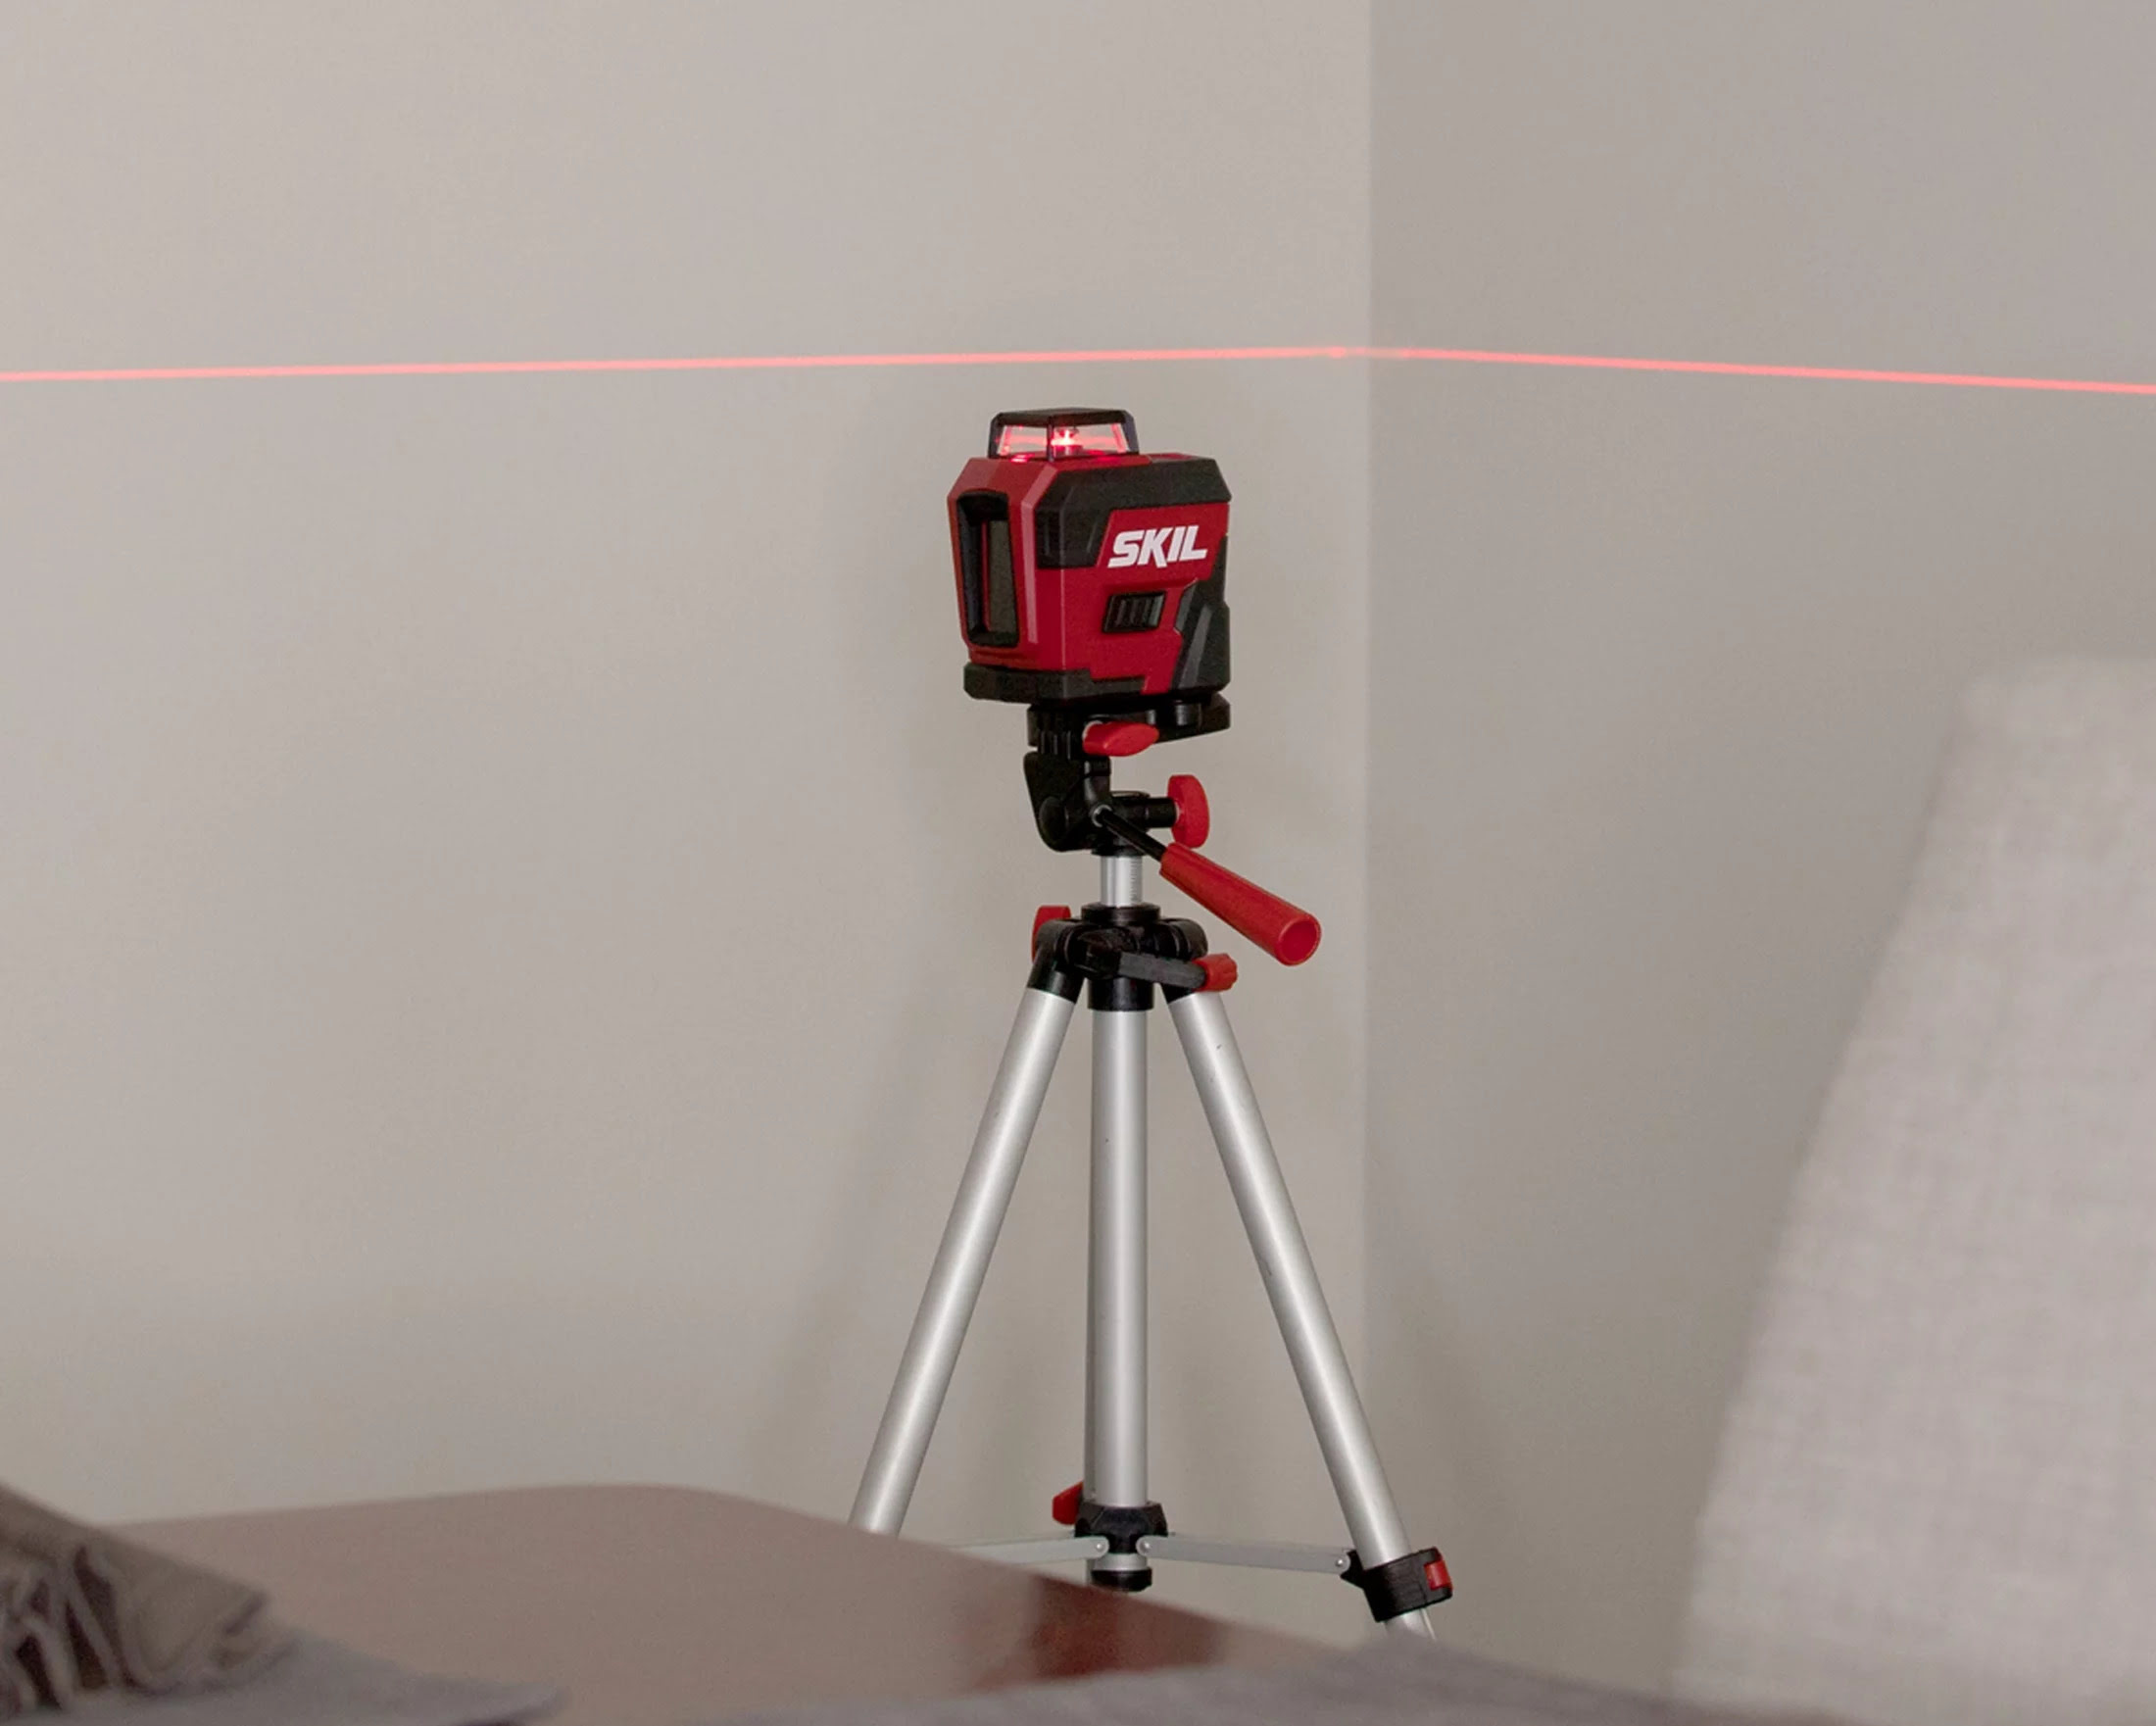
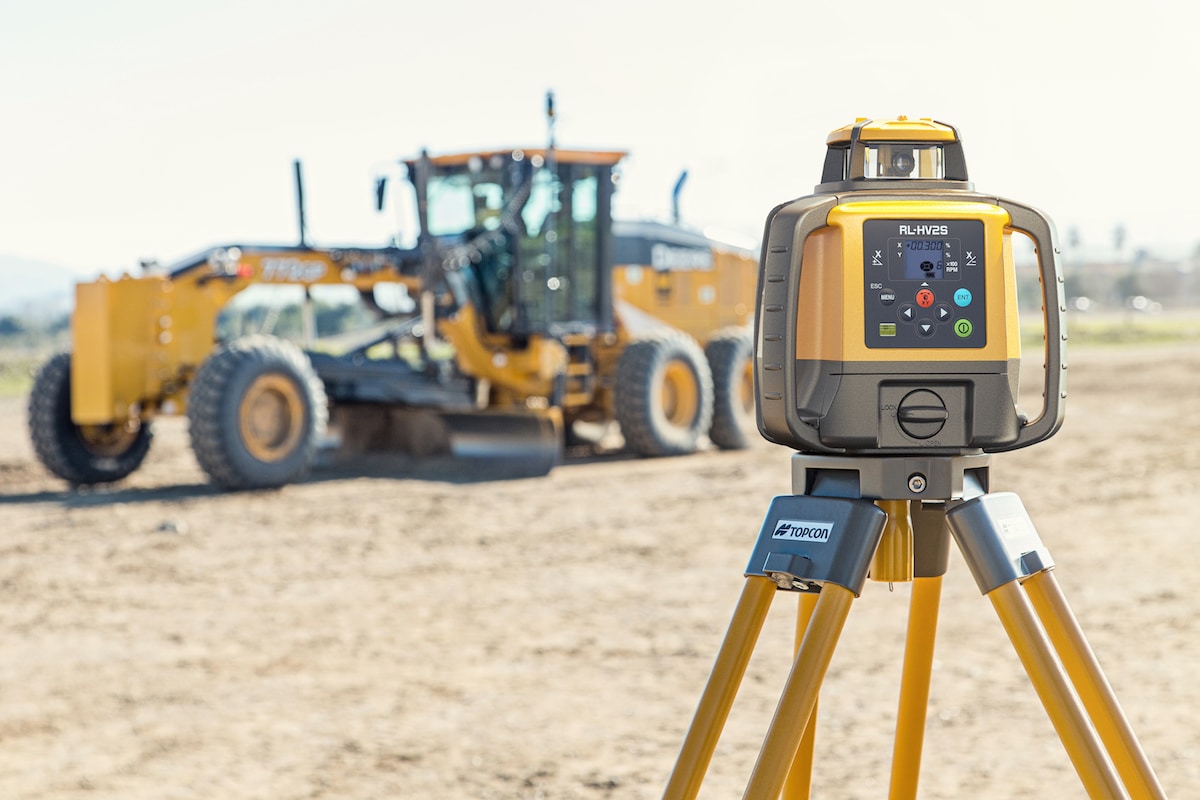
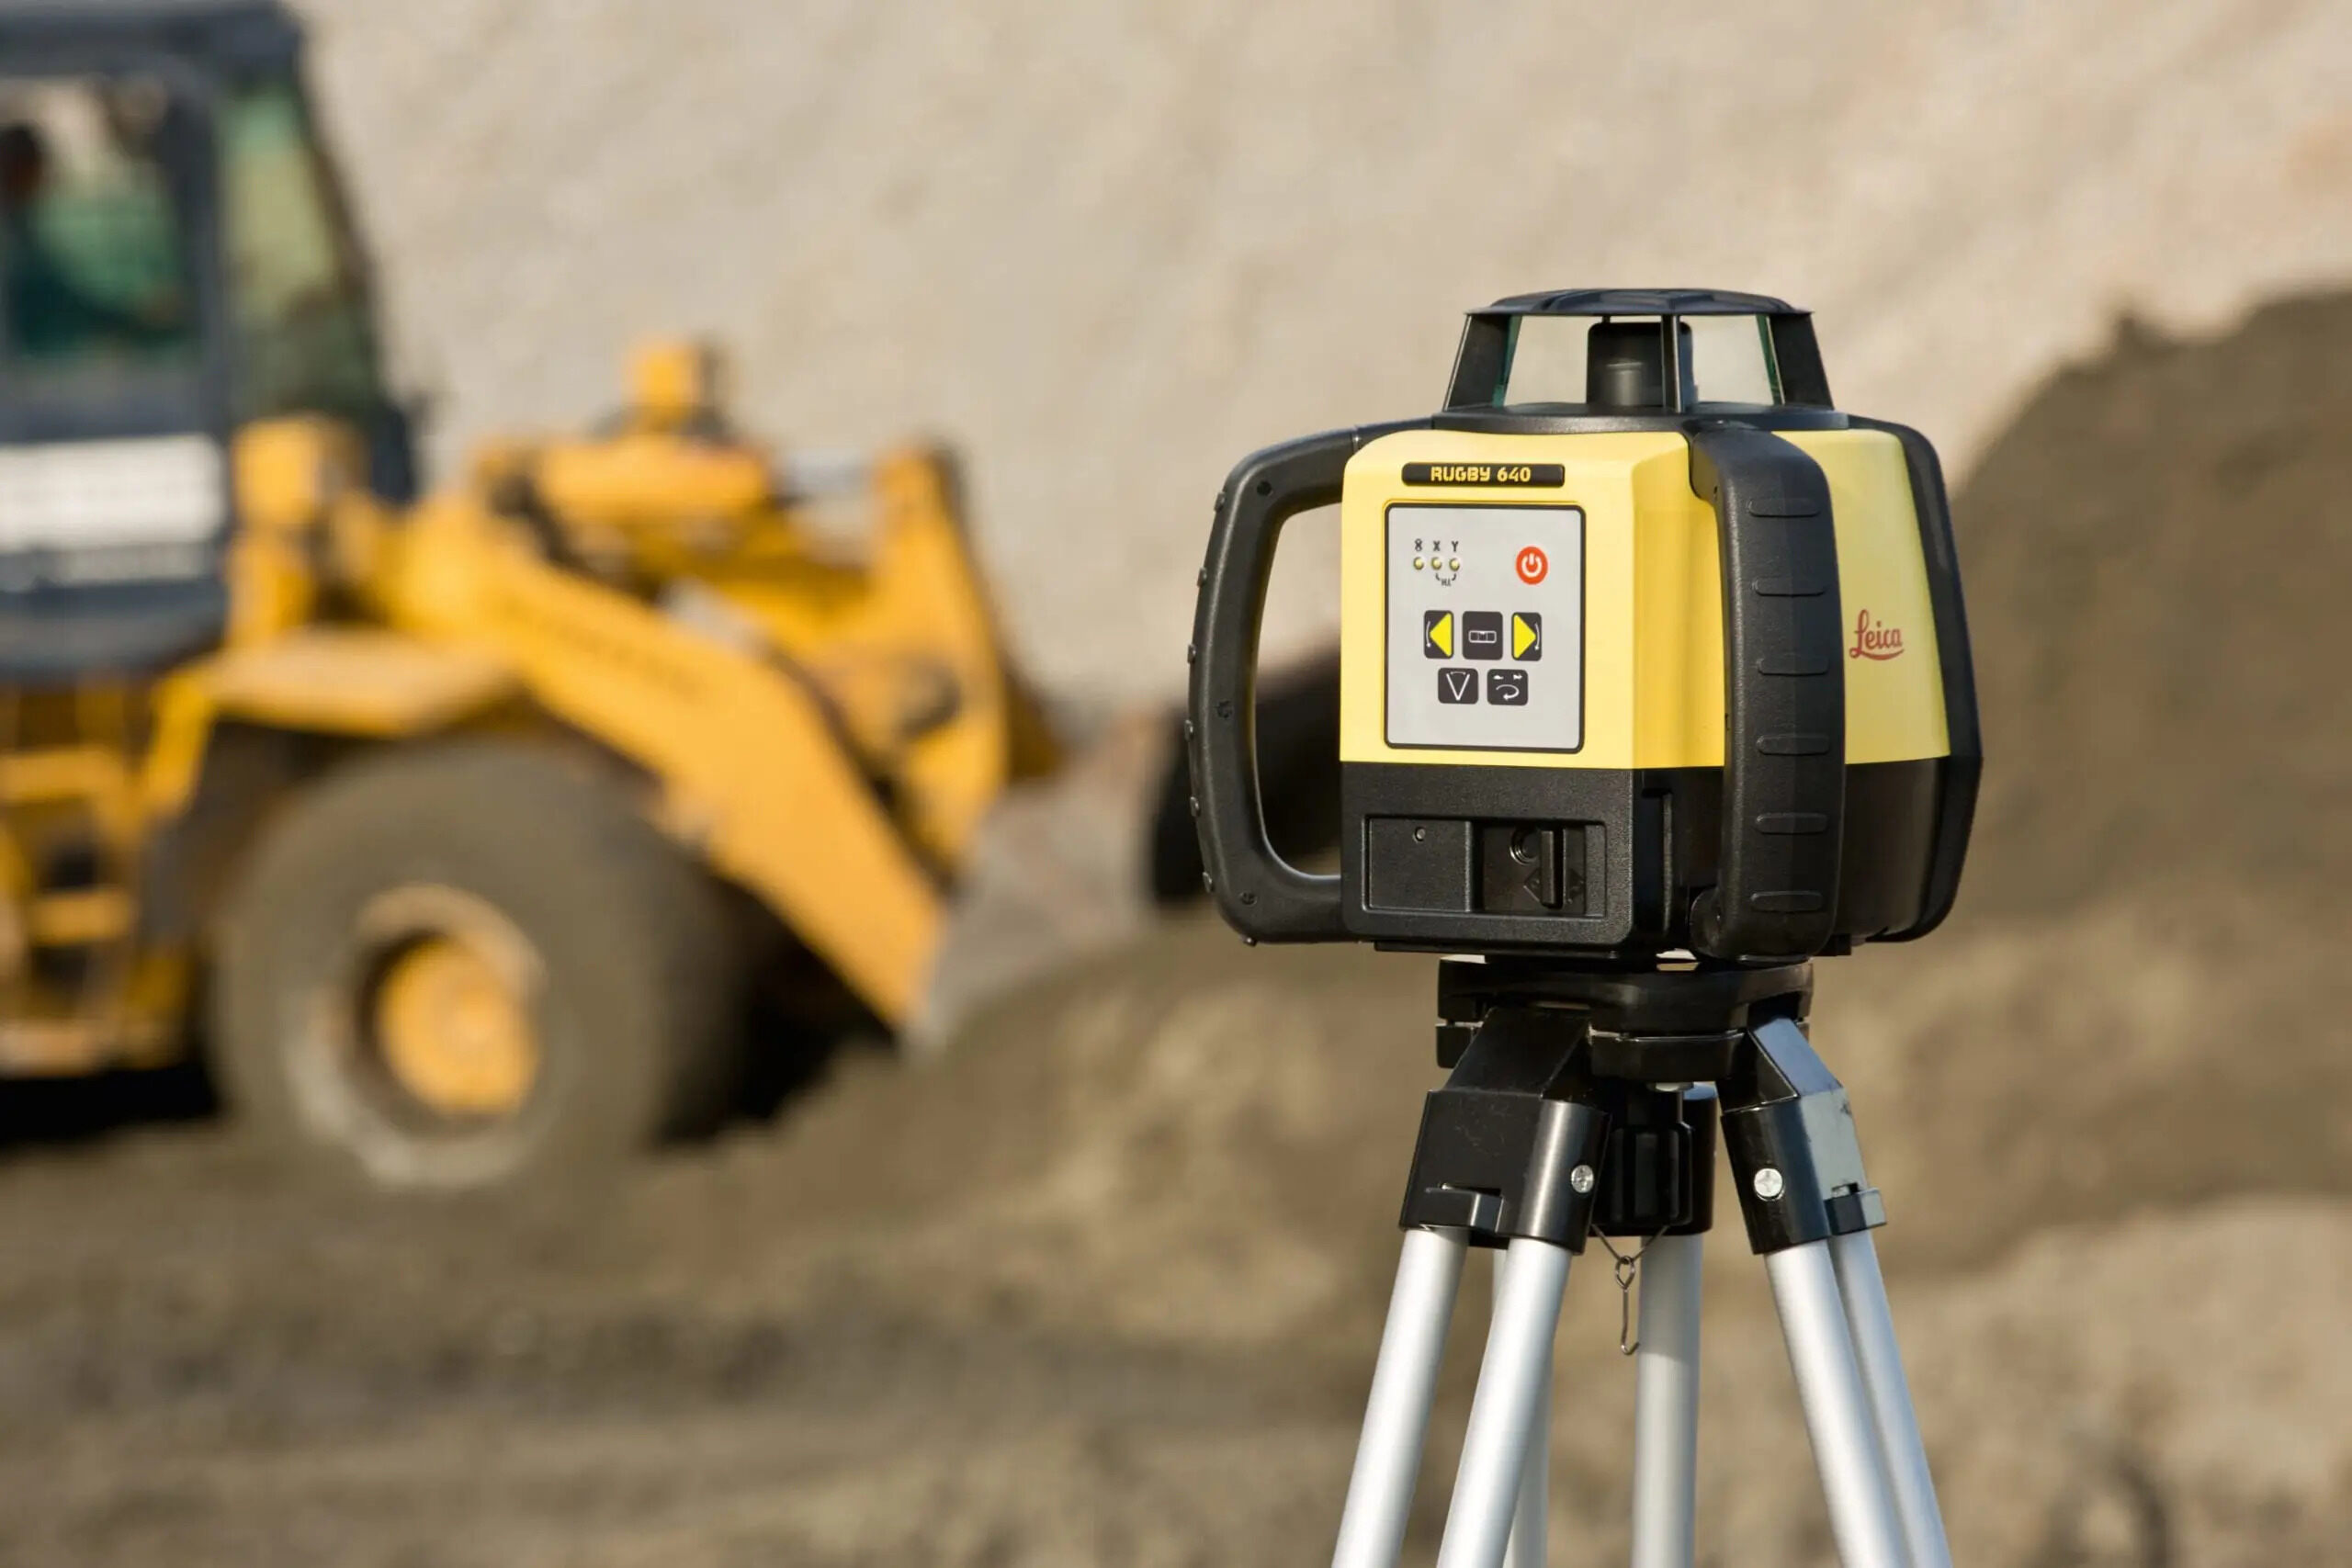
Before diving into the specifics of using a laser level, it’s important to understand the different types available. There are two main types: rotary laser levels and line laser levels. Rotary laser levels are best suited for outdoor leveling tasks, as they emit a 360-degree laser beam that can be easily detected over long distances. Line laser levels, on the other hand, project a straight laser line across a surface, making them ideal for indoor or smaller outdoor projects.
Now let’s move on to the necessary preparations you need to make before leveling the ground with a laser level.
Key Takeaways:
- Mastering the use of a laser level simplifies ground leveling, saves time, and ensures precision for construction and landscaping projects, making it an essential tool for DIY enthusiasts and professional contractors.
- By following the steps outlined in this guide, you can effectively use a laser level to achieve a level and even surface, opening up new possibilities for successful construction, landscaping, and outdoor installations.
Understanding Laser Levels
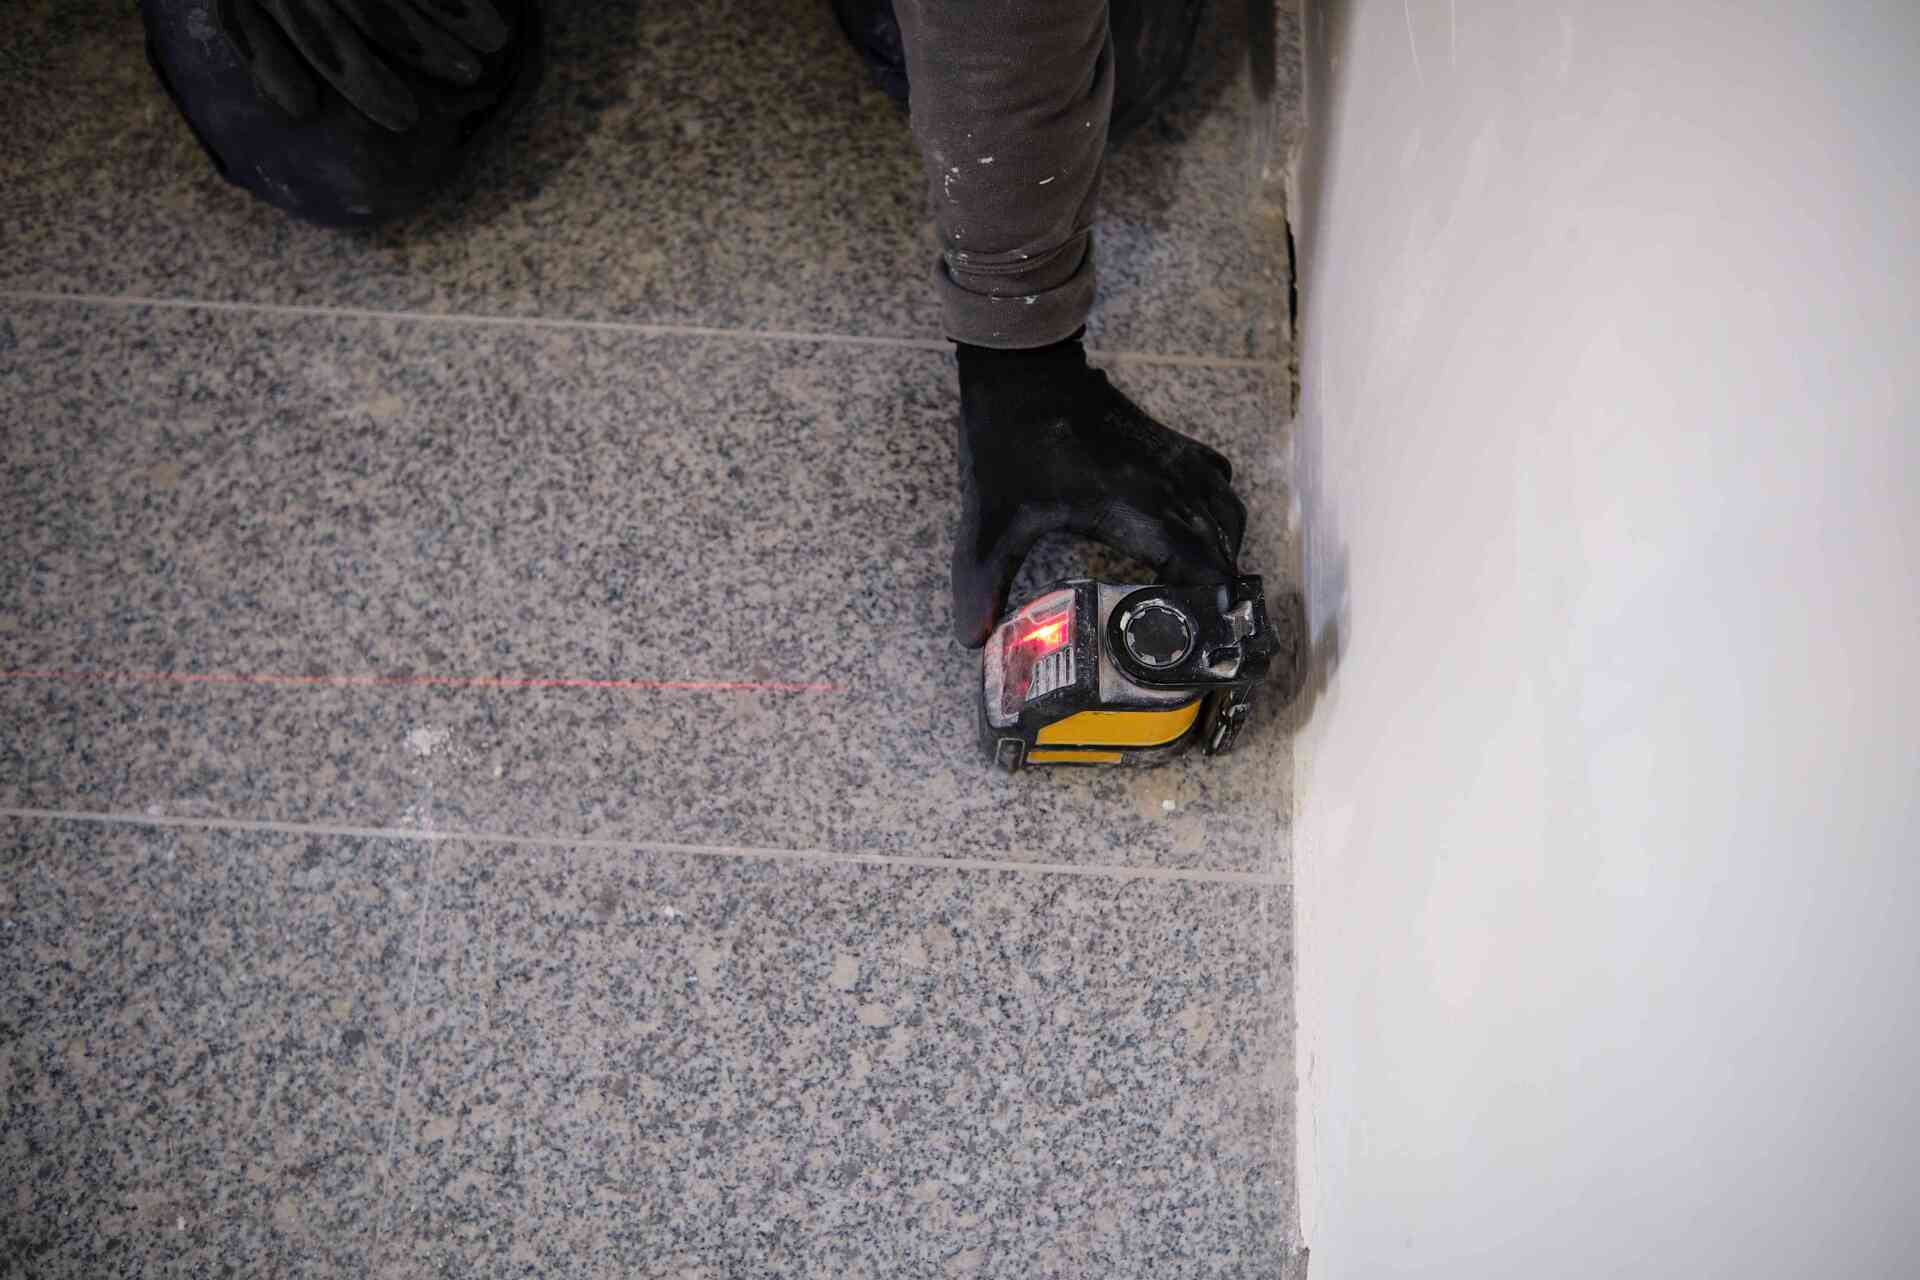
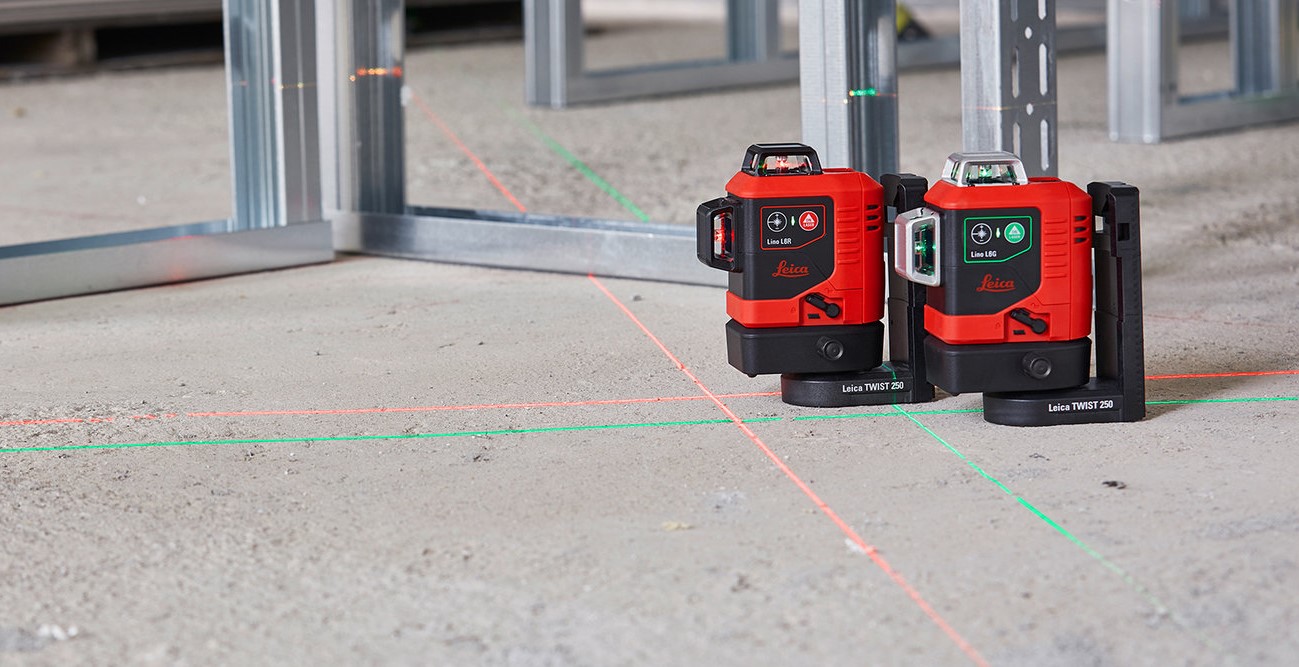
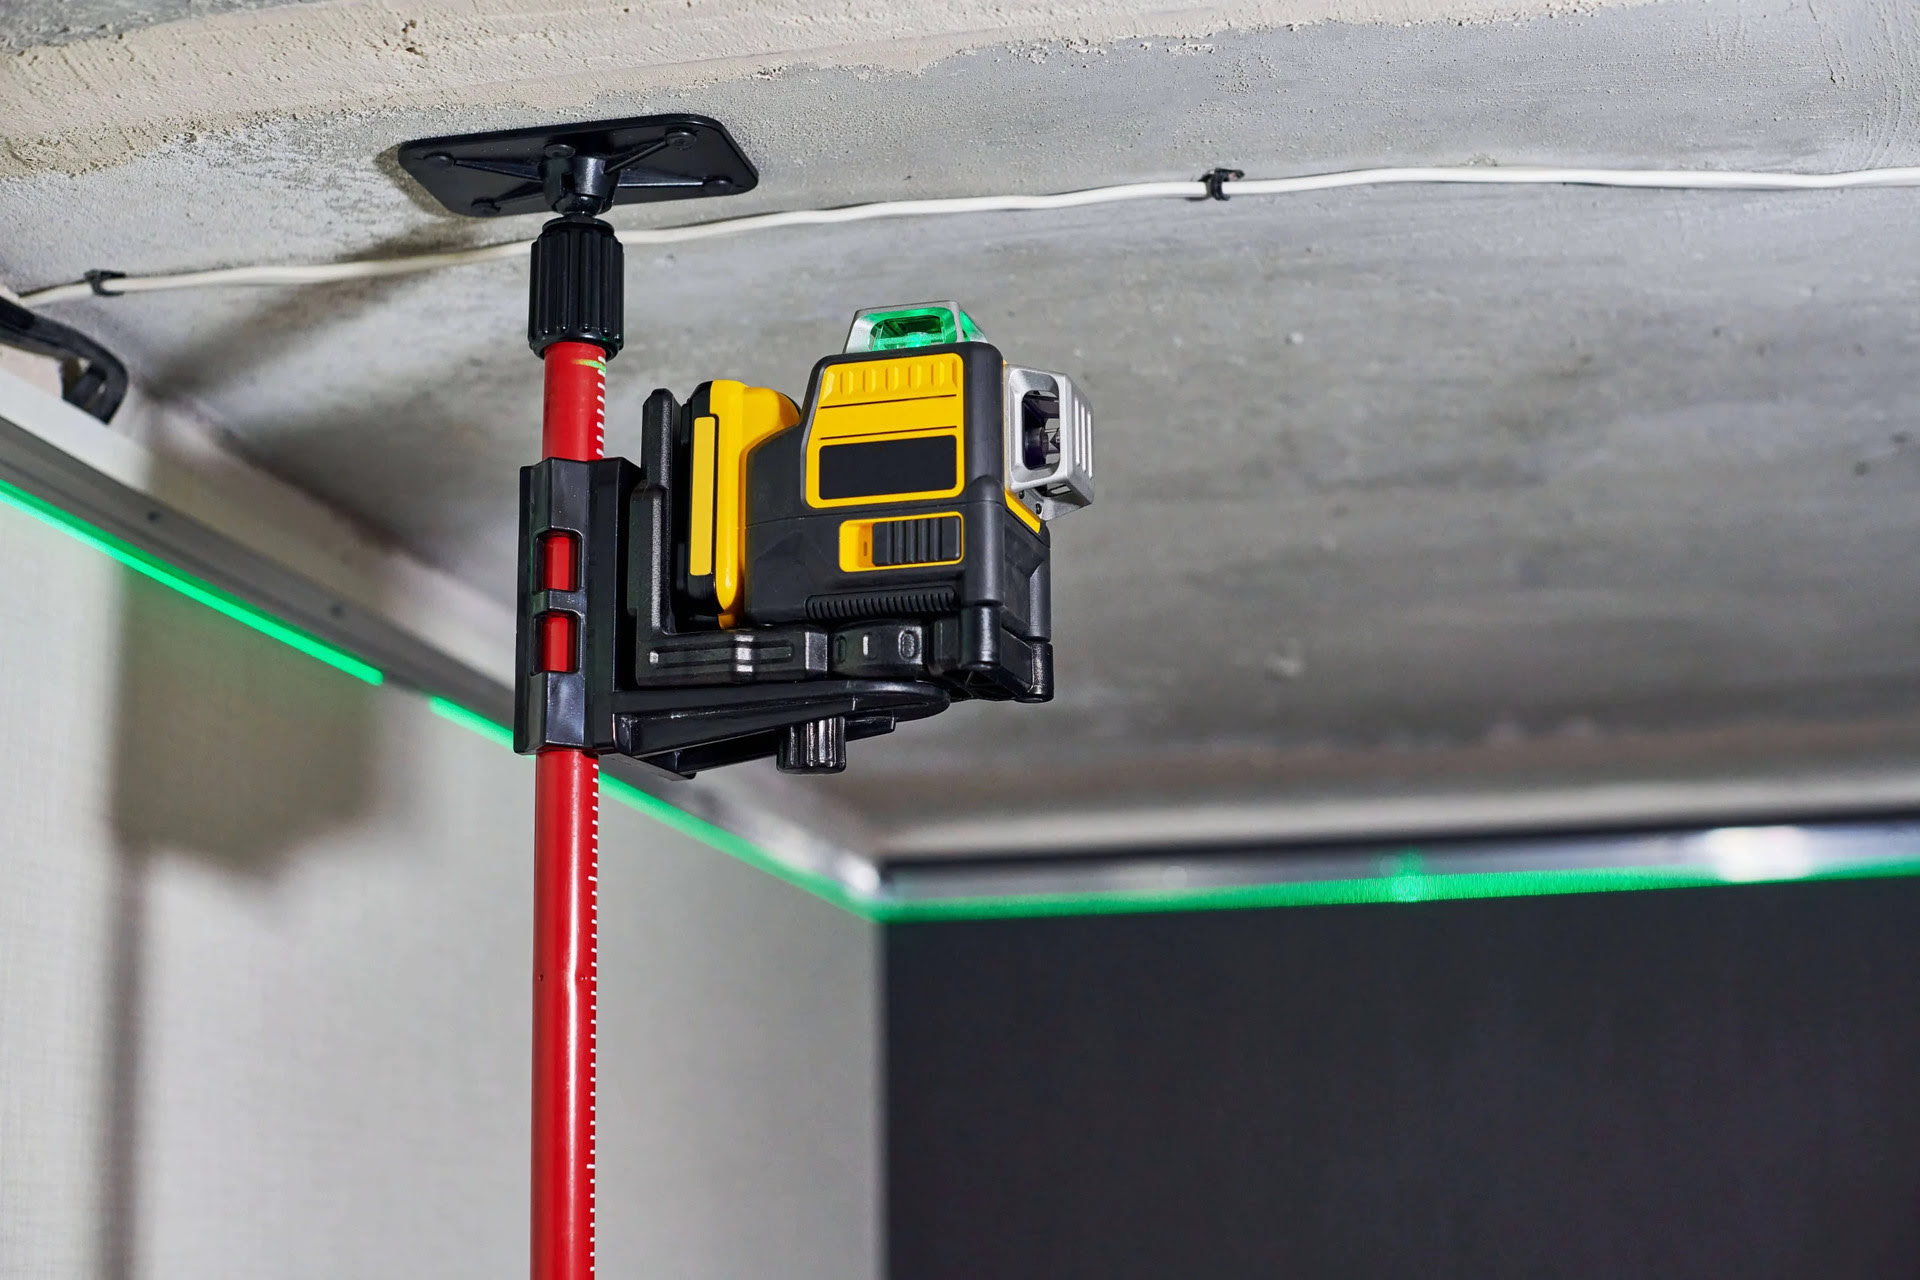
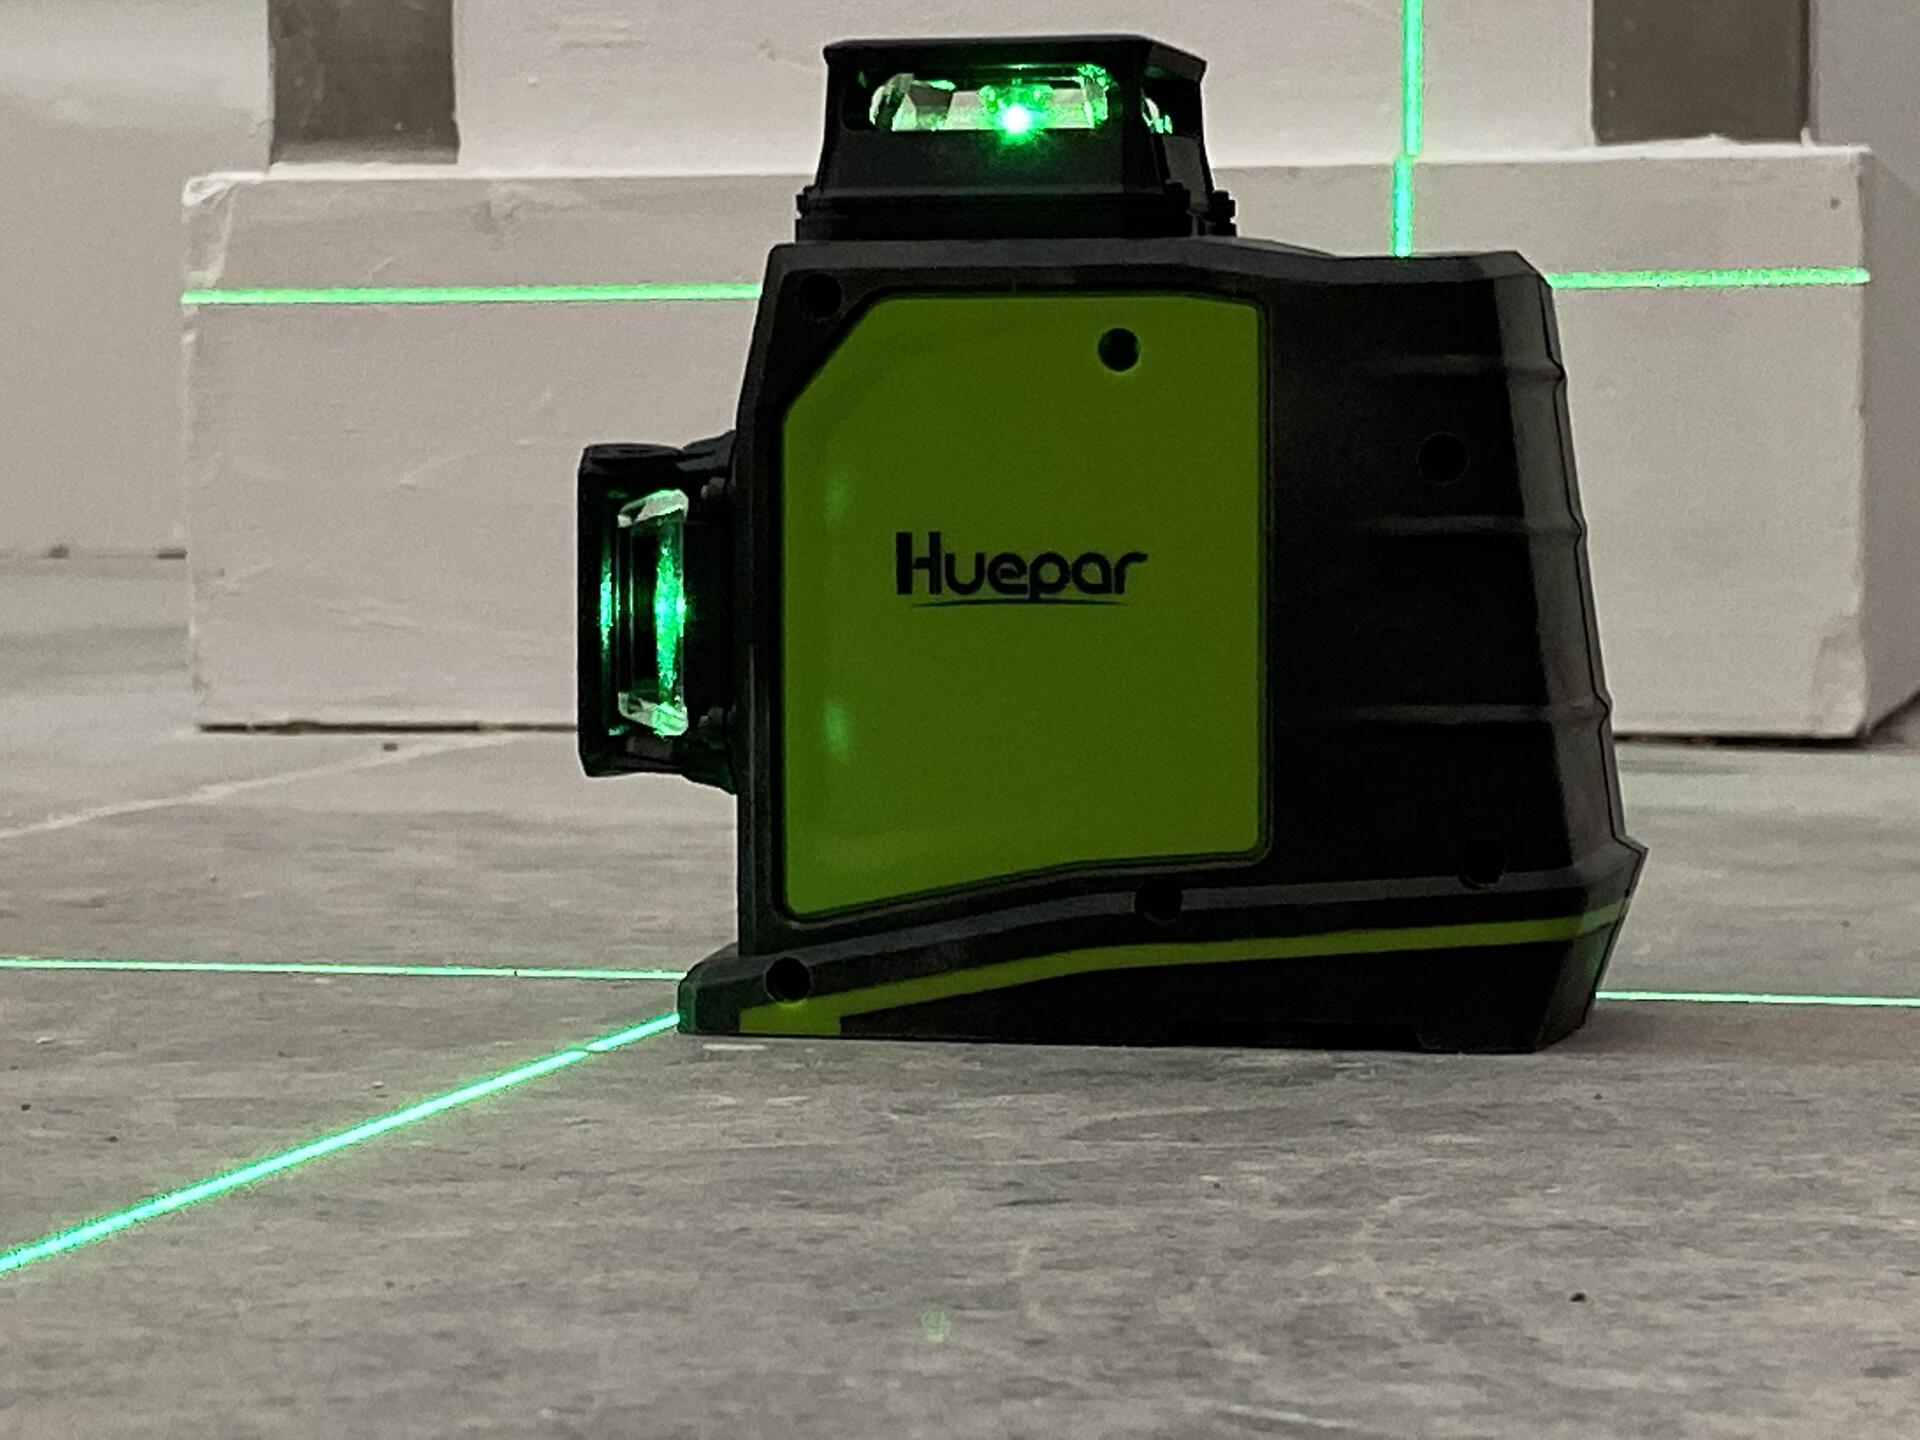
Before using a laser level to level ground, it’s important to have a clear understanding of how this versatile tool works. Laser levels use advanced technology to emit a straight or rotating laser beam that acts as a level reference line. This beam of light can be seen as a red or green line, depending on the model.
There are two main components of a laser level: the laser diode, which produces the laser beam, and the leveling mechanism, which ensures the beam is perfectly level. The leveling mechanism uses a pendulum, electronic sensors, or a motorized base to maintain the level position.
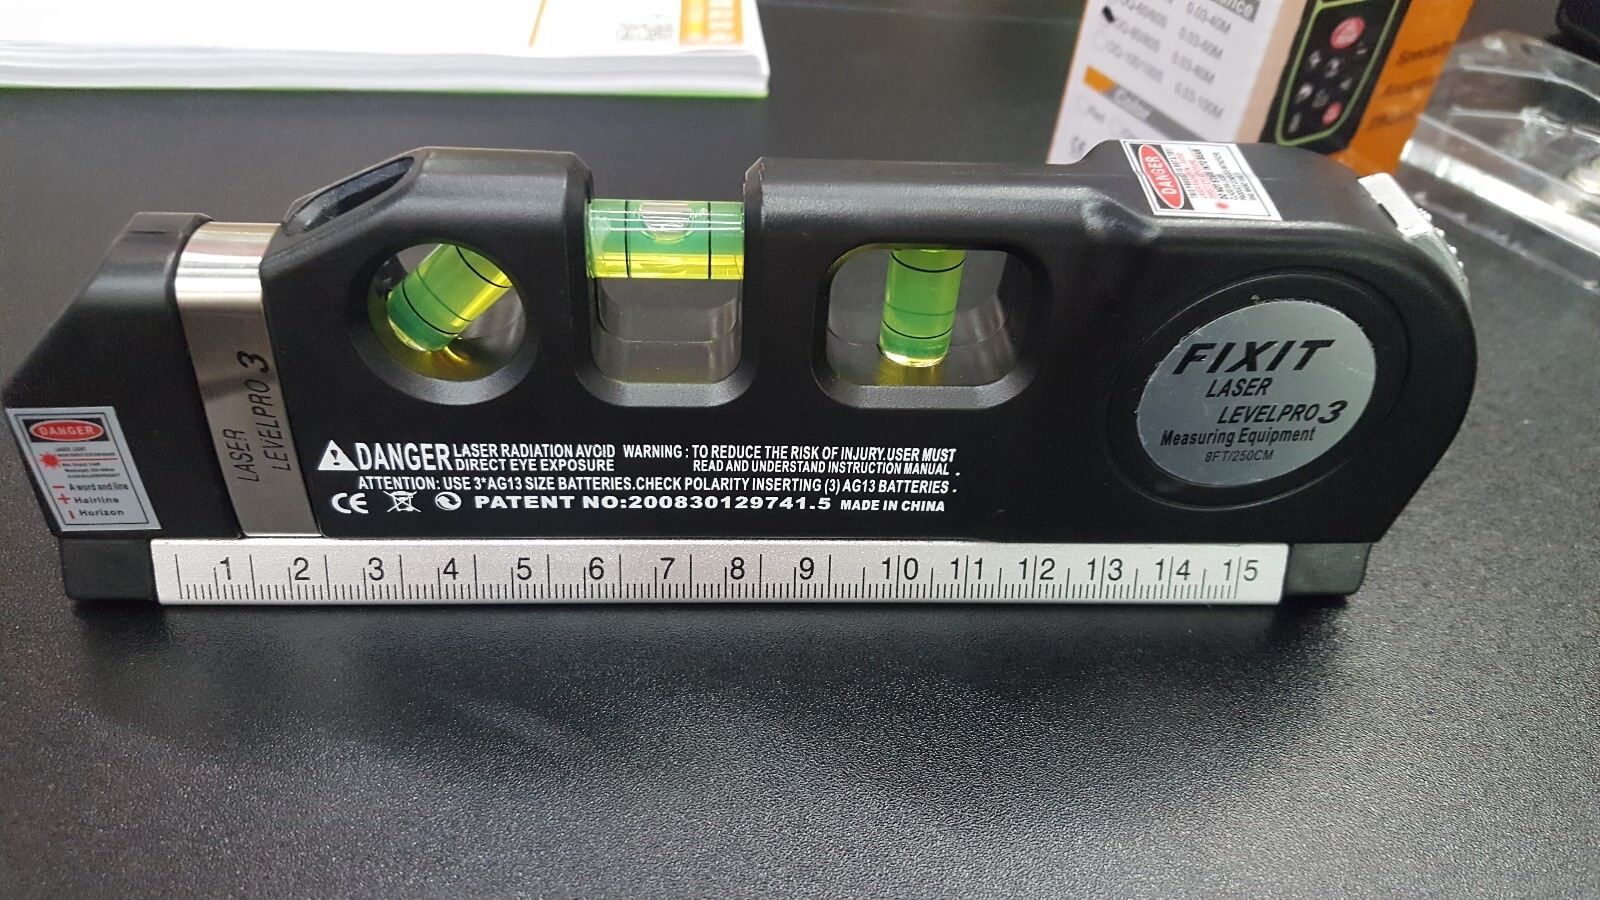
Most laser levels have a built-in bubble level, which allows you to check the level of the laser itself. This ensures accurate measurements and helps you set up the laser level properly. Additionally, many laser levels come with a variety of modes, such as a vertical mode for wall installations or a plumb mode for checking vertical alignment.
When choosing a laser level, it’s important to consider the range and accuracy required for your specific project. Some laser levels have a range of just a few feet, while others can project a level line up to hundreds of feet. Similarly, the accuracy of the laser level is crucial, especially for precision projects where every fraction of an inch matters.
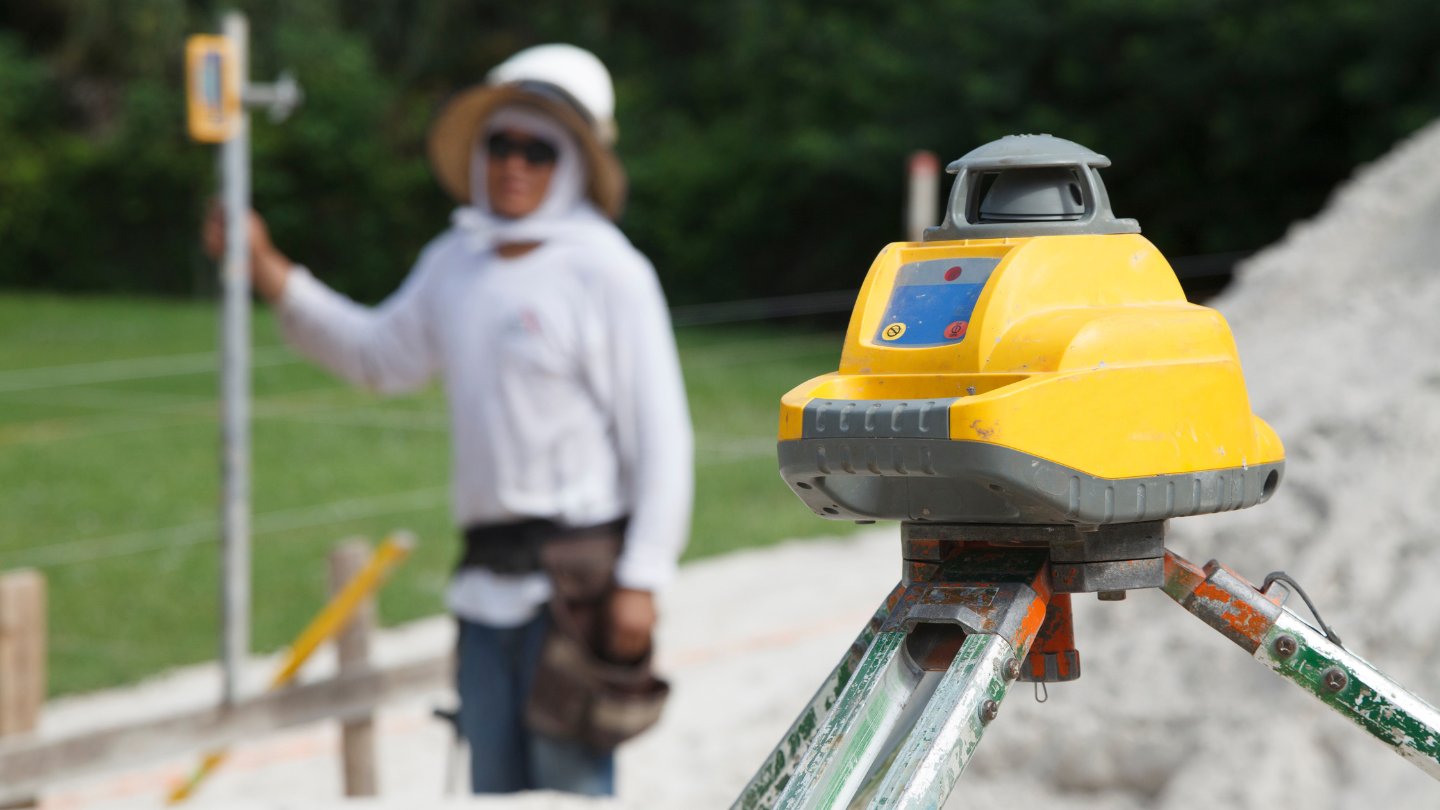
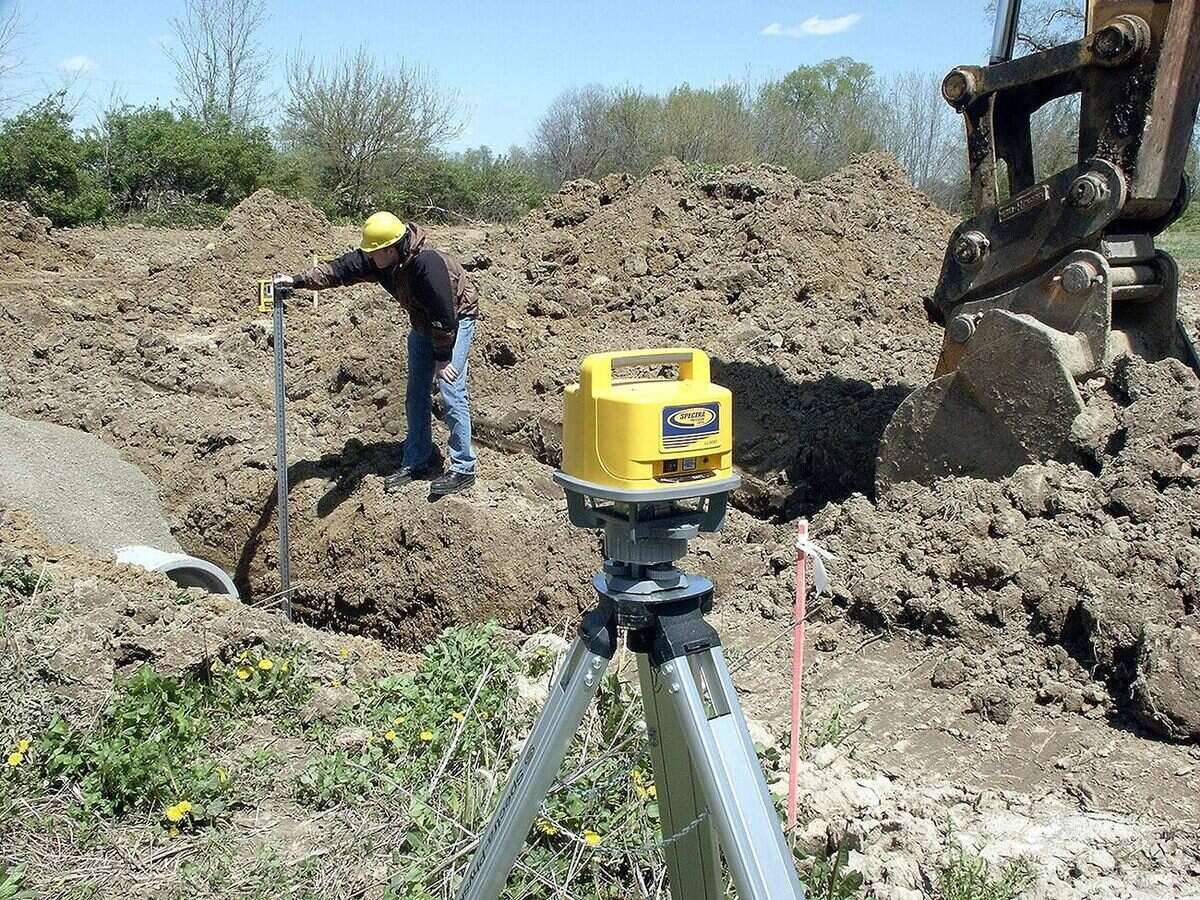
It’s also important to note that laser levels can be used indoors and outdoors, but outdoor use typically requires a detector. A detector is a small device that can sense the laser beam even in bright sunlight or over longer distances. It is placed on a leveling rod and beeps or flashes to indicate when the laser beam is detected.
Now that you have a better understanding of laser levels, let’s move on to the necessary preparations before leveling the ground.
Preparation Before Leveling Ground
Before you start using a laser level to level the ground, there are some important preparations you need to make to ensure a smooth and accurate leveling process. Here are the key steps to follow:
- Clear the area: Begin by clearing the ground of any debris, rocks, vegetation, or other obstacles that may interfere with the leveling process. It’s important to have a clean and flat surface to work on.
- Plan your project: Take the time to plan out your project and determine the desired level of the ground. This will help you set up the laser level accurately and achieve the desired results. Use stakes and string lines to mark out the perimeter or specific areas that need to be leveled.
- Check for utilities: Before digging or leveling the ground, ensure that there are no underground utilities, such as gas or water lines. Use a utility locator or contact your local utility company to mark any potential hazards.
- Measure and mark the reference points: To ensure precise leveling, measure and mark the reference points or benchmarks at regular intervals. These reference points will serve as a guide for adjusting the laser level and ensuring consistency throughout the leveling process.
- Ensure proper lighting conditions: Laser levels work by projecting a visible laser beam, which can be affected by bright sunlight or low light conditions. Choose a time of day with appropriate lighting conditions, or use a laser enhancement tool or laser glasses if needed.
- Check the batteries or power source: Ensure that your laser level has sufficient battery power if it is battery-operated. If it’s a corded laser level, make sure that the power source is reliable and easily accessible for the duration of the leveling process.
By following these preparation steps, you’ll have a solid foundation for leveling the ground using a laser level. Now, let’s move on to setting up the laser level for optimal performance.
Setting Up the Laser Level
Once you’ve completed the necessary preparations, it’s time to set up the laser level for accurate leveling. Follow these steps to ensure proper setup:
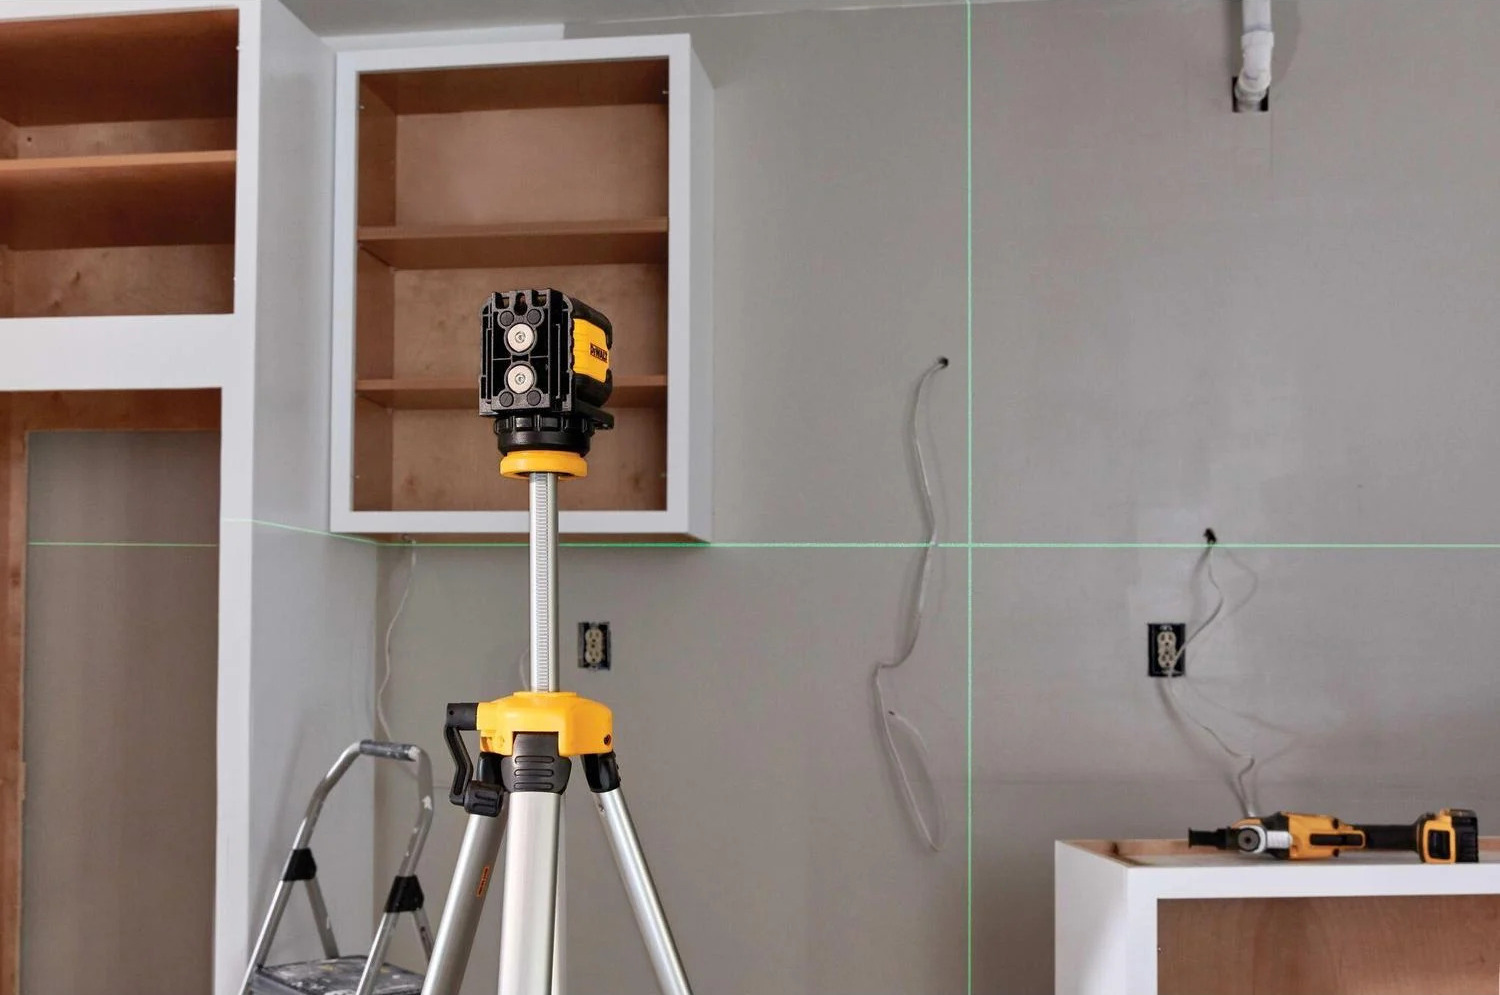
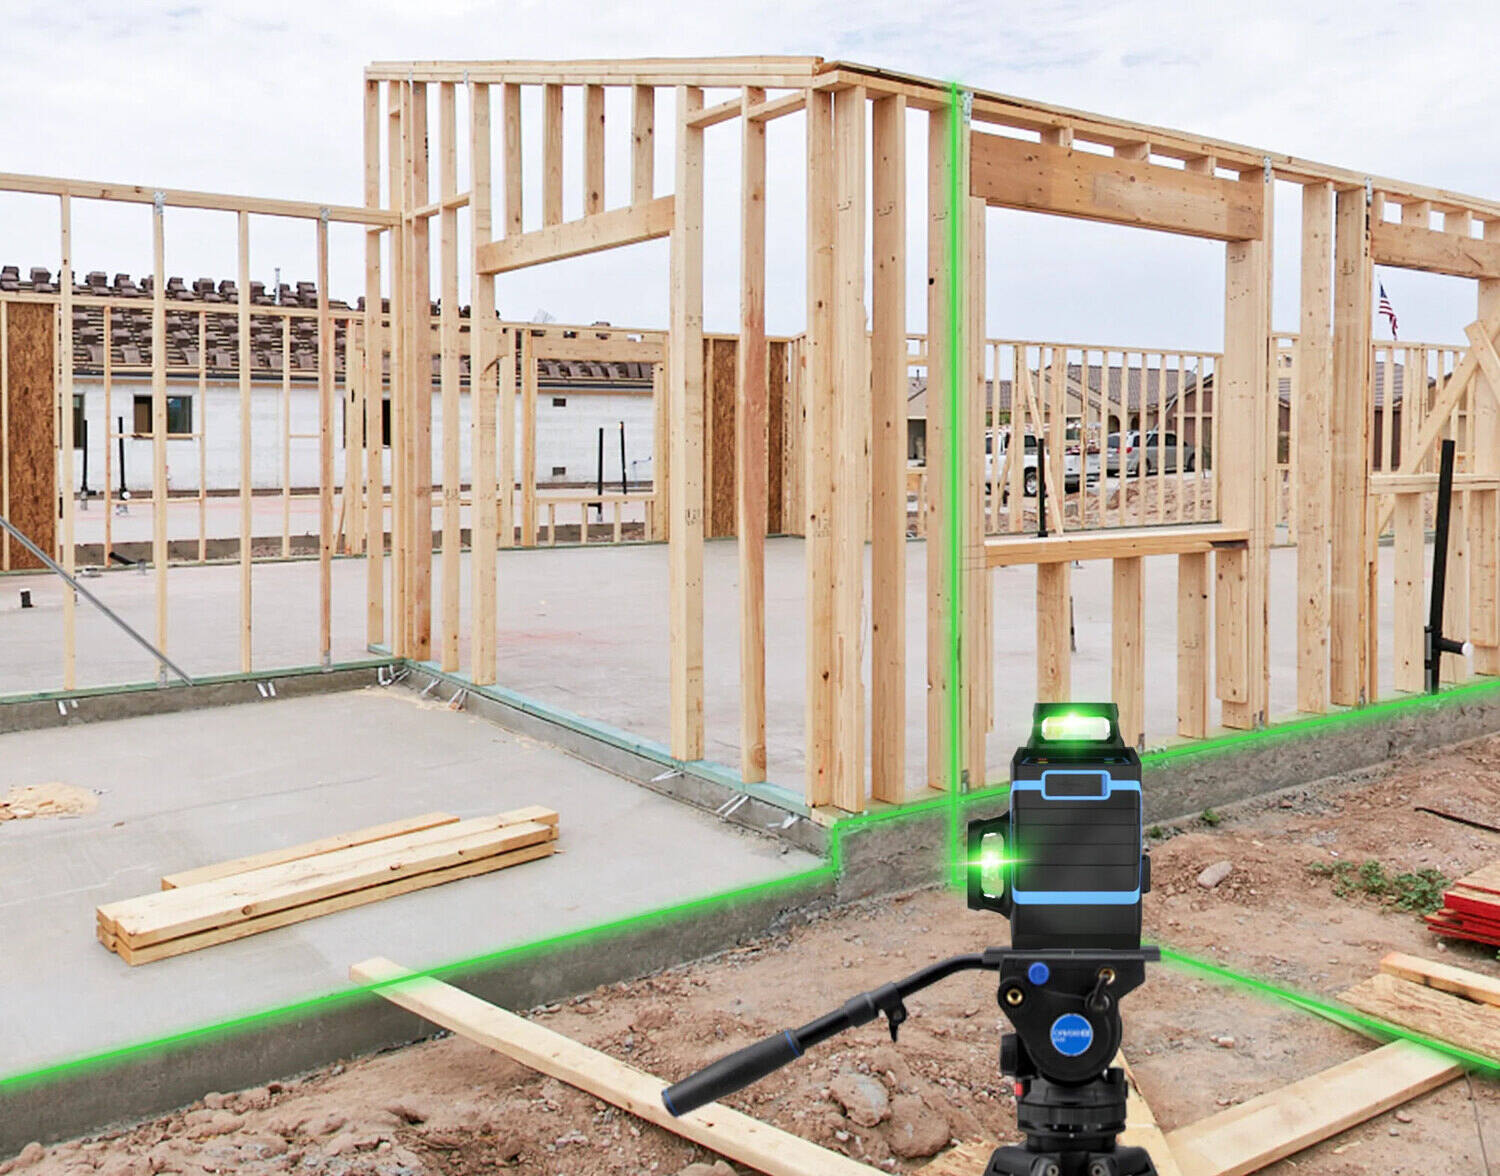
- Position the laser level: Determine the desired location for the laser level. It should be placed on a stable and flat surface, such as a tripod or a leveling rod. Ensure that the laser level is positioned at the appropriate height for your project.
- Check the bubble level: Use the built-in bubble level on the laser level to ensure that it is perfectly level. Adjust the level of the laser level by adjusting the tripod or leveling rod until the bubble is centered.
- Secure the laser level: Once the laser level is level, secure it in place by tightening the tripod or locking mechanisms. This will ensure that the laser level stays in position during the leveling process.
- Turn on the laser level: Power on the laser level and select the desired mode for your project. This could be a horizontal line for general leveling, a vertical line for wall installations, or a plumb line for checking upright alignment.
- Verify the laser beam: Look for the visible laser beam projected by the laser level. Ensure that it’s clear and consistent, without any obstructions or distortions. If needed, adjust the laser level until the beam is aligned with your reference points or benchmarks.
- Use a detector (if necessary): If you’re working outdoors or over a long distance, you may need to use a detector to enhance the visibility of the laser beam. Attach the detector to a leveling rod and position it in line with the laser level. Adjust the detector until it beeps or flashes when it detects the laser beam.
By following these steps, you’ll have your laser level properly set up and ready to level the ground. In the next section, we’ll discuss how to adjust the laser level for optimal accuracy during the leveling process.
When using a laser level to level ground, make sure to set up the level on a stable surface and adjust the height and angle of the laser to match the desired level. Check the level frequently as you work to ensure accuracy.
Adjusting the Laser Level
Once your laser level is set up and projecting a clear reference beam, it’s time to adjust it for optimal accuracy. Follow these steps to ensure precise leveling:
- Align with reference points: Using your reference points or benchmarks, adjust the position of the laser level until the projected beam aligns with these points. This will ensure that the ground is leveled accurately.
- Check the levelness: Use a bubble level or a laser level receiver with a built-in leveling bubble to verify that the laser level itself is perfectly level. Make any necessary adjustments to level the laser level if needed.
- Fine-tuning the height: If you’re leveling an uneven or sloping surface, you may need to adjust the height of the laser level to compensate for the variations. Use a measuring tape or leveling rod to determine the height adjustments needed at different points.
- Lock the leveling mechanism: Once you’ve made the necessary adjustments, lock the leveling mechanism on the laser level. This will ensure that the laser beam remains perfectly level throughout the leveling process.
- Double-check the alignment: Take a moment to double-check the alignment of the laser level and ensure that it’s projecting a clear and level reference beam. This will help minimize errors while leveling the ground.
- Verify consistency: With the laser level properly adjusted, verify that the laser beam remains consistent over the desired leveling area. Check multiple points along the projected line to ensure that the levelness is consistent throughout.
By following these steps, you’ll ensure that your laser level is adjusted accurately for precise leveling. Now, let’s move on to the actual process of leveling the ground using the laser level.
Read more: How To Use A Laser Level
Leveling the Ground
Now that your laser level is properly set up and adjusted, it’s time to start leveling the ground. Follow these steps to achieve a level and even surface:
- Start at the reference point: Begin your leveling process at one of the reference points or benchmarks you marked earlier. This will serve as your starting point for ensuring an accurate and consistent level throughout the ground.
- Work in sections: Divide the ground into manageable sections, especially if you’re working with a large area. This will help you focus on one section at a time and ensure that each section is leveled properly.
- Measure the height difference: Use a measuring tape or leveling rod to measure the height difference between the ground and the laser level reference beam. This will give you an indication of how much material needs to be added or removed to achieve a level surface.
- Add or remove material: Based on the height difference, add or remove the necessary material, such as soil or gravel, to bring the ground level with the laser level reference line. Use a rake, shovel, or other appropriate tools to distribute the material evenly.
- Check the levelness regularly: As you add or remove material, regularly check the levelness using the laser level. Adjust the material as needed to ensure a consistent level throughout the section you’re working on.
- Compact the ground: Once the ground is leveled, use a compactor or tamp to compact the soil or other materials. This will help ensure stability and prevent shifting or settling over time.
- Repeat the process: Move on to the next section and repeat the process of measuring, adding or removing material, and compacting. Continuously check the levelness using the laser level to ensure a uniform and even surface across the entire area.
- Double-check the levelness: Once you’ve completed leveling the entire ground, do a final check using the laser level to ensure that the surface is level and meets your desired specifications.
By following these steps and taking appropriate measurements, you’ll be able to effectively level the ground using your laser level. In the next section, we’ll provide some tips for using a laser level on uneven ground.
Tips for Using a Laser Level on Uneven Ground
Leveling uneven ground with a laser level can pose some challenges. However, with the right techniques and strategies, you can achieve accurate and precise leveling results. Here are some helpful tips to keep in mind:
- Break it down: If the ground is severely uneven, consider breaking the leveling process into smaller sections. This will make it easier to tackle each section individually and ensure a more precise leveling outcome.
- Use a leveling rod: A leveling rod is an essential tool for measuring the height difference between the ground and the laser level reference line. Use it to accurately determine how much material needs to be added or removed to achieve a level surface.
- Consider using retaining walls or terracing: In cases where the ground has significant variations in elevation, creating retaining walls or terracing can help create a more level surface. This will involve building walls or creating stepped levels to accommodate the unevenness of the ground.
- Adjust the laser level height: As you move across uneven ground, you may need to adjust the height of the laser level to compensate for the variations. Regularly check the levelness of the laser beam and make appropriate adjustments to achieve a consistent level throughout.
- Use the laser level receiver: If you’re working on uneven ground outdoors or over long distances, using a laser level receiver can enhance the visibility of the laser beam. The receiver will emit an audible or visual signal when it detects the laser beam, making it easier to identify the level reference line.
- Take your time: Leveling uneven ground can be a time-consuming process. Be patient and take your time to ensure accuracy and quality in your leveling results. Rushing through the process may lead to inconsistencies or an uneven surface.
- Regularly check for levelness: As you level the ground, it’s essential to continuously check for levelness using the laser level. This will help you identify any deviations and make necessary adjustments to achieve the desired level surface.
- Consider professional assistance: If you’re dealing with complex or extensive leveling on uneven ground, it may be wise to seek the assistance of a professional contractor. They have the expertise and specialized equipment to handle challenging leveling projects effectively.
By incorporating these tips into your leveling process, you’ll be better equipped to handle uneven ground with your laser level. Remember, practice and experience play a crucial role in achieving optimal results. Now, let’s conclude our guide to using a laser level to level ground.
Conclusion
Leveling ground is an essential step in many construction and landscaping projects, and using a laser level can significantly simplify and expedite the process. By following the steps outlined in this guide, you can effectively use a laser level to achieve a level and even surface:
- Understanding the different types of laser levels and their capabilities
- Preparing the ground by clearing the area, planning the project, checking for utilities, and marking reference points
- Setting up the laser level on a stable surface, ensuring it is level, and verifying the laser beam
- Adjusting the laser level for optimal accuracy, fine-tuning the height, and locking the leveling mechanism
- Leveling the ground by measuring, adding or removing material, and compacting the surface
- Using additional techniques for leveling uneven ground, such as creating retaining walls or terracing
- Following tips for using the laser level on uneven ground, including the use of a leveling rod and regularly checking for levelness
While using a laser level may seem intimidating at first, with practice and experience, it becomes a valuable tool that saves time, increases accuracy, and ensures quality results. Remember to take your time, regularly check for levelness, and make necessary adjustments throughout the leveling process.
Whether you’re a DIY enthusiast or a professional contractor, mastering the use of a laser level to level ground opens up new possibilities for your projects. By creating a level and even surface, you lay the foundation for successful construction, landscaping, or outdoor installations.
So, grab your laser level, follow the steps outlined in this guide, and get ready to take your ground leveling skills to the next level.
Frequently Asked Questions about How To Use A Laser Level To Level Ground
Was this page helpful?
At Storables.com, we guarantee accurate and reliable information. Our content, validated by Expert Board Contributors, is crafted following stringent Editorial Policies. We're committed to providing you with well-researched, expert-backed insights for all your informational needs.


0 thoughts on “How To Use A Laser Level To Level Ground”