Home>Articles>How To Get Perpendicular Walls With Laser Level
Articles
How To Get Perpendicular Walls With Laser Level
Modified: August 21, 2024
Learn how to achieve perfectly perpendicular walls with a laser level. Our informative articles provide step-by-step guidance and tips for accurate and professional results.
(Many of the links in this article redirect to a specific reviewed product. Your purchase of these products through affiliate links helps to generate commission for Storables.com, at no extra cost. Learn more)
Introduction
When it comes to achieving precise and accurate measurements in construction and home improvement projects, a laser level is an essential tool. Laser levels help ensure that your walls are straight and properly aligned, enhancing the overall aesthetics and functionality of your space. One key aspect of wall construction is ensuring that the walls are perpendicular to each other.
In this article, we will guide you on how to get perpendicular walls with a laser level. We will walk you through the step-by-step process of choosing the right laser level, setting it up correctly, and aligning it for perpendicular walls. So whether you’re a DIY enthusiast or a professional contractor, let’s dive in and learn how to achieve picture-perfect perpendicular walls!
Key Takeaways:
- Achieve precise and visually appealing perpendicular walls by choosing the right laser level, setting it up correctly, aligning it with the desired wall, and marking the wall based on the laser level reference.
- Master the art of getting perfectly aligned walls with a laser level, ensuring structural integrity and aesthetic appeal in any construction or home improvement project.
Read more: How To Level A Laser Level Tripod
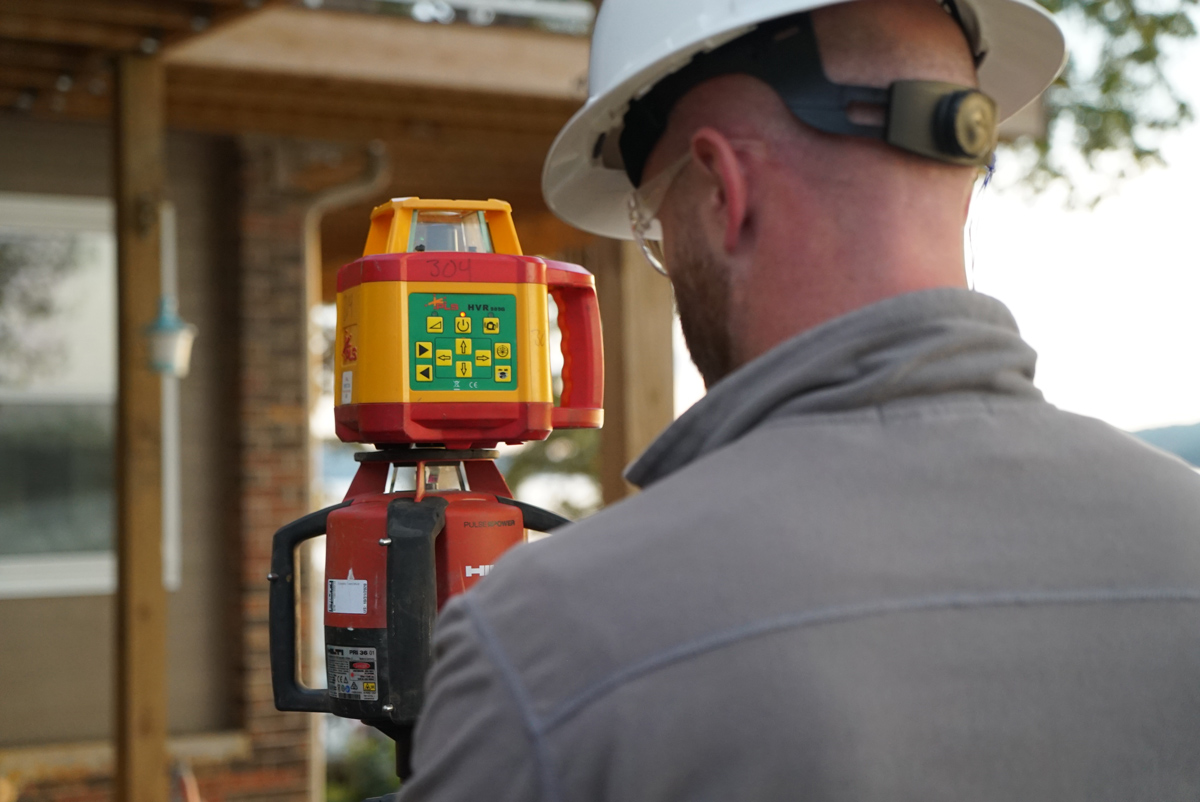
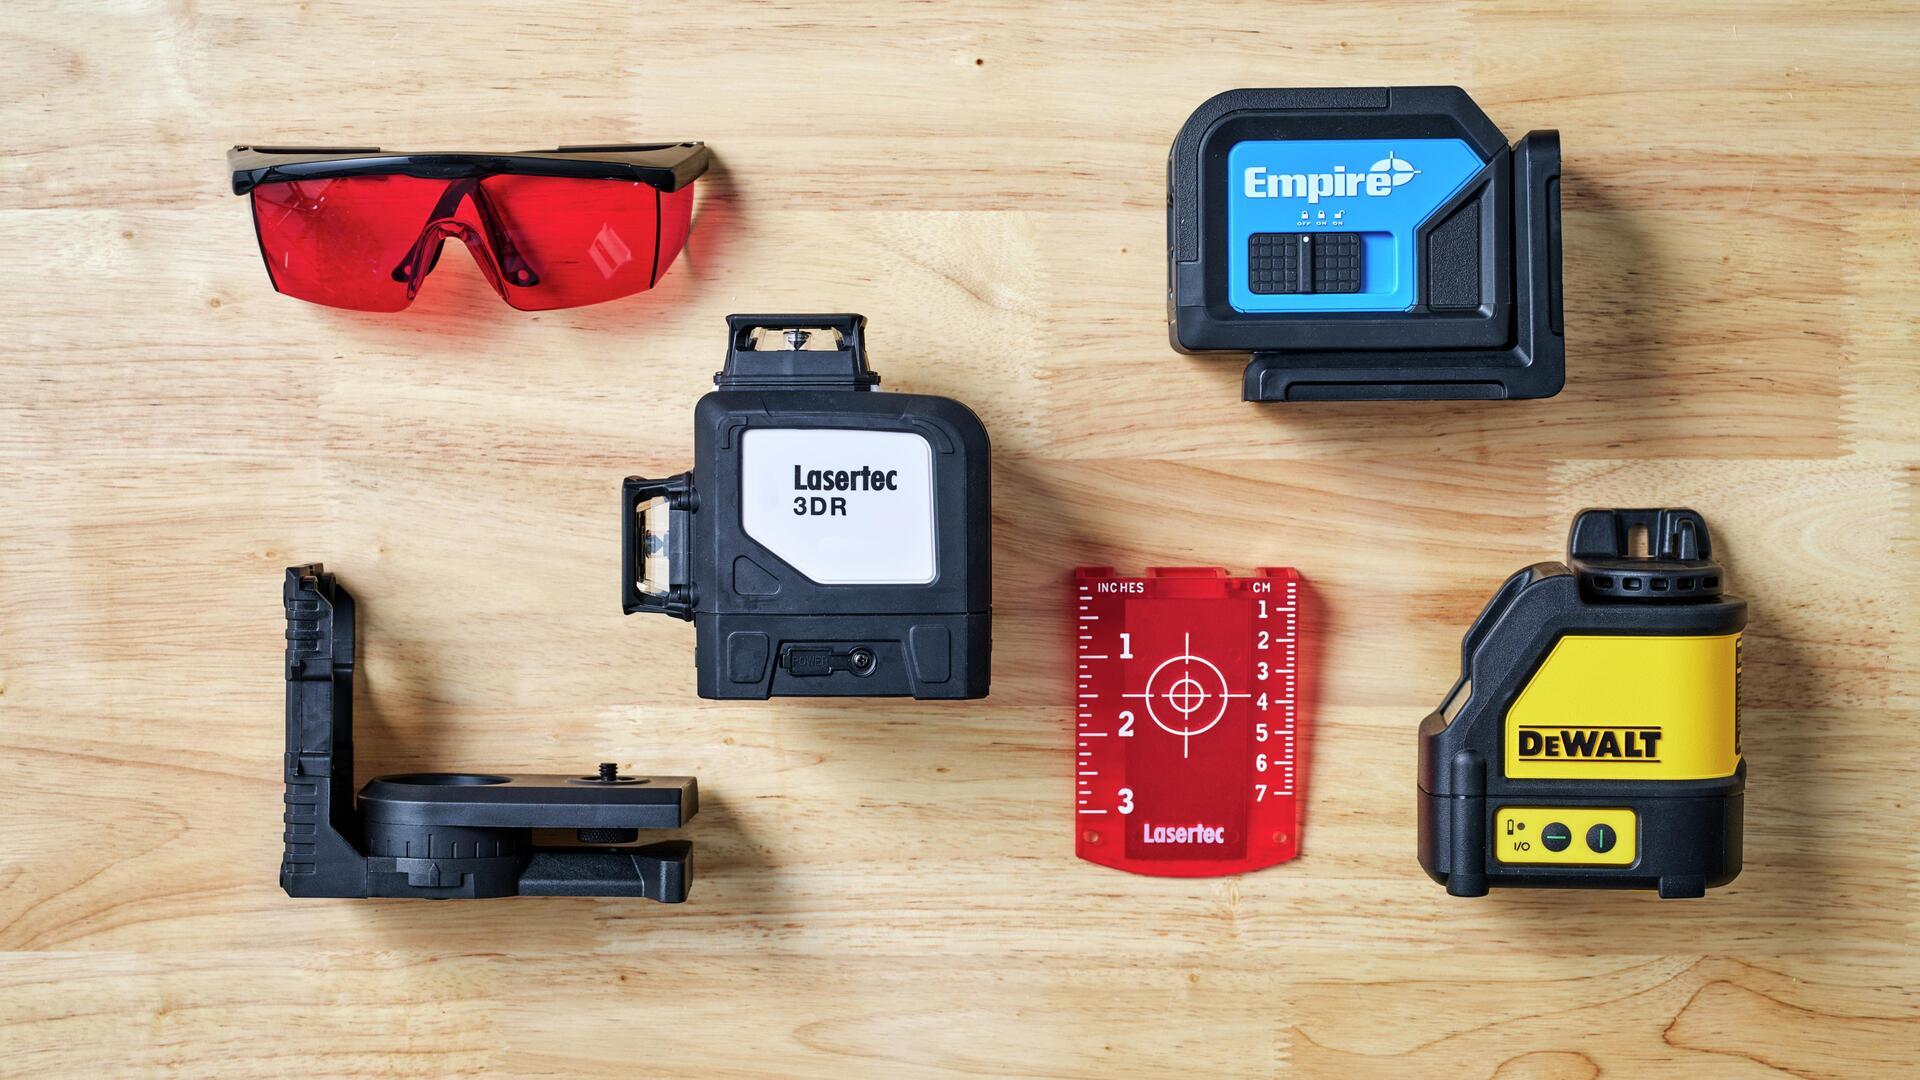
Step 1: Choose the right laser level
The first step in getting perpendicular walls with a laser level is choosing the right laser level for your project. There are various types of laser levels available, so it’s important to consider the specific requirements of your project before making a selection.
Here are a few factors to consider when choosing a laser level:
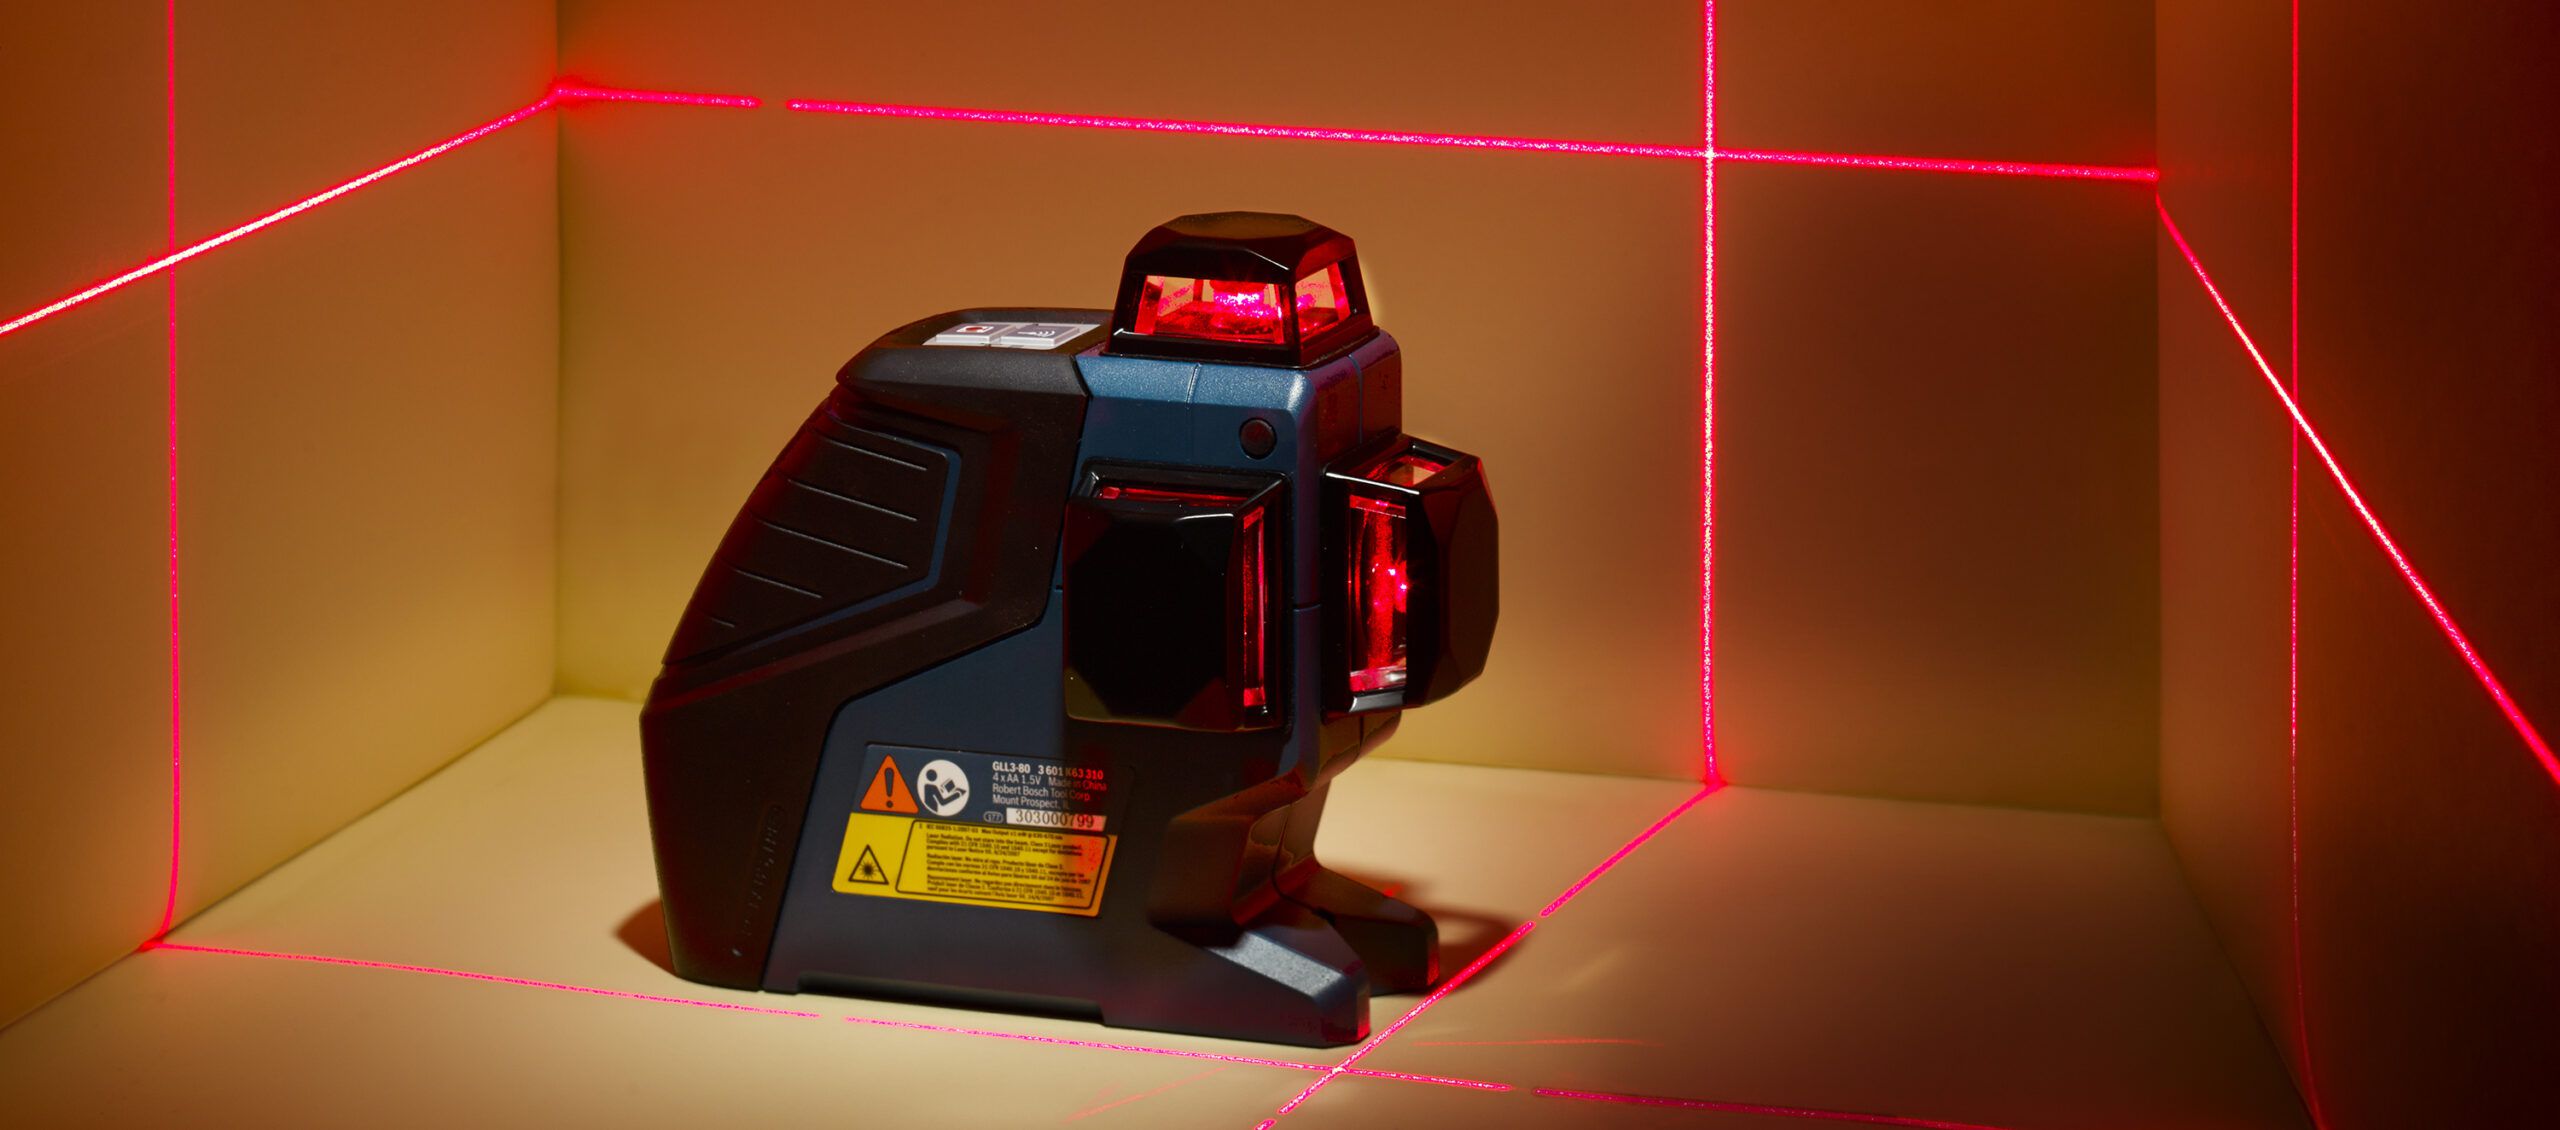
- Type of laser level: Laser levels come in different types, including line lasers, rotary lasers, and dot lasers. Line lasers emit a straight horizontal or vertical line, while rotary lasers project a 360-degree beam. Dot lasers, on the other hand, emit multiple dots to create reference points.
- Accuracy range: The accuracy of a laser level is measured in terms of how close it is to true level or plumb. Look for a laser level with a high degree of accuracy, typically expressed in millimeters per meter (mm/m). The higher the accuracy range, the more precise your measurements will be.
- Visibility: Consider the working environment in which you’ll be using the laser level. If you’re working indoors, a laser level with lower visibility may suffice. However, if you’re working outdoors or in bright conditions, opt for a laser level with higher visibility, such as a green beam laser.
- Budget: Laser levels vary in price, so determine your budget and choose a laser level that offers a good balance between features and affordability.
By considering these factors, you can narrow down your options and choose a laser level that meets your specific needs. Once you have selected the right laser level, you’re ready to move on to the next step.
Step 2: Set up the laser level properly
Now that you have chosen the right laser level, it’s time to set it up properly before you start aligning your walls. Proper setup ensures the accuracy and stability of the laser level, allowing you to achieve precise measurements.
Follow these steps to set up your laser level:
- Choose a stable surface: Place the laser level on a stable surface to prevent any movement or vibration during the alignment process. If needed, use a tripod or mounting bracket to secure the laser level.
- Ensure a level base: It’s crucial to ensure that the base of the laser level is level. Use a bubble level or built-in leveling mechanism to adjust the laser level until it is perfectly level.
- Power on the laser level: Turn on the laser level and allow it to stabilize. This may take a few seconds or minutes, depending on the model. Refer to the manufacturer’s instructions for specific guidelines.
- Check the batteries: Ensure that the batteries in your laser level are fully charged or replace them if needed. Low battery power can affect the accuracy of the laser level.
- Verify the laser line: Depending on the type of laser level you have, verify that the laser line or dot is projected correctly. Make any necessary adjustments to ensure that the laser line is straight and clearly visible.
By going through these setup steps, you can ensure that your laser level is ready to provide accurate measurements and align your walls properly. Once your laser level is set up, it’s time to move on to the next step of aligning the laser level with the desired wall.
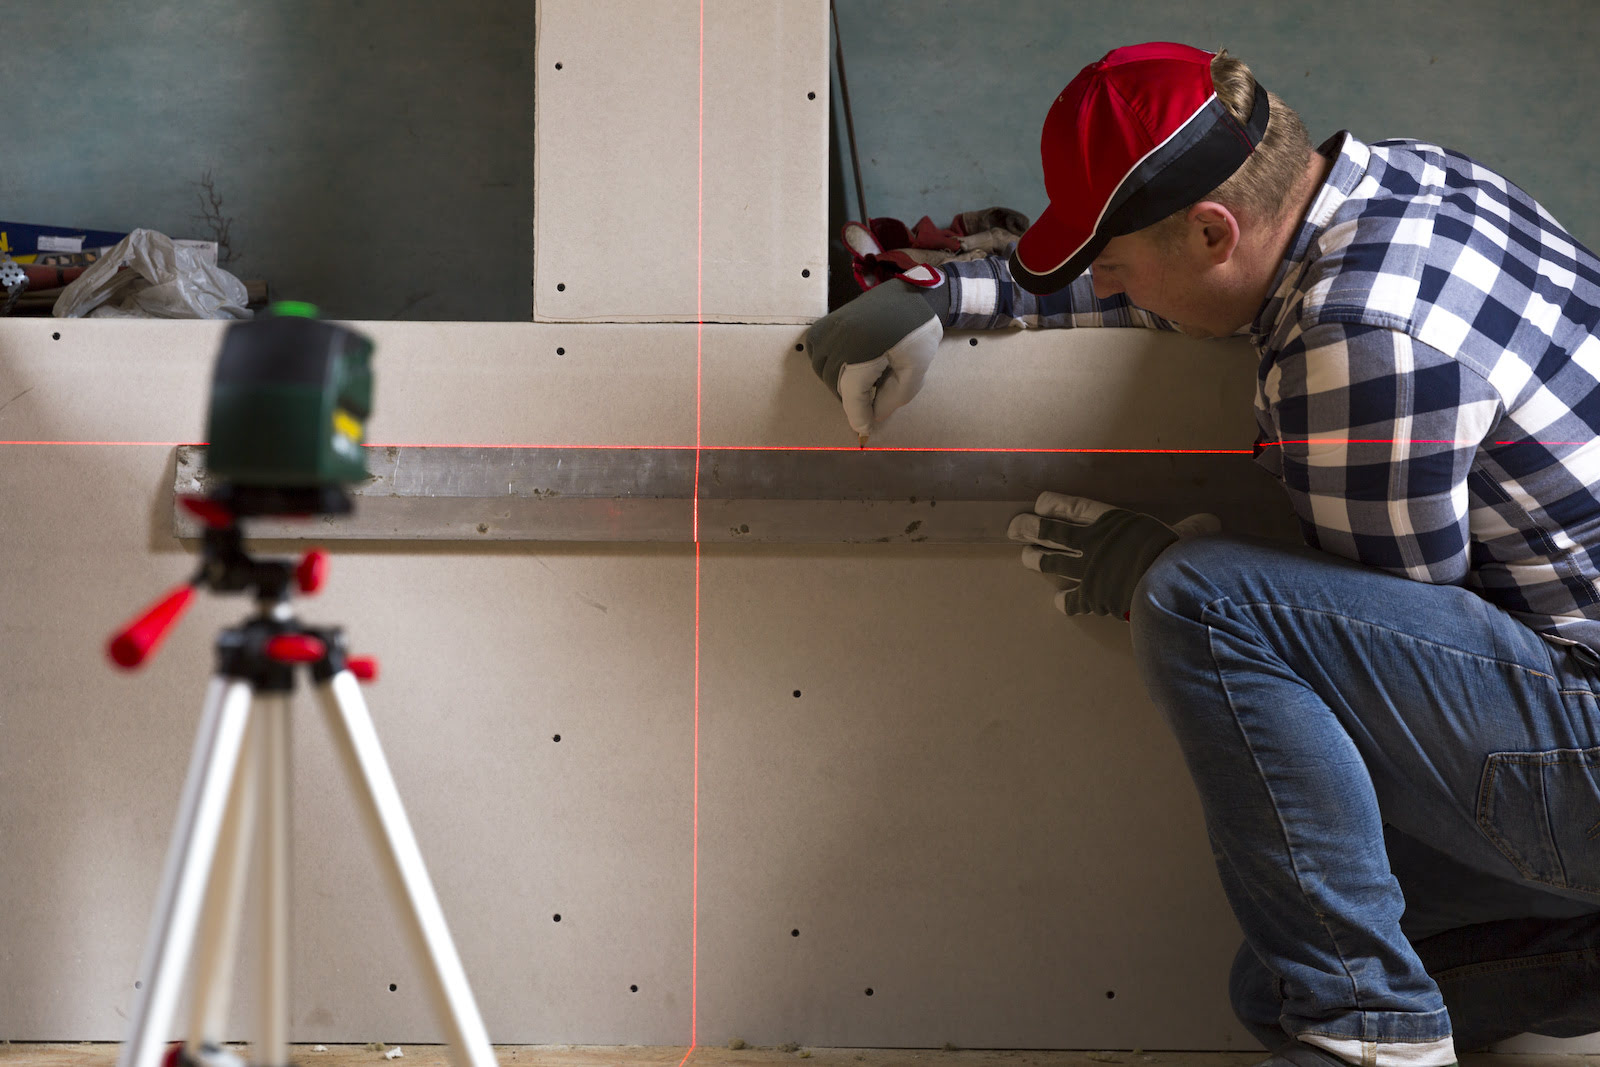
Step 3: Align the laser level with the desired wall
Now that your laser level is set up correctly, it’s time to align it with the desired wall. This step helps establish a reference point that will guide you in achieving perpendicular walls.
Follow these steps to align the laser level with the desired wall:
- Position the laser level: Place the laser level at a suitable distance from the wall, ensuring that it is stable and secure. Make sure the laser line or dot is projected onto the wall at a comfortable height for visibility.
- Adjust the laser level position: Move the laser level along the wall horizontally or vertically to align it with the desired direction. Use a built-in leveling mechanism or bubble level to ensure that the laser level is perfectly aligned.
- Rotate the laser level: If using a rotary laser level, rotate it slowly to create a continuous laser line or dot around the wall. This will provide a clear reference point for alignment.
- Check the alignment: Step back and visually inspect the alignment of the laser line or dot with the desired wall. Ensure that it is straight, parallel, and at the desired height. Make any necessary adjustments to achieve the desired alignment.
Remember, the laser level acts as a guide for establishing perpendicular walls. Take your time during this step to ensure that the laser level is accurately aligned with the desired wall. Once you are satisfied with the alignment, you can proceed to the next step of adjusting the laser level for perpendicular alignment.
When using a laser level to ensure perpendicular walls, make sure to measure and mark the same distance from the corner on both walls before adjusting the laser level. This will help ensure that the walls are perfectly perpendicular.
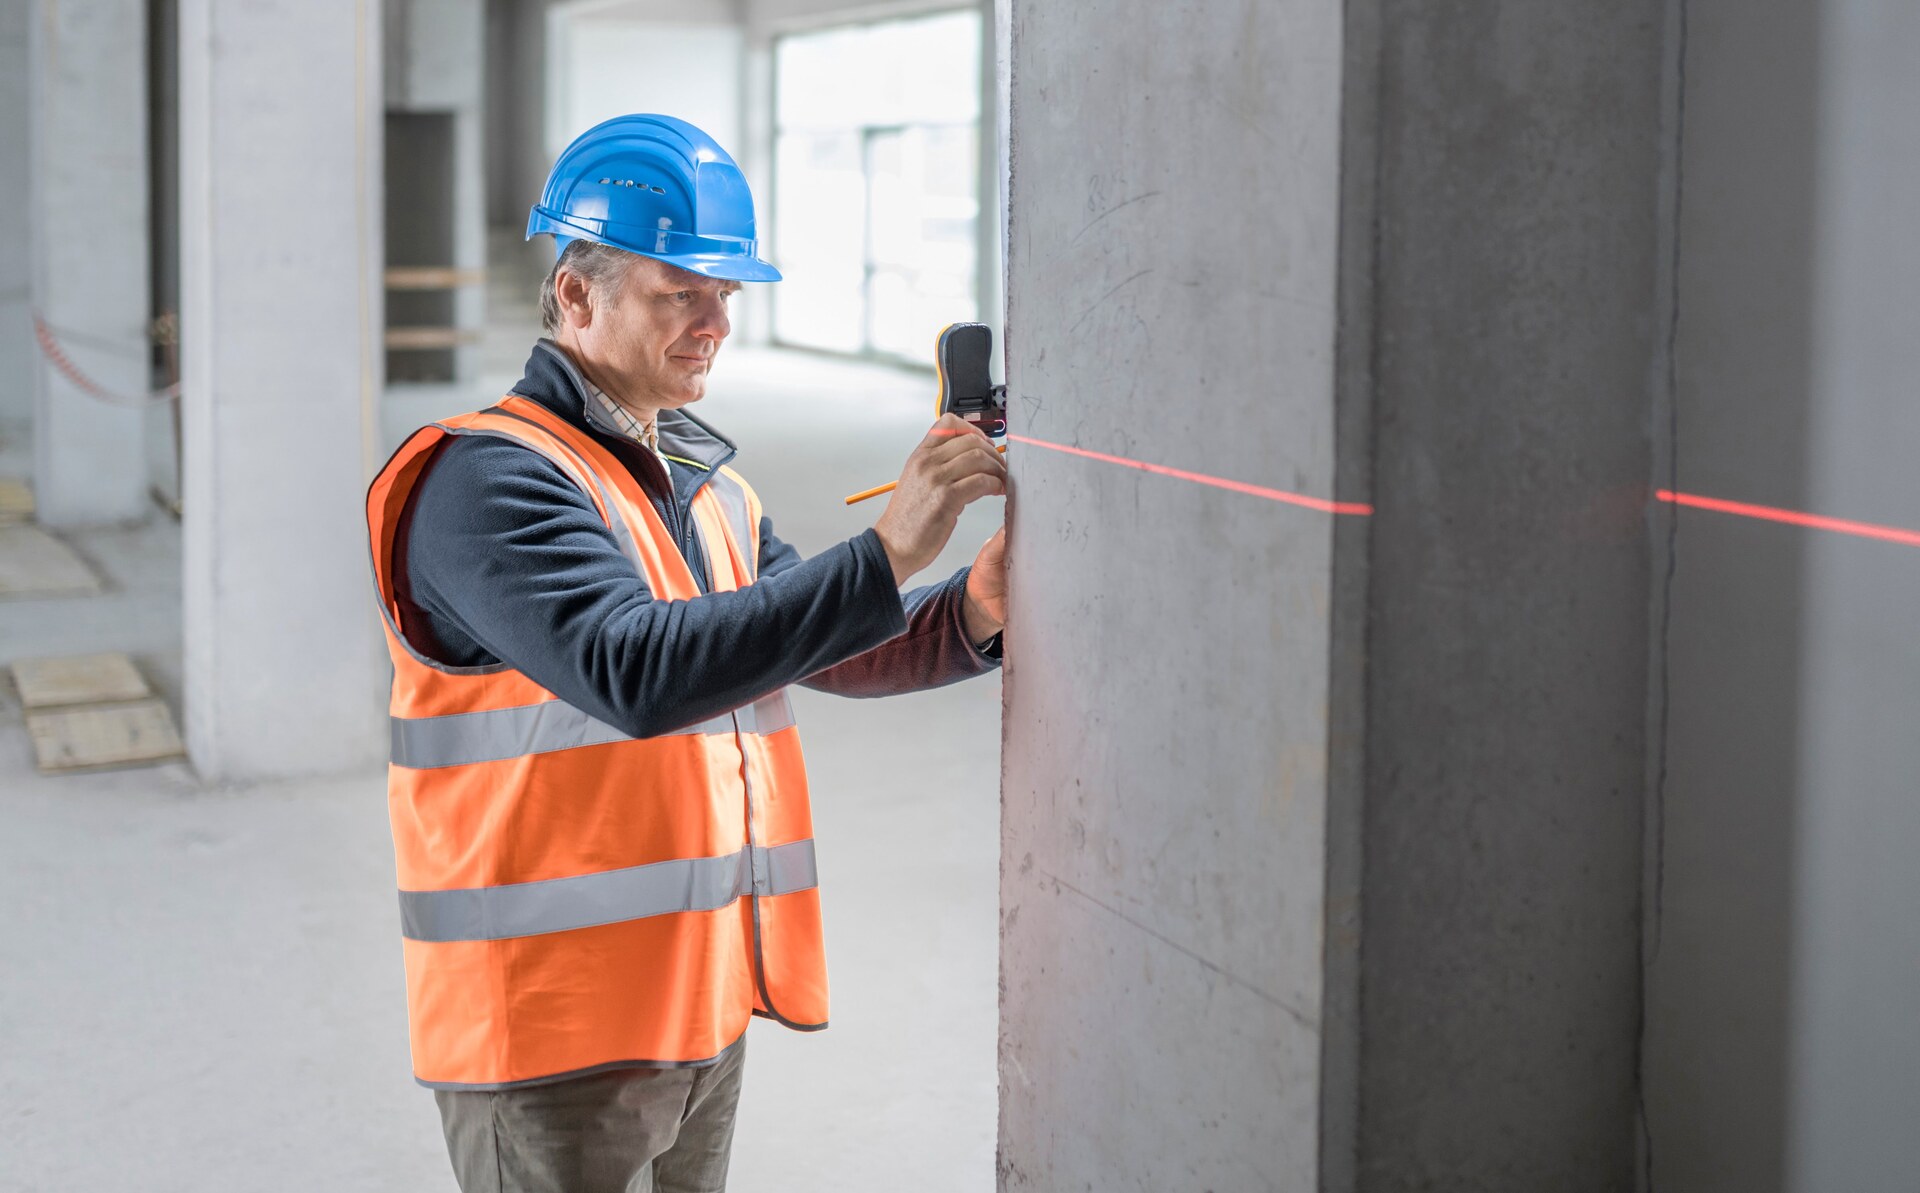
Step 4: Adjust the laser level for perpendicular alignment
With the laser level aligned with the desired wall, it’s time to adjust it for perpendicular alignment. This step ensures that the subsequent walls you build will be perfectly perpendicular to the reference wall.
Follow these steps to adjust the laser level for perpendicular alignment:
- Measure the distance: Use a measuring tape or ruler to measure the distance between the laser line or dot and the reference wall. This measurement will serve as a reference for aligning the subsequent walls.
- Transfer the measurement: Mark the measured distance on the floor, starting from the reference wall. Use a chalk line, pencil, or masking tape to create a straight line parallel to the reference wall.
- Align subsequent walls: Place the laser level on the marked line, ensuring that it is stable and level. Adjust the laser level horizontally or vertically to align it with the marked line.
- Check the alignment: Step back and visually inspect the alignment of the laser line or dot with the marked line. Ensure that it is parallel and at the desired height for the subsequent walls. Make any necessary adjustments to achieve the perfect alignment.
By following these steps, you can adjust the laser level to ensure that the subsequent walls you build are perpendicular to the reference wall. This will result in a professionally aligned and visually appealing space. Once the laser level is adjusted and the alignment is satisfactory, you can move on to the next step of marking the wall based on the laser level reference.
Read also: 12 Best Wall Laser Level for 2025
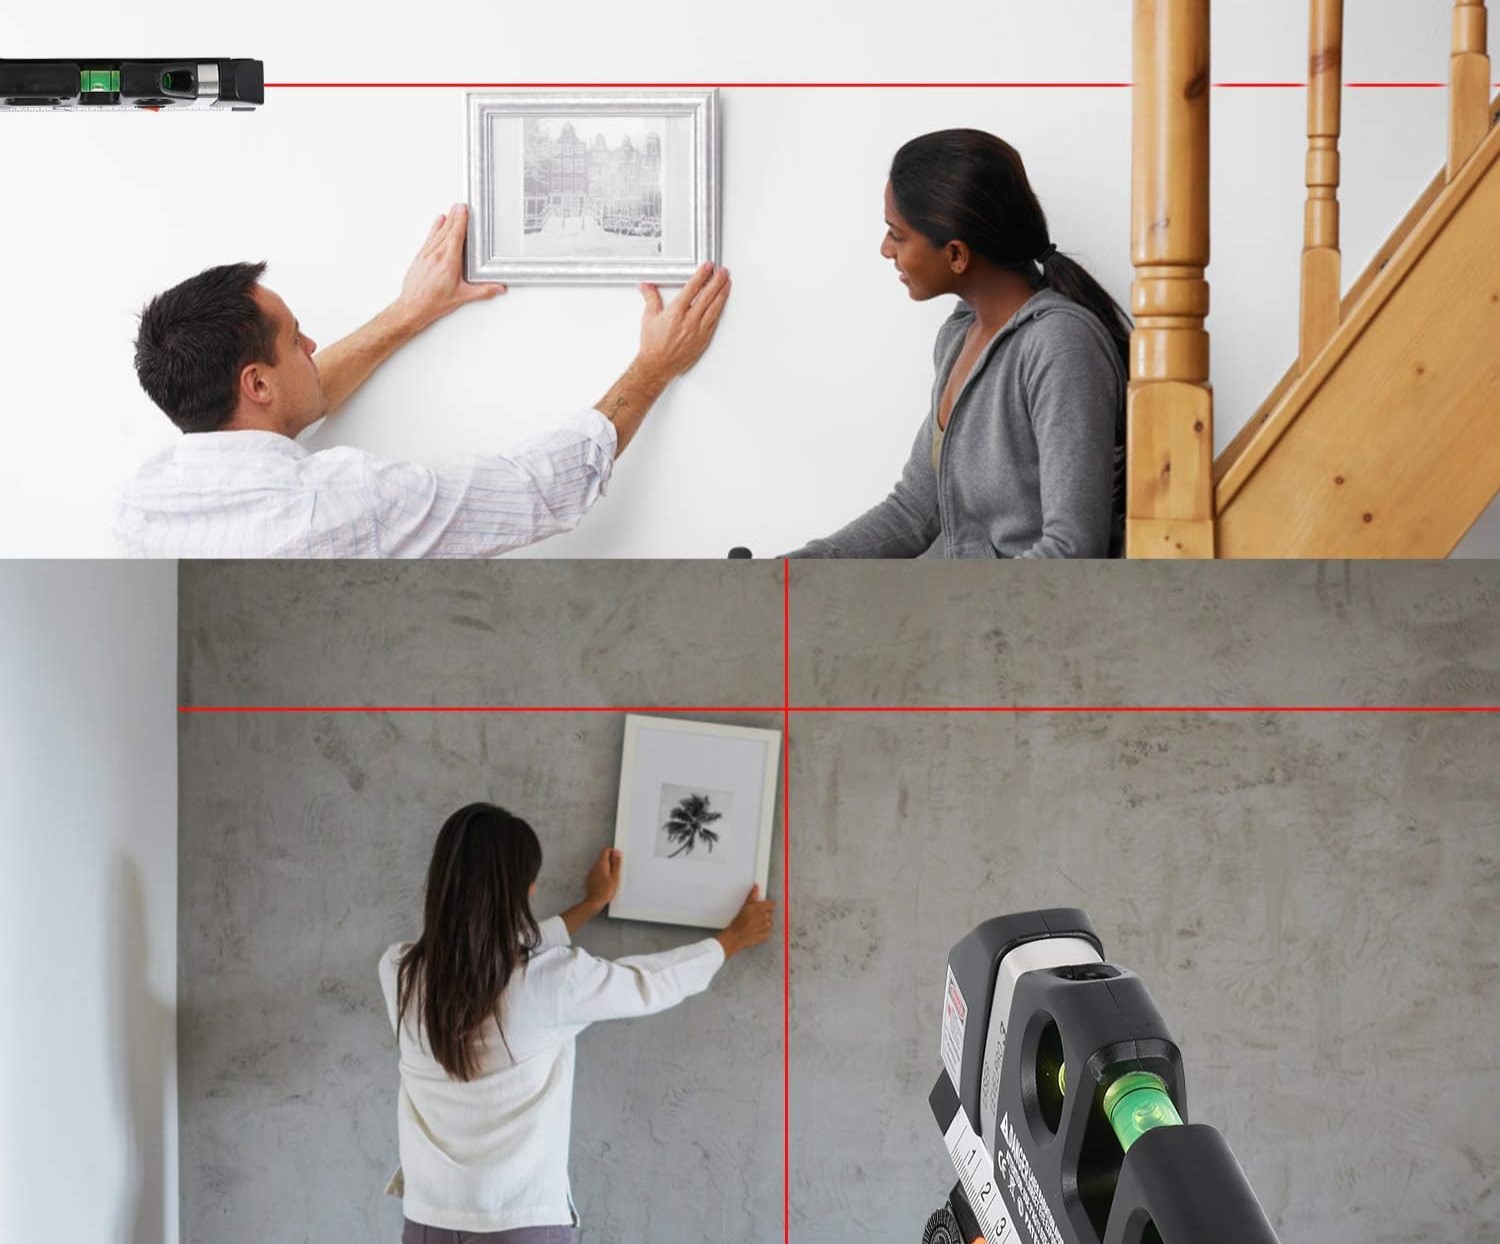
Step 5: Mark the wall based on the laser level reference
Now that you have achieved perpendicular alignment with the laser level, it’s time to mark the wall based on the laser level reference. This step will serve as a guide when constructing or installing any components on the wall.
Follow these steps to mark the wall based on the laser level reference:
- Prepare marking tools: Gather the necessary marking tools such as a pencil, chalk, or masking tape.
- Identify the reference point: Locate the laser line or dot on the wall and determine the desired point of reference. This is the point from which you will make measurements and mark the wall.
- Make precise measurements: Using a measuring tape or ruler, make precise measurements from the reference point to determine the specific locations where you need to mark on the wall. Ensure that your measurements are accurate to achieve precise results.
- Mark the wall: Use your marking tool to create clear and visible marks on the wall based on the measurements. These marks will serve as a guide for subsequent tasks such as hanging shelves, installing cabinets, or positioning electrical outlets.
- Double-check the markings: Step back and verify that the markings on the wall align with the laser line or dot. Make any necessary adjustments to ensure the markings are in the correct position.
It’s essential to be meticulous and precise when marking the wall based on the laser level reference. Accurate markings will help you achieve a professional finish and ensure that all elements installed on the wall are aligned correctly.
Once you have marked the wall based on the laser level reference, you can proceed to the final step, which involves repeating the process for adjacent walls, if applicable.
Step 6: Repeat the process for adjacent walls, if applicable
If you have multiple walls that need to be perpendicular to the reference wall, you’ll need to repeat the process for each adjacent wall. This will ensure that all the walls in the space are properly aligned and perpendicular to each other.
Follow these steps to repeat the process for adjacent walls:
- Choose the next wall: Identify the next wall that you want to align perpendicular to the reference wall.
- Position the laser level: Set up the laser level again, following the steps outlined in Step 2. Ensure that it is stable and aligned with the reference wall.
- Adjust the laser level: Use the measurements and markings from the reference wall to adjust the laser level for the adjacent wall. Align the laser line or dot with the marked line on the floor.
- Mark the adjacent wall: Use your marking tools to mark the adjacent wall based on the laser level reference. Ensure that the marks are clear, visible, and aligned with the laser line or dot.
- Double-check the alignment: Step back and verify the alignment of the markings on the adjacent wall. Make any necessary adjustments to achieve perpendicularity.
- Repeat for other adjacent walls: If you have additional walls that need to be aligned, repeat the process for each wall, ensuring that they are all perpendicular to the reference wall and each other.
By repeating this process for each adjacent wall, you can ensure that all the walls in your space are properly aligned and perpendicular. This attention to detail will contribute to the overall aesthetics and functionality of the room or area you are working on.
Now that you have successfully aligned and marked the adjacent walls, you can conclude the process with confidence, knowing that your walls are perfectly perpendicular.
Conclusion
Aligning walls to be perpendicular is a crucial step in ensuring the structural integrity and visual appeal of any space. With the help of a laser level, you can achieve precise measurements and accurately align your walls.
In this article, we have provided a comprehensive guide on achieving perpendicular walls with a laser level. We started by emphasizing the importance of choosing the right laser level for your specific project. Then, we discussed the proper setup of the laser level to ensure stability and accuracy.
We walked you through the process of aligning the laser level with the desired wall and adjusting it for perpendicular alignment. This step-by-step approach offers clear instructions on how to achieve accurate and precise results.
Additionally, we emphasized the significance of marking the wall based on the laser level reference. These markings serve as a guide for subsequent tasks, ensuring that all components installed on the wall are aligned correctly.
If you have multiple walls that need to be perpendicular, we also provided guidance on how to repeat the process for adjacent walls. This ensures consistency and alignment throughout the entire space.
By following these steps, you can confidently create beautifully aligned walls in any construction or home improvement project. Remember to always prioritize safety and carefully follow the manufacturer’s instructions for your specific laser level.
With practice and attention to detail, mastering the art of getting perpendicular walls with a laser level will undoubtedly enhance the overall quality and aesthetic appeal of your space.
Frequently Asked Questions about How To Get Perpendicular Walls With Laser Level
Was this page helpful?
At Storables.com, we guarantee accurate and reliable information. Our content, validated by Expert Board Contributors, is crafted following stringent Editorial Policies. We're committed to providing you with well-researched, expert-backed insights for all your informational needs.


0 thoughts on “How To Get Perpendicular Walls With Laser Level”