
Articles
How To Use The Dewalt Laser Level
Modified: October 31, 2024
Learn how to effectively use the Dewalt Laser Level with our informative articles. Discover tips, tricks, and techniques for accurate and efficient leveling.
(Many of the links in this article redirect to a specific reviewed product. Your purchase of these products through affiliate links helps to generate commission for Storables.com, at no extra cost. Learn more)
Introduction
Welcome to our comprehensive guide on how to use the Dewalt Laser Level. Whether you’re a professional contractor or a DIY enthusiast, the Dewalt Laser Level is a valuable tool for ensuring accurate and precise measurements in various construction and renovation projects. From aligning walls to installing cabinets, this versatile device can help you achieve straight and level lines with ease.
In this article, we will walk you through everything you need to know about the Dewalt Laser Level, from understanding its features and functions to setting it up, calibrating it, and operating it effectively. We will also provide you with some valuable tips and tricks to enhance your experience and help you get the most out of this powerful tool.
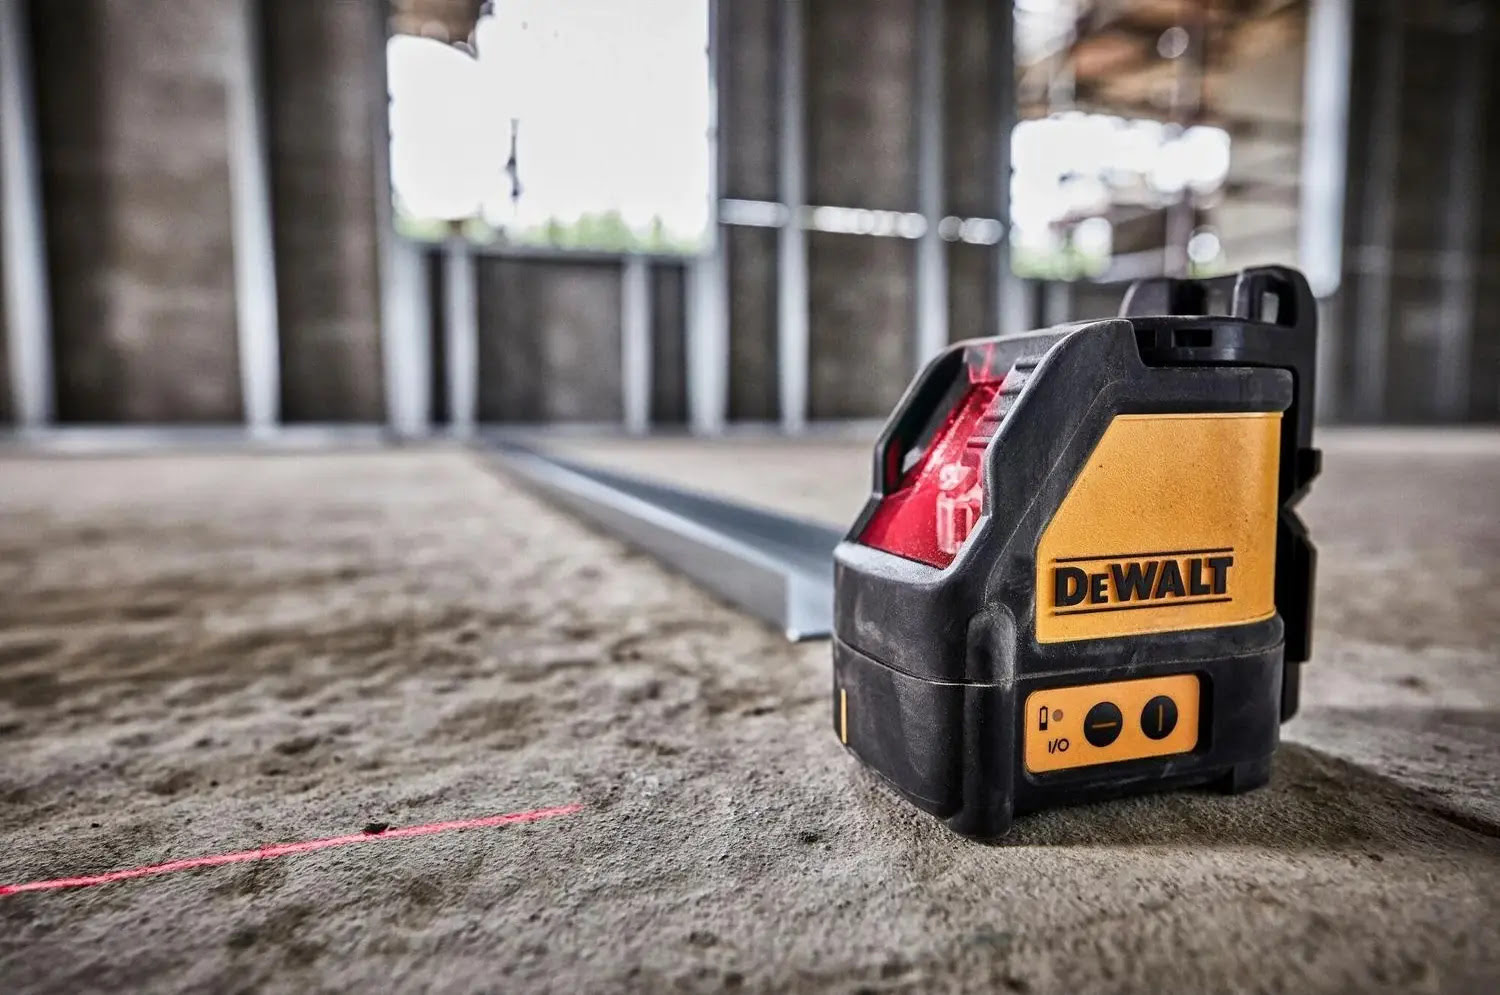
Before we dive into the nitty-gritty details, let’s take a closer look at what the Dewalt Laser Level is and how it works. The Dewalt Laser Level uses a laser beam to project a straight and level line onto surfaces, allowing for precise measurements and alignment. It eliminates the need for traditional bubble levels and manual measurements, saving you time and effort in your projects.
With its durable construction and user-friendly interface, the Dewalt Laser Level is designed to withstand the rigors of the job site while providing accurate and reliable results. It comes with various features, such as self-leveling capabilities, multiple beam options, and a versatile mounting system, making it suitable for a wide range of applications.
Now that you have a basic understanding of the Dewalt Laser Level, let’s take a closer look at how to set it up and get started with your projects. By following the steps outlined in this guide, you’ll be able to use the Dewalt Laser Level effectively and achieve professional-quality results in your construction and renovation endeavors.
Key Takeaways:
- Mastering the Dewalt Laser Level
From setup to calibration and operation, this guide equips you with the knowledge to efficiently use the Dewalt Laser Level for precise measurements and professional results in construction and renovation projects. - Enhancing Your Experience
Discover valuable tips and maintenance practices to optimize the performance and longevity of your Dewalt Laser Level, ensuring reliable accuracy and seamless operation for years to come.
Read more: How To Use Dewalt DW088 Laser Level
Understanding the Dewalt Laser Level
Before diving into the practical aspects of using the Dewalt Laser Level, it’s important to have a good understanding of its key features and functionalities. This will help you make the most of this powerful tool and utilize it effectively in your projects.
The Dewalt Laser Level is designed with precision and accuracy in mind. It projects a highly visible laser beam onto surfaces, allowing you to easily establish straight lines and level references. This is particularly useful for tasks like aligning tiles, framing walls, hanging shelves, or installing drop ceilings.
One of the key features of the Dewalt Laser Level is its self-leveling capability. This means that the device automatically adjusts itself to ensure that the laser beam is perfectly level. This saves you the hassle of manually adjusting the tool and guarantees accurate results.
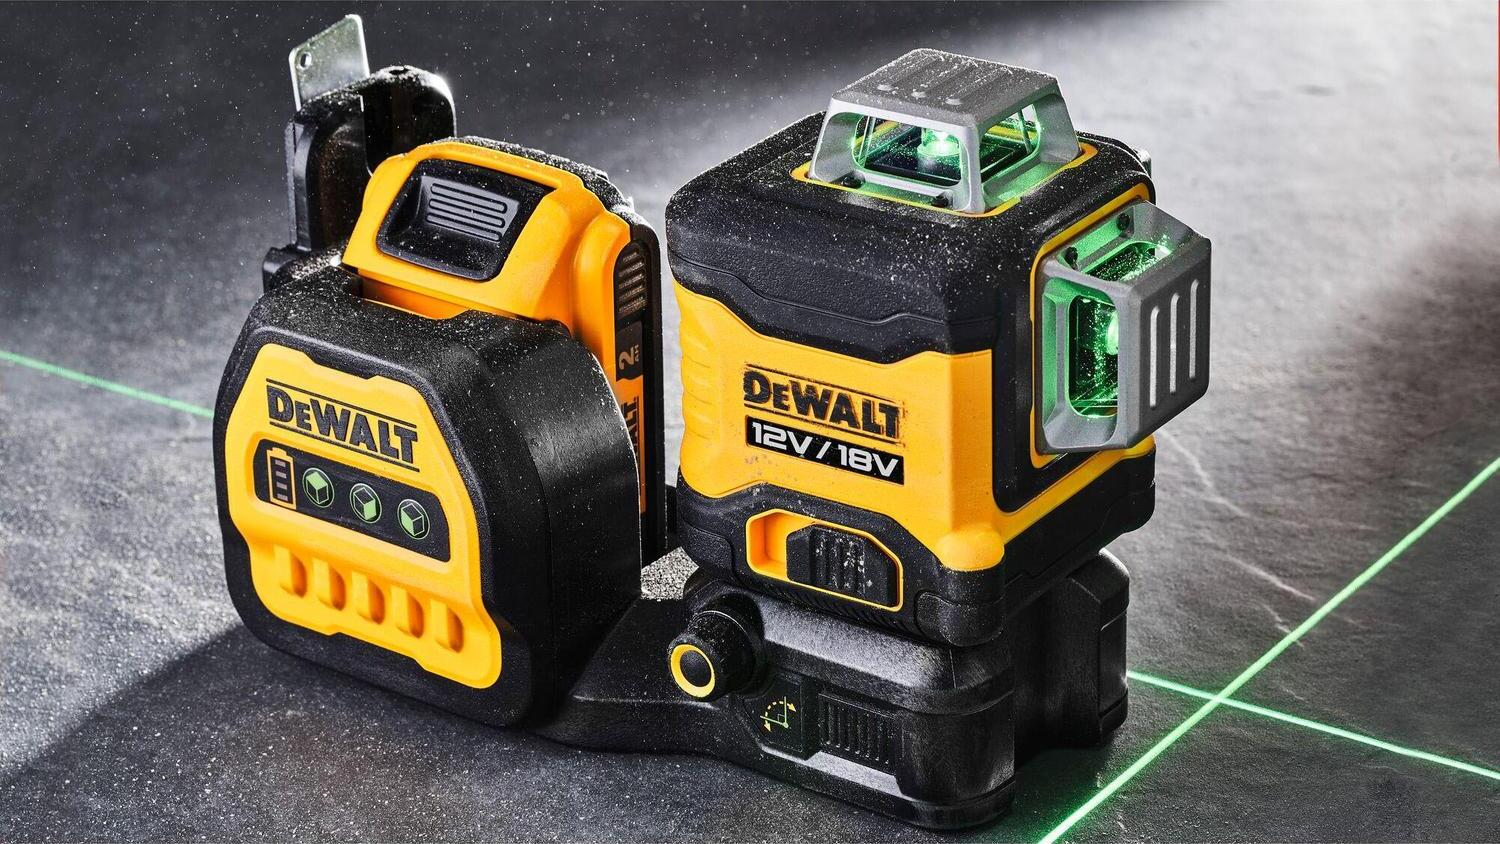
The Dewalt Laser Level offers different beam options to suit various project requirements. Most models have both horizontal and vertical beams, which can be used individually or simultaneously. This flexibility allows you to tackle tasks like laying out floor plans, aligning cabinets, or hanging pictures with ease.
Another important aspect of the Dewalt Laser Level is its mounting system. This tool comes with a variety of mounting options, including magnetic brackets, tripod adapters, and wall mounts. This makes it incredibly versatile, as you can easily secure it to different surfaces depending on your needs.
Furthermore, the Dewalt Laser Level is designed to withstand the demanding conditions of construction sites. It is built with durable materials and features a rugged housing that protects it from accidental drops and impacts. This ensures that the tool remains in optimal condition, even in challenging environments.
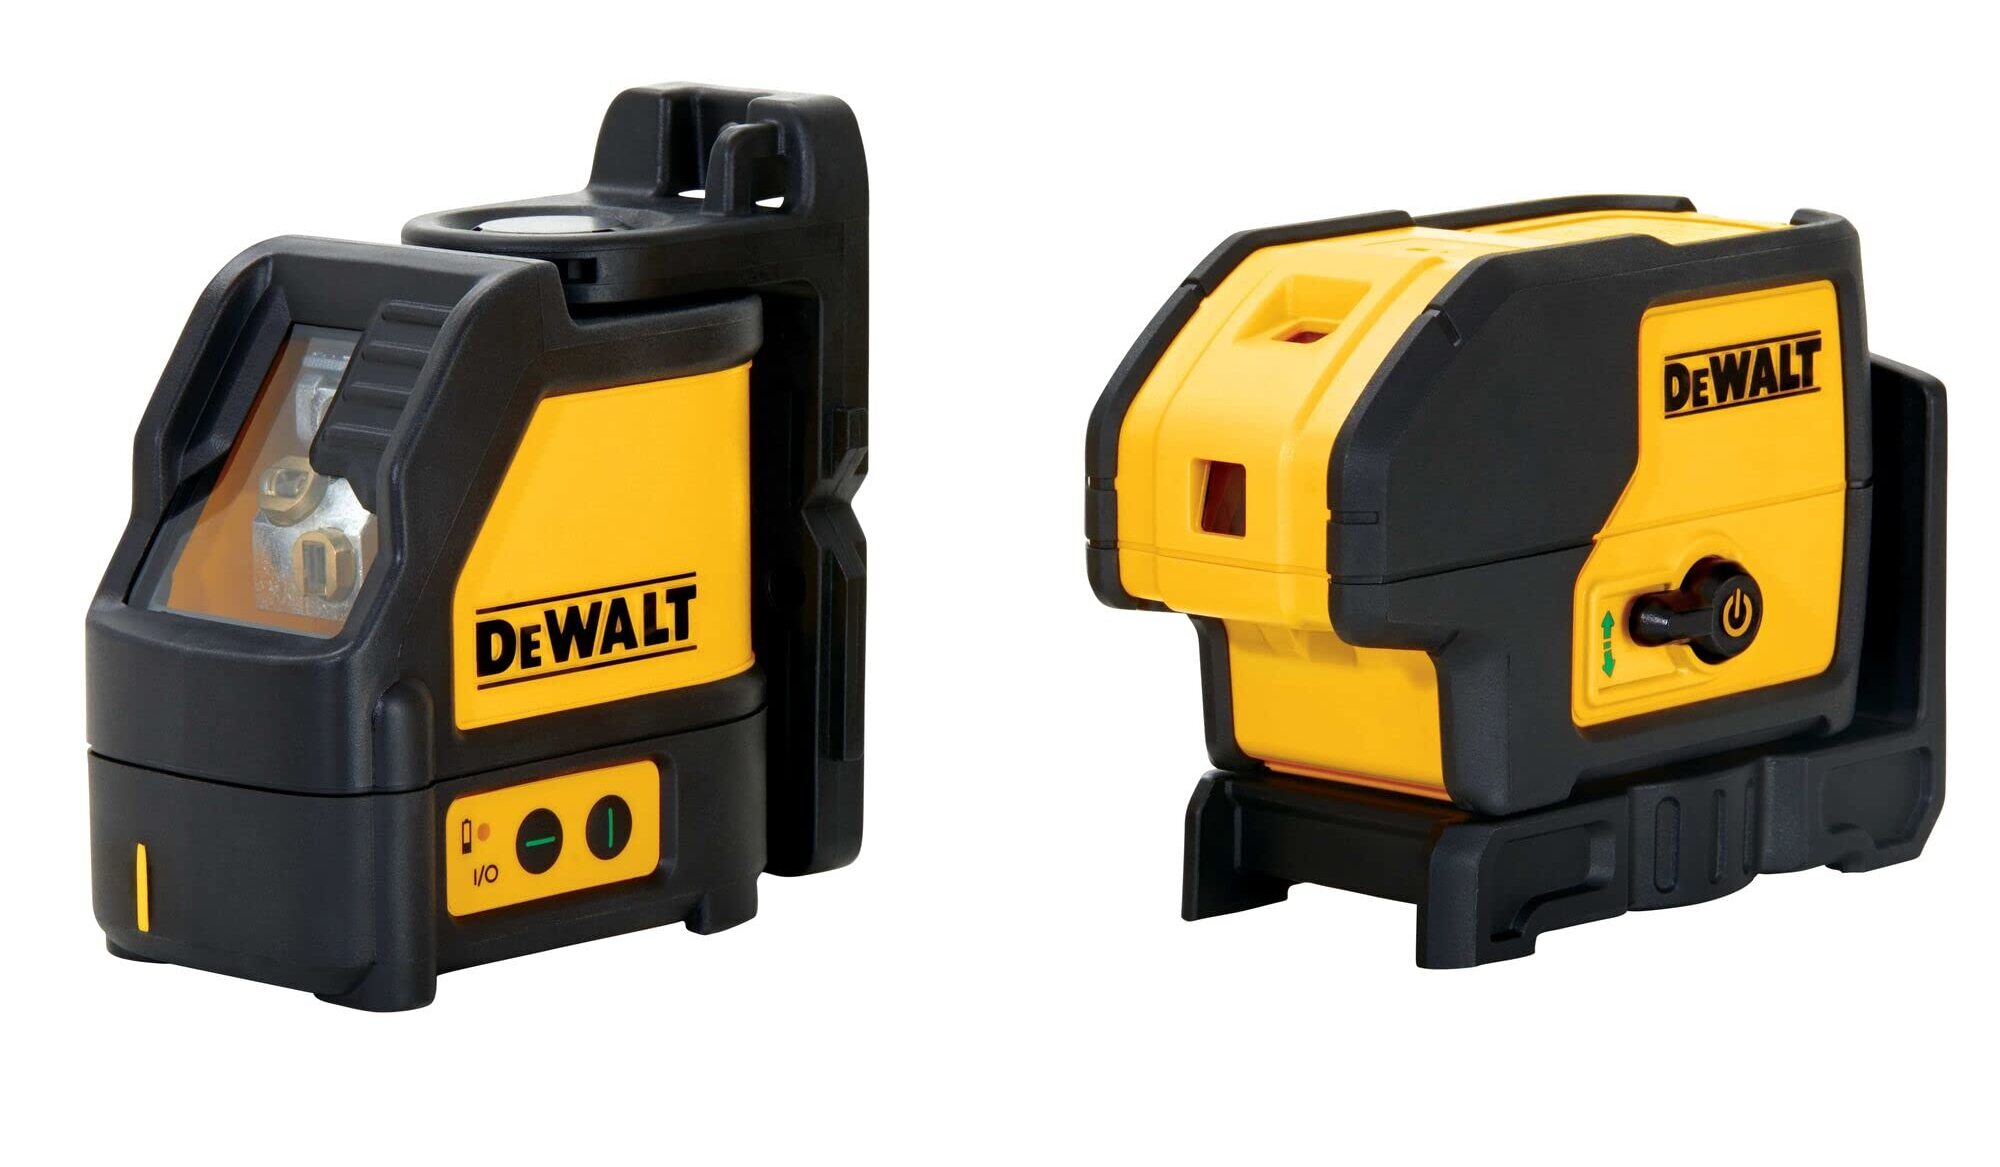
Last but not least, the Dewalt Laser Level is equipped with user-friendly controls and interfaces. The buttons and settings are intuitive, making it easy for both novice and experienced users to navigate and operate the device. The display screens are clear and provide real-time information, ensuring that you are always in control of your measurements.
By understanding these important features and functionalities of the Dewalt Laser Level, you will be better equipped to use it efficiently and achieve accurate results in your projects. In the next section, we will explore how to set up the Dewalt Laser Level.
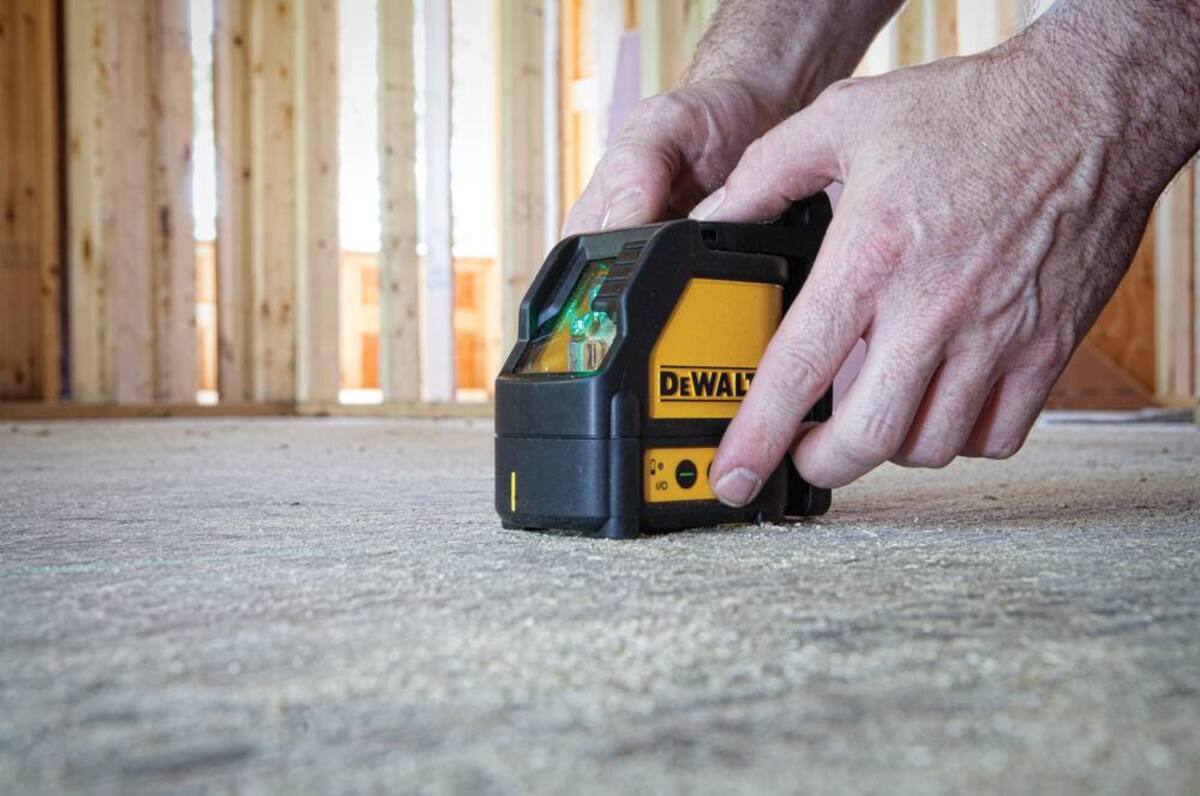
Setting up the Dewalt Laser Level
Setting up the Dewalt Laser Level is a straightforward process that only requires a few simple steps. By following these instructions, you’ll be able to have your laser level ready for use in no time.
Here’s how to set up your Dewalt Laser Level:
- Choose a stable surface: Start by finding a stable surface on which to place or mount your Dewalt Laser Level. The surface should be flat and free from any vibrations that could affect the accuracy of the device.
- Power on the laser level: If your Dewalt Laser Level is powered by batteries, insert the required batteries into the designated compartment. Ensure that the batteries are correctly placed according to the polarity indicated. If your laser level comes with a power cord, plug it into a suitable power source.
- Check the leveling mechanism: Before turning on the laser level, ensure that the self-leveling mechanism is engaged. This mechanism ensures that the laser level automatically adjusts itself to be perfectly level. Some models have a switch or button to activate the self-leveling feature.
- Place or mount the laser level: Depending on your project requirements, you can either place the dewalt laser level on the stable surface or use one of the available mounting options. The laser level may come with a magnetic base for easy attachment to metal surfaces or a tripod adapter for mounting on a tripod.
- Adjust the position: Once the laser level is placed or mounted, adjust its position to align the laser beam with the area you want to work on. You can typically rotate the laser level on its base or use the built-in adjustment knobs to move it vertically or horizontally.
- Secure the laser level: Once the laser level is properly positioned, make sure to secure it in place. This will prevent it from accidentally shifting during your work. If using a tripod, tighten the locking mechanisms. If using a magnetic base, ensure a secure attachment to the metal surface.
- Turn on the laser level: Once everything is set up, turn on the laser level by pressing the power button. The laser beam should now be projected onto the surface, providing you with a clear reference line.
It’s important to note that each Dewalt Laser Level model may have slightly different setup instructions. Therefore, it’s always a good idea to refer to the user manual provided by the manufacturer for specific guidelines tailored to your specific model.
With the Dewalt Laser Level set up and ready to go, you can now move on to the next step: calibrating the laser level for optimal accuracy. We will cover this topic in the following section.
Calibrating the Dewalt Laser Level
Calibrating your Dewalt Laser Level is a crucial step to ensure accurate and precise measurements. By taking the time to calibrate the device, you can trust that the projected laser beam is perfectly level and aligned with your intended reference line. Here’s a step-by-step guide on how to calibrate your Dewalt Laser Level:
- Find a level reference point: Identify a surface or object that you know is perfectly level. This could be a countertop, a table, or an existing leveled surface.
- Place the laser level on the reference point: Position your Dewalt Laser Level on the chosen reference point. Make sure it sits securely and does not wobble or move.
- Activate the self-leveling mode: Depending on your model, the Dewalt Laser Level may have an automatic self-leveling feature. Activate this feature to allow the device to adjust itself to be perfectly level.
- Observe the beam: Once the self-leveling mode is enabled, observe the projected laser beam. It should be perfectly level and aligned with your reference point. If the beam is not level, you will need to manually adjust the level of the laser using the provided adjustment knobs or buttons.
- Adjust the level: Begin adjusting the level by turning the adjustment knobs or buttons. Make small incremental adjustments until the laser beam is level and aligned with your reference point. Take your time during this process to ensure precision.
- Verify the calibration: Once you believe the laser level is adequately calibrated, you can verify the accuracy by checking it against other known level surfaces or objects. Use a traditional bubble level or another reliable leveling tool to compare the alignment. Make any necessary adjustments until your Dewalt Laser Level matches the reference perfectly.
- Lock the calibration: Once you have successfully calibrated the laser level, you can lock the calibration settings to prevent accidental adjustments during use. Consult your user manual for guidance on how to lock the calibration on your specific model, as the process may vary.
It’s important to note that calibration may be required each time you move or reposition the Dewalt Laser Level. Additionally, it’s advisable to check the calibration periodically to ensure ongoing accuracy.
By following these calibration steps, you can trust that your Dewalt Laser Level will provide you with reliable measurements and precise alignment for all your construction and renovation projects.
With your Dewalt Laser Level properly calibrated, you’re now ready to start using it. In the next section, we will explore how to operate the Dewalt Laser Level effectively.
Operating the Dewalt Laser Level
Operating the Dewalt Laser Level is a user-friendly process that allows you to project accurate and visible laser beams for your construction and renovation projects. By understanding the various functions and settings of the tool, you can maximize its capabilities and achieve the desired results. Here’s a step-by-step guide on how to operate the Dewalt Laser Level effectively:
- Ensure a stable setup: Before operating the Dewalt Laser Level, make sure it is properly set up on a stable surface or securely mounted using the appropriate mounting options. This will prevent any movement or shaking that could affect the accuracy of the laser beam.
- Power on the device: Turn on the Dewalt Laser Level by pressing the designated power button. If your model has multiple laser beam options (horizontal, vertical, both), ensure that the desired beam(s) are activated.
- Align the laser beam: Adjust the position and orientation of the Dewalt Laser Level to align the laser beam with your desired reference line or surface. This can be done by rotating the tool or using the provided adjustment knobs and buttons.
- Evaluate visibility: Verify that the laser beam is clearly visible and adequately bright for your specific working conditions. Adjust the beam’s intensity or use the device’s beam enhancement features, if available, to optimize visibility.
- Use the laser beam as a guide: Once the laser beam is projecting in the desired direction, you can use it as a visual guide to align objects, measure distances, or mark reference points. Simply line up your workpiece or measuring tool with the laser beam for accurate positioning.
- Take advantage of additional features: Depending on your Dewalt Laser Level model, you may have access to various additional features that can enhance your workflow. These may include pulse mode for use with a laser detector, outdoor mode for increased visibility in bright conditions, or scan mode for creating more extended reference lines.
- Monitor battery or power levels: Keep an eye on the battery or power levels of your Dewalt Laser Level throughout your work. Make sure to replace or recharge batteries as needed to ensure uninterrupted operation.
- Turn off the device: Once you have completed your work or are taking a break, turn off the Dewalt Laser Level to preserve battery life and ensure safe storage.
Remember to consult your specific model’s user manual for detailed instructions, as the operating procedures may vary slightly among different Dewalt Laser Level models. By familiarizing yourself with the functionality and settings of your tool, you can work efficiently and confidently.
Now that you know how to operate the Dewalt Laser Level, let’s move on to the next section, where we will discuss how to adjust the laser level for specific applications.
When using the Dewalt laser level, make sure to calibrate it on a stable surface before each use to ensure accurate and reliable measurements.
Read more: How To Calibrate Dewalt Laser Level
Adjusting the Dewalt Laser Level
The Dewalt Laser Level offers various adjustment options to ensure precise measurements and accurate alignment for different applications. Understanding how to adjust the laser level according to your specific needs is essential for achieving optimal results. Here’s a guide on how to adjust the Dewalt Laser Level for different scenarios:
- Vertical Adjustment: To adjust the laser level vertically, locate the vertical adjustment knob or button on the device. Rotate the knob or press the button to move the laser beam up or down, aligning it with your desired reference line or surface.
- Horizontal Adjustment: Similarly, for horizontal adjustment, locate the horizontal adjustment knob or button on the laser level. Rotate the knob or press the button to move the laser beam left or right, aligning it with your desired reference line or surface.
- Dual-axis Adjustment: If your Dewalt Laser Level offers both vertical and horizontal beams simultaneously, you can adjust both axes independently. Make the necessary adjustments using the respective adjustment knobs or buttons to align the laser beams with the desired reference points.
- Angle Adjustment: Some Dewalt Laser Levels allow you to adjust the angle of the laser beam, which is useful for tasks like creating sloped lines or outlining angled surfaces. Refer to your model’s user manual for specific instructions on adjusting the angle, as it may vary between different models.
- Pulse Mode: If you need to use the laser level with a laser detector in bright or outdoor conditions, activate the pulse mode. This mode emits a pulsing laser beam that is detectable by the laser detector, ensuring accurate measurements even in challenging environments.
- Scan Mode: Dewalt Laser Levels equipped with scan mode are capable of projecting a moving laser beam, creating extended reference lines. Activate the scan mode when you need to cover larger areas or mark longer lines without physically moving the laser level.
- Magnetic Base Adjustment: If your Dewalt Laser Level has a magnetic base, you can adjust the position and angle of the laser level by simply repositioning the magnetic mount. This provides flexibility in aligning the laser beam with your intended direction.
It’s essential to consistently evaluate the accuracy of your adjustments by comparing the laser level’s alignment with a known level surface or object. This helps ensure that your adjustments are precise and aligned correctly.
Remember to consult your model’s user manual for specific instructions and features related to adjusting the Dewalt Laser Level, as the adjustment methods may vary depending on the model you have.
With a good understanding of how to adjust the Dewalt Laser Level, you can confidently tackle various construction and renovation projects, knowing that your measurements are accurate and aligned precisely.
Now that you know how to adjust the Dewalt Laser Level, let’s move on to the next section, where we will share some tips and tricks to enhance your experience and results.
Tips and Tricks for Using the Dewalt Laser Level
Using the Dewalt Laser Level can be made even more efficient and effective with the help of some expert tips and tricks. These insights will not only enhance your experience but also ensure you achieve the best possible results in your construction and renovation projects. Here are some valuable tips and tricks for using the Dewalt Laser Level:
- Use a laser detector in bright conditions: In situations with high ambient light or when working outdoors, consider using a laser detector compatible with your Dewalt Laser Level. This allows you to easily detect the laser beam, improving visibility and accuracy.
- Ensure a stable setup: To avoid accidental movement or vibrations during use, secure the Dewalt Laser Level firmly using the provided mounting options. This will maintain the accuracy and precision of your measurements.
- Protect the laser level: The Dewalt Laser Level is a valuable tool, so take care of it by keeping it in a protective case or bag when not in use. This will prevent damage and extend the tool’s lifespan.
- Familiarize yourself with the controls: Take the time to learn and understand the control buttons and settings of your specific Dewalt Laser Level model. This will enable you to navigate the options easily and make the necessary adjustments accurately.
- Check for accuracy periodically: Even with a self-leveling laser level, it’s essential to periodically check its accuracy against a known level surface or object. This ensures that the device continues to provide reliable measurements over time.
- Utilize the lock feature: Most Dewalt Laser Levels have a lock feature to prevent accidental adjustments. When you find the correct level and alignment, lock the settings to maintain consistency throughout your project.
- Work methodically: Break down your project into smaller sections and work systematically with the Dewalt Laser Level. This helps maintain focus, accuracy, and efficiency throughout the process.
- Consider using a laser target plate: For tasks that require precise measurements or when working at longer distances, a laser target plate can help enhance visibility and improve accuracy by providing a clear reference point.
- Store spare batteries or charger: Be prepared by keeping spare batteries or a charger readily available for your Dewalt Laser Level. This ensures that you can continue working uninterrupted even if the current batteries run out of power.
- Read the user manual: Each Dewalt Laser Level model may have specific features and functions. Take the time to read the user manual thoroughly to familiarize yourself with all the capabilities of your particular model.
By incorporating these tips and tricks into your workflow, you can elevate your experience with the Dewalt Laser Level and achieve precise, professional-quality results in your construction and renovation projects.
Now that you have some handy tips and tricks, let’s move on to the next section, where we will discuss the maintenance and care of the Dewalt Laser Level.
Maintenance and Care of the Dewalt Laser Level
Proper maintenance and care of your Dewalt Laser Level is essential for its longevity and continued accurate performance. By following these maintenance tips, you can ensure that your tool remains in optimal condition and provides reliable measurements throughout its lifespan:
- Clean the laser level regularly: Dust, debris, and dirt can accumulate on the laser level over time, affecting its performance. Clean the device regularly using a soft, lint-free cloth to remove any build-up and ensure clear visibility of the laser beam.
- Store the laser level properly: When not in use, store the Dewalt Laser Level in a protective case or bag to shield it from potential damage. This will also prevent dust and moisture from accumulating on the device.
- Avoid extreme temperatures: Avoid exposing the laser level to extreme temperatures, as this can impact its performance. Store the tool in a dry and moderate environment to maintain its accuracy and functionality.
- Protect the laser components: The laser components of the Dewalt Laser Level are delicate and sensitive. Avoid dropping or subjecting the tool to rough handling, as this can damage the internal components. Additionally, protect the laser aperture with the provided lens cap when not in use.
- Check the battery or power supply: Regularly inspect the battery or power supply connection to ensure proper functioning. Clean any corrosion from battery terminals and replace the batteries when necessary. For corded models, check the power cord for any damage and ensure a secure connection.
- Calibrate periodically: Over time, the internal components of the laser level may shift or experience wear. Periodically calibrate the Dewalt Laser Level following the manufacturer’s guidelines to maintain its accuracy and reliability.
- Handle with care: Always handle the Dewalt Laser Level with care, especially when adjusting the position or mounting it. Rough handling can impact the accuracy and alignment of the laser beam.
- Regularly check for accuracy: To ensure continued accuracy, periodically check the alignment of the laser beam against a known level surface or object. If you notice any discrepancies, recalibrate the tool as needed.
- Service and repair: If you encounter any issues with your Dewalt Laser Level, consult the manufacturer’s recommendations for servicing or repair. Avoid attempting to fix any internal components yourself, as this may void the warranty or cause further damage.
- Follow safety guidelines: When using the Dewalt Laser Level, always follow safety guidelines and precautions. Avoid looking directly into the laser beam and wear appropriate eye protection when necessary.
By implementing these maintenance and care practices, you can protect your Dewalt Laser Level investment and ensure its reliable performance for years to come. Regular cleaning, proper storage, and periodic calibration will help maintain its accuracy and extend its lifespan.
Now that you have learned how to properly care for your Dewalt Laser Level, we can conclude this guide. Remember to always refer to the manufacturer’s instructions and guidelines for specific maintenance procedures and precautions.
With your well-maintained Dewalt Laser Level, you can confidently tackle any construction or renovation project, knowing that you have a reliable and accurate tool by your side.
Conclusion
Congratulations! You’ve now become well-versed in using the Dewalt Laser Level efficiently and effectively. This powerful tool can greatly assist you in achieving accurate measurements, precise alignments, and professional-quality results for your construction and renovation projects.
Throughout this comprehensive guide, we covered everything from understanding the key features and functionalities of the Dewalt Laser Level to setting it up, calibrating it, operating it, and making adjustments for different applications. We also provided you with valuable tips and tricks for enhancing your experience and shared essential maintenance and care practices.
By following the step-by-step instructions provided, you can confidently and successfully utilize the Dewalt Laser Level in your construction projects. Whether you’re aligning walls, installing cabinets, or laying out floor plans, this versatile tool will save you time and effort while ensuring accuracy and precision.
Remember to always consult your specific model’s user manual for detailed instructions and safety guidelines. Each Dewalt Laser Level may have distinct features and operation methods, and the manufacturer’s instructions should always be followed for optimal results.
With proper care and maintenance, your Dewalt Laser Level will provide you with reliable measurements and seamless performance for years to come. Regularly check for accuracy, clean the device, and store it properly to ensure its longevity and continued accuracy.
Now that you have a solid understanding of how to use, set up, calibrate, operate, and maintain the Dewalt Laser Level, it’s time to put your knowledge into practice. Start tackling your construction and renovation projects with confidence, knowing that you have a powerful tool at your disposal.
Good luck, and may your Dewalt Laser Level guide you towards successful, precise, and professional-level construction endeavors!
Ready to take your precision projects even further? Whether you're setting up a sports field or embracing hands-on projects at home, our guides have you covered! Learn the secrets of laser leveling to ensure every corner of a baseball field is perfectly aligned for optimal gameplay. Or, if crafting and building are more your style, our article on DIY projects will inspire you to create and innovate, turning ordinary spaces into personalized masterpieces. Dive into these articles for practical advice and creative inspiration!
Frequently Asked Questions about How To Use The Dewalt Laser Level
Was this page helpful?
At Storables.com, we guarantee accurate and reliable information. Our content, validated by Expert Board Contributors, is crafted following stringent Editorial Policies. We're committed to providing you with well-researched, expert-backed insights for all your informational needs.


0 thoughts on “How To Use The Dewalt Laser Level”