
Articles
How To Use Meat Grinder On Kitchenaid Mixer
Modified: August 16, 2024
Learn how to use a meat grinder on your Kitchenaid mixer with our informative articles. Get the most out of your kitchen appliance and create delicious homemade meals.
(Many of the links in this article redirect to a specific reviewed product. Your purchase of these products through affiliate links helps to generate commission for Storables.com, at no extra cost. Learn more)
Introduction
Welcome to the world of culinary possibilities with the Kitchenaid Mixer! If you’re a food enthusiast or a professional chef, you’re probably familiar with the versatility and power of this iconic kitchen appliance. But did you know that you can take your culinary adventures to the next level by using the meat grinder attachment on your Kitchenaid Mixer?
The meat grinder attachment is a game-changer when it comes to processing your own ground meats. Whether you want to create custom burgers, sausages, or meatloaf, having the ability to grind your own meat gives you full control over the quality, flavors, and textures of your dishes. And with the convenience of using it with your Kitchenaid Mixer, grinding meat has never been easier.
In this article, we’ll take you through a step-by-step guide on how to use the meat grinder attachment on your Kitchenaid Mixer. We’ll cover everything from setting up the attachment to grinding the meat and cleaning the equipment. So, let’s dive in and unlock the potential of your Kitchenaid Mixer with the meat grinder attachment!
Key Takeaways:
- Takeaway 1: Elevate your culinary skills by using the meat grinder attachment on your Kitchenaid Mixer to create custom blends of ground meats, flavorful sausages, and more. Unleash your creativity and savor the flavors and textures of your homemade culinary creations!
- Takeaway 2: Embrace the art of culinary exploration with the Kitchenaid Mixer’s meat grinder attachment. From setting up the attachment to grinding meat and cleaning the equipment, enjoy the process of grinding your own meat and elevate your cooking and baking endeavors to new heights.
Brief Overview of Kitchenaid Mixer
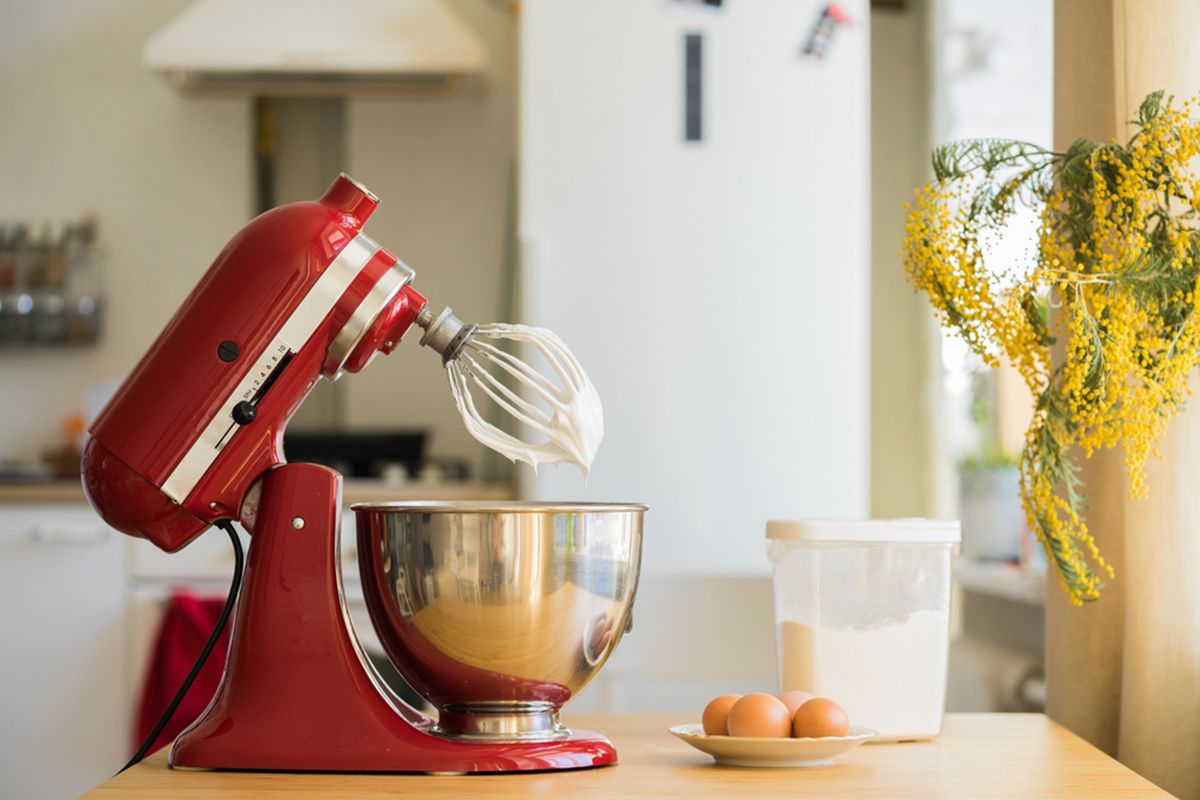
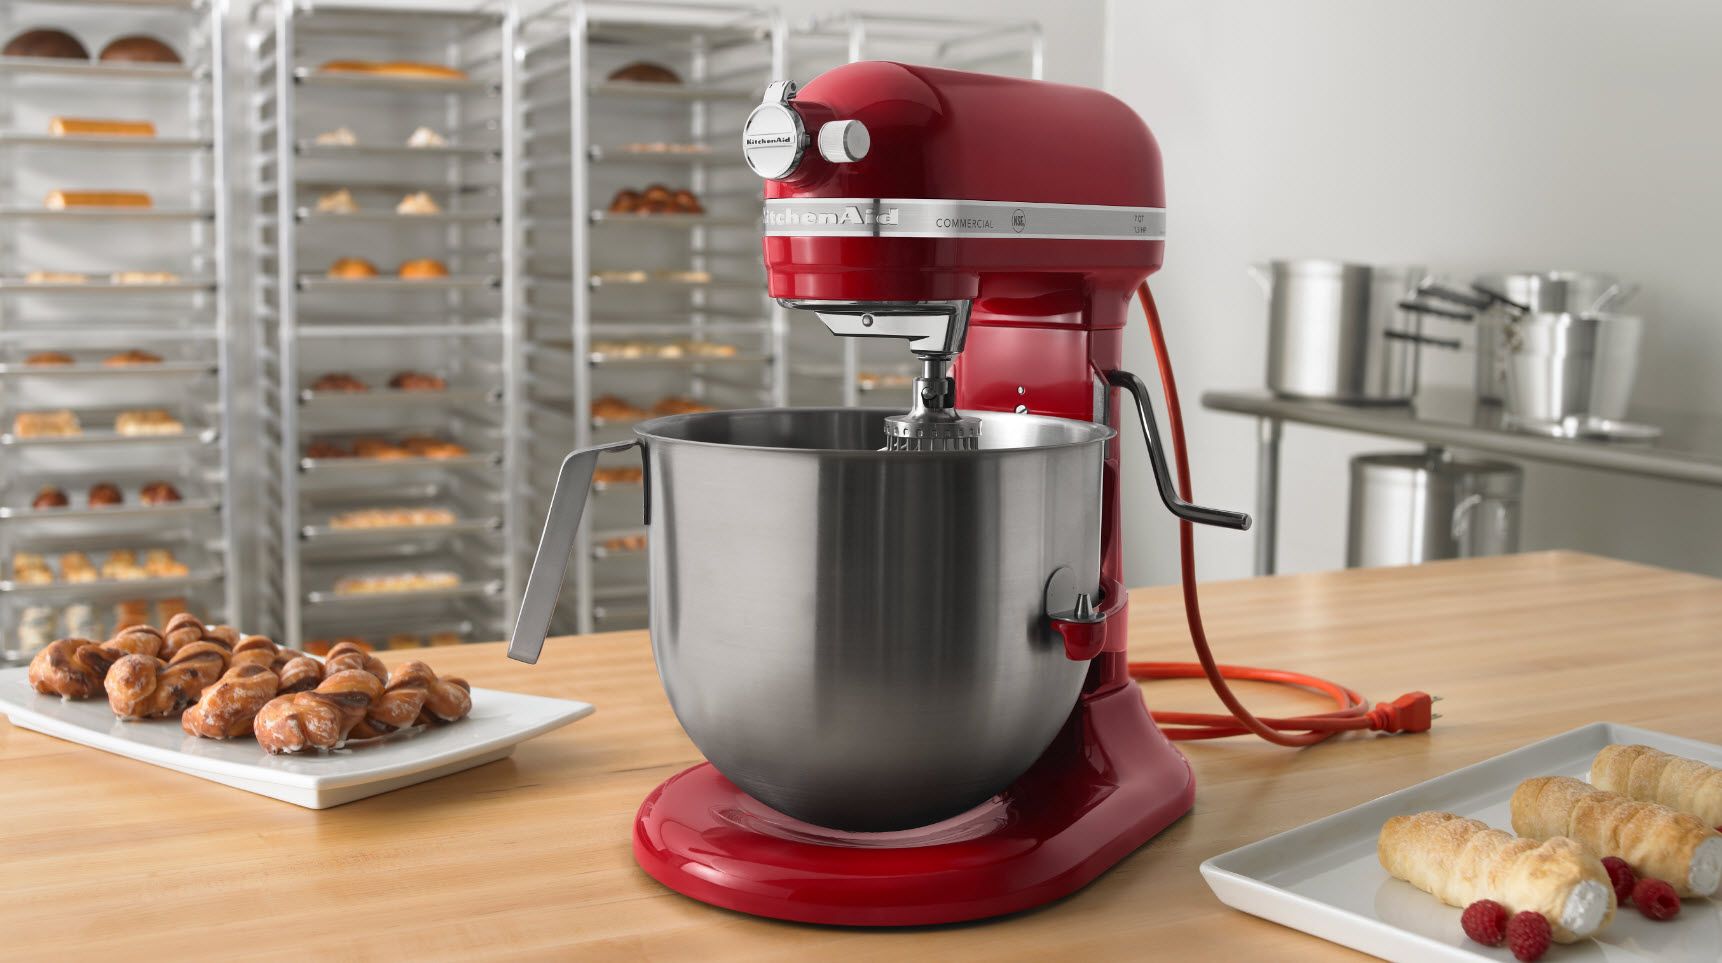
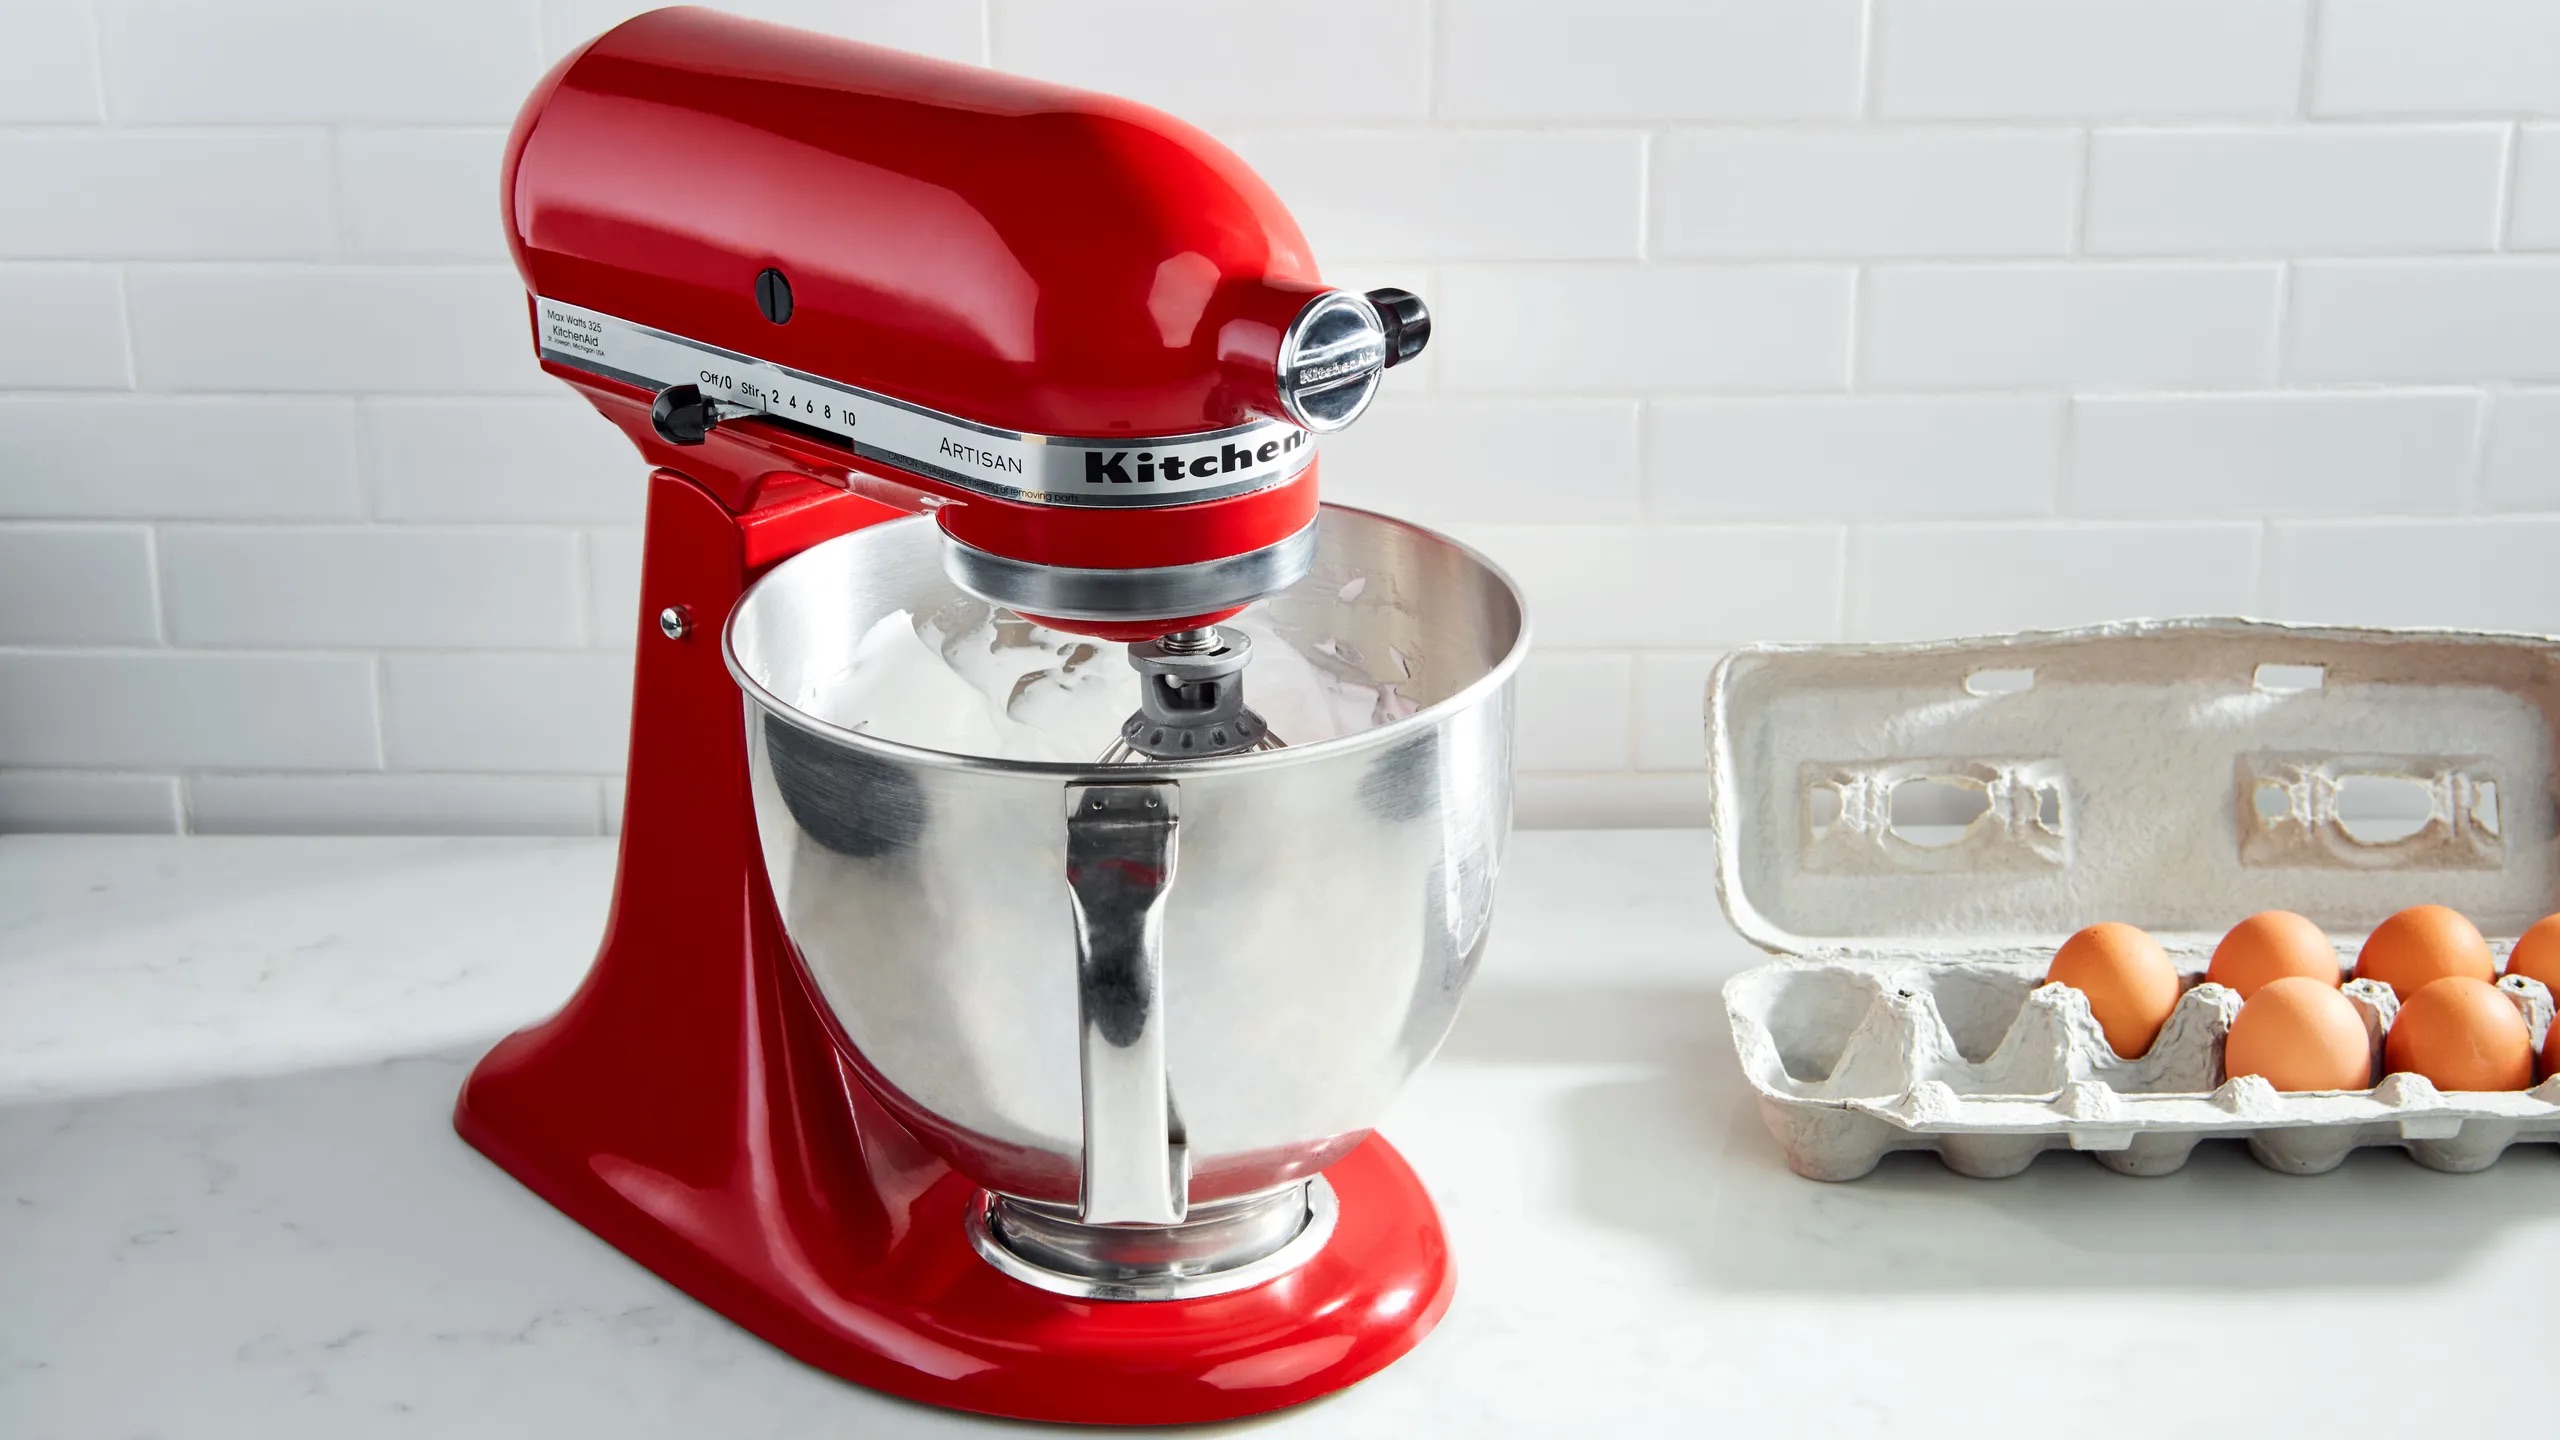
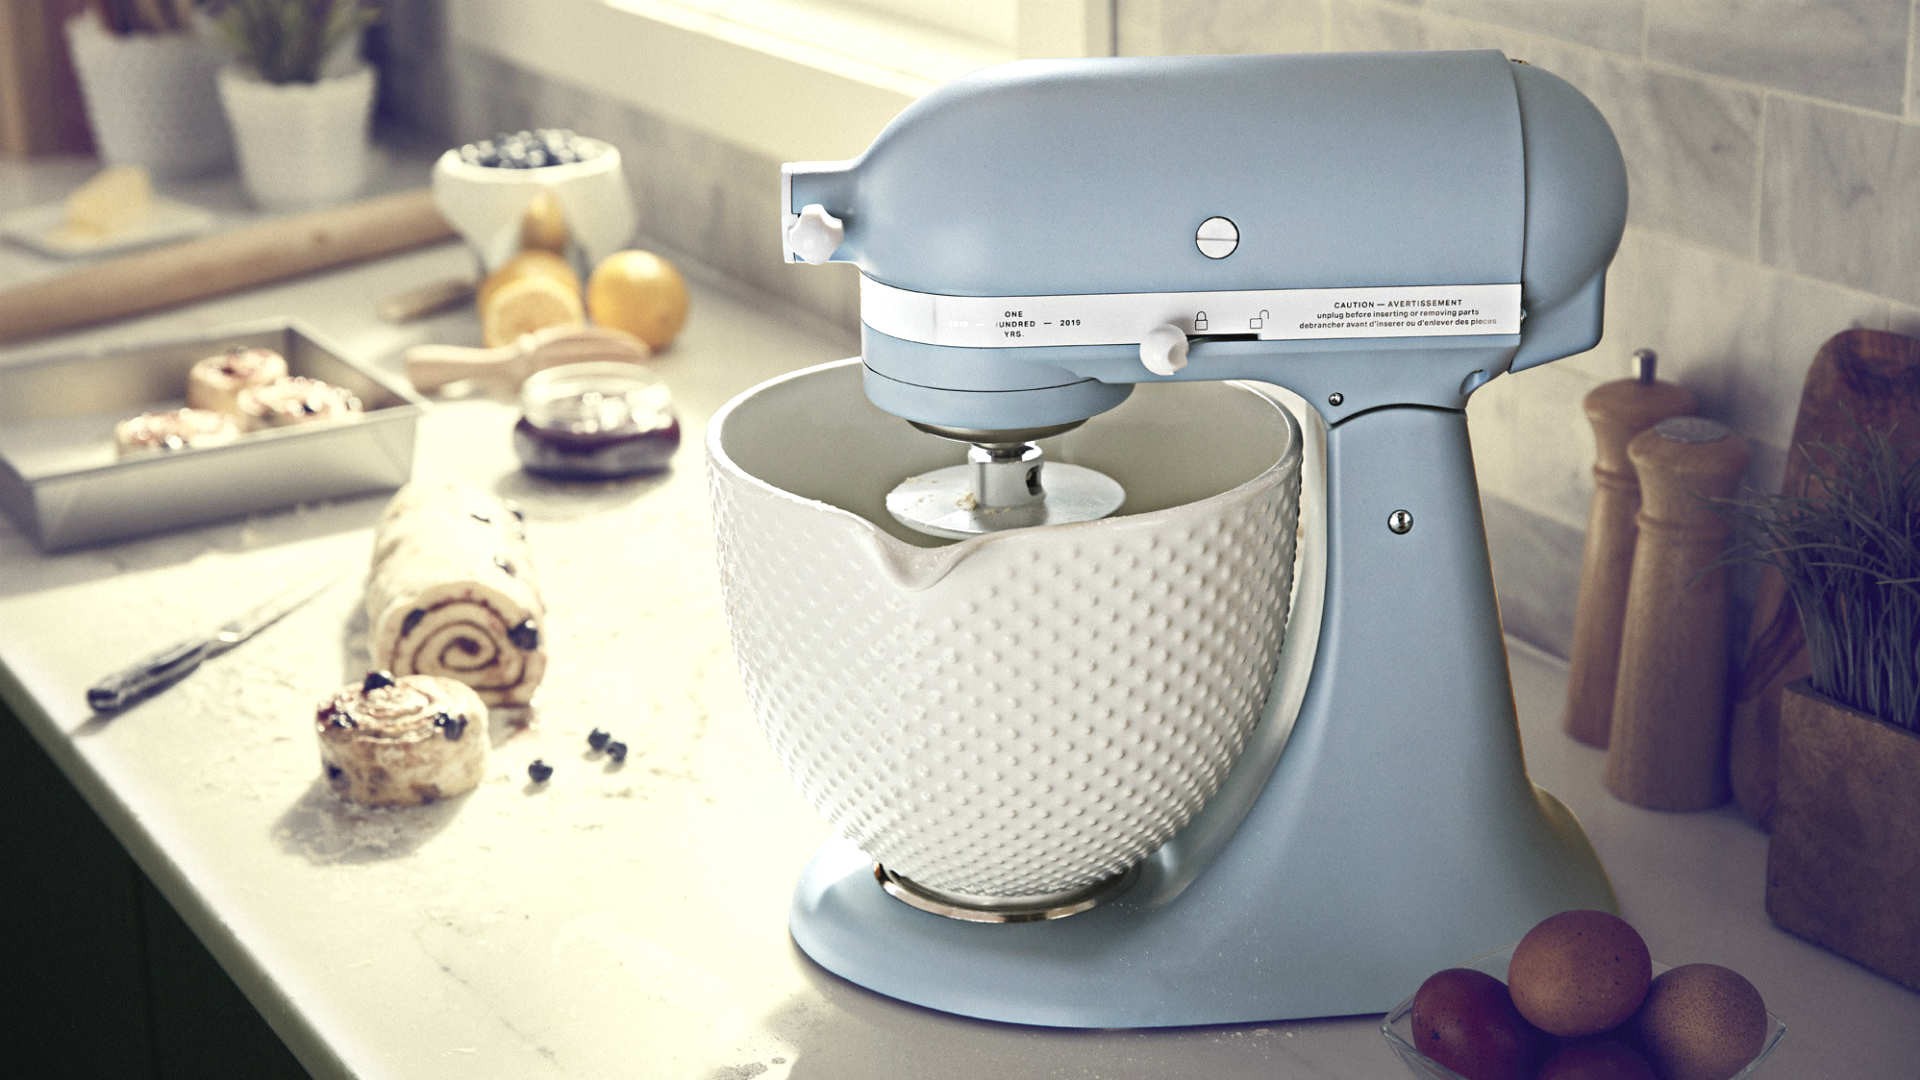
The Kitchenaid Mixer is a staple in many kitchens around the world. With its powerful motor and array of attachments, this versatile appliance can handle a wide range of culinary tasks. From baking to pasta-making, the Kitchenaid Mixer has become synonymous with innovation and reliability.
One of the standout features of the Kitchenaid Mixer is its planetary mixing action. This unique design ensures that ingredients are thoroughly mixed, minimizing the need for manual intervention. Whether you’re whipping up a batch of cookies or kneading dough for homemade bread, the Kitchenaid Mixer delivers consistent results every time.
Another key advantage of the Kitchenaid Mixer is its vast selection of attachments. From pasta rollers and spiralizers to ice cream makers and food processors, there’s an attachment for almost any kitchen task you can imagine. This modular design makes the Kitchenaid Mixer a true workhorse in the kitchen, capable of tackling multiple culinary endeavors with ease.
When it comes to quality and durability, the Kitchenaid Mixer is second to none. Crafted with robust materials and built to withstand heavy use, this appliance is designed to last. Its timeless and stylish design has stood the test of time, making it a beloved addition to any kitchen aesthetic.
Whether you’re a seasoned chef or a passionate home cook, the Kitchenaid Mixer offers endless possibilities. From basic mixing and blending to more advanced techniques like grinding meat, this appliance can handle it all. And with its user-friendly interface and intuitive controls, even novice cooks can confidently dive into the world of culinary exploration.
Now that we have a brief overview of the Kitchenaid Mixer, let’s explore the meat grinder attachment and learn how to use it to create delicious homemade ground meats.
Understanding the Meat Grinder Attachment
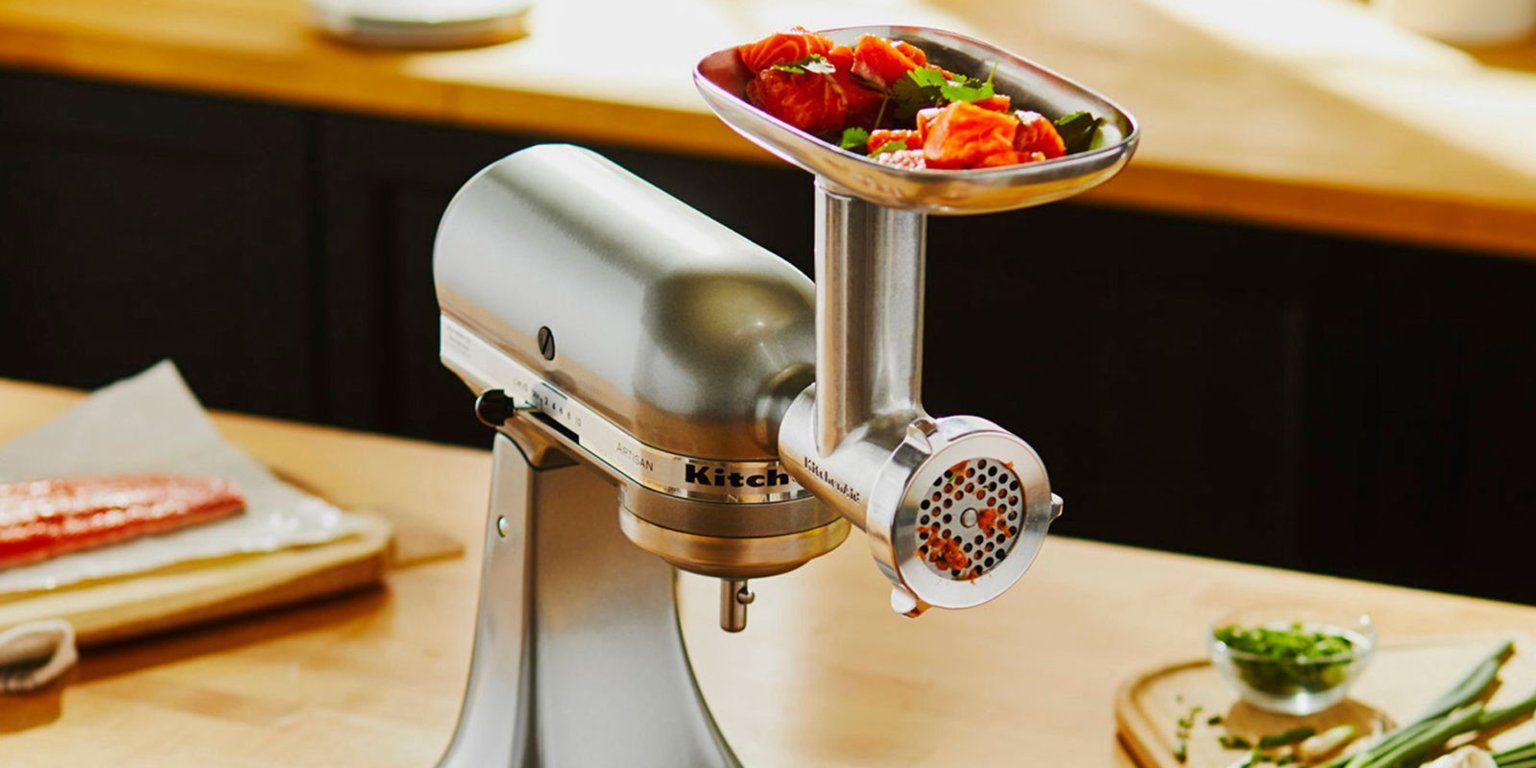
The meat grinder attachment for the Kitchenaid Mixer is a fantastic addition for those who want to take their culinary skills to the next level. This attachment consists of a grinder body, grinding plates, and a pusher. It is specifically designed to grind meat and create custom blends with ease.
There are two types of grinding plates that come with the meat grinder attachment – coarse and fine. The coarse plate is ideal for creating textured ground meats, perfect for recipes like burgers and meatballs. The fine plate, on the other hand, is great for producing a finer grind, suitable for recipes like sausages or pâtés.
The meat grinder attachment is made of durable materials such as stainless steel, ensuring long-lasting performance and easy cleaning. It is important to note that the meat grinder attachment is not dishwasher safe and should be hand washed to maintain its quality.
Before diving into the meat grinding process, it’s important to ensure that your meat is properly prepared. This means trimming off any excess fat, sinew, or connective tissues. Additionally, it’s recommended to cut the meat into smaller chunks that can fit into the feed tube of the meat grinder attachment.
Understanding the components and the proper preparation of the meat are essential steps in utilizing the meat grinder attachment effectively. Once you have a good grasp of these fundamentals, you’re ready to move on to the next step – setting up the meat grinder attachment on your Kitchenaid Mixer.
Setting up the Meat Grinder Attachment
Setting up the meat grinder attachment on your Kitchenaid Mixer is a straightforward process that requires a few simple steps. Here’s a step-by-step guide to help you get started:
- Start by ensuring that your Kitchenaid Mixer is turned off and unplugged for safety.
- Locate the attachment hub at the front of the mixer, where the attachments are connected.
- Remove any attachment that may already be connected to the hub by twisting it counterclockwise and lifting it off.
- Take the meat grinder attachment and align it with the attachment hub. Insert the square end of the attachment into the hub.
- Give the attachment a slight twist to the right until you feel and hear it click into place.
- Once the attachment is securely attached, you can proceed to the next step of preparing the meat for grinding.
It’s important to note that the meat grinder attachment should only be used on the low or medium-low speed settings of your Kitchenaid Mixer. Using a higher speed may cause strain on the motor and reduce the efficiency of the grinding process.
With the meat grinder attachment set up on your Kitchenaid Mixer, you’re now ready to move on to preparing the meat for grinding. This involves selecting the right cuts of meat, trimming them, and getting them ready to be fed into the meat grinder attachment. In the next section, we’ll delve into the details of preparing the meat for optimal grinding results.
Preparing the Meat for Grinding
Preparing the meat properly before grinding is crucial for achieving optimal results. Here are some steps to follow when preparing the meat for grinding:
- Start by selecting the right cuts of meat. Lean cuts like beef chuck, sirloin, or lamb shoulder work well for grinding. You can also combine different cuts to create custom blends.
- Ensure that the meat is properly chilled. Cold meat is easier to handle and reduces the risk of bacterial growth.
- Trim off any excess fat, sinew, or connective tissues from the meat. This helps prevent the grinder from clogging and ensures a smoother grinding process.
- Cut the meat into smaller chunks that can easily fit into the feed tube of the meat grinder attachment. This allows for consistent and efficient grinding.
- If desired, you can also add additional flavorings or seasonings to the meat at this stage. This can be as simple as adding salt and pepper or experimenting with herbs and spices to enhance the flavor of the ground meat.
Once the meat is properly prepared, you’re ready to feed it into the meat grinder attachment and start the grinding process. But before that, make sure the meat grinder attachment is securely set up on your Kitchenaid Mixer, as we discussed in the previous section.
By taking the time to properly prepare the meat, you’ll ensure smoother grinding, better texture, and optimal flavor in your ground meats. With your meat prepared and the meat grinder attachment set up, it’s time to move on to the next exciting step – grinding the meat with your Kitchenaid Mixer!
Make sure the meat is cold before grinding to prevent it from becoming mushy. Cut the meat into small chunks and use the coarse grinding plate for a better texture.
Attaching the Meat Grinder to the Kitchenaid Mixer
Now that you have prepared the meat, it’s time to attach the meat grinder to your Kitchenaid Mixer. Following these steps will ensure a secure and efficient attachment:
- Ensure that your Kitchenaid Mixer is turned off and unplugged.
- Take the prepared meat grinder attachment and align it with the attachment hub at the front of the mixer.
- Insert the square end of the attachment into the attachment hub.
- Gently twist the attachment to the right until it clicks into place and feels securely attached.
- Once attached, you can now plug in your Kitchenaid Mixer and get ready to start grinding!
It’s important to note that the meat grinder attachment should only be used with the low or medium-low speed settings of the Kitchenaid Mixer. Using a higher speed can strain the motor and affect the grinding efficiency.
With the meat grinder attachment securely attached to your Kitchenaid Mixer, you’re now ready to move on to the exciting step of grinding the meat. Prepare yourself for the aroma of freshly ground meat filling your kitchen!
Grinding the Meat
Grinding meat with the Kitchenaid Mixer and the meat grinder attachment is a straightforward process that allows you to create custom blends and achieve the desired texture for your ground meats. Follow these steps to grind the meat effectively:
- Ensure that your Kitchenaid Mixer is plugged in and turned on.
- Attach the meat tray to the top of the meat grinder attachment. This will catch the ground meat as it comes out.
- Fit the desired grinding plate onto the grinder body. Use the coarse plate for textured ground meats, and the fine plate for a smoother grind.
- Take the prepared chunks of meat and feed them into the feed tube of the meat grinder attachment.
- Use the pusher to gently push the meat down into the grinder. Avoid applying excessive force to prevent any strain on the motor.
- As the meat passes through the grinder, it will be expelled through the grinding plate and collected in the meat tray.
- Continue feeding the meat into the grinder until all the meat has been processed.
It is important to maintain a steady and consistent pace when feeding the meat into the grinder. This ensures even grinding and prevents any clogging or jamming.
Once the meat has been ground, you can use it immediately in your recipes or store it in the refrigerator or freezer for later use. The freshly ground meat will add a depth of flavor and texture to your dishes that cannot be replicated with store-bought ground meat.
With the grinding process complete, it’s time to move on to the final steps of cleaning and maintaining your meat grinder attachment to ensure its longevity and optimal performance.
Cleaning and Maintenance of the Meat Grinder Attachment
Proper cleaning and maintenance of your meat grinder attachment is essential to keep it in good working condition and ensure food safety. Here are some steps to follow when cleaning and maintaining the attachment:
- Unplug the Kitchenaid Mixer and detach the meat grinder attachment from the mixer by twisting it counterclockwise.
- Disassemble the meat grinder attachment by removing the grinding plates, blade, and other removable parts.
- Wash all the removable parts in warm, soapy water. Use a brush or sponge to thoroughly clean any meat residues or grease. Rinse them well and ensure they are completely dry before storing or reassembling.
- Wipe the motor housing of the meat grinder attachment with a damp cloth, being careful not to immerse it in water or other liquids.
- Regularly lubricate the moving parts of the meat grinder attachment with food-grade lubricant to ensure smooth operation. Refer to the manufacturer’s instructions for the appropriate lubrication process.
It’s important to note that the meat grinder attachment is not dishwasher safe and should always be hand washed to prevent damage. Additionally, avoid using abrasive cleaners or harsh chemicals, as they can affect the quality and performance of the attachment.
When not in use, store the clean and dry meat grinder attachment in a safe and dry place, away from moisture or extreme temperatures. This will help prolong its lifespan and maintain its functionality for years to come.
By following these cleaning and maintenance practices, you can ensure that your meat grinder attachment remains in excellent condition, providing you with consistent and reliable performance whenever you need it.
Now that you know how to properly clean and maintain your meat grinder attachment, let’s explore some helpful tips and tricks to enhance your meat grinding experience!
Tips and Tricks for Using the Meat Grinder
Using the meat grinder attachment on your Kitchenaid Mixer opens up a world of culinary possibilities. To make the most out of this versatile tool, here are some tips and tricks to enhance your meat grinding experience:
- Choose the right cuts of meat: Opt for cuts of meat with a good balance of fat and lean meat for the best flavor and texture.
- Keep the meat chilled: Cold meat is easier to handle and helps maintain food safety. Place the meat in the refrigerator for about 30 minutes before grinding.
- Alternate fatty and lean meats: If you’re looking to create blends with different fat percentages, consider alternating between fatty and lean cuts of meat to achieve the desired result.
- Freeze partially: If you’re grinding particularly lean cuts of meat, consider partially freezing them to improve the grinding process and prevent mushy textures.
- Grind in batches: Avoid overloading the meat grinder by feeding in small batches of meat at a time. This ensures better control and consistency in the grinding process.
- Chill the grinder components: For optimal results, place the grinder body, grinding plates, and blade in the freezer for a few minutes before grinding. Cold components help maintain the texture of the meat during the grinding process.
- Clean as you go: To prevent the buildup of grime and make cleaning easier, remove any meat residues from the meat grinder attachment right after use.
- Experiment with seasonings: Add your favorite herbs, spices, or seasonings to the meat before grinding to infuse more flavor into your ground meats.
- Customize the grind: By using different grinding plates, you can achieve a variety of textures ranging from coarse to fine. Experiment with different plate sizes to find the perfect grind for your recipes.
- Utilize the sausage stuffer attachment: If your meat grinder attachment comes with a sausage stuffer attachment, try making your own sausages using fresh ground meat. It’s a fun and rewarding process.
By applying these tips and tricks, you can elevate your meat grinding skills and create delicious, custom blends of ground meat to enhance your favorite recipes.
With all these insights at your disposal, you’re now equipped to confidently use the meat grinder attachment on your Kitchenaid Mixer. Enjoy the process of grinding your own meat and savor the flavors and textures that result from your culinary creations!
Conclusion
Using the meat grinder attachment on your Kitchenaid Mixer allows you to take control of your culinary adventures and unleash your creativity in the kitchen. From custom blends of ground meats to flavorful sausages, the possibilities are endless with this versatile attachment.
Throughout this article, we’ve explored the process of using the meat grinder attachment step by step. We’ve discussed setting up the attachment, preparing the meat for grinding, attaching the attachment to the Kitchenaid Mixer, the actual grinding process, and the importance of cleaning and maintenance.
By following these instructions and incorporating the tips and tricks, you can achieve perfectly ground meat with the desired texture and flavor. You can embrace the art of culinary exploration and create dishes that truly reflect your taste preferences.
Remember, the Kitchenaid Mixer with the meat grinder attachment is not just a kitchen appliance, but a gateway to experimentation and culinary excellence. Take advantage of this powerful tool and elevate your cooking and baking endeavors to new heights.
So, it’s time to unleash your inner chef, starting with the meat grinder attachment on your Kitchenaid Mixer. Grind your own meats, experiment with flavors, and wow your family and friends with your homemade creations.
Get ready to embark on a culinary journey filled with delectable flavors, tantalizing aromas, and the satisfying satisfaction that comes from preparing meals with your own hands. Embrace the possibilities and let the meat grinder attachment on your Kitchenaid Mixer be your guide to culinary greatness!
Happy grinding!
Frequently Asked Questions about How To Use Meat Grinder On Kitchenaid Mixer
Was this page helpful?
At Storables.com, we guarantee accurate and reliable information. Our content, validated by Expert Board Contributors, is crafted following stringent Editorial Policies. We're committed to providing you with well-researched, expert-backed insights for all your informational needs.



0 thoughts on “How To Use Meat Grinder On Kitchenaid Mixer”