Home>Articles>How To Make Chapati Dough In A Kitchenaid Mixer

Articles
How To Make Chapati Dough In A Kitchenaid Mixer
Modified: February 28, 2024
Learn how to make chapati dough in a Kitchenaid mixer with this step-by-step guide. Follow our articles for more helpful cooking tips and techniques.
(Many of the links in this article redirect to a specific reviewed product. Your purchase of these products through affiliate links helps to generate commission for Storables.com, at no extra cost. Learn more)
Introduction
Chapati, also known as roti or Indian bread, is a popular and versatile staple in many households. Made from whole wheat flour, chapatis are a nutritious and wholesome addition to any meal. Traditionally, chapati dough is made by painstakingly kneading the flour and other ingredients by hand. However, with the help of a Kitchenaid mixer, you can easily and efficiently prepare chapati dough in no time.
Using a Kitchenaid mixer to make chapati dough offers several advantages. It saves time and effort, allowing you to multitask and focus on other aspects of your meal preparation. The mixer ensures a consistent and uniform texture, resulting in smooth and well-blended dough. Whether you are a seasoned cook or a beginner in the kitchen, using a Kitchenaid mixer will simplify the process and help you achieve professional results.
In this article, we will guide you through the step-by-step process of making chapati dough using a Kitchenaid mixer. We will also provide tips and insights to optimize the use of this versatile kitchen tool. So let’s dive in and learn how to make chapati dough in a Kitchenaid mixer!
Key Takeaways:
- Enjoy the convenience and efficiency of making chapati dough in a Kitchenaid mixer, saving time and effort while ensuring consistent, soft, and flavorful results for your homemade chapatis.
- Elevate your culinary skills and impress your loved ones with perfectly cooked chapatis made with love, using a Kitchenaid mixer to simplify the process and create versatile, aromatic Indian bread.
Read more: How To Make Dough In A Kitchenaid Mixer
Ingredients
Making chapati dough in a Kitchenaid mixer requires a few simple and readily available ingredients. Here’s what you’ll need:
- 2 cups of whole wheat flour
- 1 teaspoon of salt
- 1 tablespoon of oil or ghee (clarified butter)
- Approximately 1 cup of water (adjust as needed)
- Optional: additional spices or herbs for flavor (such as cumin, coriander, or fenugreek)
The key ingredient, whole wheat flour, provides the foundation for the chapati dough. Its nutty flavor and high fiber content make it a healthier alternative to refined flour. Salt adds flavor and helps to enhance the overall taste of the chapatis.
Oil or ghee acts as a binder and adds moisture to the dough. It also contributes to the soft and pliable texture of the chapatis. You can use any cooking oil of your choice, but traditionally, ghee is preferred for its rich and aromatic flavor.
The amount of water needed may vary depending on factors such as humidity and the quality of the flour. Start with 1 cup of water and gradually add more as needed to achieve the desired consistency for the dough.
Lastly, you can customize the flavor of your chapati dough by adding optional spices or herbs. This step is completely optional and can be adjusted to suit individual preferences.
Now that we have our ingredients ready, let’s move on to the equipment needed for making chapati dough in a Kitchenaid mixer.
Equipment
To make chapati dough using a Kitchenaid mixer, you will need the following equipment:
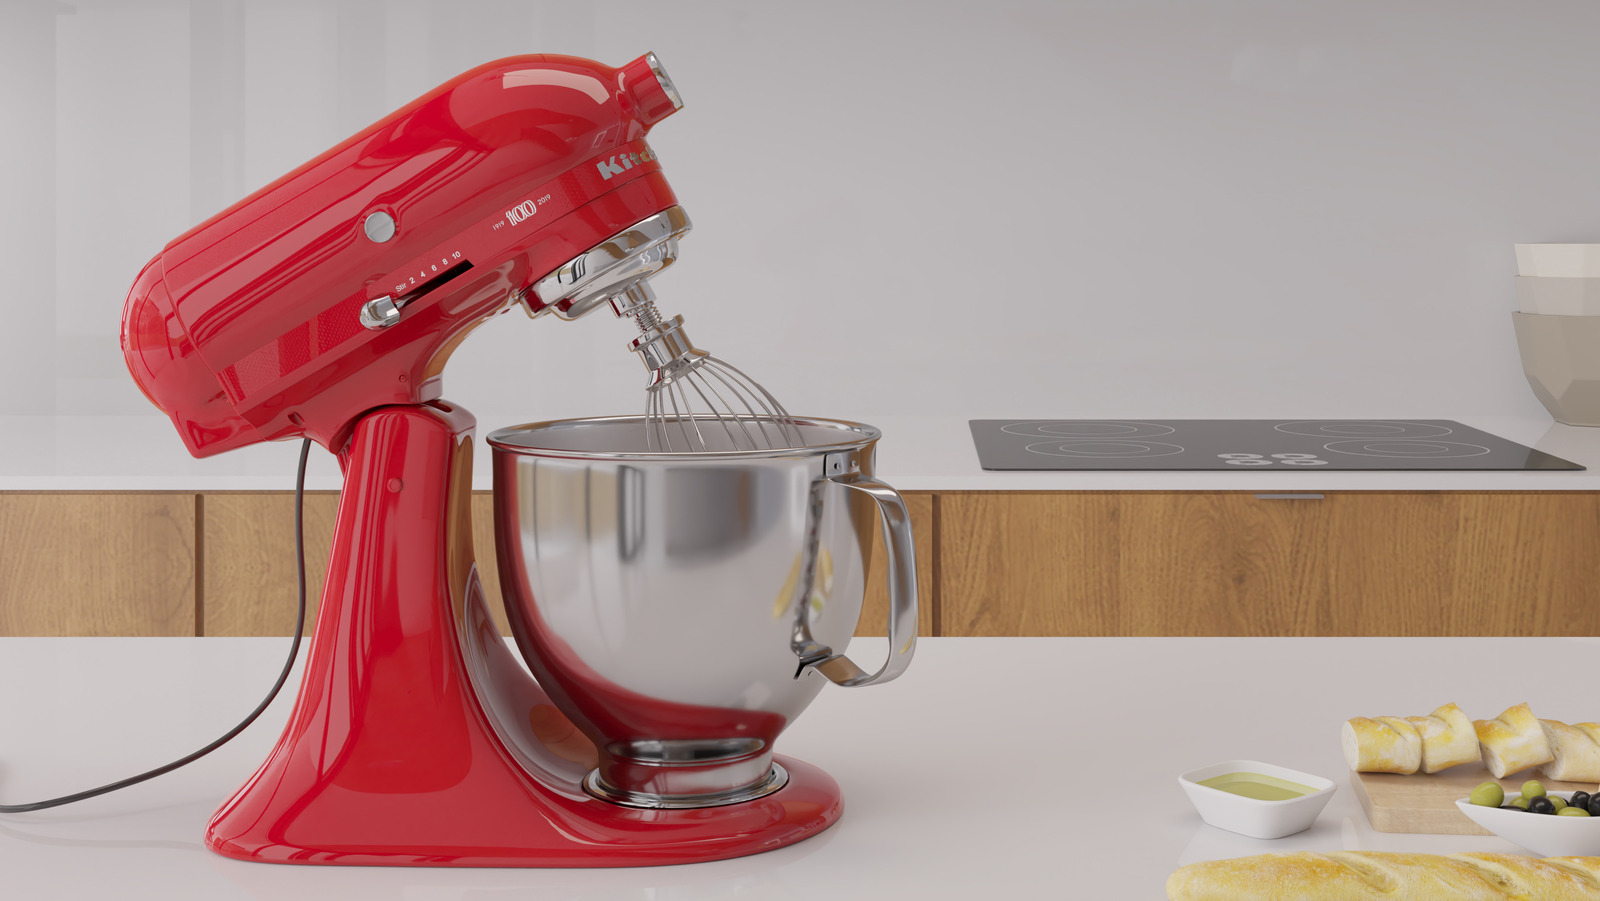
- A Kitchenaid stand mixer with a dough hook attachment
- A large mixing bowl
- A measuring cup and spoons
- A clean, flat surface for rolling out the dough
- A rolling pin
- A clean kitchen towel or plastic wrap to cover the dough
- A tawa or a flat griddle for cooking the chapatis
- A spatula or tongs to flip the chapatis while cooking
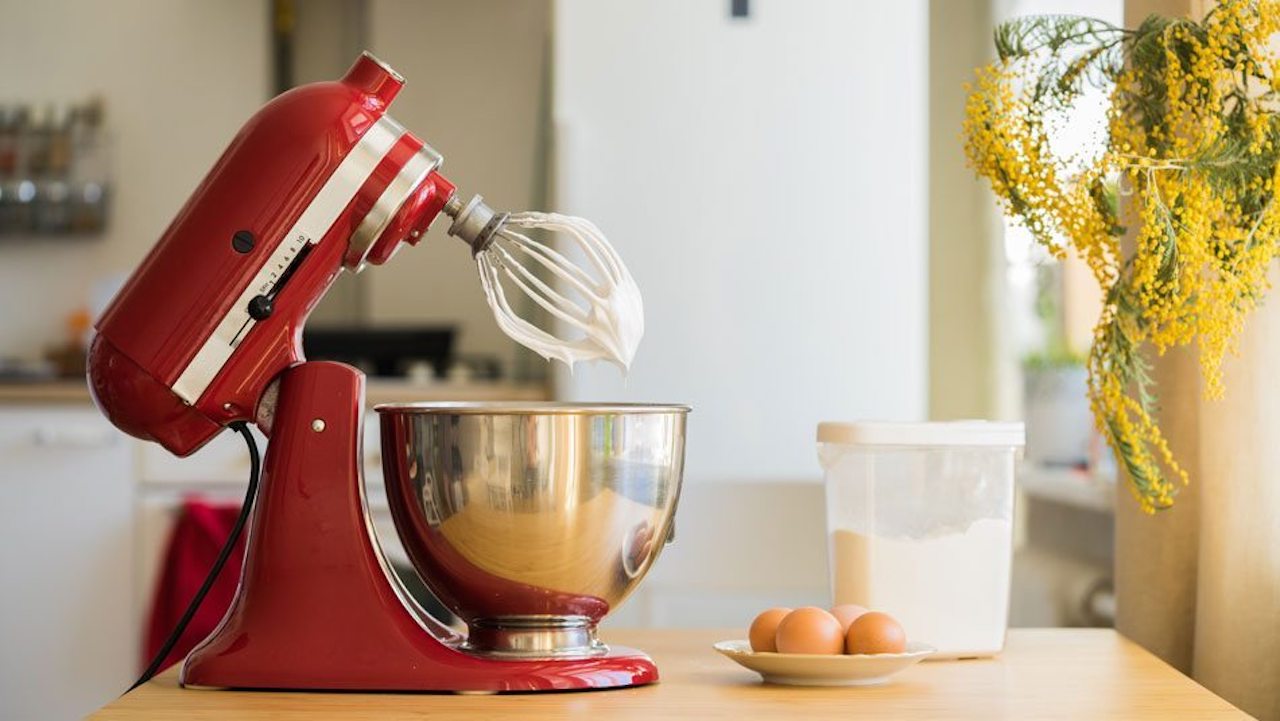
The Kitchenaid stand mixer is the star of this process. It comes with a dough hook attachment, which is specifically designed for mixing and kneading dough. The powerful motor and consistent speed of the mixer ensure that your chapati dough is thoroughly mixed and properly kneaded, saving you time and effort compared to kneading by hand.
A large mixing bowl is necessary to hold the ingredients as they mix together in the Kitchenaid mixer. Make sure to choose a bowl that is large enough to accommodate the quantity of flour and other ingredients to prevent any spillage.
Measuring cups and spoons are crucial for accurately measuring the ingredients. Precision in measuring is important to maintain the right balance of flavors and textures in the chapati dough.
A clean, flat surface such as a kitchen countertop or a wooden board is needed for rolling out the chapati dough. Ensure that the surface is clean and lightly dusted with flour to prevent the dough from sticking and making it easier to roll out.
A rolling pin is an essential tool for flattening the chapati dough into thin, round discs. It should be smooth, clean, and slightly tapered at the ends to ensure even rolling and a consistent thickness.
A clean kitchen towel or plastic wrap is used to cover the dough while it rests. This helps to prevent the dough from drying out and forming a crust during the resting period.
A tawa or a flat griddle is used for cooking the chapatis over medium-high heat. It should be large enough to accommodate the size of the chapatis and have a non-stick surface for easy flipping.
Lastly, a spatula or tongs are necessary for flipping the chapatis while cooking. These tools help to ensure even cooking and prevent any burning or uneven browning.
Now that we have all the necessary equipment ready, let’s move on to the step-by-step process of making chapati dough using a Kitchenaid mixer.
Step 1: Measure the Flour
The first step in making chapati dough using a Kitchenaid mixer is to measure the required amount of whole wheat flour. For this recipe, we’ll use 2 cups of whole wheat flour.
To measure the flour accurately, use a measuring cup specifically designed for dry ingredients. Gently spoon the flour into the measuring cup, leveling off any excess with a straight edge, such as the back of a knife.
It’s important to avoid packing the flour into the measuring cup, as it can lead to an inaccurate measurement and affect the texture of the dough. The goal is to have a light and airy cup of flour.
Once you have measured the flour, transfer it into a large mixing bowl. This will be the starting point for combining all the ingredients and mixing them together in the Kitchenaid mixer.
Now that the flour is measured and ready, it’s time to move on to the next step: adding salt and any optional ingredients.
Step 2: Add Salt and Optional Ingredients
In this step, we’ll add salt to the measured flour and consider adding any optional ingredients for added flavor to the chapati dough.
Start by adding 1 teaspoon of salt to the flour in the mixing bowl. The salt helps to enhance the flavor of the chapatis and brings out the natural taste of the whole wheat flour.
If you wish to experiment with different flavors, this is also the step where you can add optional ingredients. For example, you can add 1 teaspoon of ground cumin or coriander powder to infuse a subtle aromatic touch to your chapatis. You can also add a pinch of fenugreek leaves or any other herbs of your choice for added depth of flavor.
The addition of optional ingredients is entirely based on personal preference, and you can skip this step if you prefer plain chapatis. However, adding these spices or herbs can elevate the taste and aroma of your chapati dough, making it more interesting and flavorful.
Once the salt and any optional ingredients are added to the flour in the mixing bowl, it’s time to move on to the next step: mixing the dry ingredients together.
Step 3: Mix the Dry Ingredients
Now that the salt and any optional ingredients are added to the flour, it’s time to mix the dry ingredients together. This step ensures that the salt and any optional spices or herbs are evenly distributed throughout the flour.
Using a spoon or your clean hands, gently mix the dry ingredients in the mixing bowl. Make sure the salt and optional ingredients are well incorporated with the flour.
The purpose of this step is to ensure that each chapati will have a consistent flavor profile. You don’t want one chapati to be saltier or have a stronger taste of the optional ingredients compared to the others.
Give the dry ingredients a good mix until they are evenly combined. This step will only take a few moments and prepares the flour for the next steps of adding oil or ghee and gradually incorporating water.
Now that the dry ingredients are well mixed, let’s move on to the next step: adding oil or ghee to the dough.
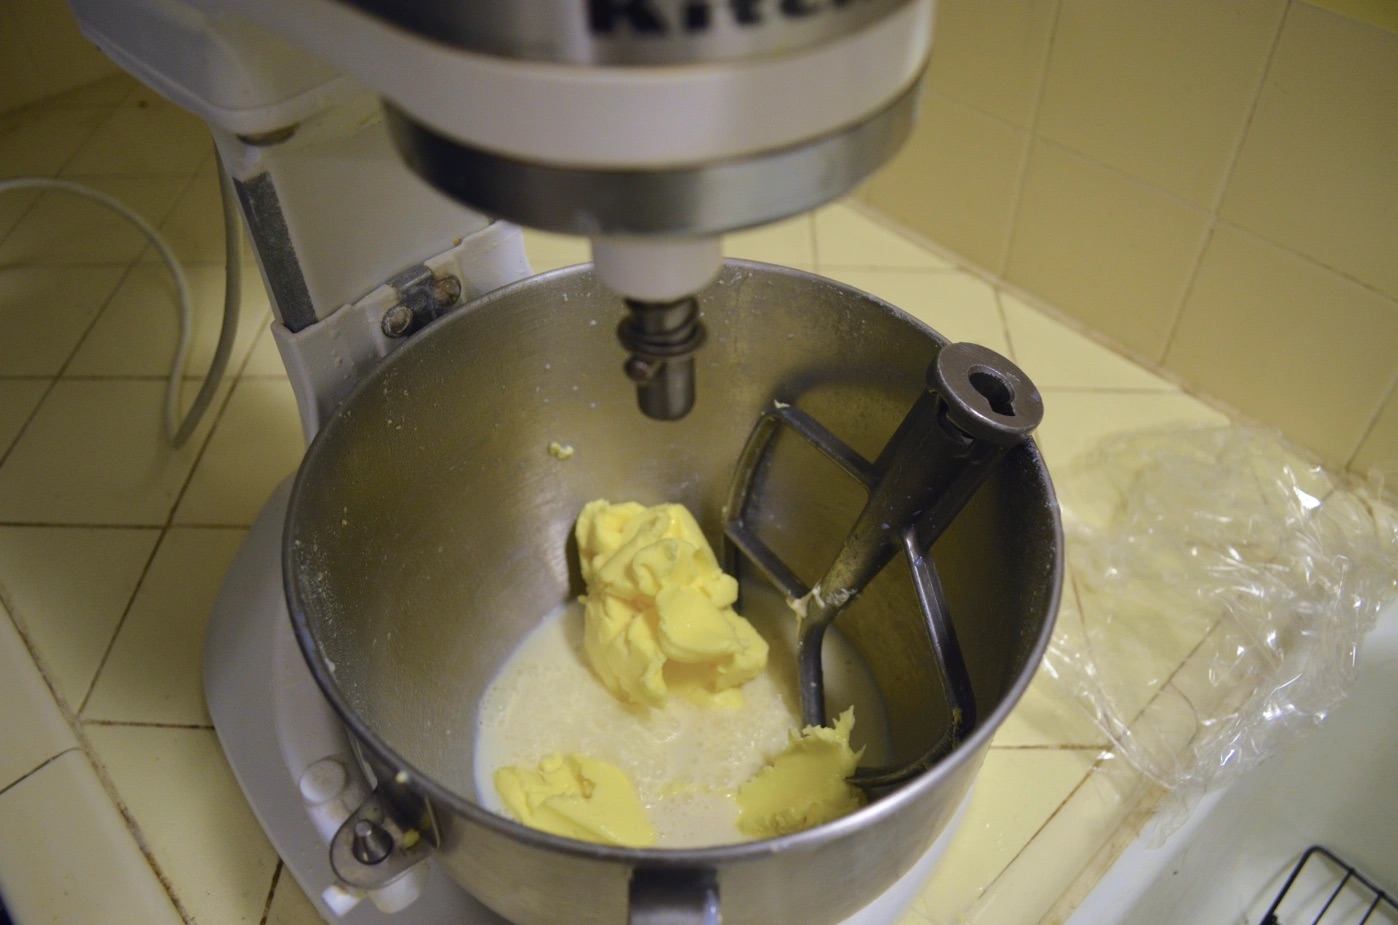
Step 4: Add Oil or Ghee
In this step, we will add oil or ghee to the dry ingredients in the mixing bowl. The oil or ghee acts as a binding agent and adds moisture to the chapati dough.
Measure 1 tablespoon of oil or ghee and pour it over the dry ingredients in the mixing bowl. You can use any cooking oil of your choice, such as vegetable oil or olive oil. However, for an authentic and rich flavor, ghee (clarified butter) is traditionally preferred.
The addition of oil or ghee makes the chapati dough more pliable and easier to work with. It also contributes to the soft and tender texture of the cooked chapatis.
Using your hands or a spoon, mix the oil or ghee with the dry ingredients until they are well combined. The mixture may resemble coarse crumbs, and that’s perfectly normal.
Make sure the oil or ghee is evenly distributed throughout the dry ingredients. This will help to ensure that every bite of the chapati has a consistent texture and flavor.
Now that the oil or ghee is added, it’s time to move on to the next step: gradually adding water to form the chapati dough.
When making chapati dough in a KitchenAid mixer, start by using the dough hook attachment and gradually adding water to the flour until a smooth and elastic dough forms. Avoid adding too much water at once to prevent the dough from becoming too sticky.
Step 5: Gradually Add Water
Now that the oil or ghee is mixed with the dry ingredients, it’s time to gradually add water to bring the chapati dough together. Adding water gradually helps control the consistency of the dough and ensures it doesn’t become too wet or sticky.
Start by pouring approximately 1/2 cup of water into the mixing bowl. Using a spoon or your hands, mix the water into the flour mixture. The goal is to create a shaggy dough that starts to come together.
Continue adding water in small increments, about a tablespoon at a time, while mixing the dough. This will give you better control over the texture and prevent the dough from becoming too wet.
The exact amount of water needed may vary depending on factors such as the humidity in your kitchen and the quality of the flour. The goal is to achieve a soft and slightly sticky dough that holds together when gently pressed.
As you add water and mix the dough, you may notice that the mixture starts to form a ball and pulls away from the sides of the bowl. This is a good sign that the dough is coming together properly.
If the dough becomes too dry or crumbly, add a little more water, a teaspoon at a time, until you reach the desired consistency. Conversely, if the dough becomes too wet or sticky, add a sprinkle of flour and knead it in until the dough firms up.
Remember to be patient and add water gradually, adjusting as needed, to achieve the perfect texture for your chapati dough.
Once the water is added and the dough comes together, it’s time to move on to the next step: kneading the dough using a Kitchenaid mixer.
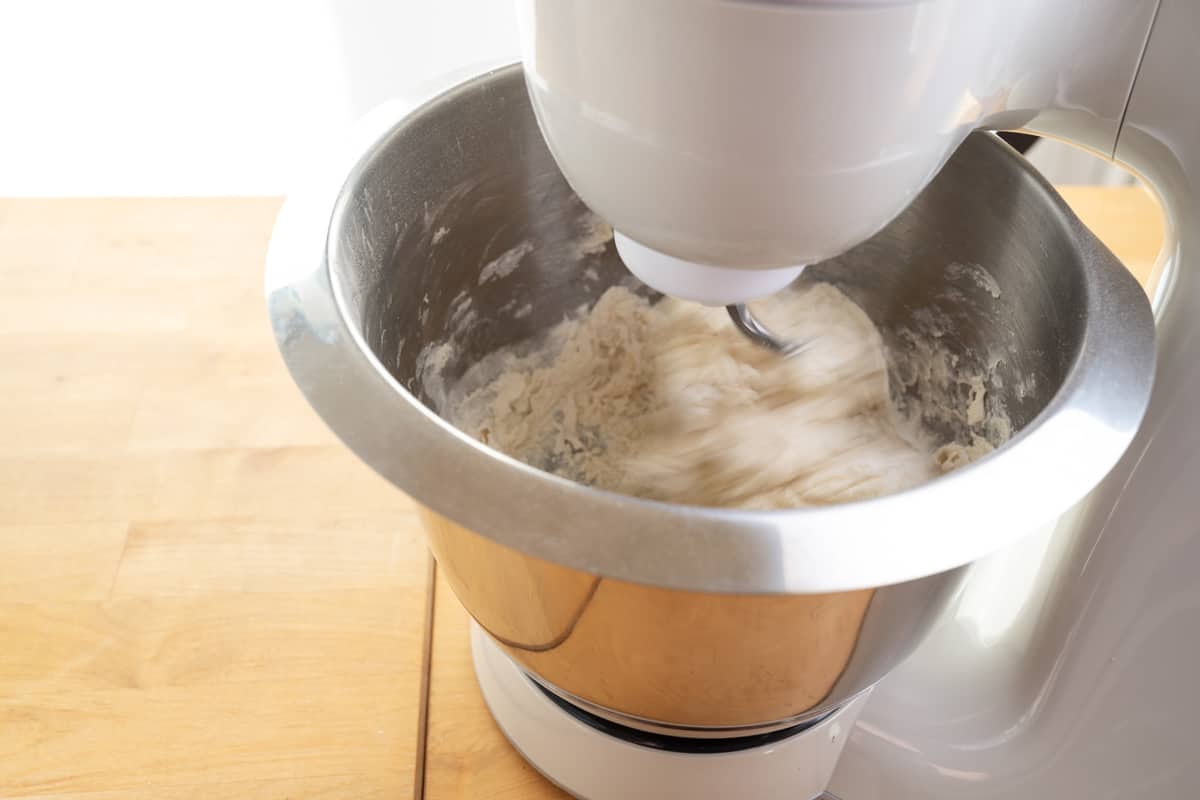
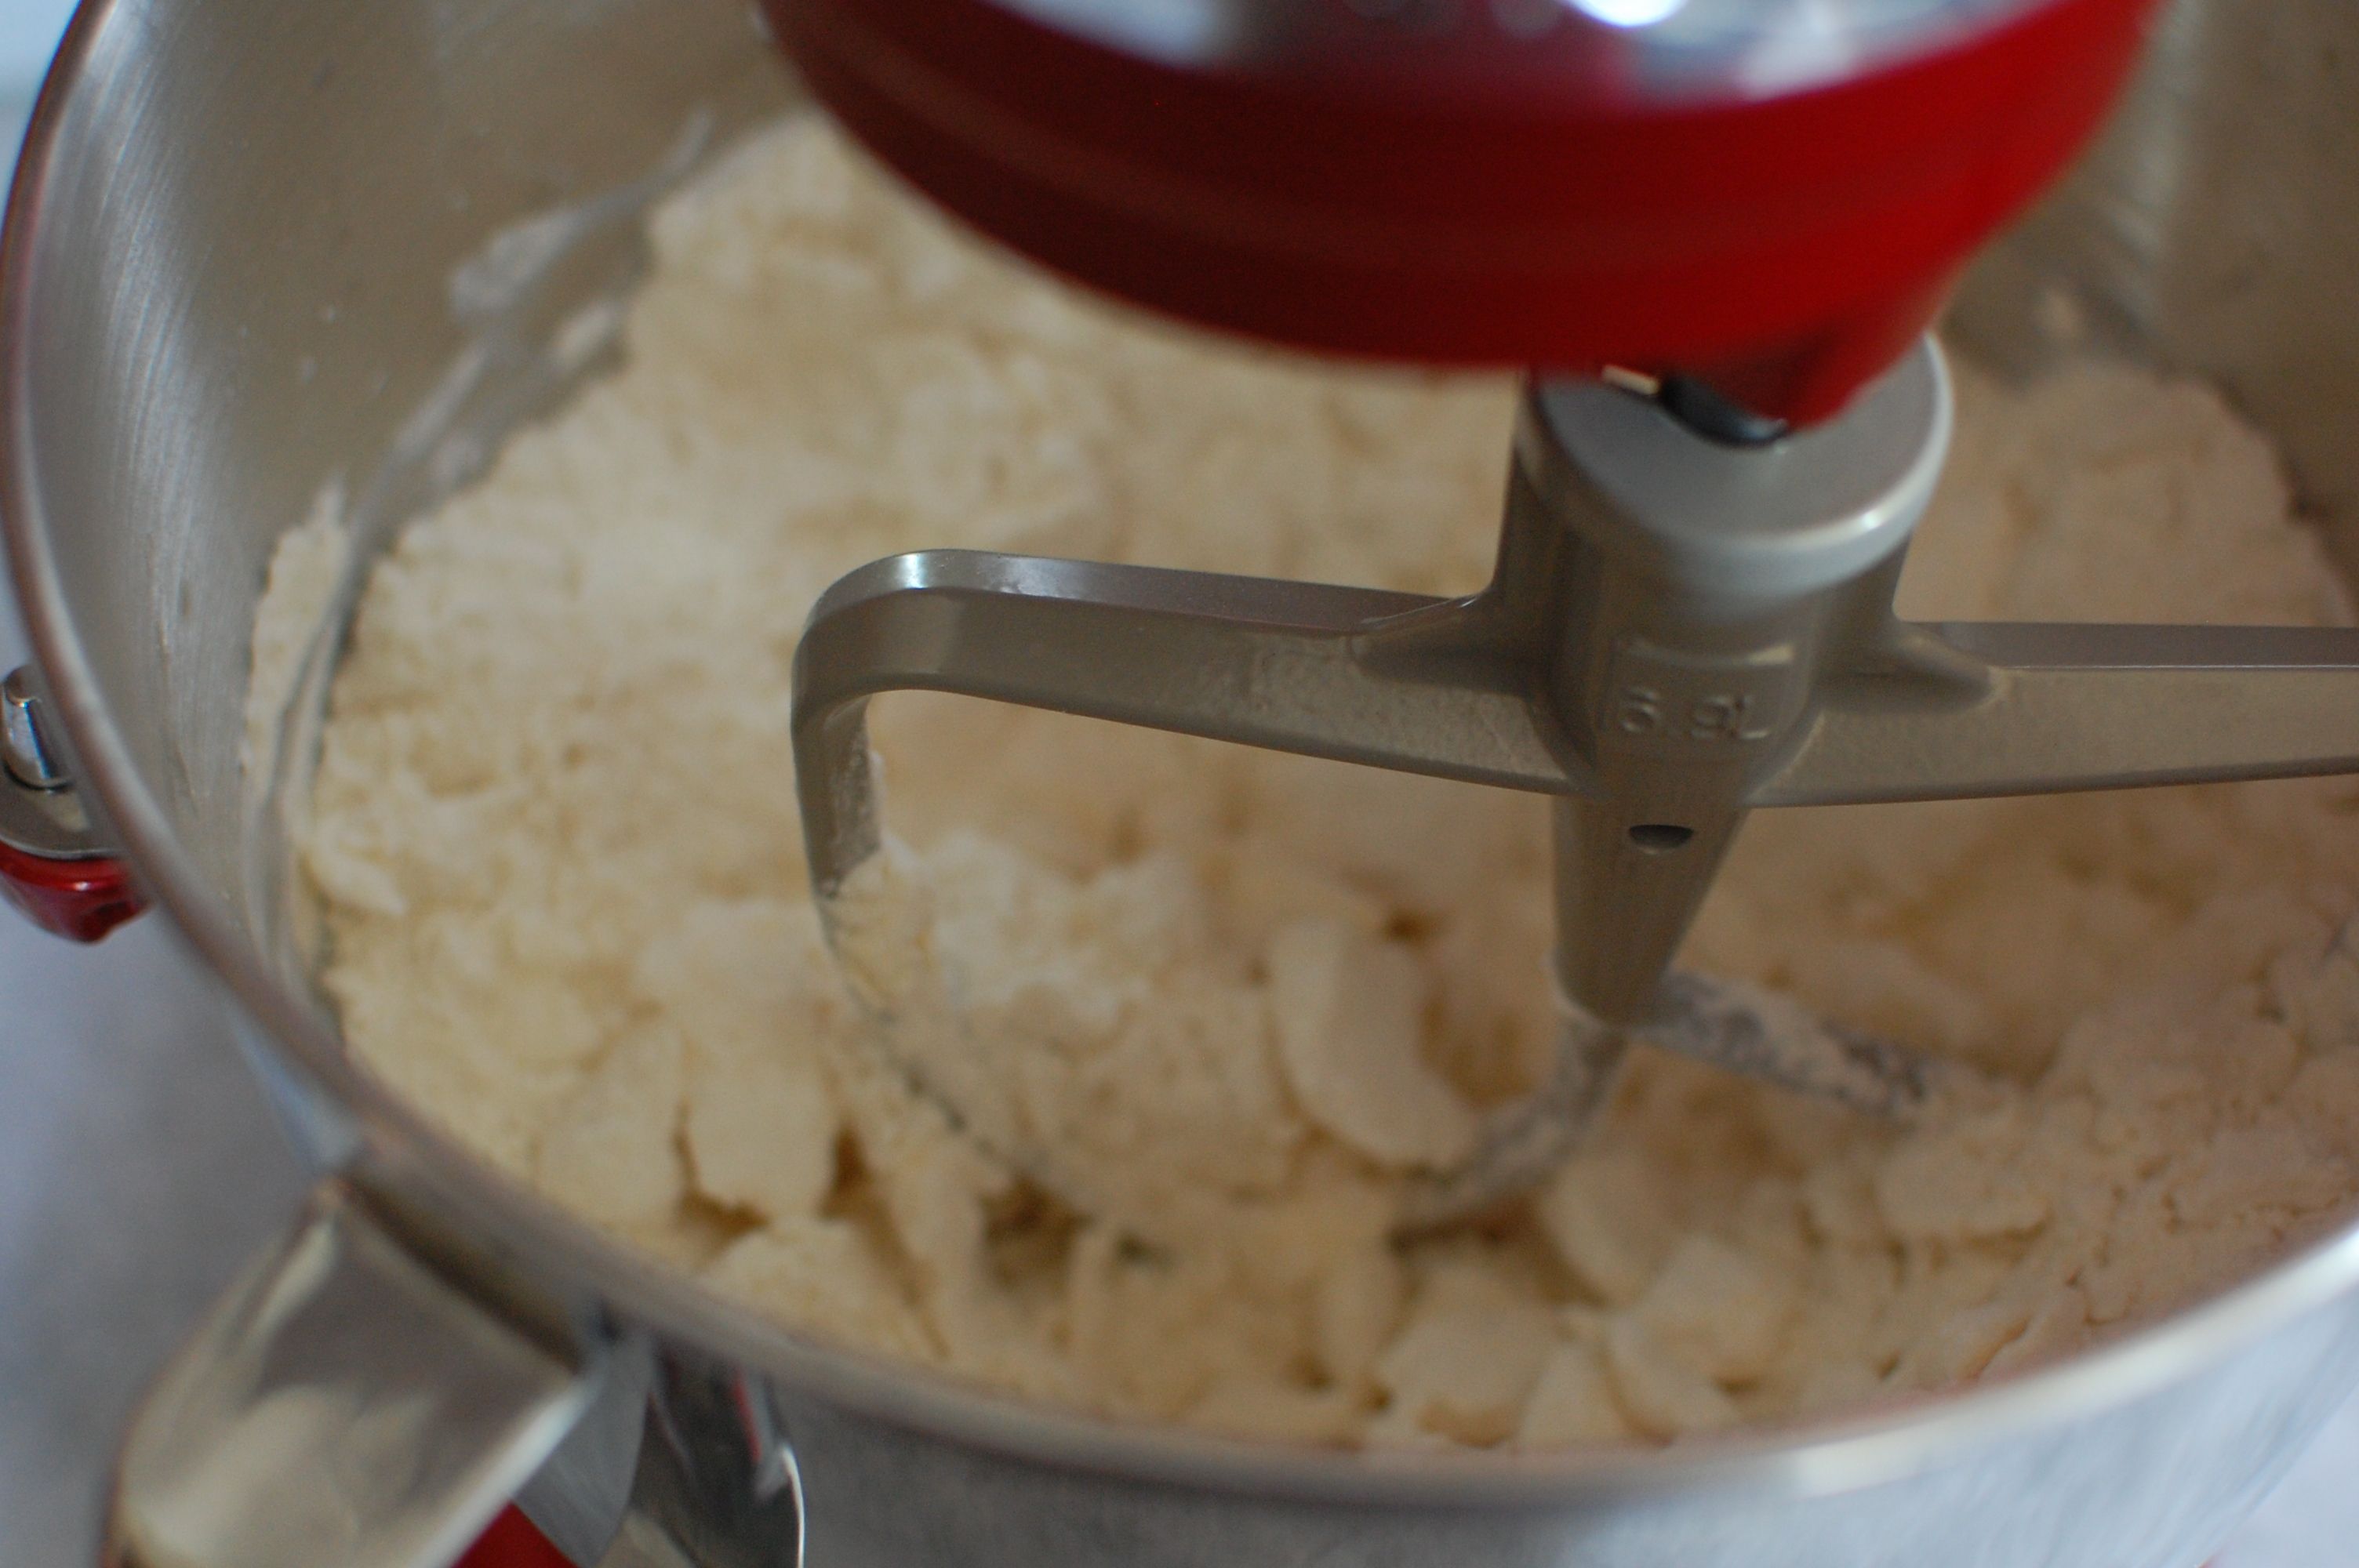
Step 6: Knead the Dough
With the chapati dough coming together, it’s time to knead it to develop elasticity and achieve a smooth texture. Kneading helps to activate the gluten in the flour, resulting in soft and pliable chapatis.
Attach the dough hook attachment to your Kitchenaid mixer and adjust the speed to medium-low. Slowly add the chapati dough to the mixing bowl and let the mixer do the work.
Allow the dough to knead for about 5-7 minutes or until it becomes smooth and elastic. The dough will form a ball and start to clean the sides of the mixing bowl as it kneads. This indicates that gluten is developing properly and the dough is being kneaded evenly.
Keep a watchful eye on the dough as it kneads, and if it looks too dry or crumbly, you can add a tablespoon of water at a time to moisten it. Similarly, if the dough appears too wet or sticky, sprinkle in a little flour to balance the consistency.
As the dough kneads, you may need to scrape down the sides of the mixing bowl occasionally to ensure all the flour is evenly incorporated. Use a spatula or a scraper to do this gently while the mixer is still running.
It’s important not to over-knead the dough as this can result in tough chapatis. Once the dough is smooth, elastic, and no longer sticking to the sides of the bowl, it is ready. Remove the dough from the mixing bowl and let’s move on to the next step: resting the dough.
Read more: How To Make Chapati Dough In Food Processor
Step 7: Rest the Dough
After kneading the chapati dough, it’s important to let it rest to allow the gluten to relax and the flavors to meld together. Resting the dough also makes it easier to roll out and results in softer and fluffier chapatis.
Transfer the kneaded dough to a clean, lightly floured surface. Shape it into a smooth ball by tucking the edges underneath. This helps create tension on the surface, which will make it easier to roll out later.
Place the dough ball back into the mixing bowl and cover it with a clean kitchen towel or plastic wrap. This will prevent the dough from drying out and forming a crust while it rests.
Let the dough rest for at least 30 minutes, but preferably up to an hour. This resting period allows the gluten strands to relax, making the dough easier to roll and stretch. It also allows the moisture to distribute evenly, resulting in soft and pliable chapatis.
While the dough is resting, you can take this time to prepare other components of your meal, such as the accompanying curries or side dishes.
After the resting period, the dough will be smoother and easier to work with. Now it’s time to move on to the next step: dividing the dough into smaller portions.
Step 8: Divide the Dough
Once the chapati dough has rested, it’s time to divide it into smaller portions. Dividing the dough makes it easier to roll out individual chapatis and ensures consistent sizes for even cooking.
Start by removing the rested dough from the mixing bowl and placing it on a clean, lightly floured surface. Use a sharp knife or a bench scraper to cut the dough into equal-sized pieces, depending on how many chapatis you want to make.
A common size for each dough portion is approximately the size of a golf ball or slightly larger. However, you can adjust the size to your preference, keeping in mind that smaller portions are easier to handle and roll out.
As you cut each portion, set it aside and cover it with the kitchen towel or plastic wrap to prevent drying.
If you plan to make a large number of chapatis, it may be helpful to divide the dough into batches and work with one portion at a time while keeping the rest covered.
Dividing the dough into smaller portions allows for easier handling during the rolling and cooking process. Now that the dough is divided, it’s time to move on to the next step: rolling the dough balls into chapatis.
Step 9: Roll the Dough Balls
With the dough divided into individual portions, it’s time to roll them out into thin and round chapatis. Rolling the dough balls evenly ensures that the chapatis cook uniformly and have a nice, fluffy texture.
Take one dough ball and flatten it slightly with your palm. Dust it with flour to prevent sticking, both on the rolling surface and on the dough ball itself.
Using a rolling pin, start rolling the dough ball from the center outward, applying gentle and even pressure. Rotate the dough as you roll to maintain a circular shape.
Aim to roll the chapati into a round disc of approximately 6 inches in diameter. However, the size can be adjusted to your preference, keeping in mind that smaller chapatis are easier to handle during cooking.
Take care not to roll the chapati too thin, as it may become difficult to handle and might tear while cooking. Aim for a thickness of around 1/8 inch or slightly thinner.
If the dough starts sticking to the rolling surface, lightly dust it with flour to prevent any sticking. However, be cautious not to use excessive flour as it can make the chapati dry and less pliable.
Repeat the rolling process with each dough ball until you have a stack of evenly rolled chapatis.
If you are not cooking the chapatis immediately, you can stack them, separating each layer with a piece of parchment paper or a clean kitchen towel. Cover the stack to prevent the chapatis from drying out.
Now that the dough balls are rolled into chapatis, it’s time to move on to the final step: cooking the chapatis.
Step 10: Cook the Chapatis
Now that the chapatis are rolled out and ready to cook, it’s time to heat up the griddle or tawa and cook them to perfection. Cooking the chapatis requires attention to time, temperature, and flipping to ensure they are cooked evenly and develop a golden brown color.
Start by heating a flat griddle or tawa over medium-high heat. Allow it to heat up for a couple of minutes until it is evenly hot.
Place one rolled-out chapati onto the heated griddle and let it cook for about 30 seconds or until you start to see small air bubbles forming on the surface.
Flip the chapati to the other side using a spatula or tongs. The cooked side should have some lightly browned spots.
Cook the second side for another 30 seconds, again looking for golden brown spots to develop.
Flip the chapati again, this time pressing gently with a clean kitchen towel or spatula to help the air pockets inside the chapati to inflate. This puffing up is a sign that the chapati is cooking well.
Continue flipping and lightly pressing the chapati in a rhythmic motion, cooking each side for about 30 seconds or until both sides are evenly cooked and show golden brown spots.
Once the chapati is fully cooked, transfer it to a plate or a clean kitchen towel. Fold the towel over it to keep it warm and soft as you cook the remaining chapatis.
Repeat the cooking process with the rest of the rolled-out chapatis, ensuring that each one is cooked to the desired doneness and color.
Stack the cooked chapatis on a plate, covering them with a towel to keep them warm and retain their moisture.
Now that all the chapatis are cooked, you can serve them immediately or keep them covered to maintain their warmth until you’re ready to enjoy them with your favorite curries or accompaniments.
And there you have it – perfectly cooked chapatis ready to be savored!
Remember, practice makes perfect, and with time and experience, you’ll develop your own techniques for cooking the perfect chapatis every time.
Enjoy your homemade chapatis!
Conclusion
Making chapati dough in a Kitchenaid mixer is a convenient and efficient way to prepare delicious and homemade chapatis. The mixer simplifies the process, saving time and effort while ensuring consistent results.
By following the step-by-step instructions outlined in this article, you can easily make chapati dough using a Kitchenaid mixer. From measuring the flour to gradually adding water, kneading the dough, and rolling out perfect chapatis, each step plays a crucial role in creating soft, flavorful, and puffed-up chapatis.
Remember to take your time and practice as you go along. Making chapati dough in a Kitchenaid mixer may require some adjustments based on factors like humidity and flour quality, so be flexible and adjust water or flour amounts as needed.
Once you’ve mastered the art of making chapati dough using a Kitchenaid mixer, the possibilities are endless. You can experiment with different spices, herbs, or even fillings to create variations of this versatile Indian bread.
So, whether you’re cooking for a family dinner or hosting a special gathering, impress your loved ones with your homemade chapatis. The aroma, taste, and satisfaction of enjoying fresh and warm chapatis made with love will surely elevate any meal.
Now, gather your ingredients, set up your Kitchenaid mixer, and embark on this culinary adventure. Get ready to savor the joy of making and sharing homemade chapatis that will leave everyone wanting more.
Happy cooking and bon appétit!
Frequently Asked Questions about How To Make Chapati Dough In A Kitchenaid Mixer
Was this page helpful?
At Storables.com, we guarantee accurate and reliable information. Our content, validated by Expert Board Contributors, is crafted following stringent Editorial Policies. We're committed to providing you with well-researched, expert-backed insights for all your informational needs.


0 thoughts on “How To Make Chapati Dough In A Kitchenaid Mixer”