
Articles
How To Sew A Kitchenaid Mixer Cover
Modified: January 5, 2024
Learn how to sew a stylish and protective cover for your Kitchenaid mixer with our informative articles. Perfect for keeping your mixer clean and adding a touch of creativity to your kitchen decor.
(Many of the links in this article redirect to a specific reviewed product. Your purchase of these products through affiliate links helps to generate commission for Storables.com, at no extra cost. Learn more)
Introduction
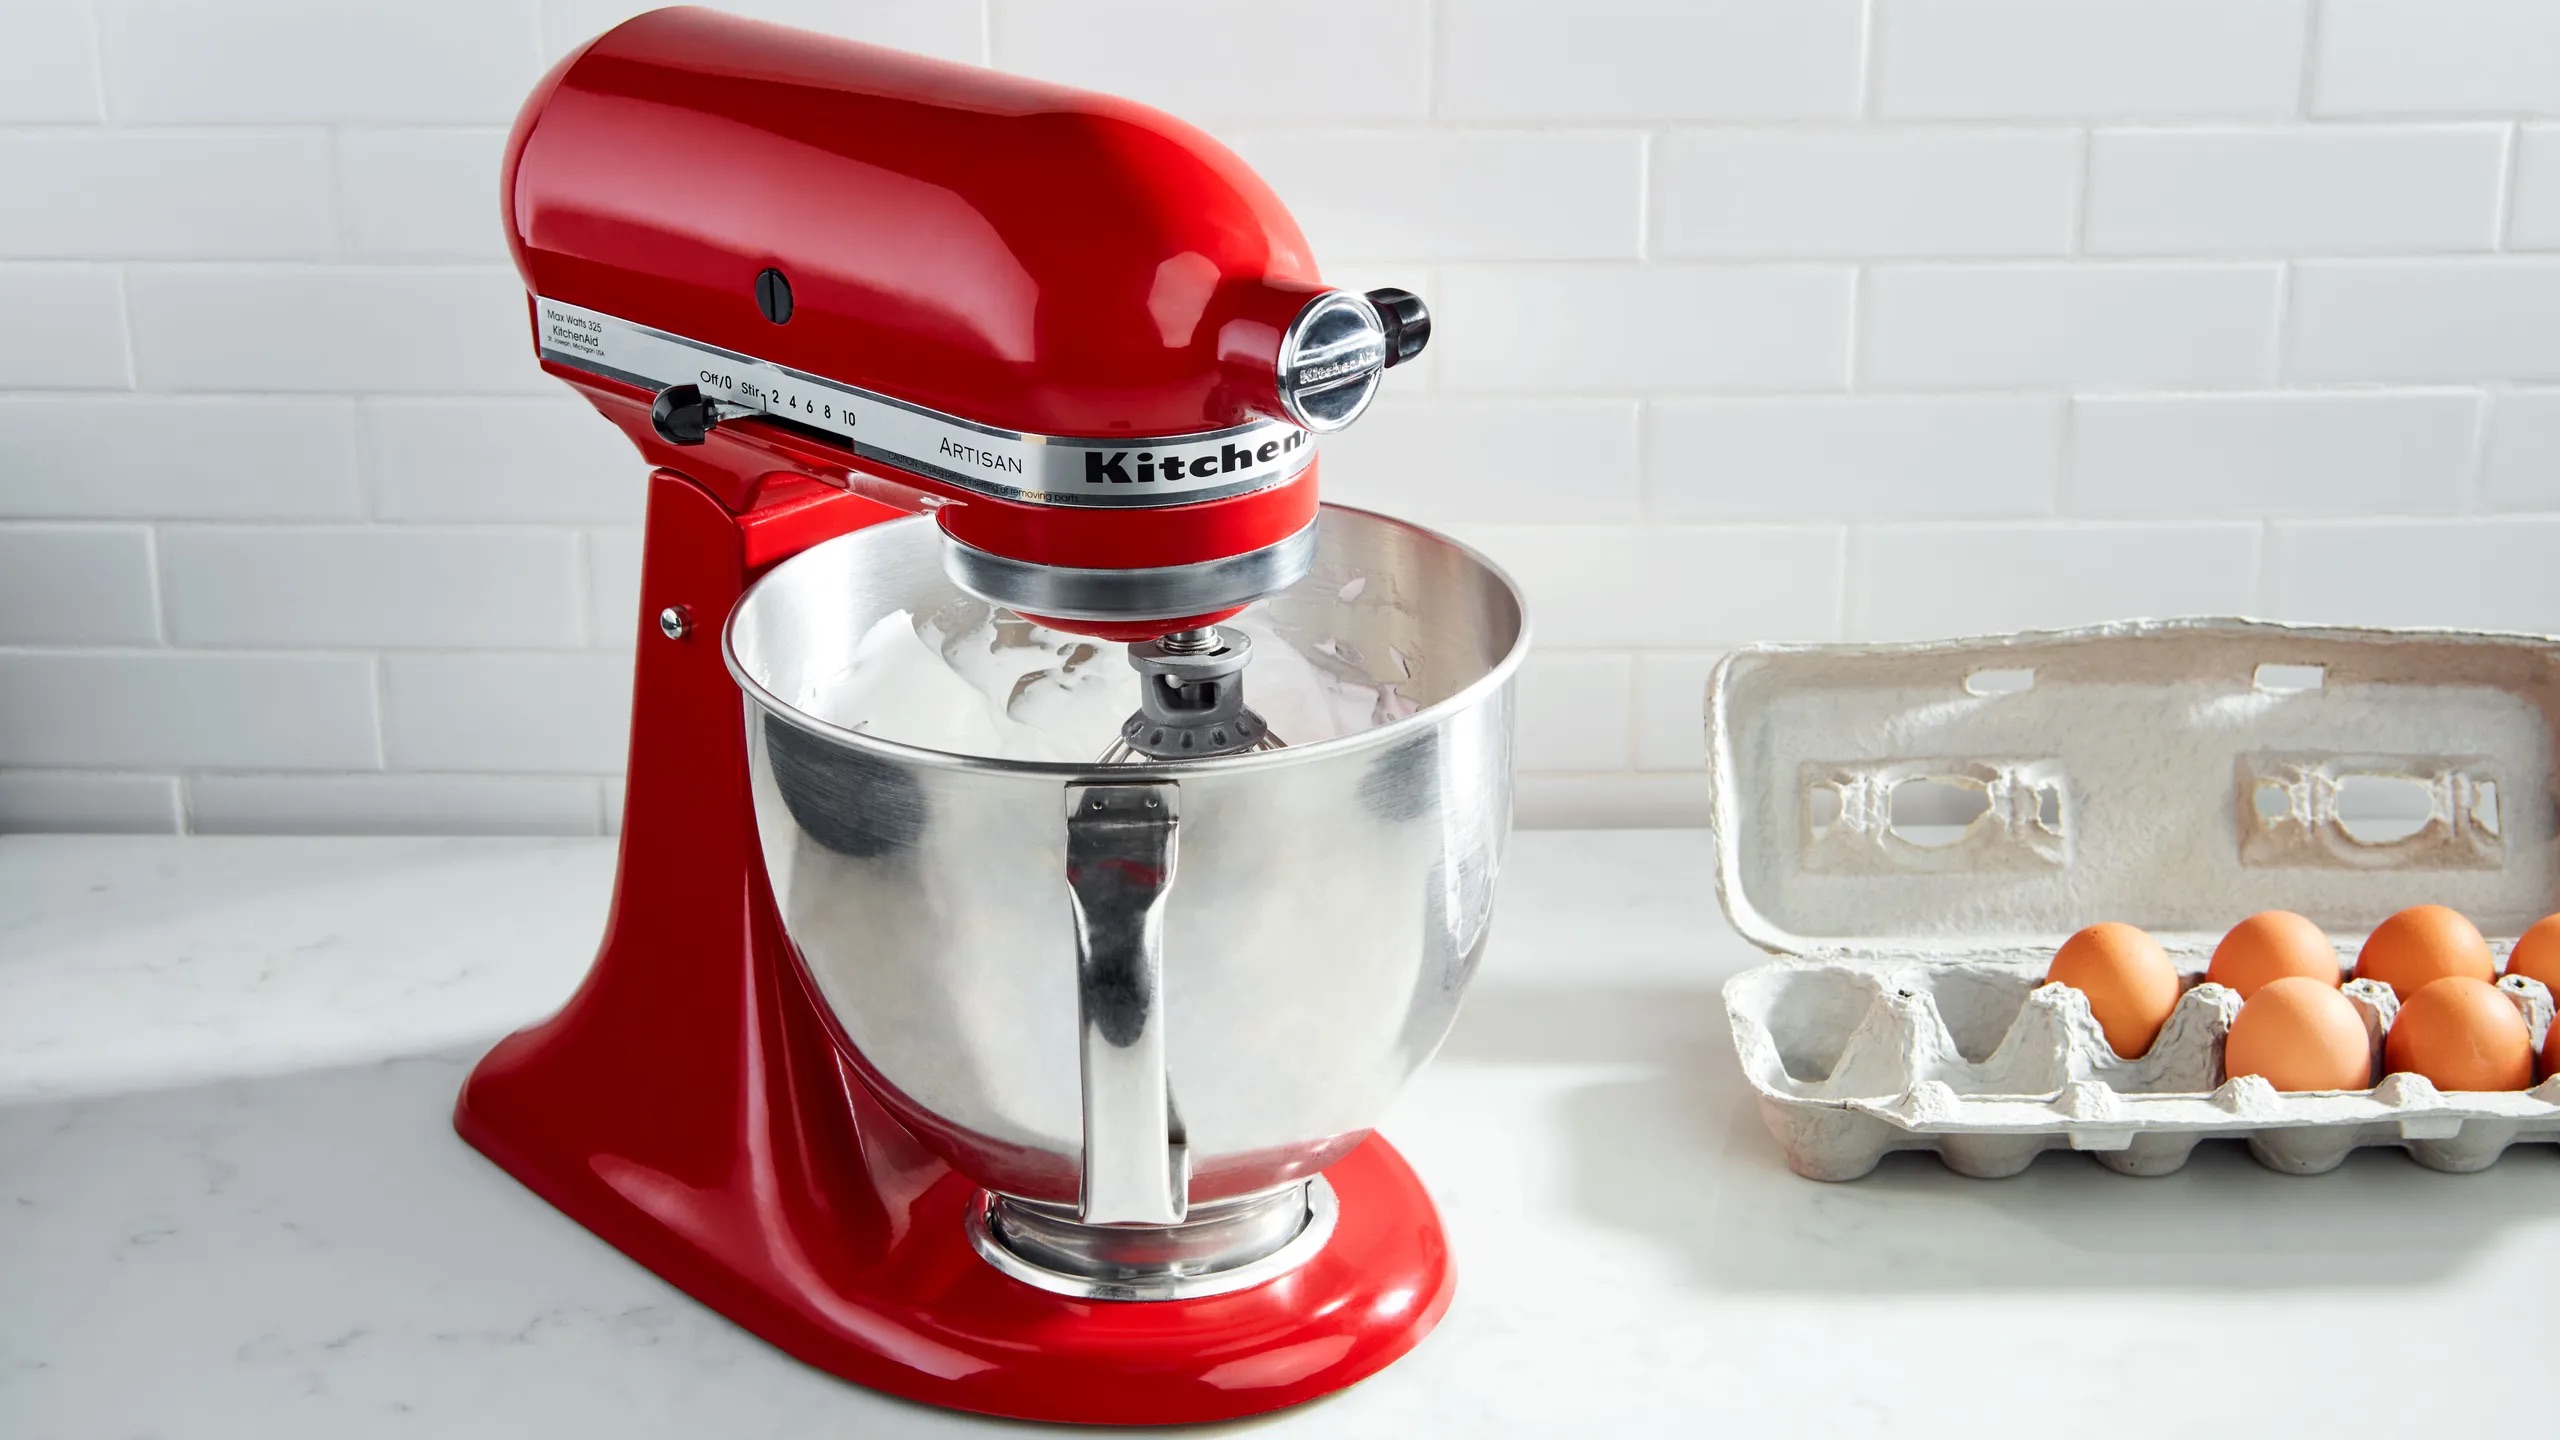
Welcome to this step-by-step guide on how to sew a KitchenAid mixer cover. A KitchenAid mixer is a prized possession for any home cook or baking enthusiast, and protecting it with a custom-made cover not only keeps it safe from dust and debris, but also adds a touch of personalization to your kitchen.
Creating your own mixer cover allows you to choose the fabric that matches your kitchen decor and style preferences. Plus, it’s a satisfying and practical sewing project that even beginners can tackle.
In this guide, we will walk you through each step of creating a KitchenAid mixer cover from scratch. From taking measurements to sewing the cover and adding optional pockets, you’ll have a stylish and functional cover for your beloved appliance in no time.
Before we get started, let’s gather the materials you’ll need for this project.
Key Takeaways:
- Protect and personalize your KitchenAid mixer with a custom cover. Choose sturdy fabric, add optional pockets, and secure with Velcro or snaps for a stylish and functional addition to your kitchen.
- Master the art of sewing by creating a custom KitchenAid mixer cover. From accurate measurements to adding decorative elements, unleash your creativity and showcase your sewing skills with a personalized touch.
Read also: 10 Amazing Kitchenaid Mixer Cover for 2025
Materials Needed
Before you begin sewing your KitchenAid mixer cover, gather the following materials:
- Fabric of your choice (preferably a sturdy and washable fabric like cotton or linen)
- Measuring tape
- Scissors or rotary cutter
- Sewing machine
- Pins
- Thread in a coordinating color
- Marking tool (such as chalk or disappearing ink pen)
- Iron and ironing board
- Velcro or snaps (optional for closure)
- Pattern paper or newspaper (to create a pattern template)
Make sure to choose a fabric that not only complements your kitchen decor but is also sturdy enough to protect your mixer from dust and potential spills. Consider using a cotton print, a durable canvas, or even a water-resistant fabric if you anticipate a lot of kitchen mishaps.
Once you have gathered all the materials, let’s move on to the first step: taking measurements for your KitchenAid mixer cover.
Step 1: Taking Measurements
The first step in creating a custom KitchenAid mixer cover is to take accurate measurements of your mixer. This will ensure a perfect fit for your cover.
Here’s how you can take the measurements:
- Measure the height of your mixer from the bottom of the base to the top of the head. Record this measurement.
- Measure the width of the base of your mixer. This is the distance from the side of the base to the opposite side. Record this measurement.
- Measure the depth of the base. This is the distance from the front of the base to the back. Record this measurement.
- Measure the circumference of the head of the mixer. This is the distance around the widest part of the head. Record this measurement.
Once you have these measurements, add extra inches to each measurement to allow for seam allowances and ease of use. A good rule of thumb is to add approximately 1 inch to each measurement.
For example, if your mixer’s height is 14 inches, add 1 inch to make it 15 inches. If the width of the base is 12 inches, add 1 inch to make it 13 inches. Repeat this for all the measurements.
Now that you have your measurements with added allowances, you’re ready to move on to step 2: cutting the fabric for your mixer cover.
Step 2: Cutting the Fabric
With your measurements in hand, it’s time to cut the fabric for your KitchenAid mixer cover. This step ensures that the fabric pieces are the right size and shape to create a snug and functional cover.
Follow these steps to cut the fabric:
- Prepare your fabric by washing and ironing it, if necessary. This ensures that any shrinkage or creases are taken care of before cutting.
- Using your measurements, mark and cut out the following fabric pieces:
- Main Body: Cut a rectangle piece with the height and width measurements you recorded, plus the added allowances.
- Top Panel: Cut a square piece with dimensions equal to the circumference of the mixer head measurement, plus the added allowances.
- Pockets (optional): If you want to add pockets to your cover, cut rectangular pieces of fabric with dimensions that suit your needs. These can be any size and shape you prefer.
- Once you have cut out all the fabric pieces, it’s time to move on to the next step: sewing the main body of the cover.
Remember to measure and cut the fabric pieces precisely for a clean and professional-looking finish. Double-check your measurements and take your time to achieve accurate cuts.
Now that you have your fabric pieces ready, it’s time to sew the main body of the KitchenAid mixer cover. Let’s move on to step 3.
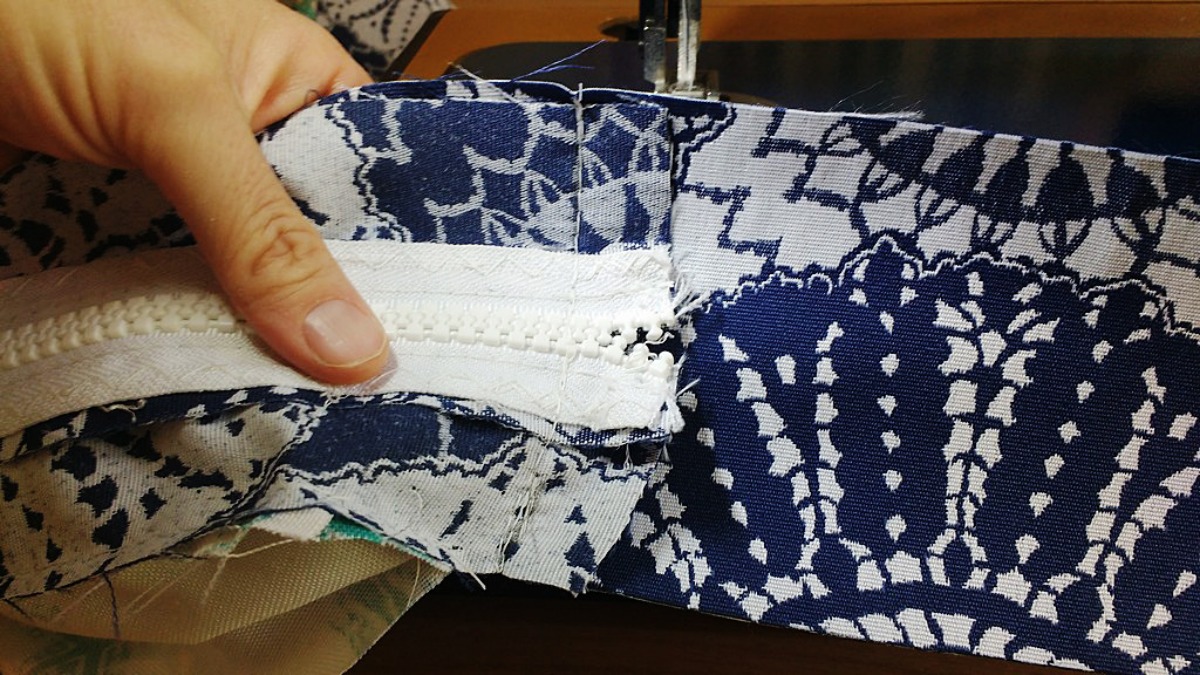
Step 3: Sewing the Main Body
Now that you have the fabric pieces cut out, it’s time to sew the main body of your KitchenAid mixer cover. This step involves assembling and stitching the main body to create the base of the cover.
Follow these steps to sew the main body:
- Take the main body fabric piece and fold it in half lengthwise, right sides together.
- Pin the side edges together to secure the fabric layers.
- Using a straight stitch on your sewing machine, sew a 1/2-inch seam along the pinned side edges. Backstitch at the beginning and end of the seam to secure it.
- Clip the excess fabric at the corners to reduce bulk and allow for smoother corners when the cover is turned right side out.
- Press open the seam allowance using an iron to create a neat finish.
- Turn the main body cover right side out and press it again to remove any wrinkles.
By sewing the main body, you have created the base of your KitchenAid mixer cover. It’s starting to take shape! Now, let’s move on to the optional step of adding pockets to your cover in step 4.
When sewing a KitchenAid mixer cover, be sure to measure your mixer carefully to ensure a proper fit. Use a durable fabric that can withstand frequent use and washing. Consider adding a lining for extra protection.
Step 4: Adding Pockets (Optional)
If you’d like to add some extra functionality to your KitchenAid mixer cover, you can incorporate pockets to hold utensils, recipe cards, or small accessories. This step is optional but can be a handy addition to keep everything organized.
Follow these steps to add pockets to your cover:
- Determine the placement and size of the pockets based on your needs and preferences.
- Cut out rectangular pieces of fabric for the pockets, making sure they are wide enough to fit your desired items.
- Fold and press the top edge of each pocket piece by 1/4 inch, then fold and press it again by another 1/4 inch to create a clean hem.
- Pin each pocket in place on the inside of the main body cover, making sure they are evenly spaced.
- Stitch along the sides and bottom of each pocket, backstitching at the beginning and end to secure the seams.
Once you have sewn the pockets in place, you can move on to step 5, where you’ll learn how to sew the top panel of the KitchenAid mixer cover.
Please note that the number and size of the pockets are completely up to you. You can create multiple pockets or a single large pocket based on your preferences and storage needs.
Step 5: Sewing the Top Panel
Now that the main body and optional pockets of your KitchenAid mixer cover are complete, let’s move on to sewing the top panel. The top panel will cover the head of the mixer and add an extra layer of protection.
Follow these steps to sew the top panel:
- Take the square fabric piece you cut for the top panel.
- Fold and press each side edge of the fabric by 1/2 inch to create a clean hem.
- Place the top panel on top of the main body cover, aligning the edges.
- Pin the top panel in place along the upper edge of the main body.
- Using a straight stitch, sew a 1/4-inch seam along the pinned edge to attach the top panel to the main body. Backstitch at the beginning and end of the seam to secure it.
Once you have sewn the top panel, you’re almost done with your KitchenAid mixer cover. In the next step, we will add closures to ensure the cover stays in place. Let’s move on to step 6.
Feel free to get creative with the top panel by adding decorative elements like embroidery, appliques, or trim to make your cover truly unique.
Step 6: Attaching Velcro or Snaps
To ensure a secure closure for your KitchenAid mixer cover, you have the option to attach Velcro or snaps. This step will help keep the cover in place and prevent it from slipping off.
Follow these steps to attach Velcro or snaps to your cover:
- Decide whether you prefer Velcro or snaps for the closure.
- If using Velcro, cut two small strips of Velcro that are about 1 inch long.
- Place one strip of Velcro on the inside of one side of the top panel, near the edge.
- Align the corresponding strip of Velcro on the main body cover where it will make contact with the first strip.
- Pin the Velcro strips in place.
- If using snaps, mark the placement for the snaps on both the top panel and the main body cover. Make sure they align when the cover is closed.
- Attach the snaps following the manufacturer’s instructions.
Whether you choose Velcro or snaps, make sure to sew or secure them firmly to the fabric to ensure they stay in place during use.
With the Velcro or snaps attached, your KitchenAid mixer cover is almost complete. In the last step, we will wrap up the cover by adding the finishing touches. Let’s move on to step 7.
Step 7: Completing the Cover
Congratulations! You’re in the final step of sewing your KitchenAid mixer cover. In this step, we will complete the cover and make any final adjustments.
Follow these steps to finish your cover:
- Trim any loose threads and double-check that all seams are secure.
- Try on the cover by placing it over your KitchenAid mixer. Ensure that it fits snugly and covers the entire appliance.
- Make any necessary adjustments, such as trimming excess fabric or tweaking the fit.
- Once you are satisfied with the fit, press the entire cover with an iron to give it a polished look.
- Take a moment to admire your handiwork! Your custom-made KitchenAid mixer cover is now ready to be used and displayed in your kitchen.
Remember, you can personalize your cover further by adding decorative elements like embroidery, appliques, or trim. Let your creativity shine!
Now that you’ve completed all the steps, you can proudly showcase your talent and protect your KitchenAid mixer with a beautiful and functional cover. Enjoy your newfound sewing accomplishment and happy cooking or baking!
Finally, don’t forget to share your creation with friends and family and inspire them to embark on their sewing journey.
Read more: How To Clean Kitchenaid Mixer
Conclusion
Congratulations on completing your very own custom KitchenAid mixer cover! By following this step-by-step guide, you now have a stylish and functional cover to protect your prized appliance. Not only does the cover keep dust and debris at bay, but it also adds a personal touch to your kitchen decor.
Throughout this tutorial, you have learned how to take accurate measurements, cut fabric pieces, sew the main body and top panel, and even add optional pockets for added convenience. You have also gained insights into attaching closures like Velcro or snaps to ensure a secure fit.
Remember, this sewing project is just the beginning of your creative journey. Feel free to experiment with different fabrics, patterns, and embellishments to make each cover uniquely yours. It’s all about expressing your personal style and adding a touch of personality to your kitchen.
Now that you have mastered the art of sewing a KitchenAid mixer cover, you may be inspired to take on more sewing projects and explore your creativity further. Whether it’s making other appliance covers, home decor items, or even clothing, this newfound skill opens up endless possibilities.
So, gather your materials, unleash your creativity, and embark on your next sewing adventure. The world of sewing is filled with endless opportunities to create beautiful and functional pieces that reflect your style and personality.
Enjoy using your new KitchenAid mixer cover and continue to hone your sewing skills. Happy sewing!
Frequently Asked Questions about How To Sew A Kitchenaid Mixer Cover
Was this page helpful?
At Storables.com, we guarantee accurate and reliable information. Our content, validated by Expert Board Contributors, is crafted following stringent Editorial Policies. We're committed to providing you with well-researched, expert-backed insights for all your informational needs.


0 thoughts on “How To Sew A Kitchenaid Mixer Cover”