Articles
How To Use Mixer For Baking
Modified: October 20, 2024
Learn how to use a mixer for baking with these helpful articles. Discover tips and techniques to create delicious baked goods using various mixer functions.
(Many of the links in this article redirect to a specific reviewed product. Your purchase of these products through affiliate links helps to generate commission for Storables.com, at no extra cost. Learn more)
Introduction
Welcome to the world of baking! Whether you are a novice or an experienced baker, using a mixer can greatly simplify the baking process and bring your creations to a whole new level. In this article, we will guide you through the steps of using a mixer for baking, highlighting key tips and techniques along the way.
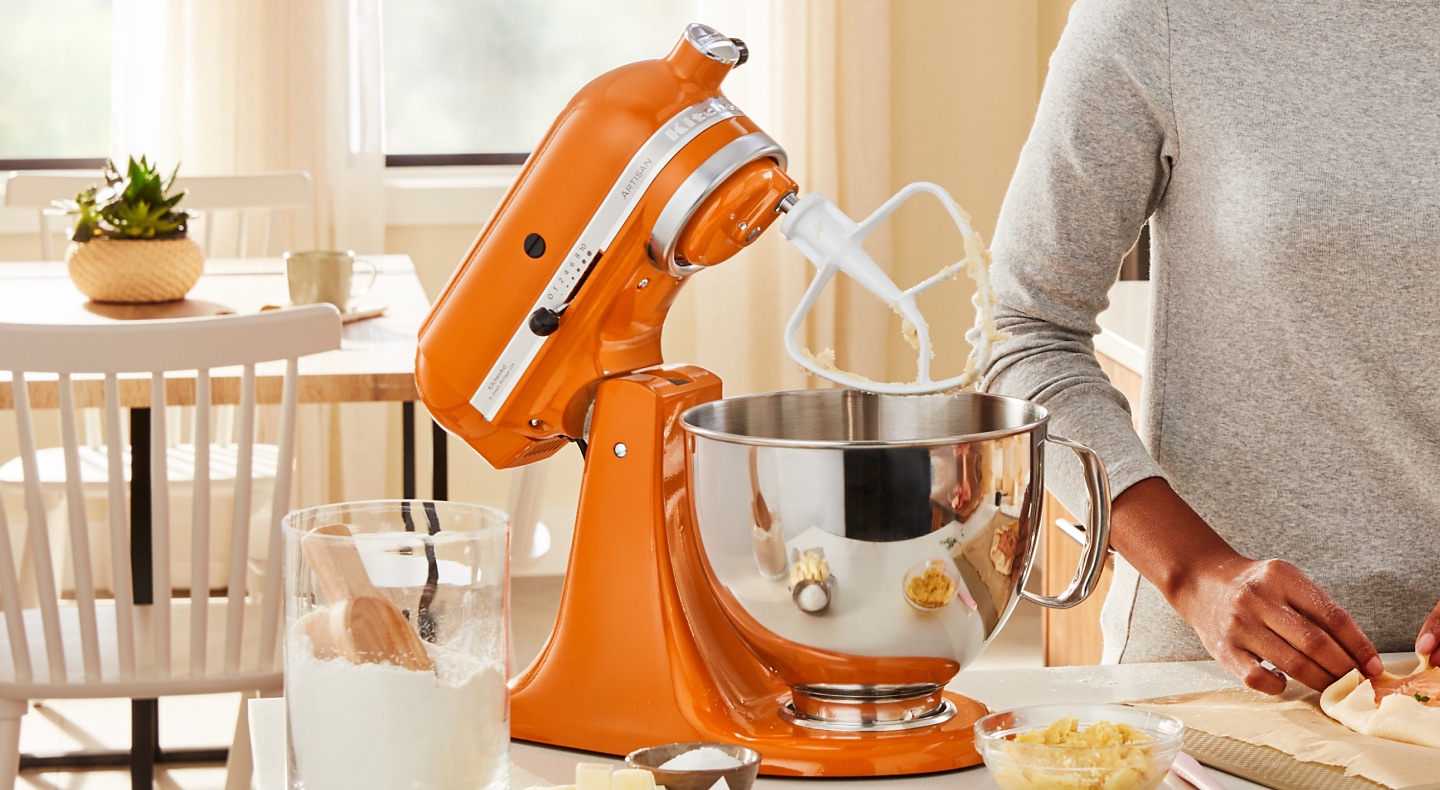
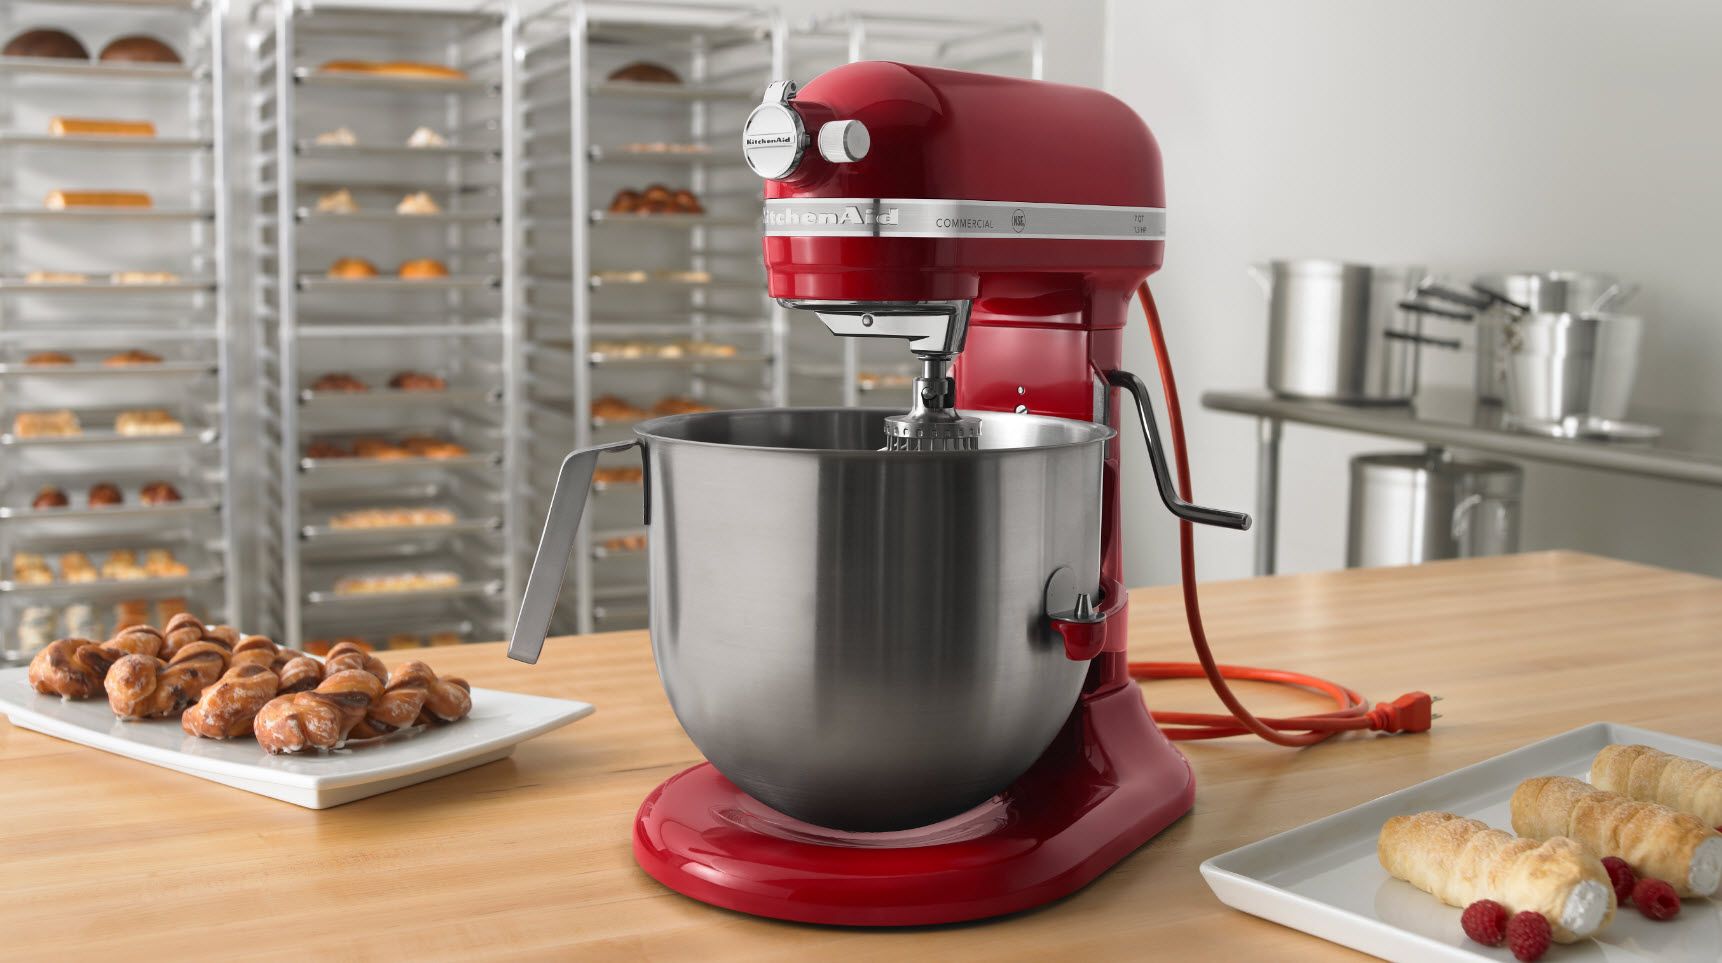
A mixer is an essential tool in any baker’s kitchen. It provides the perfect balance of speed and power to mix ingredients thoroughly and evenly. With its attachments and variable speeds, a mixer can handle a wide range of baking tasks, from mixing dough and batter to whipping cream and egg whites.
Using a mixer not only saves time and effort but also ensures consistent results in your baked goods. It allows you to achieve the desired texture, whether it’s a light and fluffy cake or a perfectly kneaded bread dough. So, let’s dive into the world of mixers and unlock their full potential for your baking adventures.
Before we start, it’s important to mention that there are different types of mixers available, such as stand mixers and hand mixers. In this article, we will focus on the general techniques that can be applied to both types, but keep in mind that specific instructions may vary depending on the model and brand of your mixer.
Now, let’s gather the necessary equipment and get ready to create some delicious baked goodies!
Key Takeaways:
- Elevate your baking experience with a mixer, from effortlessly combining ingredients to achieving the perfect texture. Follow essential steps, make adjustments, and avoid overmixing for delightful baked creations.
- Keep your mixer in top condition for hassle-free baking sessions. Proper setup, mixing techniques, troubleshooting, and regular maintenance ensure long-lasting performance and delicious results.
Read more: How To Bake Using An Electric Skillet
Equipment Needed
Before you begin using a mixer for baking, it’s important to gather all the necessary equipment. Here are the essential items you’ll need:
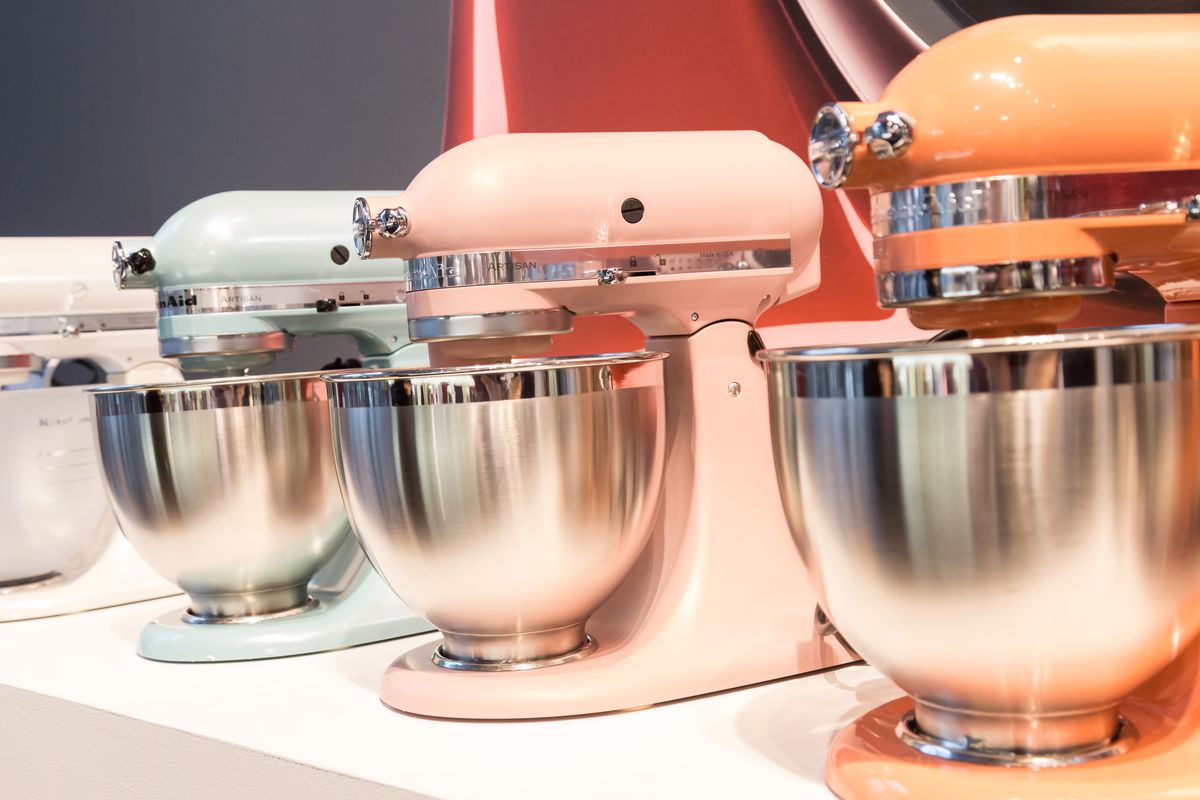
- A mixer: Whether you have a stand mixer or a hand mixer, make sure it is in good working condition. Ensure that all attachments are clean and properly attached.
- Bowl(s): Ensure you have an appropriate-sized bowl that fits securely onto the mixer. Stainless steel or glass bowls are commonly used and can withstand the mixing process.
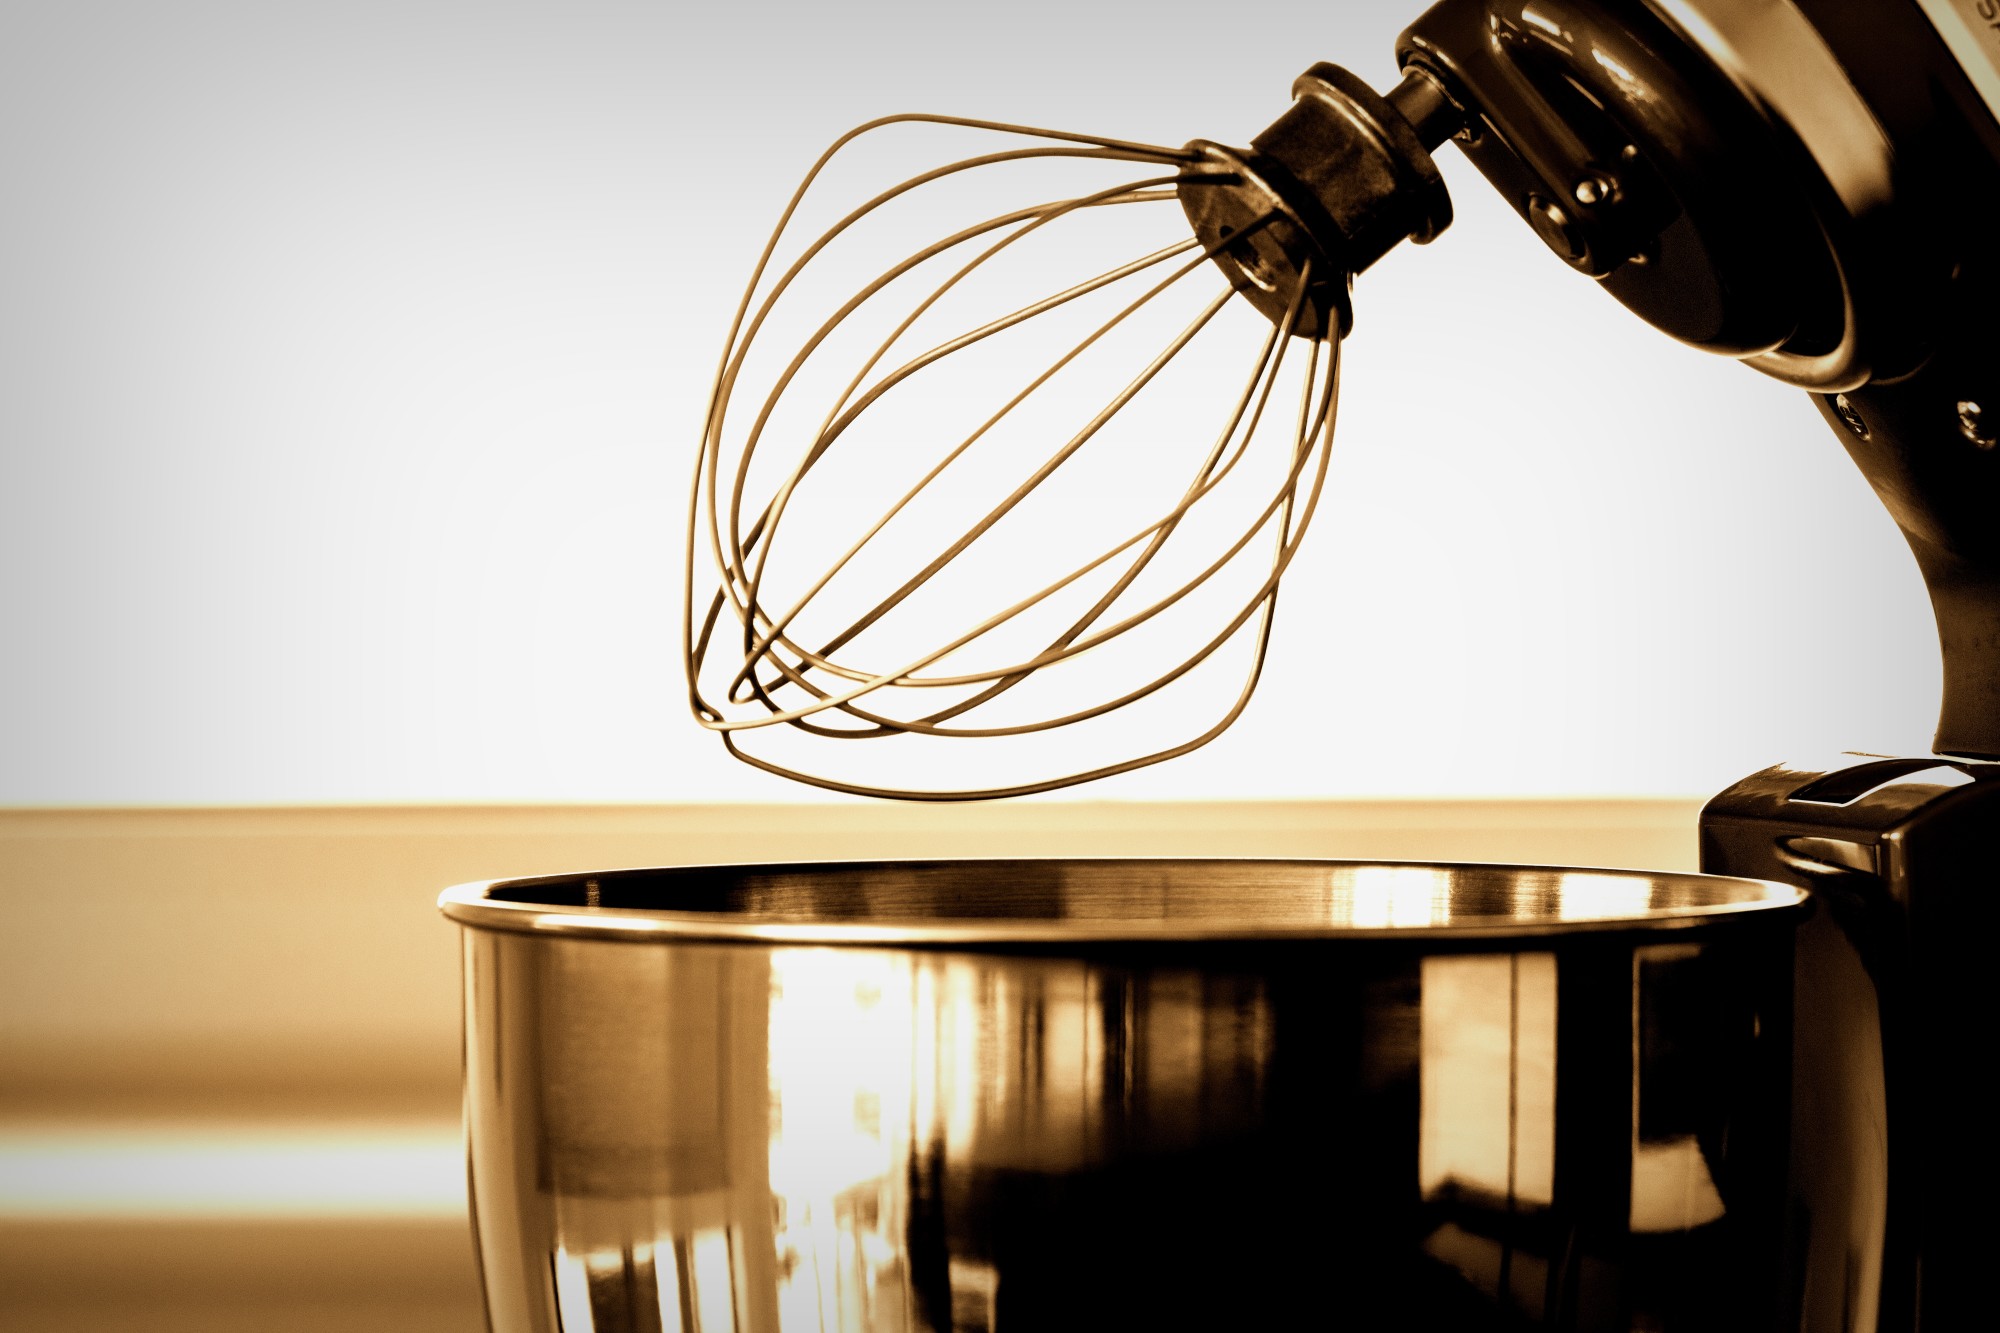
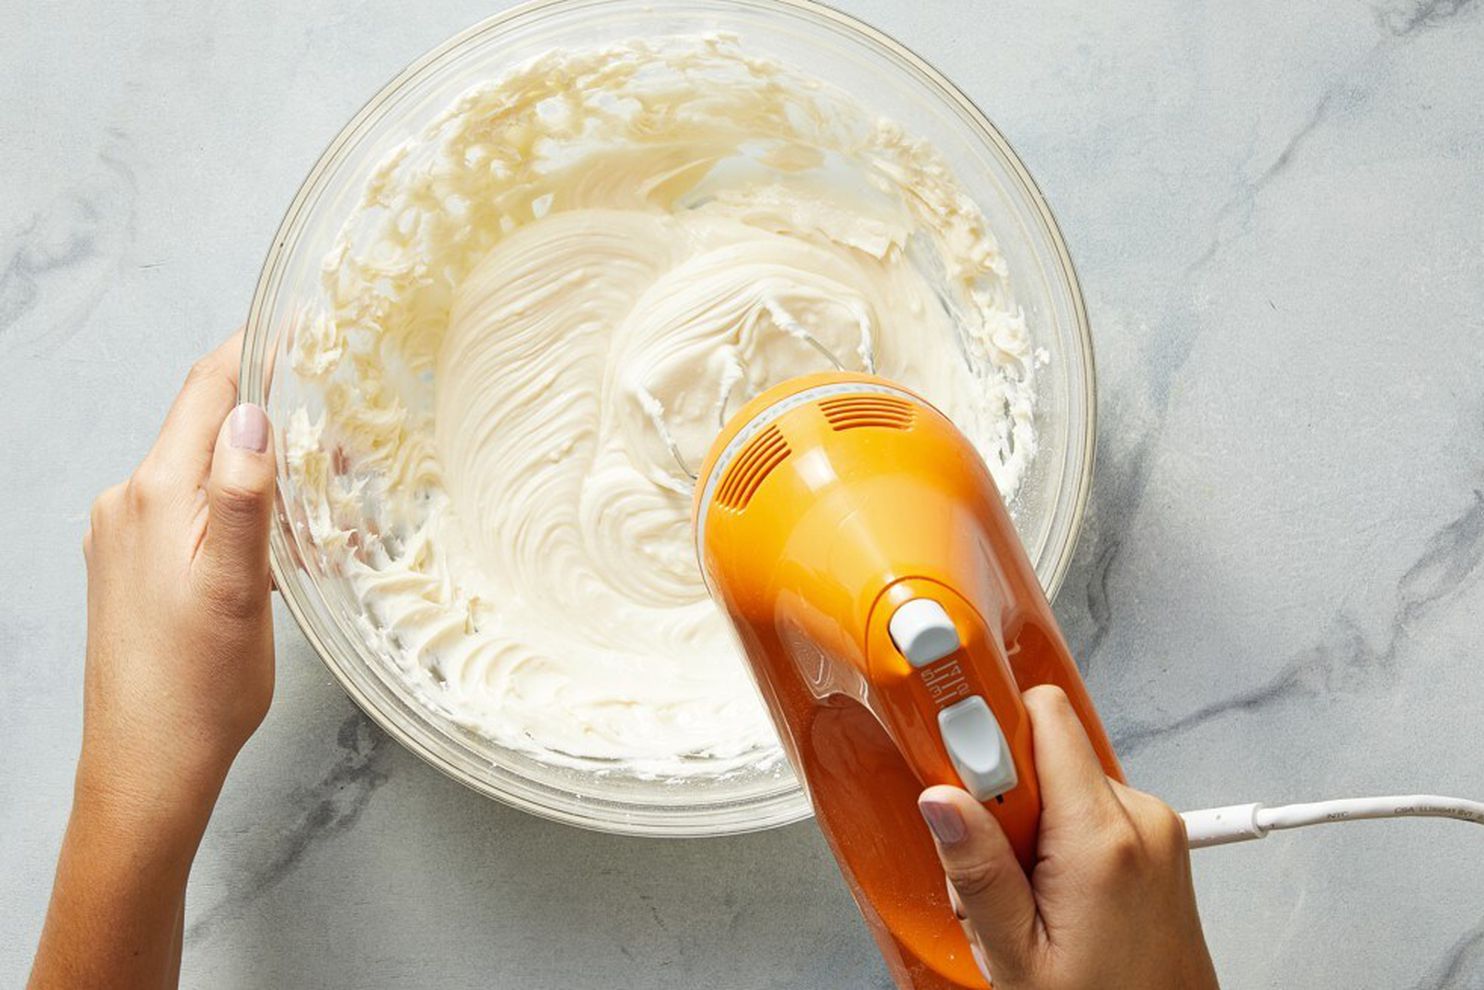
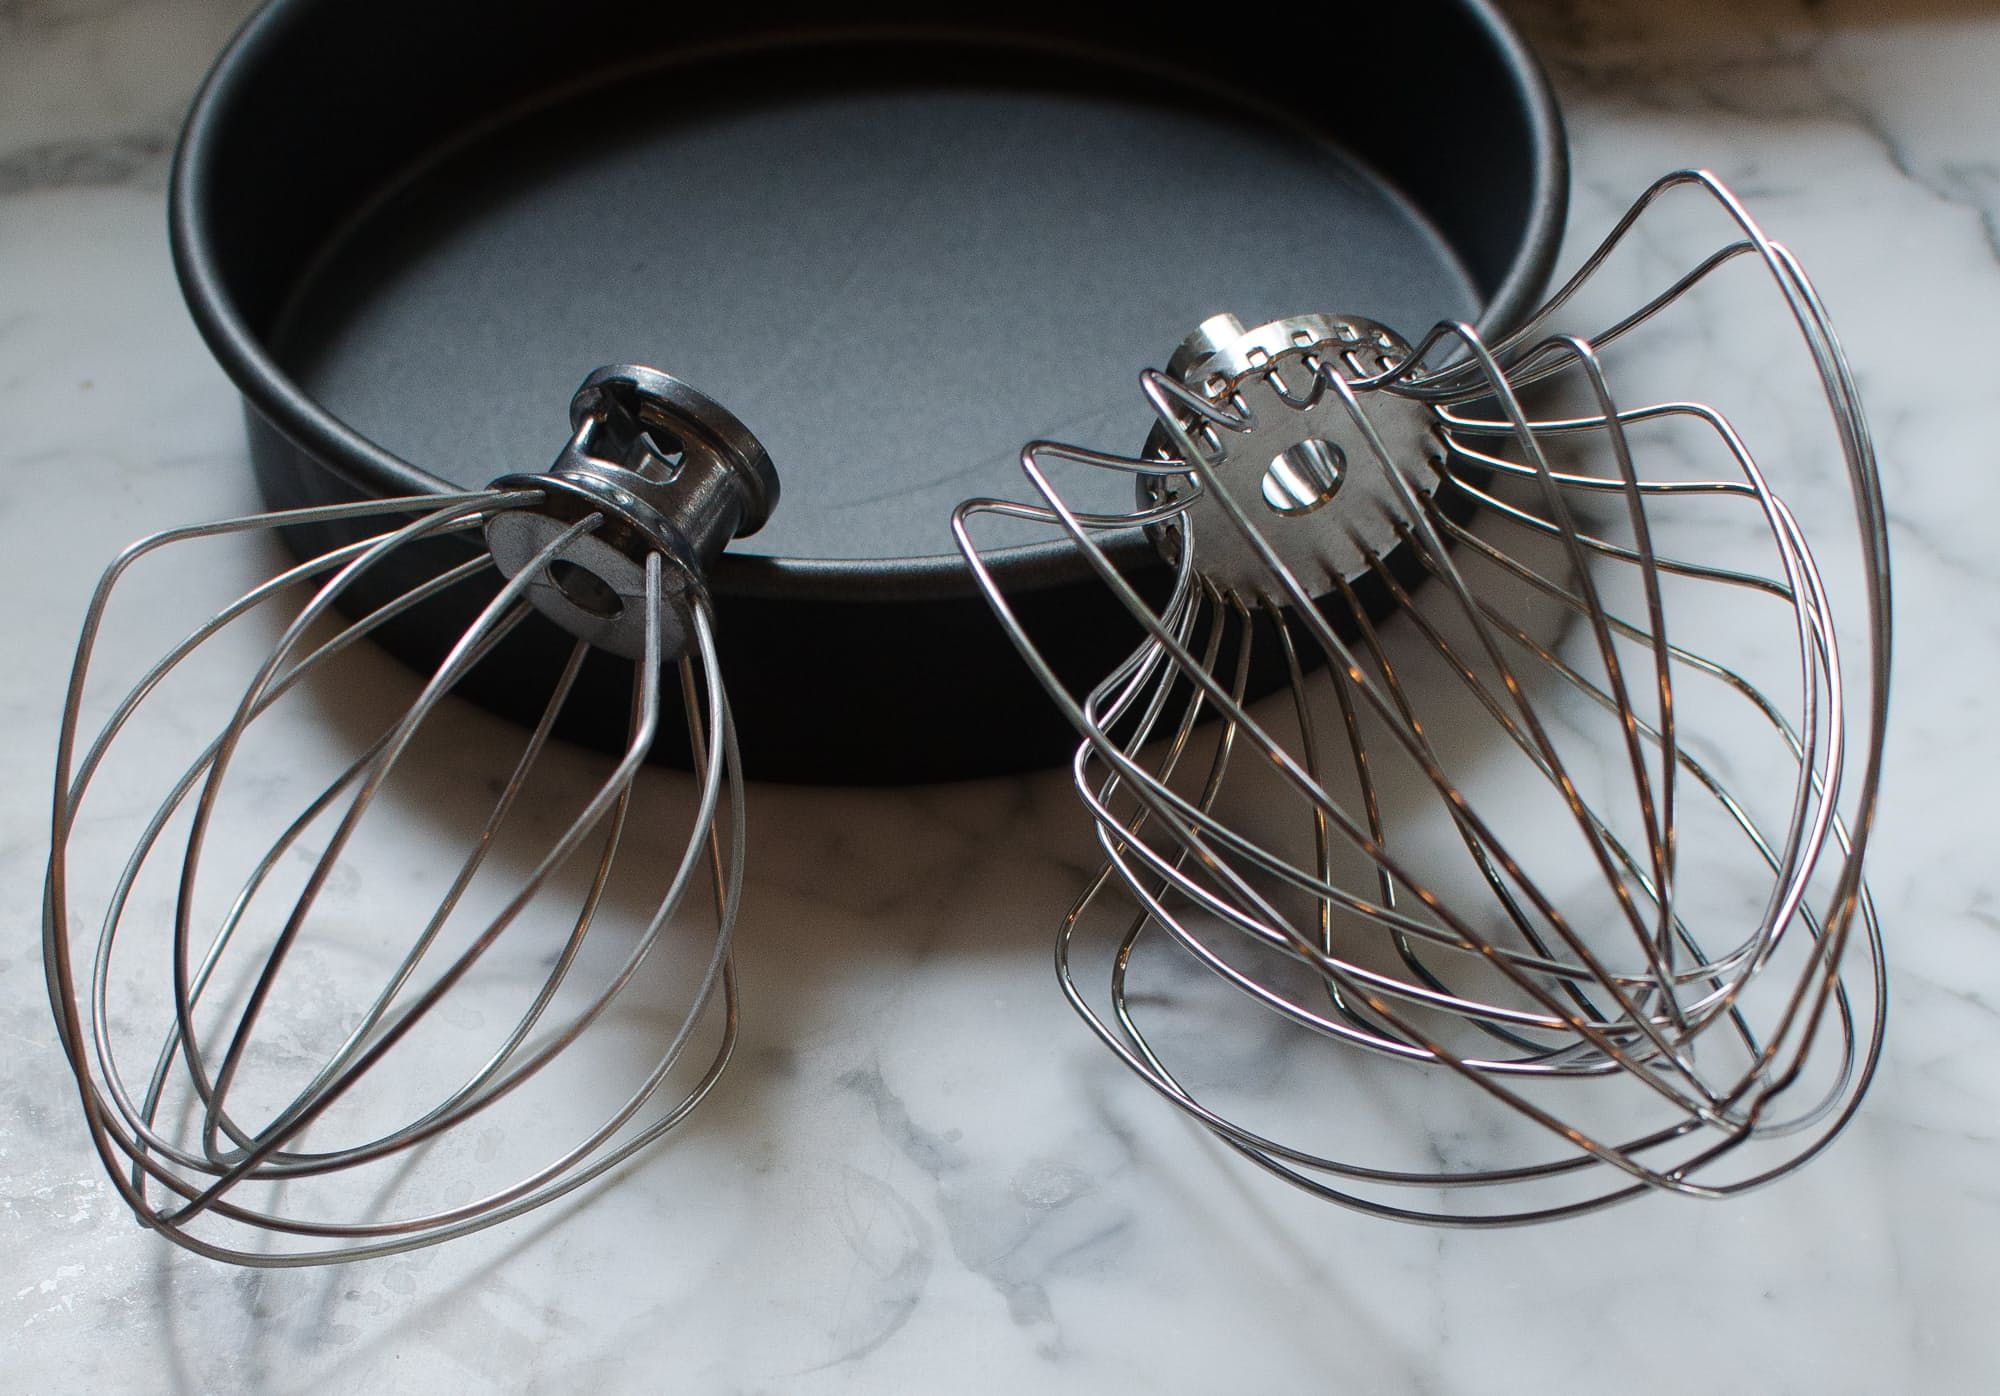
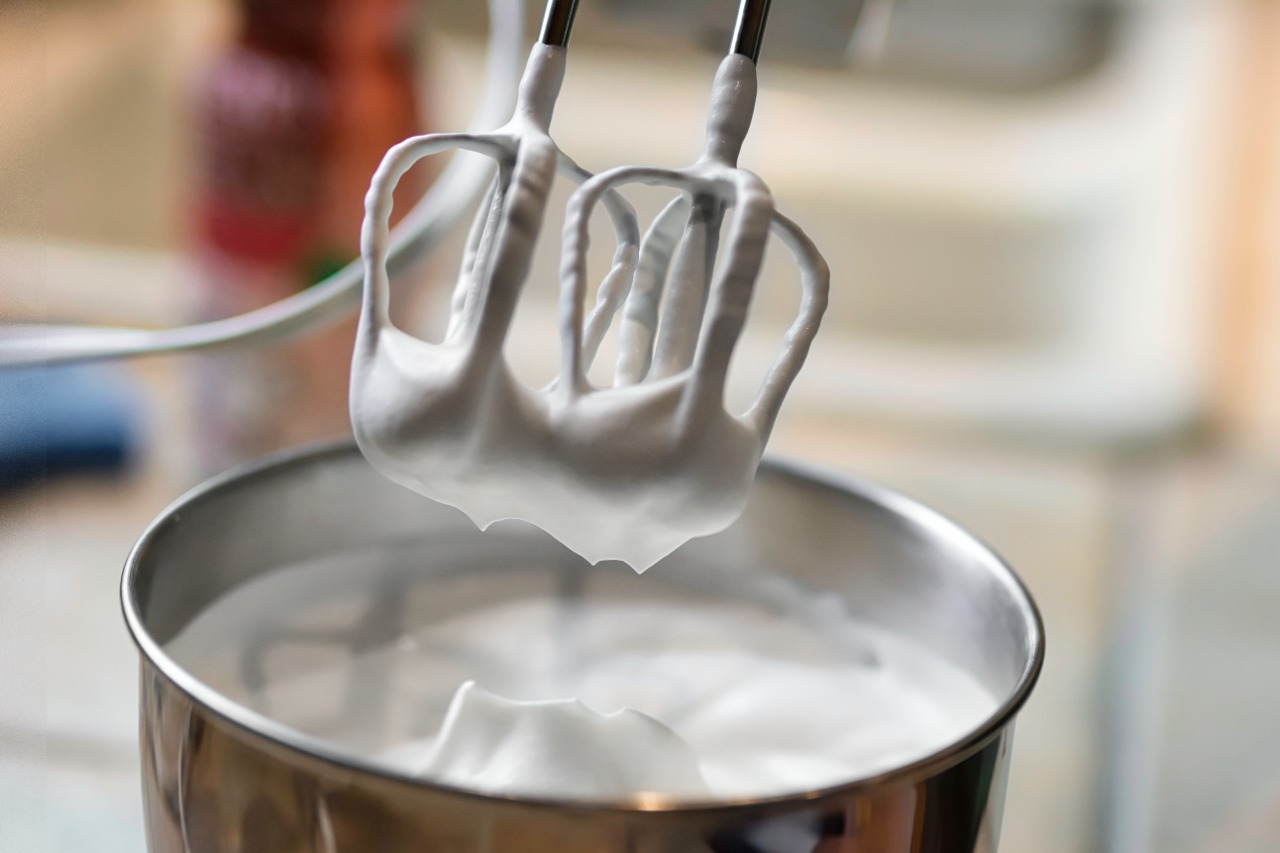
- Whisk attachment: This attachment is designed for light mixing, whipping, and incorporating air into your mixtures. It’s great for making fluffy batters and whipped creams.
- Paddle attachment: The paddle attachment is ideal for general mixing tasks, such as creaming butter and sugar, mixing doughs, and combining ingredients.
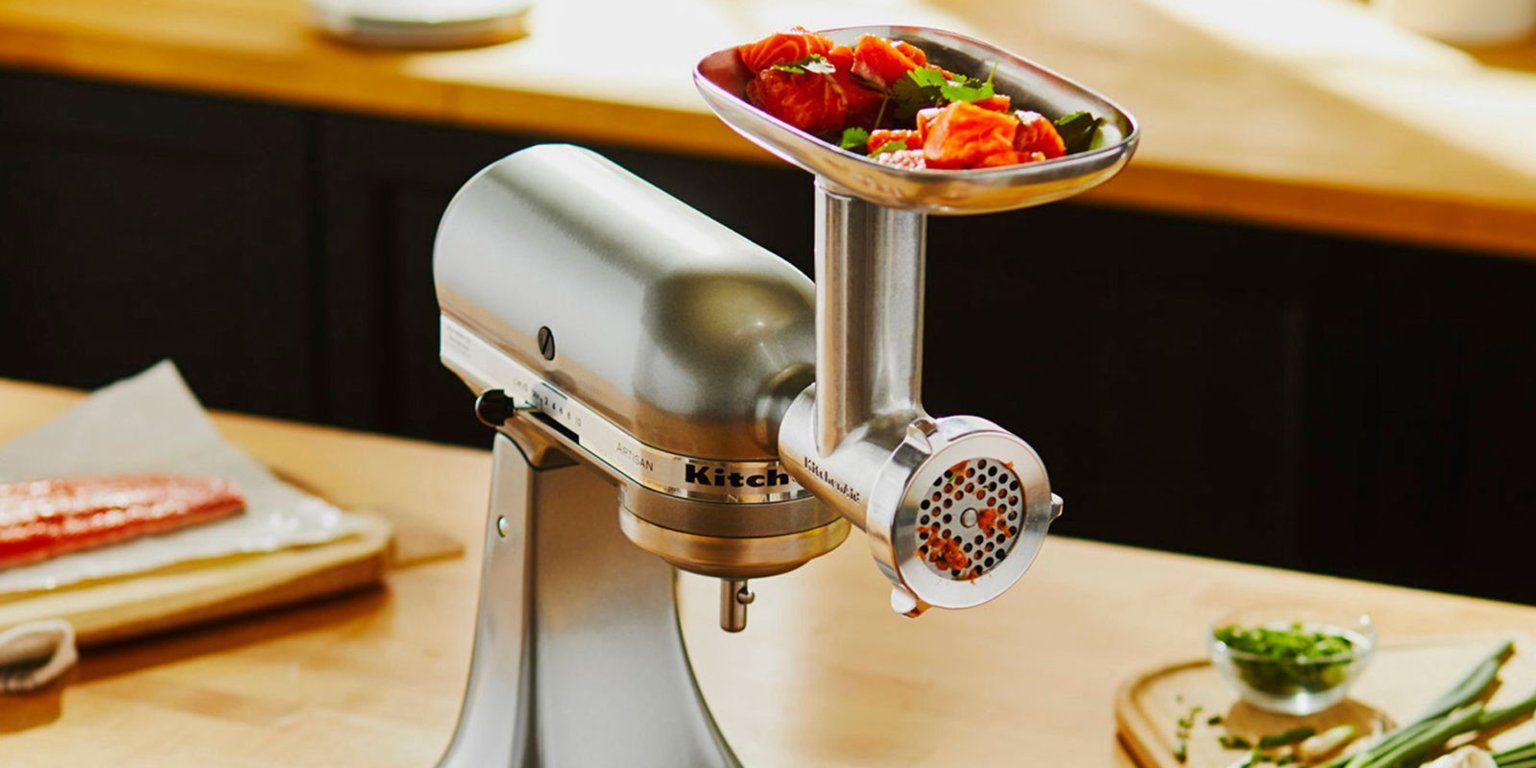
- Dough hook attachment (for stand mixers): If you’re planning to make bread or dough-based recipes, the dough hook attachment is essential. It helps knead dough thoroughly and efficiently.
- Measuring cups and spoons: Accurate measurement is crucial in baking, so make sure you have a set of measuring cups and spoons for both dry and liquid ingredients.
- Spatula: A rubber spatula is handy for scraping down the sides of the bowl and ensuring all ingredients are fully incorporated.
- Recipe ingredients: Collect all the ingredients specified in your chosen recipe. Having them measured and ready to go will save time during the mixing process.
Once you have gathered all the necessary equipment, you’re ready to set up the mixer and begin your baking adventure. Let’s move on to the next step: setting up the mixer.
Step 1: Setting up the Mixer
Before you start using your mixer for baking, it’s important to properly set it up for the task at hand. Here’s a step-by-step guide to setting up your mixer:
- Place the mixer on a stable surface: Ensure that the surface you choose is sturdy and can handle the weight and vibrations of the mixer.
- Attach the bowl: Depending on the type of mixer you have, you may need to twist and lock the bowl into place or secure it with a lever. Make sure it fits securely and is properly aligned with the mixer.
- Select the appropriate attachment: Choose the attachment that best suits your recipe. For general mixing tasks, use the paddle attachment. For whipping or incorporating air, use the whisk attachment. And for kneading dough, use the dough hook attachment.
- Insert and secure the attachment: Attach the chosen attachment by inserting it into the attachment socket on the mixer. Ensure that it locks into place and is securely fastened.
- Adjust the speed: Most mixers have variable speed settings. Start at a low speed to prevent splattering and gradually increase as needed. Refer to your mixer’s manual for specific speed recommendations.
- Plug in the mixer: Connect the power cord to a suitable electrical outlet. Make sure the mixer is properly grounded and the cord is safely positioned to avoid any accidents.
Once you have completed these setup steps, your mixer is now ready for action! It’s time to move on to the next step: mixing the dry ingredients.
Step 2: Mixing Dry Ingredients
Now that your mixer is set up, it’s time to start preparing your batter or dough. The first step is to mix the dry ingredients. Here’s how to do it:
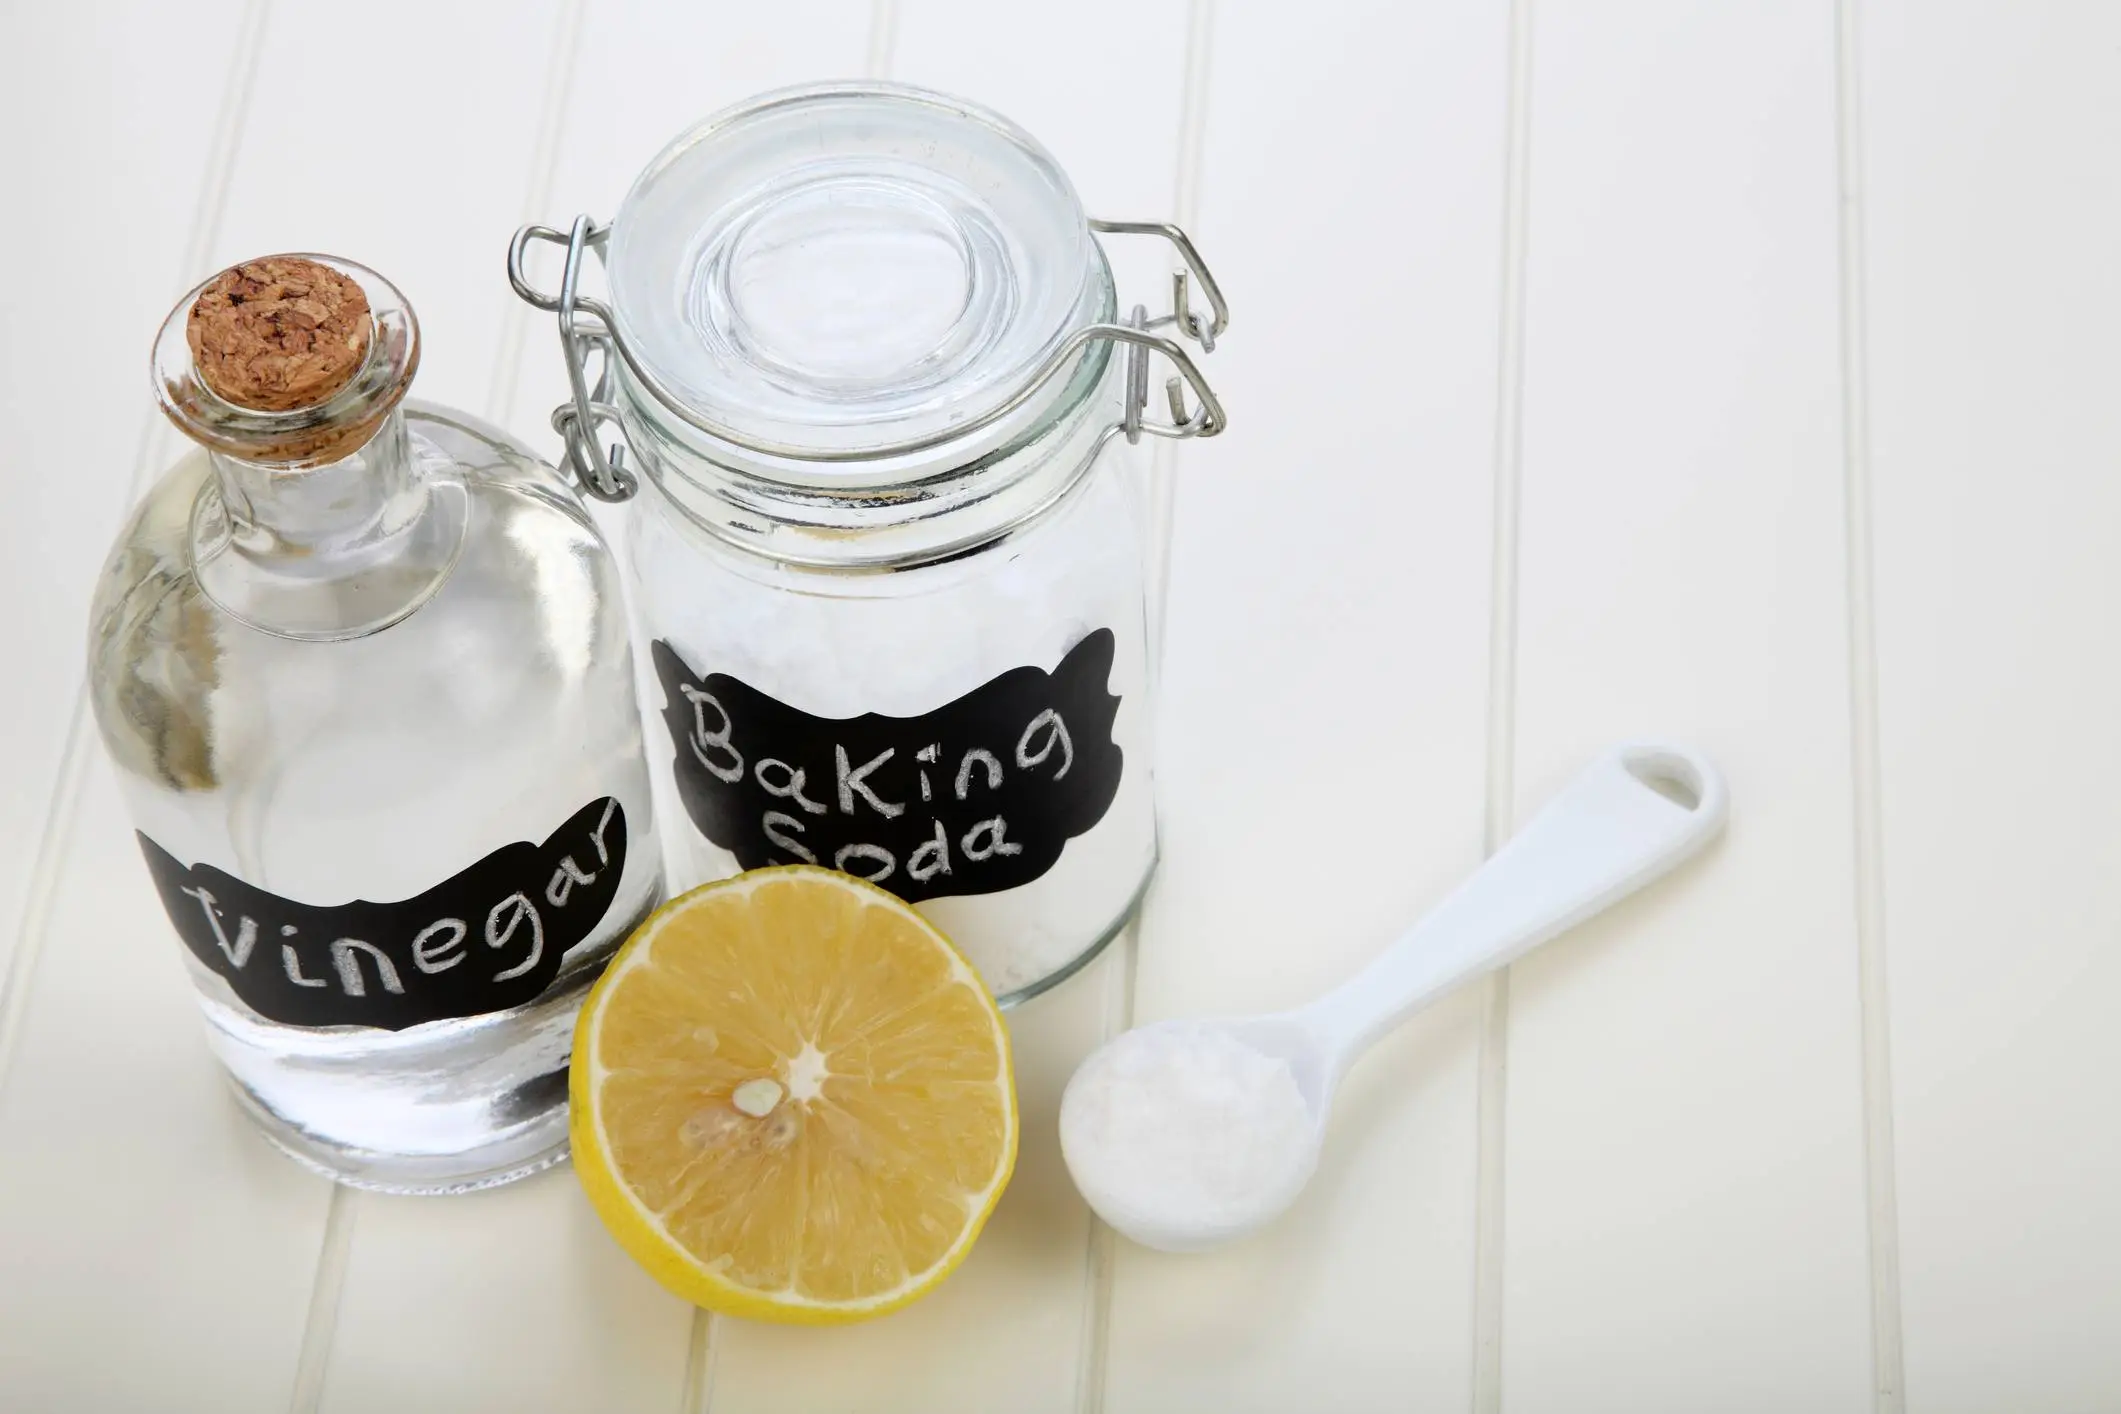
- Gather your dry ingredients: Measure out the required amount of flour, baking powder, baking soda, salt, and any other dry ingredients specified in your recipe. It’s important to accurately measure the ingredients to ensure the desired texture and taste of your baked goods.
- Add the dry ingredients to the bowl: With the mixer turned off, gently pour the dry ingredients into the bowl. This will prevent any sudden bursts of flour and ensure an even distribution of ingredients.
- Start on low speed: Turn on the mixer to the lowest speed setting. This will prevent the dry ingredients from flying out of the bowl and allow them to be gently incorporated without creating a mess.
- Mix until combined: Let the mixer run on low speed for a few seconds until the ingredients are combined. Use a spatula to scrape down the sides of the bowl if necessary.
- Incorporate any additional dry ingredients: If your recipe calls for additions like nuts, chocolate chips, or dried fruits, add them to the bowl. Mix on low speed until they are evenly distributed.
By using a mixer to combine the dry ingredients, you ensure a consistent mixture without the risk of overmixing. Mixing by hand can sometimes lead to uneven distribution of ingredients, resulting in inconsistent baking results.
Once your dry ingredients are mixed, it’s time to move on to the next step: incorporating the wet ingredients.
Step 3: Incorporating Wet Ingredients
With the dry ingredients mixed, it’s time to incorporate the wet ingredients into your batter or dough. Here’s how you can do it using your mixer:
- Gather your wet ingredients: Measure out the required amount of liquids such as eggs, milk, oil, melted butter, or other liquids specified in your recipe.
- Add the wet ingredients to the mixing bowl: With the mixer still on low speed, slowly pour the liquid ingredients into the bowl. This helps prevent splattering and allows for even incorporation of the wet ingredients.
- Mix until combined: Once the wet ingredients are added, increase the mixer speed to medium. Allow the mixer to run until the wet and dry ingredients are fully combined, usually for about 1-2 minutes. Use the spatula to scrape down the sides of the bowl to ensure all the ingredients are well incorporated.
- Check the consistency: After mixing for the recommended time, check the consistency of the batter or dough. It should be well combined and have a uniform texture. If it appears too dry or too wet, make adjustments as needed. Add a small amount of liquid to moisten the mixture or sprinkle in a bit more flour to thicken it.
- Incorporate mix-ins (optional): If your recipe calls for mix-ins such as chocolate chips, nuts, or raisins, add them to the mixture. Mix on low speed for a few seconds until they are evenly distributed throughout the batter or dough.
Using a mixer for incorporating wet ingredients ensures even distribution and proper emulsion of the liquids, resulting in a homogeneous mixture. This step is crucial for the overall texture and taste of your baked goods.
Now that you’ve successfully incorporated the wet ingredients, let’s move on to the next step: mixing the batter or dough.
When using a mixer for baking, start on low speed to prevent ingredients from splattering. Gradually increase speed as needed, but be careful not to overmix the batter.
Read more: How To Use Drink Mixer
Step 4: Mixing the Batter
With the dry and wet ingredients combined, it’s time to mix the batter or dough using your mixer. This step ensures that all the ingredients are fully integrated and a smooth consistency is achieved. Here’s how you can mix the batter or dough:
- Start on low speed: Begin mixing the batter or dough on low speed to avoid splattering and allow for gentle incorporation of the ingredients.
- Gradually increase the speed: Once the ingredients start to come together, gradually increase the speed to medium. This will help develop the gluten in the batter or dough and create the desired texture.
- Mix for the recommended time: Follow your recipe’s instructions for the recommended mixing time. Overmixing can result in a tough texture, so be sure to mix just until the ingredients are fully combined.
- Scrape down the sides of the bowl: Occasionally pause the mixer and use a spatula to scrape down the sides of the bowl. This ensures that all the ingredients are evenly mixed and prevents any pockets of unmixed batter or dough.
- Check the consistency: Throughout the mixing process, keep an eye on the consistency of the batter or dough. It should be smooth, without any lumps or dry patches. If needed, make adjustments by adding small amounts of liquid or flour to achieve the desired consistency.
By using a mixer, you can achieve a consistent and well-mixed batter or dough without straining your arms from manual stirring. It also helps in developing the desired texture and structure of the final baked goods.
Once the batter or dough is thoroughly mixed, you’re ready to move on to the next step, where we’ll discuss adjustments and troubleshooting.
Step 5: Adjustments and Troubleshooting
While using a mixer for baking, it’s common to encounter certain issues or need to make adjustments along the way. Here are some tips to help you troubleshoot and make necessary adjustments:
- Dry or Thick Batter: If your batter appears too dry or thick, add small amounts of liquid (such as milk or water) and mix until desired consistency is achieved. Gradually add the liquid while the mixer is running, and be careful not to overdo it and make the batter too thin.
- Wet or Thin Batter: If your batter seems too wet or thin, gradually add small amounts of dry ingredients (such as flour) until the desired consistency is reached. Mix well after each addition and check the consistency regularly to avoid over-thickening the batter.
- Mix-ins Not Mixing Well: If you’re incorporating ingredients like nuts, chocolate chips, or fruits, and they’re not evenly mixed throughout the batter or dough, pause the mixer and use a spatula to manually fold them in. This will help ensure even distribution without overmixing the batter.
- Overmixing: Overmixing can lead to a tough texture in your baked goods. Be cautious not to mix the batter or dough for longer than recommended in the recipe. If you suspect you may have overmixed, stop mixing immediately and proceed to the next step to avoid further damage.
- Persistent Lumps: If your batter or dough has persistent lumps, use a sieve or sift the dry ingredients before adding them to the mixing bowl. This will help break up any clumps and ensure a smooth mixture.
Remember, troubleshooting and making adjustments during the mixing process is a normal part of baking. Take your time, observe the consistency, and make the necessary modifications to achieve the best results. With practice, you’ll become more comfortable in troubleshooting and adjusting the batter or dough as needed.
Now that you’re familiar with adjustments and troubleshooting, let’s move on to the next step: avoiding overmixing to maintain the quality of your baked goods.
Step 6: Avoiding Overmixing
Overmixing is a common mistake in baking that can lead to undesirable outcomes such as dense cakes, tough cookies, or chewy bread. To ensure the best texture and consistency in your baked goods, it’s important to know how to avoid overmixing while using a mixer. Here are some tips:
- Follow the recipe instructions: Pay close attention to the recommended mixing time in the recipe. Overmixing can occur when you continue to mix beyond the specified time. It’s important to stop mixing as soon as the batter or dough is fully combined and the ingredients are evenly distributed.
- Use low to medium speed settings: It’s generally best to mix batter and dough at low to medium speed, depending on the speed settings of your mixer. Higher speeds can overdevelop the gluten and result in a dense texture. Start on low speed and gradually increase as needed, but always be mindful of the mixing time.
- Mix in intervals: Instead of continuously running the mixer, try using shorter mixing intervals with breaks in between. This allows you to assess the consistency of the batter or dough and prevent overmixing. Stop and scrape down the sides of the bowl with a spatula to ensure everything is properly incorporated.
- Use the “fold” technique: If you need to incorporate delicate ingredients, such as whipped egg whites or melted chocolate, it’s best to use a folding technique rather than using the mixer. Gently fold the ingredients into the batter or dough by hand to retain their lightness and prevent overmixing.
Remember, overmixing can result in tough or dense baked goods. By following these tips and being mindful of the mixing process, you can avoid overmixing and achieve the desired texture in your baked creations.
Now that you’re well-equipped to avoid overmixing, let’s move on to the final step: cleaning and maintaining your mixer for long-lasting performance.
Step 7: Cleaning and Maintenance
Proper cleaning and maintenance of your mixer are essential to ensure its longevity and optimal performance. Here are some steps to follow when cleaning and maintaining your mixer:
- Unplug the mixer: Before cleaning your mixer, make sure it is unplugged from the electrical outlet to avoid any accidents.
- Remove attachments and bowl: Detach any attachments from the mixer, such as the paddle or whisk, and remove the mixing bowl. Most attachments are dishwasher safe, so you can clean them in the dishwasher along with the other dishes. However, check the manufacturer’s instructions to be sure.
- Wipe down the mixer body: Use a damp cloth or sponge to wipe the exterior of the mixer and remove any spills or splatters. Pay attention to crevices and buttons, ensuring they are thoroughly cleaned and dried to prevent any damage.
- Clean the mixing bowl: Wash the mixing bowl by hand with warm, soapy water. Use a sponge or gentle brush to remove any stubborn residue. Rinse the bowl thoroughly and dry it before reattaching it to the mixer.
- Clean the attachments: If the attachments are not dishwasher safe, wash them by hand in warm, soapy water. Use a sponge or brush to remove any remaining batter or dough. Rinse them thoroughly and dry them before storing.
- Check for debris in the attachment socket: Occasionally, debris or food particles may accumulate in the attachment socket. Use a toothpick or small brush to gently remove any residue and ensure the socket is clean.
- Store the mixer properly: When not in use, store your mixer in a dry and clean area. If possible, cover it with a dust cover or store it in its original box to protect it from dust and potential damage.
- Regular maintenance: Follow the manufacturer’s guidelines for any additional maintenance tasks, such as lubricating the moving parts or replacing any worn-out attachments.
Regular cleaning and proper maintenance of your mixer will prolong its lifespan and ensure its continued performance. By keeping your mixer clean and well-maintained, you’ll be able to enjoy hassle-free baking sessions for years to come.
Now that you know how to clean and maintain your mixer, you’re ready to put your baking skills to the test! With the right techniques and a well-maintained mixer, you’ll be able to whip up delicious baked goods with ease.
Read more: How To Use Baking Soda In A Litter Box
Conclusion
Using a mixer for baking can significantly enhance your baking experience and elevate the quality of your creations. From effortlessly combining ingredients to achieving the perfect texture, a mixer is an invaluable tool in the kitchen.
In this article, we covered the essential steps for using a mixer in your baking process. We started by setting up the mixer, ensuring the attachments were properly connected and the speed was adjusted accordingly. Then, we learned how to mix the dry ingredients and incorporate the wet ingredients, achieving a well-combined batter or dough.
We discussed the importance of making adjustments and troubleshooting along the way, ensuring the batter or dough had the ideal consistency and ingredients were evenly distributed. We also emphasized the significance of avoiding overmixing, as it can negatively impact the texture and quality of your baked goods.
Furthermore, we highlighted the importance of regular cleaning and maintenance to keep your mixer in optimal condition. By following proper cleaning procedures and performing regular maintenance tasks, you can extend the lifespan of your mixer and ensure it continues to deliver reliable performance.
With these steps and tips in mind, you are now equipped to make the most of your mixer and create a wide range of delicious baked treats. So, dive into the magic of baking, experiment with new recipes, and let your mixer take your baking skills to new heights!
Happy baking!
Frequently Asked Questions about How To Use Mixer For Baking
Was this page helpful?
At Storables.com, we guarantee accurate and reliable information. Our content, validated by Expert Board Contributors, is crafted following stringent Editorial Policies. We're committed to providing you with well-researched, expert-backed insights for all your informational needs.


0 thoughts on “How To Use Mixer For Baking”