Articles
How To Use A Kitchenaid Mixer
Modified: January 7, 2024
Learn how to use a Kitchenaid mixer with our informative articles. Get expert tips and tricks for mastering this versatile kitchen tool.
(Many of the links in this article redirect to a specific reviewed product. Your purchase of these products through affiliate links helps to generate commission for Storables.com, at no extra cost. Learn more)
Introduction
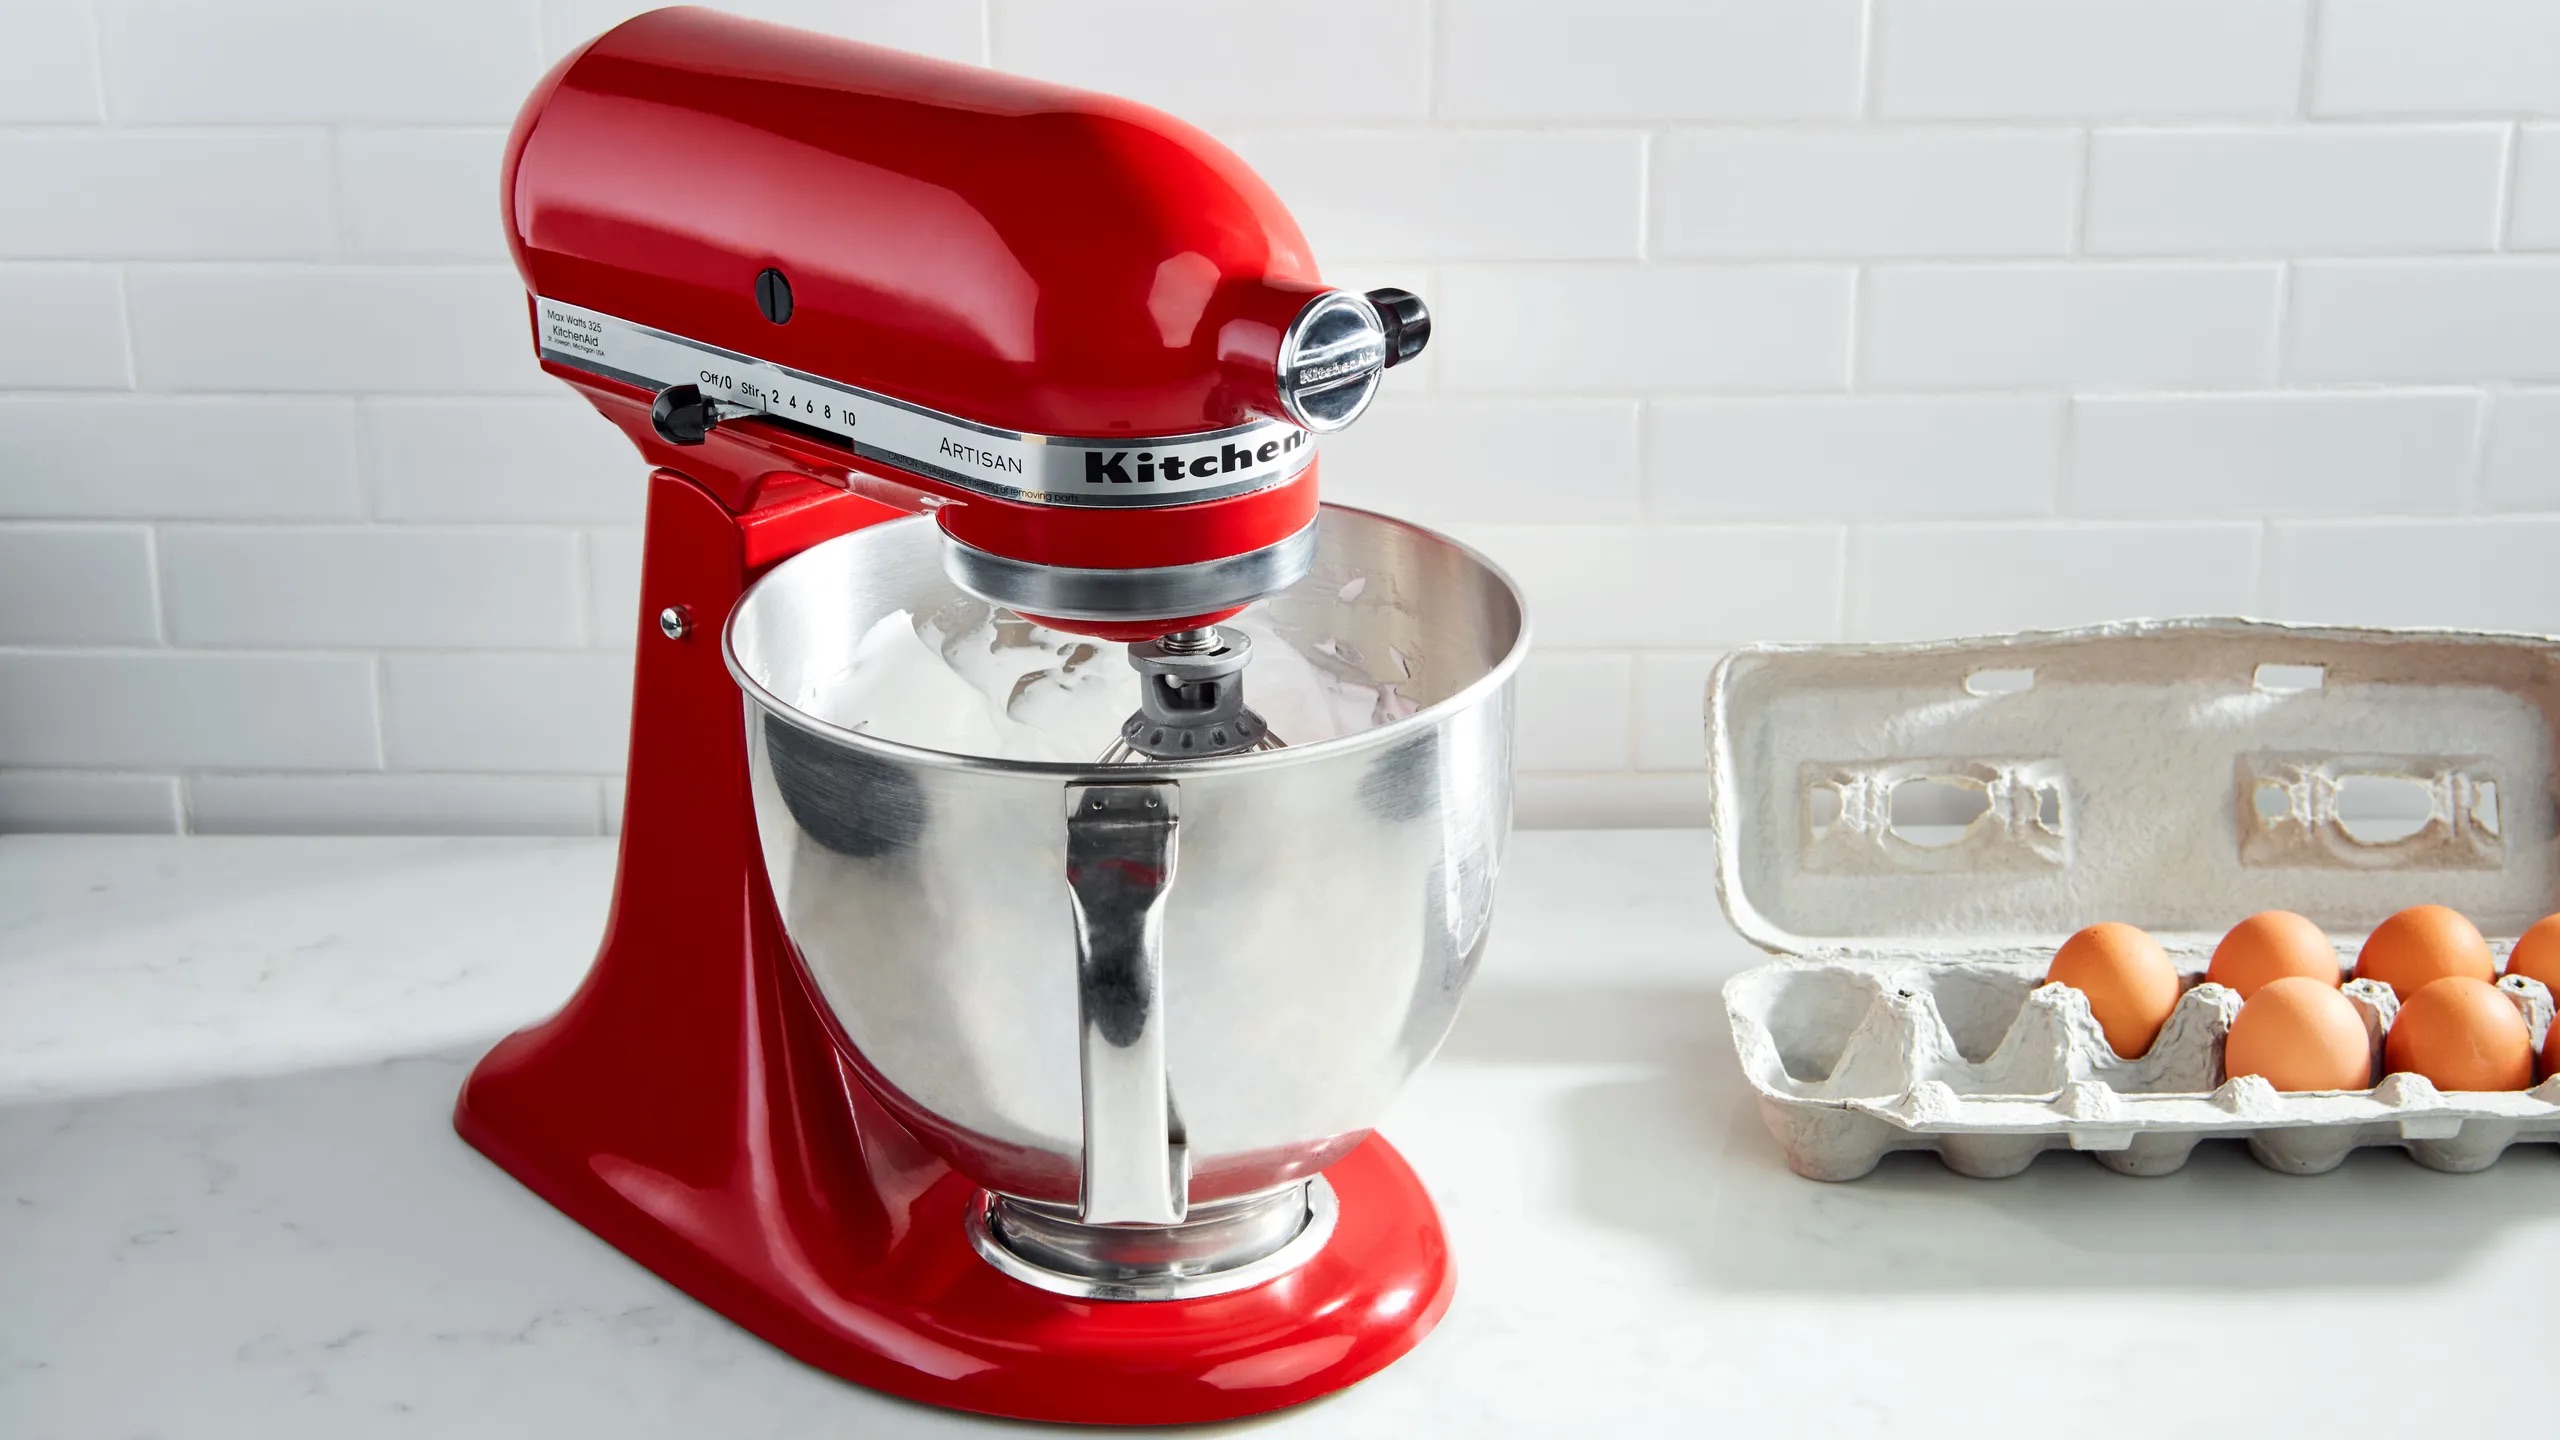
Welcome to the world of culinary possibilities with the KitchenAid Mixer! Whether you are a seasoned chef or a home cook looking to elevate your skills, this versatile appliance is a game-changer in the kitchen. From whipping up fluffy cakes and doughs to preparing savory sauces and dressings, the KitchenAid Mixer is an indispensable tool that can handle a wide range of culinary tasks with ease and precision.
In this article, we will guide you through the process of using a KitchenAid Mixer, from assembly to troubleshooting common issues. We’ll also explore the various attachments that can be used with this appliance, along with tips for cleaning and maintenance. By the end of this article, you’ll be ready to unleash your creativity and make the most of your KitchenAid Mixer.
So, let’s dive in and discover the endless possibilities that await you in the world of culinary delights!
Key Takeaways:
- Unleash your culinary creativity with the versatile KitchenAid Mixer, from baking fluffy cakes to effortlessly shredding meat, this appliance simplifies and elevates your cooking and baking endeavors.
- Keep your KitchenAid Mixer in top shape by following maintenance tips and troubleshooting common issues, ensuring it continues to deliver professional-quality results in the kitchen.
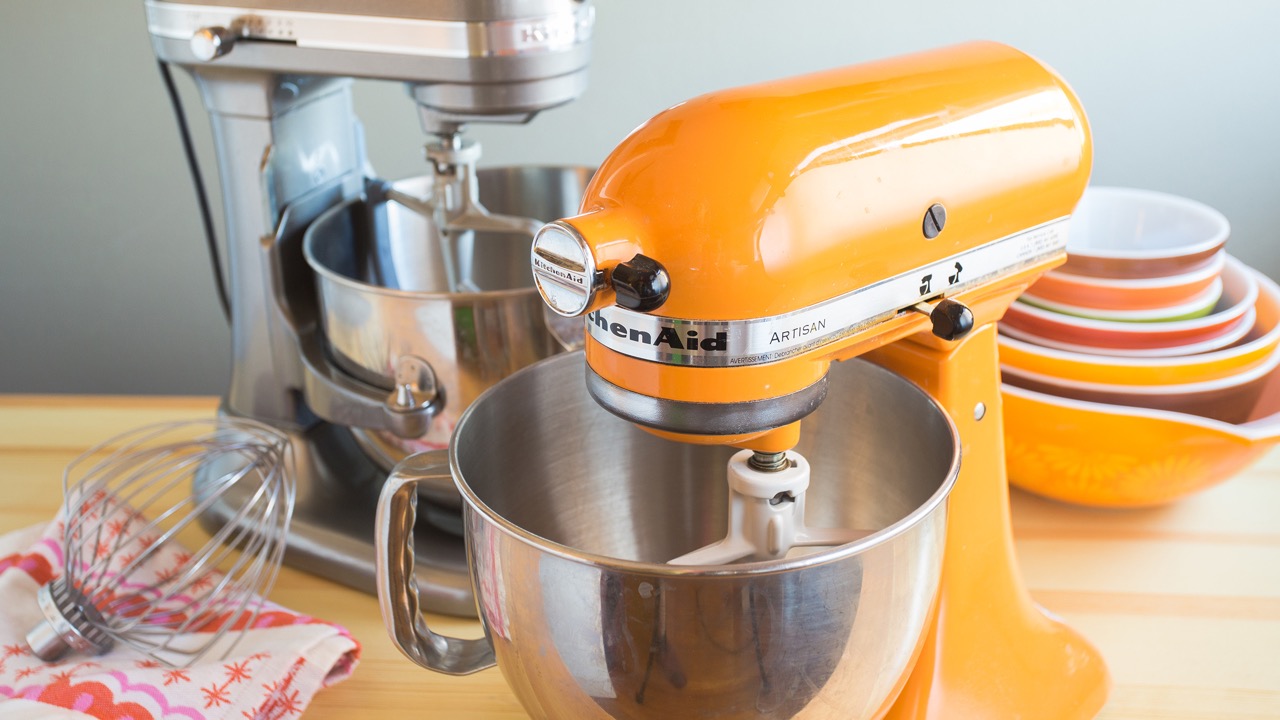
Getting Familiar with the KitchenAid Mixer
Before you start using your KitchenAid Mixer, it’s important to become familiar with its key components and features. Understanding how it works will help you make the most of this powerful appliance.
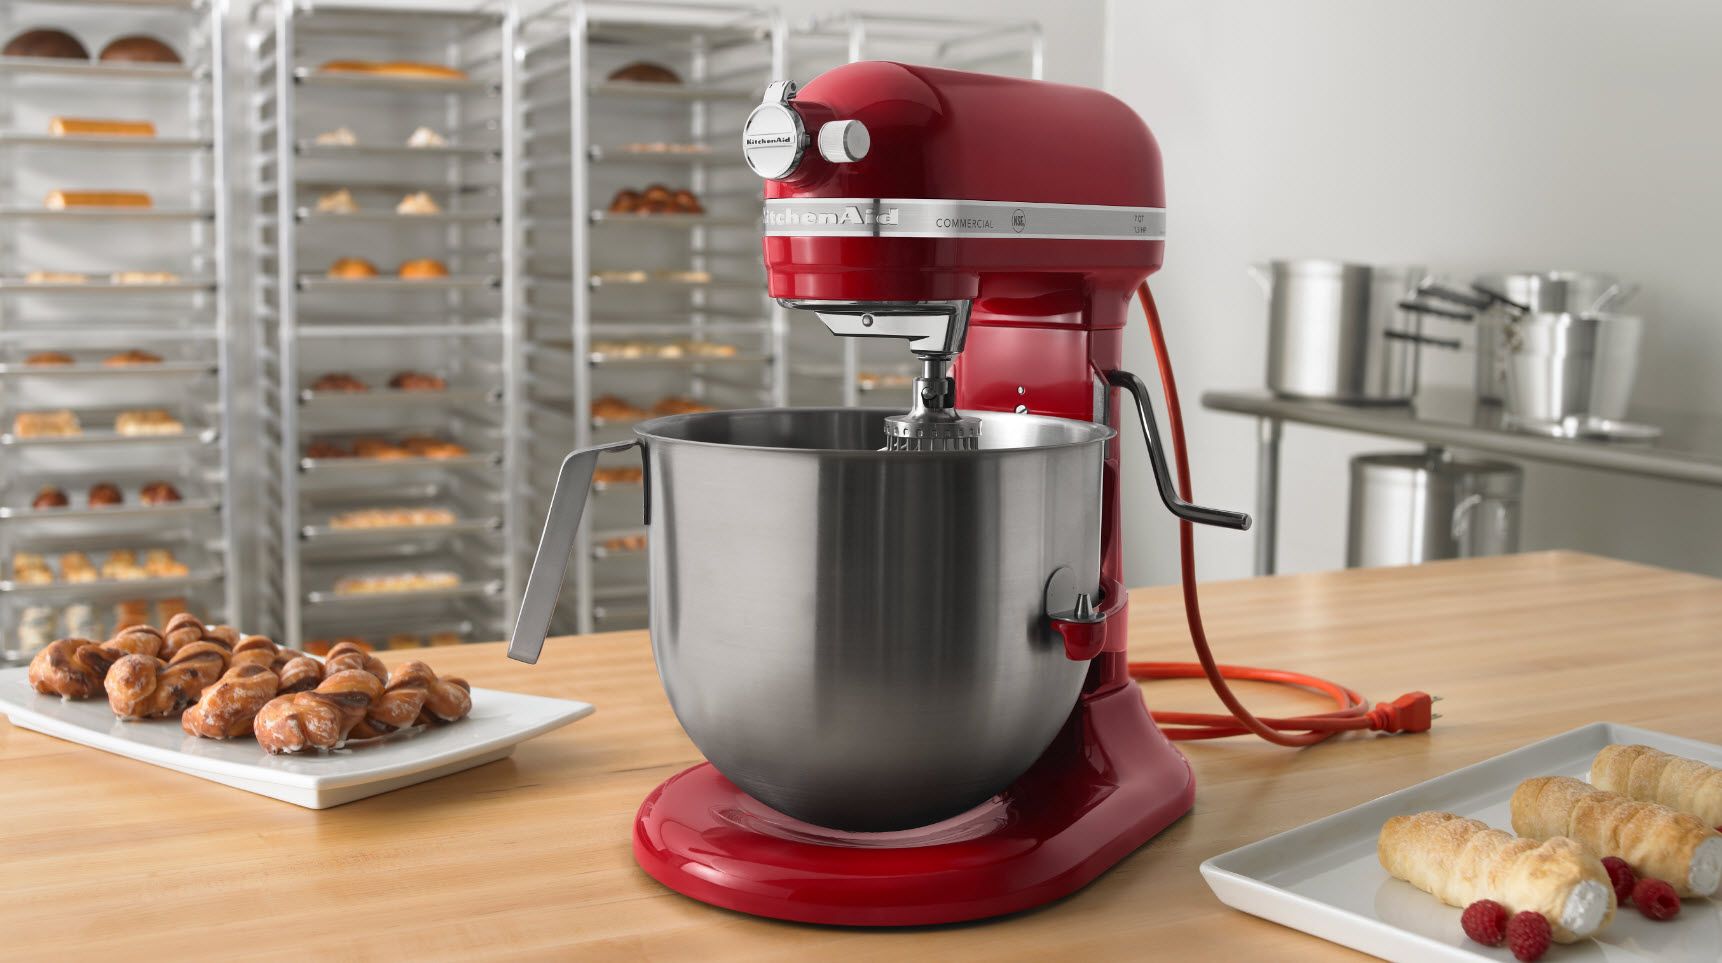
The main body of the KitchenAid Mixer consists of a sturdy base that houses the motor, which provides the power to drive the attachments. On top of the base is the head, where you can attach and detach various mixing attachments. The head also includes the control lever, which allows you to tilt the head for easy access to the mixing bowl.
The mixing bowl is typically made of stainless steel and comes in various sizes to accommodate different batch sizes. It is important to choose the right size bowl for your recipe to ensure proper mixing and avoid any spillage.
Additionally, the KitchenAid Mixer features a speed control dial that allows you to adjust the mixing speed based on the recipe requirements. The mixer usually offers a range of speeds, from gentle mixing to high-speed whipping.
Now that you are familiar with the main components, it’s time to assemble your KitchenAid Mixer and get ready to embark on your culinary journey. In the next section, we will guide you through the assembly process, ensuring that you have everything ready to start creating delicious dishes with ease.
Assembling the KitchenAid Mixer
Assembling the KitchenAid Mixer is a straightforward process that will have you ready to use this versatile appliance in no time.
Start by placing the base of the mixer on a stable and level surface. Ensure that the power cord is easily accessible and can reach a power outlet.
Next, attach the mixing bowl to the mixer. To do this, align the bowl with the grooves on the base of the mixer and gently twist it clockwise until it locks into place. Give it a slight tug to make sure it is securely attached.
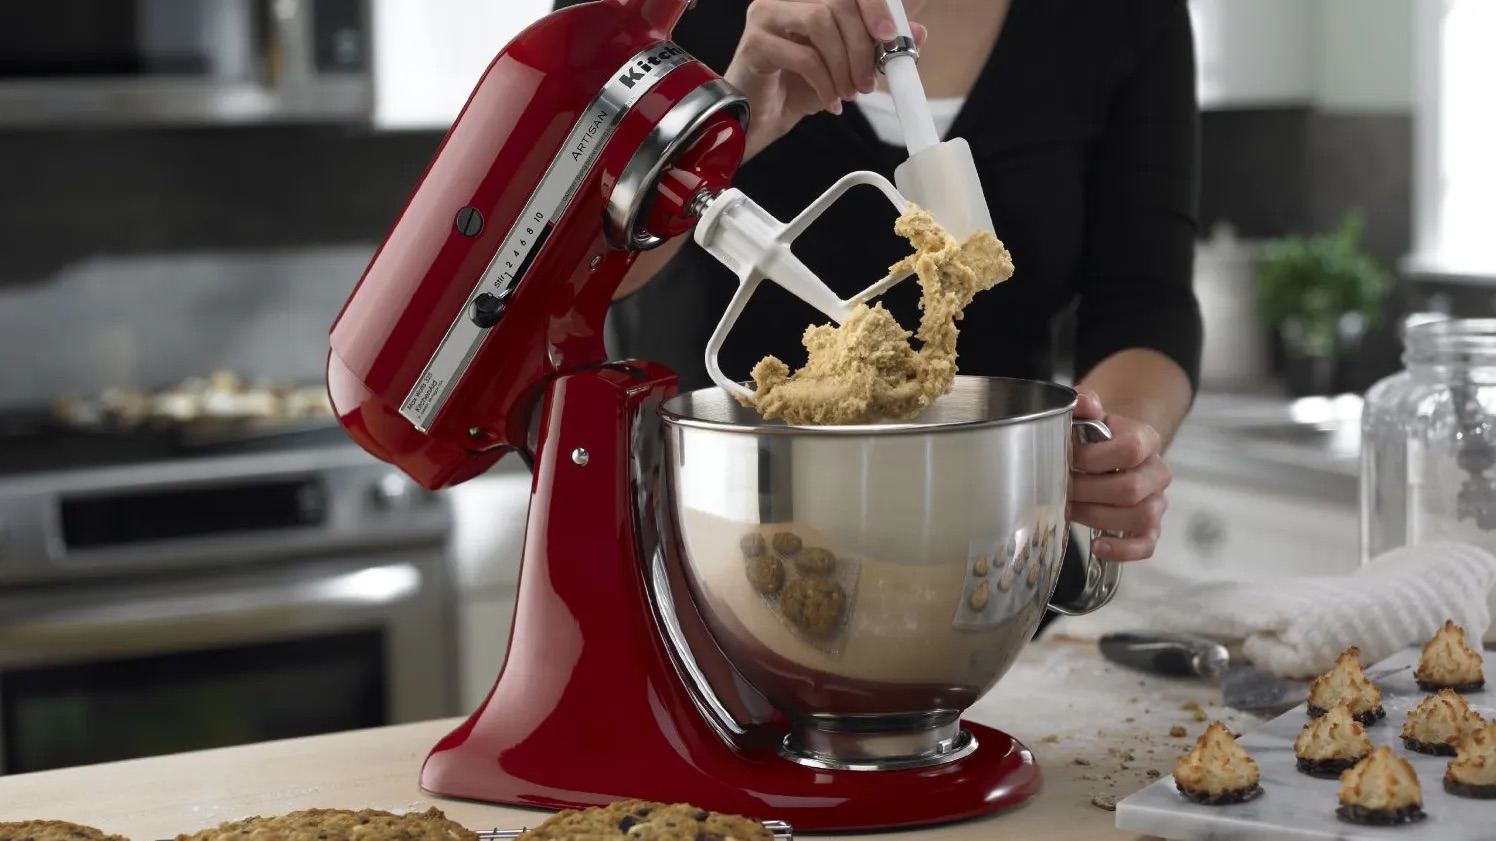
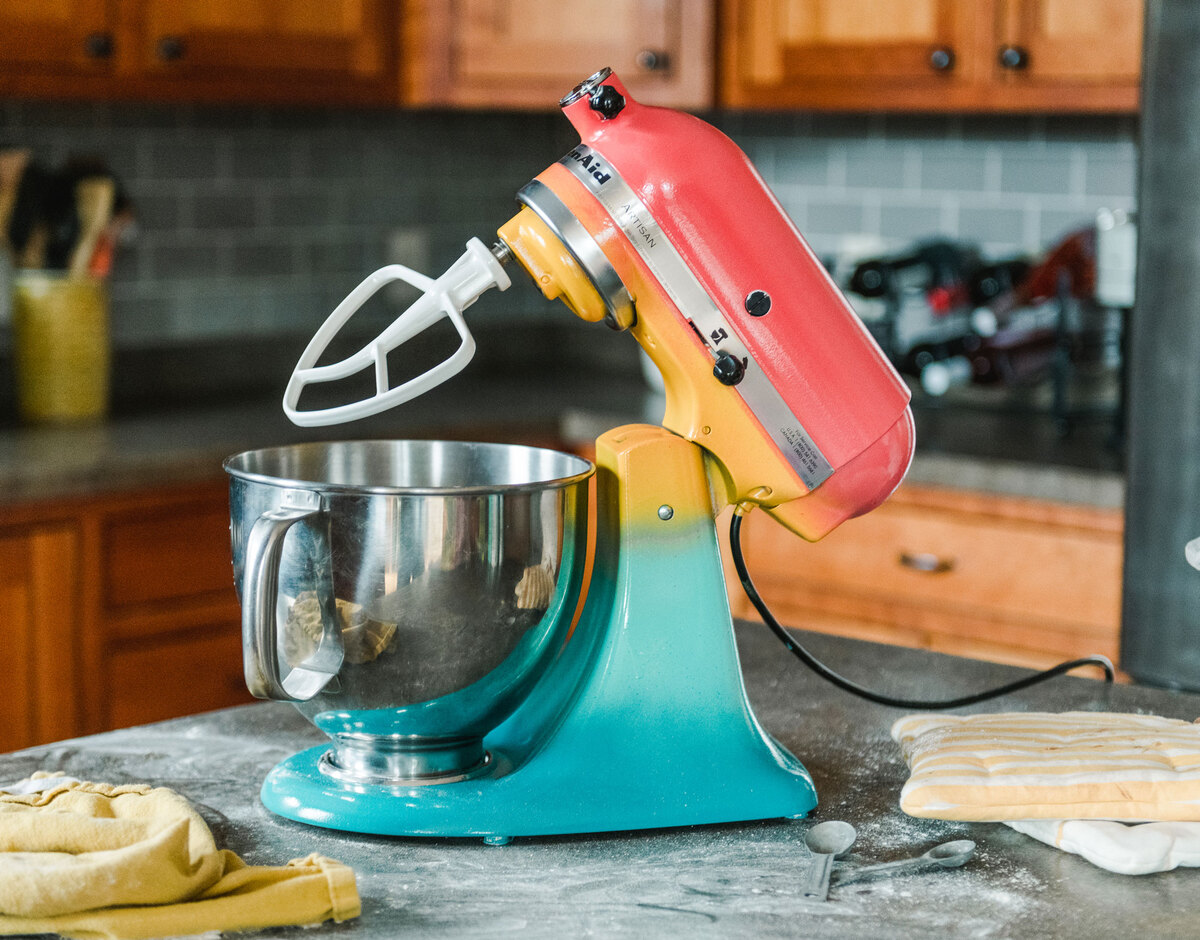
Now it’s time to attach the mixing attachment. For most baking tasks, such as mixing dough or batter, the flat beater attachment is commonly used. Simply slide the attachment onto the beater shaft, located on the underside of the head, and twist it clockwise until it locks into place. Again, give it a gentle tug to ensure it is securely attached.
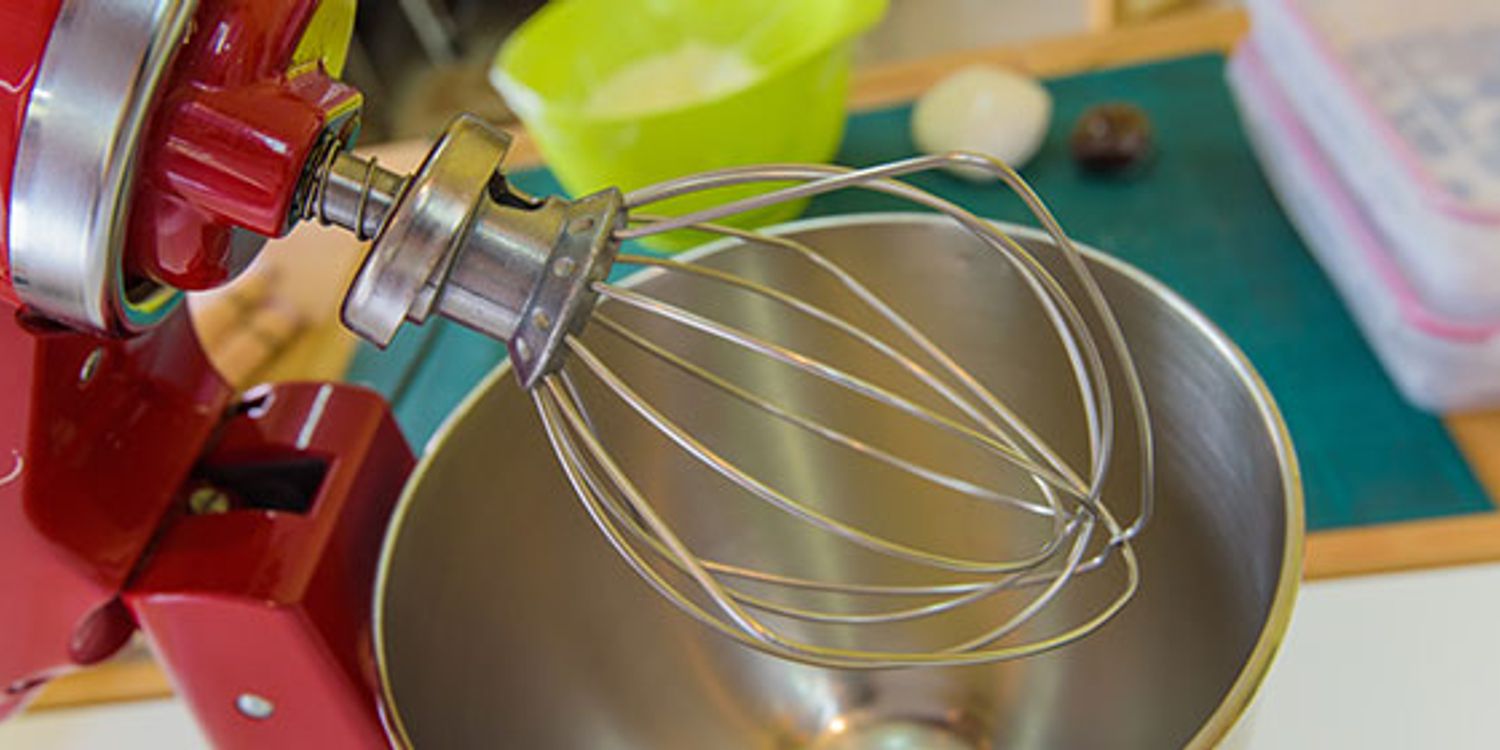
If you want to whip cream or make meringue, you’ll want to switch to the wire whip attachment. To attach the wire whip, remove the flat beater by rotating it counterclockwise and gently pulling it off. Then, slide the wire whip onto the beater shaft and twist it clockwise to secure it.
For heavier tasks like kneading dough, the dough hook attachment is ideal. Similar to the flat beater and wire whip, it attaches by sliding it onto the beater shaft and twisting it clockwise.
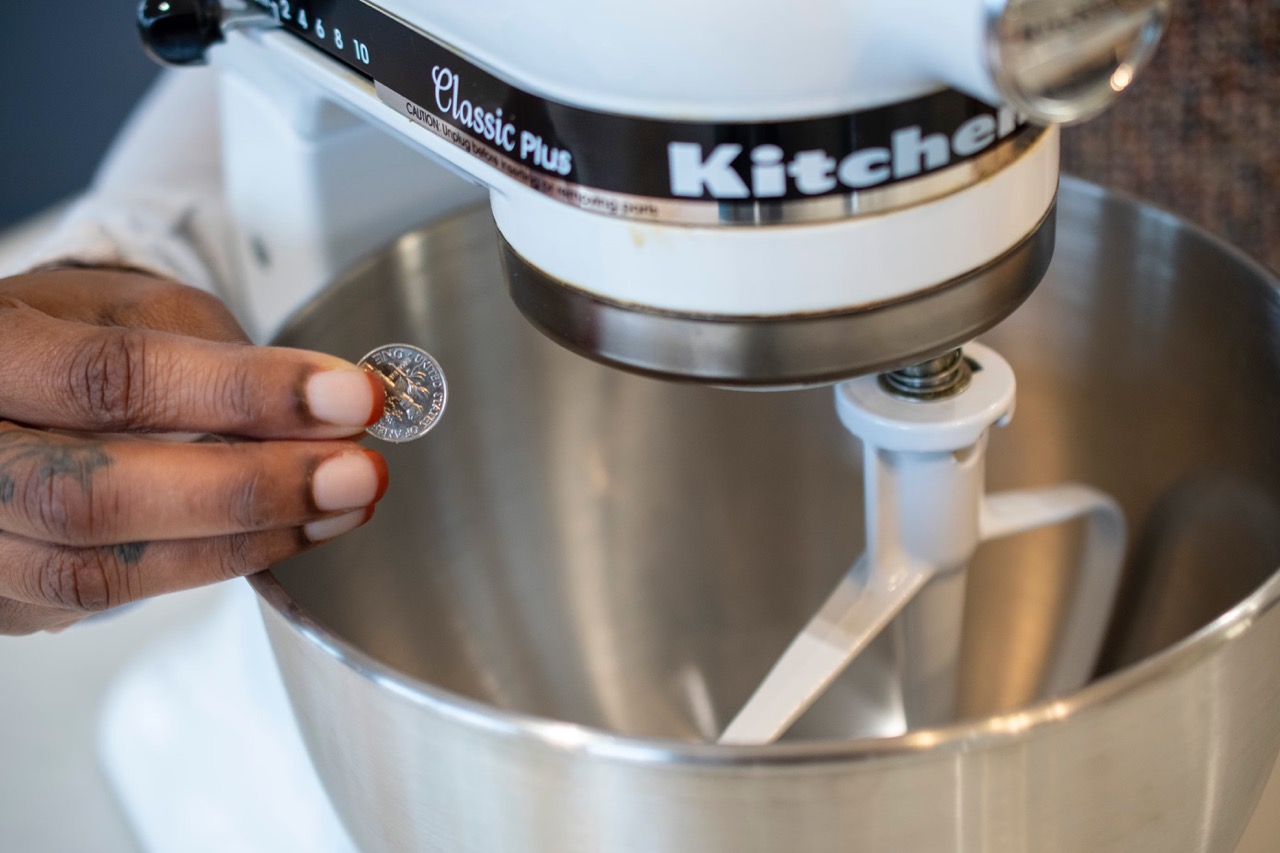
Once you’ve attached the desired mixing attachment, you’re almost ready to start using your KitchenAid Mixer. Before you do, it’s important to ensure that the mixing bowl is properly adjusted. Use the adjusting screw, located at the top of the mixer head, to raise or lower the bowl as needed. The goal is to have the attachment just barely touch the bottom of the bowl without scraping.
Now that your KitchenAid Mixer is assembled, let’s move on to the next section to explore the various attachments and their uses.
Understanding the Mixer Attachments
The KitchenAid Mixer offers a wide range of attachments that can transform it into a multifunctional powerhouse in your kitchen. Understanding the different attachments and their uses will allow you to unleash your creativity and tackle various culinary tasks with ease.
1. Flat Beater Attachment: The flat beater attachment is the most commonly used accessory and is perfect for general mixing tasks. It is great for combining dry ingredients, creaming butter and sugar, and mixing batters and doughs. This attachment ensures even mixing and incorporates ingredients thoroughly.
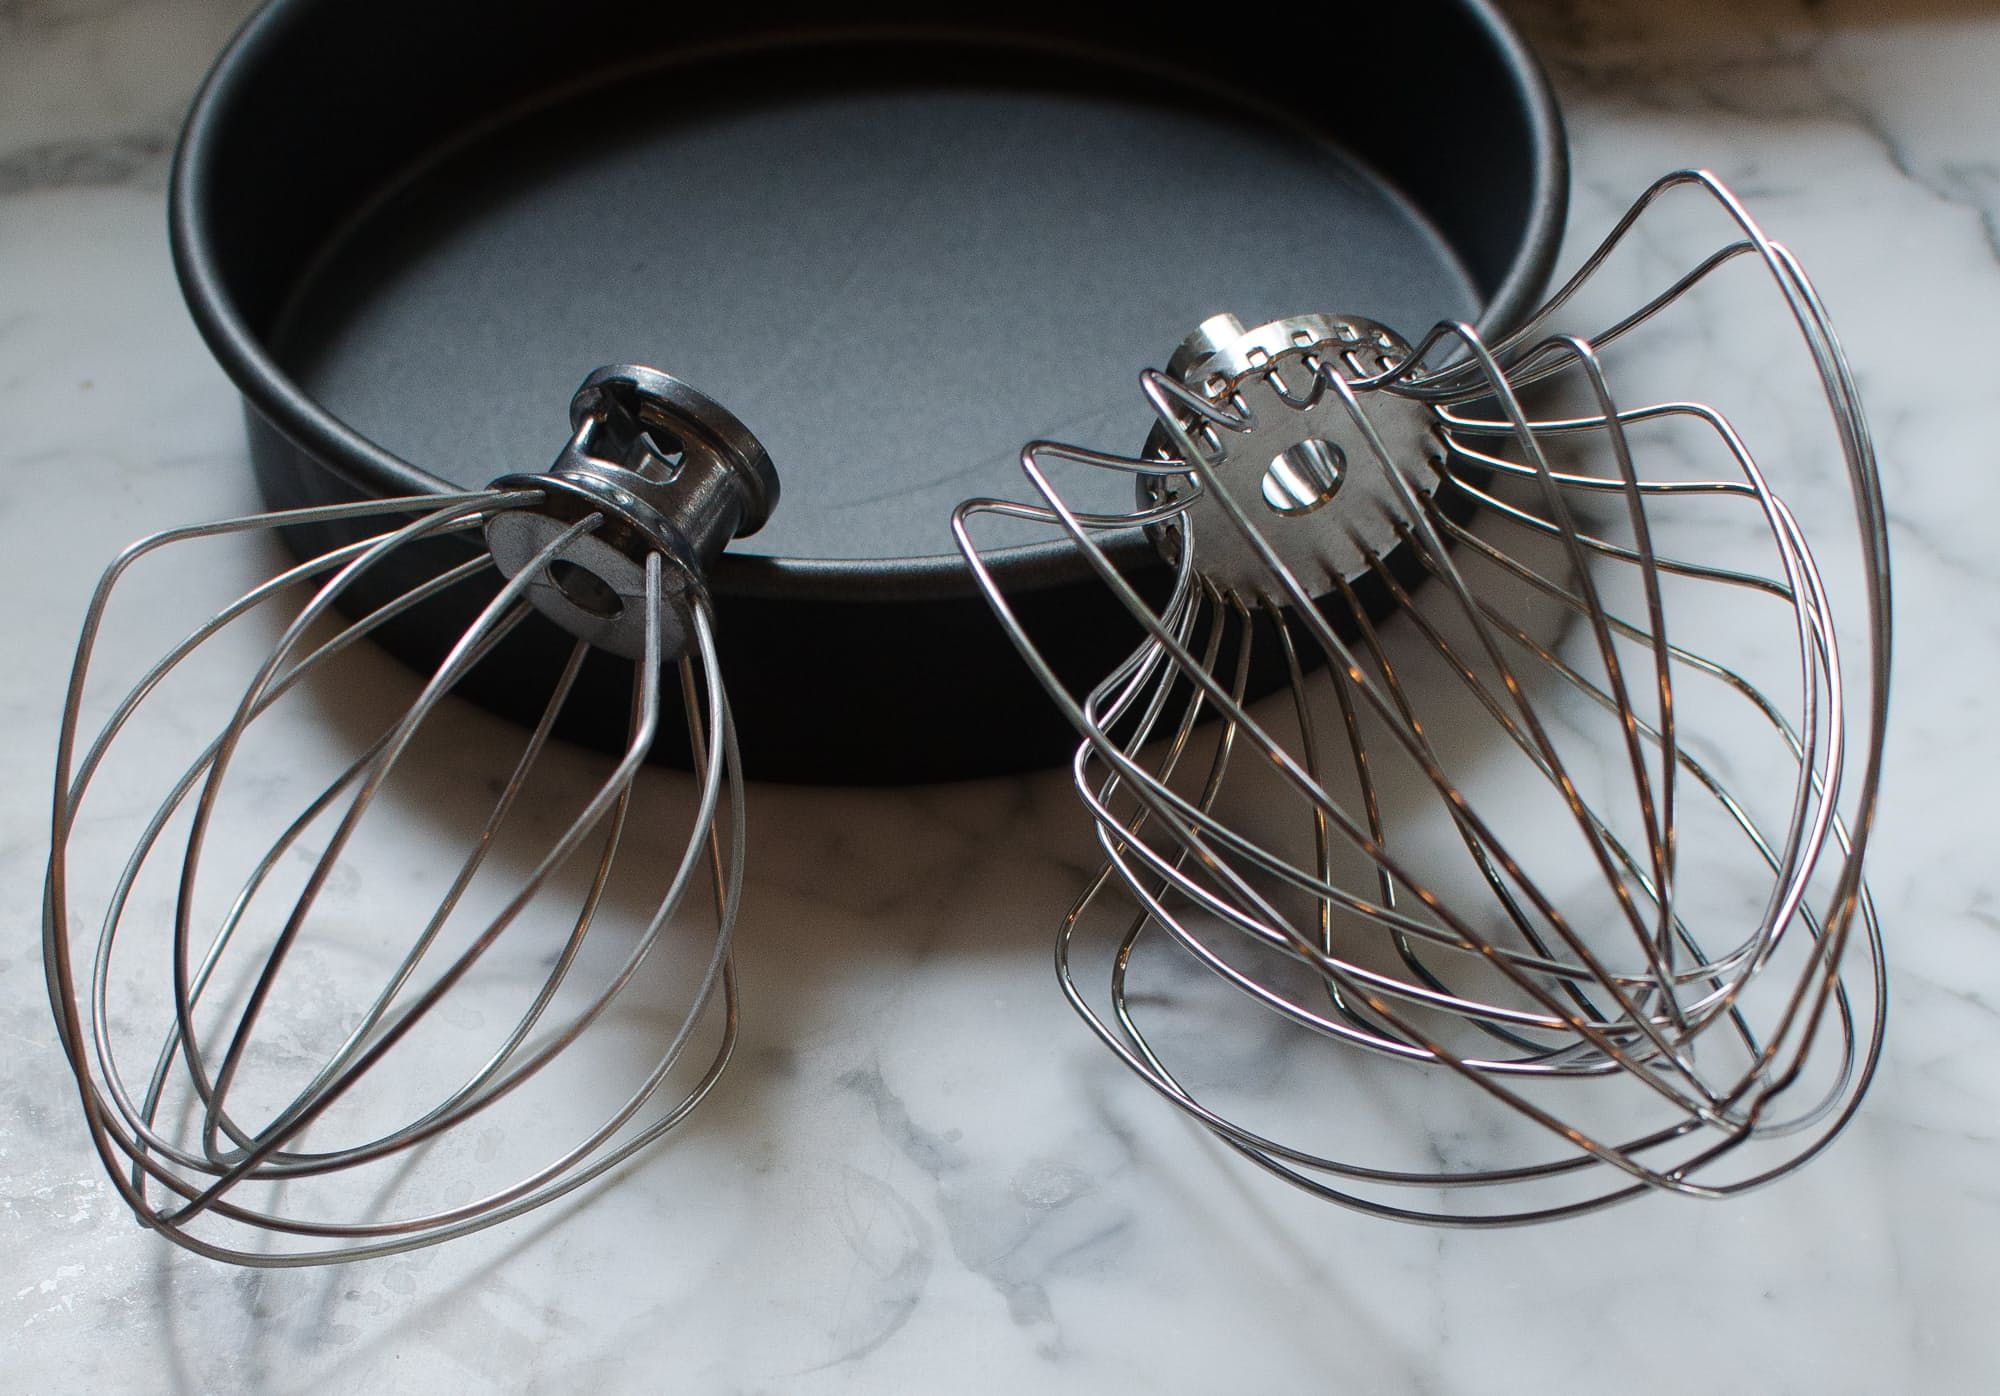
2. Wire Whip Attachment: The wire whip attachment is used for incorporating air into mixtures, making it perfect for whipping cream, egg whites, and light batters. It creates fluffy peaks and enhances the volume of your mixtures. The wire whip attachment is not suitable for heavy-duty mixing, such as kneading dough.
3. Dough Hook Attachment: The dough hook attachment is designed for kneading and mixing yeast doughs. It can handle heavy and thick mixtures, making it ideal for breadmaking. The dough hook attachment ensures that your dough is evenly kneaded and properly developed, resulting in perfectly textured breads and pastries.
4. Flex Edge Beater Attachment: The flex edge beater attachment is a versatile accessory that combines the functionalities of the flat beater and the scraping spatula. Its flexible edge scrapes the sides of the mixing bowl, ensuring that all ingredients are incorporated and eliminating the need to stop and scrape down the bowl manually.
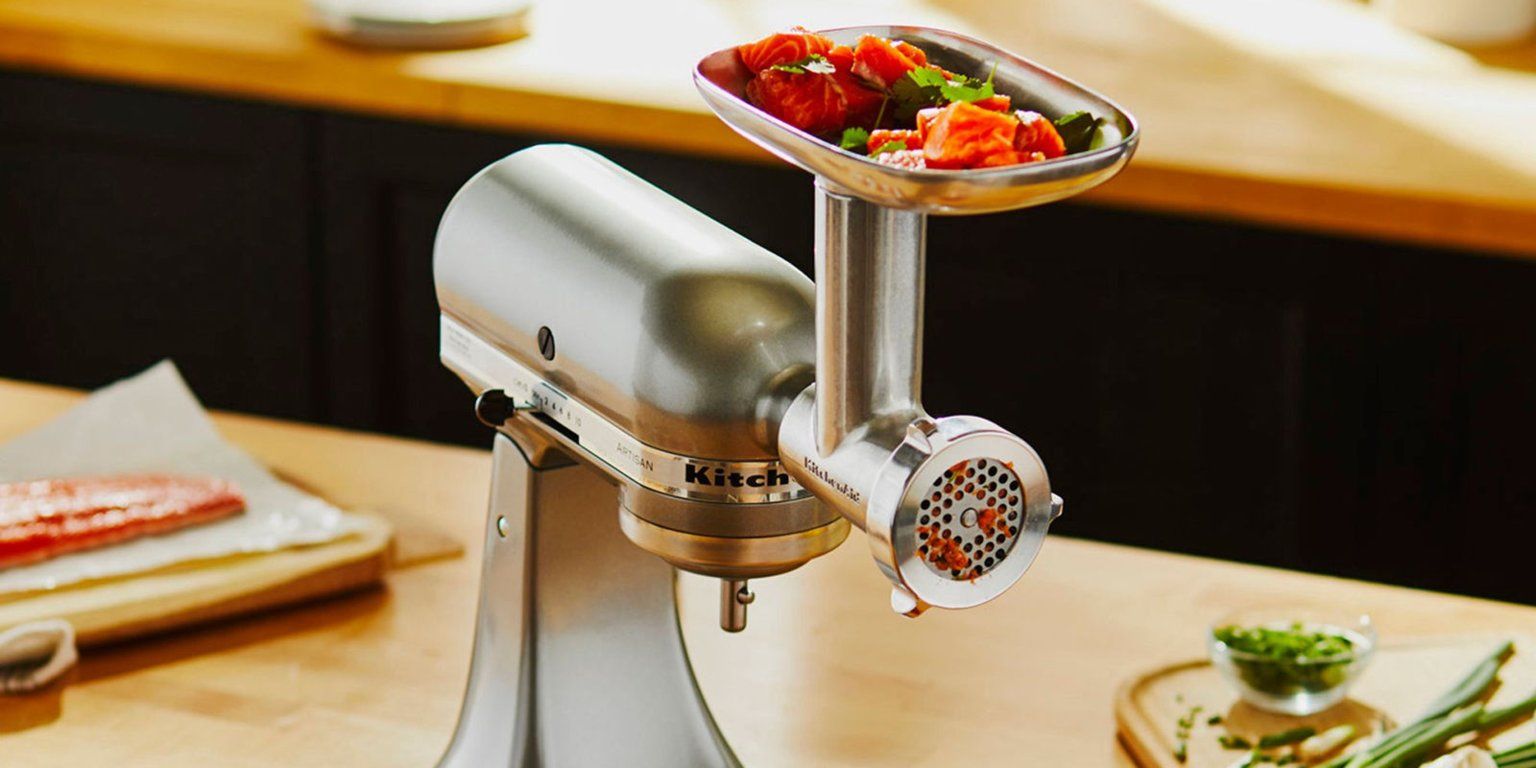
5. Food Processor Attachment: The food processor attachment allows you to expand your KitchenAid Mixer’s capabilities by transforming it into a food processor. It comes with various slicing and shredding blades, allowing you to quickly and easily prepare a wide range of fruits, vegetables, and cheeses.
These are just a few of the many attachments available for the KitchenAid Mixer. Each attachment opens up new possibilities and allows you to take on different culinary challenges. As you explore the world of KitchenAid Mixer attachments, you’ll discover endless opportunities to elevate your cooking and baking endeavors.
Now that you are familiar with the attachments, let’s delve into using the mixer for specific tasks such as baking and cooking in the following sections.
Using the Mixer for Baking
The KitchenAid Mixer is a baking enthusiast’s best friend. It simplifies and streamlines the process of mixing ingredients, allowing you to achieve consistent and professional-quality results. Here are some tips on how to use your KitchenAid Mixer for baking:
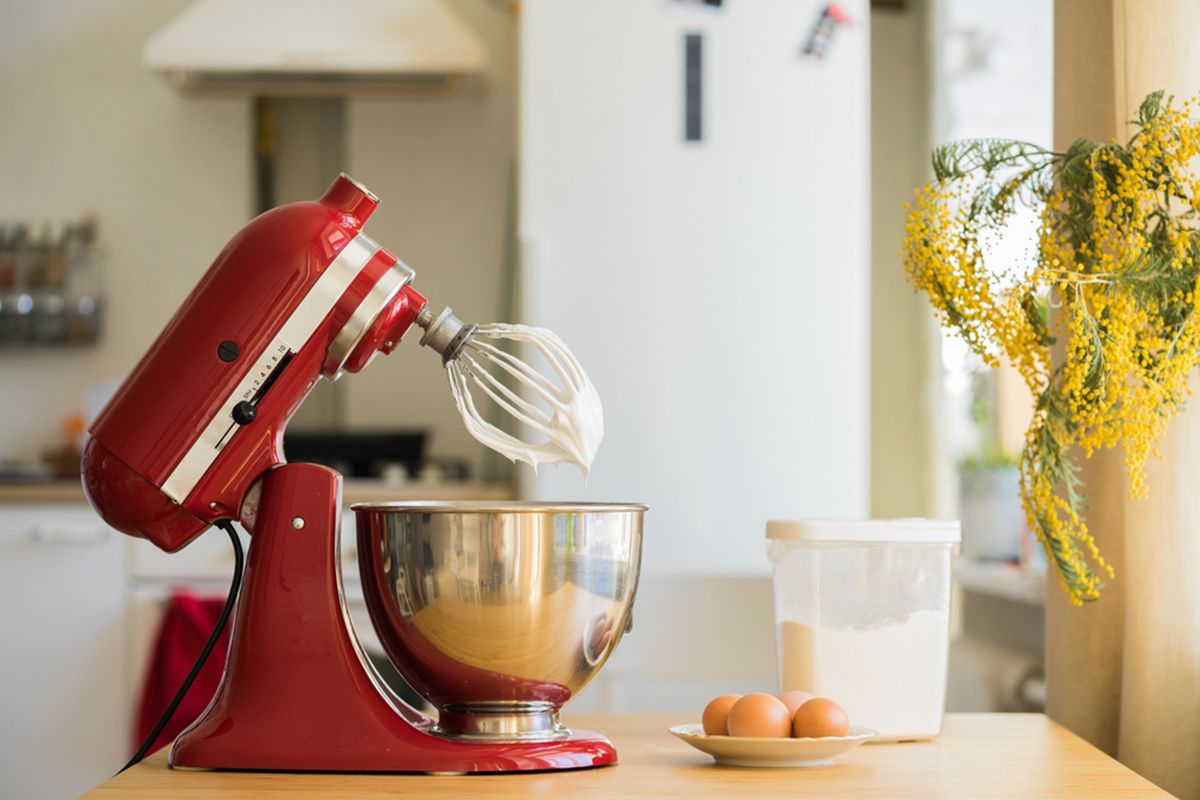
1. Creaming Butter and Sugar: Attach the flat beater to the mixer and place softened butter and sugar in the mixing bowl. Start the mixer on low speed to avoid any splattering, then gradually increase the speed to medium and beat until the mixture becomes light and fluffy.
2. Mixing Batters and Doughs: Depending on the recipe, use the appropriate attachment – the flat beater for regular batters and the dough hook for yeast doughs. Add the dry ingredients to the mixing bowl first, followed by the wet ingredients. Start the mixer on low speed and gradually increase it as the ingredients combine. This ensures even mixing without overworking the batter or dough.
3. Whipping Cream and Egg Whites: Attach the wire whip to the mixer and pour the cream or egg whites into the mixing bowl. Start the mixer on low speed and gradually increase it to medium-high. Watch closely as the cream or egg whites thicken, being careful not to overbeat. Stop when soft peaks form.
4. Folding Ingredients: After mixing the batter or dough, gently fold in any additional ingredients like nuts, chocolate chips, or fruits. Remove the attachment and use a spatula to carefully fold in the ingredients by hand. Folding maintains the lightness and texture of the finished product.
5. Cleaning the Attachments: After using the mixer, detach the attachments and clean them thoroughly with warm, soapy water. If there are any stubborn residue or dough, you can soak the attachments in warm water to make cleaning easier. Make sure to dry them completely before storing to prevent any rust or damage.
With the KitchenAid Mixer, you can breeze through baking tasks and create delectable cakes, cookies, breads, and more. Experiment with different recipes and have fun discovering the endless possibilities that this powerful appliance offers.
Now that you have mastered the art of using the KitchenAid Mixer for baking, let’s explore how it can be used for cooking in the next section.
When using a KitchenAid mixer, always start on the lowest speed to avoid splattering ingredients. Gradually increase the speed as needed for your recipe.
Read more: How To Use Meat Grinder On Kitchenaid Mixer
Using the Mixer for Cooking
While the KitchenAid Mixer is widely known for its baking prowess, it can also be a valuable tool for cooking. From whipping up fluffy mashed potatoes to creating delicious homemade sauces, the mixer can save you time and effort in the kitchen. Here are some ways you can use your KitchenAid Mixer for cooking:
1. Mashing Potatoes: Instead of using a traditional masher, attach the flat beater to your mixer and add cooked potatoes to the mixing bowl. Mix on low speed until the potatoes reach your desired consistency. You’ll achieve smooth and fluffy mashed potatoes in no time.
2. Making Homemade Sauces: Whether it’s a creamy Alfredo sauce or a tangy marinara, the KitchenAid Mixer makes quick work of mixing and blending ingredients. Attach the flat beater or the wire whip, depending on the consistency of the sauce, and mix at a low speed until well combined.
3. Shredding Meat: Do you need shredded chicken or pork for your recipe? The KitchenAid Mixer can do the job effortlessly. Simply attach the paddle attachment and place the cooked meat in the mixing bowl. Mix on low speed, and in a matter of minutes, you’ll have perfectly shredded meat ready for your dish.
4. Making Dough for Pasta: Instead of kneading pasta dough by hand, let the KitchenAid Mixer do the hard work for you. Attach the dough hook and add the ingredients to the mixing bowl. Mix on low speed until the dough comes together and forms a smooth ball. This method ensures consistent dough every time.
5. Preparing Sausages: If you enjoy making your own sausages, the KitchenAid Mixer can be a great asset. Attach the sausage stuffer attachment, and with the help of the mixer, you can easily stuff casings with your preferred sausage mixture. This makes the process much faster and more efficient.
Remember to consult your mixer’s manual for specific instructions on attachments and speed settings for each cooking task. With a little creativity, you’ll discover many ways to incorporate your KitchenAid Mixer into your cooking routine and simplify your meal preparations.
Now that you have learned how to use the KitchenAid Mixer for cooking, let’s move on to the next section to explore some useful tips for cleaning and maintaining your appliance.
Cleaning and Maintenance Tips
Proper cleaning and maintenance of your KitchenAid Mixer are essential to ensure its longevity and optimal performance. Here are some tips to keep your appliance in excellent condition:
1. Unplug Before Cleaning: Always unplug your KitchenAid Mixer before cleaning to prevent any electrical accidents. Make sure the appliance is powered off and the attachments are removed.
2. Wipe Down Exterior: Use a damp cloth to wipe down the exterior of the mixer, including the base, head, and control lever. Avoid using abrasive cleaners or harsh chemicals, as they can damage the finish.
3. Clean Mixing Bowl and Attachments: The mixing bowl and attachments can usually be safely cleaned in warm, soapy water. Use a non-abrasive sponge or cloth to gently remove any residue. Rinse thoroughly and dry completely before storing.
4. Scrub Tough Stains: For stubborn stains or dried-on food, create a paste with equal parts baking soda and water. Apply the paste to the stain and let it sit for a few minutes before scrubbing gently. Rinse thoroughly and dry.
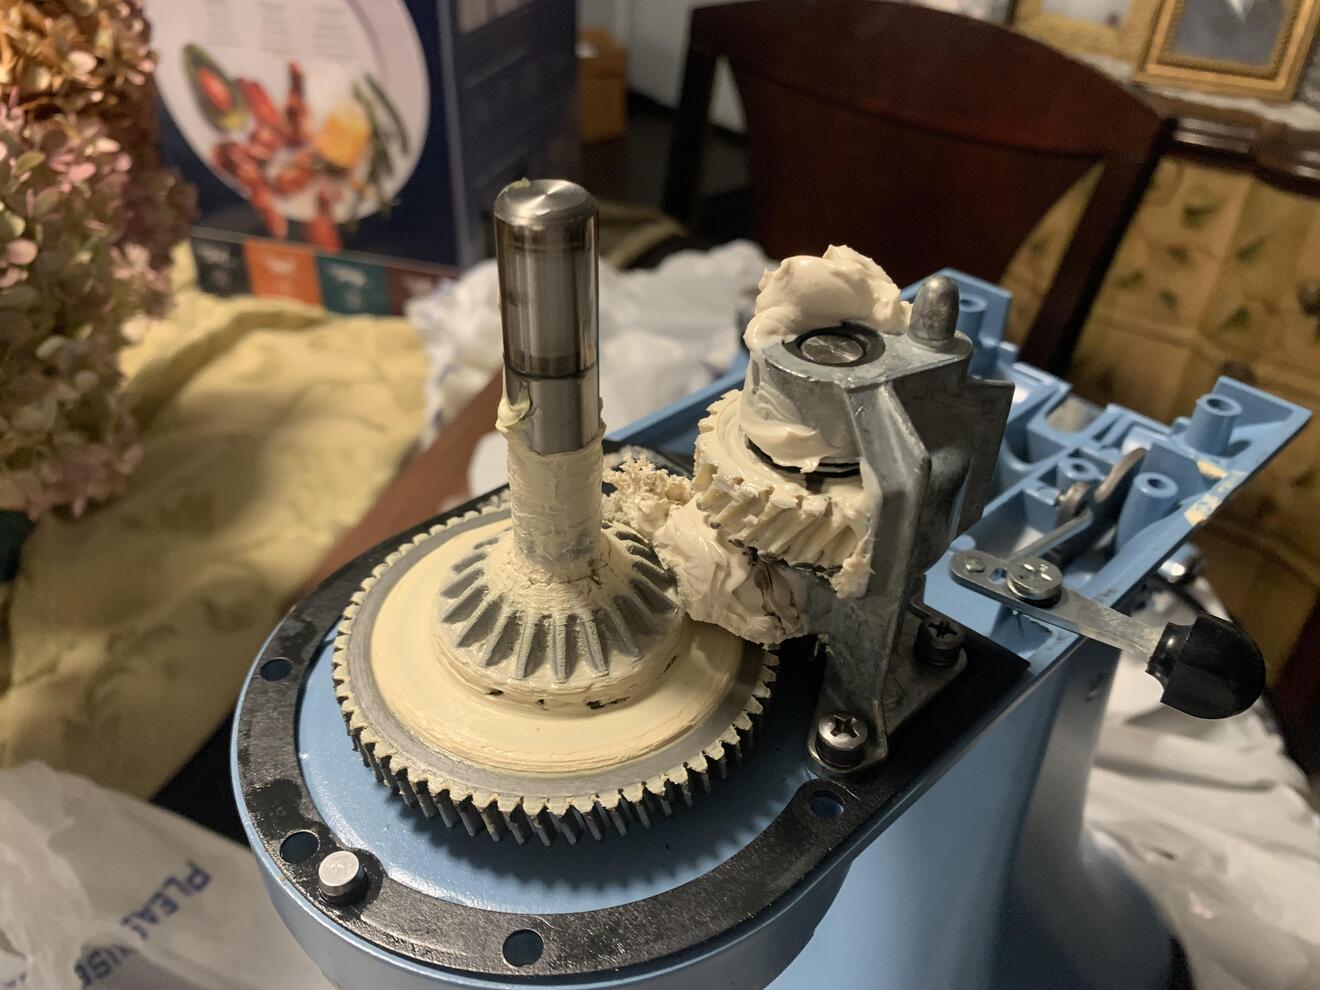
5. Oil Moving Parts: From time to time, apply a few drops of food-grade mineral oil to the moving parts of the mixer, such as the attachment hub and tilt head mechanism. This helps to lubricate the parts and ensure smooth operation.
6. Store Attachments Properly: Keep your attachments organized and in good condition by storing them in a designated drawer or container. This prevents them from getting lost or damaged.
7. Regularly Inspect Power Cord: Check the power cord for any signs of wear or damage. If you notice any fraying or exposed wires, discontinue use and have the cord replaced by a professional technician.
8. Keep the Motor Vent Clean: The motor vent on the back of the mixer can accumulate dust and debris over time. Periodically use a small brush or can of compressed air to gently remove any buildup and keep the vent clear for proper airflow.
By following these cleaning and maintenance tips, you can ensure that your KitchenAid Mixer remains in excellent condition and provides years of reliable service in your kitchen.
Now that you know how to clean and maintain your mixer, let’s move on to troubleshooting common issues you may encounter.
Troubleshooting Common Issues
While the KitchenAid Mixer is a reliable and durable appliance, you may encounter some common issues during its use. Here are a few troubleshooting tips to help you resolve them:
1. Mixer Not Turning On: Ensure that the mixer is properly plugged into a working power outlet. Check if the power cord is in good condition and not damaged. If the mixer still does not turn on, try resetting the circuit breaker or trying a different power outlet.
2. Mixing Bowl Doesn’t Lock in Place: If you’re having trouble locking the mixing bowl into place, make sure it is correctly aligned with the grooves on the base of the mixer. Give it a firm twist clockwise until it locks. If it still doesn’t lock, check if any debris or residue is obstructing the locking mechanism. Clean it thoroughly and try again.
3. Mixer Overheating: If your mixer becomes excessively hot during use, it may be overheating. This can be caused by overloading the mixer with too much dough or batter. If this happens, turn off the mixer and allow it to cool down for at least 30 minutes before using it again. Make sure to follow the recommended capacities for your specific model.
4. Attachment Not Fitting Properly: If an attachment does not fit snugly onto the beater shaft, ensure that you have selected the correct attachment for the task. If it still doesn’t fit, check for any debris or residue on the shaft or attachment and clean it thoroughly. If the problem persists, contact the manufacturer for assistance.
5. Unusual Noises: If you notice any unusual grinding, squeaking, or thumping noises while using your KitchenAid Mixer, stop the machine and inspect the attachments. Check if any screws or bolts have come loose and tighten them if necessary. If the noise continues, it may indicate a more serious issue, and it is recommended to seek professional help for repair.
6. Poor Mixing Results: If your mixtures are not being properly mixed or if the consistency is not as desired, double-check that you are using the appropriate attachment and speed for the task. Make sure the ingredients are properly measured and added in the correct order according to the recipe instructions.
If you encounter any other issues or if the problem persists after troubleshooting, it is best to consult the manufacturer’s manual or contact their customer support for further assistance. They will have more specific guidance and can provide solutions tailored to your specific model of KitchenAid Mixer.
By addressing these common issues promptly, you can ensure that your KitchenAid Mixer continues to deliver excellent performance and meets your culinary needs.
Now that you’re equipped with troubleshooting knowledge, let’s conclude this article.
Conclusion
The KitchenAid Mixer is a versatile and powerful appliance that can elevate your culinary endeavors to new heights. Whether you’re baking a cake, kneading dough, or preparing a delicious sauce, this handy tool simplifies the process and helps you achieve professional-quality results.
In this article, we’ve explored the various aspects of using a KitchenAid Mixer, from getting familiar with its components to understanding the different attachments and their uses. We’ve covered using the mixer for baking and cooking, as well as provided tips for cleaning, maintenance, and troubleshooting common issues.
By following the tips and guidelines outlined in this article, you can make the most of your KitchenAid Mixer and unleash your creativity in the kitchen. From fluffy cakes to perfectly kneaded bread, the possibilities are endless.
Remember to familiarize yourself with the different attachments and their purposes, choose the right speed for each task, and take proper care of your mixer by cleaning it regularly and keeping it well-maintained.
So go ahead, experiment with new recipes, and explore the incredible capabilities of your KitchenAid Mixer. Let it be your dependable companion on your culinary journey, helping you create culinary masterpieces with ease and precision.
Embrace the joy of baking and cooking with a KitchenAid Mixer, and savor the delicious results that await you. Happy mixing!
Frequently Asked Questions about How To Use A Kitchenaid Mixer
Was this page helpful?
At Storables.com, we guarantee accurate and reliable information. Our content, validated by Expert Board Contributors, is crafted following stringent Editorial Policies. We're committed to providing you with well-researched, expert-backed insights for all your informational needs.


0 thoughts on “How To Use A Kitchenaid Mixer”