Articles
How Long To Knead Bread Dough In Stand Mixer
Modified: August 25, 2024
Discover the optimal kneading time for bread dough in a stand mixer with our informative articles. Boost your baking skills and achieve perfect loaves every time.
(Many of the links in this article redirect to a specific reviewed product. Your purchase of these products through affiliate links helps to generate commission for Storables.com, at no extra cost. Learn more)
Introduction
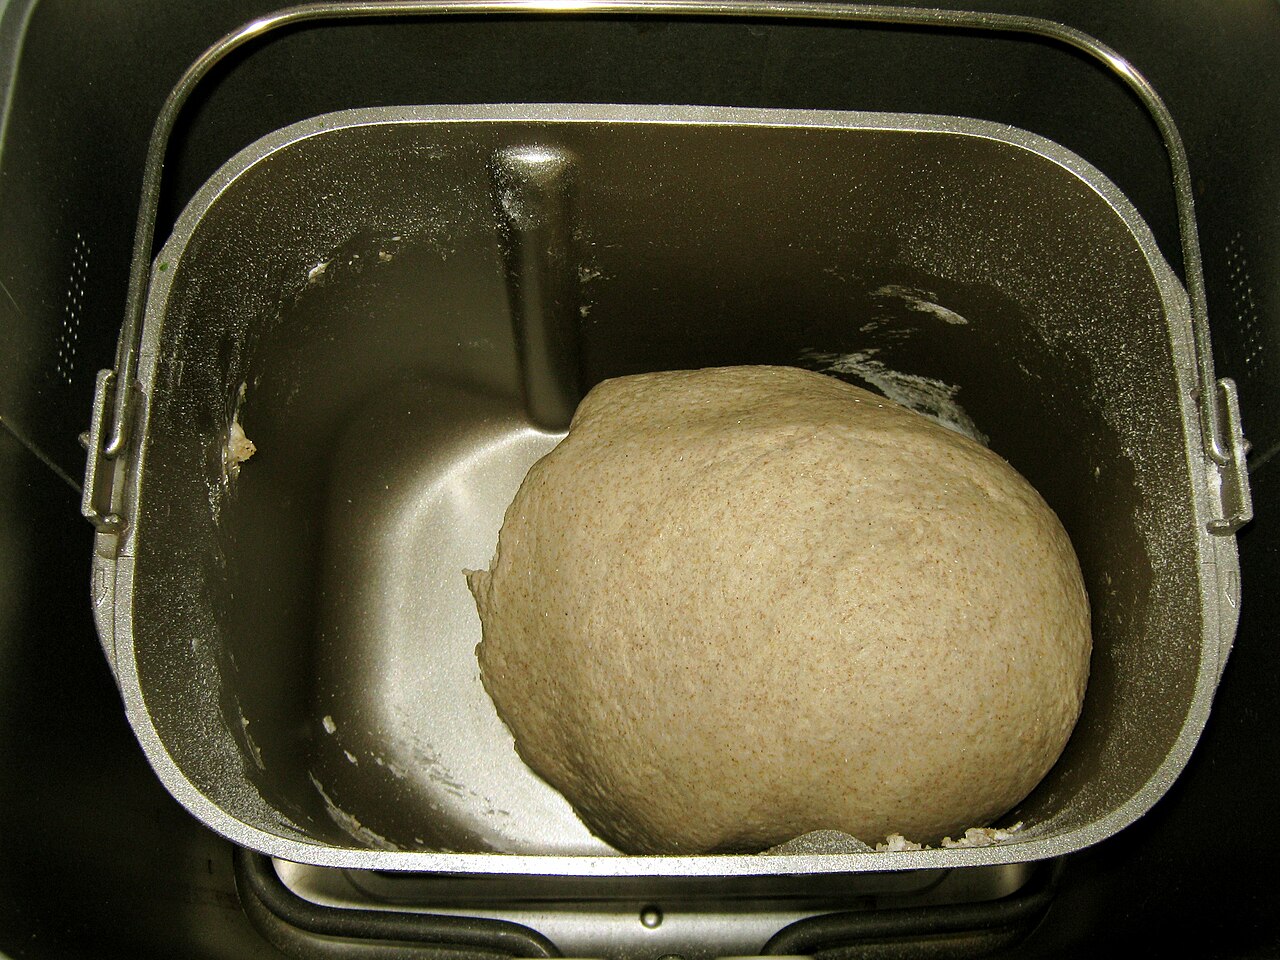
Kneading bread dough is an essential step in the bread-making process. It helps develop gluten, a protein that gives bread its structure and texture. Traditionally, kneading was done by hand, requiring significant time and effort. However, with the advent of stand mixers, home bakers now have a convenient tool to assist them in the kneading process.
In this article, we will explore the benefits of using a stand mixer for kneading bread dough, factors affecting kneading time, recommended kneading times for different types of bread dough, valuable tips for properly kneading dough in a stand mixer, and common mistakes to avoid. Whether you’re a beginner or an experienced baker, understanding how long to knead bread dough in a stand mixer can greatly improve your baking results.
Let’s delve into the details and discover how to make the most of your stand mixer for kneading bread dough.
Key Takeaways:
- Embrace the convenience and efficiency of using a stand mixer for kneading bread dough, saving time and effort while achieving consistent, professional-quality results for various types of bread recipes.
- Pay attention to factors such as recipe, dough hydration, and stand mixer speed to determine the optimal kneading time for different types of bread dough, ensuring perfect texture and structure in homemade bread.
Benefits of Using a Stand Mixer for Kneading Bread Dough
Using a stand mixer for kneading bread dough offers several advantages over traditional methods. Here are some key benefits:
- Time and Effort Saving: Kneading dough by hand can be labor-intensive, requiring a significant amount of time and effort. A stand mixer takes the hard work out of kneading, allowing you to multitask while the machine does the work. This can be a game-changer for busy home bakers or those with limited physical strength.
- Consistent Mixing: Stand mixers ensure precise mixing and even distribution of ingredients. The machine’s powerful motor and rotating attachment create a thorough and uniform kneading process. This results in consistent dough texture and eliminates the risk of under or over-mixing.
- Hands-Free Operation: Unlike kneading by hand, using a stand mixer allows you to be hands-free during the mixing process. This provides the opportunity to attend to other tasks or prepare additional ingredients while the dough is being kneaded. It’s a convenient way to streamline your baking process.
- Ability to Handle Large Batches: Stand mixers have a large bowl capacity, allowing you to knead larger batches of dough. This is especially beneficial when baking for a crowd or for meal prepping. With a stand mixer, you can effortlessly handle larger quantities of dough without sacrificing quality.
- Consistent Speed and Power: Stand mixers come with different speed settings, allowing you to adjust the kneading speed according to the recipe requirements. This ensures that the dough is kneaded at the optimal speed to develop gluten without overworking it. Additionally, the powerful motor of a stand mixer can handle denser doughs that may be challenging to knead by hand.
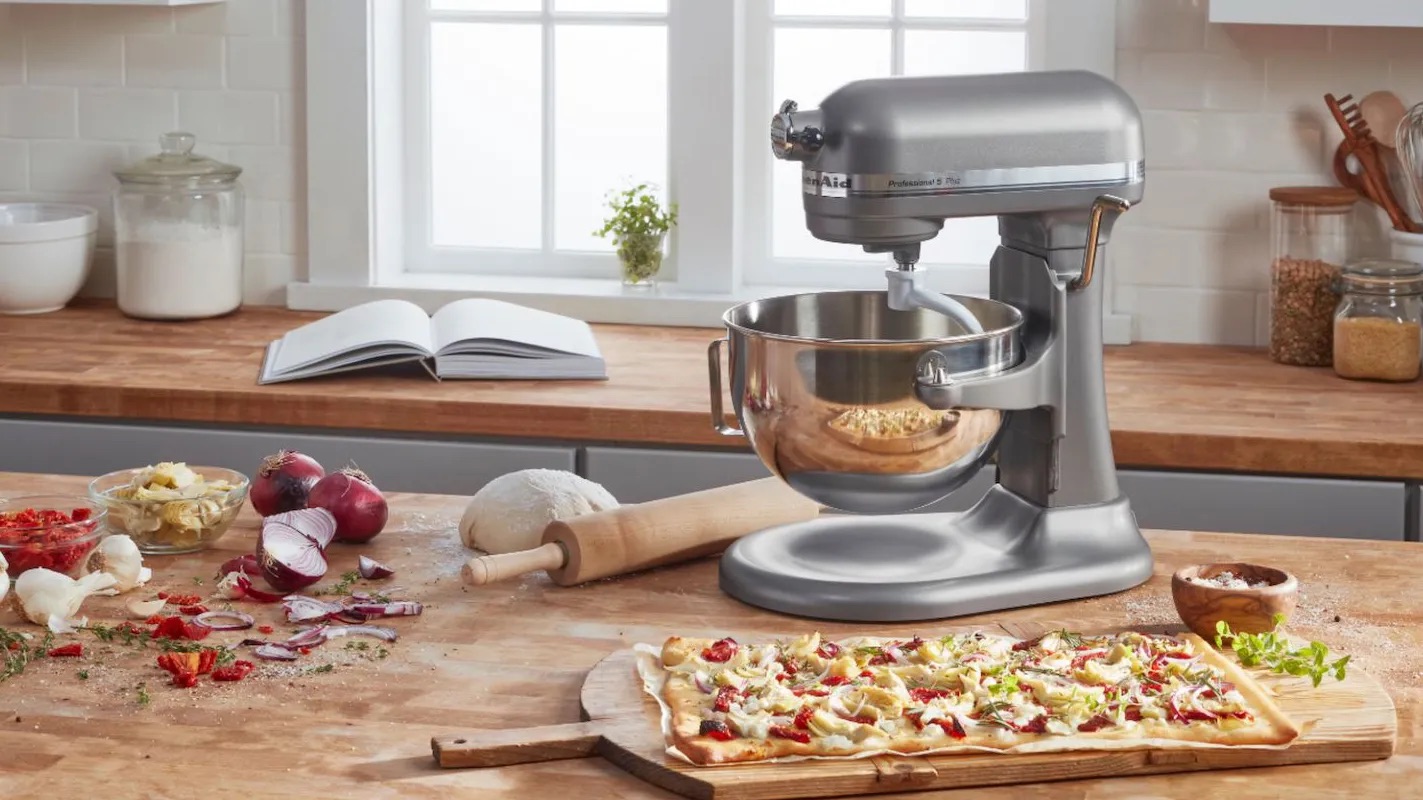
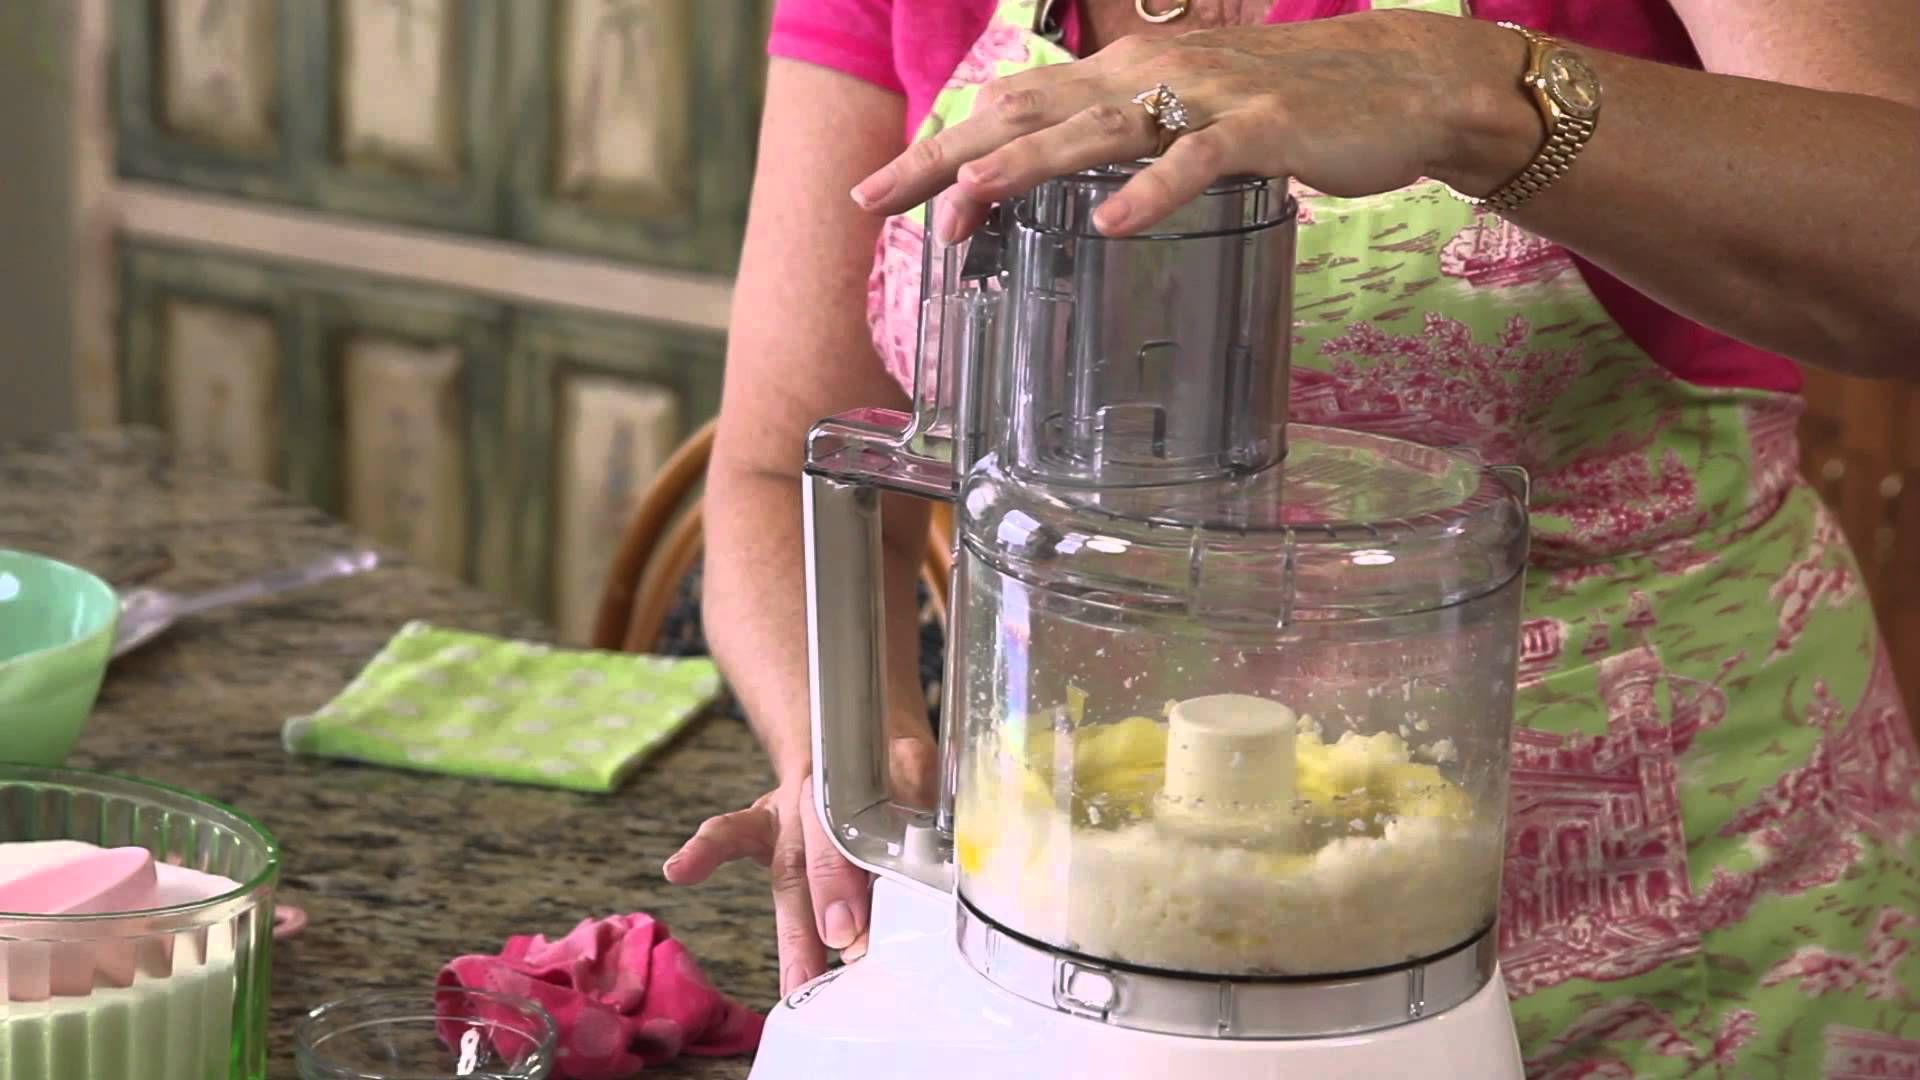
- Versatility: A stand mixer is a versatile kitchen appliance that can be used for various other tasks beyond kneading bread dough. Attachments such as beaters, whisks, and dough hooks make it suitable for mixing cake batters, whipping cream, and kneading other types of dough like pizza dough or cookie dough.
These advantages make using a stand mixer for kneading bread dough a worthwhile investment for any home baker. Not only does it simplify the kneading process, but it also ensures consistent and professional-quality results every time.
Factors Affecting Kneading Time in a Stand Mixer
The kneading time for bread dough in a stand mixer can vary depending on several factors. Understanding these factors will help you determine the appropriate kneading time for your specific recipe. Here are the key factors that can affect kneading time:
- Recipe: Different bread recipes have varying dough consistencies and hydration levels. The specific ingredients and ratios used in your recipe will impact the time it takes to fully knead the dough. Heavier, more dense doughs will generally require longer kneading times compared to softer, lighter doughs.
- Dough Hydration: The hydration level of the dough, which refers to the amount of water relative to the flour, can affect kneading time. Higher hydration doughs tend to be more slack and sticky, requiring more kneading to develop gluten and achieve the desired texture.
- Stand Mixer Speed: The speed at which you set your stand mixer will determine the intensity of the kneading process. Higher speeds will knead the dough more quickly, while lower speeds will take longer. It’s important to follow the specific speed instructions provided in your recipe to achieve the best results.
- Dough Temperature: The temperature of the dough can impact kneading time. Warmer doughs tend to be more pliable and require less kneading to develop gluten. On the other hand, colder doughs may take longer to knead due to their less malleable nature. It’s important to let your dough come to room temperature before kneading to ensure proper gluten formation.
- Stand Mixer Capacity: The size and power of your stand mixer can also influence kneading time. If you’re kneading a large batch of dough or using a stand mixer with a lower wattage motor, it may take slightly longer to knead the dough fully. Consider the capacity of your stand mixer when determining the mixing time for your recipe.
- Personal Preference: Finally, personal preference plays a role in determining kneading time. Some bakers prefer a lighter, more tender texture and may choose to knead the dough for a shorter period. Others may prefer a chewier texture and opt for a longer kneading time. Experimenting with different kneading times will allow you to discover your own preference.
It’s essential to take these factors into account when determining the appropriate kneading time for your bread dough in a stand mixer. Every recipe and dough may have different requirements, so don’t hesitate to adjust the kneading time as needed to achieve the desired results.
Recommended Kneading Time for Different Types of Bread Dough
The kneading time for bread dough can vary depending on the type of bread you are making. Here are some general guidelines for the recommended kneading time for different types of bread dough:
- Basic White Bread: For a classic white bread recipe, it is typically recommended to knead the dough for about 8 to 10 minutes. This allows for proper gluten development and results in a light and airy texture.
- Whole Wheat Bread: Whole wheat bread dough usually requires a bit more kneading due to its higher fiber content. It is advisable to knead whole wheat dough for about 10 to 12 minutes to ensure thorough gluten development.
- Sourdough Bread: Sourdough bread requires a longer kneading time to develop the desirable open crumb structure and develop the unique flavor. It is recommended to knead sourdough bread dough for around 12 to 15 minutes.
- Artisan Bread: Artisan bread dough typically has a higher hydration level and benefits from an extended kneading time. Kneading artisan bread dough for approximately 15 to 18 minutes helps develop the desired chewy texture and uneven crumb.
- Sweet Bread: Sweet bread dough, like cinnamon rolls or brioche, often contains additional fats and sugars. The presence of these ingredients can inhibit gluten development. It is advisable to knead sweet bread dough for about 12 to 15 minutes to ensure proper gluten formation and produce a soft and tender final product.
- Other Specialty Breads: Specialty breads like rye bread, multigrain bread, or gluten-free bread may have unique characteristics and requirements. It’s important to refer to specific recipes and adjust the kneading time accordingly based on the ingredients and desired texture of the bread.
It’s important to note that these recommended kneading times are general guidelines. Depending on the specific recipe, dough hydration, and personal preference, you may need to adjust the kneading time up or down. Pay close attention to the texture and elasticity of the dough as you knead, as these visual and tactile cues can help guide you in determining the ideal kneading time.
Remember, practice and experimentation will help you develop a better understanding of how different types of bread dough respond to kneading and ultimately lead to perfect results.
Knead bread dough in a stand mixer for 8-10 minutes on medium speed. This will help develop the gluten and create a smooth, elastic dough for better bread texture.
Tips for Properly Kneading Bread Dough in a Stand Mixer
Kneading bread dough in a stand mixer can be a breeze with the right technique. Here are some helpful tips to ensure proper kneading and achieve excellent results every time:
- Preparation is Key: Before you begin kneading, make sure all your ingredients are properly measured and at room temperature. This helps create a consistent dough and promotes easier gluten development.
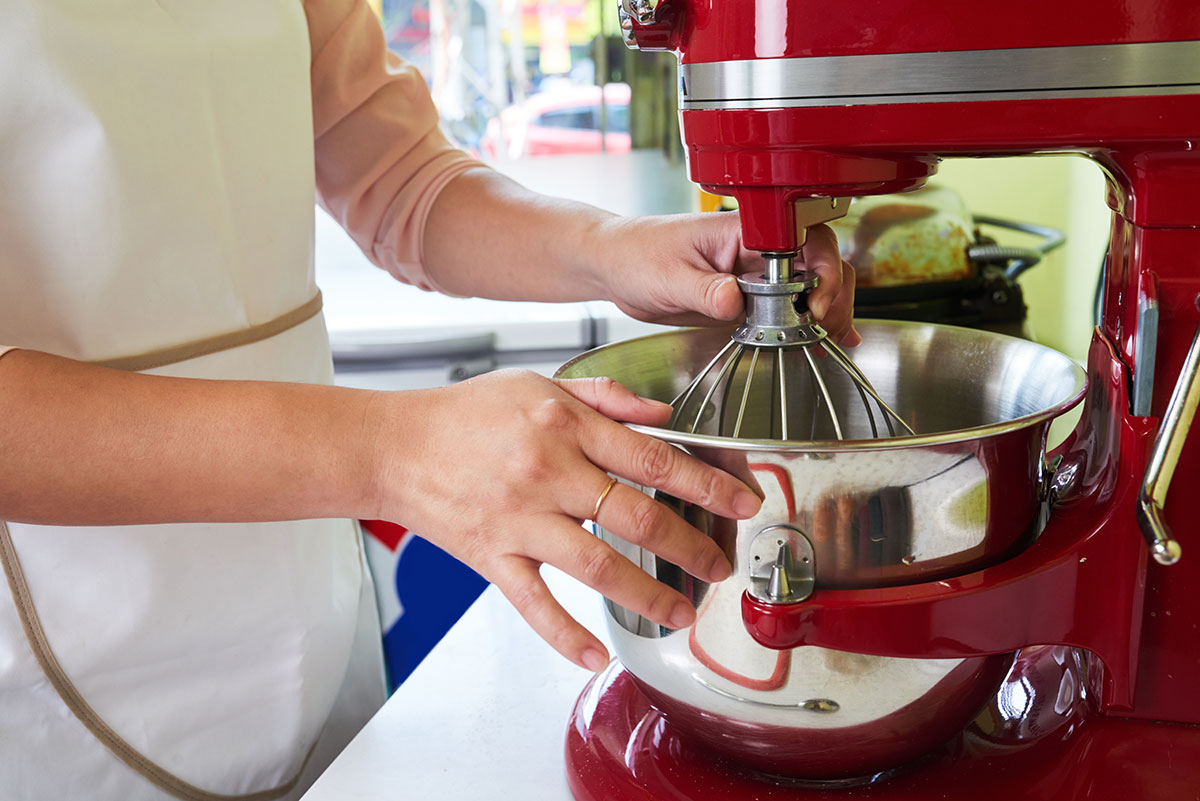
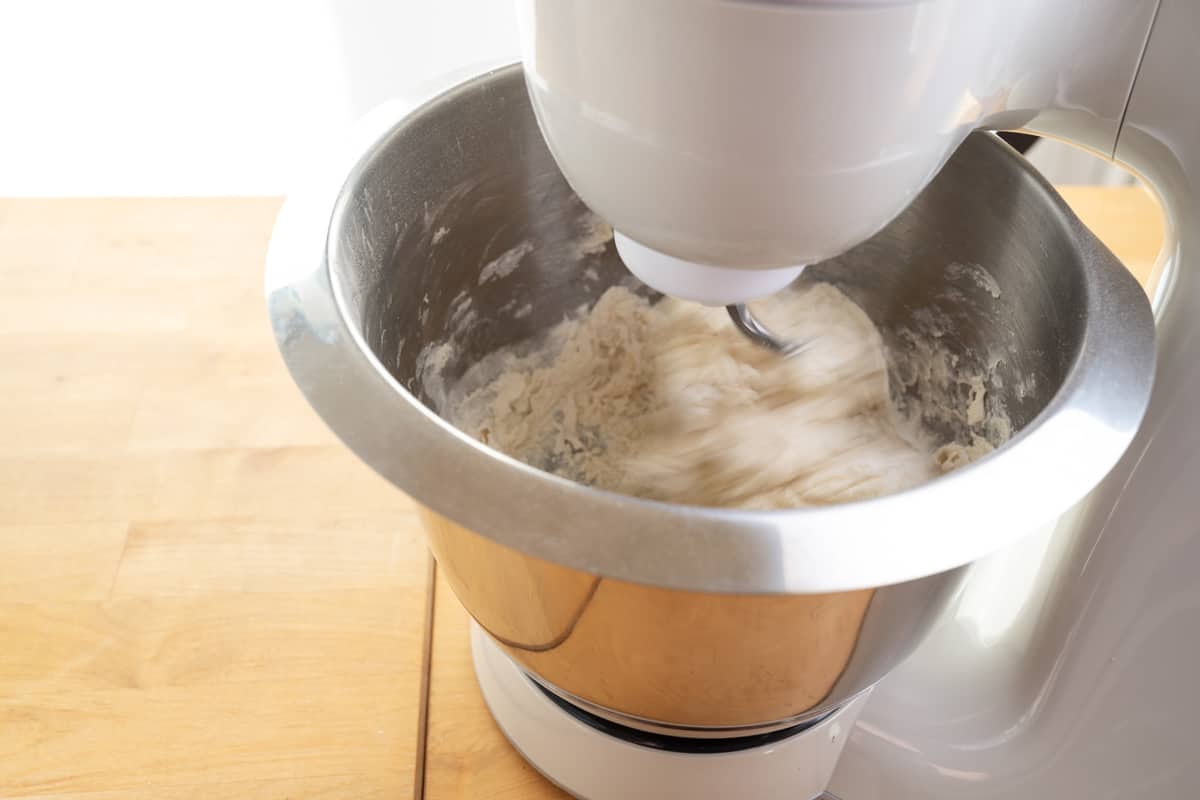
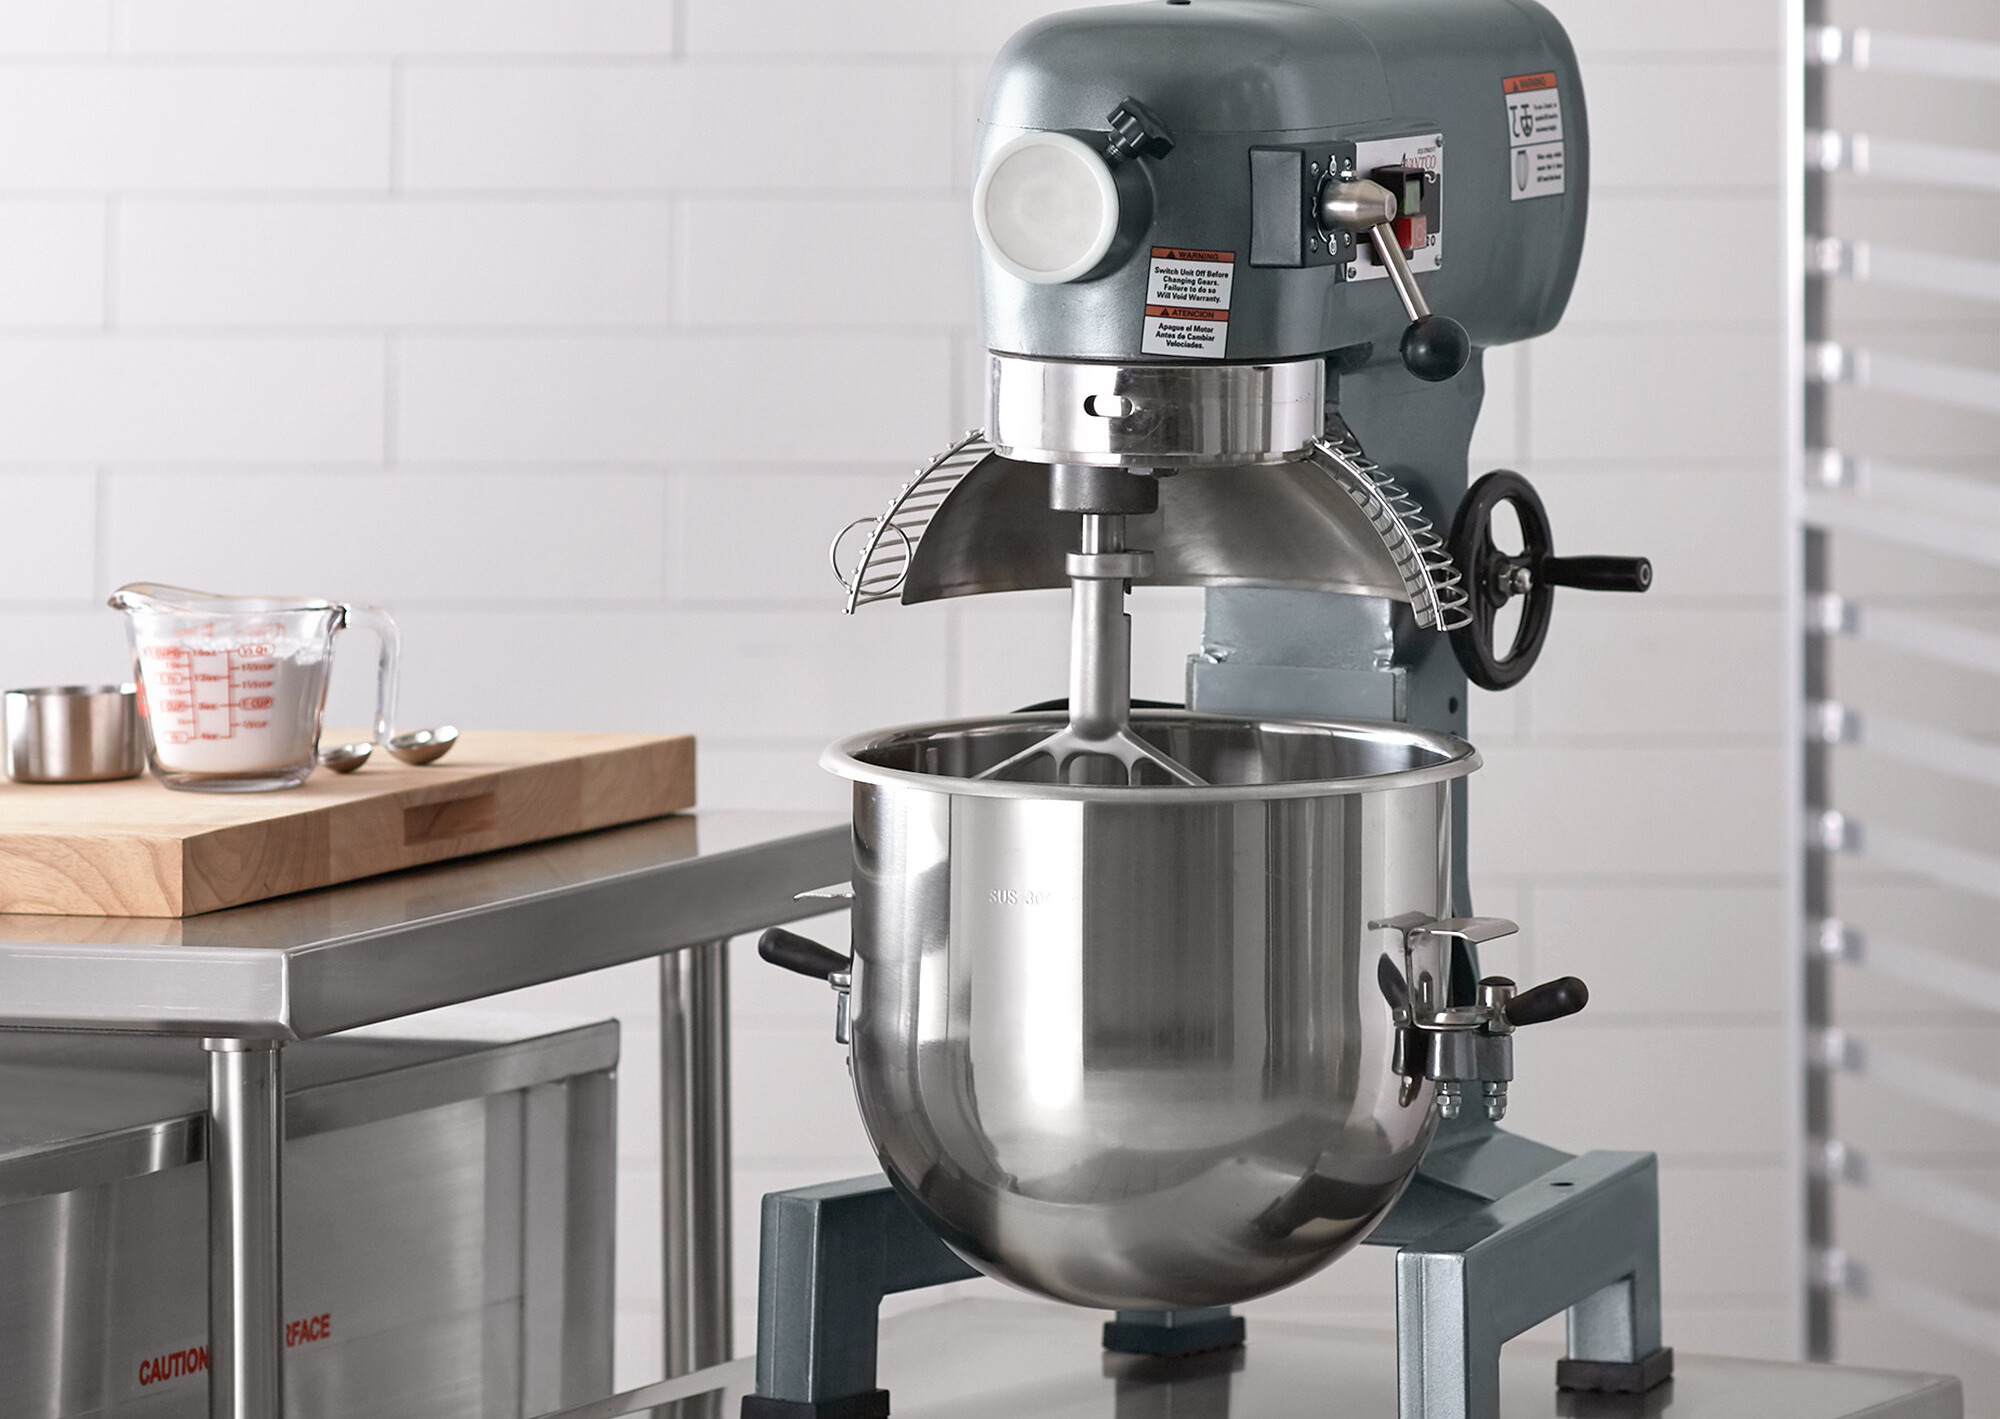
- Use the Right Attachment: For bread dough, use the dough hook attachment on your stand mixer. The dough hook is designed to stretch and knead the dough efficiently. It ensures that minimal ingredients stick to the sides of the bowl, allowing for complete and even mixing.
- Start on Low Speed: Begin kneading at a low speed to incorporate the ingredients. Once the dough starts to come together, gradually increase the speed to the recommended level stated in your recipe. This allows the dough to develop gluten without straining the mixer.
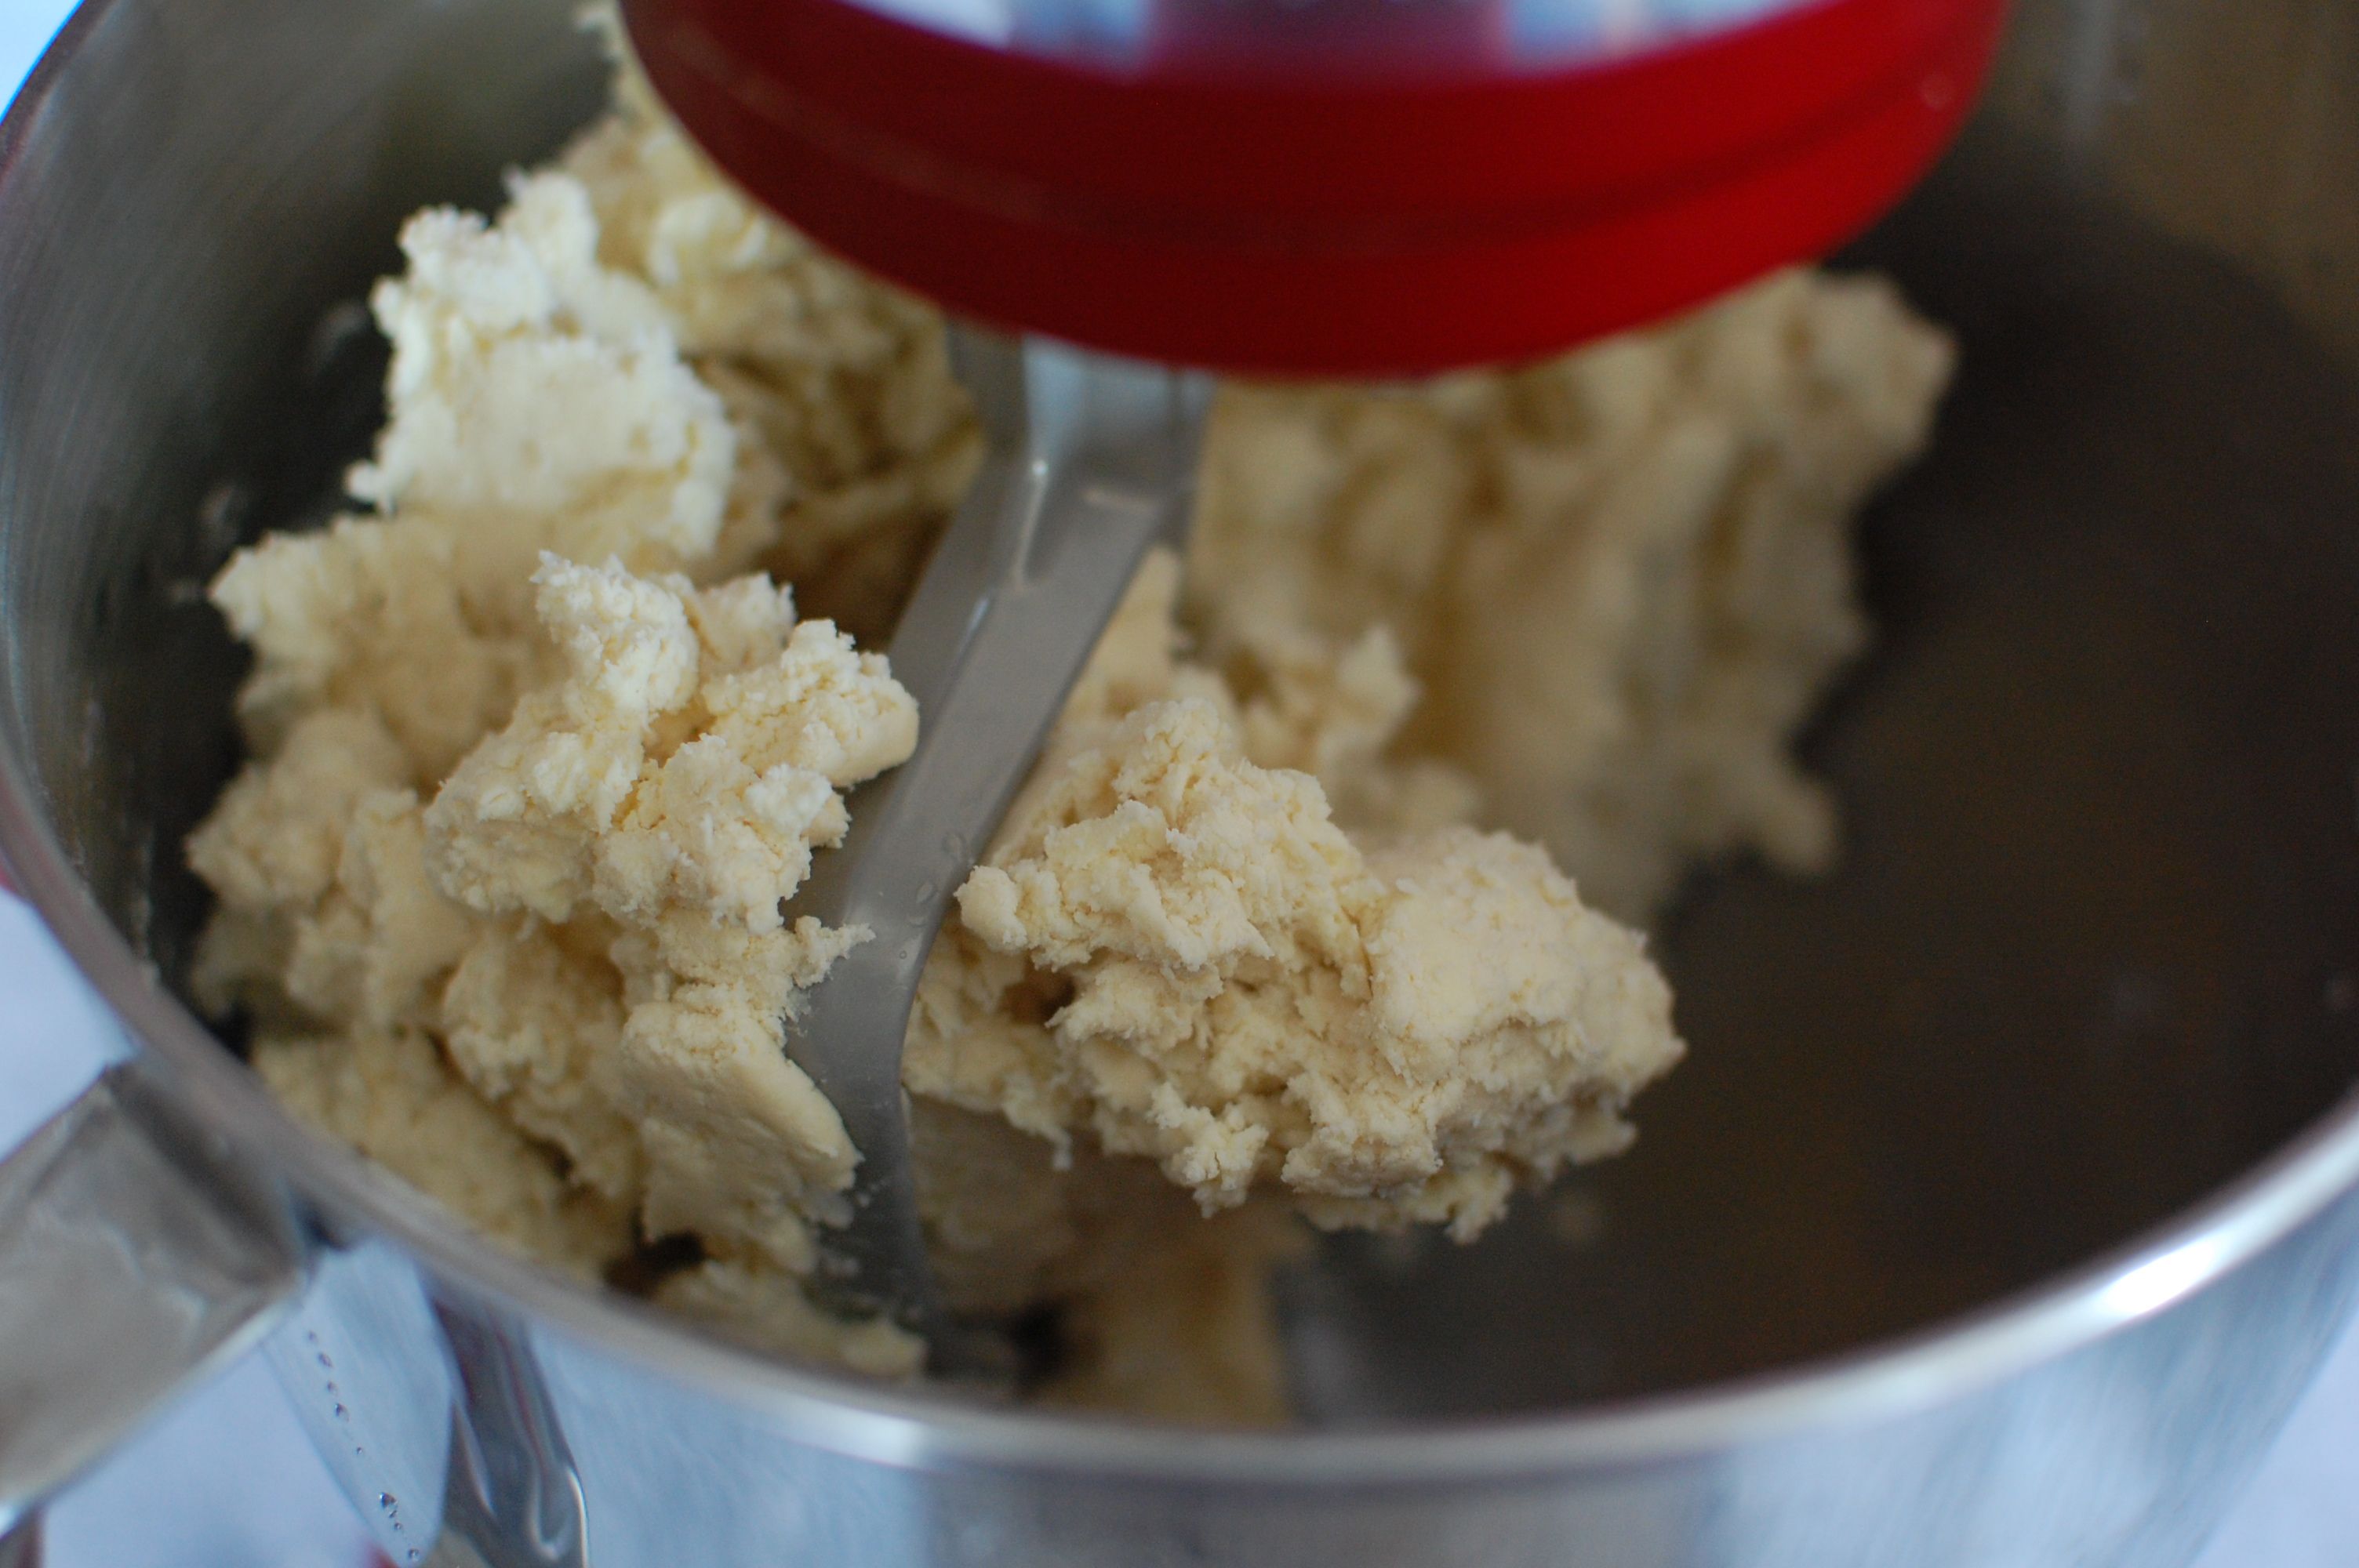
- Monitor the Consistency: Pay attention to the consistency of the dough as it kneads. If the dough looks too dry or stiff, add a small amount of liquid, such as water or milk, to achieve the desired consistency. If the dough appears too sticky, add a bit more flour, one tablespoon at a time.
- Scrape the Bowl: Periodically stop the mixer and scrape down the sides of the bowl to ensure all ingredients are well incorporated. This helps prevent any unmixed pockets of flour or ingredients from resulting in uneven texture in the final baked bread.
- Patience is Key: Allow the dough to knead for the recommended time stated in your recipe. Proper gluten formation takes time, and rushing the process can result in a dense and poorly textured loaf. Trust the process and let the stand mixer do its work.
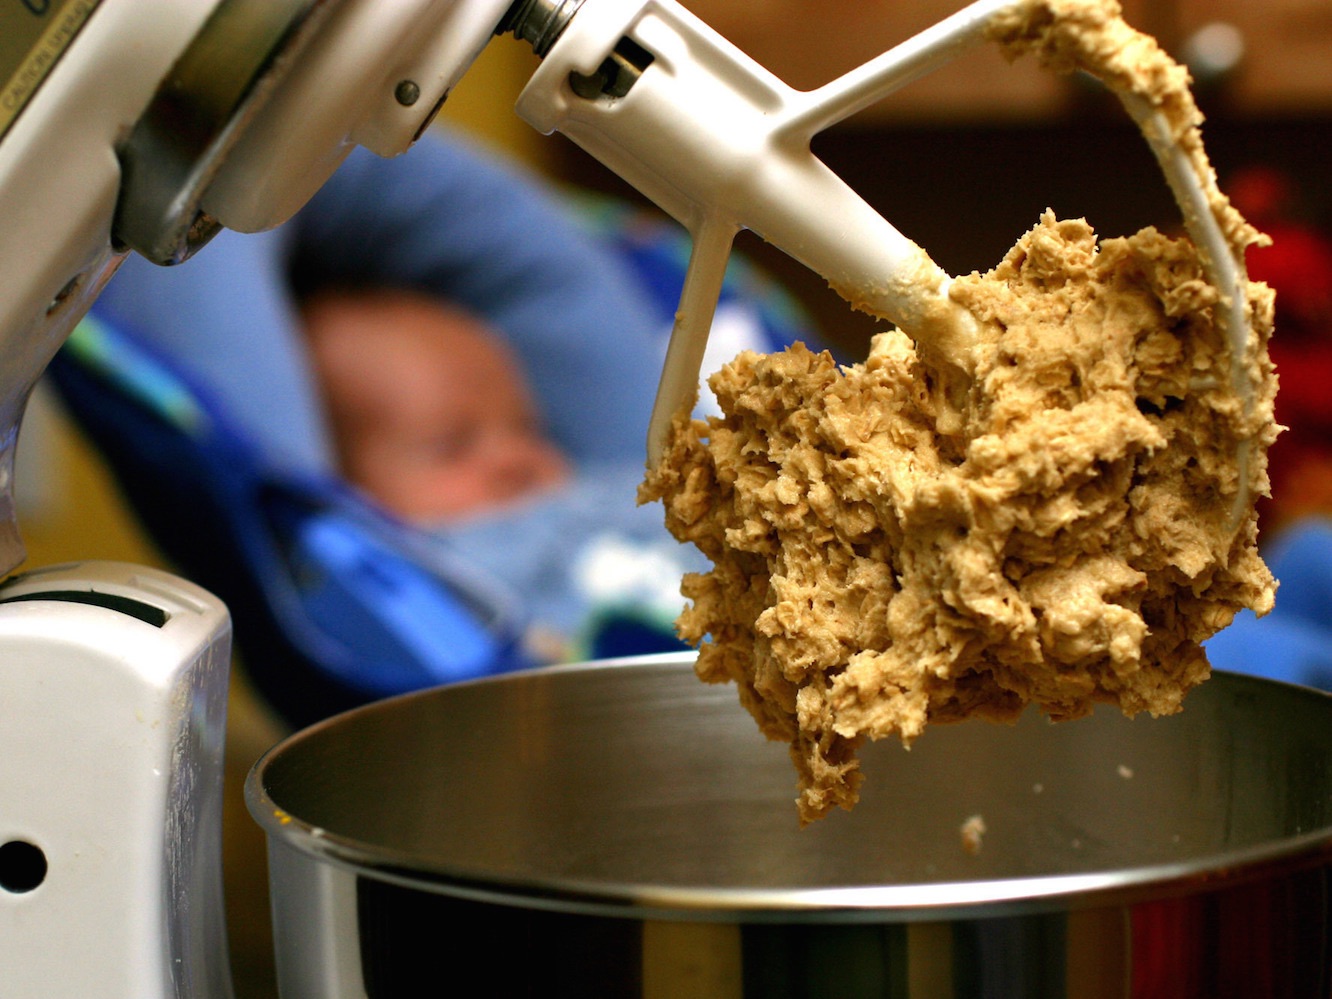
- Do the Windowpane Test: To check if the dough is properly kneaded, perform the windowpane test. Take a small piece of dough and gently stretch it between your fingers. If the dough stretches without tearing and forms a thin, translucent membrane, it has reached the desired gluten development. If it tears easily, continue kneading for a bit longer.
- Clean and Oil the Bowl: After kneading, remove the dough from the stand mixer and clean the bowl. Lightly oil the bowl before placing the dough back in for its first rise. This prevents the dough from sticking to the bowl as it proofs.
- Practice and Experiment: Each bread dough may behave differently, so don’t be afraid to experiment and adjust the kneading process based on your observations. With practice, you’ll gain a better understanding of how your stand mixer and dough work together to achieve the perfect bread texture.
By following these tips, you’ll be well on your way to perfectly kneaded bread dough using your stand mixer. Enjoy the convenience and consistent results that a stand mixer brings to your baking endeavors!
Read more: How Long To Knead Pizza Dough In Mixer
Common Mistakes to Avoid when Kneading Bread Dough in a Stand Mixer
Kneading bread dough in a stand mixer can yield excellent results, but there are some common mistakes that home bakers should avoid. By being aware of these mistakes, you can ensure that your dough turns out perfectly every time. Here are some common pitfalls to watch out for:
- Overloading the Stand Mixer: Avoid overcrowding the stand mixer bowl with too much dough. Follow the recommended batch size for your specific stand mixer model to prevent strain on the motor and inefficient kneading. If necessary, knead the dough in smaller batches.
- Not Using the Proper Speed Setting: Adjusting the stand mixer speed is crucial for achieving the right consistency in your dough. Not following the recommended speed setting in your recipe may result in under or over-kneading. Read the instructions carefully and select the appropriate speed for the best results.
- Adding Too Much Flour: It can be tempting to add more flour if the dough appears sticky while kneading. However, adding too much flour can alter the dough’s hydration level and result in a dense final product. Instead, use sparing amounts of flour for dusting hands or the work surface, and trust the recipe’s recommended flour-water ratio.
- Leaving the Stand Mixer Unattended: While a stand mixer allows for hands-free kneading, it’s essential to keep an eye on the dough during the process. Leaving the stand mixer unattended for too long can lead to over-kneading or uneven mixing. Periodically check the dough’s texture and scrape down the sides of the bowl as needed.
- Not Allowing Resting Time: After kneading, bread dough needs time to rest and rise. Skipping this step or cutting it short may result in underdeveloped gluten and a denser bread. Always follow the recipe’s instructions for resting and proofing times to achieve optimal results.
- Ignoring Visual or Tactile Cues: While kneading, pay attention to the dough’s appearance and texture. Visual and tactile cues, such as the dough’s elasticity and smoothness, can indicate if it needs more or less kneading. Trust your instincts and adjust the kneading time accordingly to achieve the desired consistency.
- Using the Wrong Attachment: Ensure that you are using the appropriate attachment for kneading bread dough in your stand mixer. The dough hook attachment is specifically designed for this purpose. Using the wrong attachment may result in uneven mixing or improper gluten development.
- Rushing the Process: Properly kneading bread dough takes time. Rushing the process and reducing the kneading time may result in a loaf that is dense and lacking in structure. Be patient and follow the recommended kneading time in your recipe for the best outcome.
- Not Maintaining Proper Stand Mixer Maintenance: Regularly maintaining and cleaning your stand mixer ensures optimal performance. Check the manual for specific cleaning instructions and periodically inspect the stand mixer for any loose parts or issues that may affect its functionality.
Avoiding these common mistakes will help you achieve perfectly kneaded bread dough using your stand mixer. Take your time, pay attention to the details, and enjoy the process of creating delicious homemade bread.
Conclusion
Using a stand mixer for kneading bread dough offers numerous benefits, including time and effort savings, consistent mixing, and the ability to handle large batches. By understanding the factors that affect kneading time, you can ensure optimal results. Different types of bread dough require varying kneading times, and it is essential to follow specific recommendations for each recipe. By adhering to these guidelines, you can achieve the desired texture and structure in your homemade bread.
When kneading bread dough in a stand mixer, it is crucial to use the right attachment and start at a low speed before gradually increasing it. Scrape the bowl periodically and be patient, allowing the dough to knead for the recommended time. The windowpane test can help determine if the gluten has properly developed.
Avoid common mistakes, such as overloading the stand mixer, using the wrong speed setting, adding too much flour, leaving the mixer unattended, or rushing the process. Pay attention to visual and tactile cues, and don’t forget to allow the dough to rest and rise after kneading.
With practice and experimentation, you’ll develop a better understanding of how your stand mixer and dough work together. Remember to maintain your stand mixer regularly, as proper maintenance ensures its optimal performance and longevity.
In conclusion, using a stand mixer for kneading bread dough can simplify the bread-making process while delivering consistent and professional-quality results. Embrace the convenience and versatility of your stand mixer, and enjoy the satisfaction of baking delicious homemade bread that has been kneaded to perfection.
Frequently Asked Questions about How Long To Knead Bread Dough In Stand Mixer
Was this page helpful?
At Storables.com, we guarantee accurate and reliable information. Our content, validated by Expert Board Contributors, is crafted following stringent Editorial Policies. We're committed to providing you with well-researched, expert-backed insights for all your informational needs.


0 thoughts on “How Long To Knead Bread Dough In Stand Mixer”