Articles
How To Use Hand Mixer Without Making A Mess
Modified: February 20, 2024
Learn how to use a hand mixer to whip up your favorite recipes without creating a kitchen disaster. These step-by-step articles provide expert tips for mess-free mixing.
(Many of the links in this article redirect to a specific reviewed product. Your purchase of these products through affiliate links helps to generate commission for Storables.com, at no extra cost. Learn more)
Introduction
When it comes to whipping up delicious and decadent treats in the kitchen, a hand mixer is an essential tool. This versatile appliance can make light work of mixing batter, beating eggs, and whipping cream, saving you time and effort in the process. However, if not used correctly, a hand mixer can also become a source of mess and chaos in your kitchen. But fear not! With a few simple tips and tricks, you can learn how to use a hand mixer without making a mess.
In this article, we will explore the benefits of using a hand mixer, provide step-by-step instructions on how to set up and use the hand mixer properly, and share some tips for avoiding mess during and after use. By the end of this article, you will be equipped with the knowledge and skills to confidently utilize your hand mixer and create culinary masterpieces without the stress of cleaning up a messy kitchen.
So, let’s dive in and discover how to harness the power of a hand mixer while keeping your kitchen spotless.
Key Takeaways:
- Embrace the benefits of a hand mixer, from efficiency to ease of use, and follow practical tips to avoid mess and maintain a clean kitchen while creating culinary masterpieces.
- Prepare your workspace, assemble and use your hand mixer properly, and follow tips for avoiding mess to enjoy mess-free mixing and maintain a clean and organized kitchen.
Read more: How Do You Use A Bidet Without Making A Mess
Benefits of Using a Hand Mixer
Before we delve into the specifics of using a hand mixer without making a mess, let’s explore the various benefits that this kitchen tool has to offer.
- Efficiency: Using a hand mixer can significantly reduce the time and effort required for mixing ingredients compared to manual mixing. It can effortlessly blend and combine ingredients, ensuring a smooth and consistent texture.
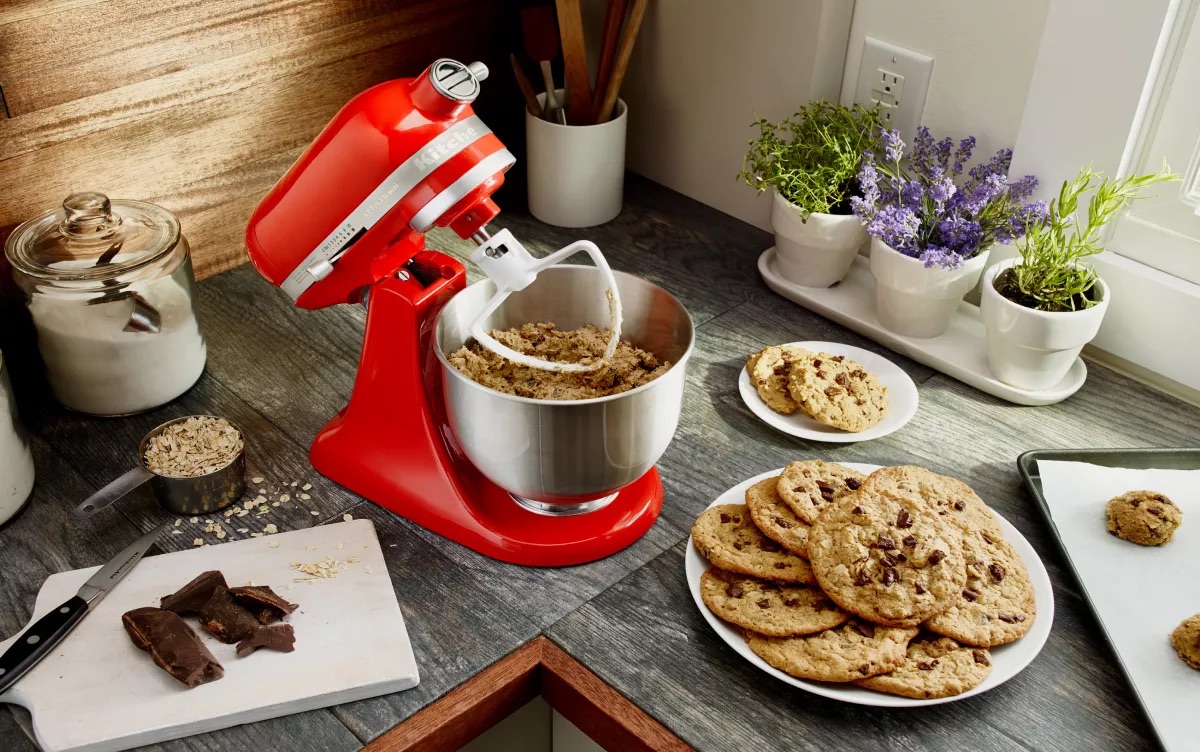
- Versatility: Hand mixers come with different attachments, such as beaters and dough hooks, making them versatile for a wide range of recipes. From whipping cream and beating eggs to kneading dough and mixing batter, a hand mixer can handle it all.
- Compact and Portable: Hand mixers are smaller and more compact compared to their stand mixer counterparts. This makes them easier to store in your kitchen cabinets and more convenient to transport if needed.
- Cost-effective: Hand mixers are generally more affordable than stand mixers, making them a budget-friendly option for home bakers. They offer excellent value for money without compromising on performance.
- Ease of Use: Hand mixers are user-friendly and require minimal skill or expertise to operate. They typically come with adjustable speed settings, allowing you to control the mixing process based on your recipe requirements.
- Easy Maintenance: Cleaning a hand mixer is relatively simple, as most models have detachable beaters and mixing bowls. This makes it easy to clean each component individually or even place them in the dishwasher for added convenience.
With these benefits in mind, it’s easy to see why a hand mixer is a valuable addition to any kitchen. Now that we understand the advantages, let’s move on to the practical steps of using a hand mixer without creating a messy kitchen.
Preparing Your Workspace
Before you begin using your hand mixer, it’s important to set up your workspace properly. This will not only help you stay organized but also minimize the chances of making a mess. Here are some steps to follow:
- Clean Countertop: Start by clearing and wiping down your countertop. Remove any unnecessary items or debris that could get in the way while using the hand mixer.
- Gather Ingredients: Take stock of all the ingredients you will need for your recipe. Have them measured and ready to go, either in separate bowls or within easy reach. This will help streamline the mixing process and prevent any last-minute scrambling for ingredients.
- Use a Splatter Guard: Consider placing a splatter guard or a large mixing bowl over your mixing area. This can help contain any splatters or spills that may occur during the mixing process.
- Secure Power Cord: Ensure that the power cord of your hand mixer is easily accessible, but not in the way. Secure it away from the mixing area to minimize the risk of tripping or accidentally pulling the mixer off the counter.
- Positioning: Position your mixing bowl or container securely on the countertop. Make sure it is stable and won’t slide or topple over while using the hand mixer.
- Prepare Utensils: Have a spatula or scraper on hand to help you scrape down the sides of the bowl and incorporate any ingredients that may have stuck to the edges.
By taking the time to prepare your workspace, you will be able to work efficiently and minimize the chances of creating a mess. With everything set up correctly, you’re now ready to assemble your hand mixer and begin mixing your ingredients.
Assembling the Hand Mixer
Now that your workspace is ready, it’s time to assemble your hand mixer before you start using it. Follow these steps to ensure you set it up correctly:
- Unpack the Hand Mixer: Remove the hand mixer from its packaging and familiarize yourself with the various components. Most hand mixers come with detachable beaters or attachments that need to be connected.
- Insert the Beaters: Depending on the model, there will be slots or openings on the front of the hand mixer where the beaters can be inserted. Gently push the beaters into their designated slots until they click into place.
- Lock the Beaters: Once the beaters are inserted, check if your hand mixer has a locking mechanism. This will ensure that the beaters are securely in place during the mixing process.
- Attach any Additional Attachments: If your hand mixer comes with additional attachments like dough hooks or whisks, insert them as per the manufacturer’s instructions. These attachments are designed to handle specific mixing tasks and can enhance the versatility of your hand mixer.
- Plug in the Hand Mixer: Locate the power cord of your hand mixer and plug it into a nearby electrical outlet. Ensure that the cord is long enough to reach your mixing area comfortably without tension.
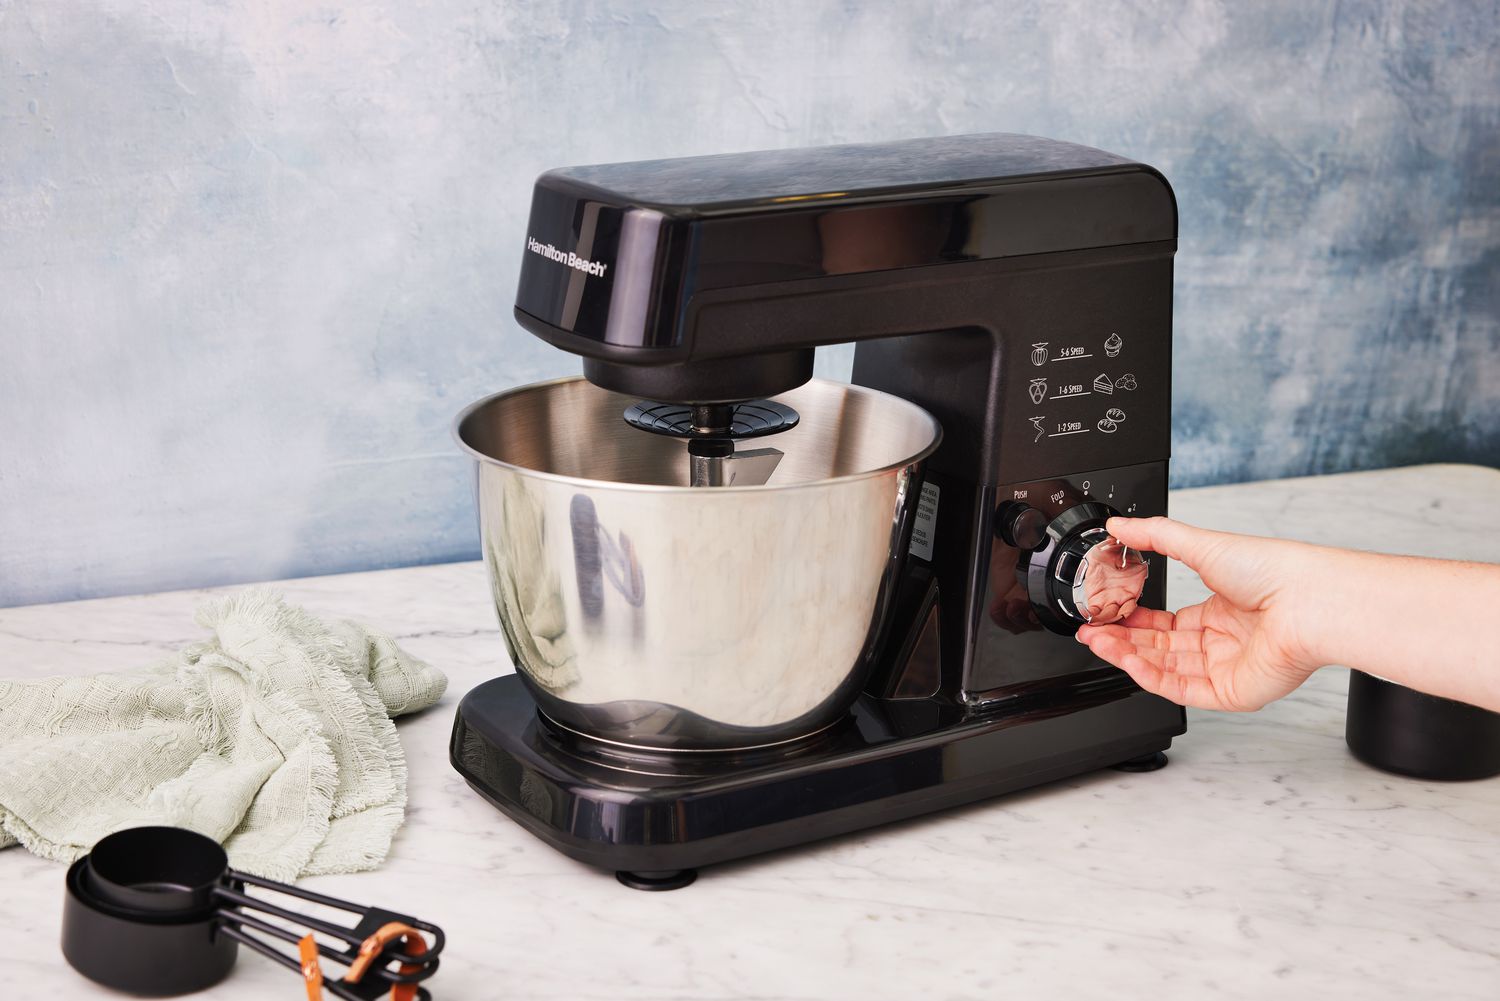
- Check the Controls: Familiarize yourself with the controls and settings on your hand mixer. Most models have variable speed options, allowing you to adjust the mixing speed based on your recipe requirements.
- Test the Hand Mixer: Before you begin mixing your ingredients, turn on the hand mixer and let it run for a few seconds to ensure that it is functioning properly. This will also allow you to check if the beaters are securely attached.
Once your hand mixer is assembled and tested, you are ready to start using it for your recipe. Proper assembly of the hand mixer is crucial to ensure safe and effective mixing, so take the time to follow the instructions provided by the manufacturer.
When using a hand mixer, start at a low speed to prevent ingredients from splattering. Use a deep mixing bowl and tilt it slightly to minimize mess.
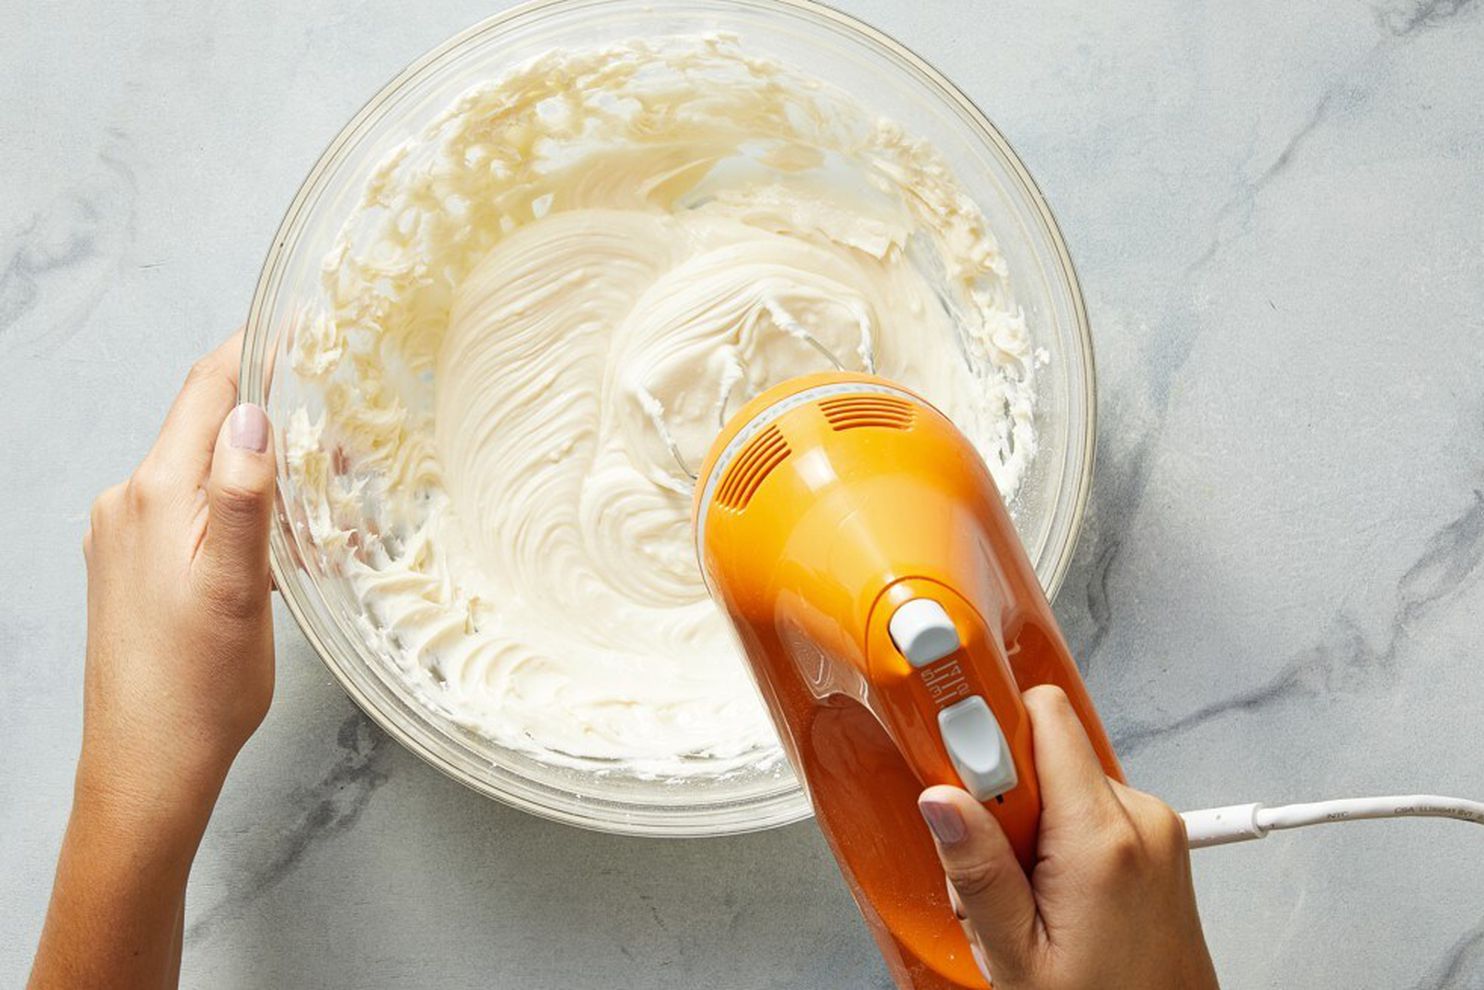
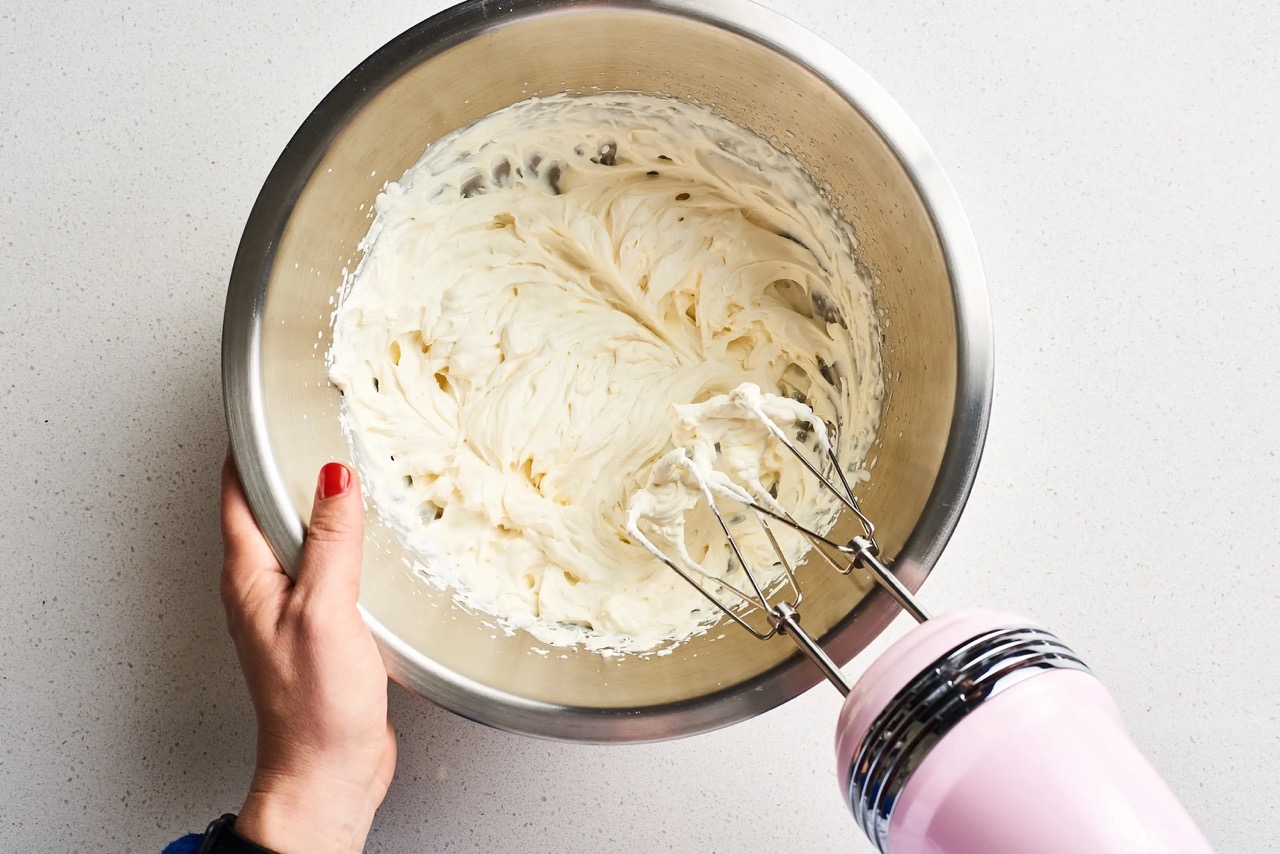
Using the Hand Mixer Properly
Now that your hand mixer is assembled, it’s time to dive into the process of using it properly. Follow these steps to achieve the best results:
- Select the Speed: Depending on the recipe and the consistency of the ingredients, choose the appropriate speed setting on your hand mixer. Start with a low speed and gradually increase it as needed.
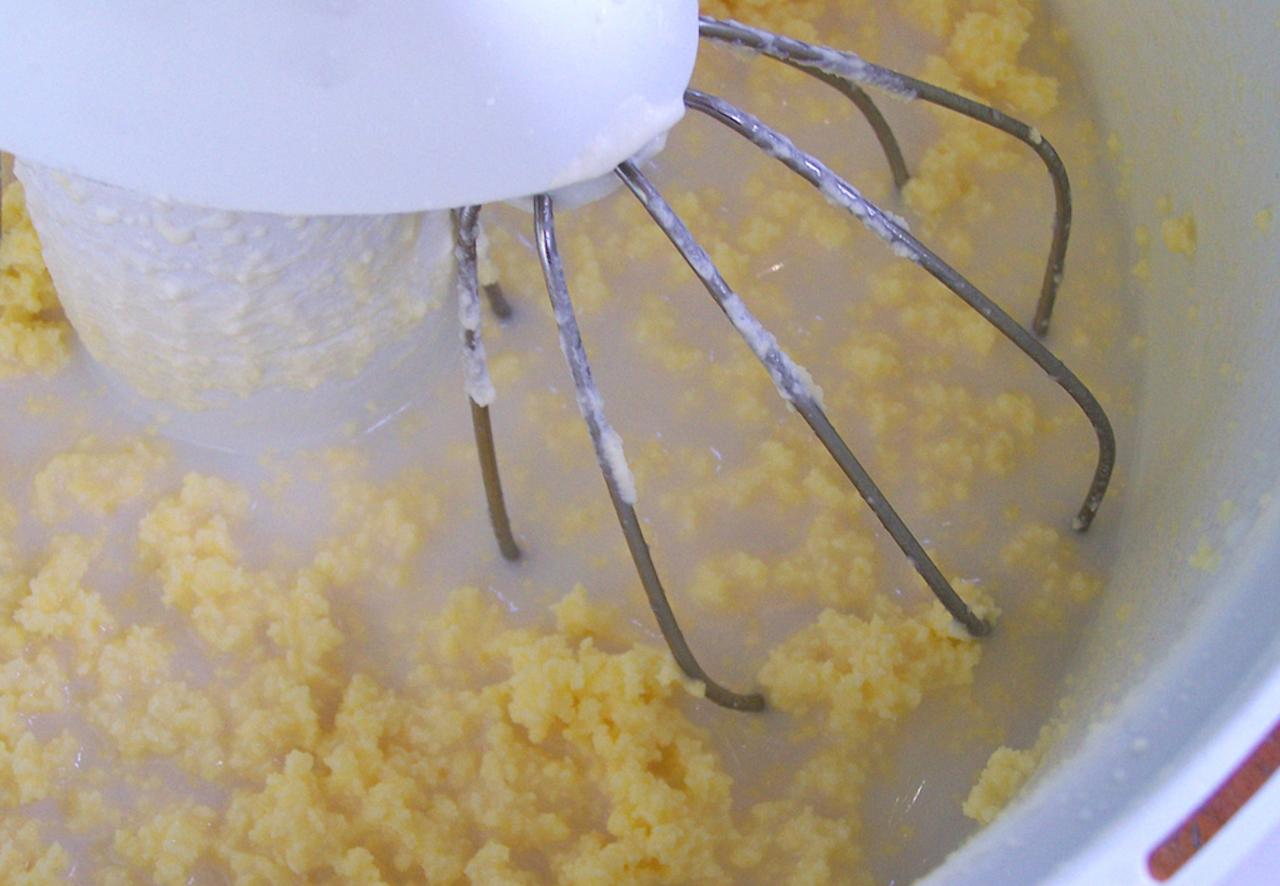
- Position the Beaters: Place the beaters or attachments into the mixing bowl or container, ensuring that they are fully submerged in the ingredients. Hold the hand mixer steady, ensuring a firm grip on the handle.
- Start Slowly: Turn on the hand mixer and begin mixing the ingredients at a low speed. This will help prevent splattering and allow you to incorporate the ingredients smoothly.
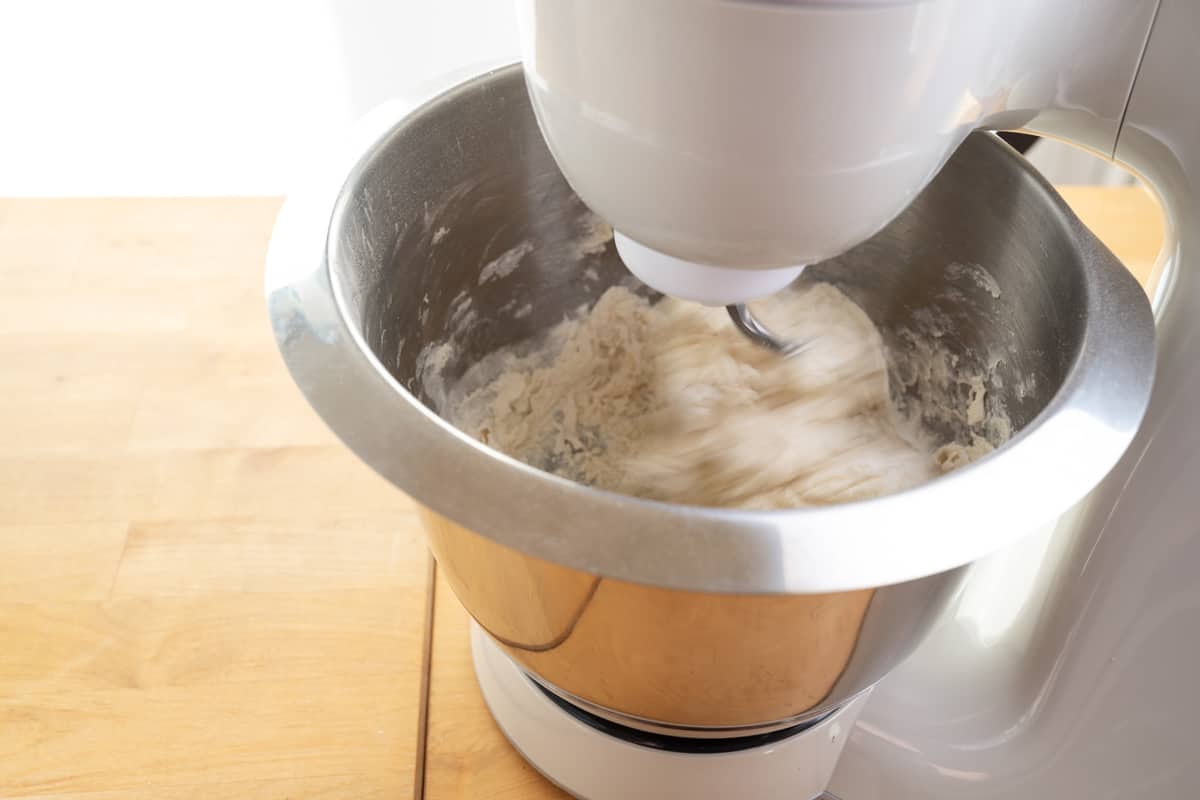
- Move the Mixer: While mixing, move the hand mixer in a circular or figure-eight motion to ensure even blending and avoid any pockets of unmixed ingredients. Pay attention to the sides and bottom of the mixing bowl to ensure everything is thoroughly mixed.
- Scrape the Bowl: As you mix, occasionally stop the mixer and use a spatula or scraper to scrape down the sides of the mixing bowl. This will help incorporate any ingredients that may have clung to the edges and ensure a consistent mixture.
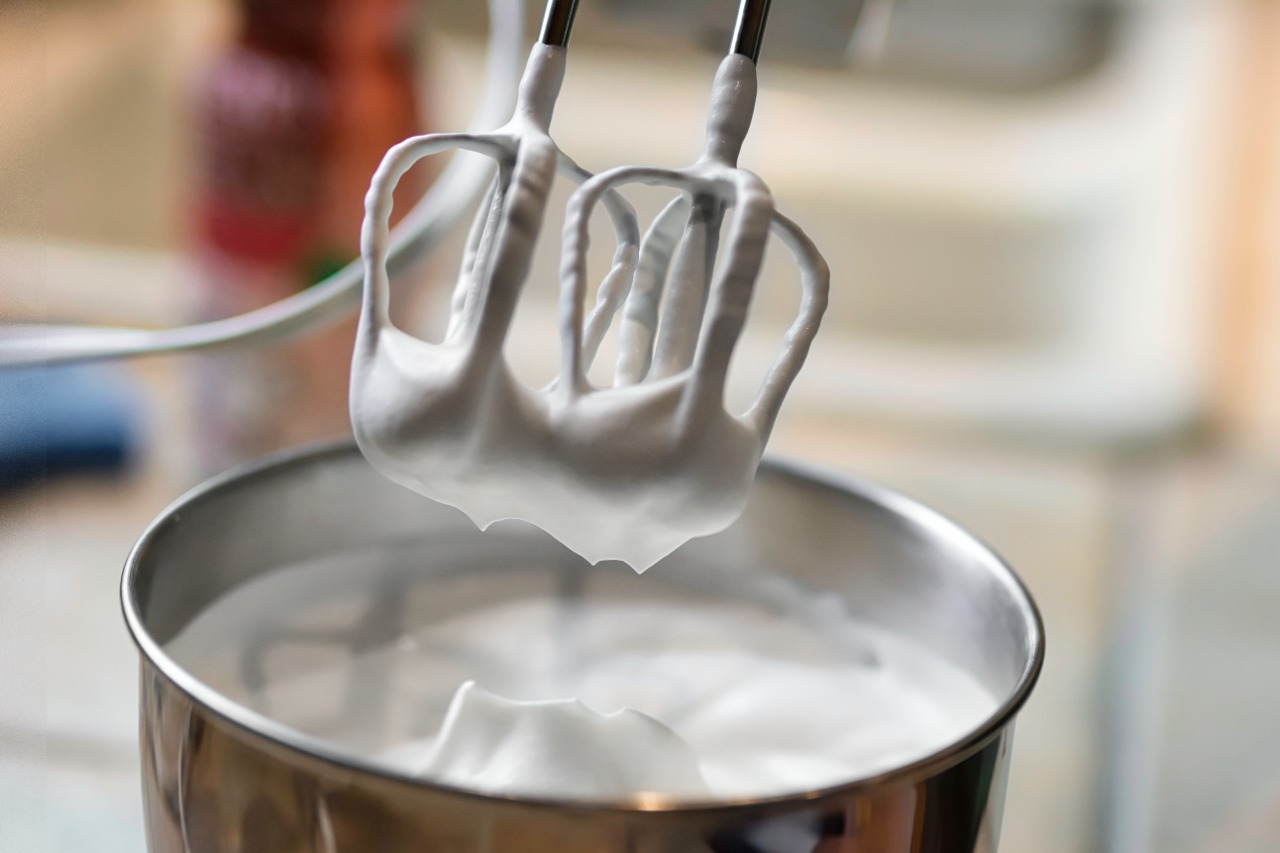
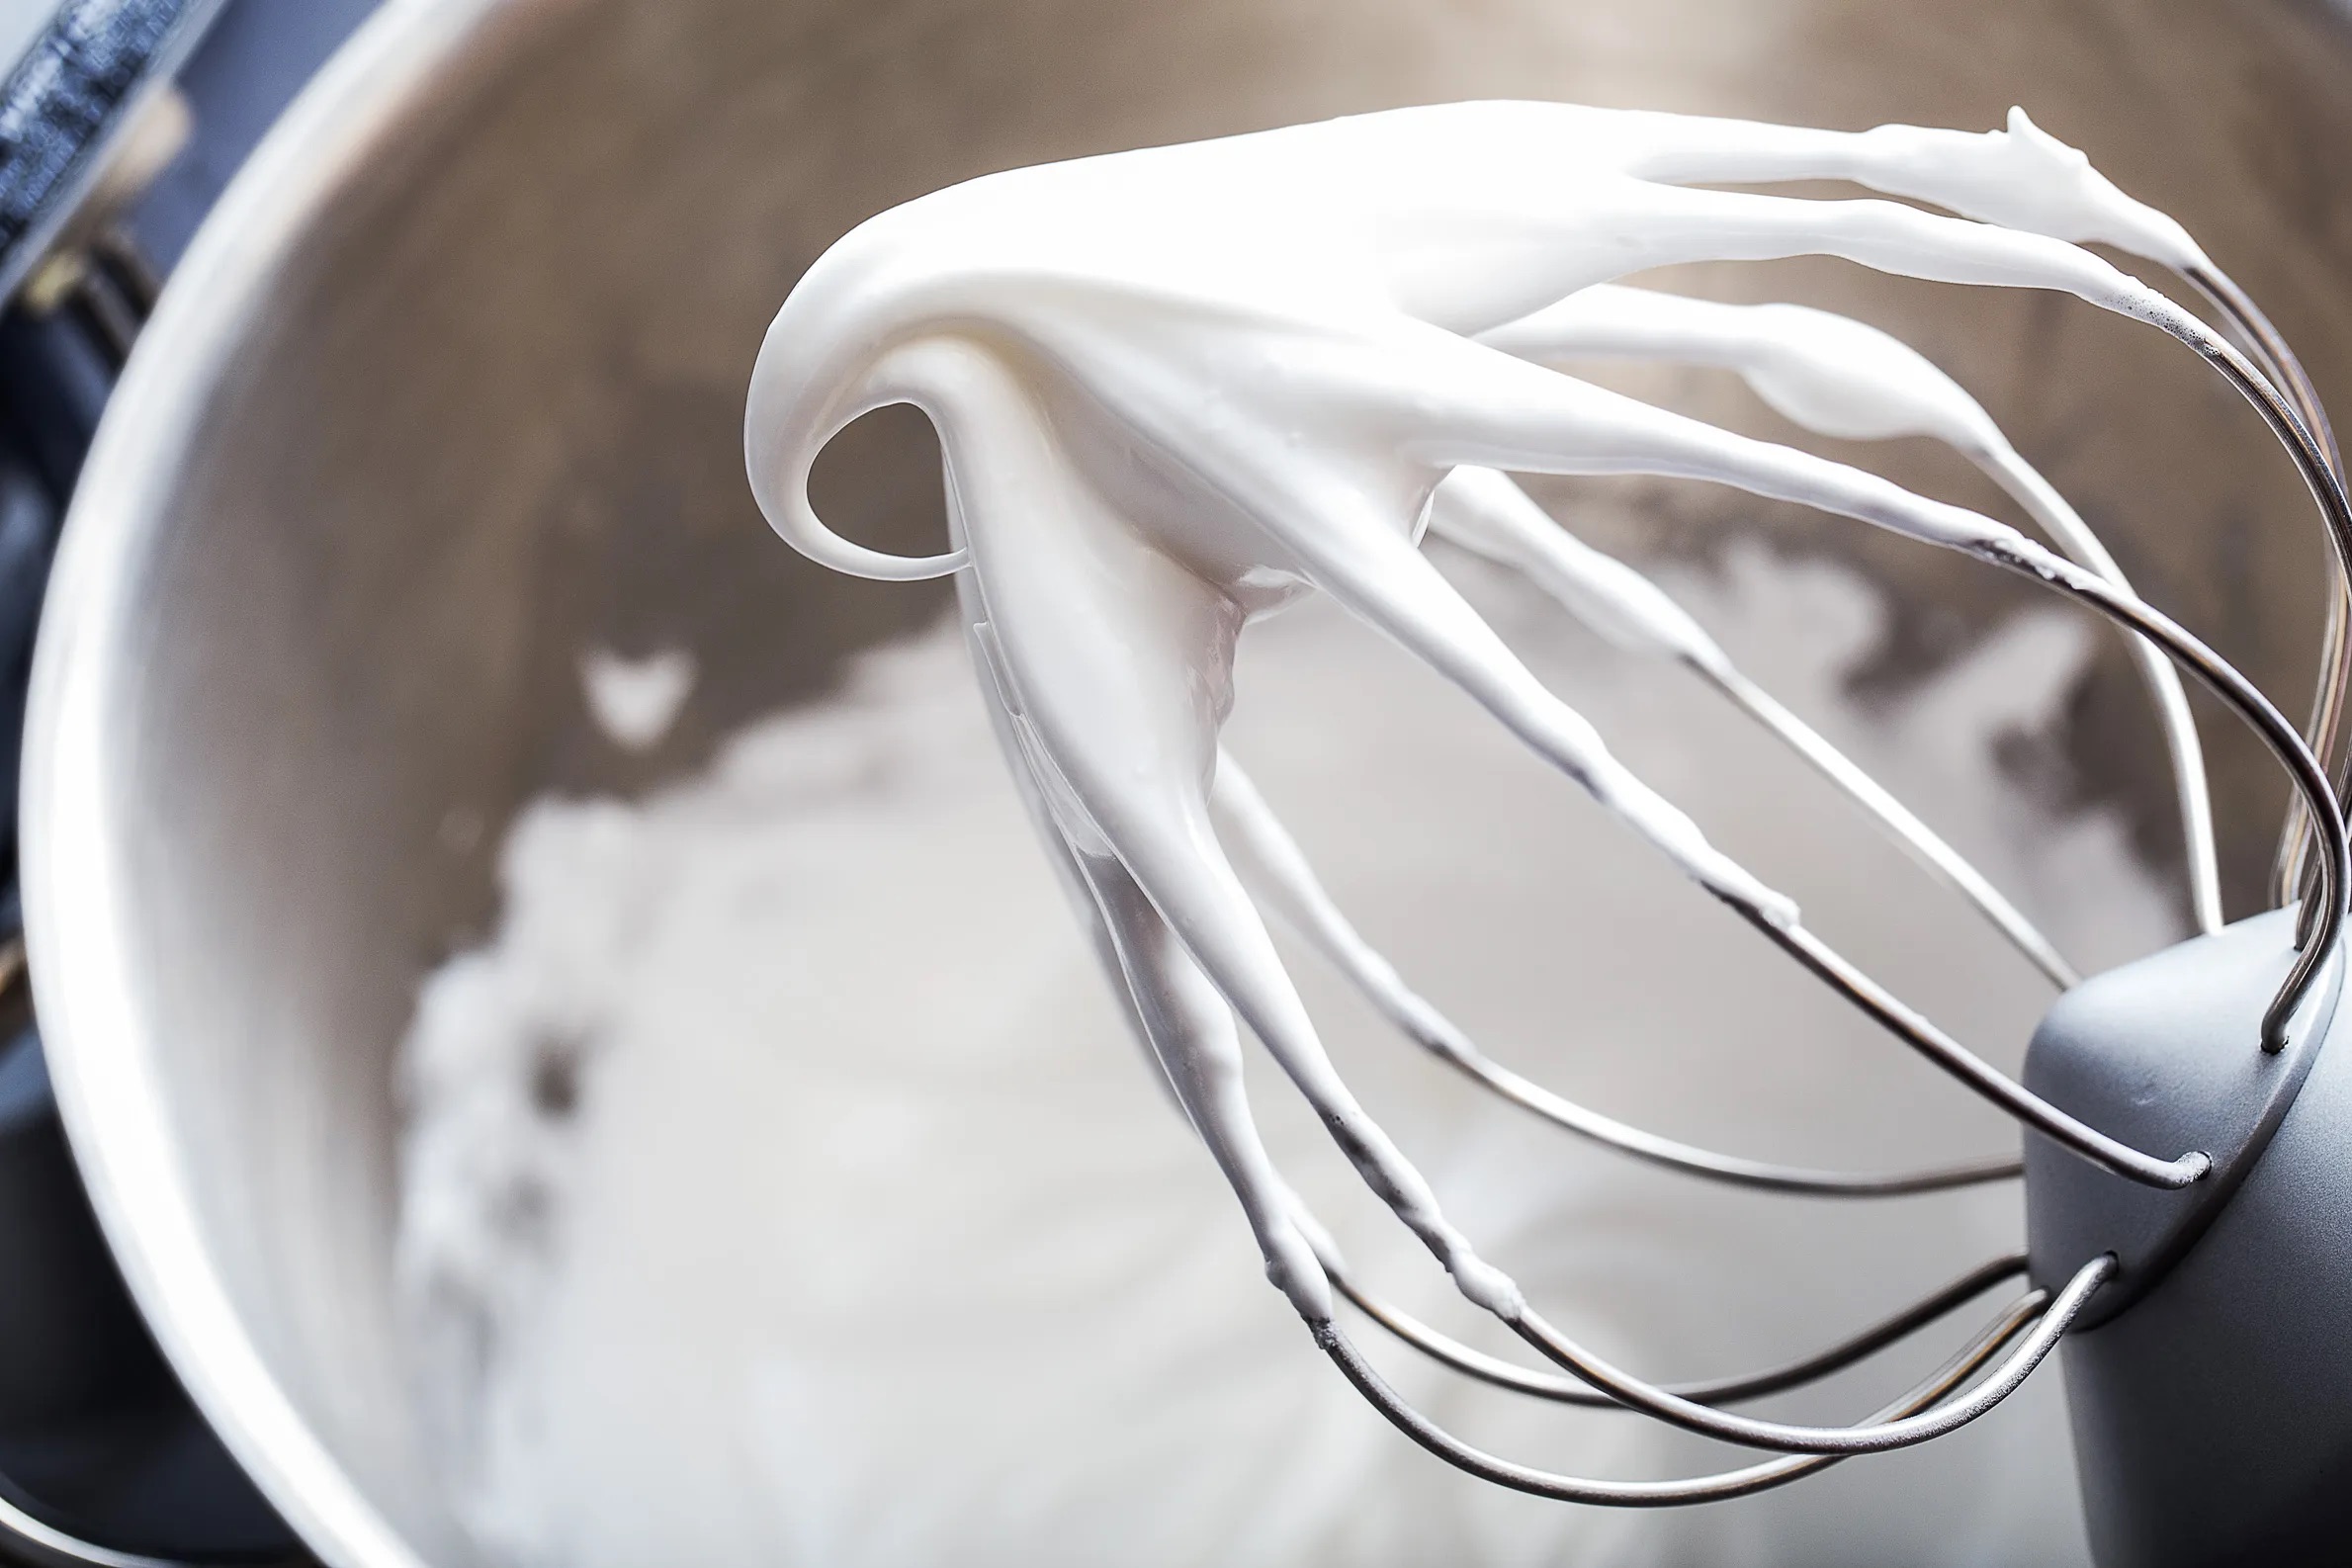
- Adjust the Speed: If needed, adjust the speed of the hand mixer as you progress through the recipe. Higher speeds are typically used for whipping cream or incorporating air into batters, while lower speeds are ideal for gently mixing delicate ingredients.
- Monitor the Consistency: Keep an eye on the consistency of the mixture as you mix. If it becomes too thick or heavy for the hand mixer to handle, consider reducing the speed or finishing the mixing process by hand.
Remember, it’s important to follow the specific instructions provided in your recipe. Some recipes may require different mixing times or techniques, so always refer to the recipe guidelines for the best results.
By using the hand mixer properly, you will be able to achieve well-mixed ingredients, save time in the kitchen, and create delicious recipes with ease.
Read more: How To Paint A Ceiling Without Making A Mess
Tips for Avoiding Mess
Using a hand mixer doesn’t have to be a messy affair. With a few helpful tips, you can minimize mess and keep your kitchen tidy while enjoying the benefits of this versatile tool. Here are some tips to remember:
- Start Slowly: When turning on the hand mixer, always start at a low speed to prevent ingredients from splattering out of the bowl. Gradually increase the speed as needed.
- Use a Deep Bowl: Opt for a deep mixing bowl or container to minimize the risk of ingredients splashing out as you mix. This will help contain the mix within the bowl and prevent it from landing on your countertop.
- Hold the Mixer Vertically: Keep the hand mixer positioned vertically in the bowl while mixing. Tilting it at an angle can cause ingredients to splatter. Maintain a steady grip on the handle and keep the attachment submerged in the mixture.
- Avoid Overfilling the Bowl: Ensure that you only fill the mixing bowl or container to a reasonable level. Overfilling can lead to ingredients being flung out during the mixing process.
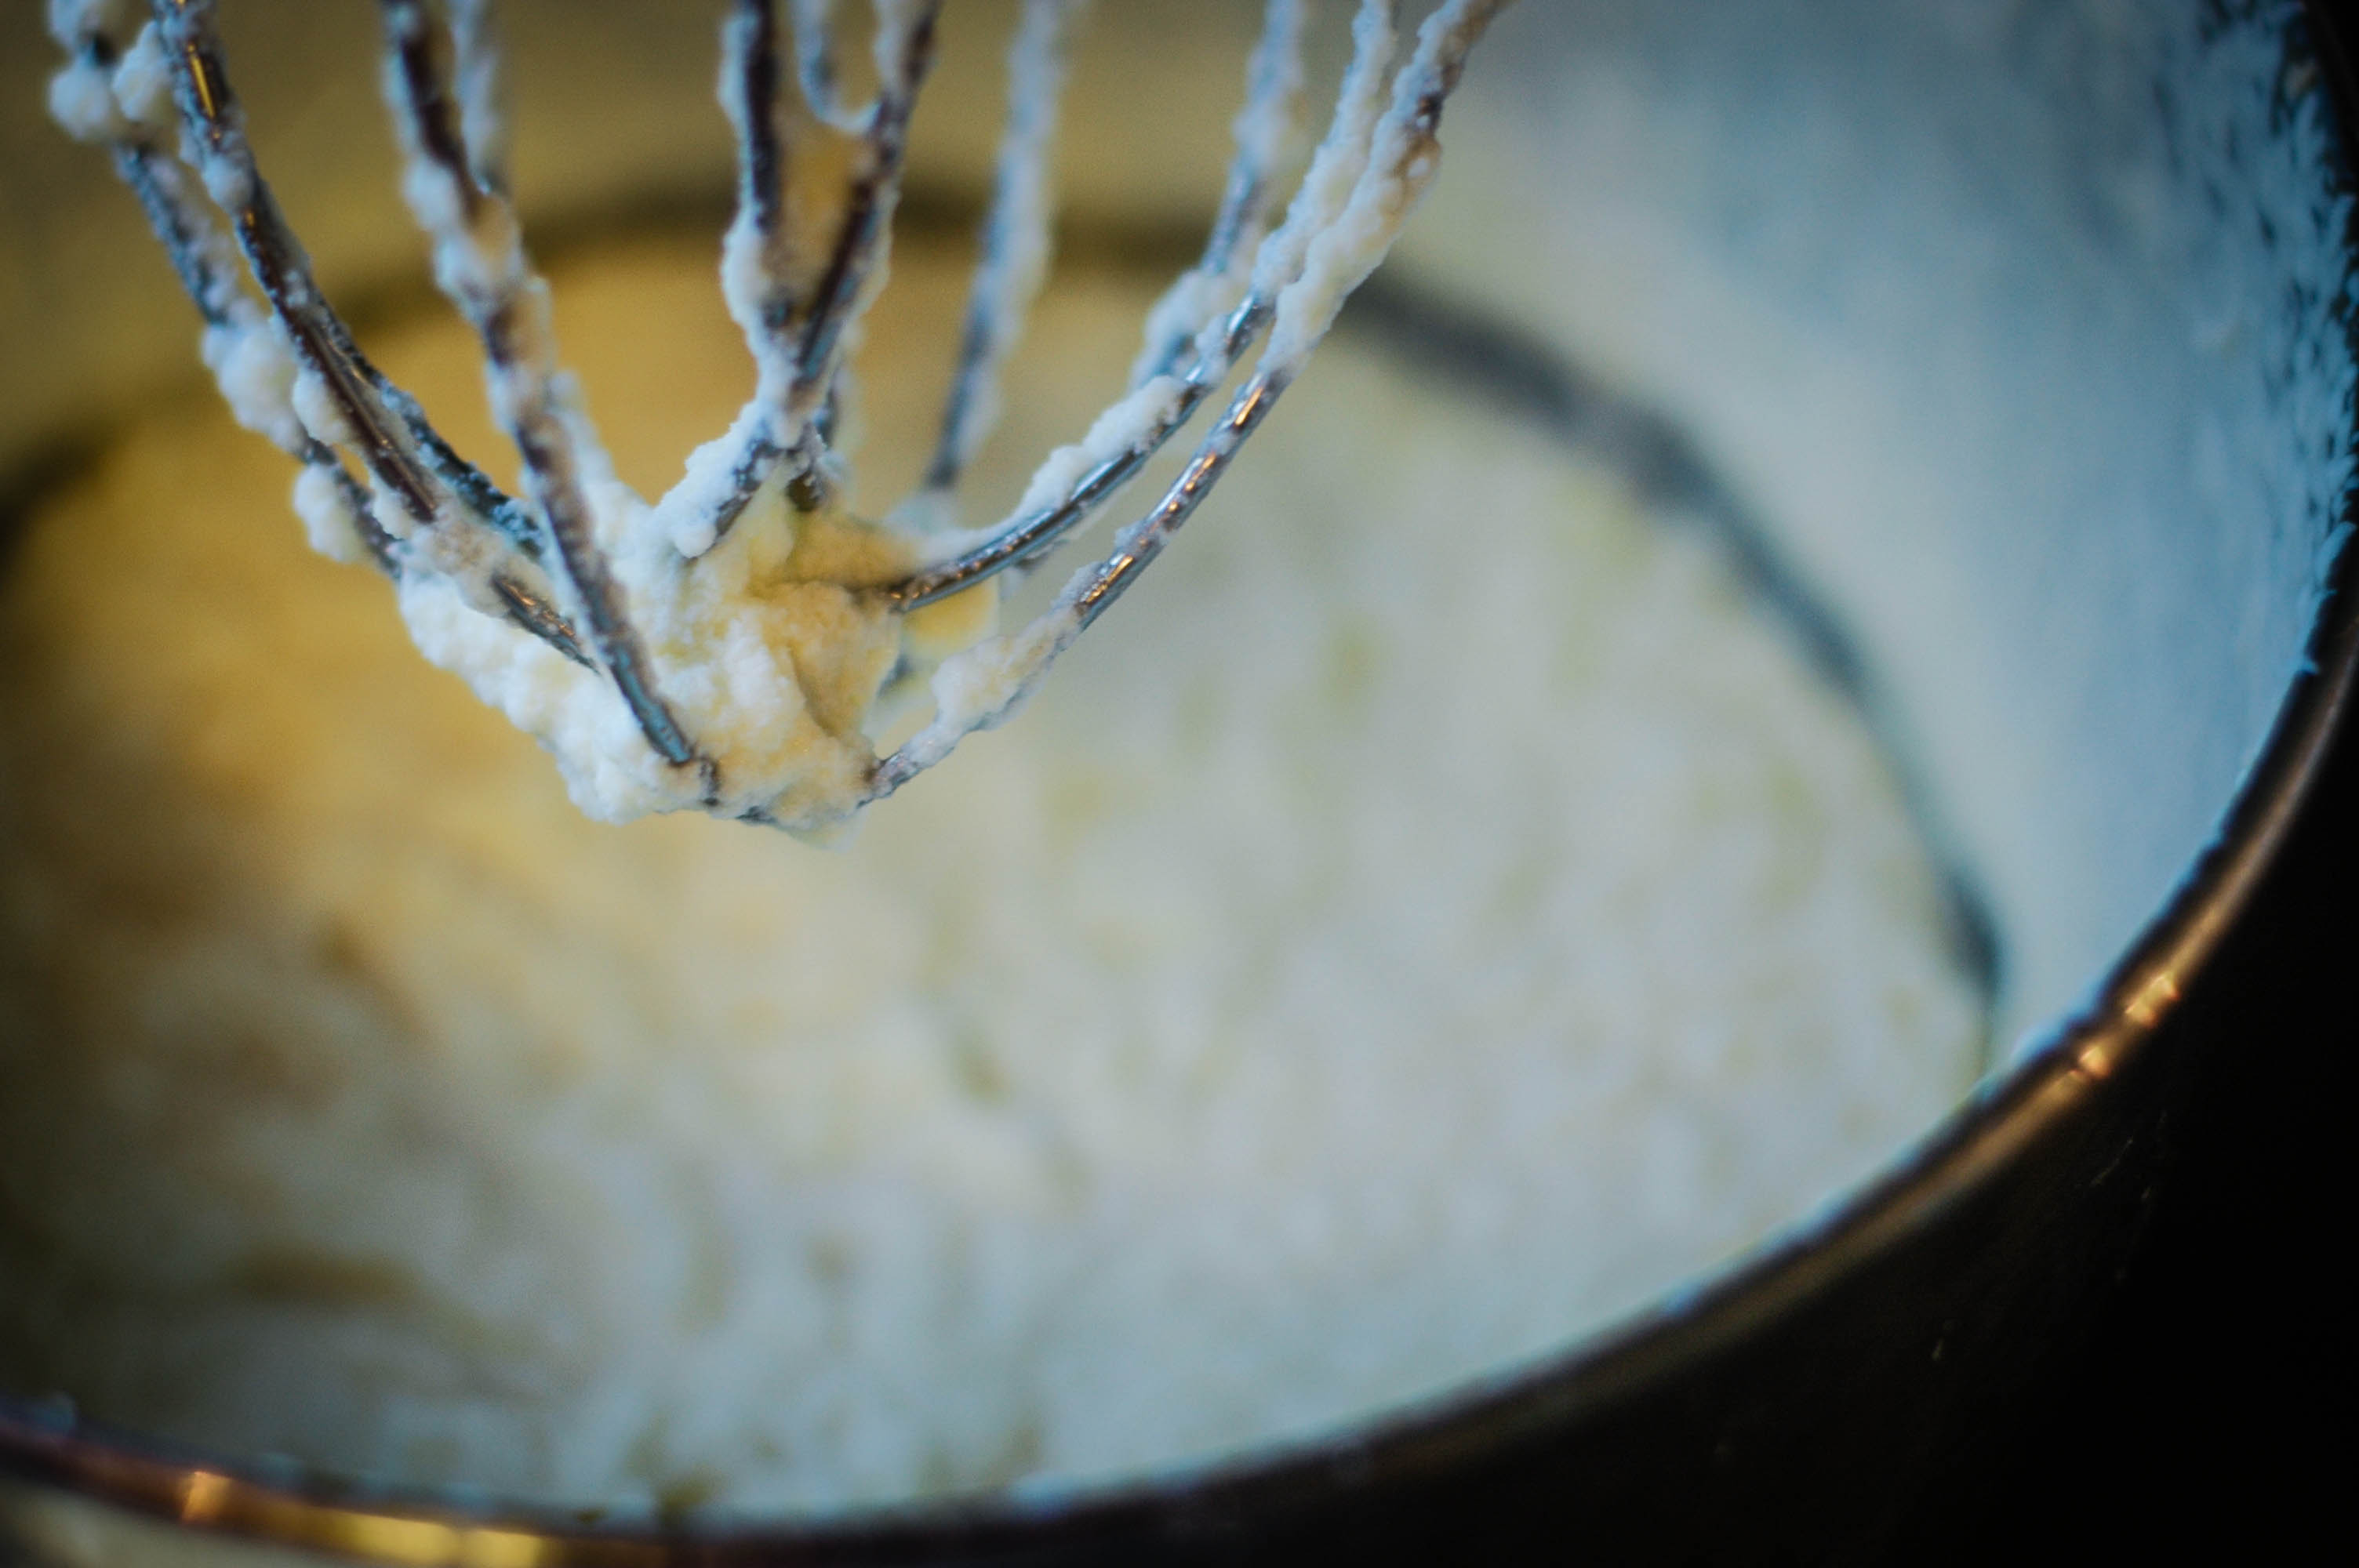
- Keep the Beat Again the Bowl: While mixing, make sure the beaters always touch the bottom of the bowl. This will prevent ingredients from getting caught in the beaters and flinging around.
- Cover with a Kitchen Towel: If you’re mixing a particularly thick or splatter-prone mixture, place a clean kitchen towel over the bowl. This acts as a shield to prevent any splatters or spills from escaping the bowl.
- Pulse the Speed: For ingredients that have a tendency to splash, like liquids or powders, use the hand mixer in short pulses instead of continuous mixing. This will help minimize the chance of splattering and give you better control over the consistency.
- Use a Splatter Guard: Consider investing in a splatter guard that fits over your mixing bowl. This transparent shield will keep your countertop and surrounding area clean by containing any splatters or spills.
- Clean as You Go: To minimize mess, take a moment to clean any splatters or spills immediately. Wipe down your countertop, clean the hand mixer attachments, and dispose of any excess batter or ingredients.
By applying these tips, you can enjoy mess-free mixing and maintain a clean and organized kitchen while using your hand mixer.
Cleaning Up After Use
Once you’ve finished using your hand mixer, it’s important to clean up properly to maintain its longevity and keep your kitchen in pristine condition. Follow these steps to ensure a thorough and efficient cleaning process:
- Unplug the Hand Mixer: Before starting the cleaning process, always unplug the hand mixer from the electrical outlet. This ensures your safety and prevents any accidents from occurring.
- Detach the Attachments: Remove the beaters or attachments from the hand mixer. Most models have a quick-release button or mechanism that allows for easy detachment. Separate the attachments from the hand mixer for individual cleaning.
- Wipe Down the Hand Mixer: Use a damp cloth or sponge to wipe down the body of the hand mixer, removing any residue or splatters. Pay special attention to the handle and buttons, ensuring they are clean and dry.
- Clean the Attachments: Depending on the manufacturer’s instructions, clean the beaters or attachments either by hand or in the dishwasher. If washing by hand, use warm soapy water and a sponge or brush to remove any food particles. Rinse the attachments thoroughly and allow them to air dry or dry them with a clean towel.
- Wipe Down the Mixing Bowl: If necessary, clean the mixing bowl or container used during mixing. Wash it with warm soapy water, rinse it thoroughly, and dry it with a clean cloth. If the bowl is dishwasher-safe, you can place it in the dishwasher for cleaning.
- Store the Hand Mixer: Once everything is clean and dry, store the hand mixer and its attachments in a safe and dry location. This will prevent any damage and ensure it’s ready for the next use.
By taking the time to clean your hand mixer after each use, you’re not only maintaining its performance but also ensuring a hygienic cooking environment. A clean hand mixer will last longer and provide consistent results for years to come.
Conclusion
Using a hand mixer can greatly simplify your baking and cooking endeavors, allowing you to create delicious dishes with ease. By following the steps outlined in this article, you can use your hand mixer without making a mess and keep your kitchen clean and organized.
We began by discussing the various benefits of using a hand mixer, including its efficiency, versatility, and compact size. We then explored the importance of preparing your workspace before using the hand mixer, ensuring a clean and organized environment for a hassle-free cooking experience.
Next, we provided step-by-step instructions on assembling and using the hand mixer properly, including adjusting the speed, positioning the beaters, and monitoring the consistency of the mixture. These tips will help you achieve optimal results while minimizing splatters and spills.
Additionally, we shared valuable tips for avoiding mess during the mixing process, such as starting at a low speed, using a deep bowl, and holding the mixer vertically. These precautions will help you maintain control and keep your kitchen surfaces clean.
Finally, we emphasized the importance of cleaning up after each use. Taking the time to properly clean and store your hand mixer and its attachments will prolong its lifespan and ensure optimal performance for future use.
With these guidelines in mind, you can confidently harness the power of your hand mixer to create culinary delights without the stress of a messy kitchen. So, go ahead, unleash your creativity, and enjoy the convenience and efficiency that a hand mixer brings to your cooking adventures.
Happy mixing!
Frequently Asked Questions about How To Use Hand Mixer Without Making A Mess
Was this page helpful?
At Storables.com, we guarantee accurate and reliable information. Our content, validated by Expert Board Contributors, is crafted following stringent Editorial Policies. We're committed to providing you with well-researched, expert-backed insights for all your informational needs.


0 thoughts on “How To Use Hand Mixer Without Making A Mess”