Articles
How To Use Plumbers Putty On Sink Drain
Modified: October 20, 2024
Learn how to use plumber's putty on a sink drain with our informative articles. Find step-by-step instructions and pro tips to ensure a leak-free installation.
(Many of the links in this article redirect to a specific reviewed product. Your purchase of these products through affiliate links helps to generate commission for Storables.com, at no extra cost. Learn more)
Introduction
Welcome to our guide on how to use plumber’s putty on a sink drain. If you are experiencing a leaky sink or need to install a new sink drain, plumber’s putty is an essential tool for creating a watertight seal. In this article, we’ll walk you through the process of using plumber’s putty step by step.
Plumber’s putty is a versatile and commonly used material in plumbing projects. It is a soft, moldable compound that has a wide range of applications, including sealing joints and connections to prevent water leaks. When applied correctly, plumber’s putty forms a tight seal that is resistant to water, allowing for a durable and long-lasting solution.
Before we dive into the process of using plumber’s putty on a sink drain, let’s take a look at the tools and materials you will need for this project.
Key Takeaways:
- Proper preparation is essential when using plumber’s putty on a sink drain. From turning off the water supply to cleaning and drying the surfaces, attention to detail ensures a successful and long-lasting seal.
- Applying plumber’s putty and installing the sink drain requires precision and care. From kneading the putty to testing for leaks, following the step-by-step process and tips ensures a professional and reliable result.
Read more: How To Tighten A Sink Drain
What is Plumbers Putty?
Plumbers putty is a type of sealing material used in plumbing projects to create a water-tight seal between pipes and fixtures. It is a soft, pliable compound that is typically made from a combination of linseed oil, powdered clay, and other additives.
Plumbers putty is a non-drying substance, which means that it remains soft and flexible even after it is applied. This makes it ideal for applications where the joint may need to be disassembled in the future, such as sink drains, faucets, and showerheads.
Unlike other types of sealants, such as silicone caulk, plumbers putty is not meant to provide an adhesive bond. Instead, its primary purpose is to create a water-tight seal and prevent leaks. It works by conforming to the shape of the joint, filling any gaps or imperfections and preventing water from seeping through.
Plumbers putty is typically white or off-white in color, which makes it blend well with most fixtures and plumbing components. It is also odorless and non-toxic, making it safe to use in residential plumbing projects.
It’s important to note that plumbers putty should not be used in certain applications, such as on surfaces that can be damaged by oil-based compounds or surfaces that are exposed to high temperatures. In these cases, it is recommended to use alternative sealants, such as silicone caulk or thread seal tape.
Tools and Materials Needed
Before you begin using plumber’s putty on a sink drain, gather the necessary tools and materials to ensure a smooth and efficient process. Here is a list of what you will need:
- Plumber’s putty
- Adjustable wrench
- Plumber’s tape
- Plastic scraper or putty knife
- Paper towel or rag
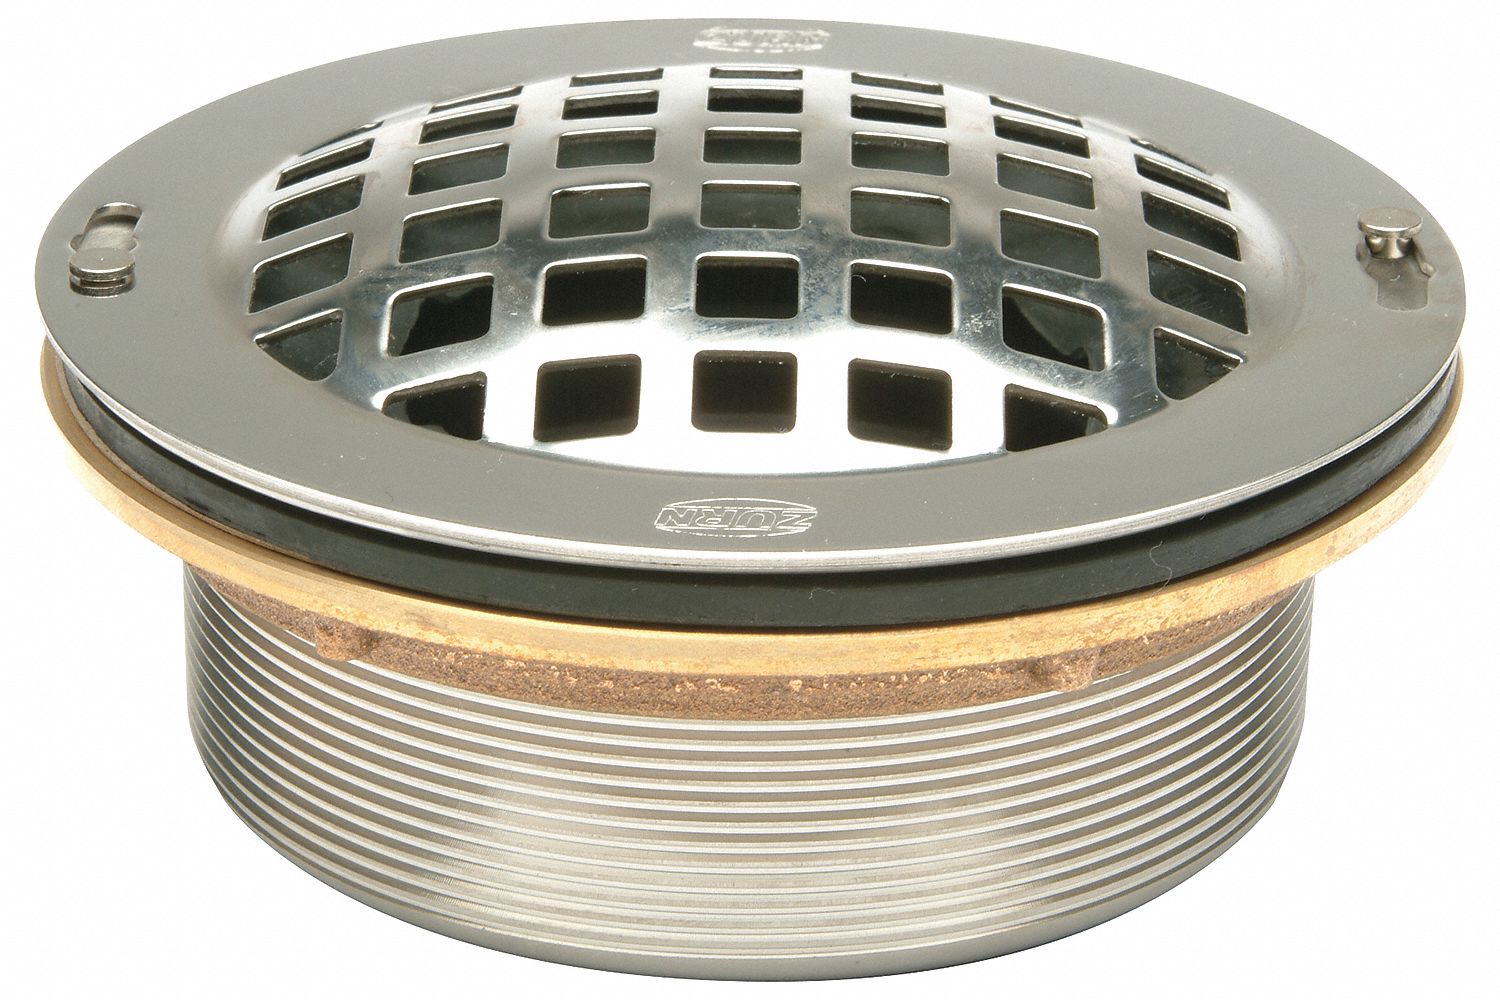
- Sink drain assembly
- Sink drain gasket
- Basket strainer
- Plastic or rubber gloves
Ensure that you have all the tools and materials listed above before proceeding with the installation process. This will help you work efficiently and minimize any unnecessary delays or interruptions.
Additionally, it is important to note that plumber’s putty is not suitable for all sink materials and finishes. Before using plumber’s putty, make sure to check the manufacturer’s instructions for your specific sink to ensure compatibility and prevent any damage to the surface.
Now that you have everything ready, let’s move on to the step-by-step process of using plumber’s putty on a sink drain.
Step 1: Preparation
Before applying plumber’s putty to the sink drain, it’s important to properly prepare the area to ensure a clean and successful installation. Follow these steps to prepare for using plumber’s putty:
- Start by turning off the water supply to the sink. This can usually be done by turning off the shut-off valves located under the sink. If there are no shut-off valves, you may need to turn off the main water supply to your home temporarily.
- Next, remove any items or debris from the sink basin to create a clear working area. This includes dishes, utensils, and any other items that may obstruct the drain installation process.
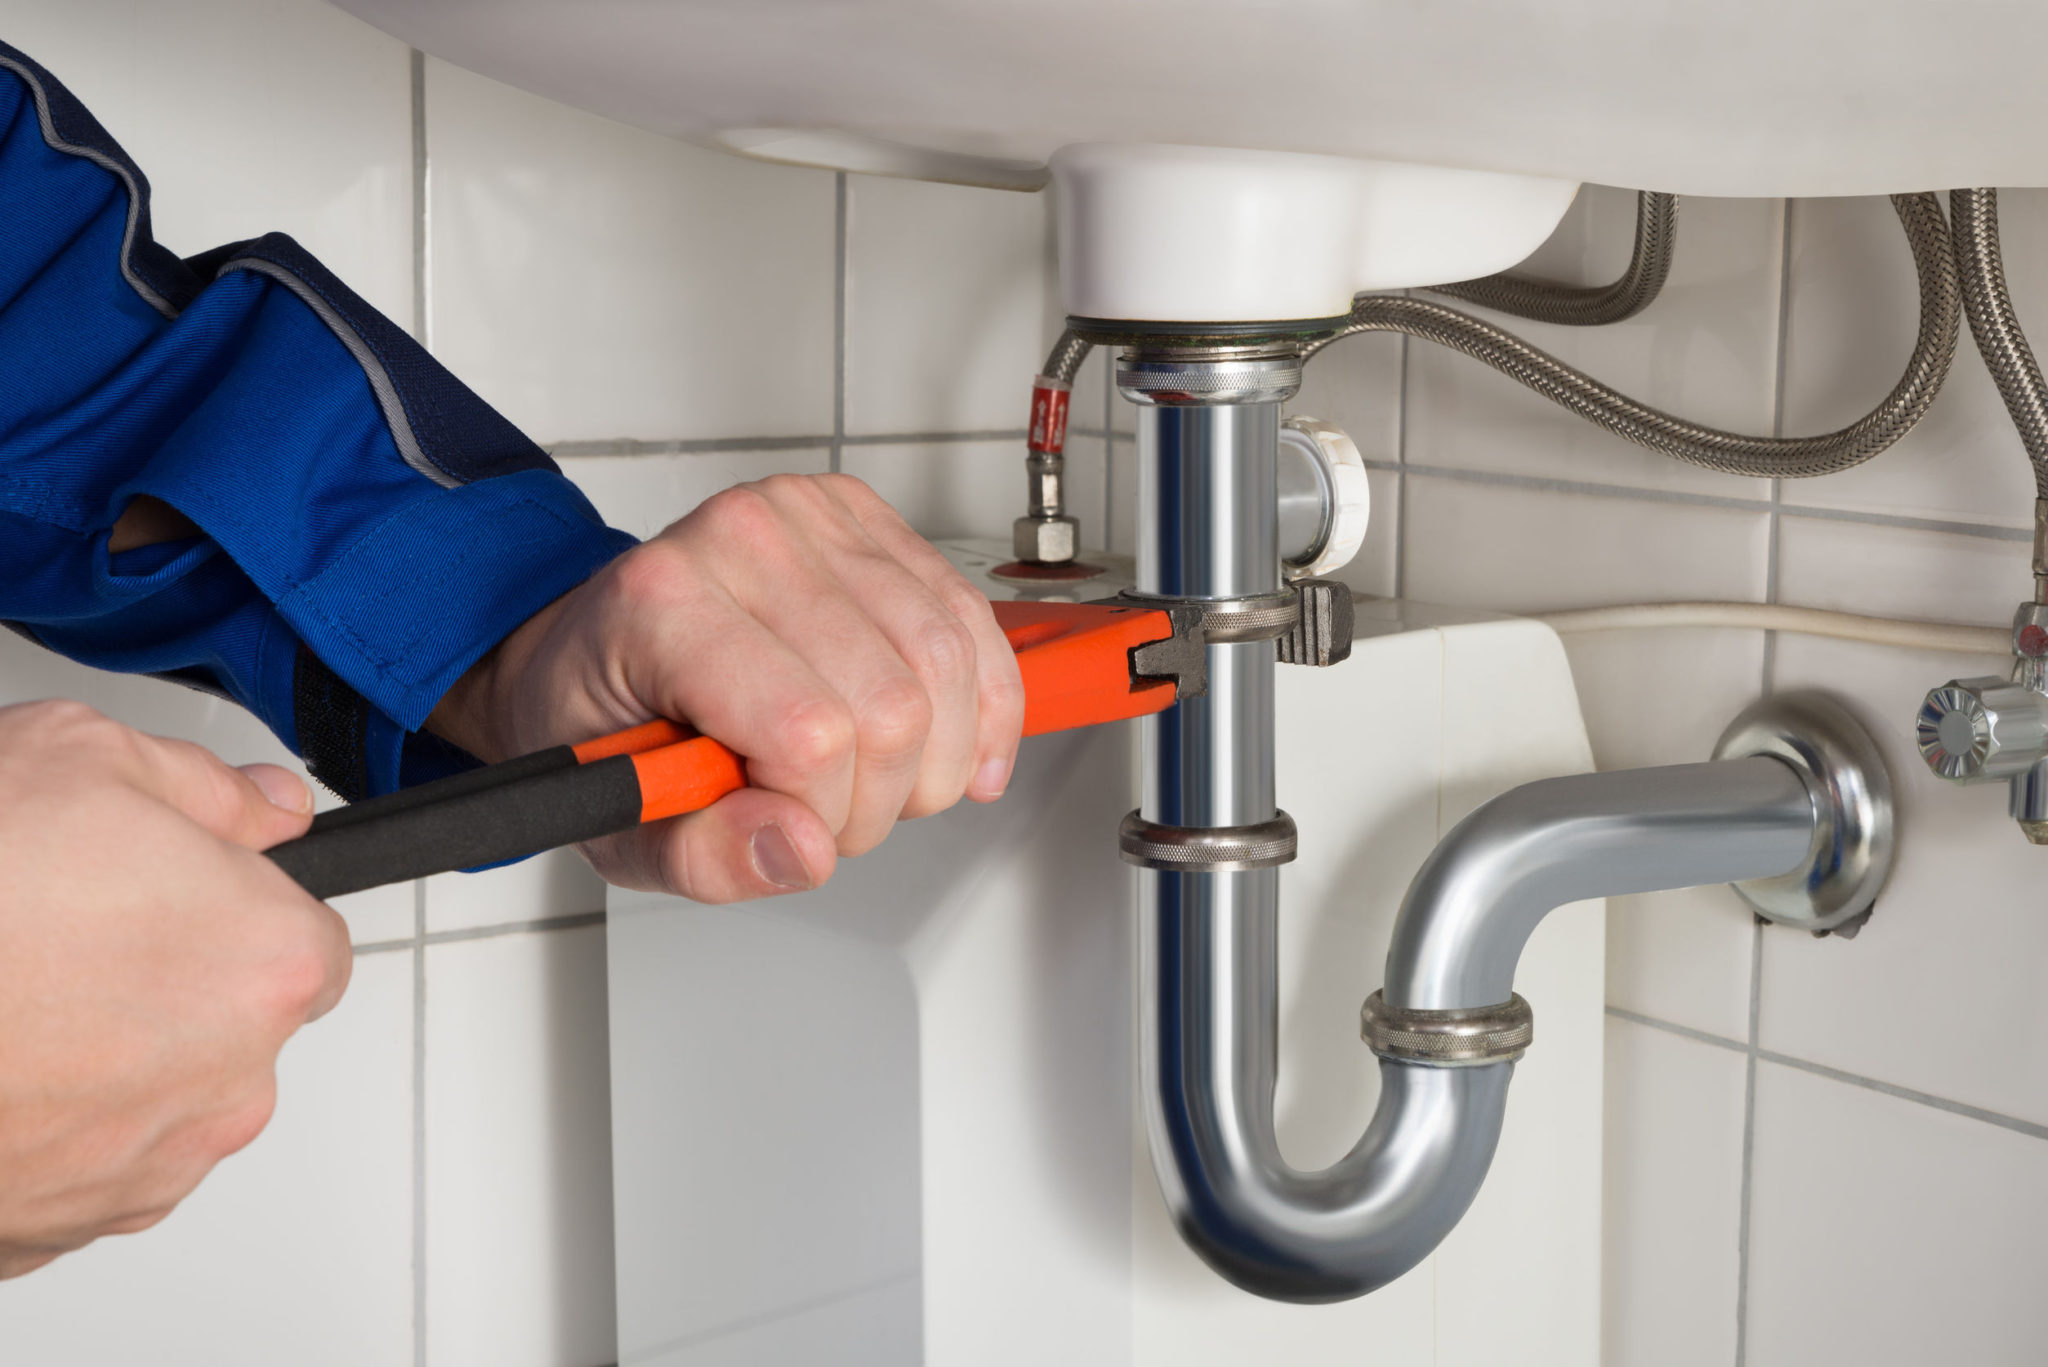
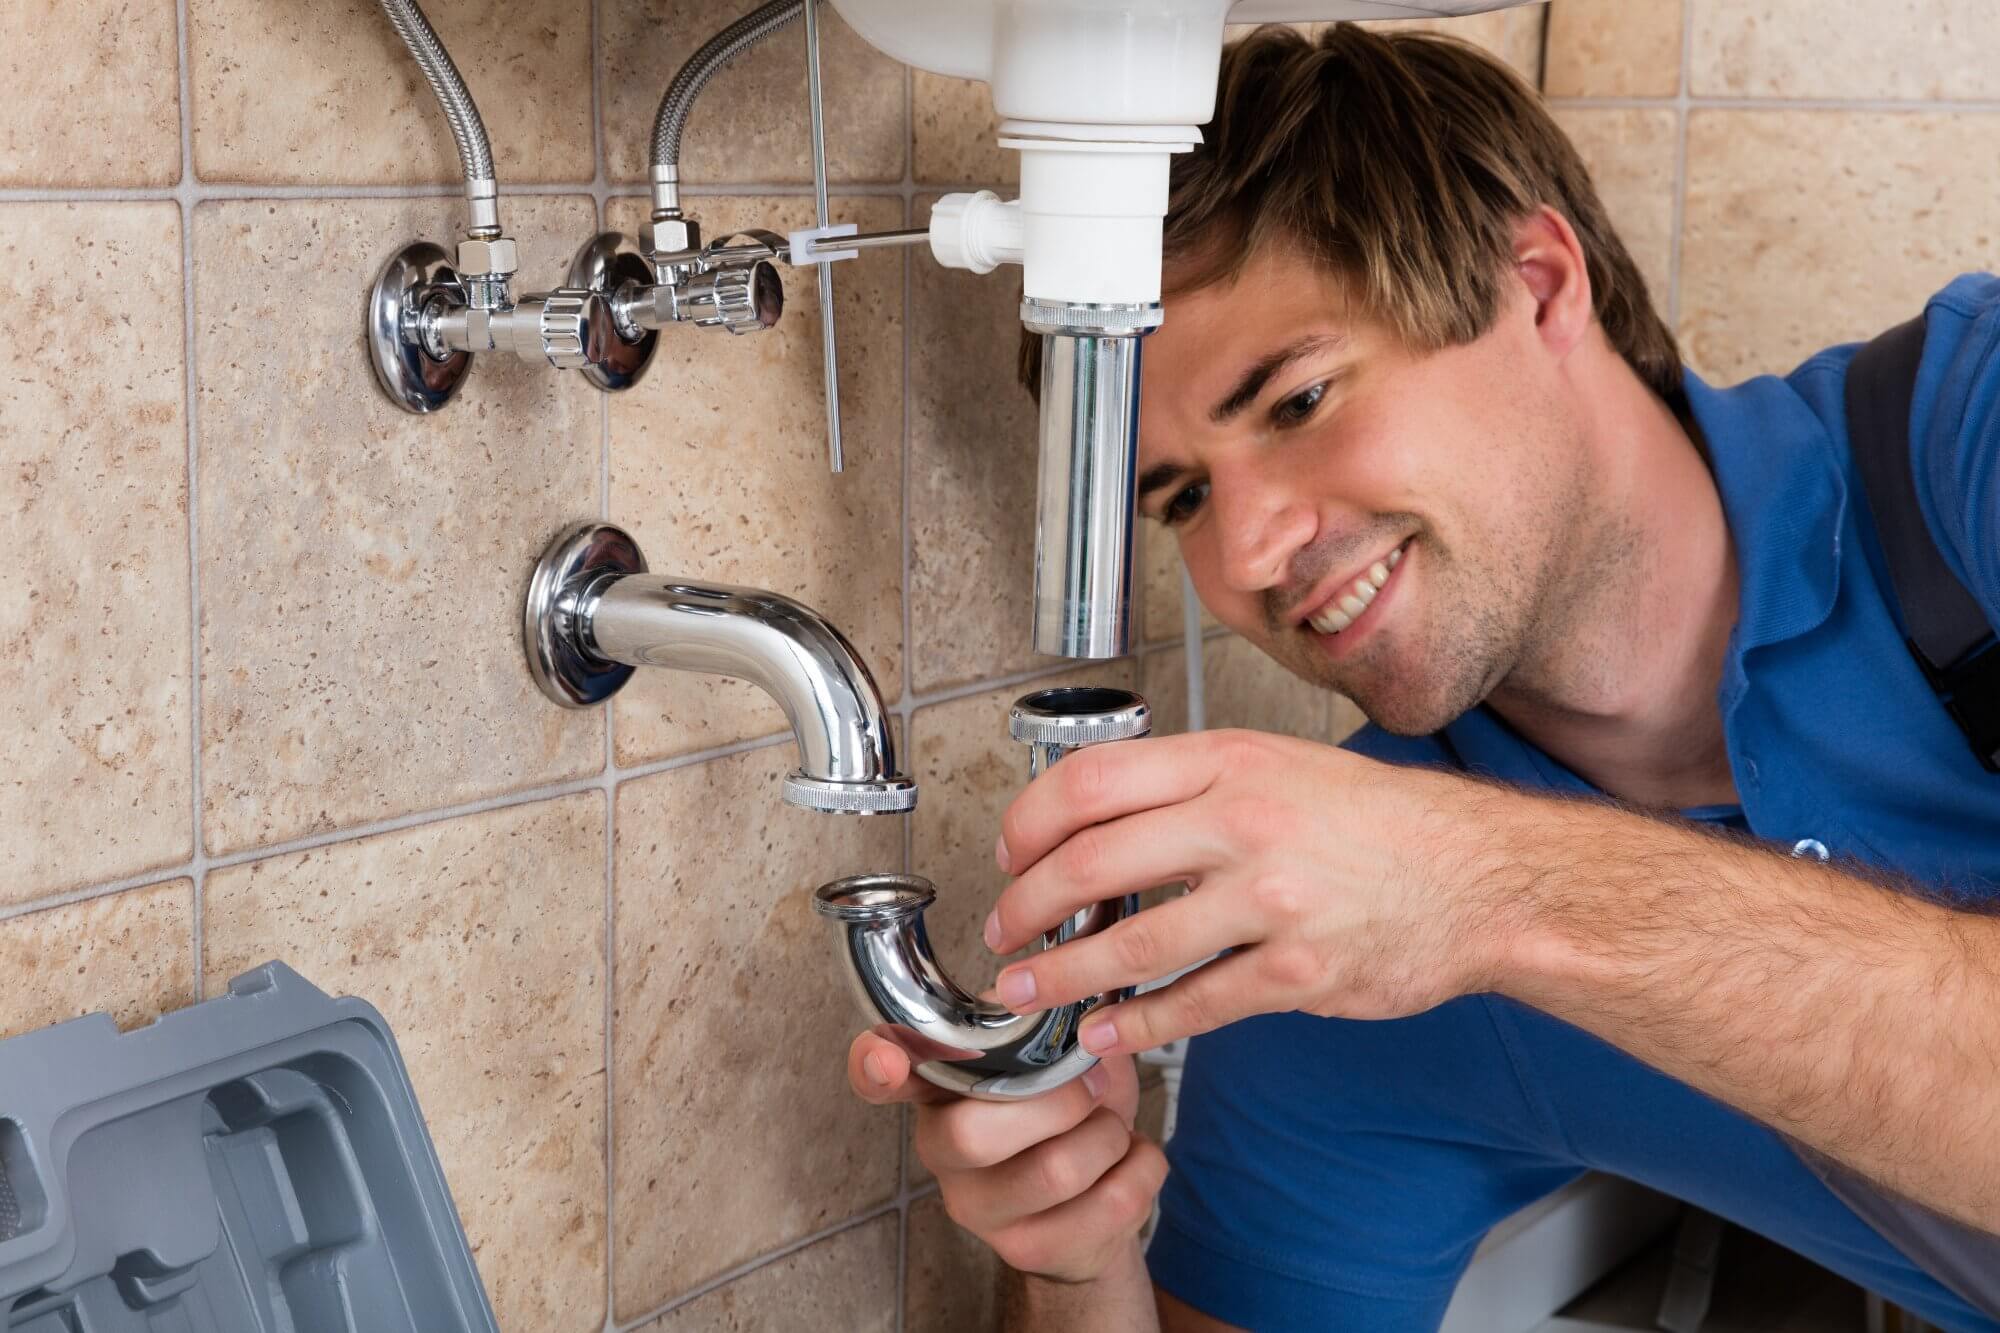
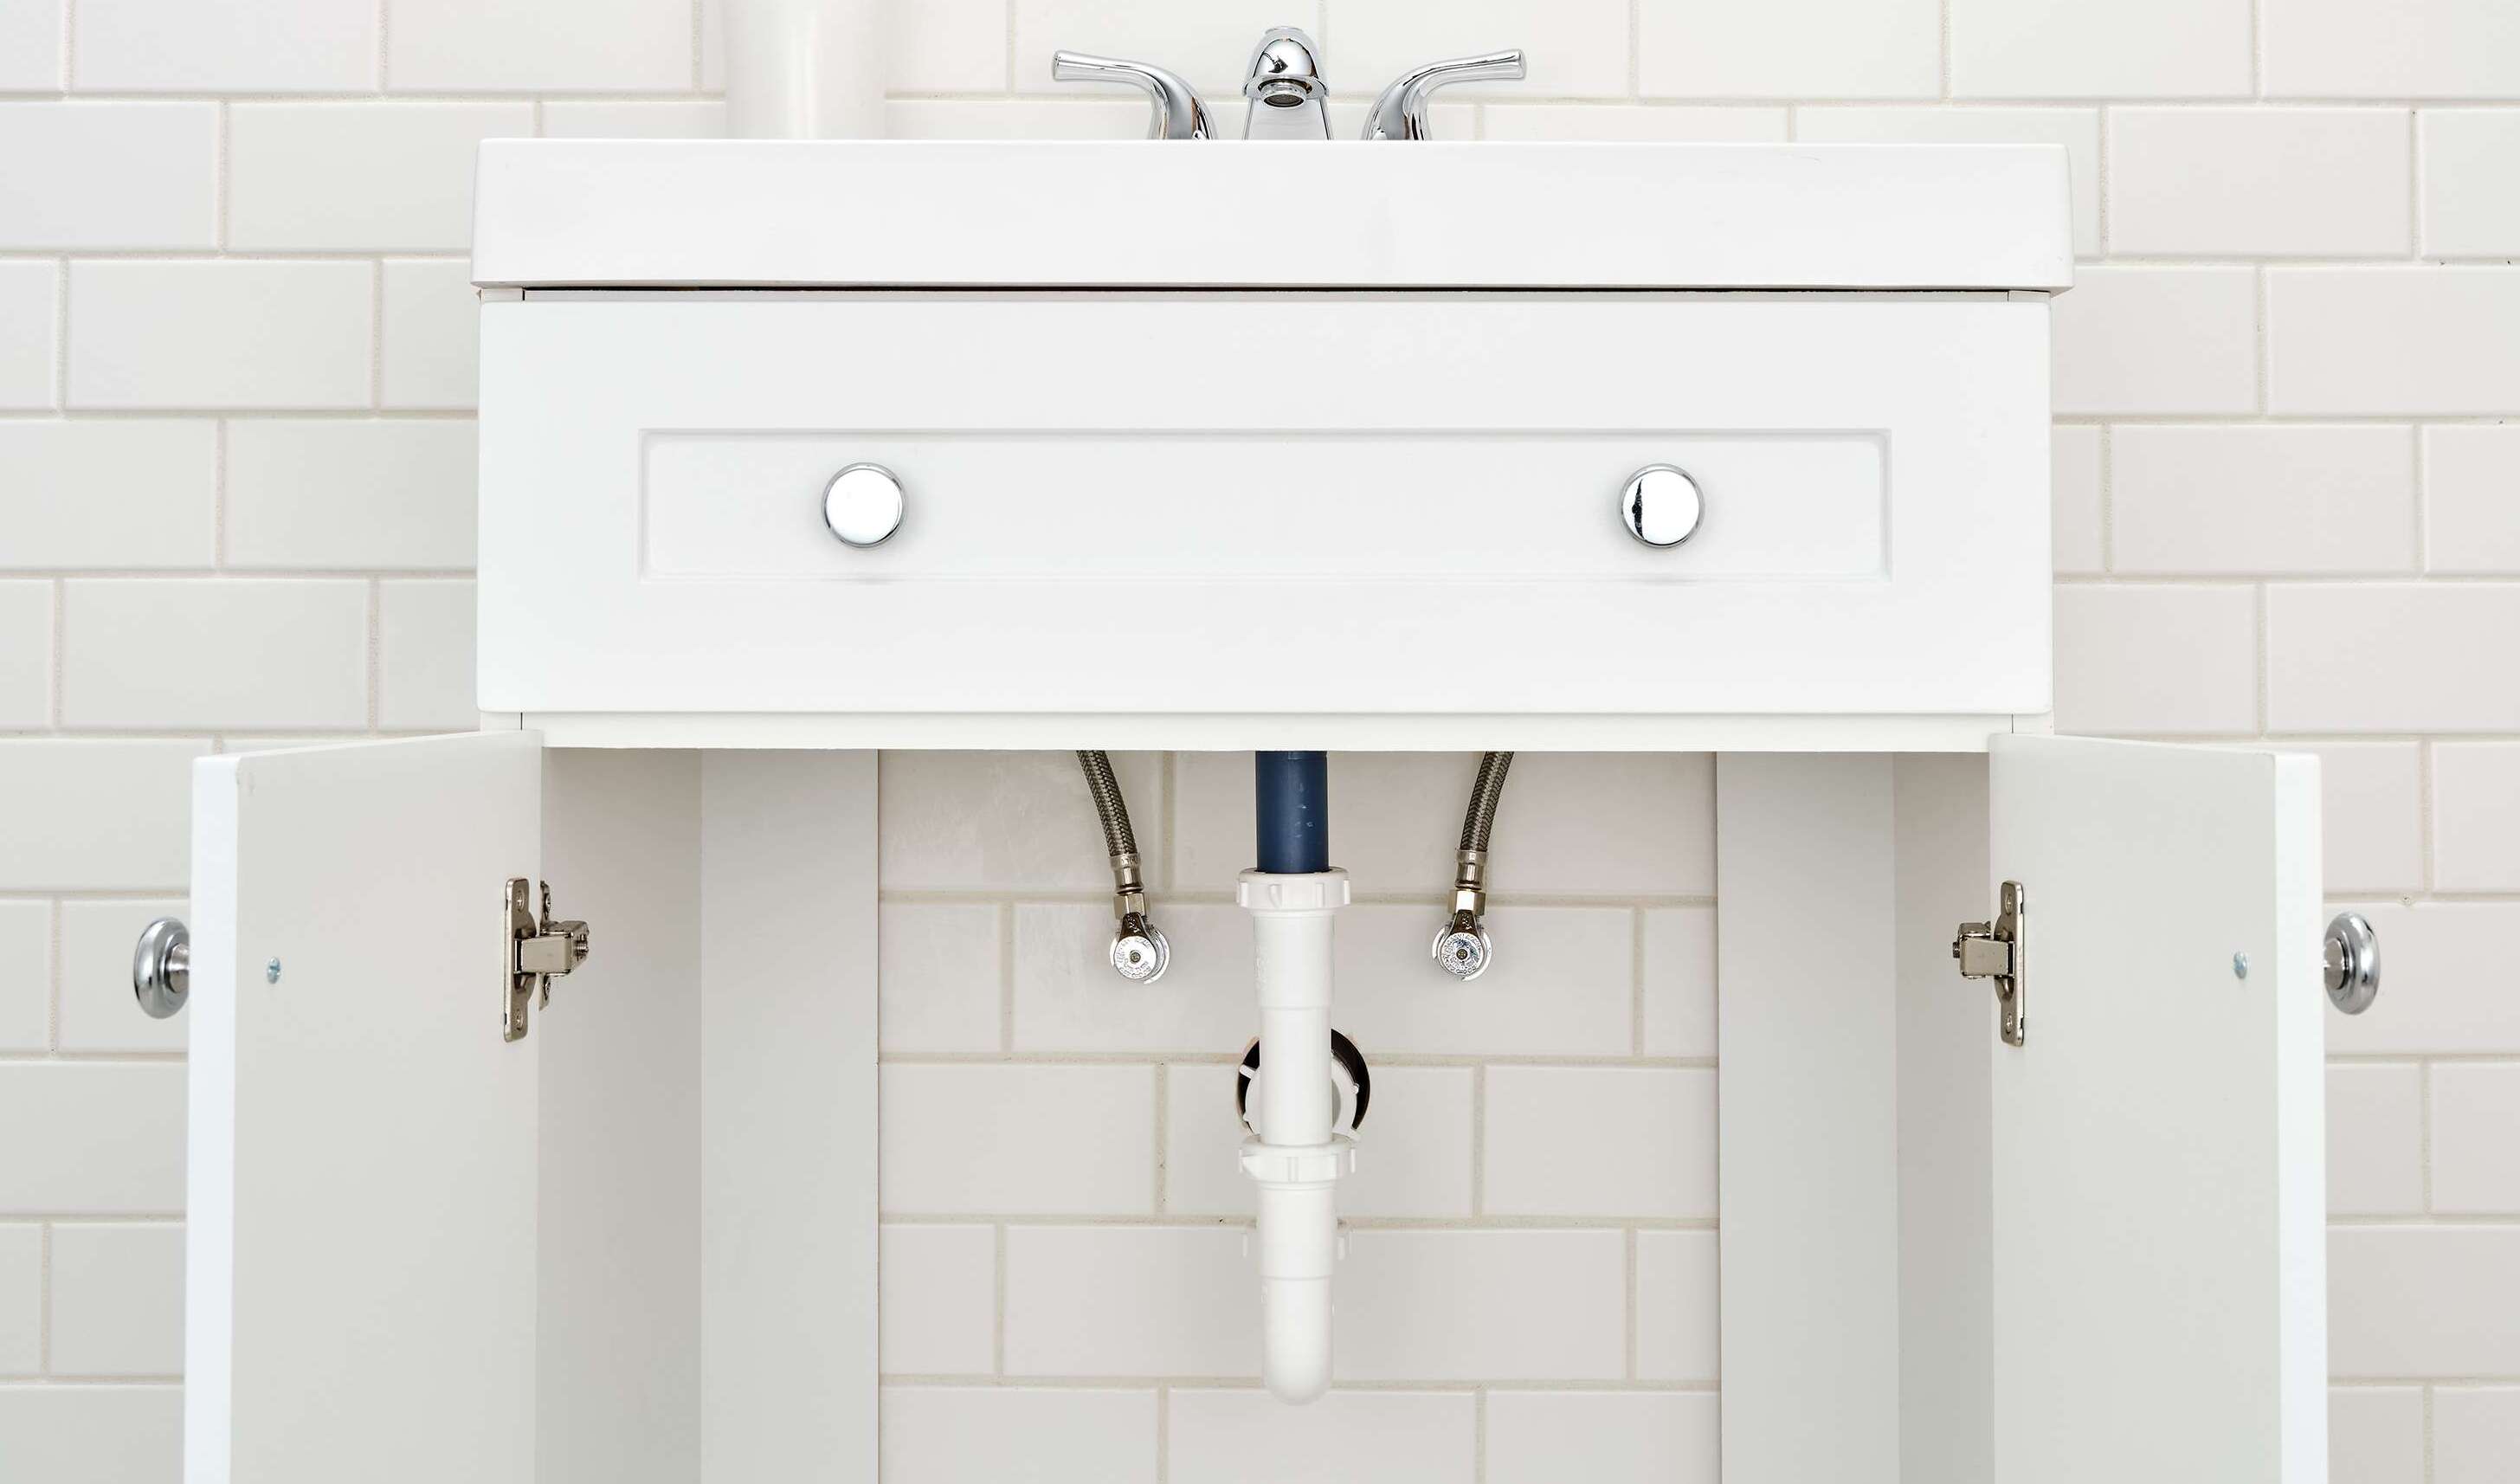
- If there is an existing sink drain, you will need to disconnect it. Use an adjustable wrench to loosen and remove the slip nut connecting the P-trap to the drain pipe. Place a bucket or towel underneath the pipes to catch any water or debris that may come out during this step.
- Once the drain is disconnected, use a plastic scraper or putty knife to remove any old plumber’s putty or residue from the sink and drain flange. Make sure to clean the surfaces thoroughly to ensure a proper seal with the new plumber’s putty.
- After cleaning, dry the sink and drain flange with a paper towel or rag to remove any moisture. It’s important for the surfaces to be completely dry before applying plumber’s putty to ensure a strong and lasting seal.
By taking the time to prepare the area properly, you will ensure a clean and effective installation of the sink drain. Once you have completed these preparations, you are ready to move on to the next step of applying the plumber’s putty.
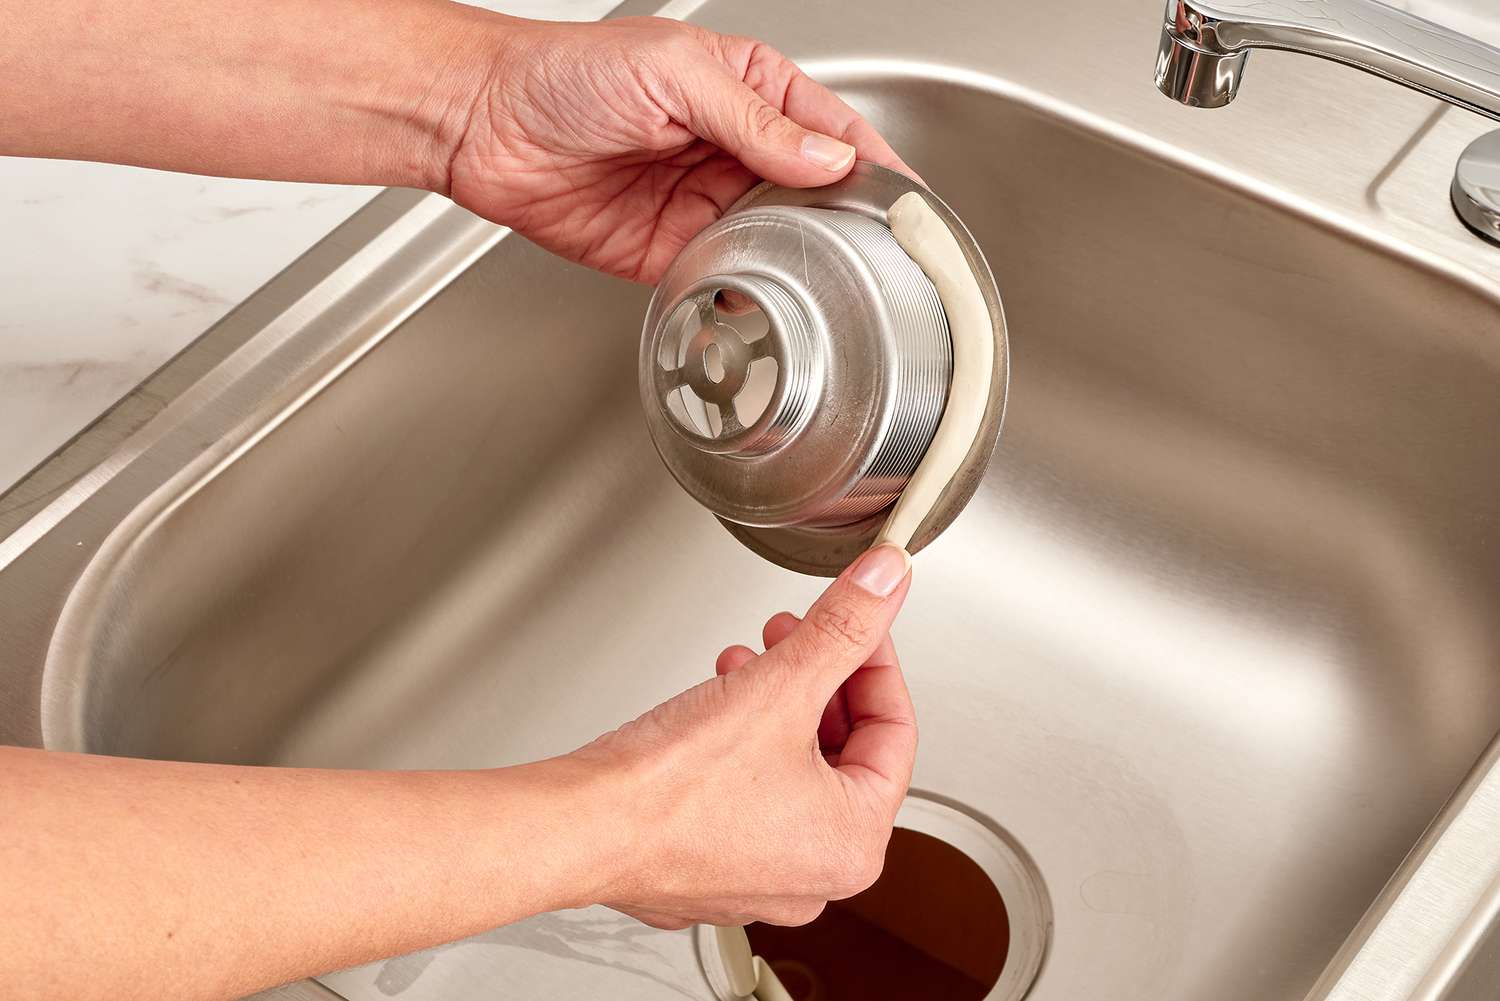
Step 2: Applying the Plumbers Putty
Now that you have prepared the sink and drain flange, it’s time to apply the plumber’s putty. Follow these steps to apply the putty correctly:
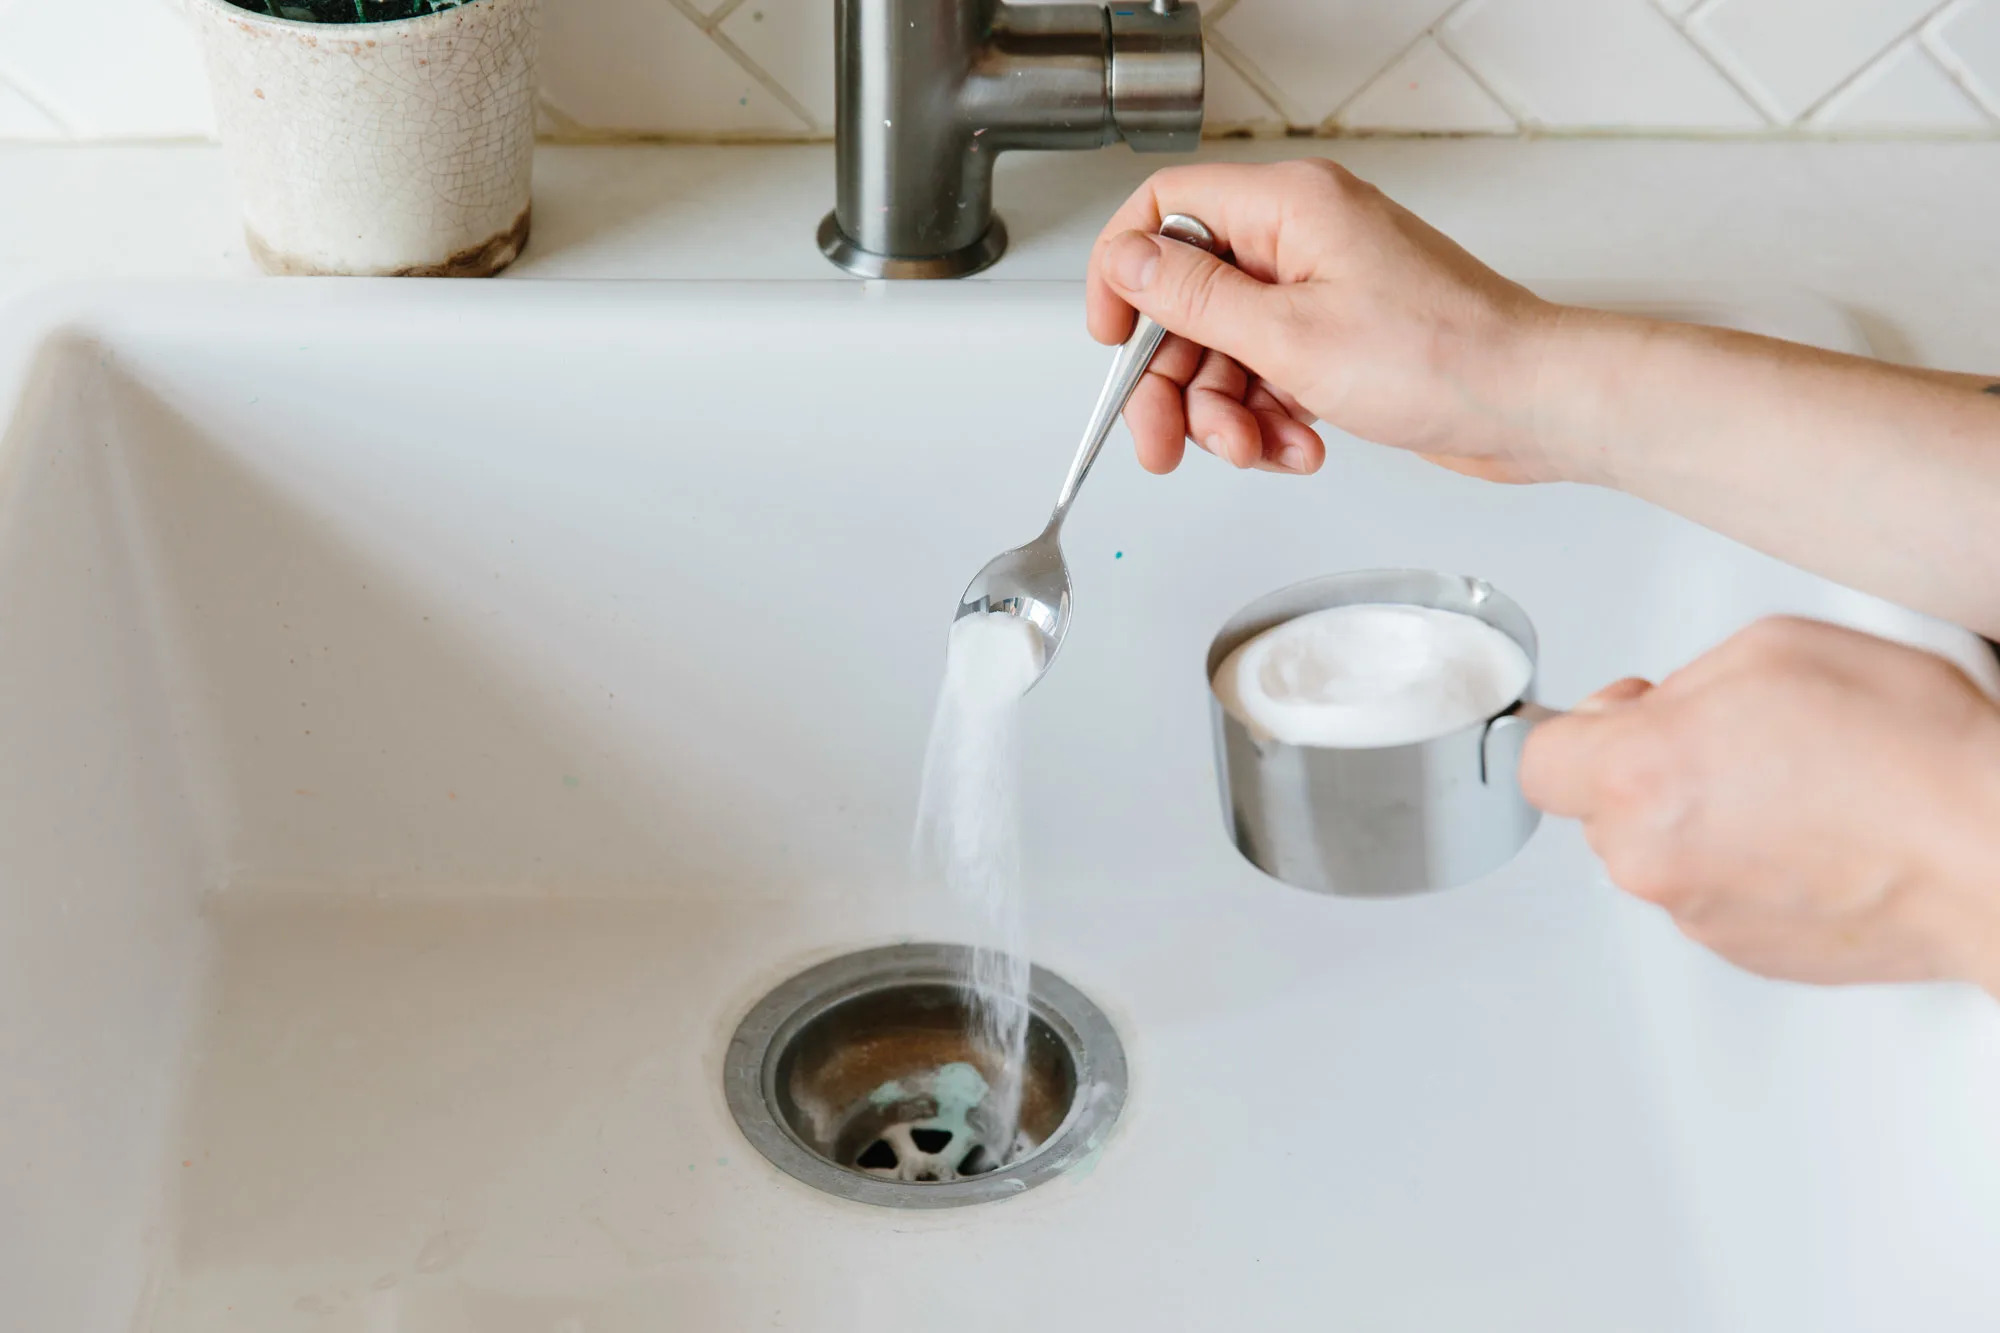
- Take a small amount of plumber’s putty, about the size of a golf ball, and knead it in your hands to soften it and make it more pliable. This will make it easier to work with.
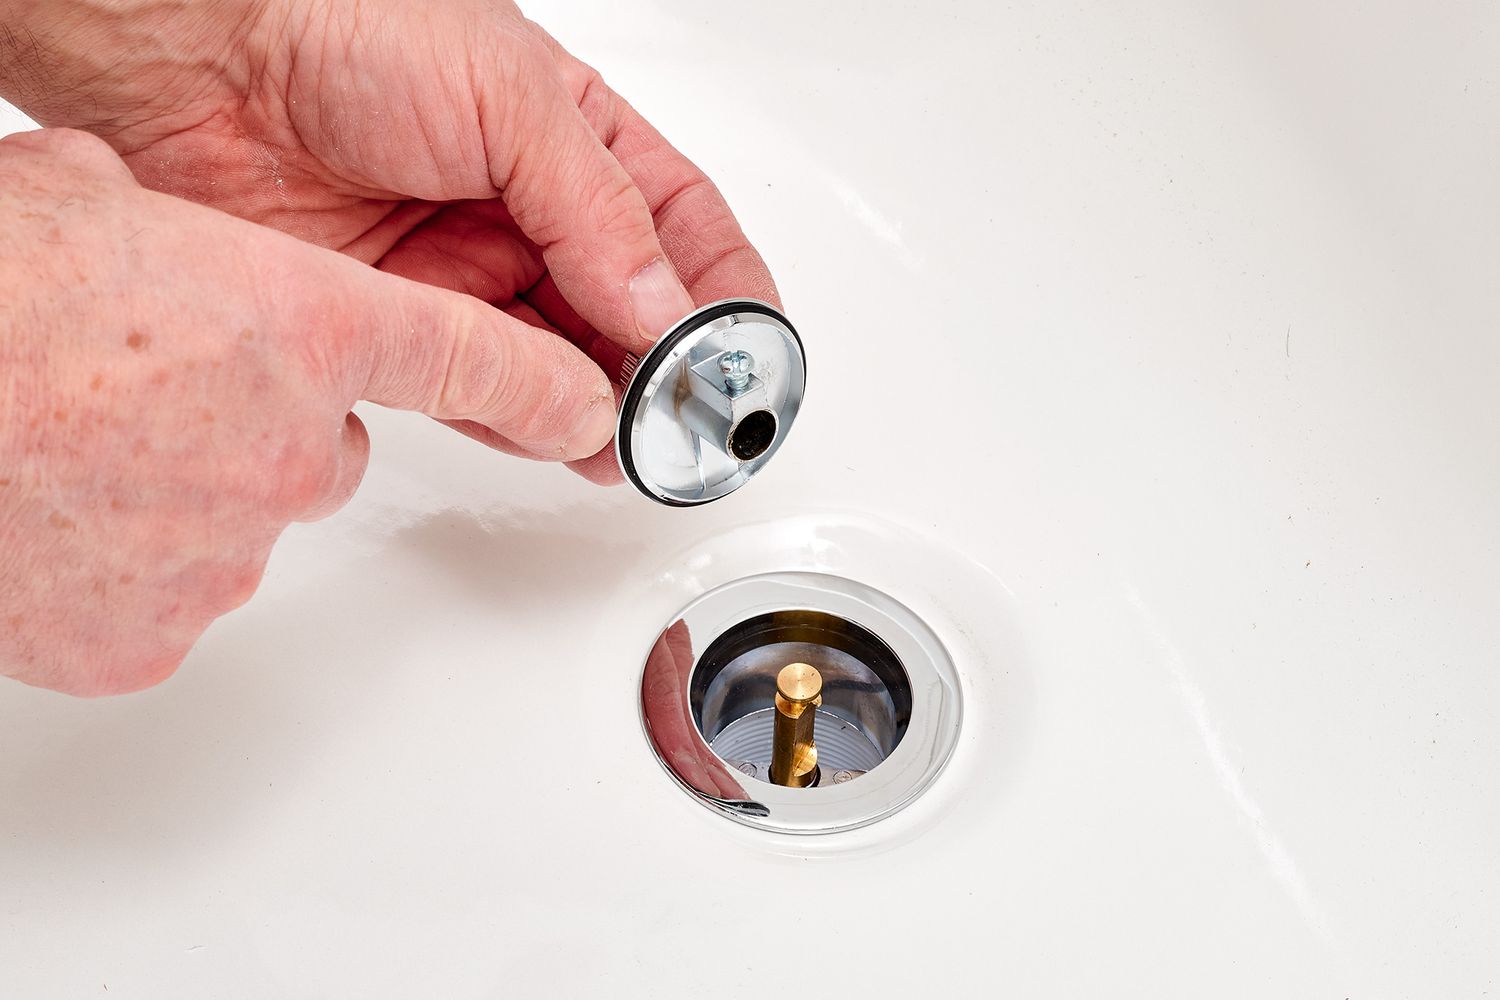
- Roll the putty into a rope-like shape and apply it along the underside of the drain flange. Make sure to cover the entire circumference of the flange with an even layer of putty, ensuring there are no gaps or breaks in the seal.
- Once the putty is applied, gently press the drain flange into the sink opening. Apply slight pressure to ensure the putty adheres to the sink surface and creates a tight seal.
- Using an adjustable wrench, tighten the retaining nut on the underside of the sink to secure the drain flange in place. Be careful not to overtighten, as this could damage the sink or break the putty seal.
- Wipe away any excess putty that may have squeezed out around the drain flange using a damp cloth or sponge. It’s important to remove any excess putty before it hardens to ensure a clean and professional finish.
Remember, plumber’s putty remains pliable even after it is applied, so you have some flexibility to adjust the position of the drain flange if needed. However, it’s best to make any necessary adjustments before the putty begins to harden.
Now that you have successfully applied the plumber’s putty to the sink drain, you can move on to the next step of installing the sink drain.
When using plumber’s putty on a sink drain, make sure to apply a thin, even layer around the underside of the drain flange before installing it. This will help create a watertight seal and prevent leaks.
Read more: How To Seal Sink Drain
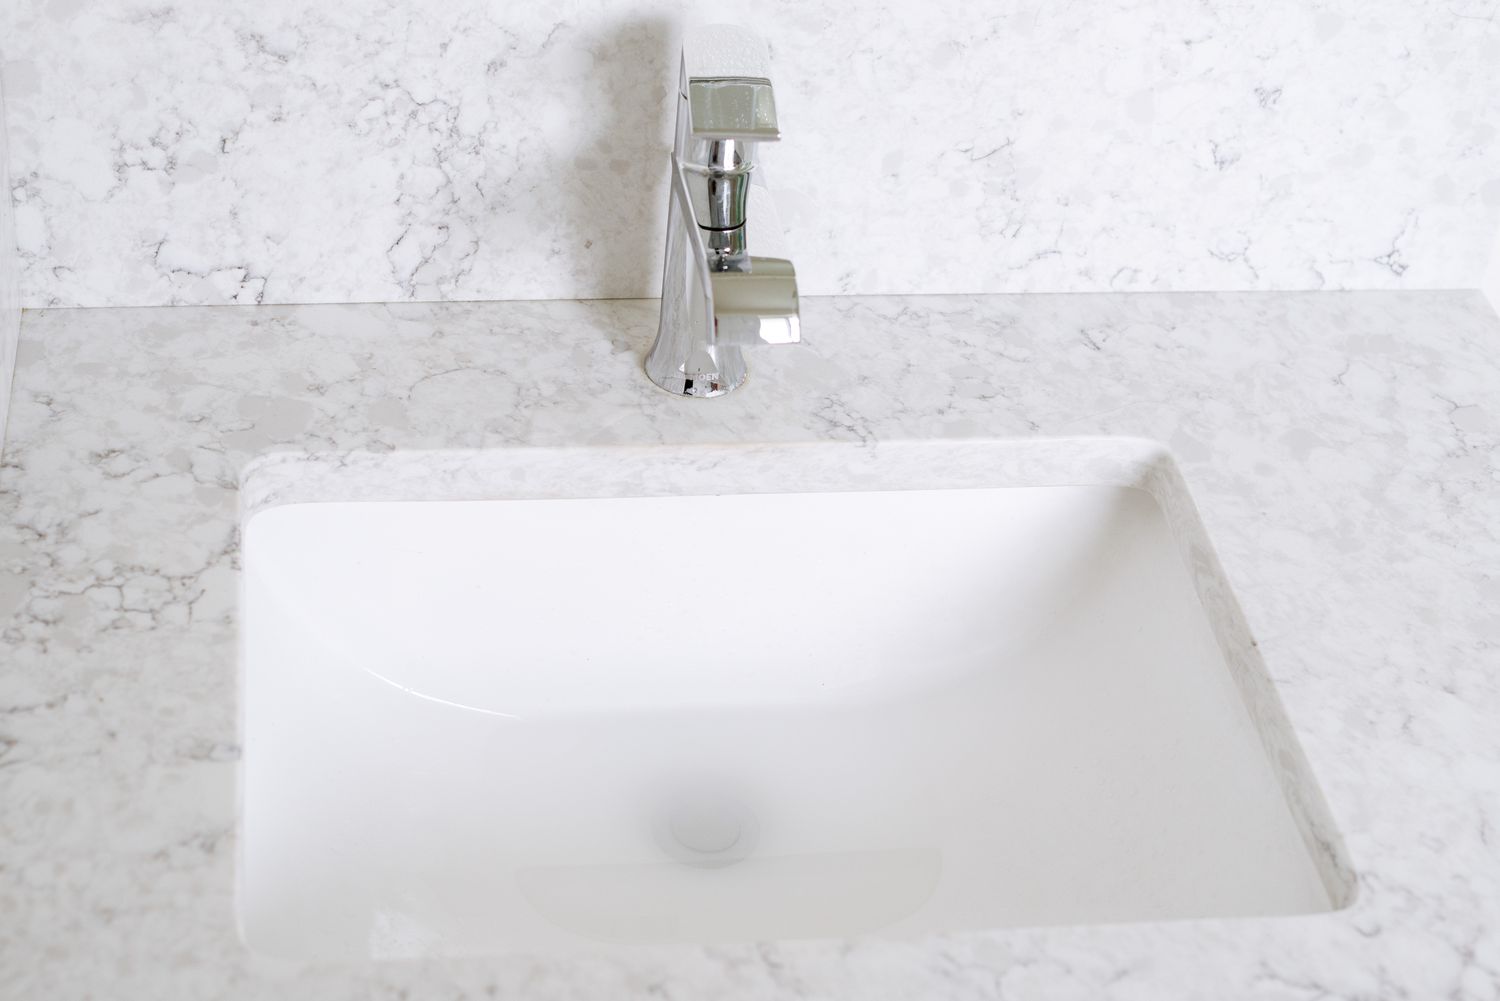
Step 3: Installing the Sink Drain
With the plumber’s putty applied, it’s time to install the sink drain. Follow these steps to ensure a proper installation:
- Take the sink drain assembly and place it into the sink opening, aligning it with the drain flange.
- Insert the sink drain gasket onto the threaded portion of the drain assembly. The gasket helps create a watertight seal between the drain assembly and the sink.
- Secure the gasket and drain assembly in place by twisting on the basket strainer. Use an adjustable wrench to tighten it securely, ensuring a proper seal with the plumber’s putty and drain flange.
- If your sink drain has a pop-up drain stopper, follow the manufacturer’s instructions to properly install and connect it to the drain assembly.
- Inspect the sink drain from underneath the sink to ensure that it is properly aligned and centered. Adjust the position if necessary.
- Tighten any retaining nuts or compression fittings as needed to secure the sink drain in place. Be careful not to overtighten, as this can cause damage.
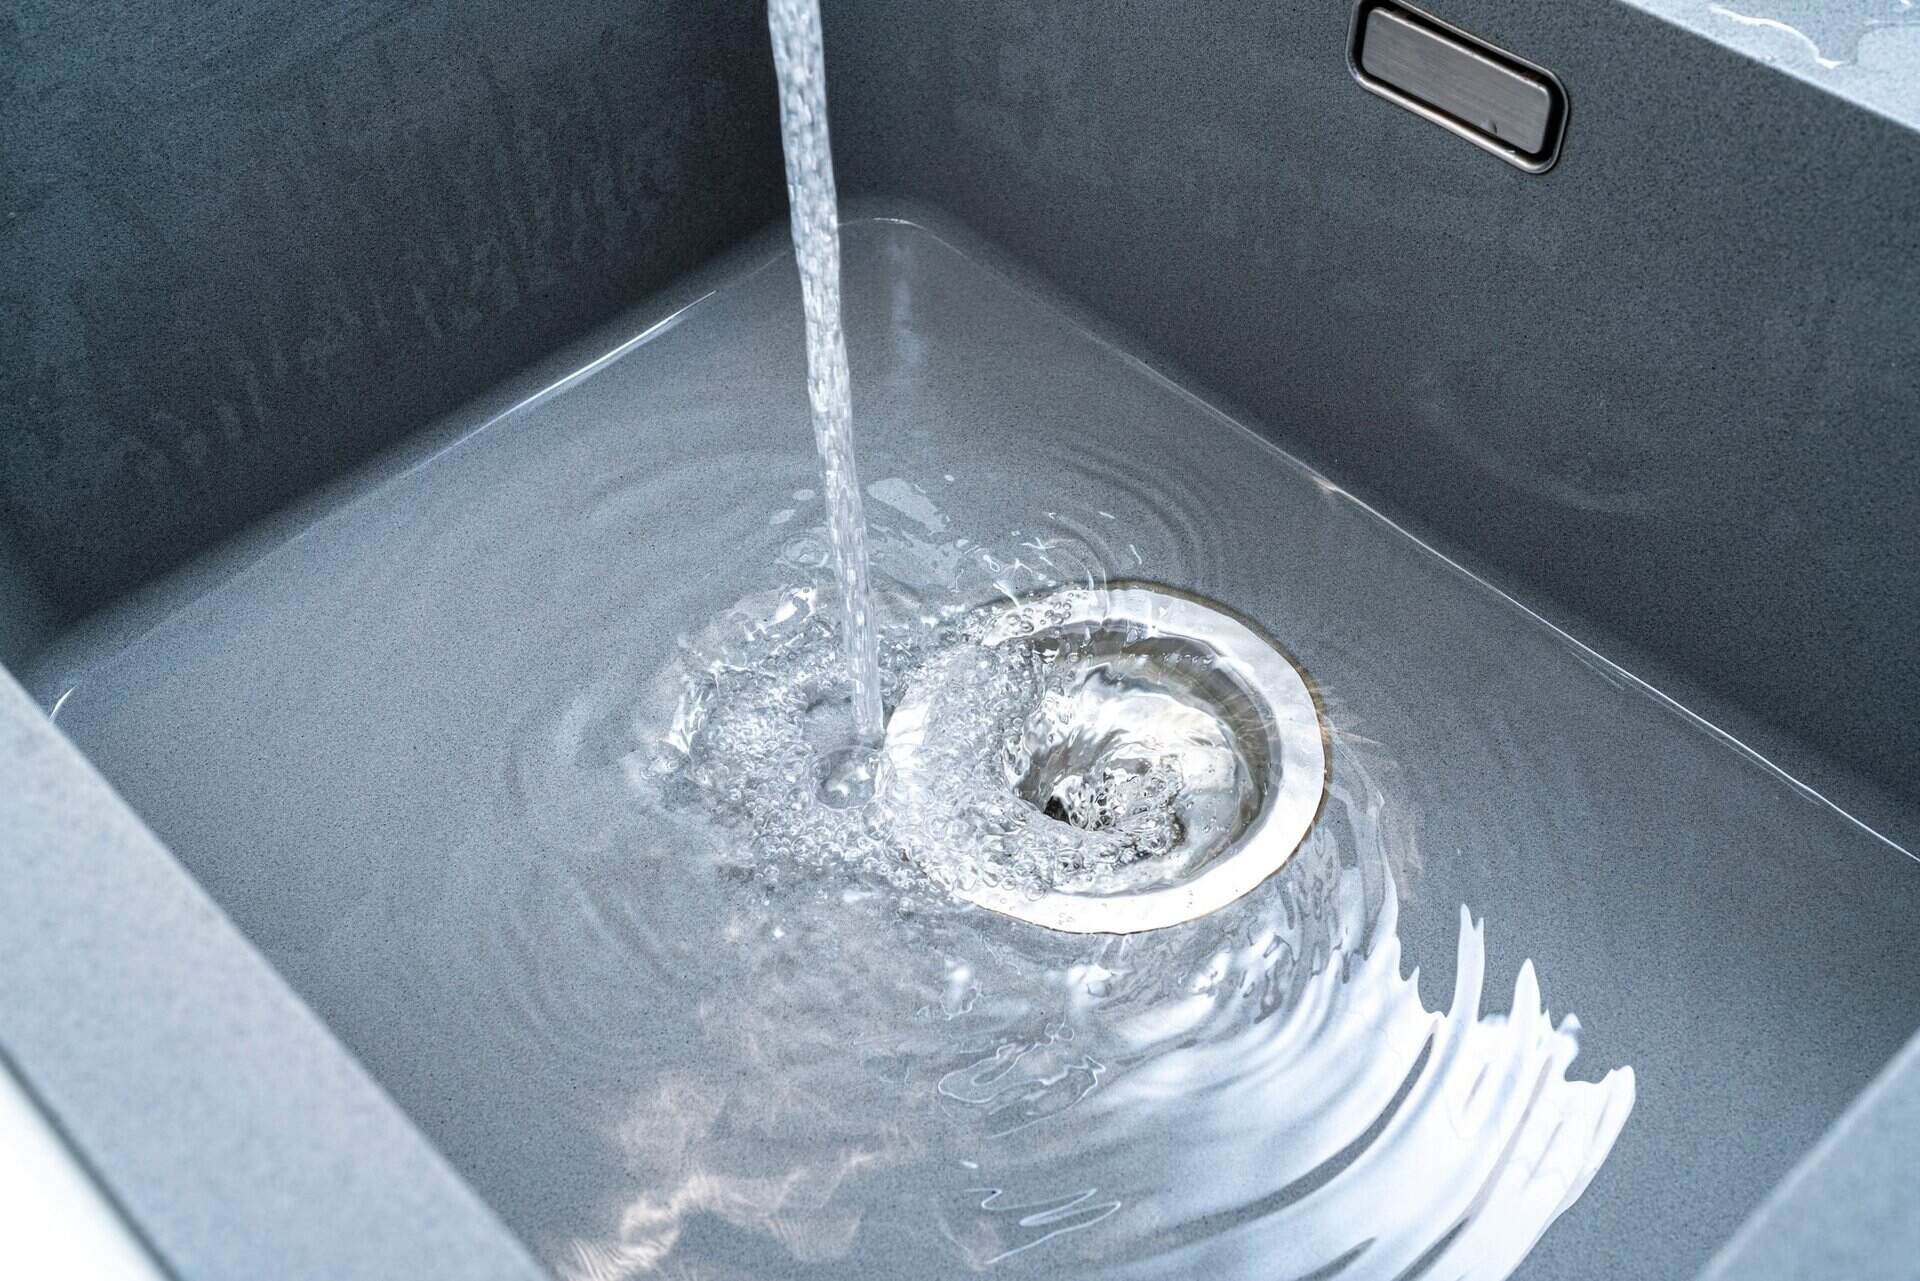
Once the sink drain is fully installed, it’s a good idea to test for leaks. Turn on the water supply to the sink and check for any signs of water leakage around the drain. If you notice any leaks, tighten the connections as needed.
Now that you have successfully installed the sink drain, it’s time to move on to the final step: cleaning up.
Step 4: Cleaning Up
After successfully installing the sink drain, it’s time to clean up the work area and ensure a neat and tidy finish. Follow these steps to complete the cleaning process:
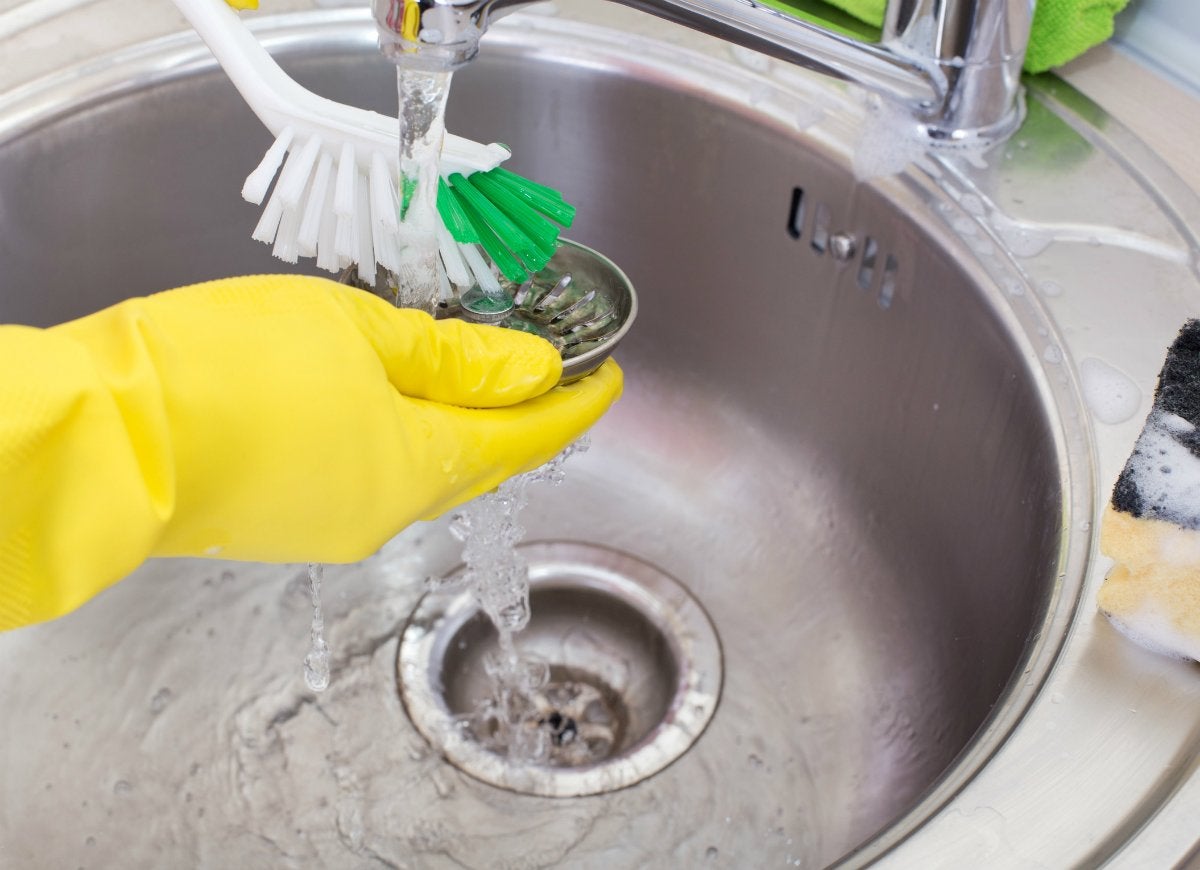
- Wipe away any excess plumber’s putty or debris from the sink and drain flange using a damp cloth or sponge. Pay attention to the area around the drain to ensure a clean and polished look.
- Use a plastic scraper or putty knife to remove any stubborn residues or dried putty that may be clinging to the sink surface or drain flange. Be gentle during this process to avoid scratching or damaging the sink.
- Take a dry cloth or paper towel and thoroughly dry the sink and drain area. This will help prevent water spots and keep the sink looking clean.
- Dispose of any leftover plumber’s putty and cleaning materials appropriately. Follow local guidelines for proper disposal of materials.
- Always read and follow the manufacturer’s instructions for both the plumber’s putty and the sink itself. Different sinks may have specific guidelines for the type of sealant that should be used.
- Ensure that the surfaces where you will be applying the plumber’s putty are clean, dry, and free of any old putty or residue. This will help to create a strong and reliable seal.
- Avoid over-applying the plumber’s putty. Using too much putty can cause it to squeeze out excessively and may lead to leaks or an uneven appearance.
- Be careful not to overtighten the retaining nuts or compression fittings. Overtightening can cause damage to the sink or break the seal created by the plumber’s putty.
- Regularly inspect the sink drain for any signs of leaks or water damage. If you notice any issues, promptly address and repair them to prevent further damage.
- If your sink has a garbage disposal, it is important to follow the manufacturer’s instructions for installing the drain and properly sealing it with plumber’s putty or another suitable sealant.
- Keep in mind that plumber’s putty is not suitable for all plumbing applications. In some cases, such as with certain types of surfaces or high-temperature environments, an alternative sealant may be recommended.
- Consider wearing plastic or rubber gloves when working with plumber’s putty to protect your hands and prevent any skin irritation or allergic reactions.
Tips and Precautions
When using plumber’s putty on a sink drain, there are a few tips and precautions to keep in mind to ensure a successful and long-lasting installation:
By following these tips and taking the necessary precautions, you can ensure a successful and reliable application of plumber’s putty on your sink drain.
Conclusion
Using plumber’s putty on a sink drain is an essential step in creating a watertight seal and preventing leaks. By following the step-by-step process outlined in this guide, you can successfully apply plumber’s putty and install your sink drain with confidence.
Remember to properly prepare the sink and drain flange, apply the plumber’s putty evenly, and securely install the sink drain assembly. Taking the time to clean up and inspect for any leaks ensures a professional and long-lasting result.
Throughout the process, keep in mind the tips and precautions mentioned to maximize the effectiveness of the plumber’s putty and avoid any potential issues. Reading and following the manufacturer’s instructions is crucial, as different sinks may have specific guidelines for sealant compatibility.
By utilizing plumber’s putty on your sink drain, you are providing a durable and reliable seal that helps prevent water leaks and costly damage to your plumbing system. With the right tools, materials, and techniques, you can successfully complete this plumbing project and enjoy a leak-free sink for years to come.
Remember, if you encounter any difficulties or you are unsure about any part of the process, it is always recommended to consult a professional plumber for assistance.
Thank you for reading our guide on using plumber’s putty on a sink drain. We hope this article has provided you with helpful insights and instructions to tackle your plumbing project with confidence.
Frequently Asked Questions about How To Use Plumbers Putty On Sink Drain
Was this page helpful?
At Storables.com, we guarantee accurate and reliable information. Our content, validated by Expert Board Contributors, is crafted following stringent Editorial Policies. We're committed to providing you with well-researched, expert-backed insights for all your informational needs.


0 thoughts on “How To Use Plumbers Putty On Sink Drain”