Articles
How To Take Sink Drain Out
Modified: February 27, 2024
Learn how to easily remove a sink drain with step-by-step instructions in this informative article. Get the tips and advice you need to tackle this home maintenance task effectively.
(Many of the links in this article redirect to a specific reviewed product. Your purchase of these products through affiliate links helps to generate commission for Storables.com, at no extra cost. Learn more)
Introduction
Having a sink drain that is clogged or malfunctioning can be a major inconvenience. Whether it’s a build-up of food particles, hair, or other debris, a faulty sink drain can hinder your daily routines and make it difficult to use your sink efficiently. In such cases, it may be necessary to take the sink drain out for cleaning or replacement.
In this article, we will guide you through the steps you need to follow to take the sink drain out successfully. We will discuss the tools and materials that you will need, as well as provide a step-by-step walkthrough of the entire process. By the end of this article, you will be equipped with the knowledge and confidence you need to tackle this task with ease.
Remember, while taking the sink drain out may seem daunting at first, it is a relatively straightforward process that can be completed with just a few basic tools. So, let’s get started!
Key Takeaways:
- Removing and replacing a sink drain is a manageable DIY task with the right tools and step-by-step guidance. From disconnecting the P-trap to testing for leaks, this article provides a comprehensive roadmap for success.
- Regular maintenance and cleaning of the sink drain are essential for preventing clogs and ensuring long-term functionality. By following the outlined process and being proactive, homeowners can enjoy a smoothly operating sink for years to come.
Read more: How To Take A Sink Out
Tools and Materials Needed
Before you begin the process of taking out your sink drain, it is important to gather all the necessary tools and materials. Here is a list of what you will need:
- Adjustable wrench
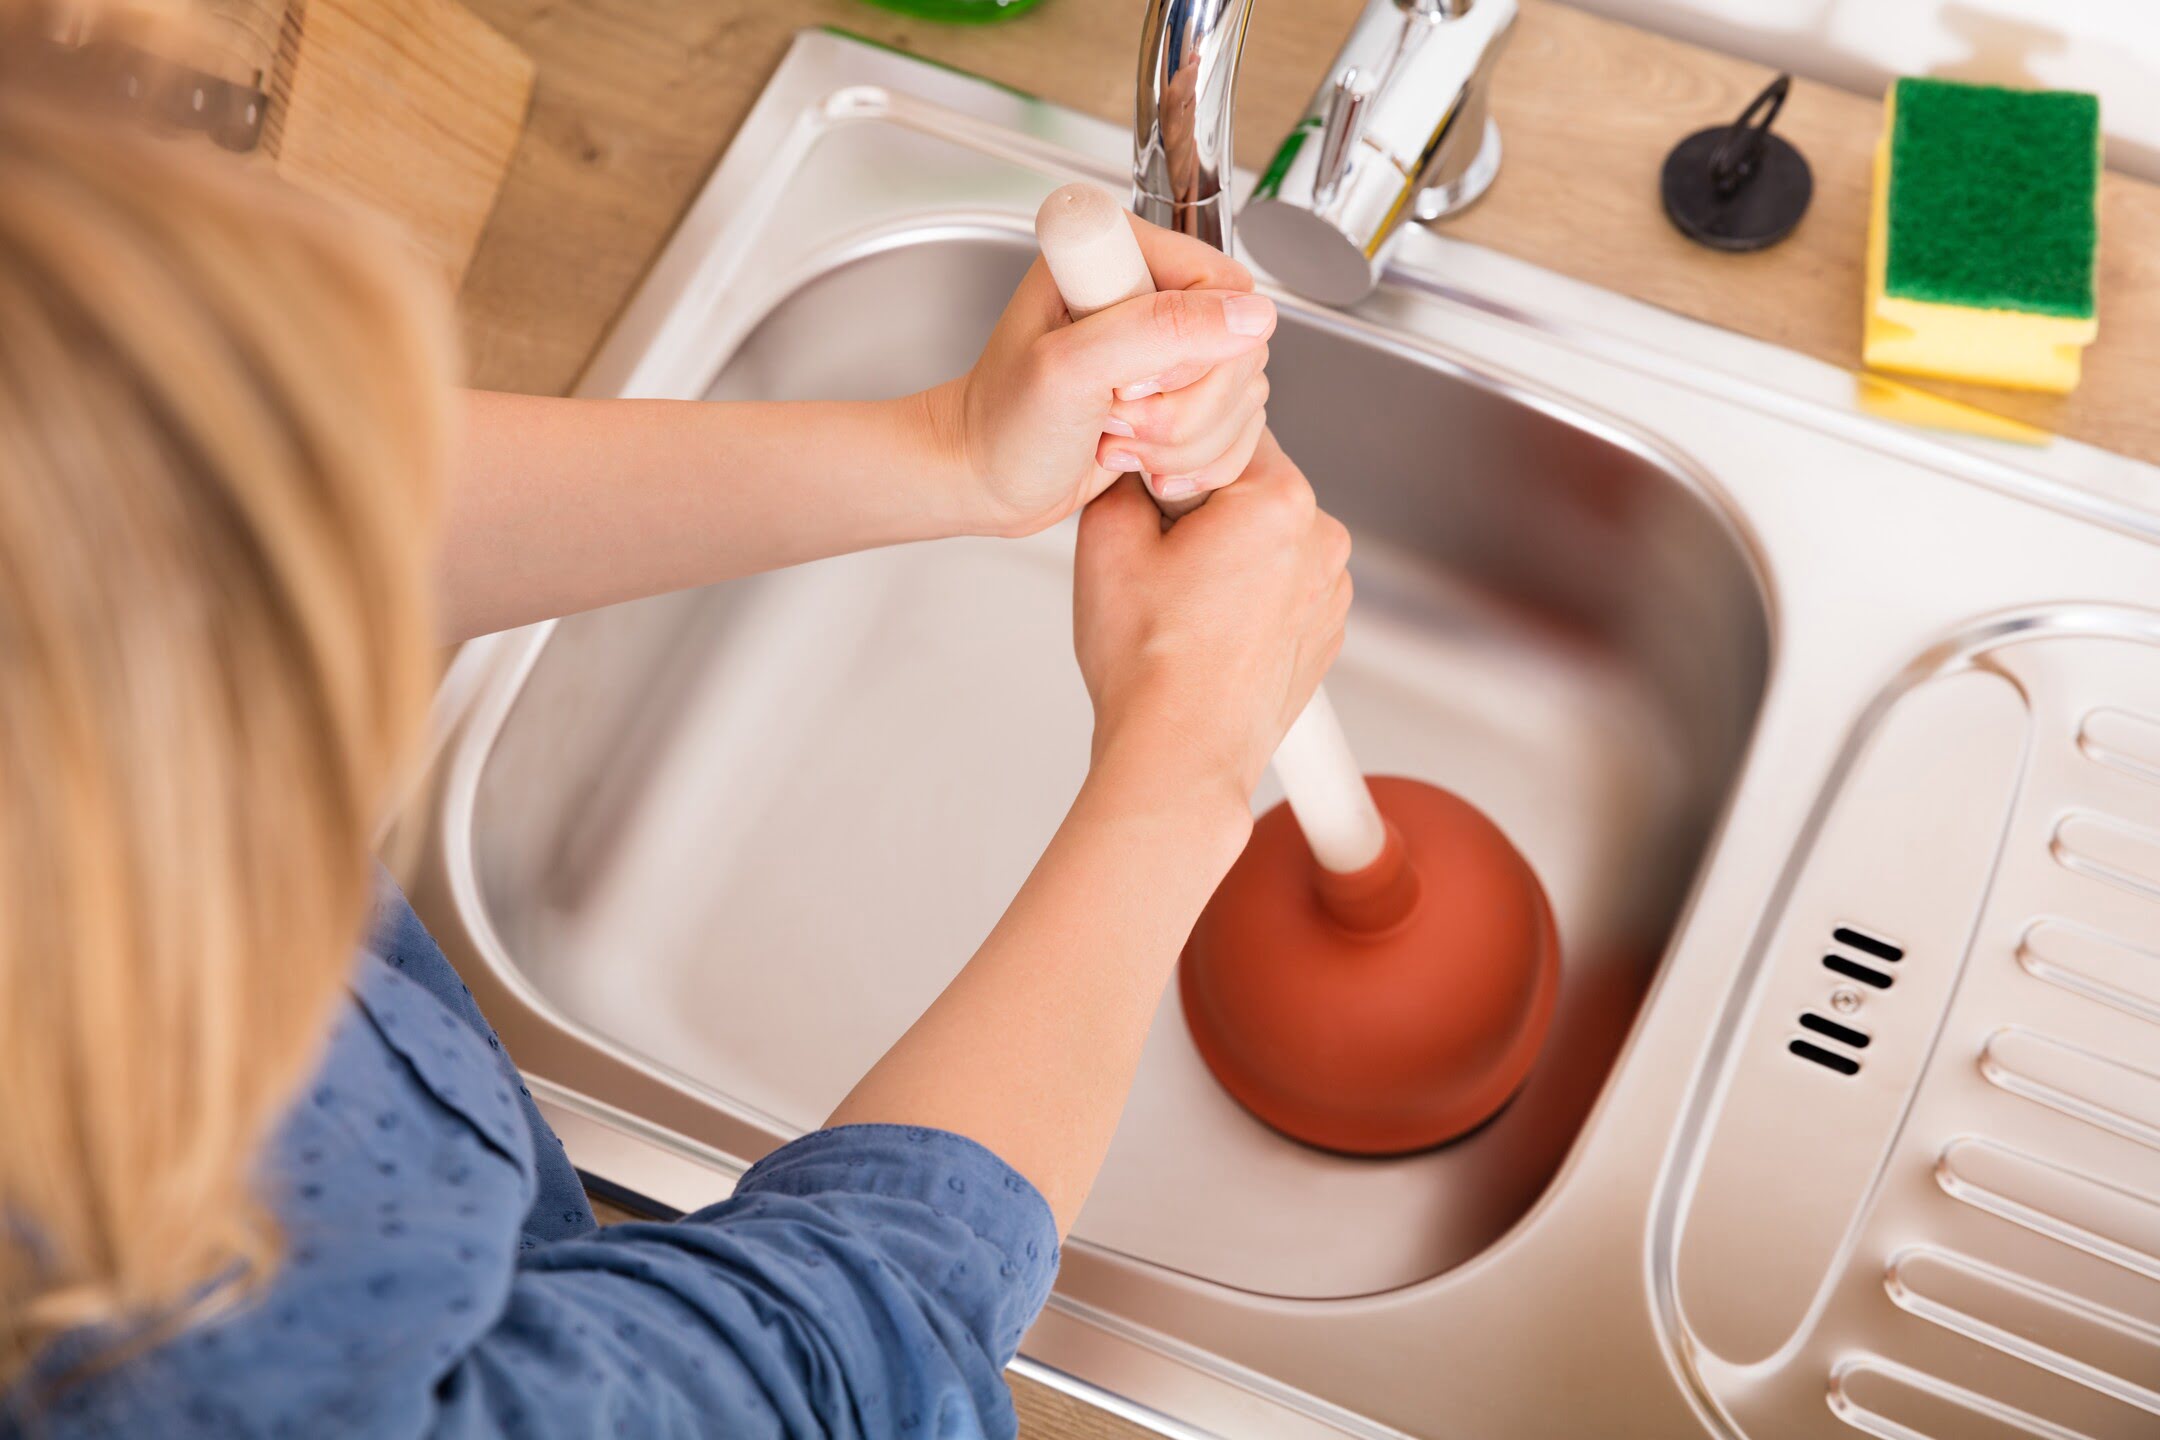
- Plunger
- Screwdriver
- Bucket or container
- Plumber’s tape
- New sink drain parts (if replacement is needed)
The adjustable wrench will come in handy when you need to loosen and tighten various connections. It is recommended to have a plunger available as well, in case you encounter any blockages or need to clear out the drain during the process.
You will also need a screwdriver, preferably one with both a flathead and a Phillips head, as different types of screws may be used in your sink drain assembly.
Make sure to have a bucket or container nearby to catch any water or debris that may come out during the process. This will help keep your work area clean and prevent any mess.
Lastly, if you are planning to replace any parts of your sink drain, it is important to have new sink drain parts on hand. This may include a new P-trap, tailpiece, strainer, or drain flange, depending on the specific components of your sink drain assembly.
Once you have gathered all the necessary tools and materials, you are ready to proceed with taking out the sink drain.
Step 1: Gather Your Materials
Before you begin disassembling your sink drain, it is essential to gather all the necessary materials and tools. Having everything prepared in advance will streamline the process and save you valuable time during the project.
First, ensure that you have the following items readily available:
- Adjustable wrench
- Screwdriver
- Plier
- Bucket or container
- Plumber’s tape
- New sink drain parts (if needed)
The adjustable wrench will be helpful for loosening and tightening various connections, so make sure it is the appropriate size for your project. A screwdriver with multiple heads, such as both flathead and Phillips, will be invaluable for removing screws of different types that may be holding your sink drain in place.
Additionally, having a pair of pliers can be handy for gripping and holding onto certain components as you work. These can also be used to dismantle any stubborn connections that may resist your efforts.
Prepare a bucket or container to catch any water or debris that may spill out during the disassembly process. This will keep your work area clean and allow for easy disposal later on.
Plumber’s tape, also known as Teflon tape, is a vital item to have on hand. It acts as a sealant, preventing any leaks when reassembling the components of your sink drain. Make sure you have a fresh roll available to use.
If you anticipate needing to replace any parts of your sink drain during this project, such as the P-trap, tailpiece, strainer, or drain flange, ensure that you have the new parts ready to install. This will prevent delays and make the process smoother.
Once you have gathered all the necessary tools and materials, double-check to make sure nothing is missing or misplaced. Having everything at arm’s reach will ensure a seamless and efficient disassembly process for your sink drain.
With your materials prepared, you’re now ready to proceed to the next step: removing the P-trap.
Step 2: Remove the P-trap
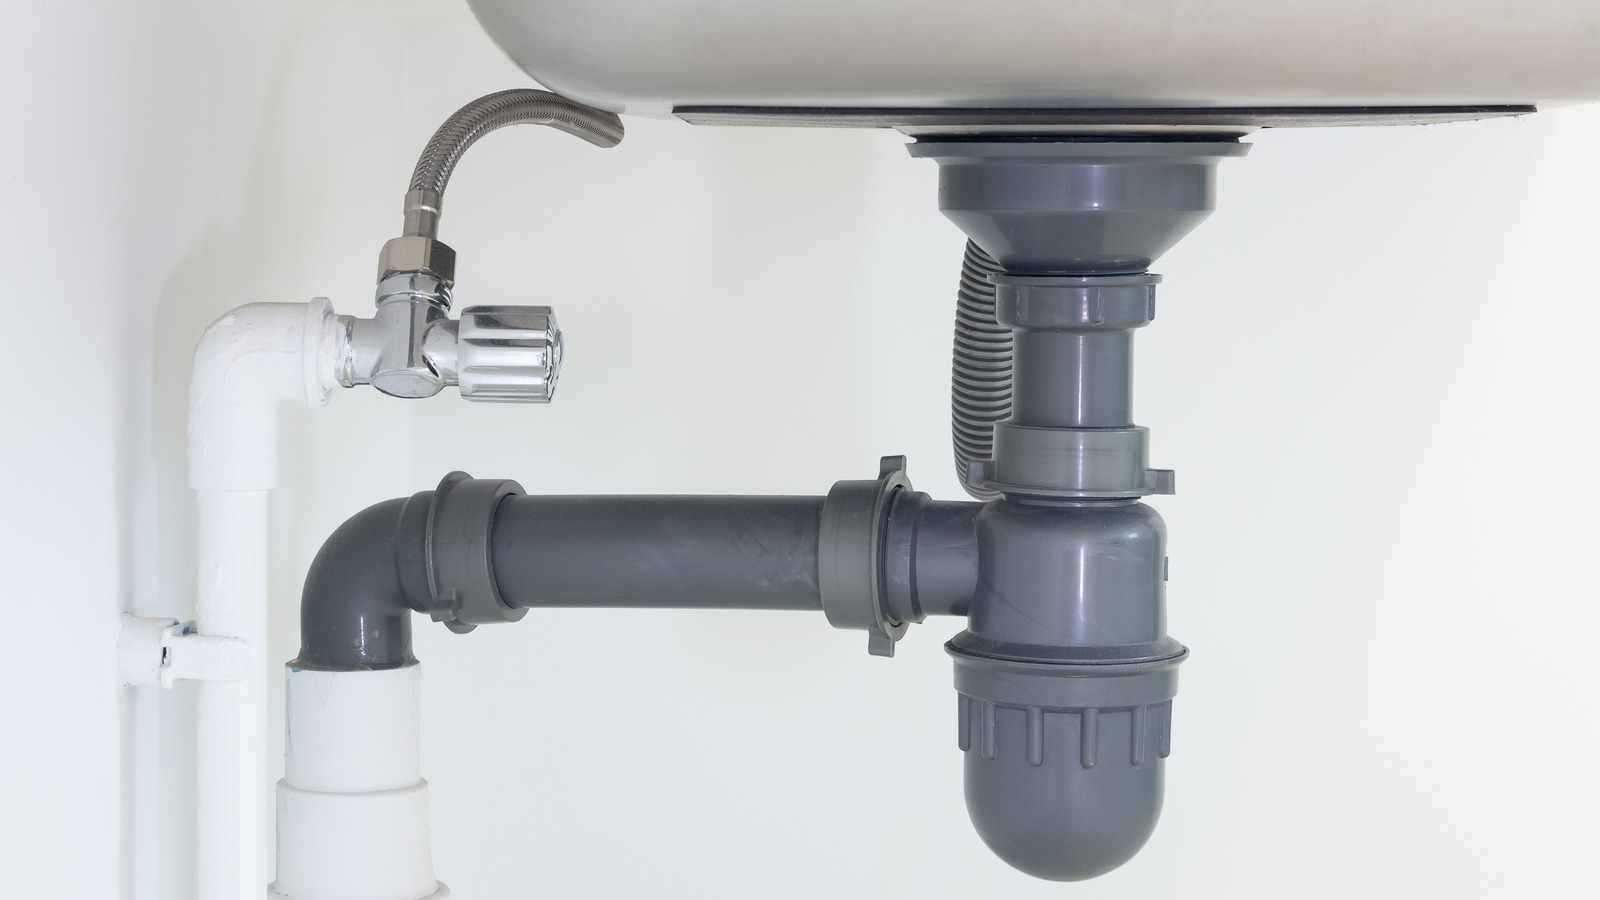
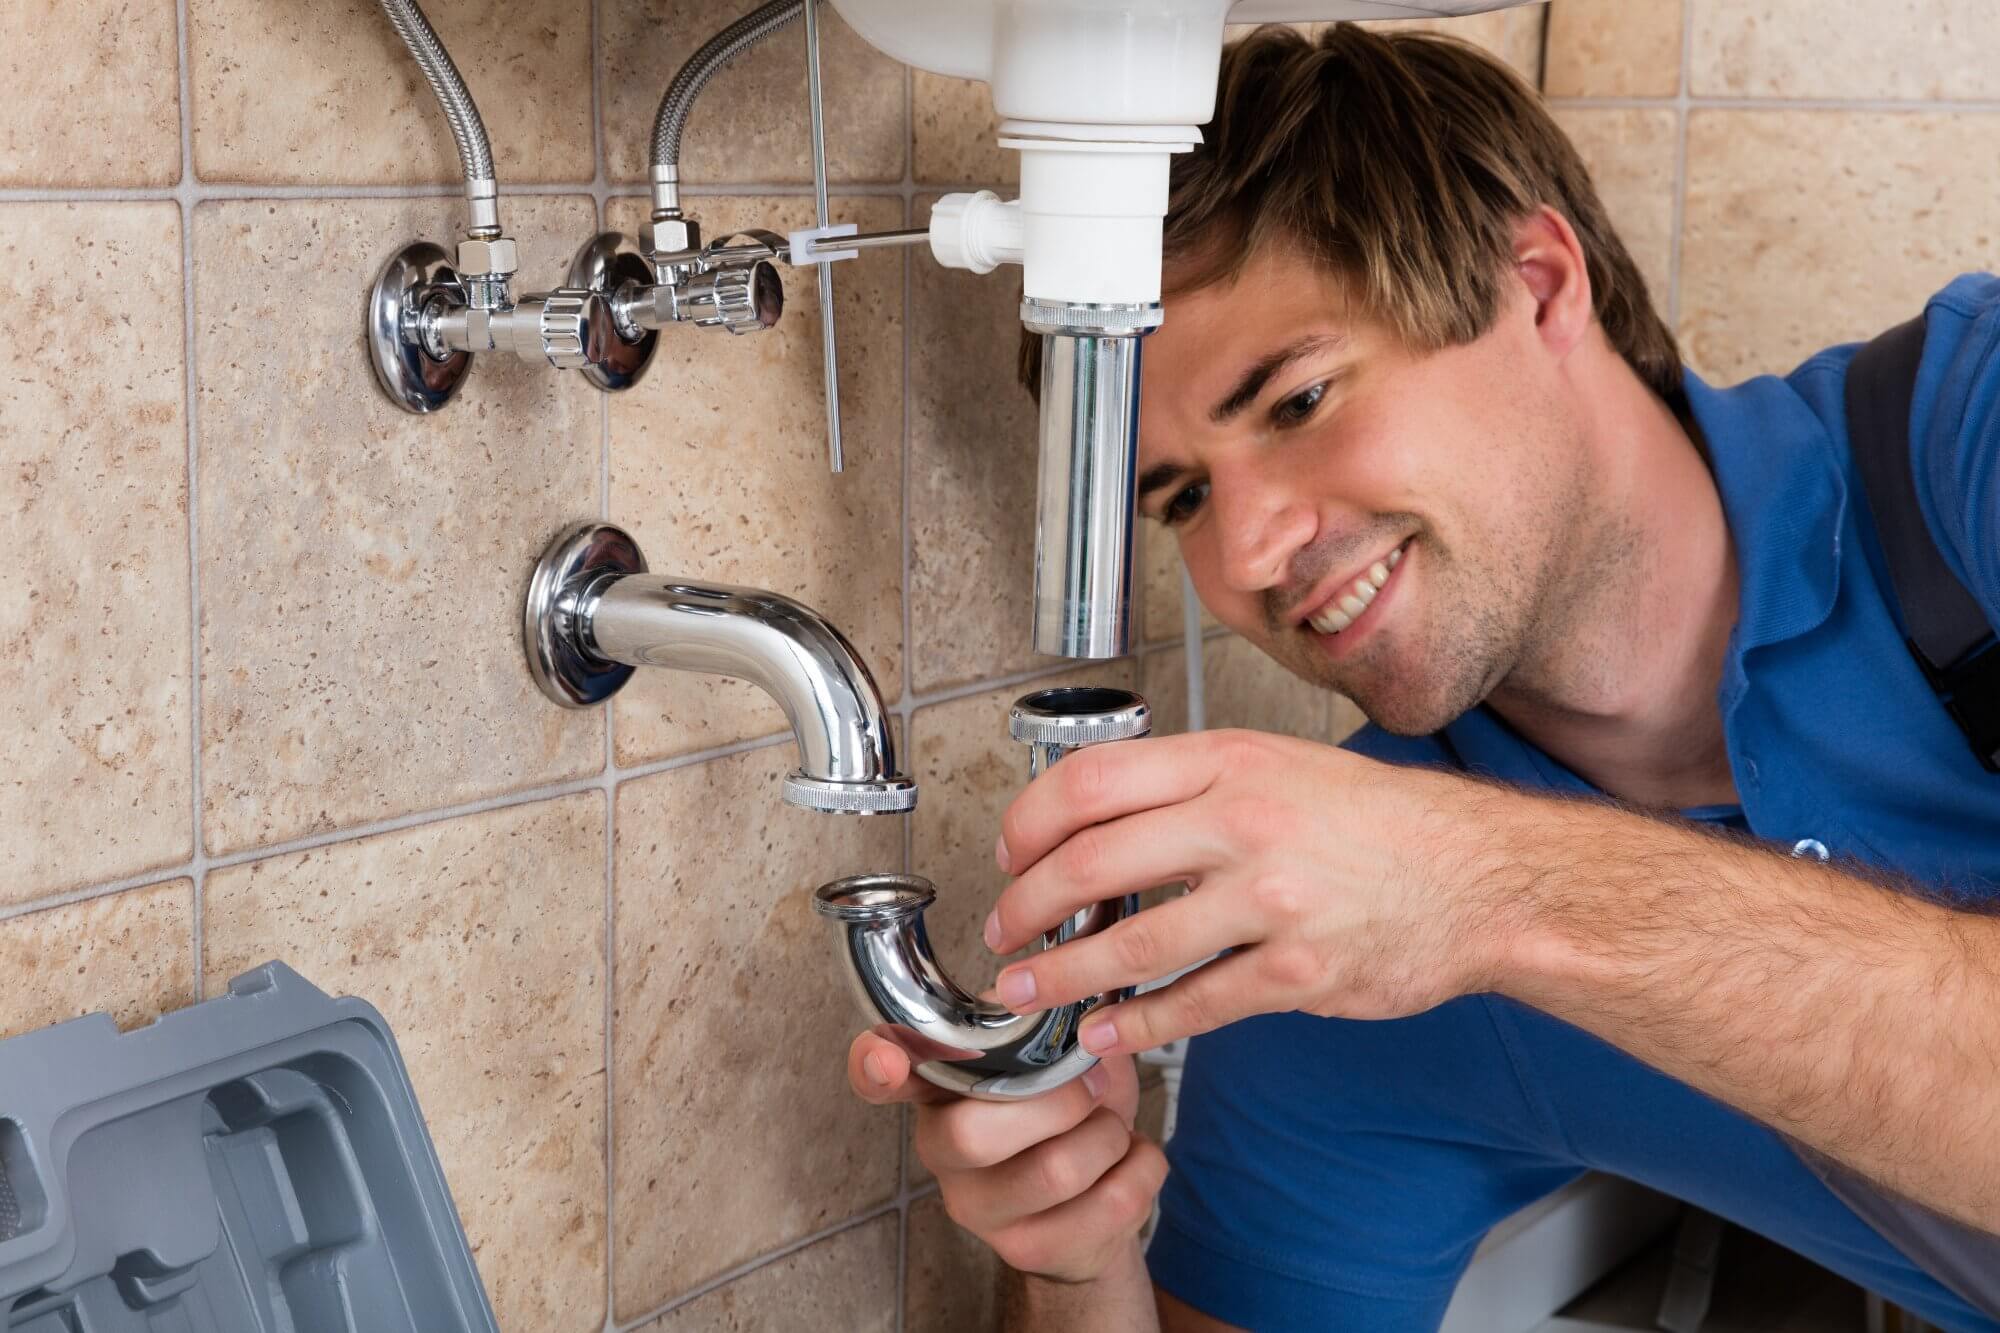
Now that you have gathered your materials, it’s time to start disassembling the sink drain. The first component you need to remove is the P-trap. The P-trap is a curved pipe located beneath the sink that traps debris and prevents sewer gases from entering your home.
Follow these steps to remove the P-trap:
- Place a bucket or container underneath the P-trap to catch any water or debris that may spill out during the removal process.
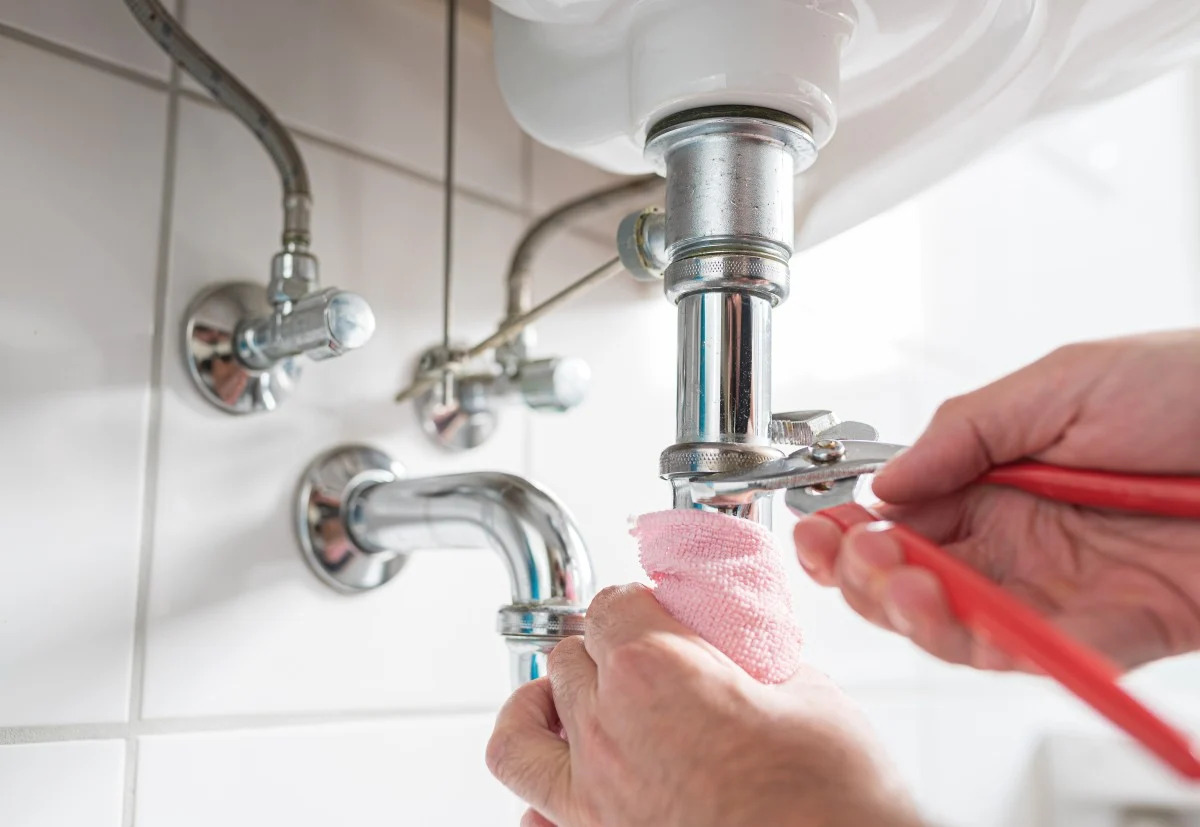
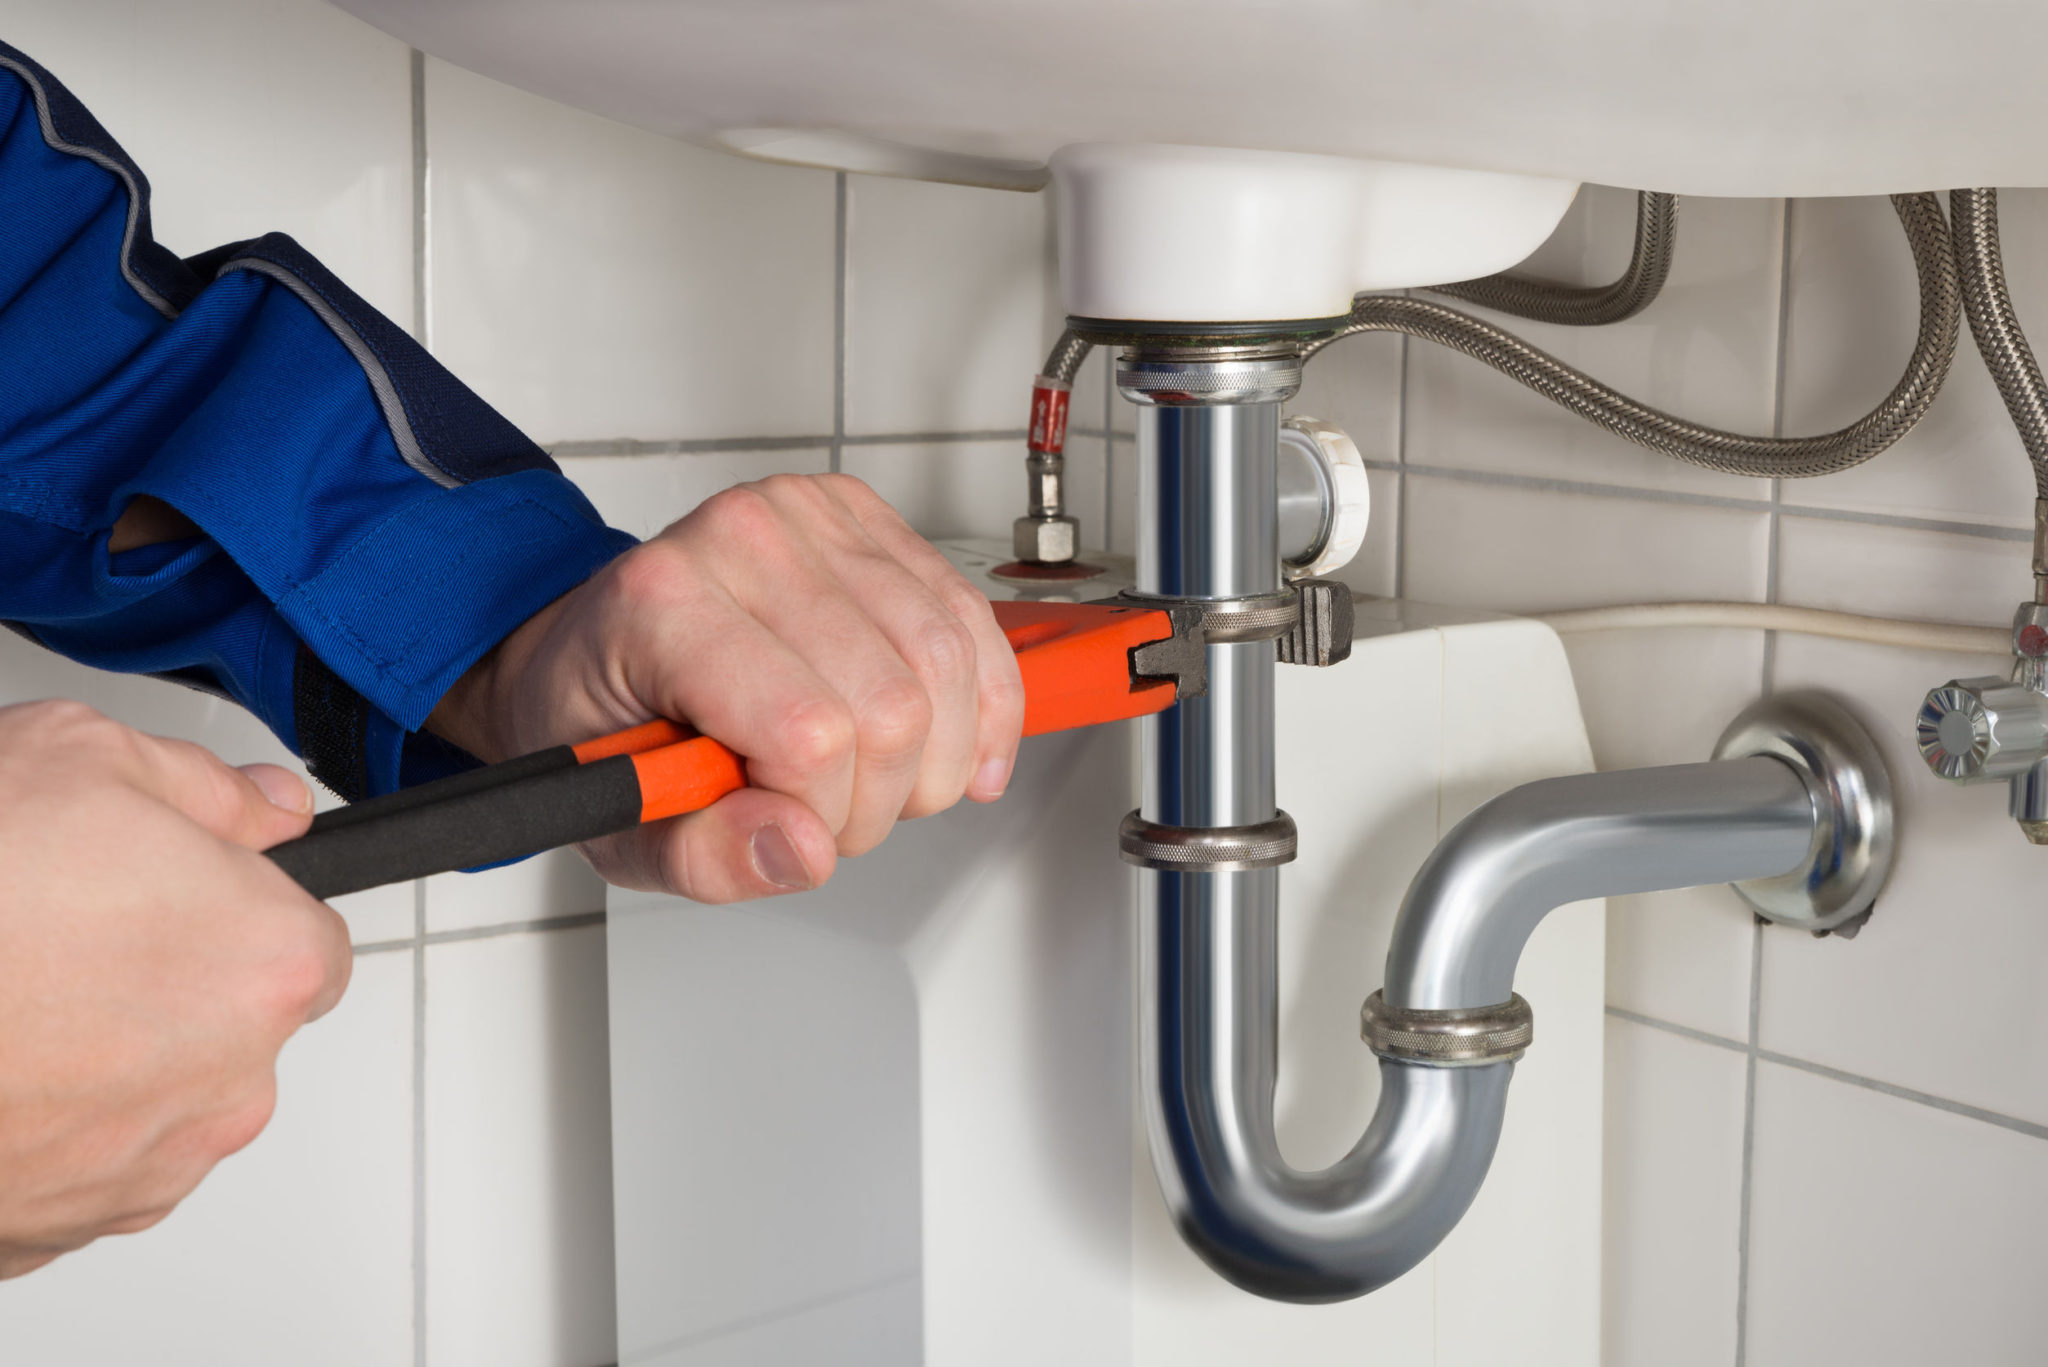
- Locate the compression fittings on each end of the P-trap. These are typically ring-shaped nuts connecting the P-trap to the drain pipe and the vertical pipe leading to the sink.
- Using an adjustable wrench, loosen the compression fitting on the drain pipe side by turning it counterclockwise. You may need to hold the P-trap in place with pliers to keep it from rotating.
- Next, loosen the compression fitting on the vertical pipe side by turning it counterclockwise.
- Once the fittings are loose, carefully remove the P-trap from the drain pipe and the vertical pipe.
As you remove the P-trap, water and debris may spill out, so be prepared with the bucket or container to catch it. It’s also a good idea to have a towel handy to wipe up any spills or drips.
Inspect the P-trap for any clogs or buildup. If necessary, clean the P-trap by clearing out any debris or running water through it. This will help ensure that your drain functions properly once reassembled.
With the P-trap removed, you have successfully completed the second step of taking out the sink drain. The next step involves disconnecting the tailpiece and strainer.
Step 3: Disconnect the Tailpiece and Strainer
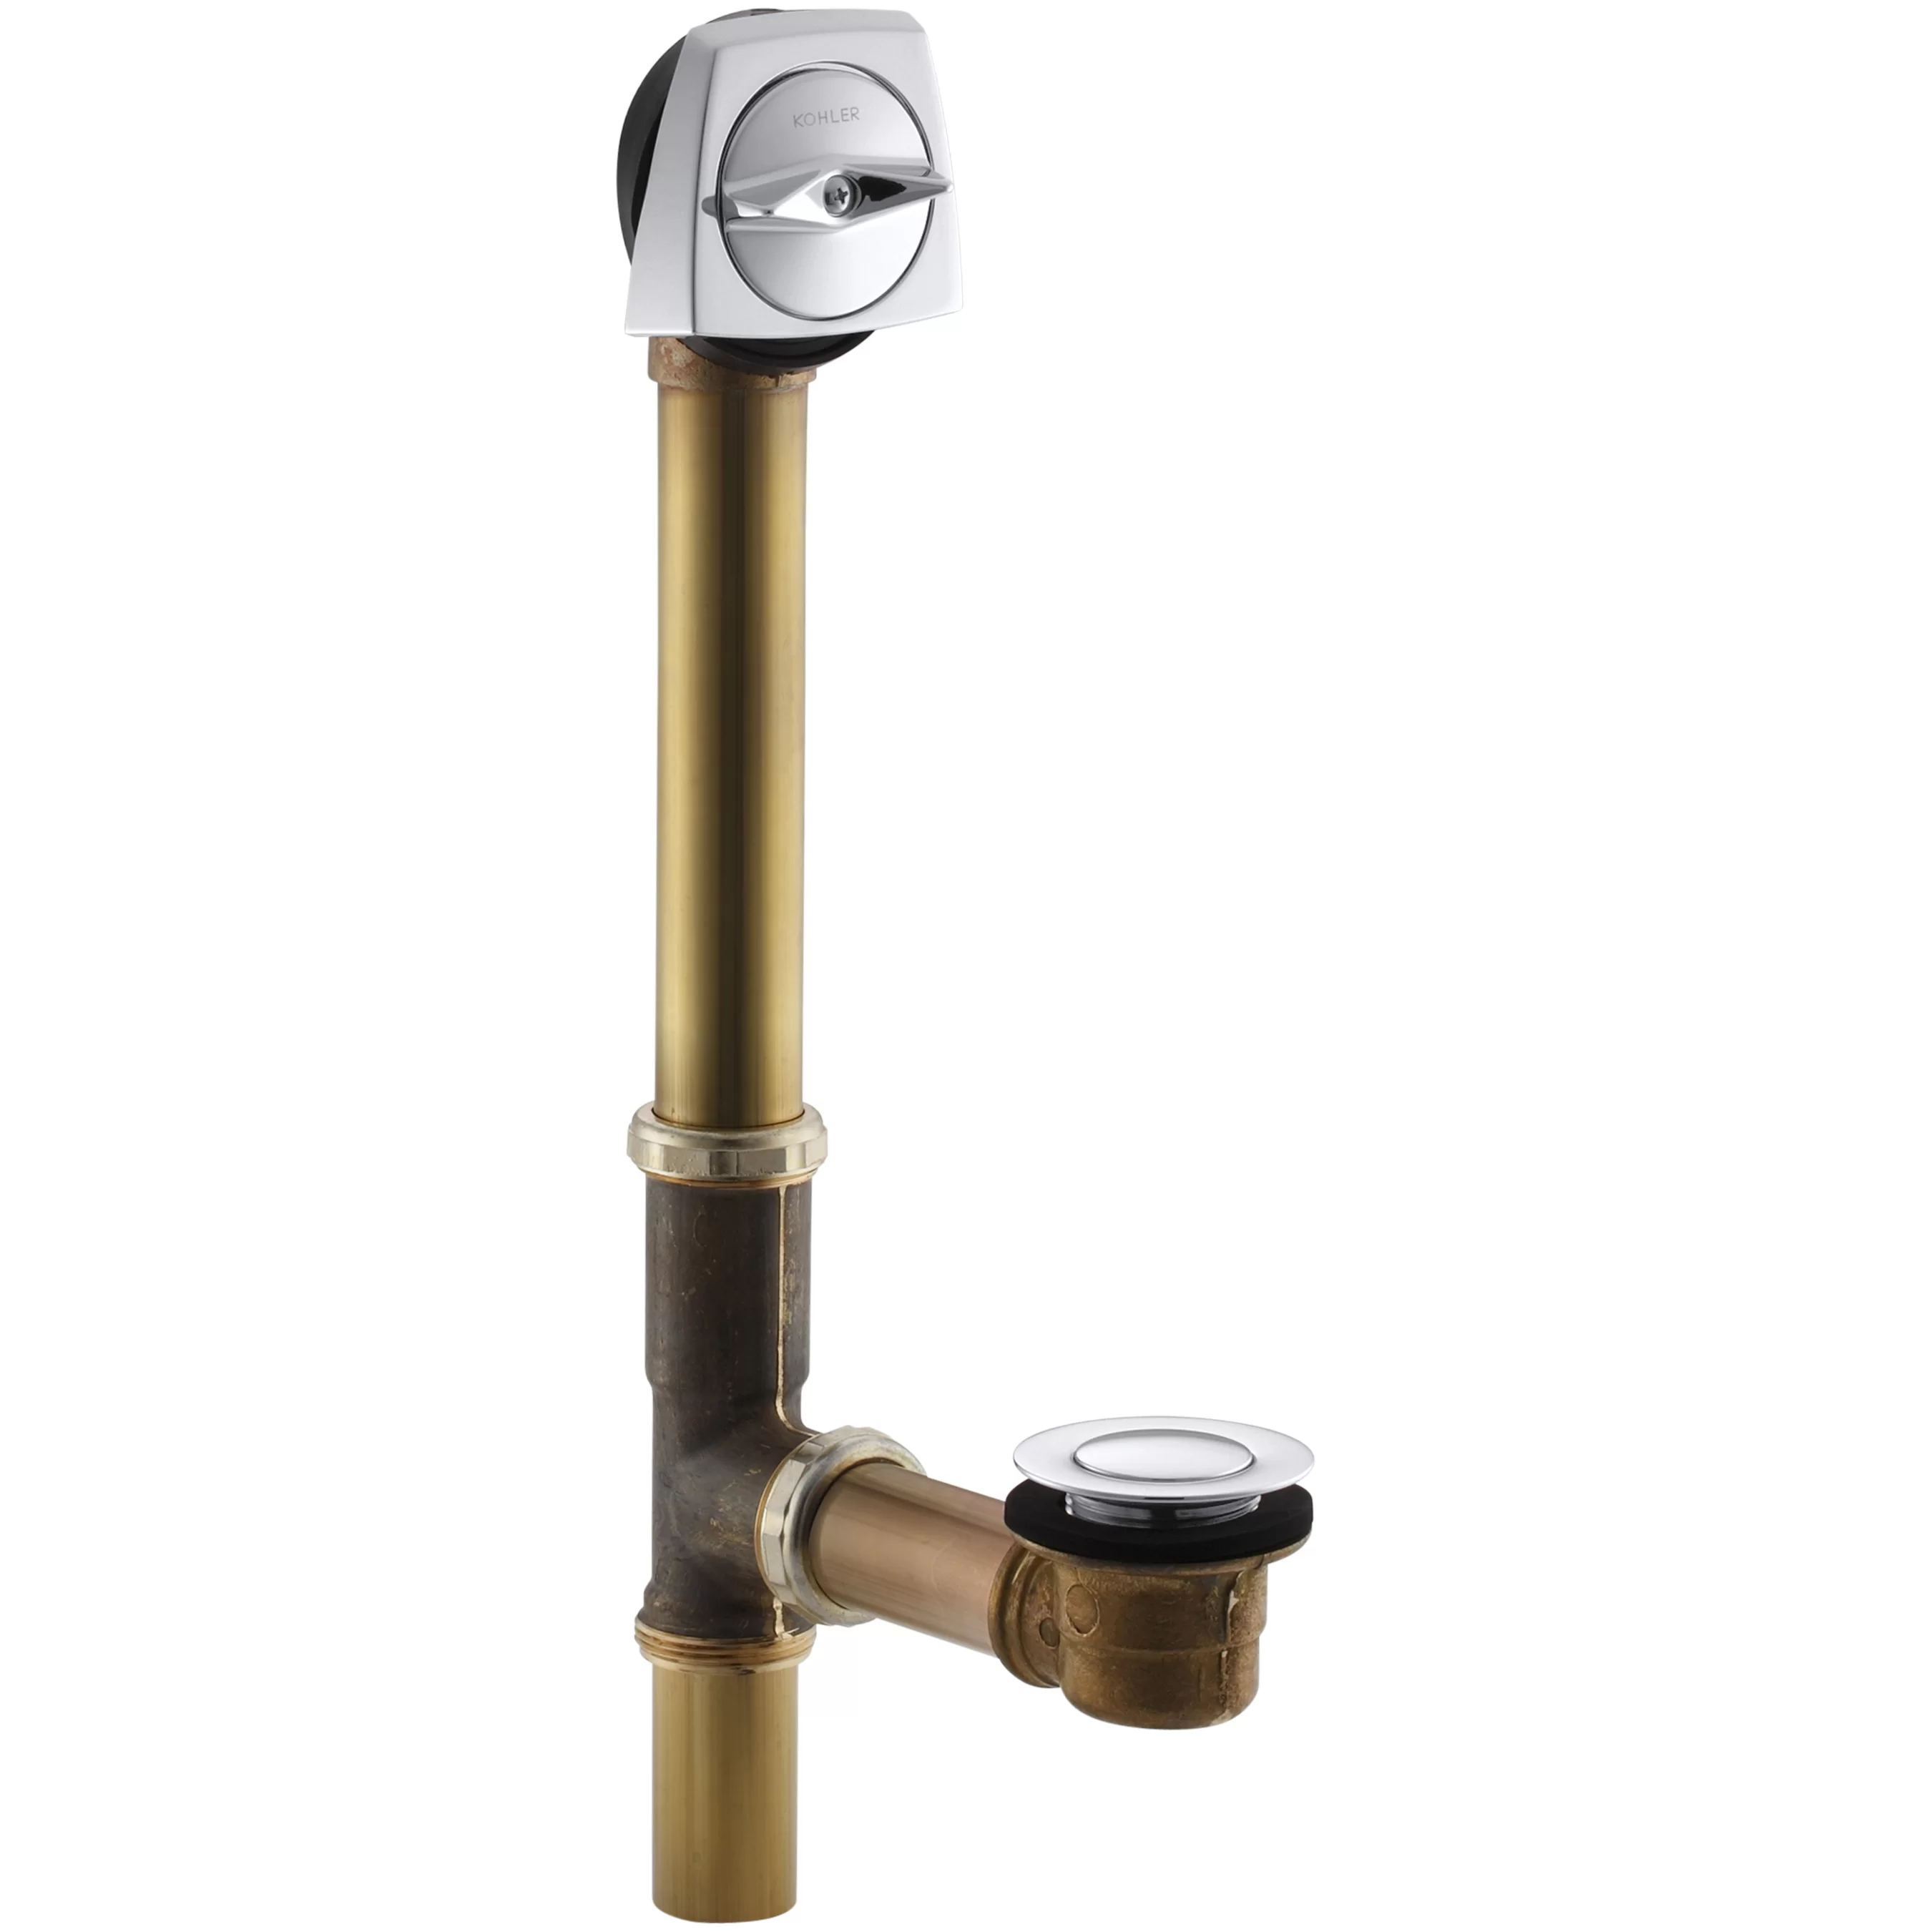
After removing the P-trap, the next components to disconnect are the tailpiece and strainer. The tailpiece is the straight pipe that connects the sink drain to the P-trap, while the strainer is the visible part of the drain assembly that sits inside the sink basin.
Follow these steps to disconnect the tailpiece and strainer:
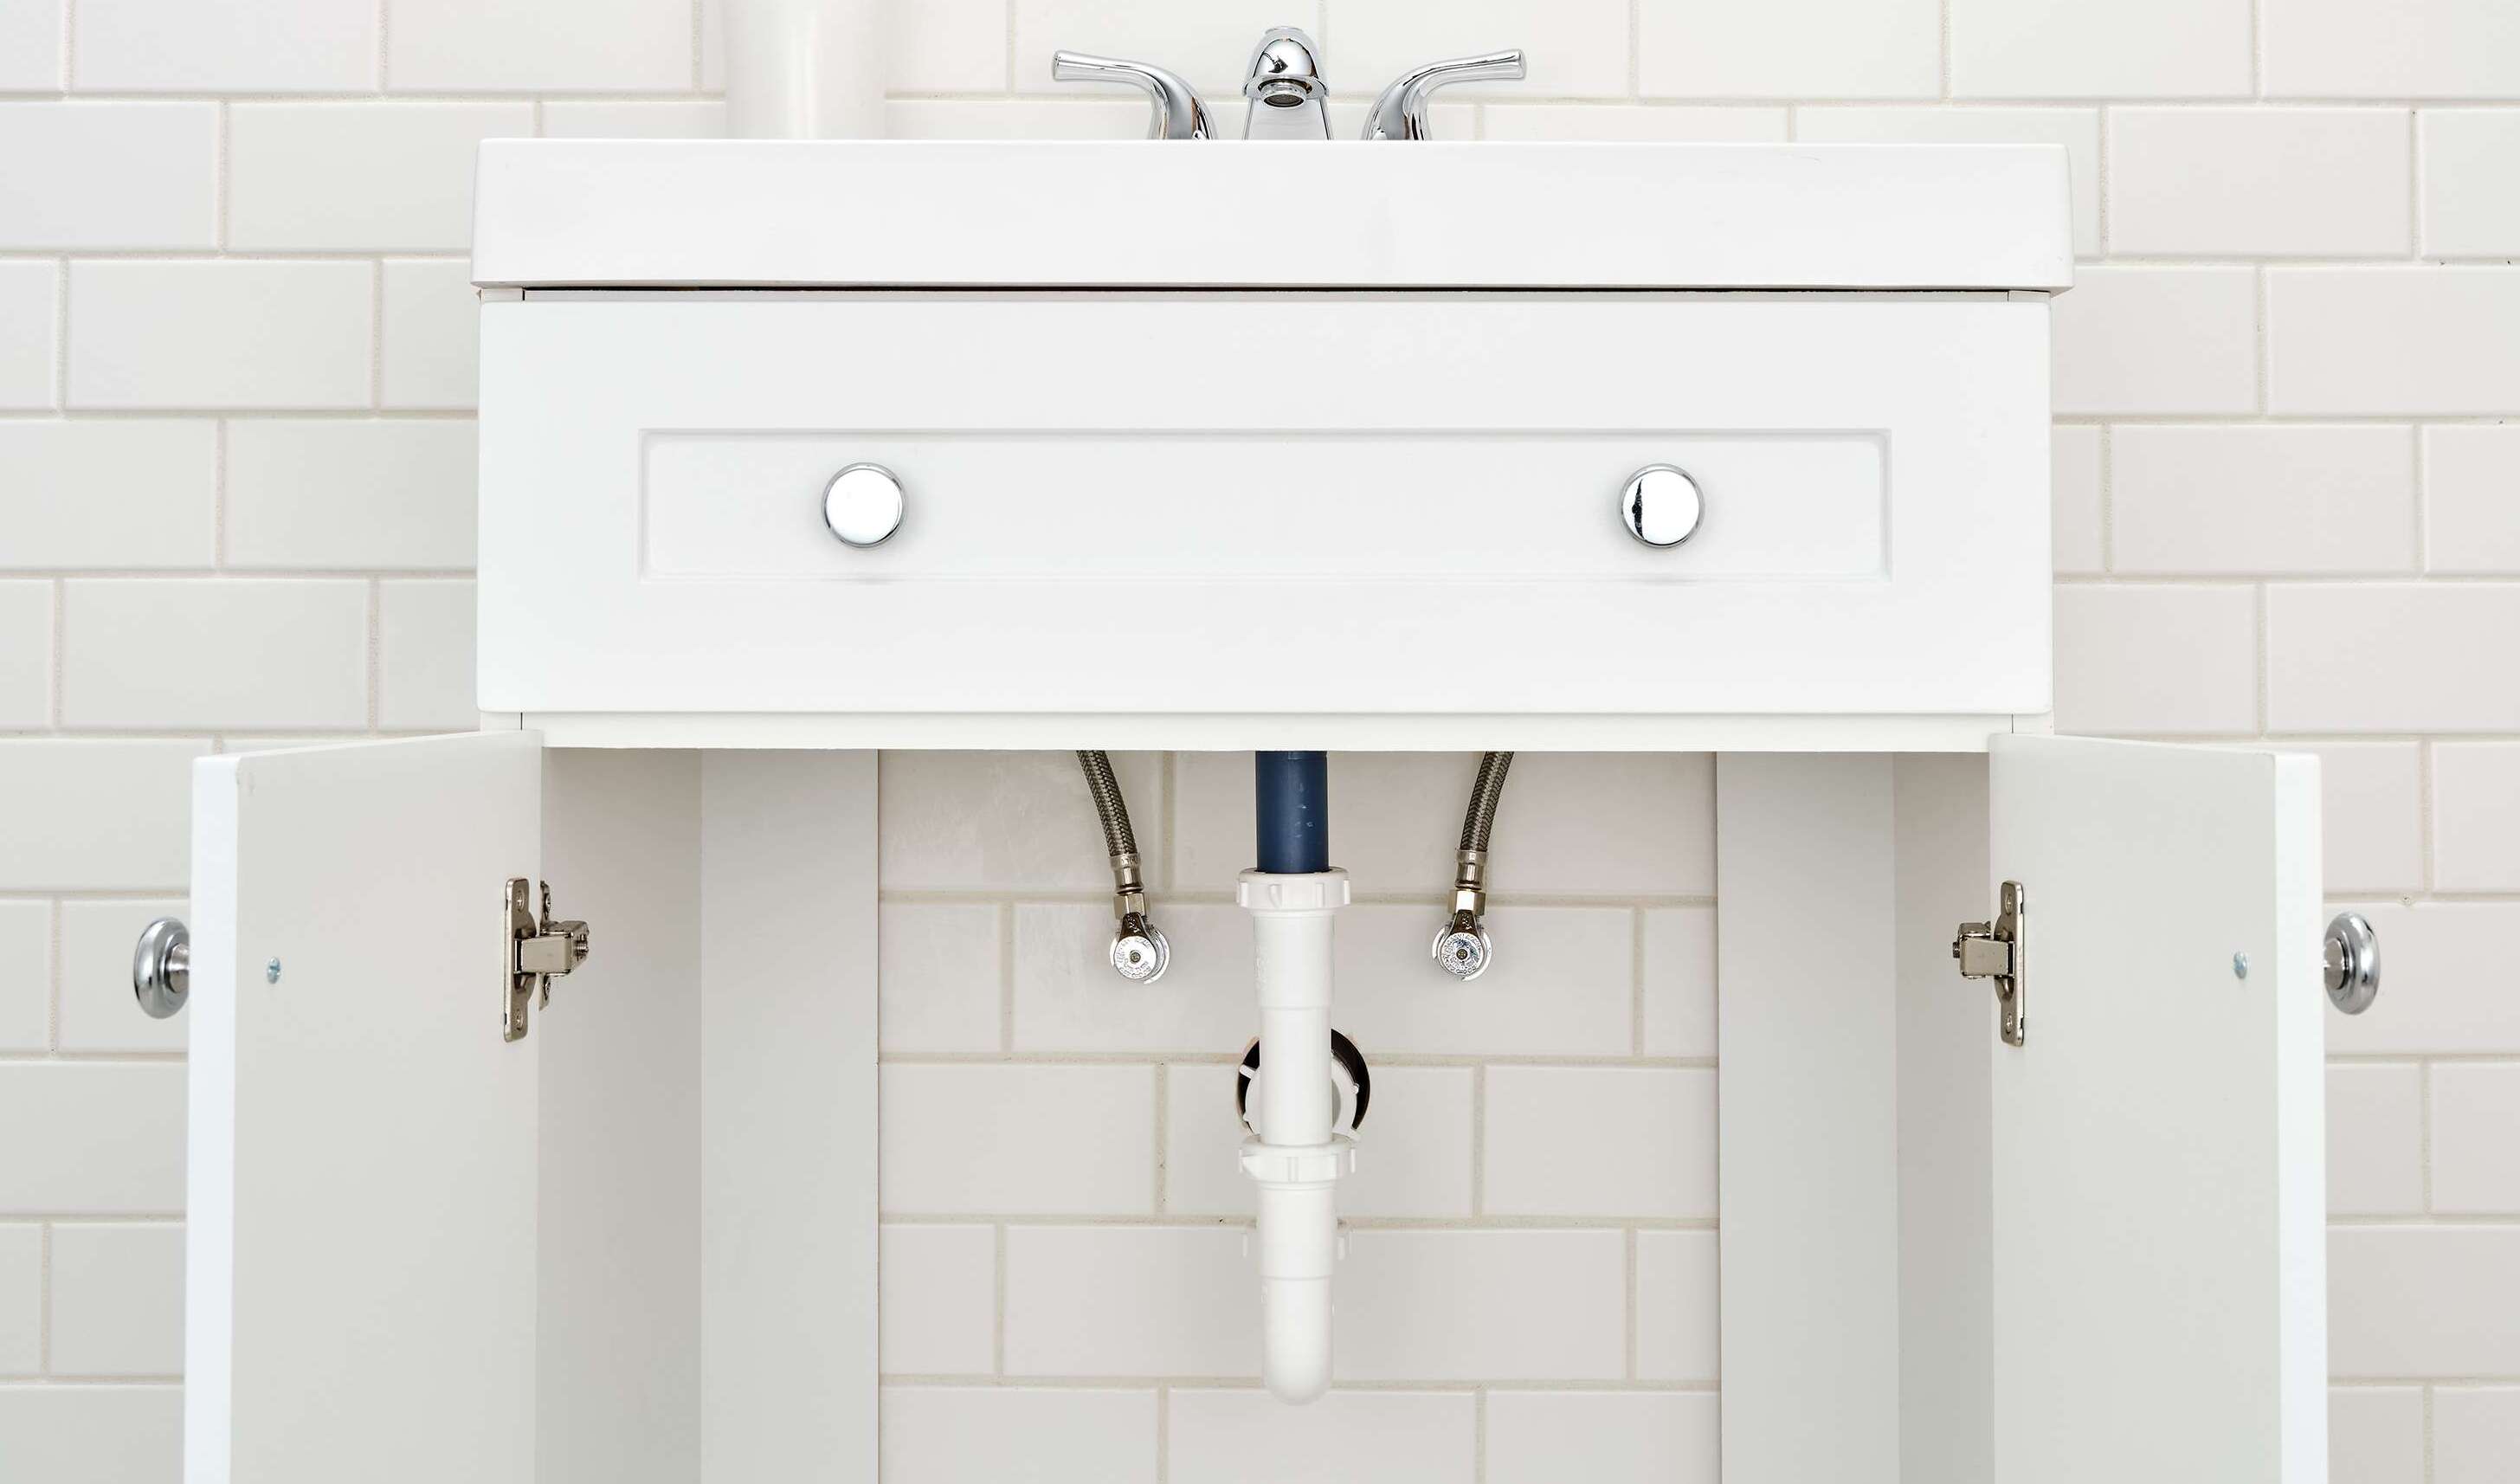
- Underneath the sink, locate the connection between the tailpiece and the bottom of the sink drain.
- Using an adjustable wrench, loosen the slip nut that secures the tailpiece to the sink drain. Turn the slip nut counterclockwise to loosen it.
- Gently pull down on the tailpiece to detach it from the sink drain.
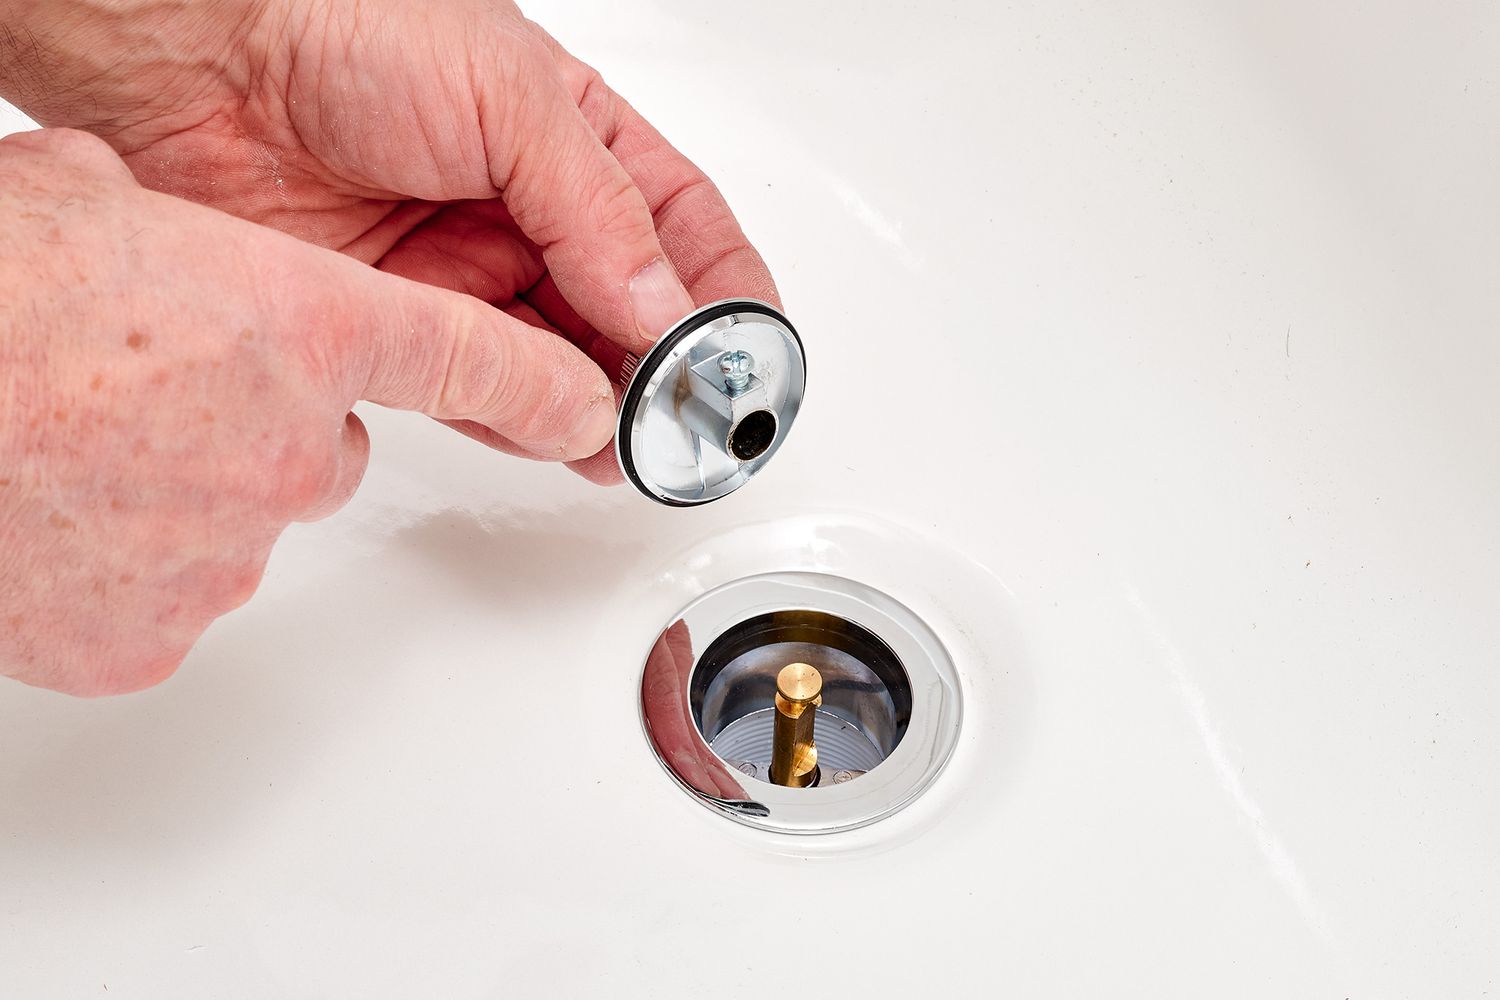
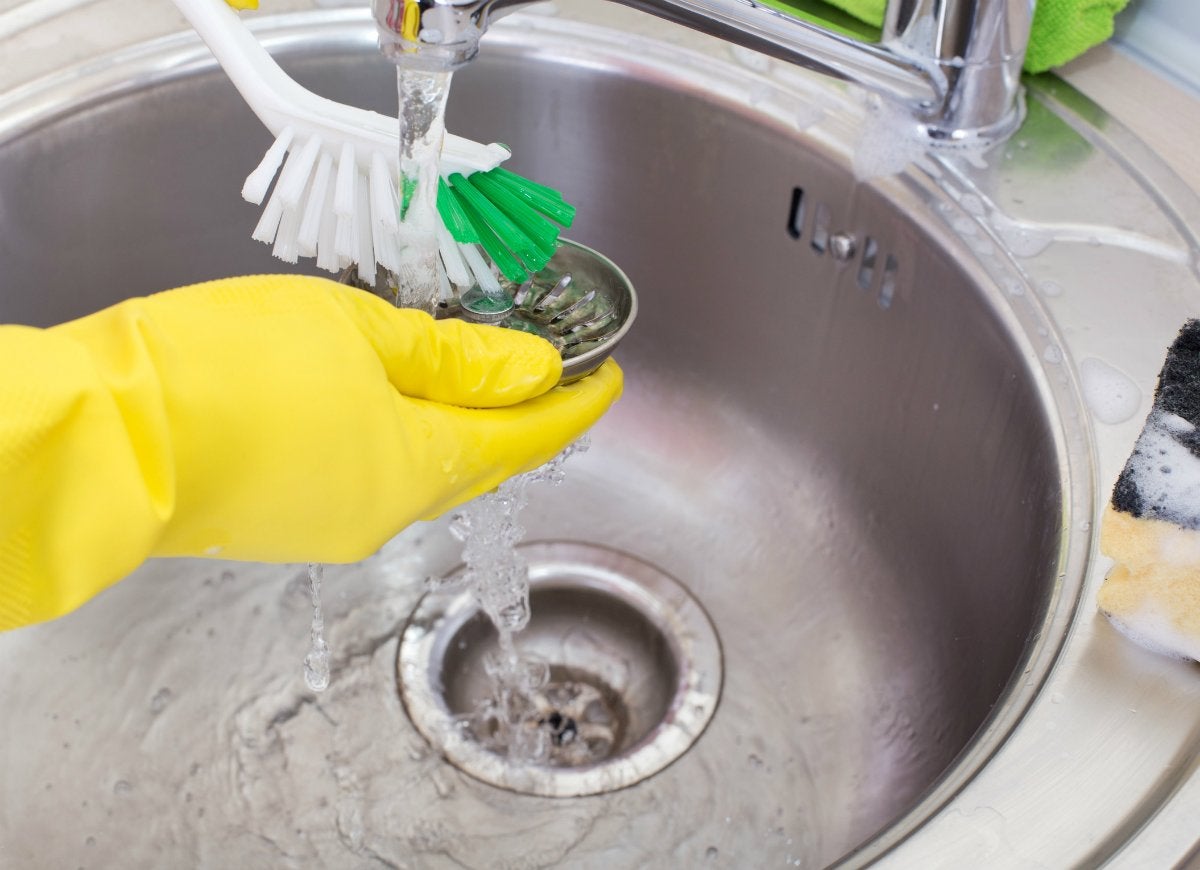
- Once the tailpiece is disconnected, remove the strainer from the top of the sink basin. To do this, use a screwdriver to remove any screws that secure the strainer in place.
- Once the screws are removed, lift the strainer out of the sink basin carefully. It may be helpful to wiggle it back and forth as you lift to release it from any silicone or plumber’s putty that may be holding it in place.
As you disconnect the tailpiece and remove the strainer, be cautious of any water or debris that may come out. Have a bucket or container ready to catch any spills.
Inspect the tailpiece and strainer for any signs of damage or buildup. Clean them thoroughly to ensure proper functioning in the future. If you are planning to replace the sink drain, now is the time to install the new tailpiece and strainer.
Congratulations! You have completed the third step of taking out the sink drain. The next step involves removing the drain flange.
Before removing the sink drain, make sure to turn off the water supply and place a bucket underneath to catch any water or debris. Use a wrench to loosen the locknut and then carefully lift the drain out.
Read more: How To Get Hair Out Of Sink Drain
Step 4: Remove the Drain Flange
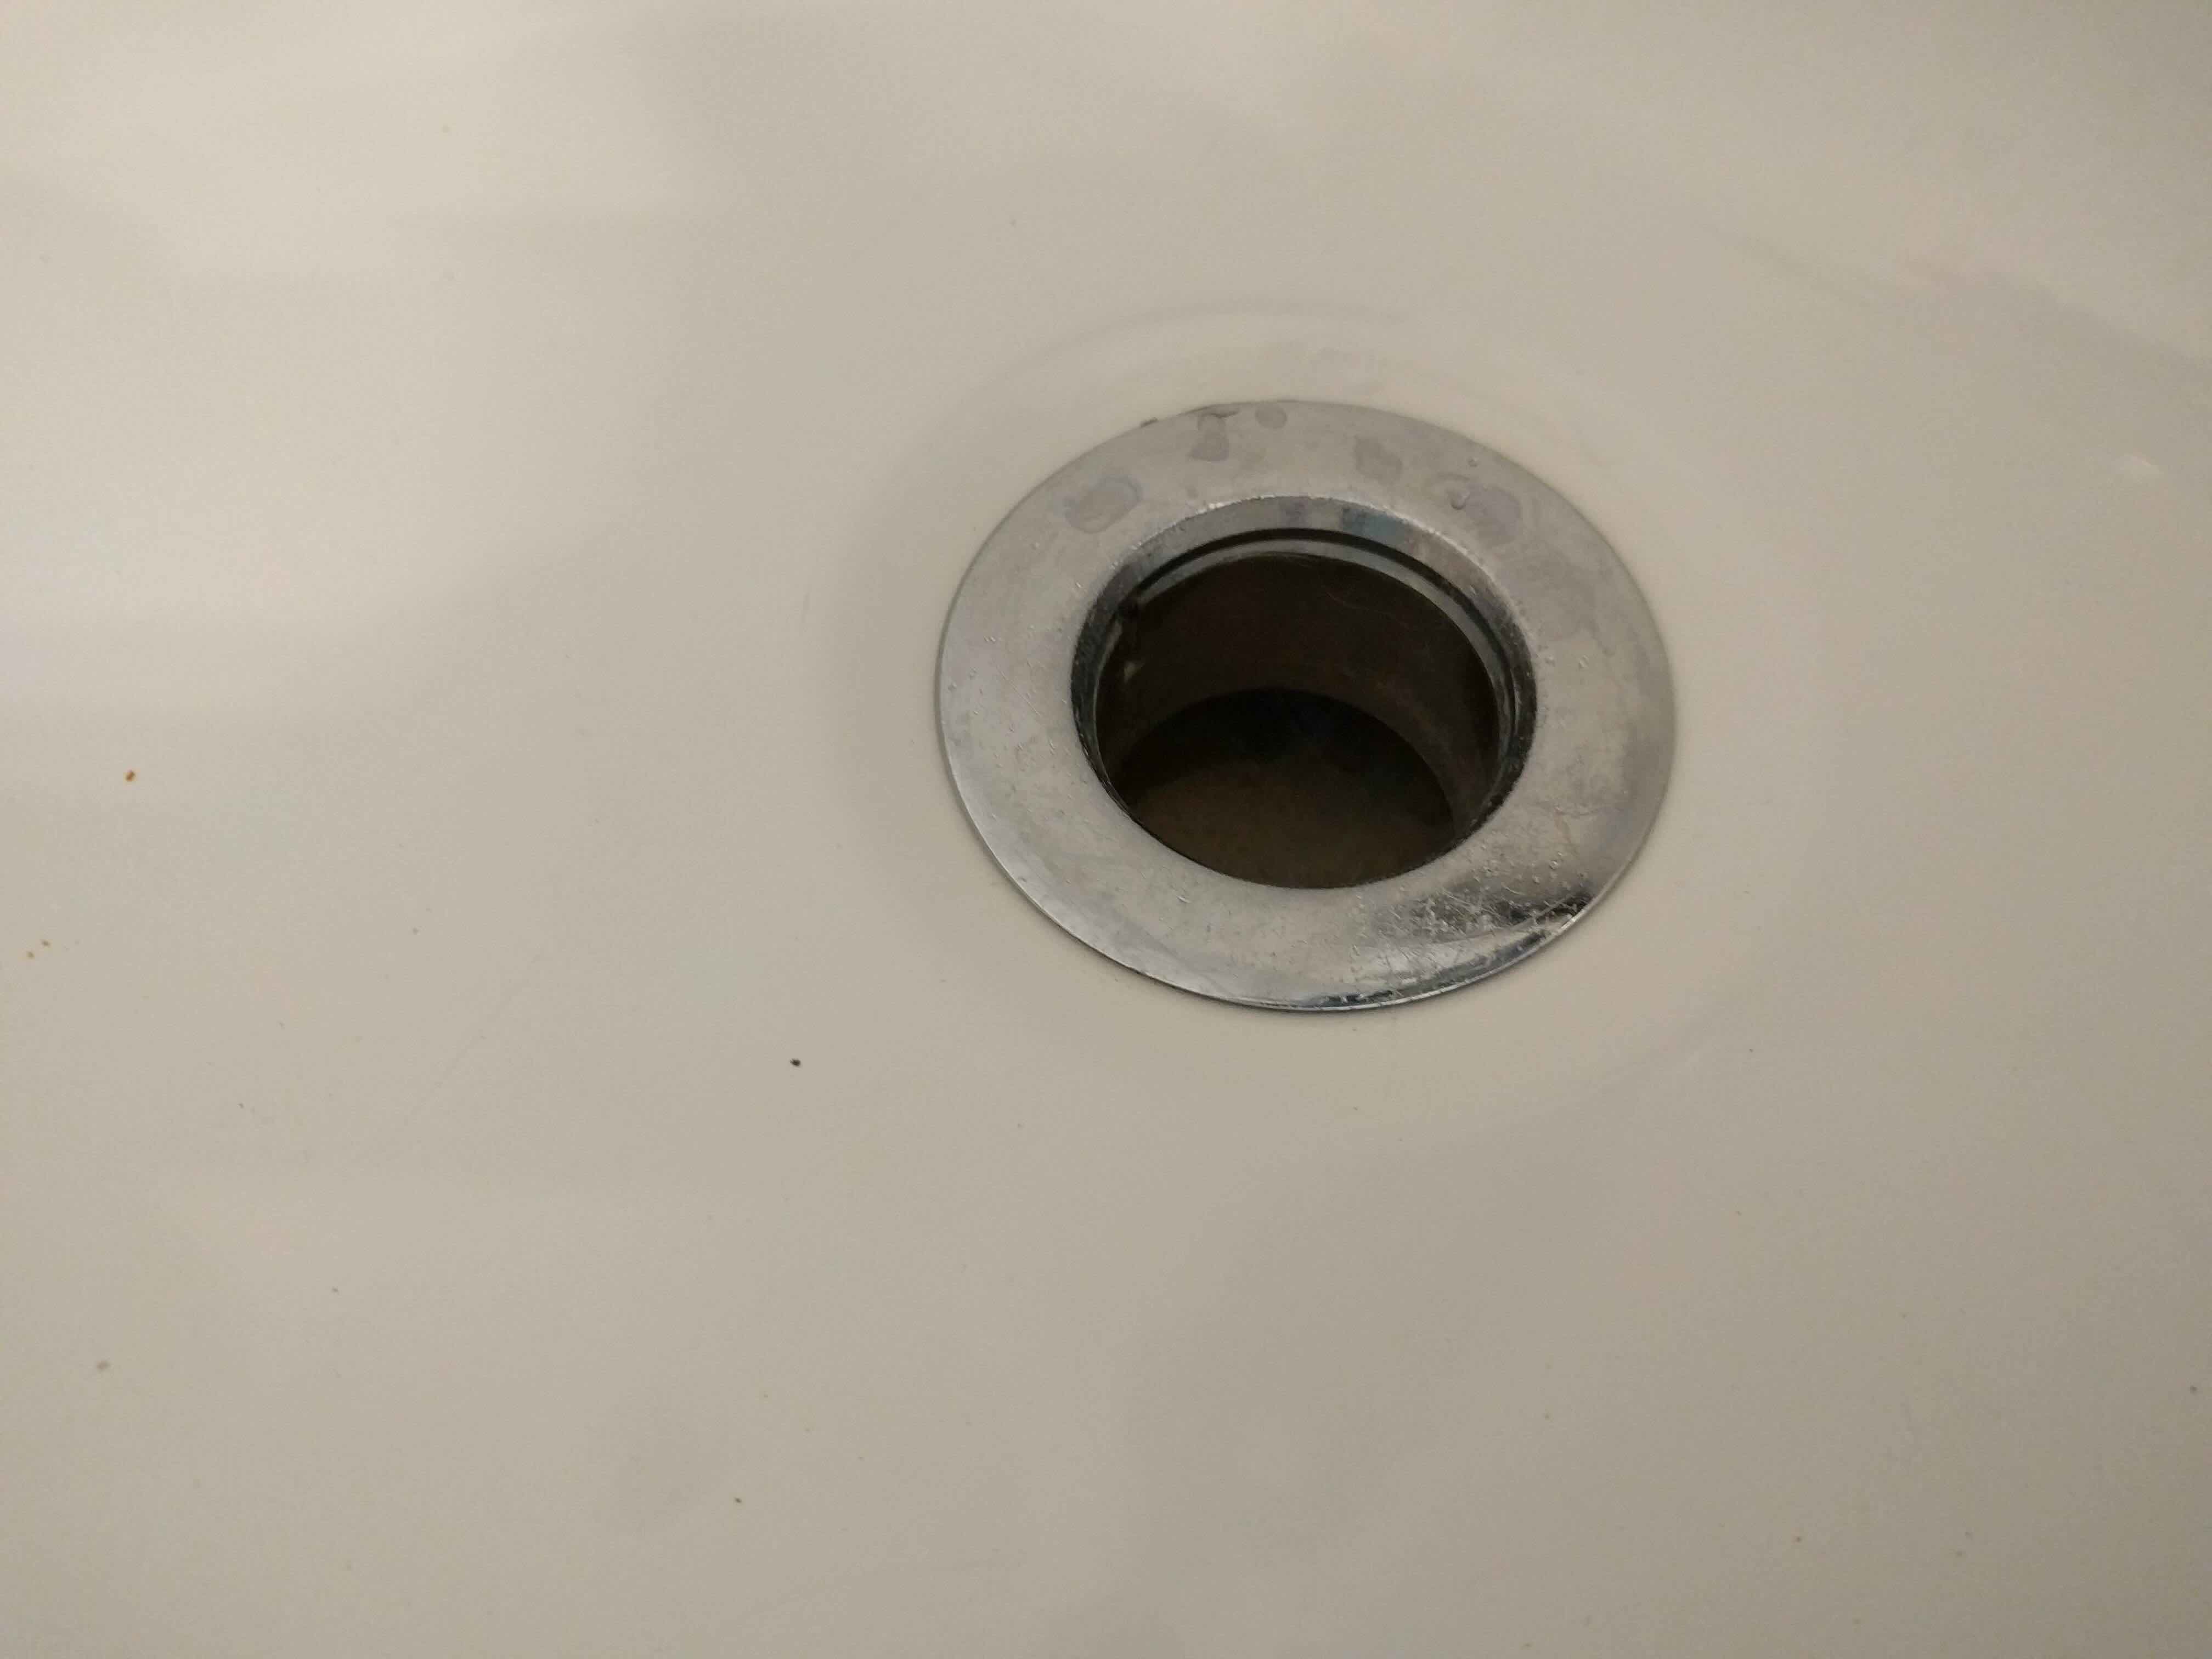
With the tailpiece and strainer disconnected, it’s time to move on to removing the drain flange. The drain flange is the part of the sink drain that sits flush against the sink basin and is typically secured in place with a locknut.
Follow these steps to remove the drain flange:
- Look underneath the sink and locate the locknut that secures the drain flange to the sink basin.
- Using an adjustable wrench, loosen the locknut by turning it counterclockwise. Depending on the design, you may need to use a screwdriver to hold the drain flange in place from above while loosening the locknut.
- Once the locknut is loosened, you should be able to remove it completely by hand.
- Gently lift the drain flange out of the sink basin. If the drain flange is stuck or difficult to remove, you can use a putty knife or a flathead screwdriver to carefully pry it loose.
As you remove the drain flange, be mindful of any silicone or plumber’s putty that may be holding it in place. If necessary, gently scrape away the residue using a putty knife or a cloth.
Take a moment to inspect the drain flange for any signs of damage or corrosion. If the drain flange is in good condition, you can clean it thoroughly before reinstalling it. However, if it is worn or damaged, now is the time to replace it with a new one.
Congratulations! You have successfully completed the fourth step of taking out the sink drain. The next step involves cleaning and inspecting the drain before installing the new sink drain components.
Step 5: Clean and Inspect the Drain
Now that you have removed the drain flange, it’s time to clean and inspect the drain to ensure it is free from debris and in good condition. This step is important to maintain proper drainage and prevent future clogs.
Follow these steps to clean and inspect the drain:
- Using a flashlight, examine the inside of the drain pipe for any visible clogs, such as hair, soap residue, or other debris.
- If you notice any visible clogs, use a plunger or a plumbing snake to remove them. Insert the plunger or snake into the drain and move it in a back-and-forth motion or rotate it to dislodge the clog.
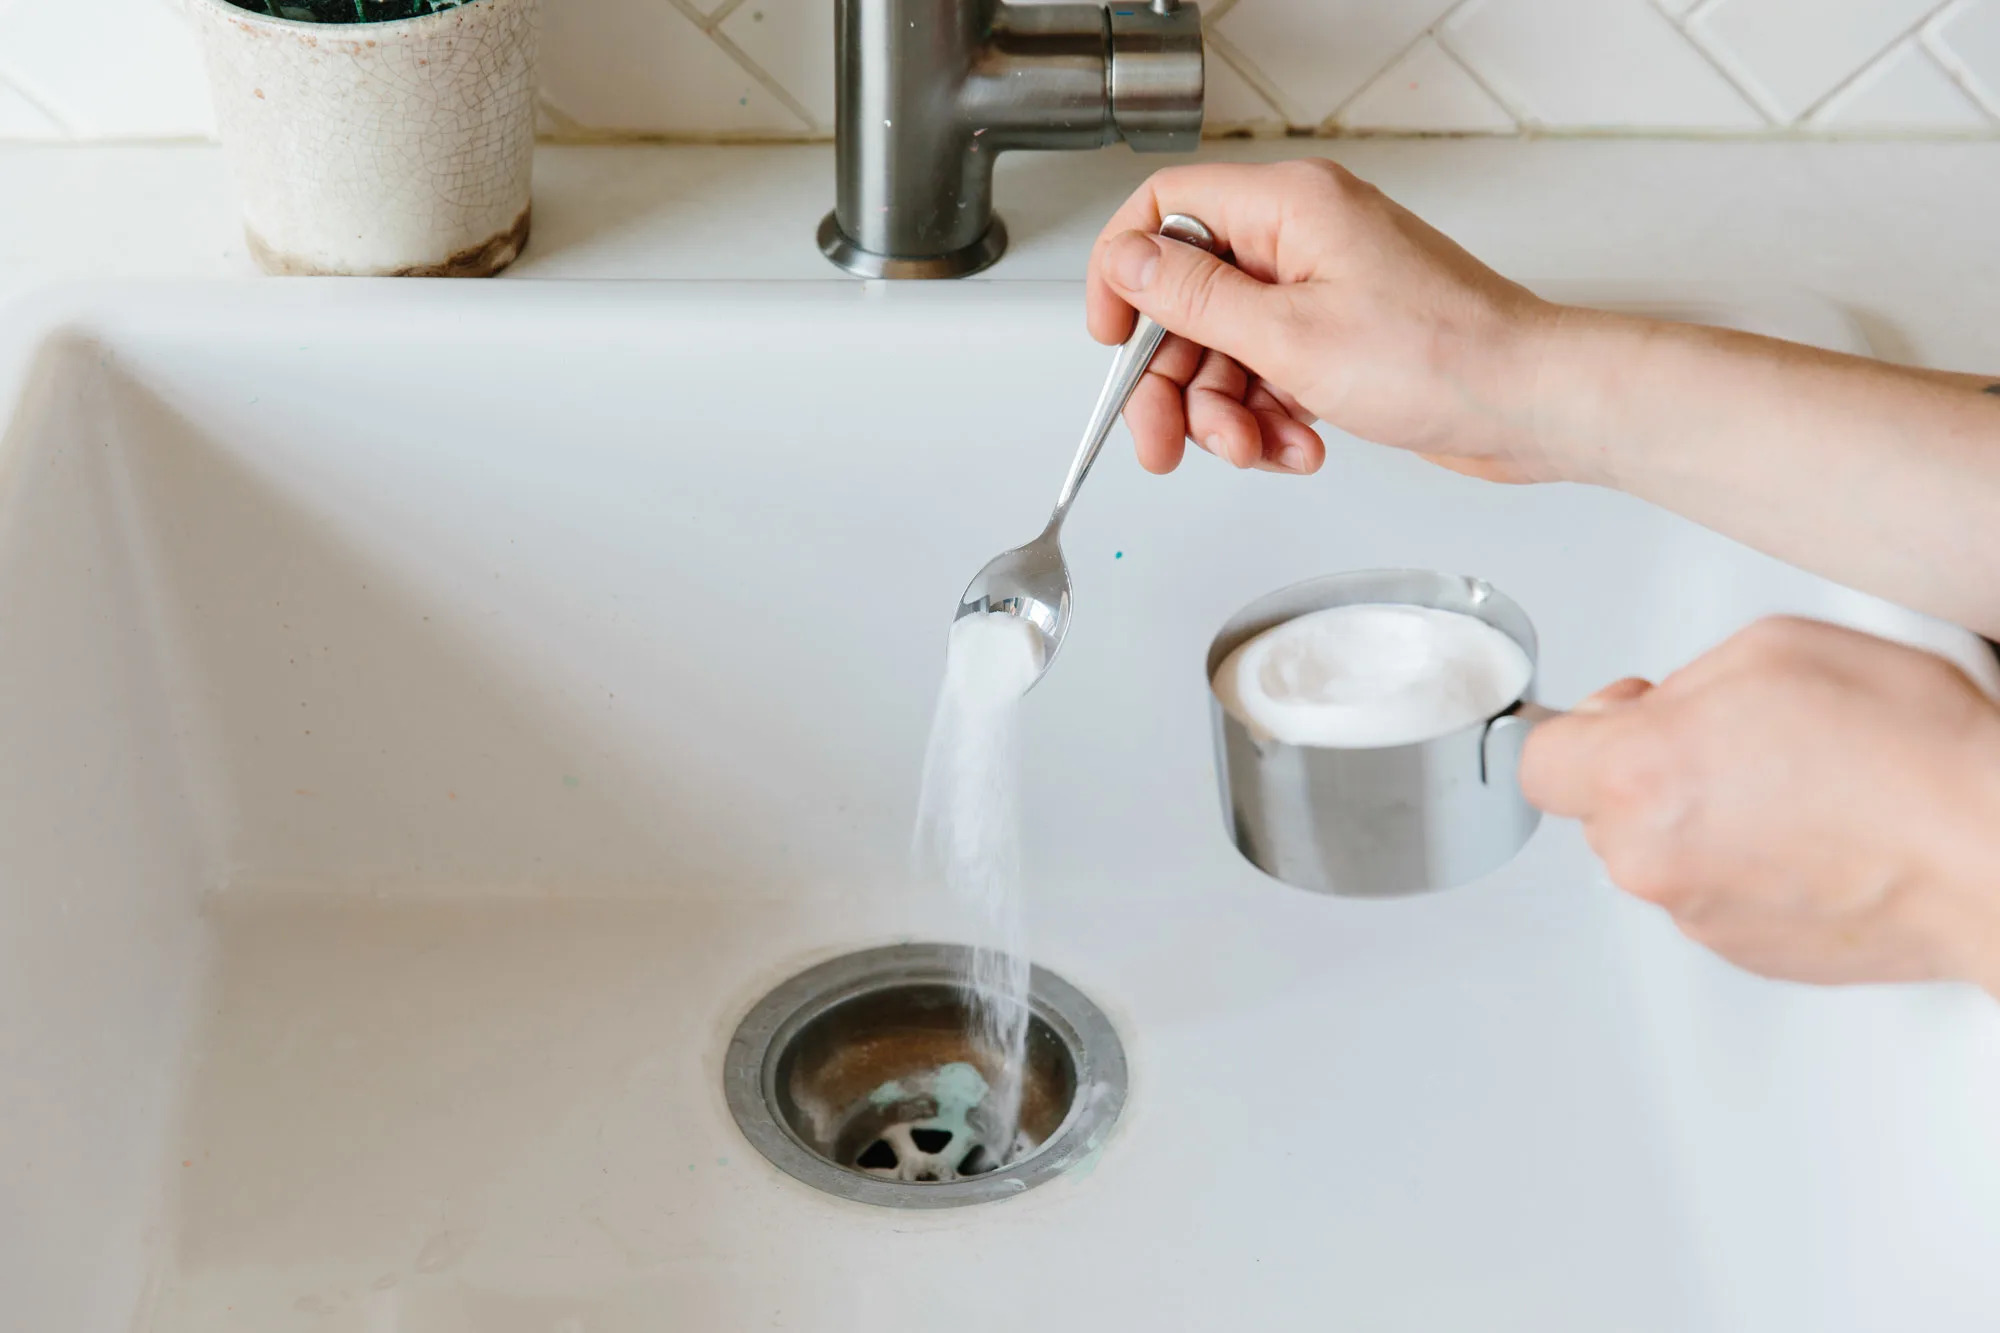
- Flush the drain with hot water to further remove any remaining debris or buildup. This will help ensure a clear and functional drain.
- Inspect the drain pipe for any signs of damage, such as cracks or corrosion. If you notice any issues, it’s recommended to consult a professional plumber for repair or replacement.
After cleaning and inspecting the drain pipe, turn your attention to the drain opening in the sink basin. Here’s what you need to do:
- Use a damp cloth to wipe away any residue or debris from the edges of the drain opening.
- If there is leftover plumber’s putty or silicone from the previous drain flange, carefully scrape it away using a putty knife or a cloth.
- Ensure that the drain opening is clean and free from any obstructions, ensuring a smooth installation of the new sink drain components.
By cleaning and inspecting the drain thoroughly, you are taking proactive steps to ensure optimal functionality and prevent future issues. With the drain now prepared, you’re ready to move on to the next step: installing the new sink drain components.
Step 6: Install the New Sink Drain
With the drain cleaned and inspected, it’s time to move forward with installing the new sink drain components. This step will involve attaching the new drain flange, tailpiece, and strainer to ensure a secure and leak-free connection.
Follow these steps to install the new sink drain:
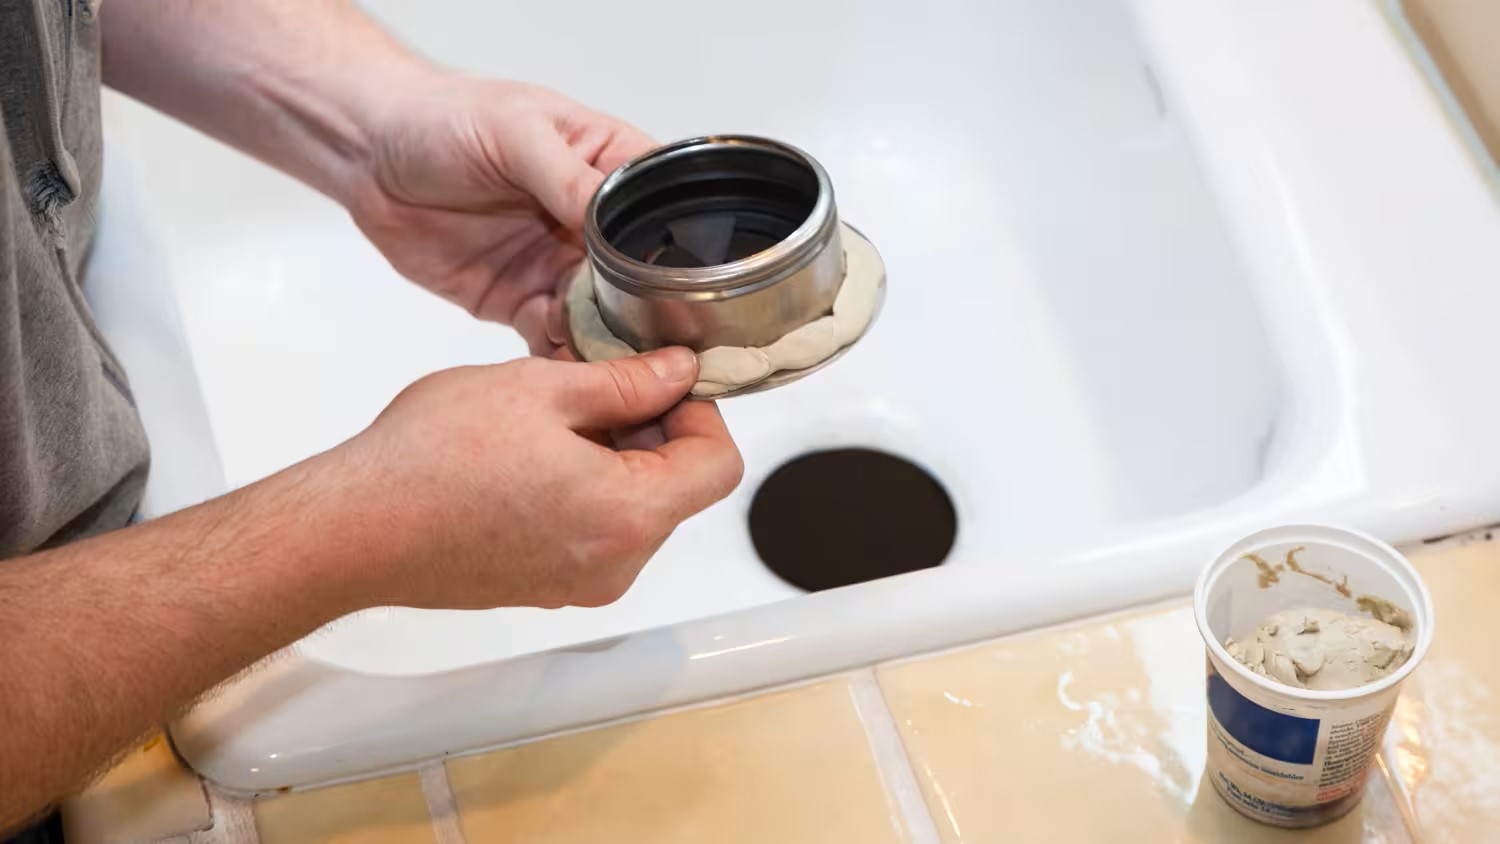
- Apply a thin layer of plumber’s putty or silicone around the underside of the new drain flange. This will create a watertight seal when the flange is installed.
- Insert the new drain flange into the sink basin opening and press it down firmly. Ensure that it is centered and evenly seated.
- From underneath the sink, screw on the locknut provided with the new drain flange. Use an adjustable wrench to tighten the locknut securely, ensuring a snug fit.
- Attach the new tailpiece to the underside of the drain flange, securing it with a slip nut. Tighten the slip nut with an adjustable wrench, ensuring a watertight connection.
- If you are replacing the strainer, place the new strainer into the sink basin, aligning it with the drain opening. Secure it in place by tightening the screws provided.
As you install the new sink drain components, ensure that all connections are tight but not overly tightened to avoid damaging the parts or causing leaks.
If necessary, use plumber’s tape to provide an additional seal on threaded connections, such as the tailpiece and slip nuts. Wrap the tape clockwise around the threads before tightening the connections.
Before proceeding to the final step, it’s crucial to double-check all the connections, ensuring they are secure and leak-free. Take a moment to inspect for any potential issues or misalignments and make adjustments as needed.
Congratulations! You have successfully completed the sixth step of installing the new sink drain. The final step involves testing for leaks to ensure a fully functional and watertight system.
Step 7: Test for Leaks
Now that you have installed the new sink drain components, it’s time to conduct a thorough test to ensure that there are no leaks. It’s crucial to check every connection and verify that water flows smoothly through the drain without any issues.
Follow these steps to test for leaks:
- Carefully open the water supply valves under the sink by turning them counterclockwise. This will allow water to flow into the sink.
- Fill the sink basin with water and observe the drain system closely. Look for any signs of water leakage, such as drips or puddles.
- Check all the connections, including the drain flange, tailpiece, and strainer, as well as the P-trap, for any potential leaks. Run your finger along the connections to detect any moisture.
- If you notice any leaks, tighten the corresponding connection slightly with an adjustable wrench. Be careful not to overtighten, as this can damage the parts or cause more significant leaks.
- Once you have addressed any leaks, empty the sink basin and let the water drain completely. Observe the drain system again to ensure that water flows smoothly and efficiently without any obstructions or backups.
If you still encounter leaks even after tightening the connections, ensure that all components are properly aligned and seated. If necessary, disassemble and reinstall the problematic part, making sure to apply plumber’s putty or silicone as needed.
Once you are confident that there are no leaks and the drainage is functioning correctly, you have successfully completed the final step.
Congratulations! You have successfully taken out and replaced your sink drain, restoring proper functionality to your sink. Remember, regular maintenance and cleaning will help prevent future issues and keep your sink drain running smoothly.
If you encounter any difficulties or are unsure about any aspect of the process, it’s always recommended to consult a professional plumber for guidance and assistance.
Enjoy your properly working sink drain and the convenience it brings to your daily routines!
Read more: How To Take A Plunger Out Of A Sink
Conclusion
Taking out a sink drain may seem like a daunting task, but with the right tools, materials, and a step-by-step guide, you can successfully complete the process. By following the instructions outlined in this article, you have learned how to gather your materials, remove the P-trap, disconnect the tailpiece and strainer, remove the drain flange, clean and inspect the drain, install the new sink drain components, and test for leaks.
Remember, it’s important to gather all the necessary tools and materials before starting the process. An adjustable wrench, plunger, screwdriver, bucket or container, plumber’s tape, and new sink drain parts (if needed) are essential for a smooth and successful operation.
Each step of the process has been carefully detailed, from removing the P-trap to installing the new sink drain components. By following the instructions and paying attention to detail, you have ensured a secure and leak-free connection throughout the process.
Testing for leaks is an essential final step, as it allows you to identify any issues and make necessary adjustments. By observing the connections and ensuring smooth water flow, you can be confident in the proper functioning of your new sink drain.
Regular maintenance and cleaning of your sink drain will help prevent clogs and other potential issues. By being proactive and taking care of your drain, you can keep it functioning efficiently for years to come.
If you encounter any difficulties during the process or are unsure about any aspect, it is always recommended to seek the assistance of a professional plumber. They have the expertise and tools to handle more complex situations and ensure a successful outcome.
By successfully completing the process of taking out and replacing your sink drain, you have regained the convenience and functionality of a properly working sink. Enjoy the ease of using your sink and the peace of mind that comes with knowing you have successfully completed this home improvement task!
Frequently Asked Questions about How To Take Sink Drain Out
Was this page helpful?
At Storables.com, we guarantee accurate and reliable information. Our content, validated by Expert Board Contributors, is crafted following stringent Editorial Policies. We're committed to providing you with well-researched, expert-backed insights for all your informational needs.


0 thoughts on “How To Take Sink Drain Out”