Articles
How To Tighten A Sink Drain
Modified: October 19, 2024
Learn the step-by-step process of tightening a sink drain with our informative articles. Ensure a leak-free and efficient sink with our expert tips.
(Many of the links in this article redirect to a specific reviewed product. Your purchase of these products through affiliate links helps to generate commission for Storables.com, at no extra cost. Learn more)
Introduction
Having a properly functioning sink drain is essential for maintaining a clean and functional kitchen or bathroom. Over time, the slip nuts that hold the drain pipes together can become loose, leading to leaks and inefficient drainage. If you’re experiencing a loose sink drain, don’t worry! This article will guide you through the steps of tightening a sink drain and restoring it to its optimal condition.
Before we dive into the process, let’s first gather the materials that you’ll need:
- Adjustable wrench
- Pipe wrench
- Plumber’s tape
- Bowl or bucket to catch any water
- Cloth or rag
Now that you have all the necessary tools, let’s begin tightening your sink drain!
Key Takeaways:
- Keep your sink drain functioning optimally by tightening slip nuts, cleaning the drain pipe, and reassembling the P-Trap. Regular maintenance prevents clogs and leaks, saving you from costly repairs.
- Gather necessary materials and follow the simple steps to tighten your sink drain. Enjoy the benefits of a properly functioning sink and the peace of mind that comes with it.
Read more: How To Tighten Sink Faucet Handle
Materials Needed
Before you start tightening a sink drain, it’s important to gather all the necessary materials. Here’s a list of items you’ll need:
- Adjustable wrench: This will be used to loosen and tighten the slip nuts on the drain pipes.
- Pipe wrench: A pipe wrench is helpful for gripping and turning pipes, especially if they are stuck or tightly fitted.
- Plumber’s tape: Also known as Teflon tape, plumber’s tape is used to create a watertight seal between pipe threads.
- Bowl or bucket: Place this underneath the sink to catch any water or debris that may come out during the process.
- Cloth or rag: Having a cloth or rag handy will help to clean up any spills or wipe down the pipes.
By gathering these materials before you start, you’ll ensure a smooth and efficient process for tightening your sink drain.
Now that you have all the necessary tools, let’s move on to the steps for tightening a sink drain.
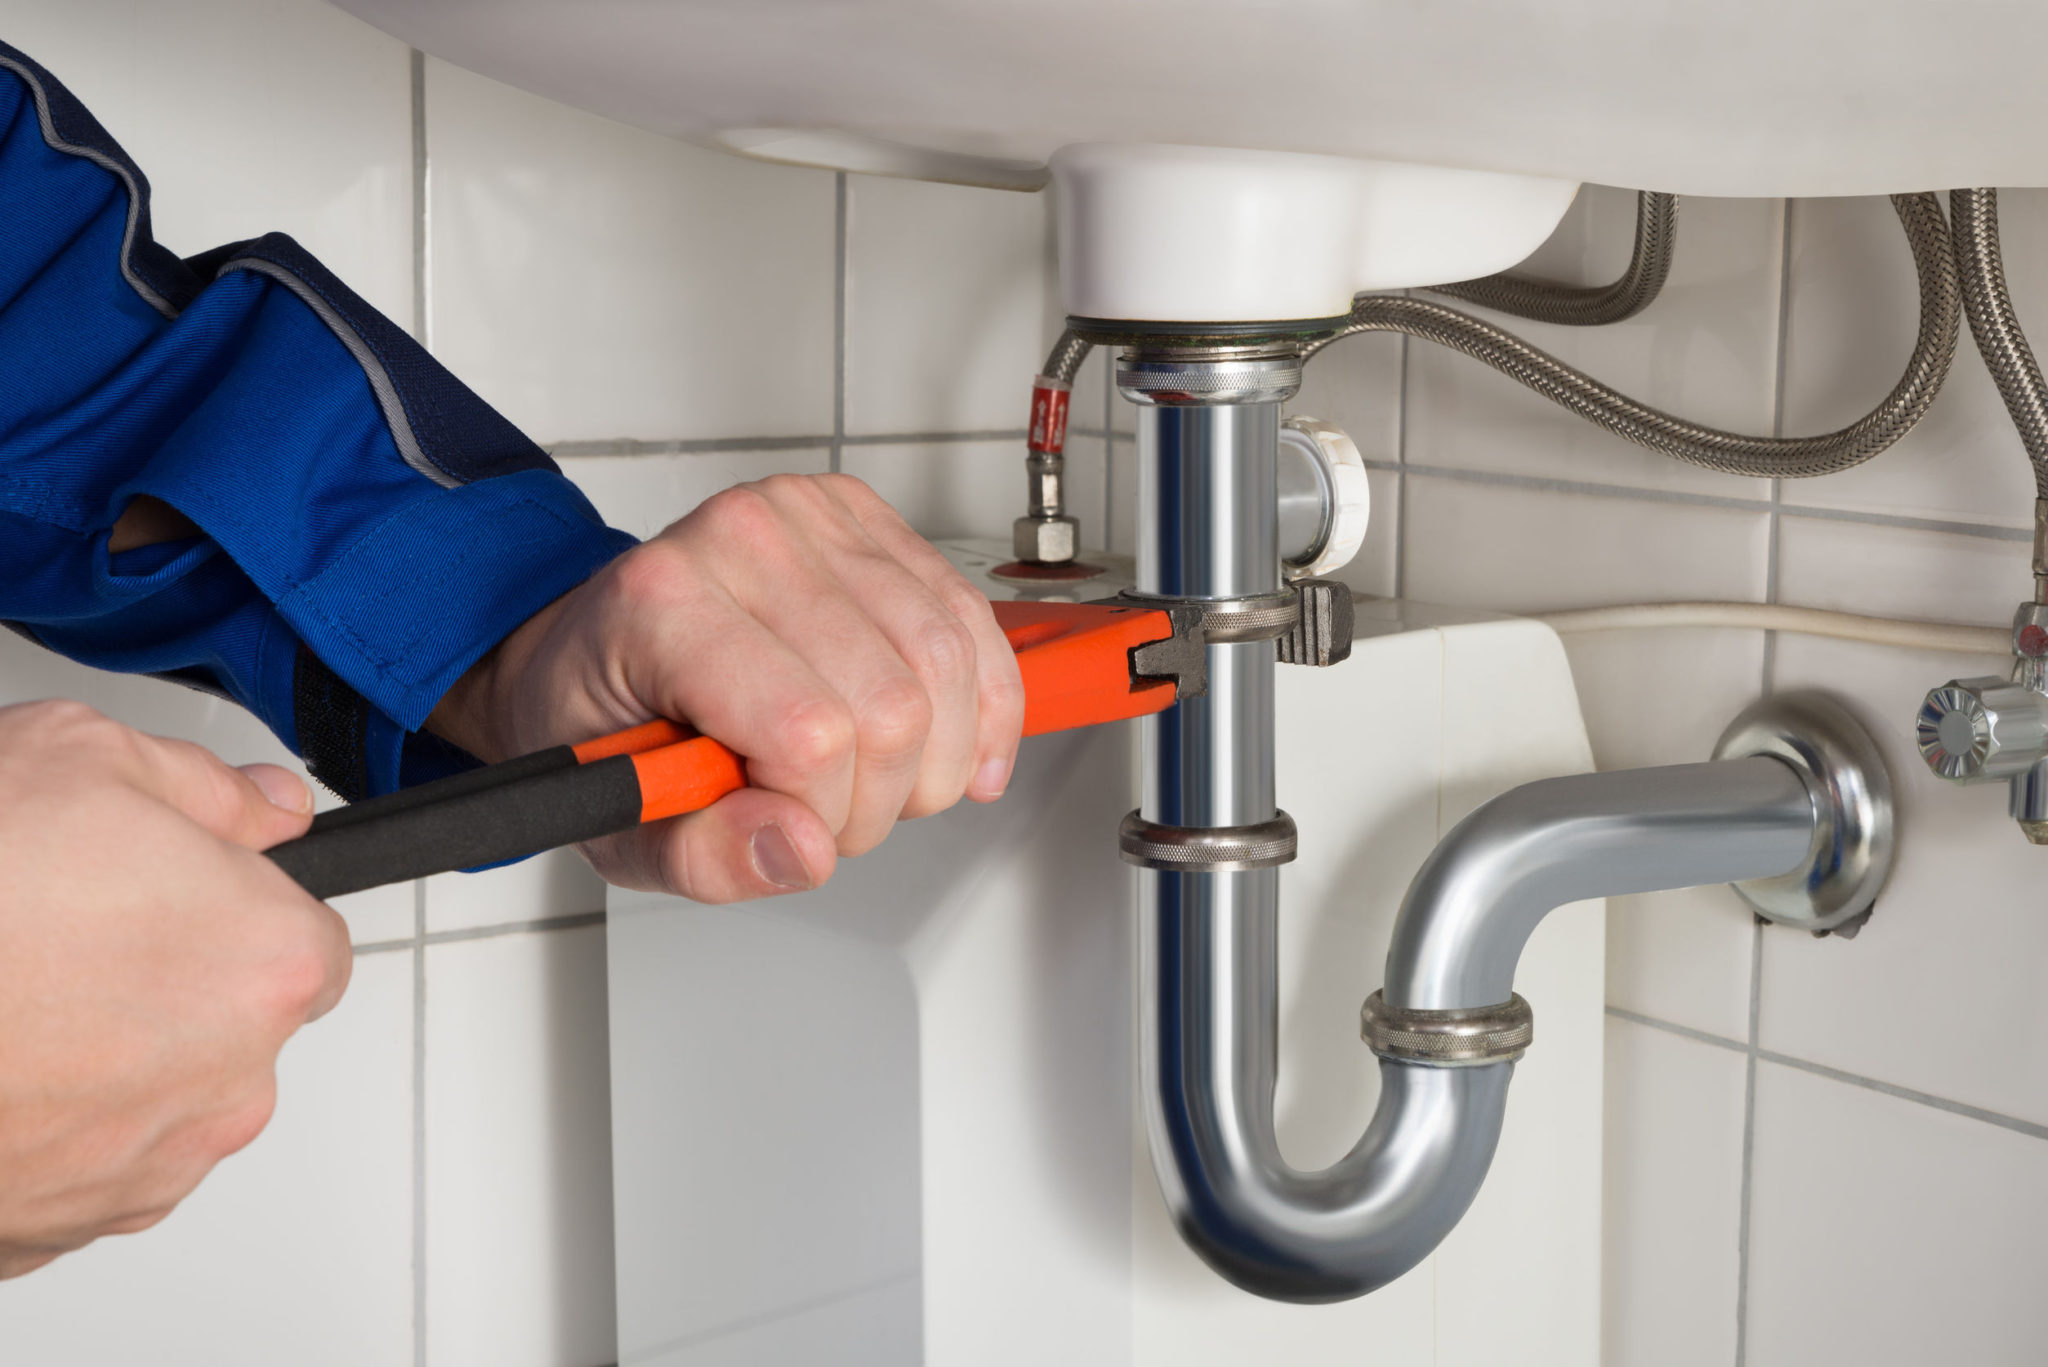
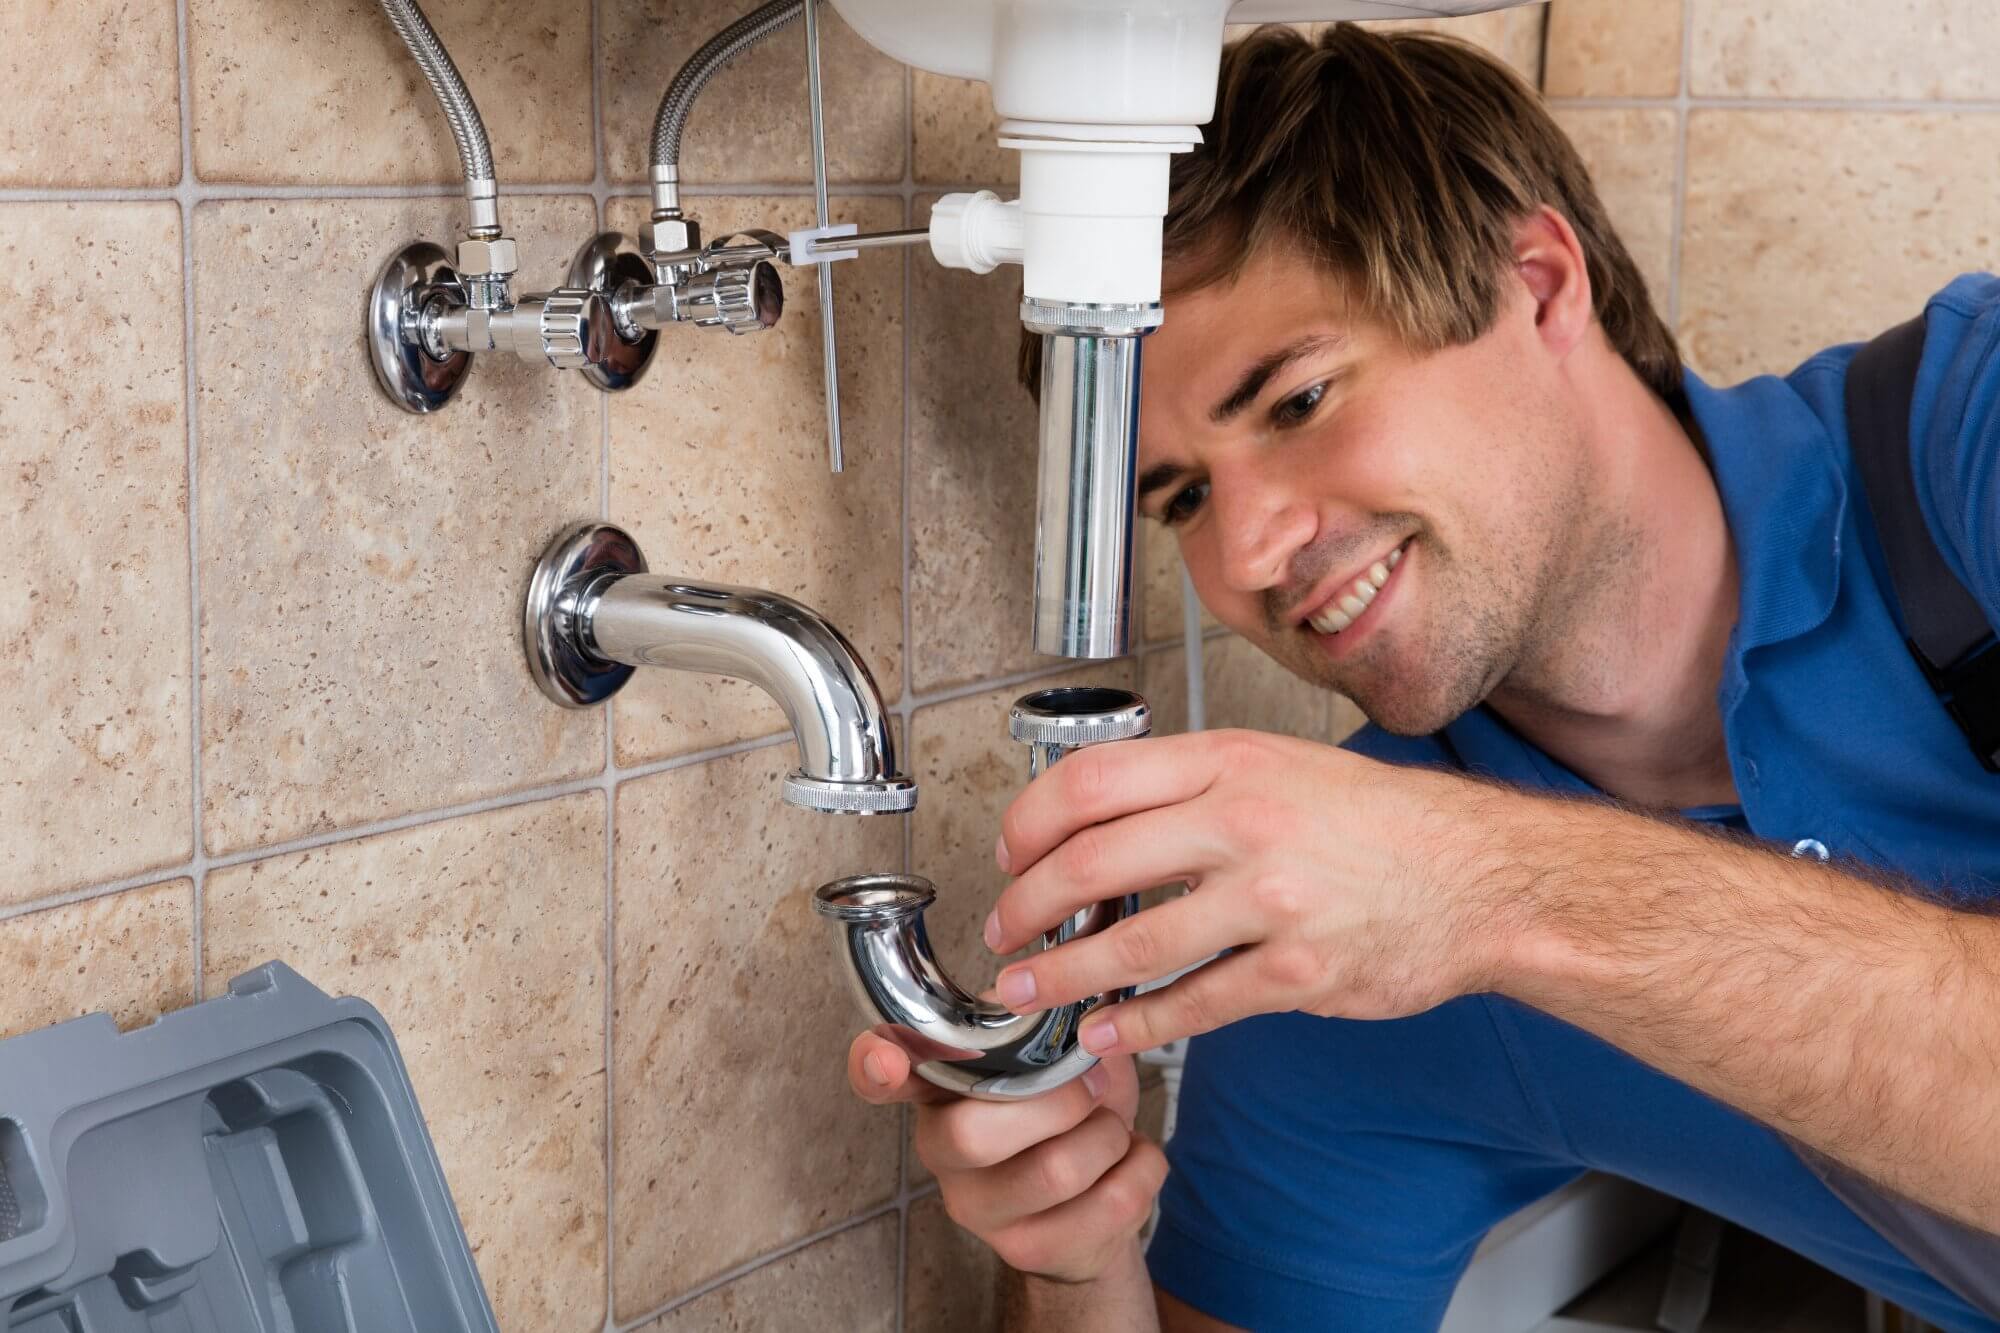
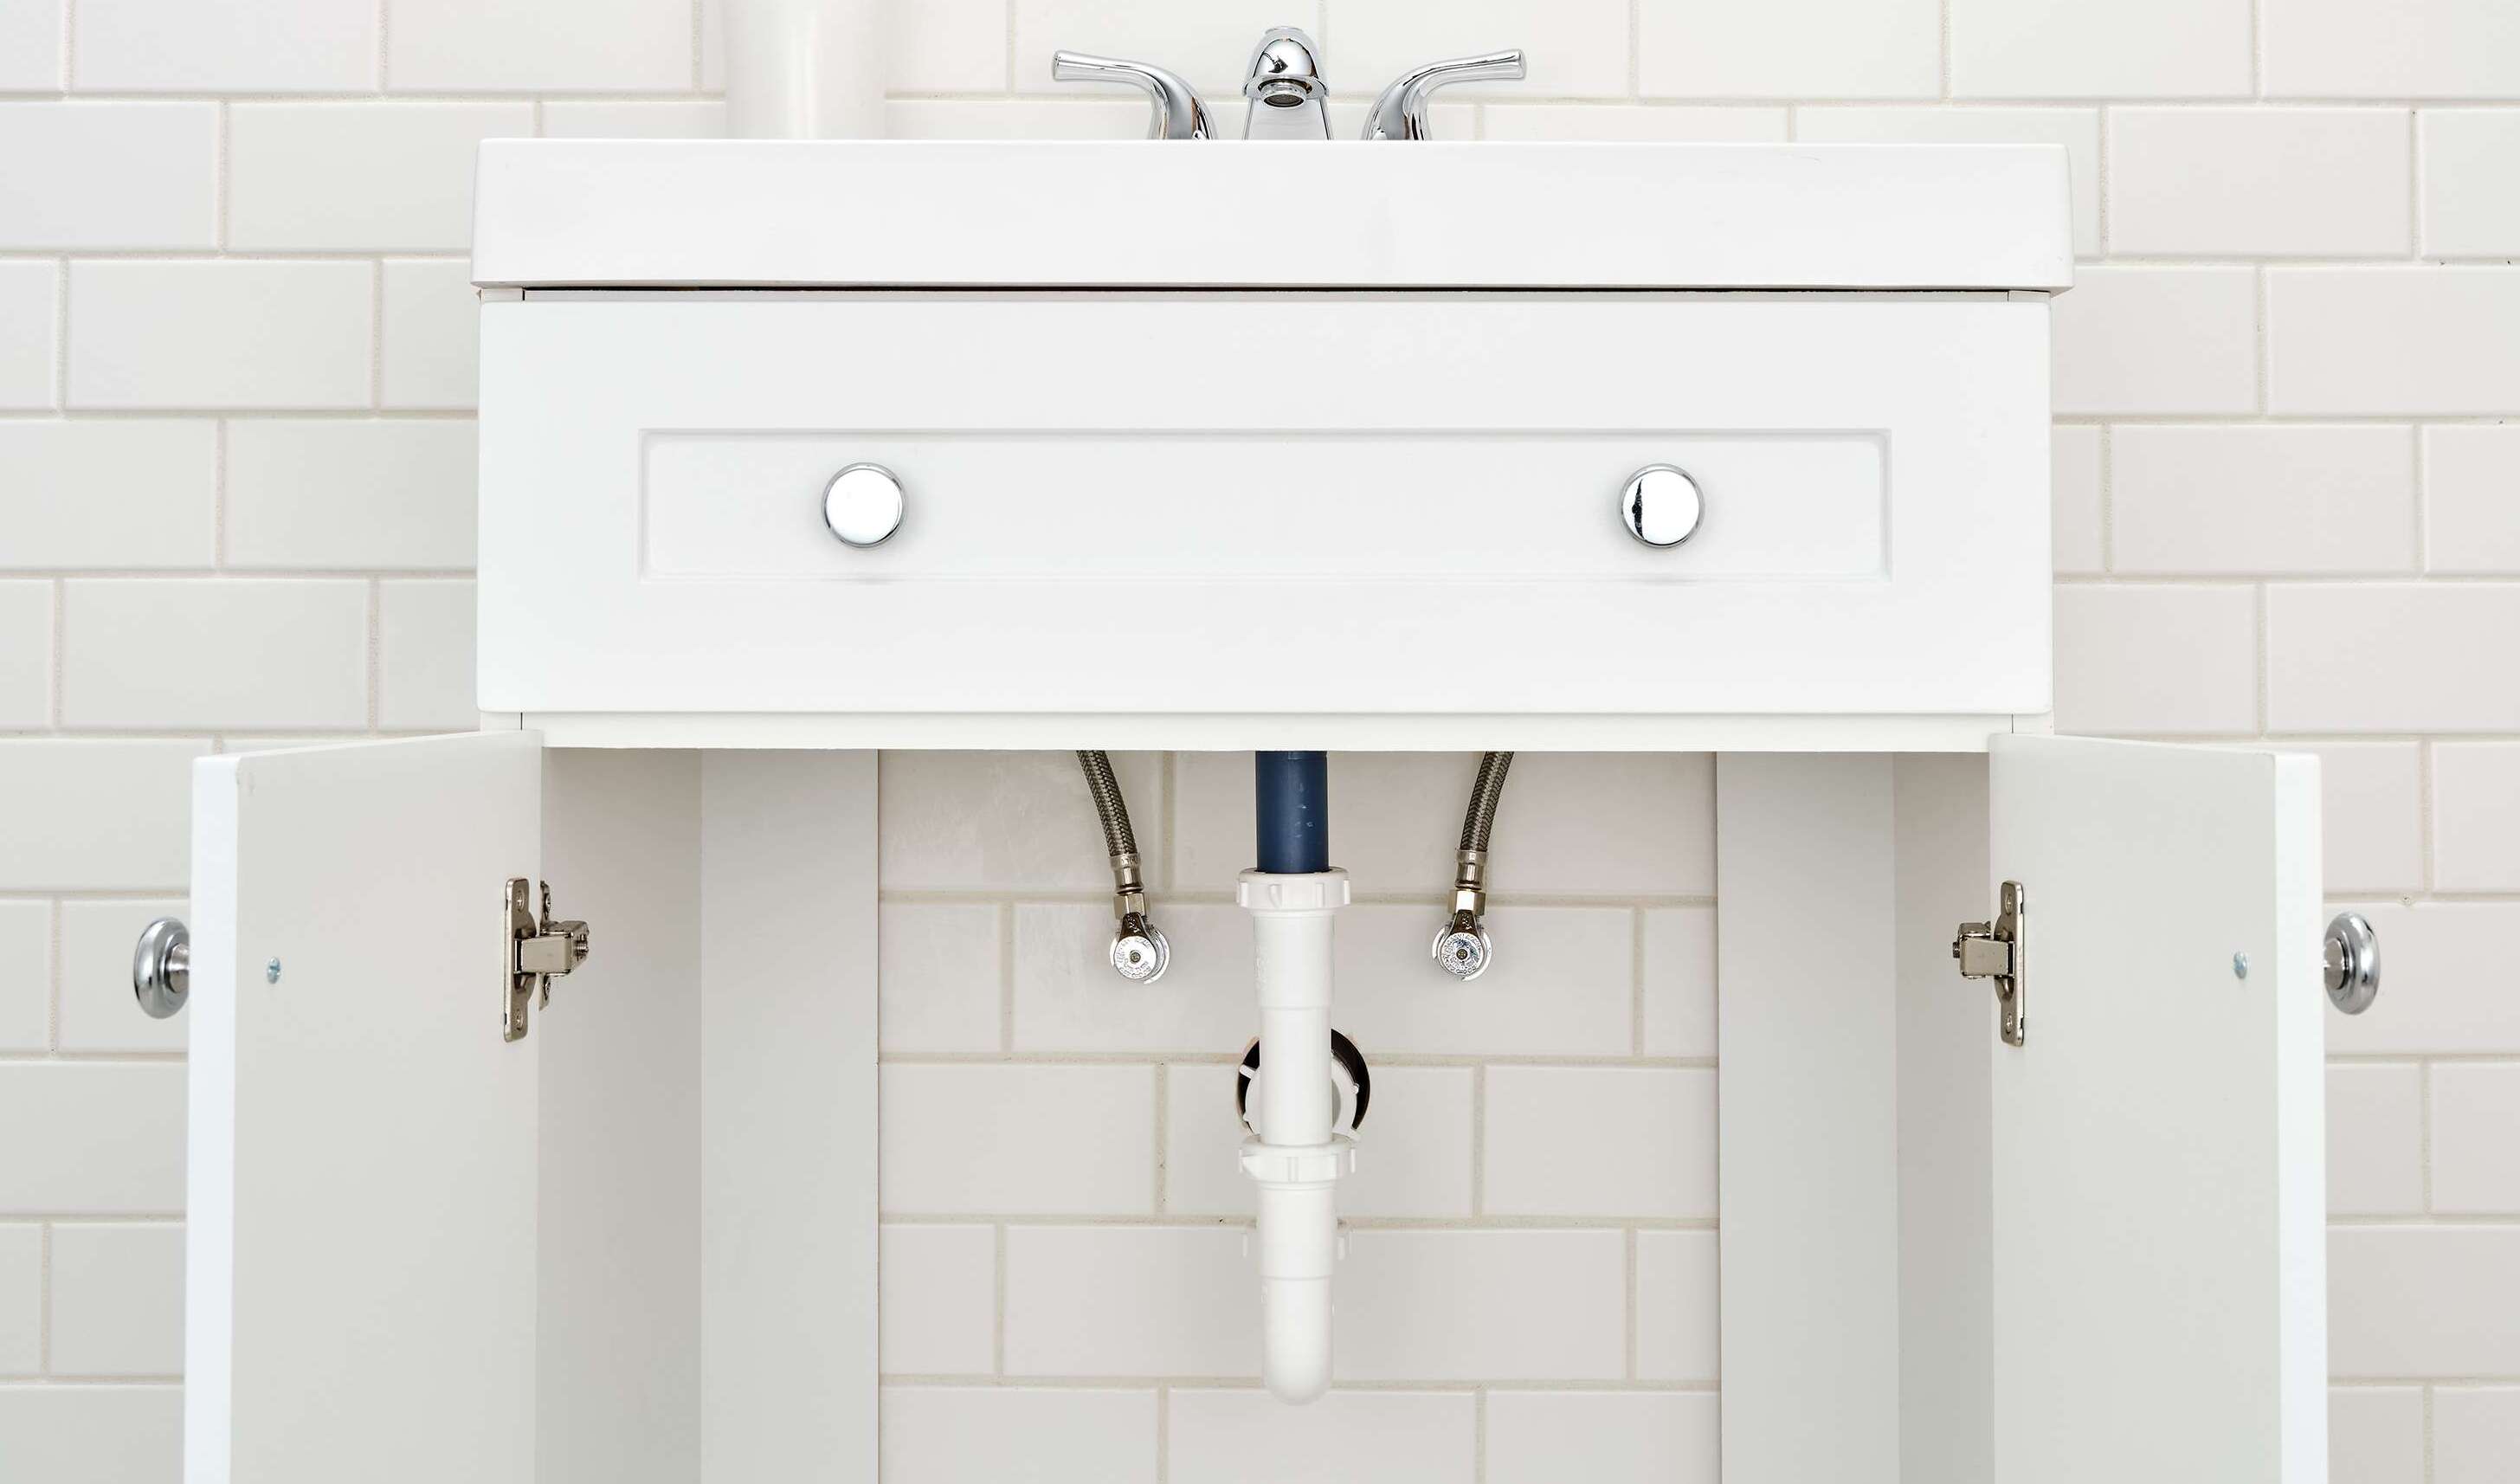
Step 1: Remove the P-Trap
The first step in tightening a sink drain is to remove the P-Trap. The P-Trap is a curved pipe that is shaped like the letter “P” and is located beneath the sink. Follow these steps to remove it:
- Place a bowl or bucket underneath the P-Trap to catch any water or debris that may come out.
- Using an adjustable wrench, locate the slip nuts on both ends of the P-Trap. These are the nuts that connect the P-Trap to the drain pipes.
- Slowly loosen the slip nuts by turning them counterclockwise. If the slip nuts are difficult to loosen, you can use a pipe wrench for additional leverage.
- Once the slip nuts are loose, carefully remove the P-Trap from the drain pipes.
It’s important to note that the P-Trap may contain water or debris, so be prepared for some spillage. If necessary, use a cloth or rag to clean up any spills and ensure that the area is clear before proceeding.
By removing the P-Trap, you’ll have better access to the drain pipes and can proceed with the next steps of tightening the sink drain.
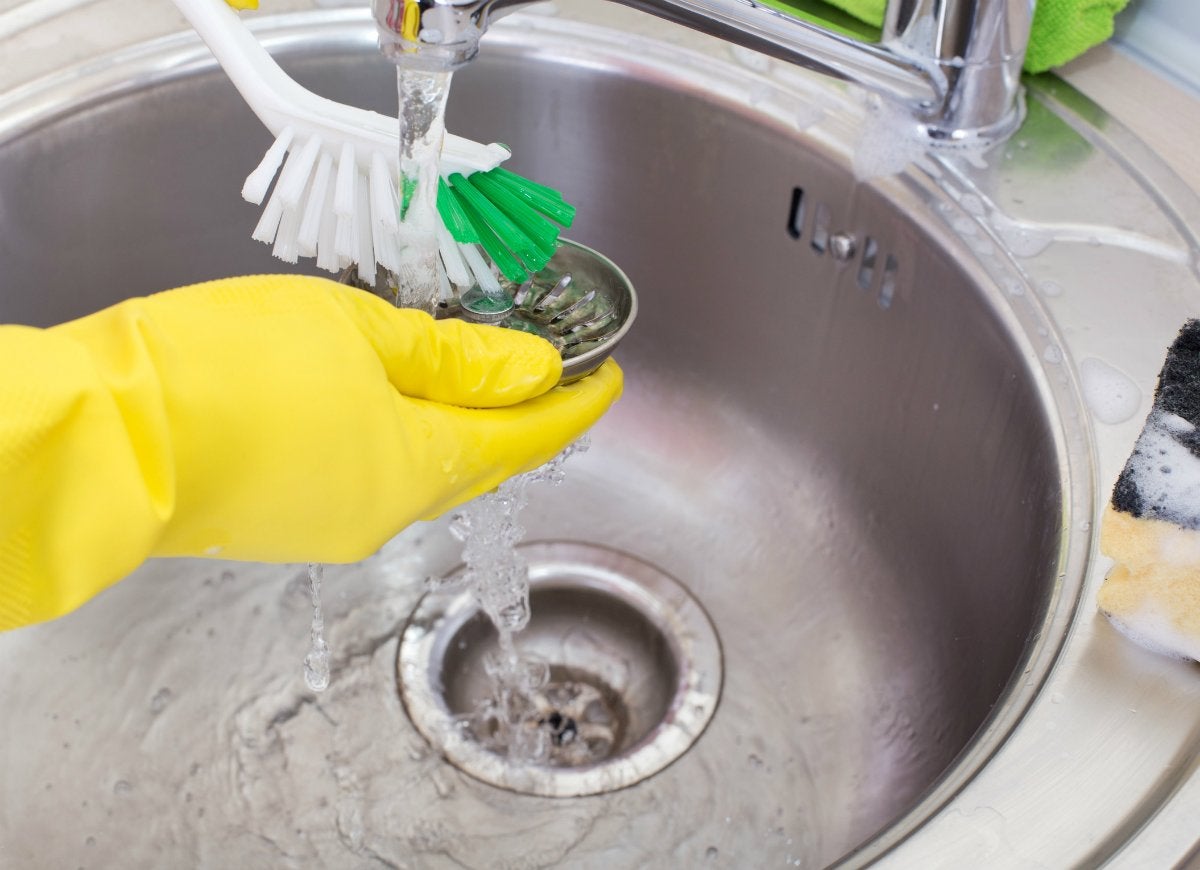
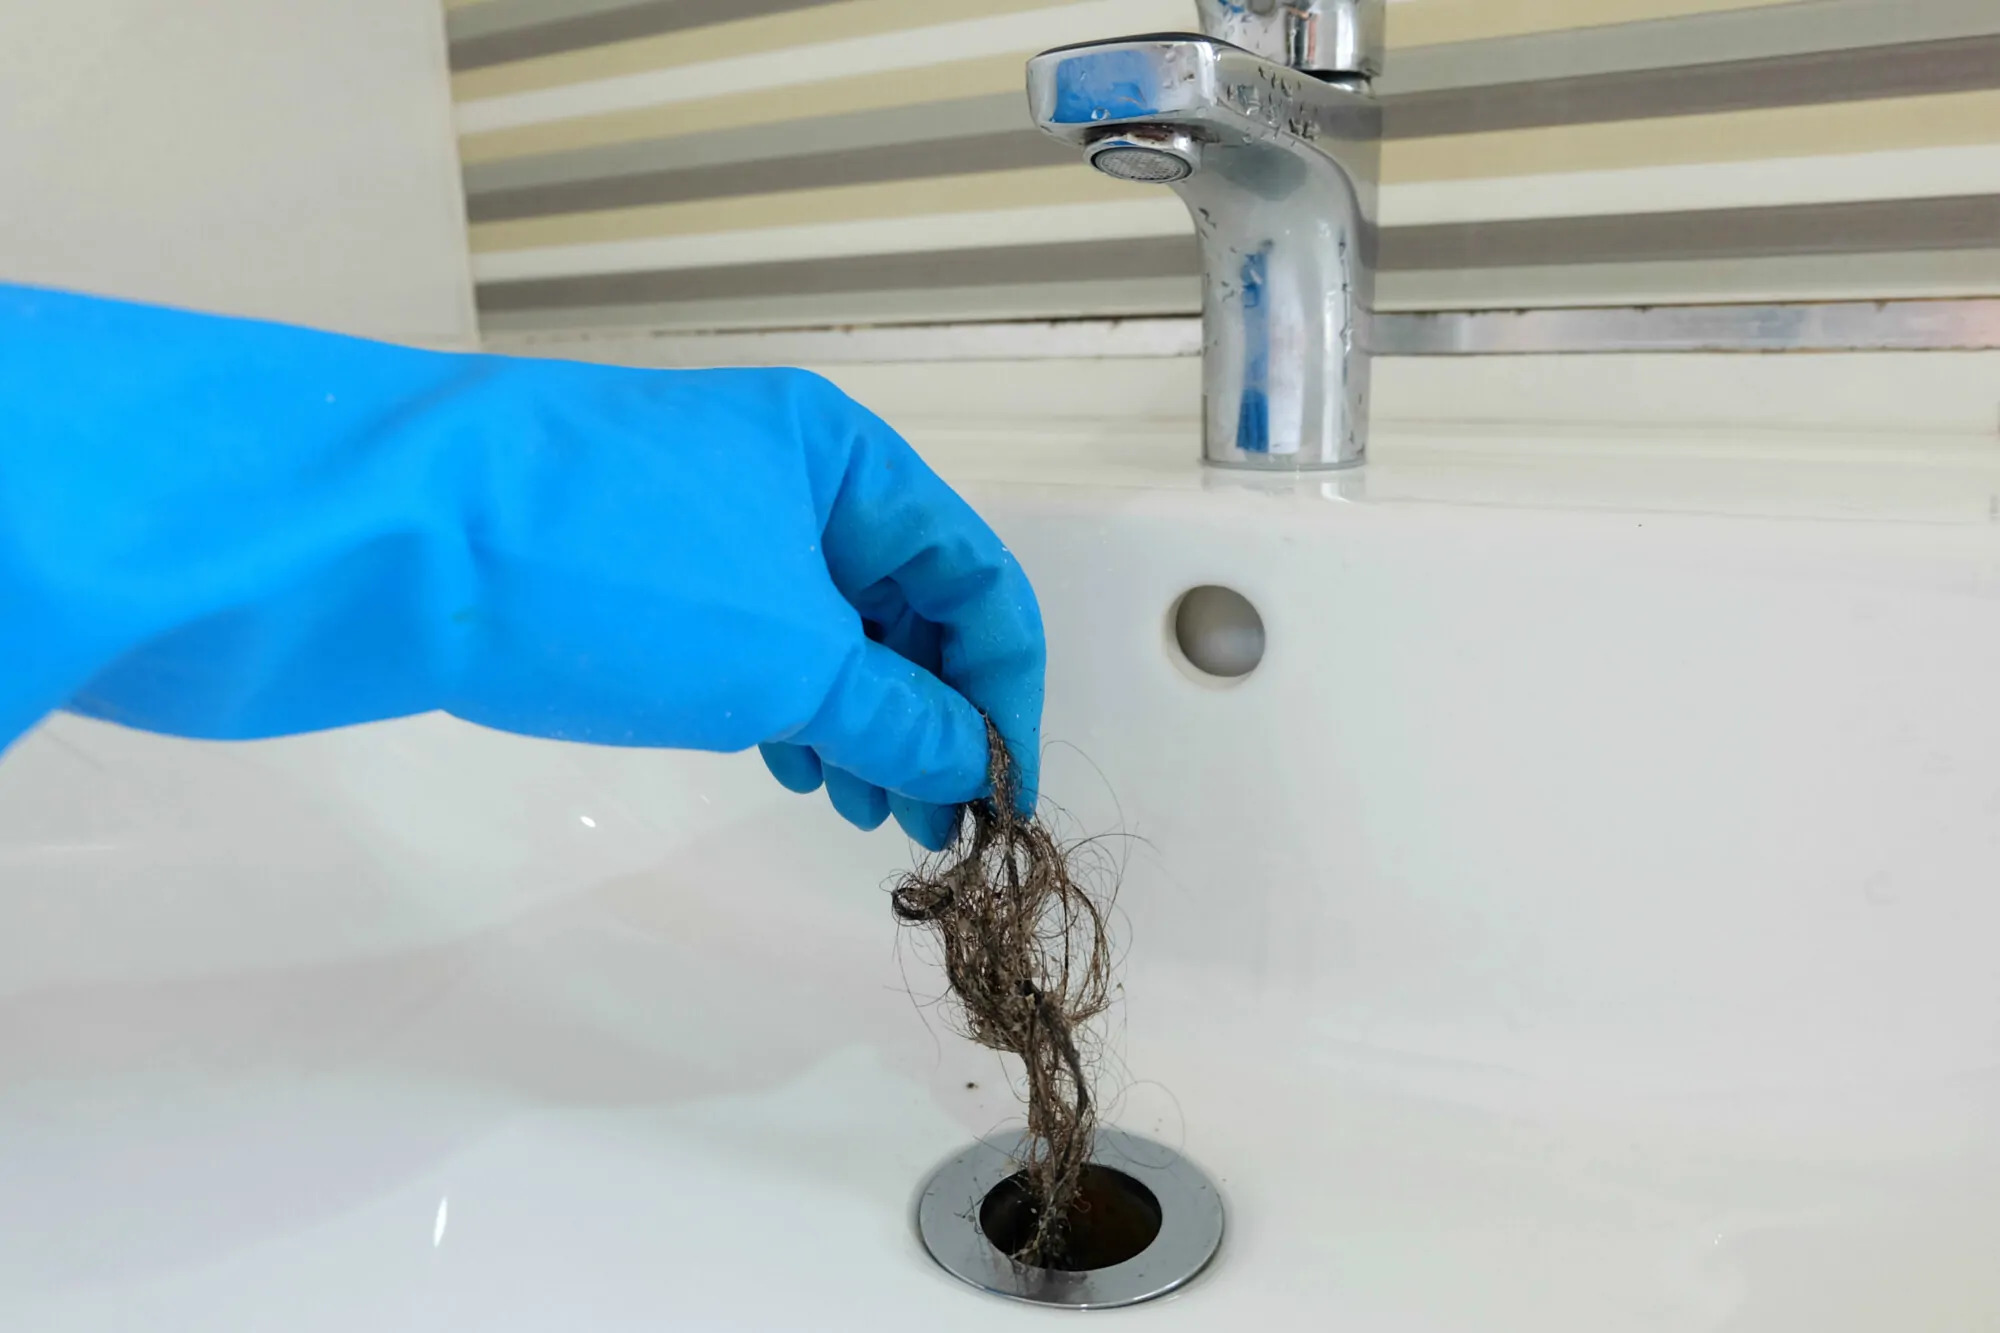
Step 2: Clean the Drain Pipe and P-Trap
After removing the P-Trap, it’s time to clean the drain pipe and the P-Trap itself. Over time, debris and residue can accumulate, causing clogs and affecting the performance of the sink drain. Follow these steps to clean the drain pipe and P-Trap:
- Inspect the drain pipe and P-Trap for any visible debris or blockages. Use a flashlight if needed to get a clear view.
- If you notice any debris or blockages, you can use a cloth or rag to manually remove them. Be careful not to push the debris further into the pipe.
- If the drain pipe or P-Trap appears clogged or dirty, you can use a pipe brush or a bottle brush to scrub the interior surfaces. Make sure to reach all the way through the pipe and into the curves of the P-Trap.
- Once you have cleaned both the drain pipe and the P-Trap, rinse them thoroughly with warm water to remove any remaining residue or debris.
- Inspect the rubber gaskets or washers on the slip nuts. If they are worn or damaged, now is the time to replace them to ensure a proper seal.
By cleaning the drain pipe and P-Trap, you’ll remove any obstructions and improve the flow of water through the sink drain. This will help prevent future clogs and maintain the efficiency of your sink.
Now that the drain pipe and P-Trap are clean, let’s move on to the next step: tightening the slip nuts.
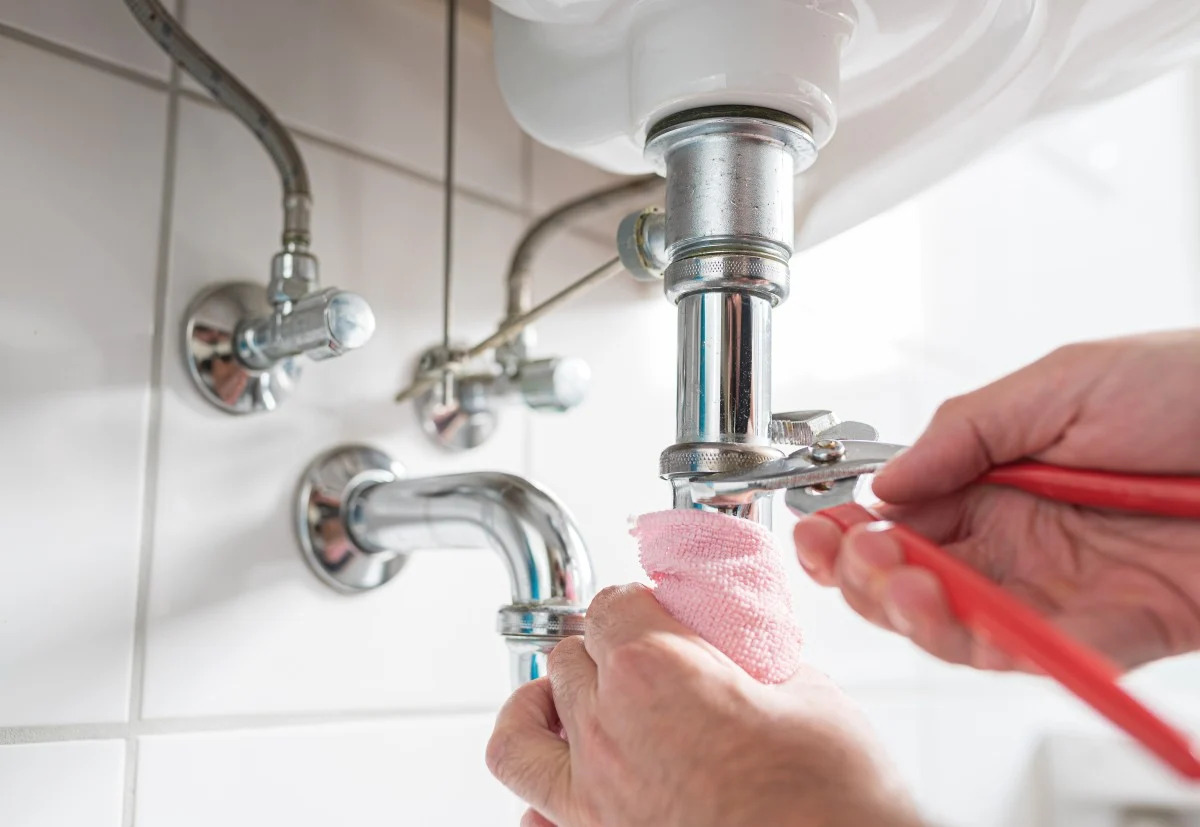
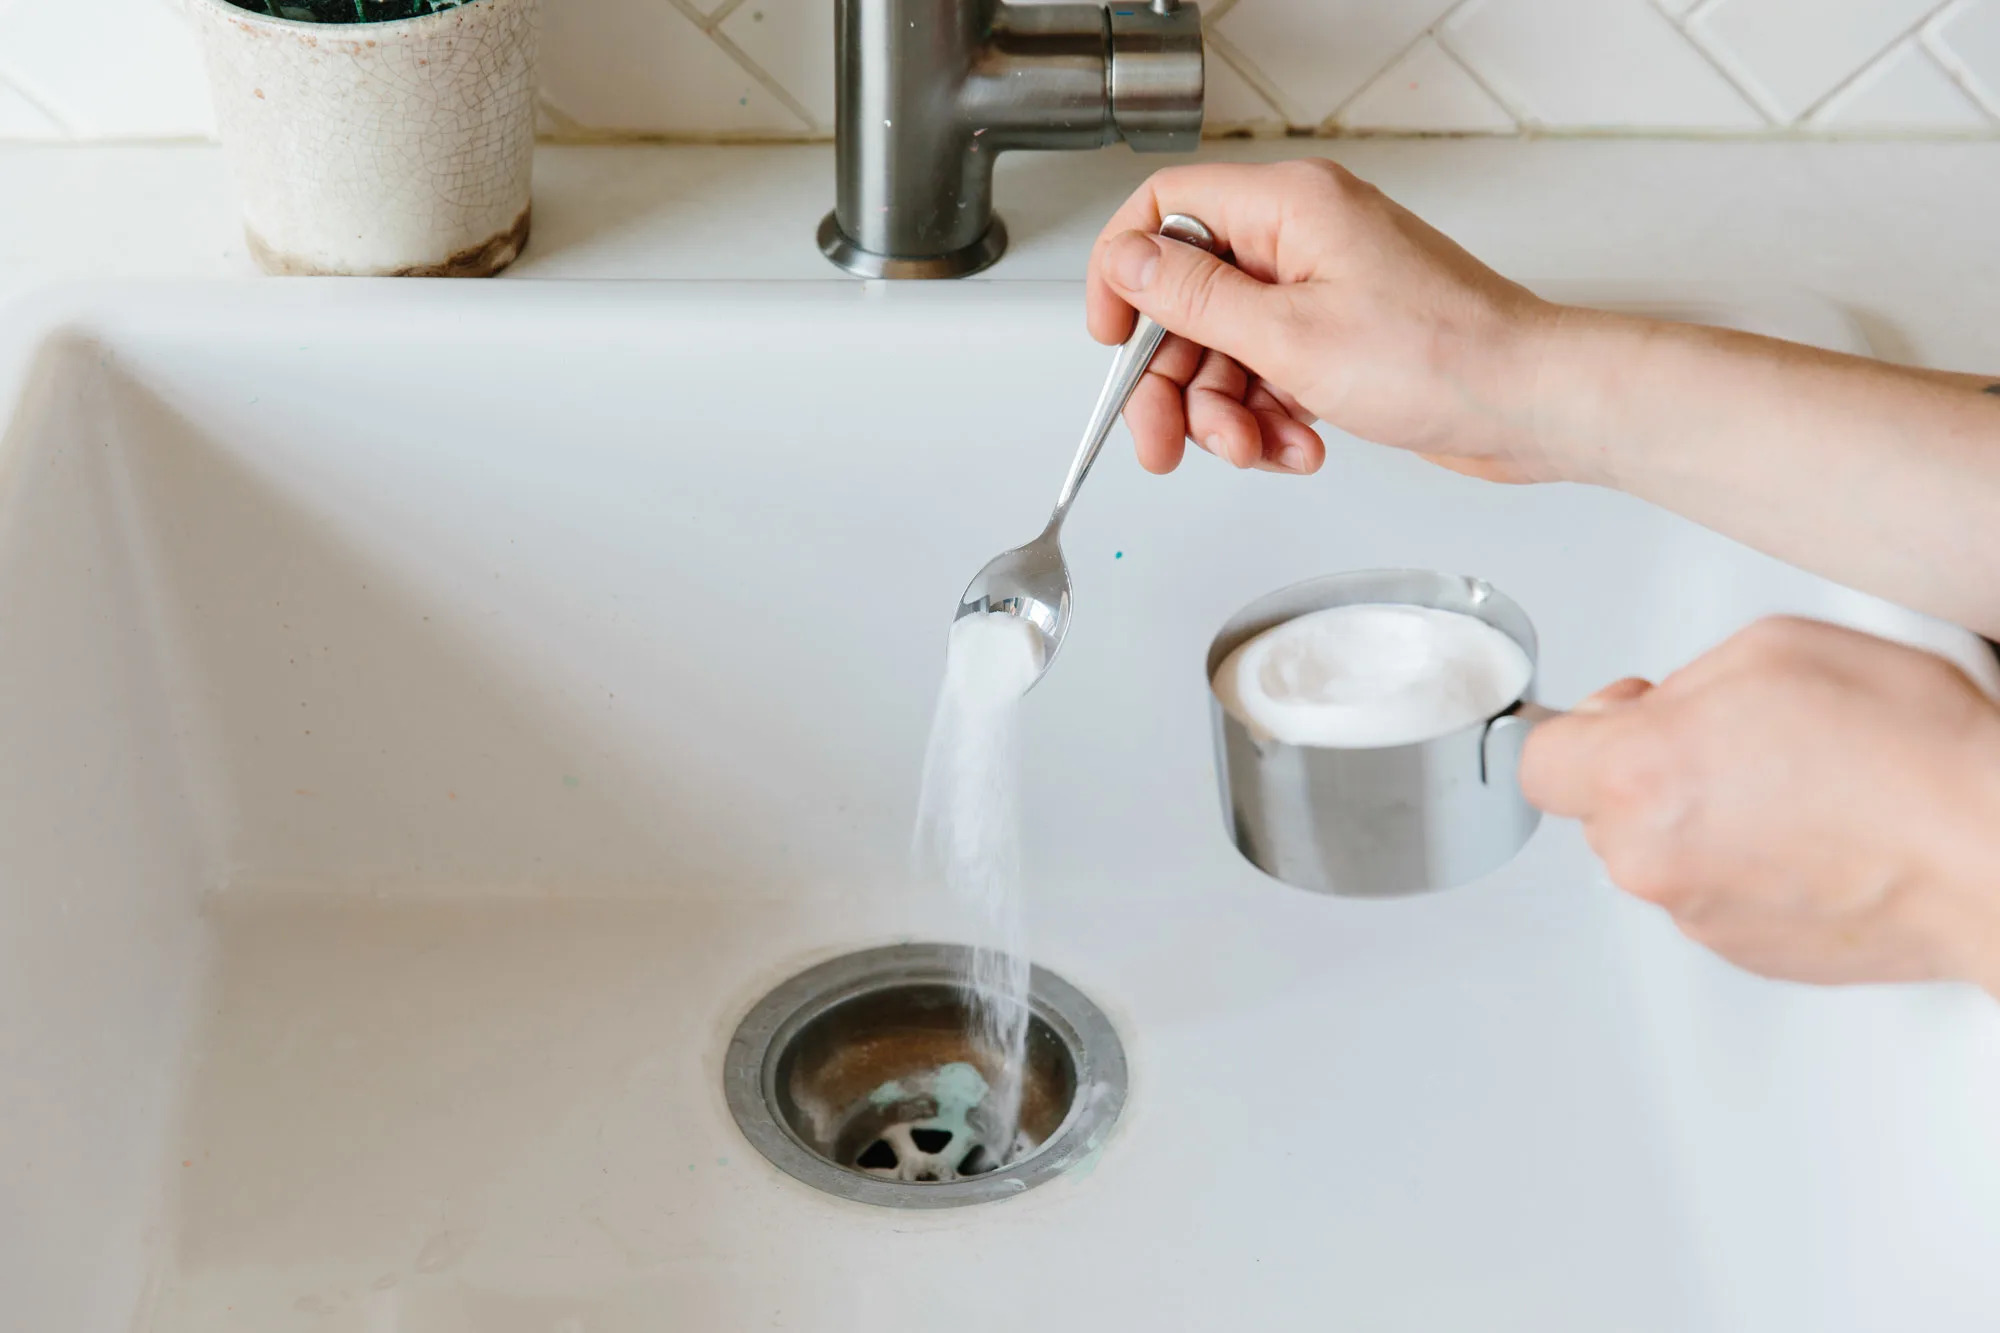
To tighten a sink drain, use a pipe wrench to secure the locknut underneath the sink. Turn the wrench clockwise to tighten the nut and ensure a snug fit.
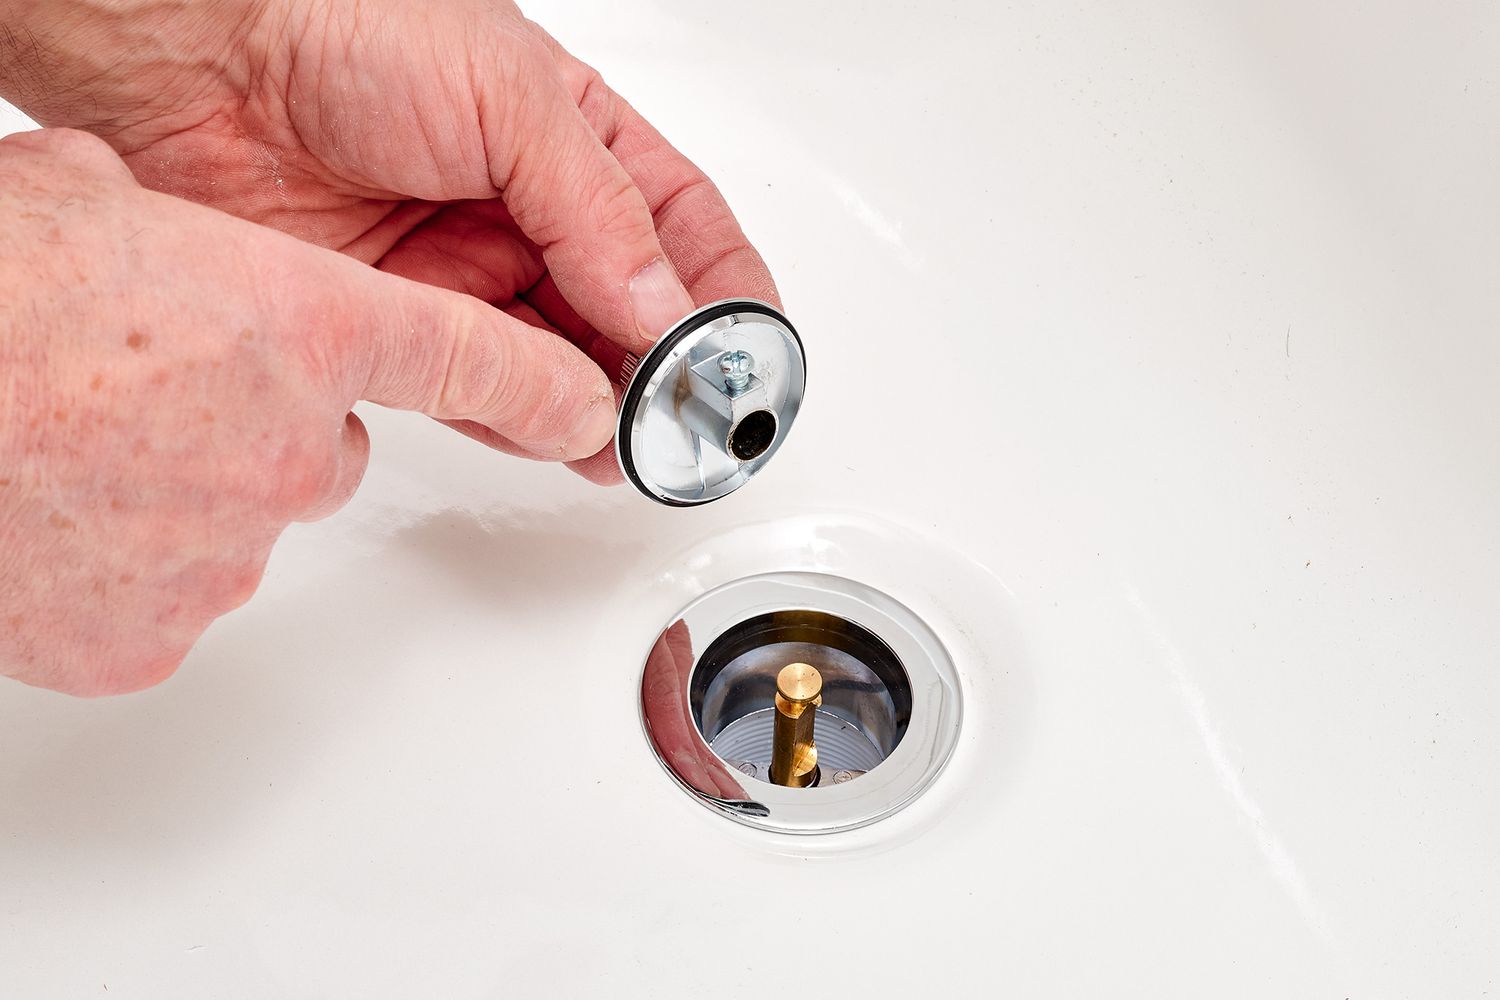
Step 3: Tighten the Slip Nuts
Now that the drain pipe and P-Trap are clean, it’s time to tighten the slip nuts. The slip nuts are responsible for securing the connection between the various components of the sink drain. Follow these steps to tighten the slip nuts:
- Take the adjustable wrench and locate the slip nuts on both ends of the drain pipe. These are the nuts that connect the drain pipe to the sink and the P-Trap.
- Using the adjustable wrench, start by tightening the slip nut on the sink drain connection first. Turn the slip nut clockwise to tighten it, but be careful not to overtighten and risk damaging the pipes.
- Next, move on to the slip nut on the P-Trap connection. Again, use the adjustable wrench to tighten it by turning it clockwise. Ensure a firm but not overly tight connection.
- Check the alignment of the drain pipe and the P-Trap. Make sure they are straight and properly aligned without any undue stress on the connections.
By tightening the slip nuts, you’ll create a secure and leak-free connection between the various components of the sink drain. This will help prevent any water leakage and maintain the proper functioning of your sink.
Now that you have tightened the slip nuts, let’s move on to the next step: reassembling the P-Trap.
Read more: How To Seal Sink Drain
Step 4: Reassemble the P-Trap
With the slip nuts tightened, it’s time to reassemble the P-Trap and restore the proper flow of water in your sink drain. Follow these steps to reassemble the P-Trap:
- Take the P-Trap that you previously removed and align it with the drain pipes. Ensure that the curved portion of the P-Trap is facing downwards.
- Slide the slip nut on one end of the P-Trap onto the corresponding drain pipe. Hand-tighten the slip nut, ensuring a snug fit. Use the adjustable wrench to give it an additional quarter turn, but be cautious not to overtighten.
- Next, slide the slip nut on the other end of the P-Trap onto the remaining drain pipe. Again, hand-tighten the slip nut and use the adjustable wrench to give it a quarter turn for a secure connection.
- Inspect the alignment of the P-Trap and adjust if necessary. Make sure it is centered and properly connected to both drain pipes.
By reassembling the P-Trap, you are ensuring a tight and secure connection between the drain pipes. This will help prevent any water leakage and maintain the optimal functioning of your sink.
Now that the P-Trap is reassembled, let’s move on to the final step: testing for leaks.
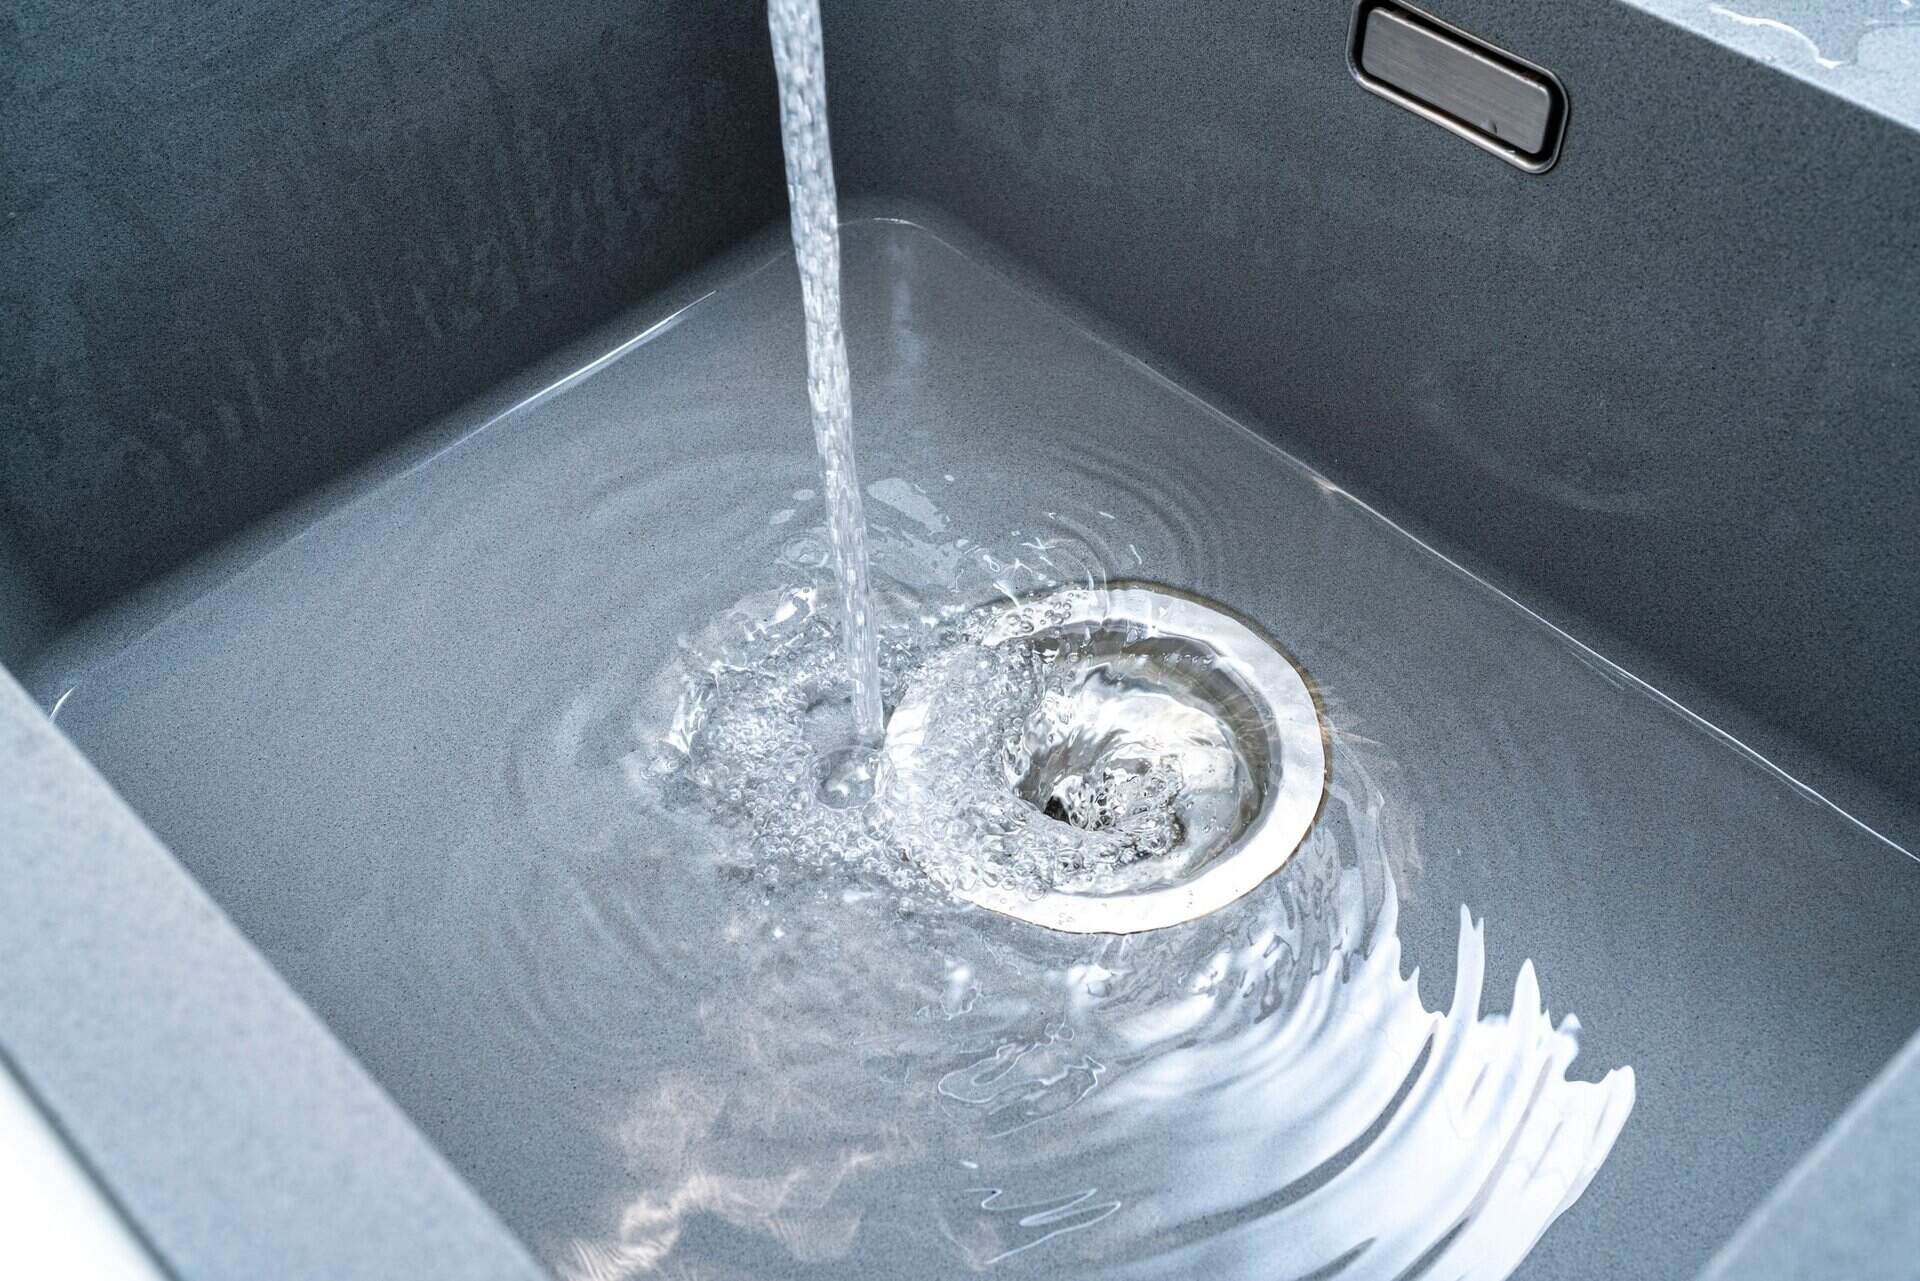
Step 5: Test for Leaks
The final step in tightening a sink drain is to test for leaks. After reassembling the P-Trap, it’s important to check if there are any water leaks before considering the job complete. Follow these steps to test for leaks:
- Turn on the water supply to the sink by opening the faucet.
- Observe the connections on the drain pipe and P-Trap for any signs of water leakage. Pay close attention to the slip nuts and the areas where they connect to the drain pipes.
- If you notice any water dripping or pooling, use a cloth or rag to dry the area and then gently tighten the slip nut that is contributing to the leak. Be careful not to overtighten and risk damaging the pipes.
- Continue running the water and closely monitor the connections for a few minutes to ensure that no further leaks occur.
- If you do not observe any leaks, congratulations! Your sink drain is now properly tightened and functioning optimally.
By testing for leaks, you can identify and address any loose connections or potential issues before they lead to bigger problems. This final step ensures that your sink drain is secure and leak-free.
Congratulations on successfully tightening your sink drain! By following these steps, you have restored the efficiency and reliability of your sink, ensuring that it functions properly for years to come.
Remember that regular maintenance is key to keeping your sink drain in top shape. If you encounter any persistent or complicated issues, or if you are unsure about any step in the process, it’s always wise to consult a professional plumber for assistance.
Now, enjoy your fully functioning sink and the peace of mind that comes with knowing it is properly tightened and ready for all your washing and cleaning needs!
Conclusion
Tightening a sink drain is a relatively simple task that can greatly improve the functionality and efficiency of your kitchen or bathroom sink. By following the steps outlined in this guide, you can easily tighten the slip nuts, clean the drain pipe and P-Trap, reassemble the P-Trap, and test for leaks.
Regular maintenance and upkeep of your sink drain are essential to prevent clogs and leaks. By taking the time to tighten your sink drain, you can avoid costly repairs and ensure that your sink functions optimally for years to come.
Remember to always gather the necessary materials, such as an adjustable wrench, pipe wrench, plumber’s tape, bowl or bucket, and cloth or rag, before beginning the process. This will help you stay organized and efficient throughout the task.
If you encounter any persistent issues or feel unsure about any step in the process, it’s always a good idea to seek professional assistance from a plumber. They have the expertise and tools necessary to address any complex issues and ensure a long-lasting solution.
Now that you know how to tighten a sink drain, you can confidently tackle this simple DIY project. Enjoy the benefits of a properly functioning sink drain and the peace of mind that comes with it.
Keep your sink in top shape and happy tightening!
Frequently Asked Questions about How To Tighten A Sink Drain
Was this page helpful?
At Storables.com, we guarantee accurate and reliable information. Our content, validated by Expert Board Contributors, is crafted following stringent Editorial Policies. We're committed to providing you with well-researched, expert-backed insights for all your informational needs.


0 thoughts on “How To Tighten A Sink Drain”