Articles
How To Replace A Bathroom Sink Drain
Modified: August 28, 2024
Learn how to replace a bathroom sink drain with our informative articles. Step-by-step instructions and helpful tips to make the process easy.
(Many of the links in this article redirect to a specific reviewed product. Your purchase of these products through affiliate links helps to generate commission for Storables.com, at no extra cost. Learn more)
Introduction
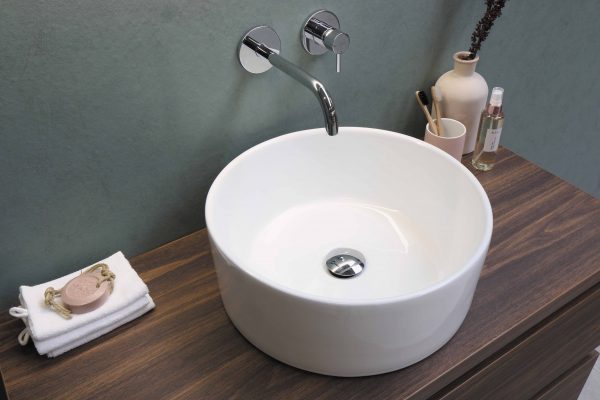
Replacing a bathroom sink drain may seem like a daunting task, but with the right tools and a little know-how, it can be a straightforward process. Over time, bathroom sink drains can become clogged, leak, or simply wear out, necessitating replacement. By following a few simple steps, you can replace your bathroom sink drain and restore proper functionality to your sink.
In this article, we will guide you through the process of replacing a bathroom sink drain. We will cover everything you need to know, from gathering the necessary tools and materials to reassembling the plumbing after the replacement. Whether you are a seasoned DIY enthusiast or a beginner, this guide will provide you with the information you need to successfully replace your bathroom sink drain.
Before we begin, it is important to note that this guide is intended for informational purposes only. If you are uncomfortable or unsure about any step of the process, it is always best to consult a professional plumber.
Now, let’s dive into the step-by-step process of replacing a bathroom sink drain!
Key Takeaways:
- Replacing a bathroom sink drain is a manageable DIY project with the right tools and guidance. By following the step-by-step process, you can successfully restore proper functionality to your sink and enjoy a clean and efficient bathroom space.
- Proper preparation, careful removal of the old drain, thorough cleaning, and meticulous installation of the new drain are essential for a successful replacement. Testing for leaks and reassembling the plumbing ensure a smooth and functional bathroom sink.
Read more: How To Replace Pedestal Sink With Vanity
Step 1: Gather the Necessary Tools and Materials
Before you begin the process of replacing your bathroom sink drain, it’s important to gather all the necessary tools and materials. Having everything prepared beforehand will save you time and ensure a smoother workflow. Here are the tools and materials you’ll need:
- Adjustable wrench – This versatile tool will be essential for loosening and tightening nuts and bolts.
- Plumbers putty – You’ll need this waterproof sealing compound to create a watertight seal around the new drain.
- Screwdriver – Depending on your sink’s design, you may need either a Phillips or flathead screwdriver.
- Bucket – A bucket will come in handy to catch any water or debris that may spill during the process.
- Pliers – Having a set of pliers will be helpful for loosening stubborn nuts or removing any remaining parts.
- Plumber’s tape – Also known as Teflon tape, this thin white tape is used to create a watertight seal on threaded connections.
- New bathroom sink drain – Make sure to choose a drain that matches the specifications of your sink and complements your bathroom decor.
Once you have gathered all the necessary tools and materials, you are ready to move on to the next step: preparing the work area.
Step 2: Prepare the Work Area
Before you begin the process of replacing a bathroom sink drain, it’s important to prepare the work area to ensure a smooth and efficient workflow. Follow these steps to properly prepare the work area:
- Clear the sink: Remove any items such as soap dispensers, toothbrush holders, or knick-knacks from the sink to create a clear workspace.
- Turn off the water supply: Locate the shut-off valves under the sink and turn them clockwise to shut off the water supply. If there are no shut-off valves, you may need to turn off the main water supply to your home temporarily.
- Place a bucket or towel under the sink: This will catch any water or debris that may spill during the process, preventing any damage to your flooring or cabinets.
- Inspect the existing drain: Take a close look at the existing drain to familiarize yourself with its components and any potential issues that may need to be addressed during the replacement process.
By taking these preparatory steps, you’ll create an organized and safe work environment. You’ll also be able to easily access the sink and its components, making the replacement process much smoother.
Next, we’ll move on to step 3: clearing the existing plumbing.
Step 3: Clear the Existing Plumbing
Before you can remove the old bathroom sink drain, it’s important to clear the existing plumbing. Over time, debris and buildup can accumulate, causing blockages and hindering the removal process. Follow these steps to clear the existing plumbing:
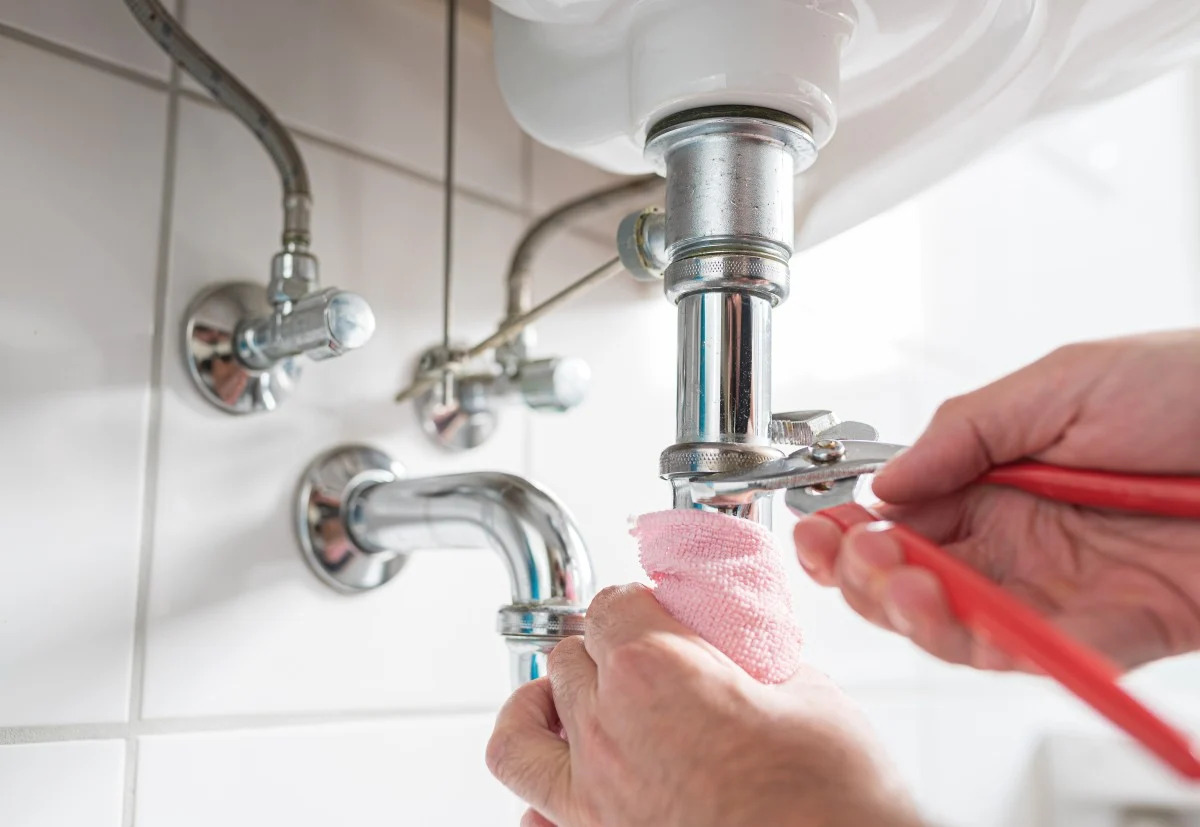
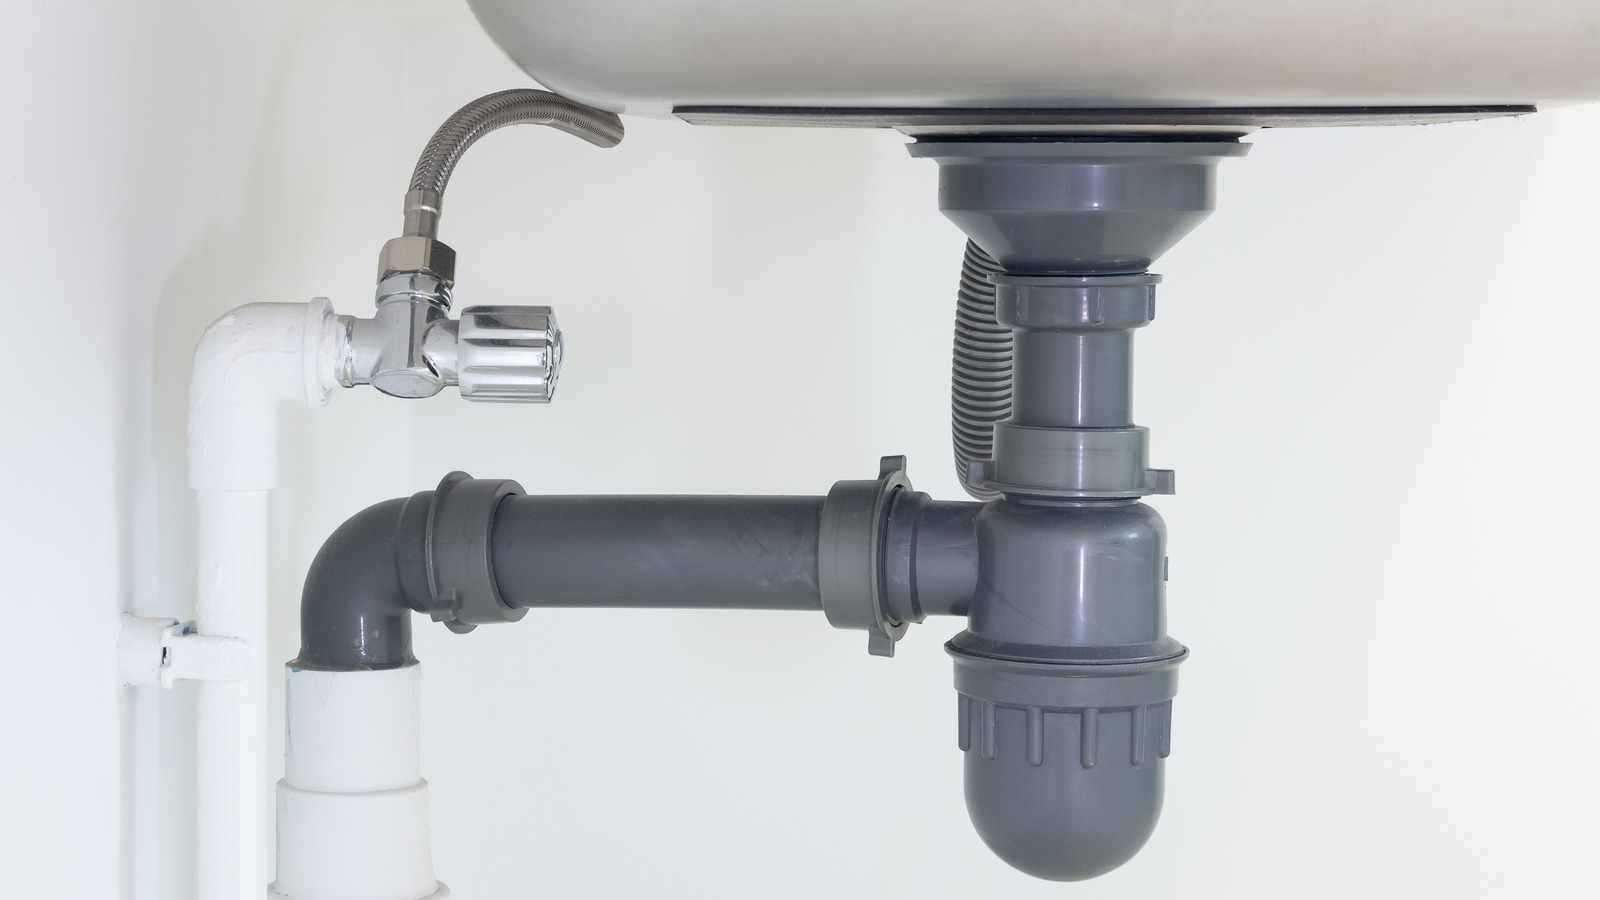
- Remove the P-trap: The P-trap is the curved pipe located beneath the sink that traps debris and prevents sewer gases from entering your home. Place a bucket under the P-trap to catch any water or debris, then use pliers to loosen the slip nuts at both ends of the P-trap. Once loose, carefully remove the P-trap and empty its contents into the bucket.
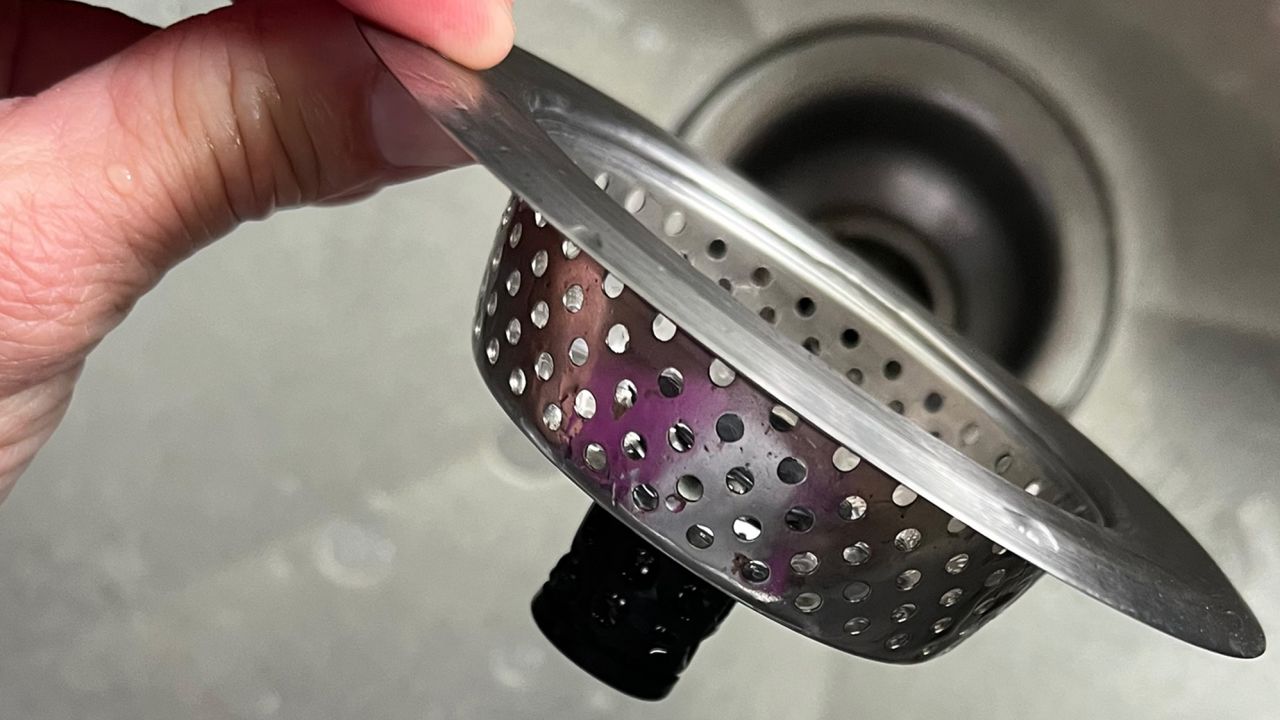
- Clean the P-trap and pipes: Inspect the P-trap and pipes for any blockages or buildup. Use a pipe brush or a wire hanger to remove any debris or gunk that may be stuck inside. Rinse the P-trap and pipes with warm water to ensure they are clean and clear.
- Check the drain opening: Take a flashlight and inspect the drain opening in the sink. Remove any visible debris or buildup using a pair of tweezers or a small brush. This will help ensure a smooth installation of the new drain.
- Inspect the drain pipe: Take a look at the drain pipe that connects to the wall. If there are any signs of damage, such as cracks or leaks, you may need to replace that section of the pipe as well. Make note of any necessary repairs or replacements.
By clearing the existing plumbing, you’re removing potential obstacles that could hinder the removal and installation process. This step also allows you to inspect the condition of the plumbing and address any issues that may require attention.
Next, we’ll move on to step 4: removing the old bathroom sink drain.
Step 4: Remove the Old Bathroom Sink Drain
Now that you’ve cleared the existing plumbing, it’s time to remove the old bathroom sink drain. Follow these steps to ensure a smooth and successful removal process:
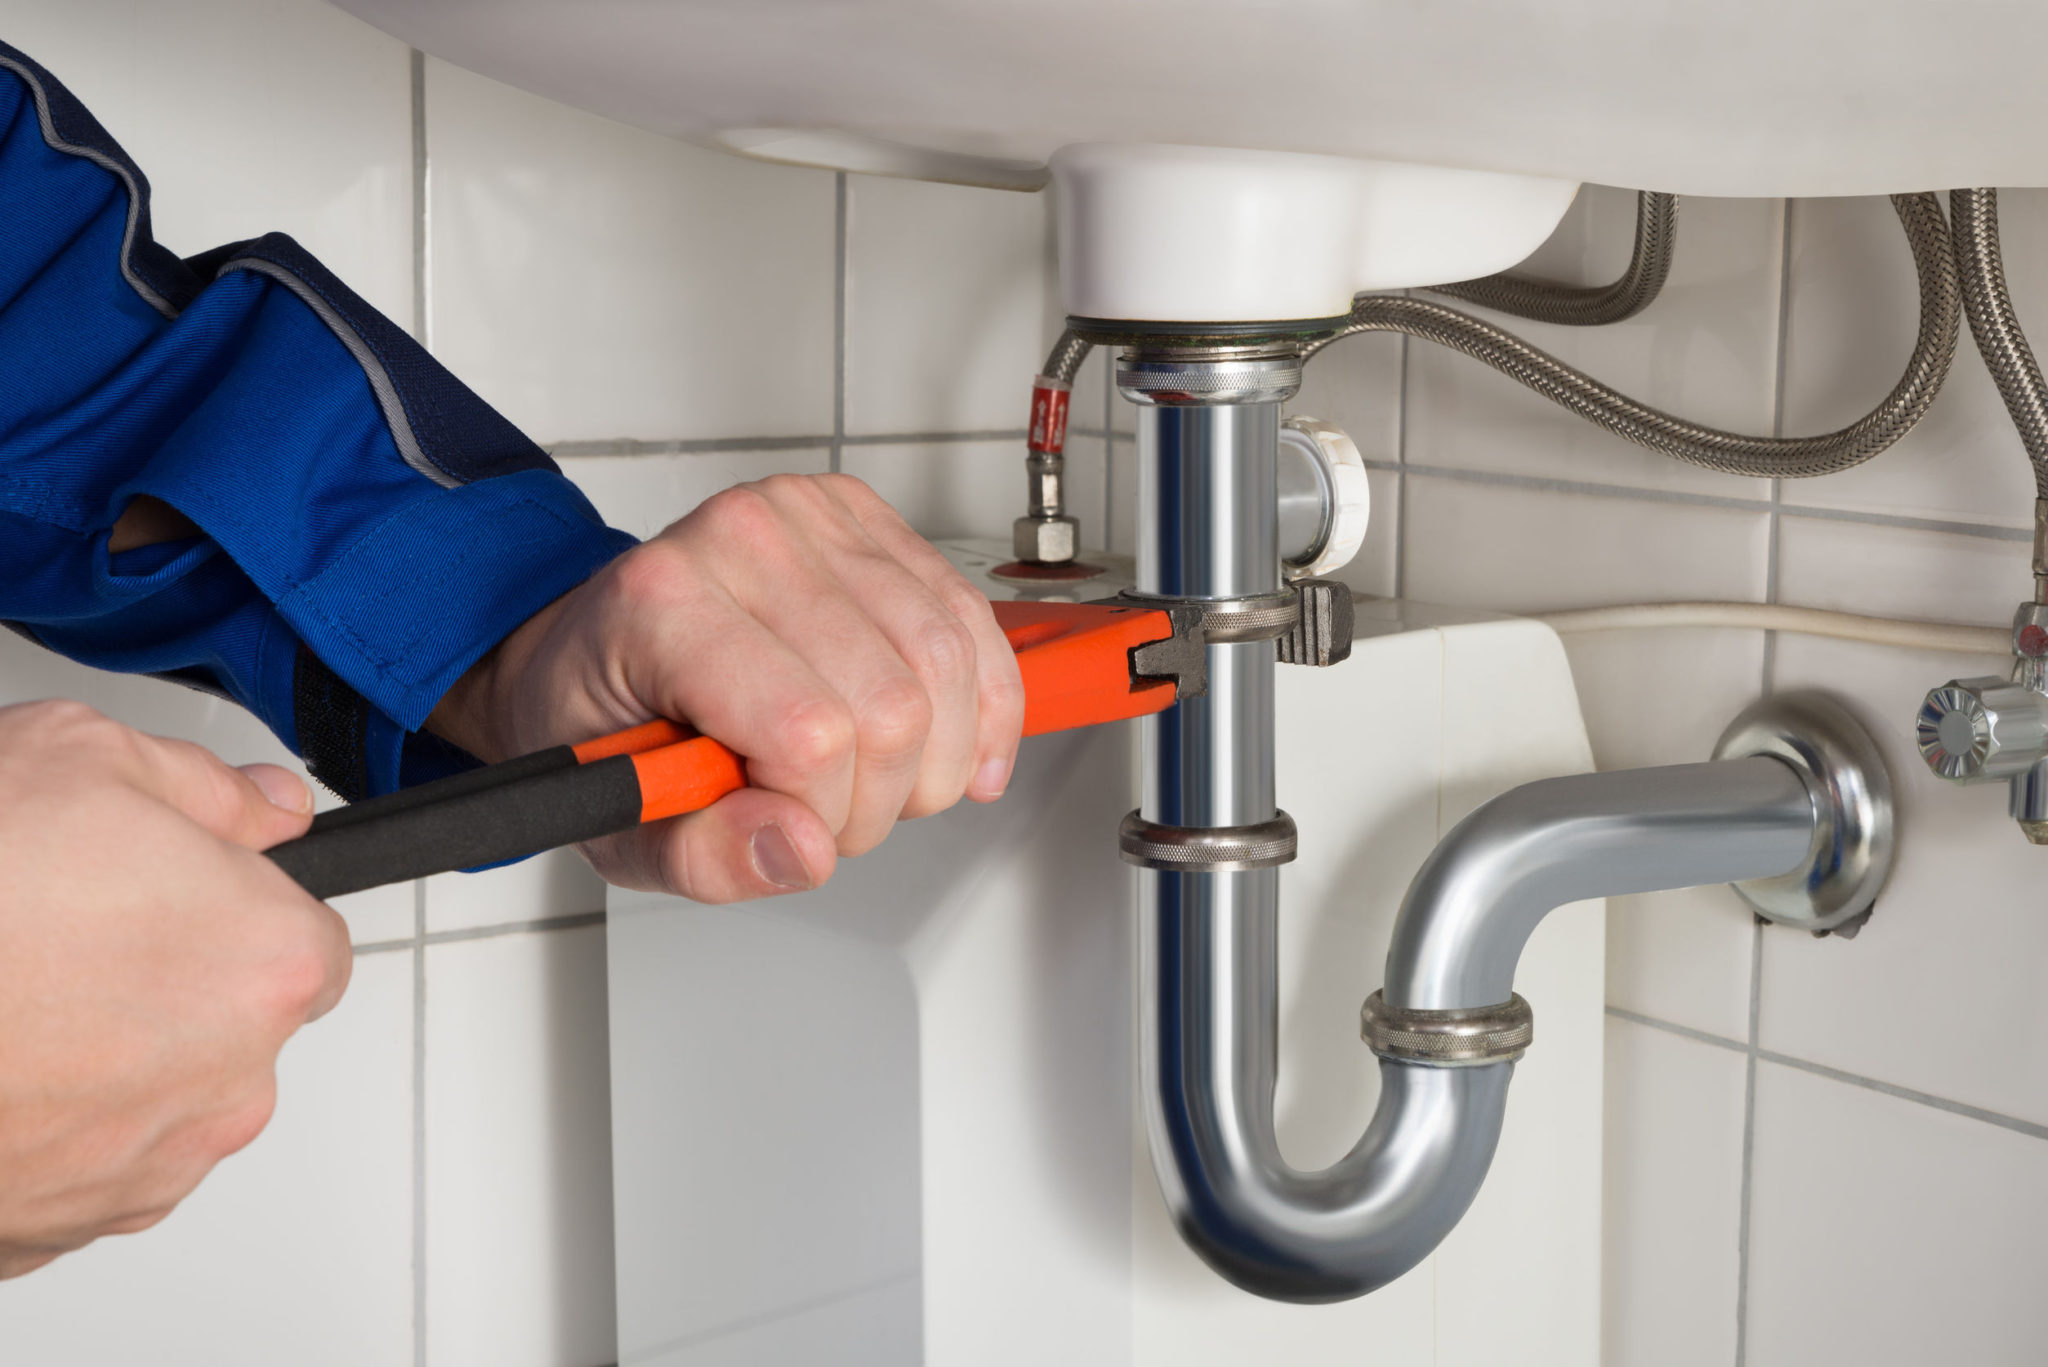
- Locate the locknut: Underneath the sink, you’ll find a locknut that secures the drain to the sink basin. Use an adjustable wrench to loosen and remove the locknut by turning it counterclockwise.
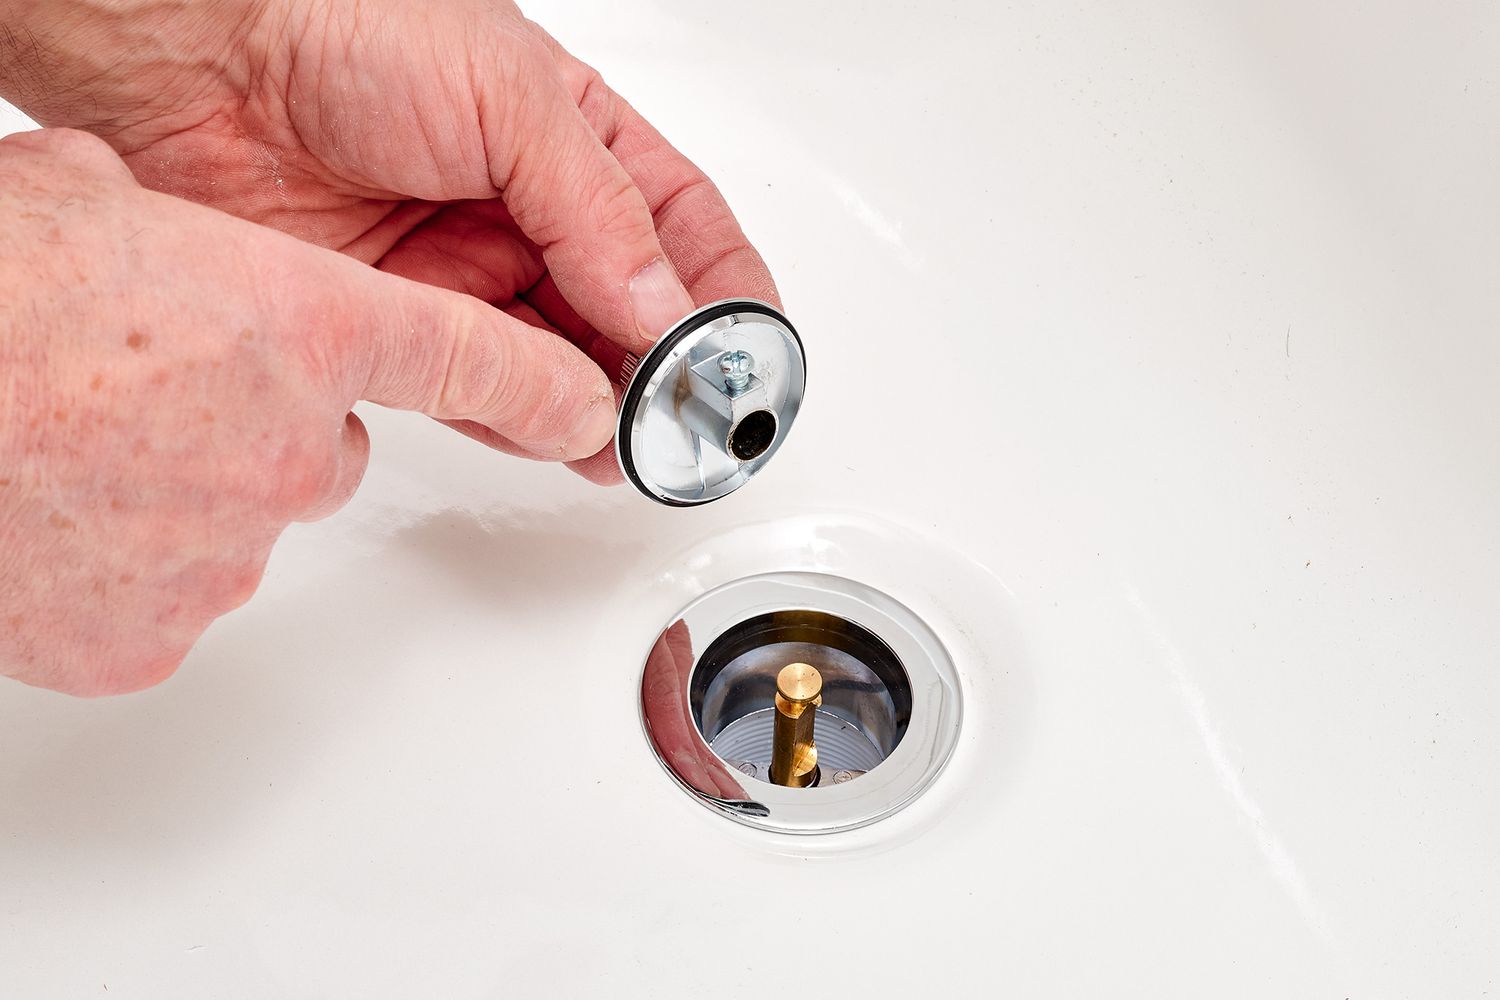
- Remove the drain flange: Once the locknut is removed, you can now remove the drain flange. Gently pull up on the flange while twisting it counterclockwise to detach it from the sink basin. If the flange is stuck, you can use a drain removal tool or a pair of pliers to help loosen it.
- Clean the sink opening: With the old drain removed, take the opportunity to clean the sink opening. Use a mild detergent and warm water to remove any residue or buildup. This will ensure a clean surface for the installation of the new drain.
- Inspect the drain components: Take a moment to inspect the old drain components. Check for any signs of damage or wear, such as cracks or corrosion. If any parts are damaged or in poor condition, it’s recommended to replace them with new parts.
Removing the old bathroom sink drain is an important step to prepare for the installation of the new drain. By following these steps and taking care during the removal process, you’ll have a clean and empty sink basin ready for the next step.
Next, we’ll move on to step 5: cleaning the sink and surrounding area.
When replacing a bathroom sink drain, make sure to have a bucket or towel handy to catch any water that may spill out during the process. This will help keep your work area clean and prevent any water damage.
Read more: How To Replace Bathroom Sink
Step 5: Clean the Sink and Surrounding Area
With the old bathroom sink drain removed, it’s time to clean the sink and the surrounding area. This step ensures a clean surface for the installation of the new drain and helps maintain a hygienic environment. Follow these steps to effectively clean the sink and surrounding area:
- Wipe down the sink basin: Use a mild detergent or a non-abrasive cleaner and a soft cloth or sponge to clean the sink basin. Pay attention to any stubborn stains or residue, and make sure to thoroughly rinse the sink with water afterwards.
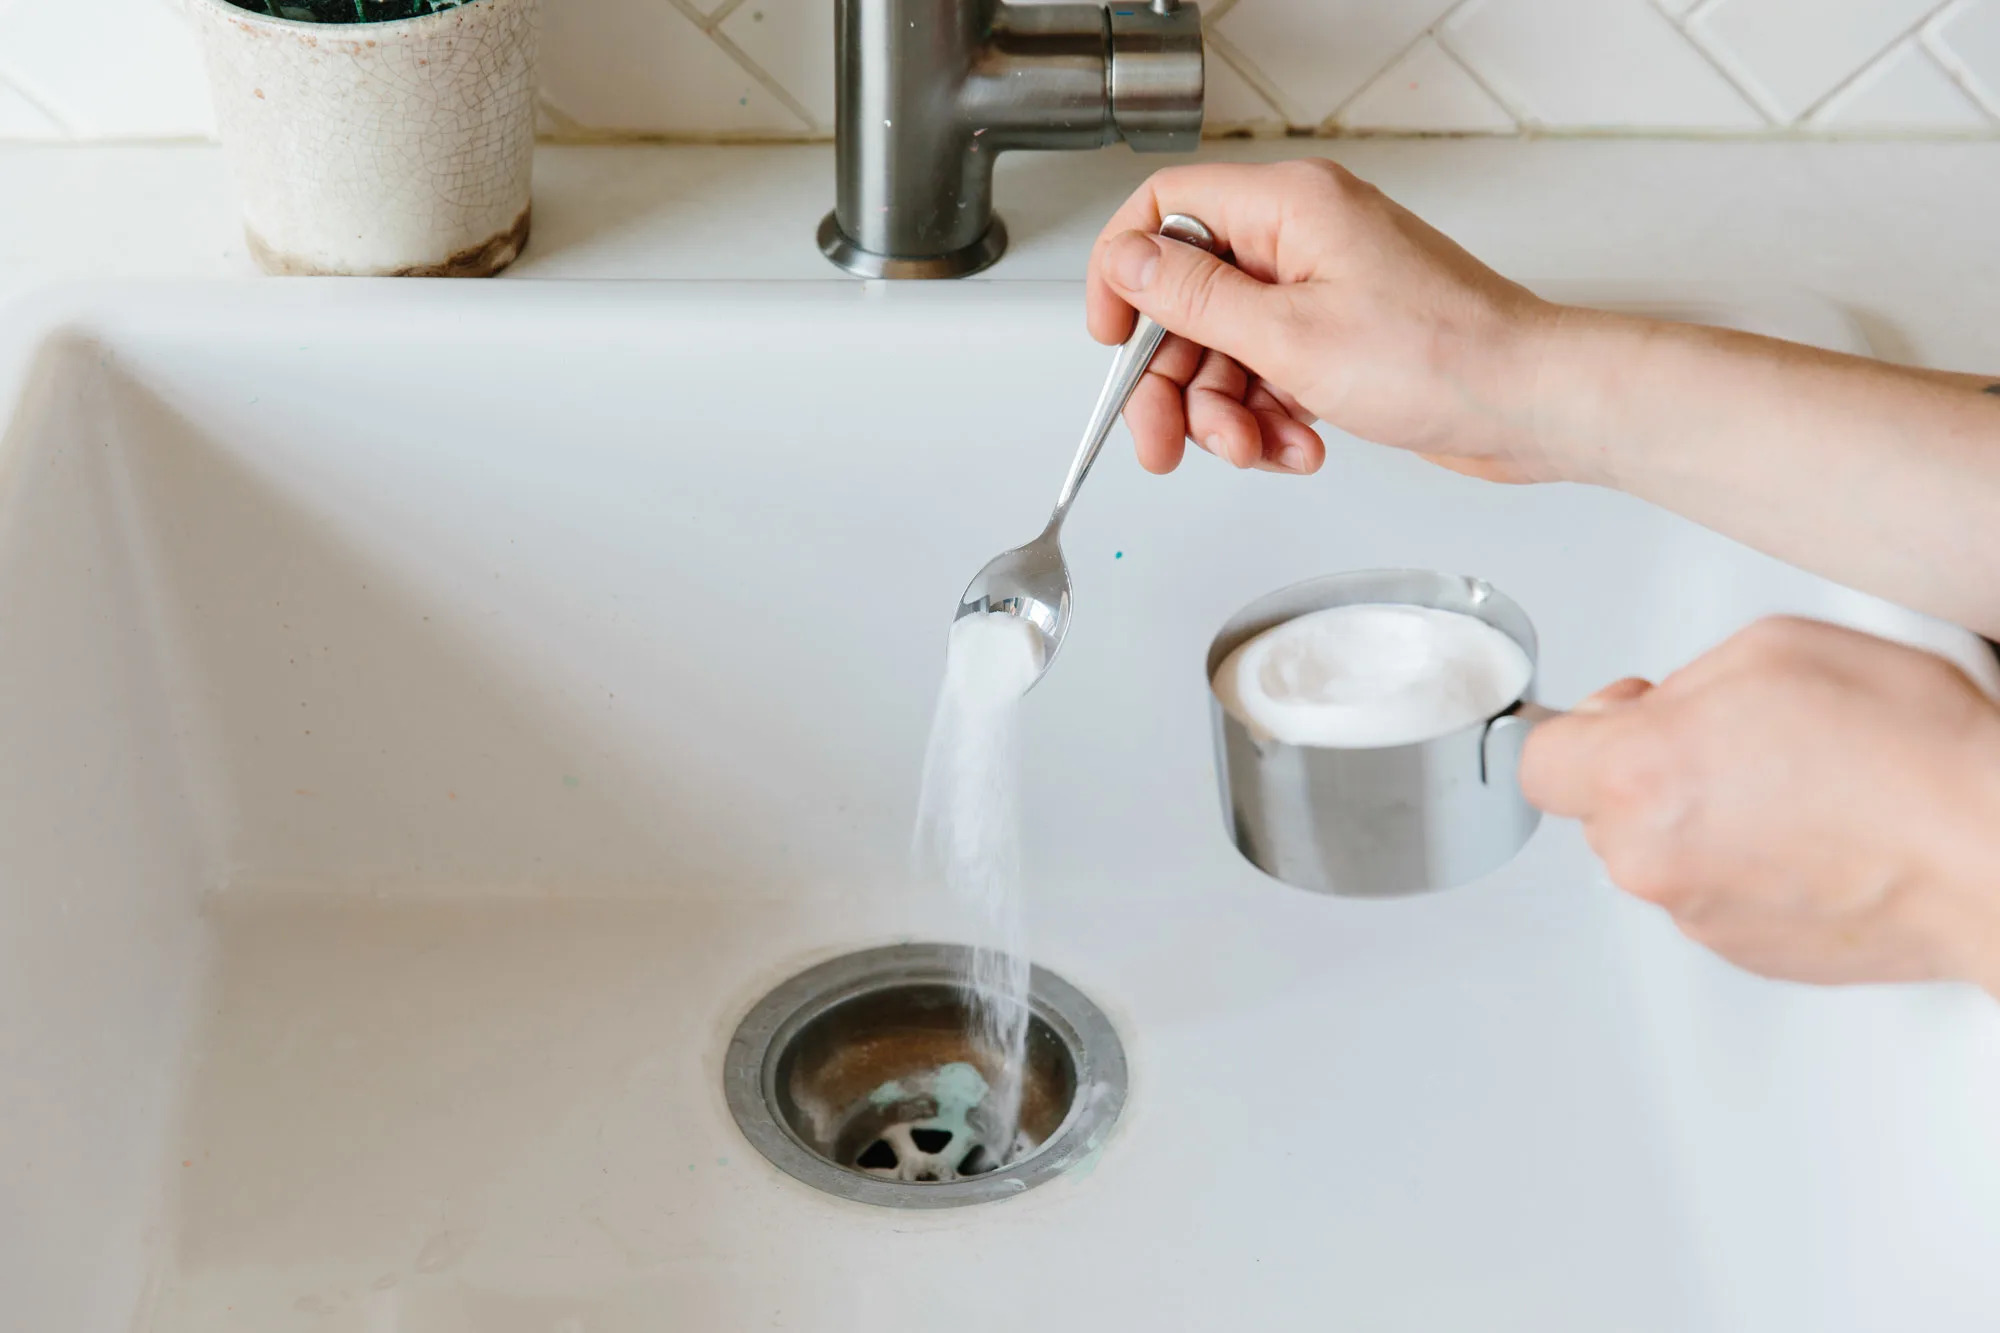
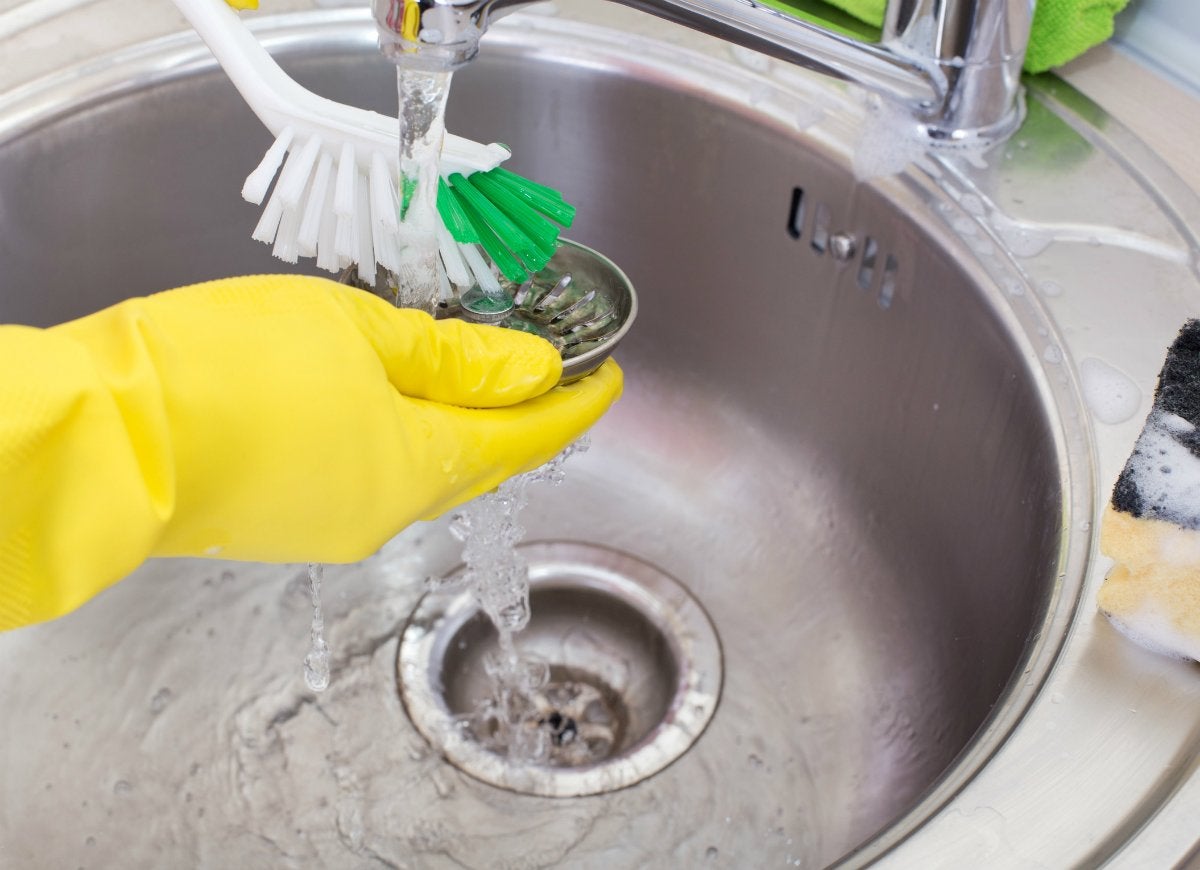
- Clean the drain opening: Take a brush or a small scrub pad to clean the drain opening in the sink. Remove any remaining debris, buildup, or residue that may have accumulated. Rinse the drain opening with water to ensure it is clean and free of any cleaning products.
- Clean the surrounding area: Wipe down the areas around the sink, including the countertop and any nearby fixtures or accessories. Remove any dust, dirt, or grime to create a clean work environment.
- Dry the sink and surrounding area: Use a towel or a cloth to dry the sink basin and the surrounding area. Make sure there is no moisture left behind, as this can affect the installation of the new drain and potentially lead to leaks.
Cleaning the sink and surrounding area not only creates a clean and fresh space, but it also ensures a smooth installation process for the new bathroom sink drain. With everything now clean and prepared, you’re ready to move on to step 6: installing the new drain.
Step 6: Install the New Bathroom Sink Drain
Now that the sink and surrounding area are clean and prepared, it’s time to install the new bathroom sink drain. Follow these steps to properly install the new drain:
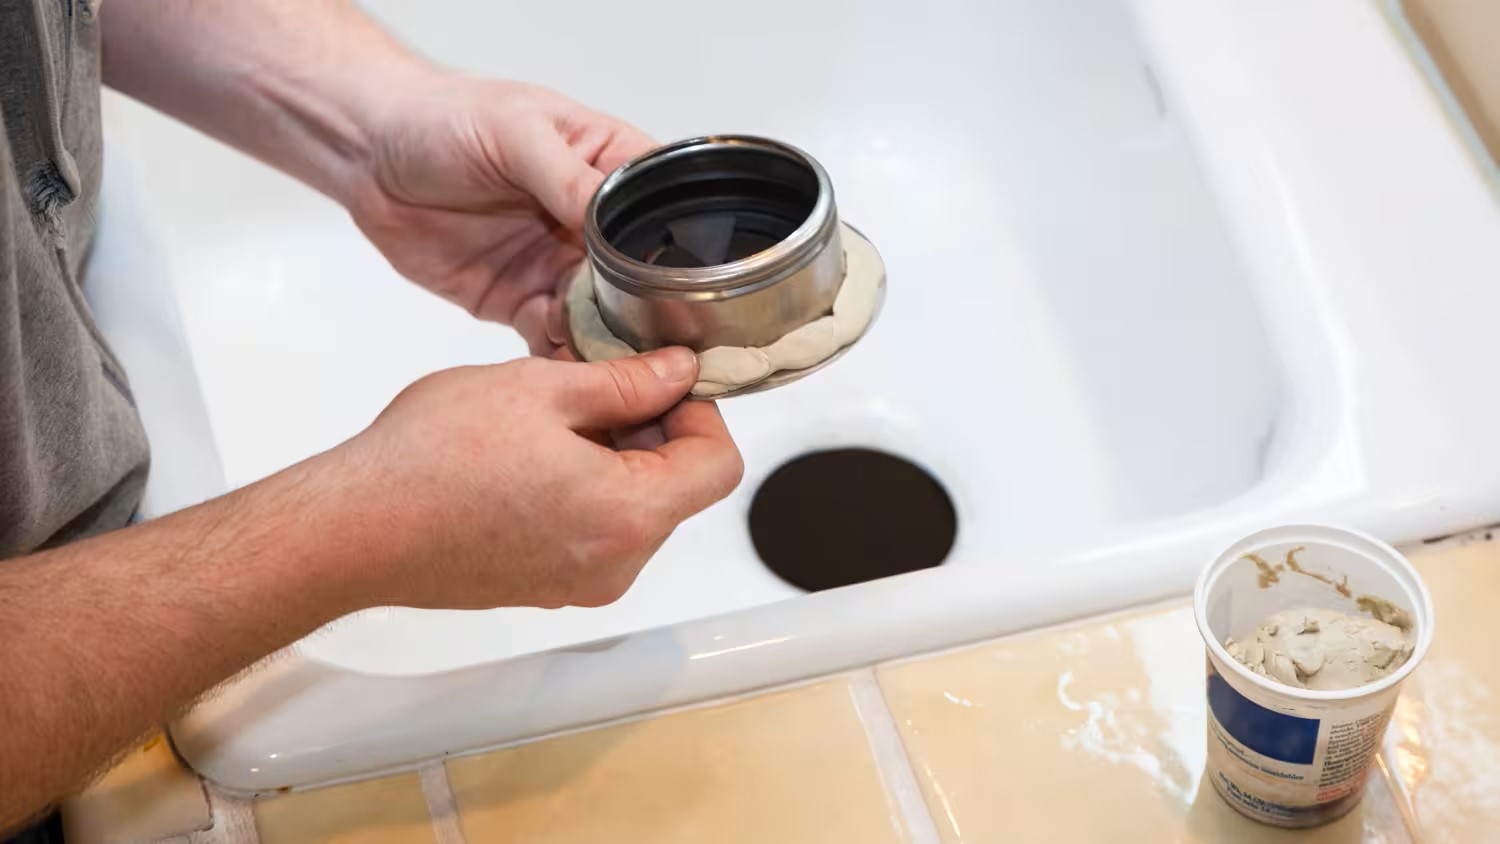
- Apply plumber’s putty: Take a small amount of plumber’s putty and roll it into a thin rope. Apply the putty around the underside edge of the drain flange. This putty will create a watertight seal between the drain flange and the sink basin.
- Insert the drain flange: Carefully insert the drain flange into the sink basin’s drain opening. Make sure it sits flush and evenly on the surface of the sink. Press down gently to ensure good contact between the putty and the sink.
- Secure the drain flange: From underneath the sink, place a rubber gasket on top of the drain flange, followed by a cardboard friction ring and the locknut. Use an adjustable wrench to tighten the locknut, securing the drain flange in place. Be careful not to overtighten, as it may cause damage to the sink or the components.
- Connect the drain pipe: Depending on your sink’s configuration, you may need to connect a drain pipe or extension to the drain flange. Ensure the connections are secure by using slip nuts and tightening them with pliers or an adjustable wrench.
- Use plumber’s tape: If there are any threaded connections in your drain assembly, wrap plumber’s tape around the threads in a clockwise direction. This helps create a watertight seal and prevents leaks.
- Test for leaks: Once the new bathroom sink drain is installed, turn the water supply back on and test for any leaks. Run water into the sink and check for any water escaping from the connections. If you notice any leaks, tighten the connections as necessary.
By following these steps, you’ll successfully install the new bathroom sink drain. Take your time to ensure each component is properly secured and that there are no leaks. This will help maintain the functionality of your sink and prevent any future issues.
Next, we’ll move on to step 7: testing the new sink drain.
Step 7: Test the New Sink Drain
After installing the new bathroom sink drain, it’s crucial to test its functionality and ensure there are no leaks. Follow these steps to properly test the new sink drain:
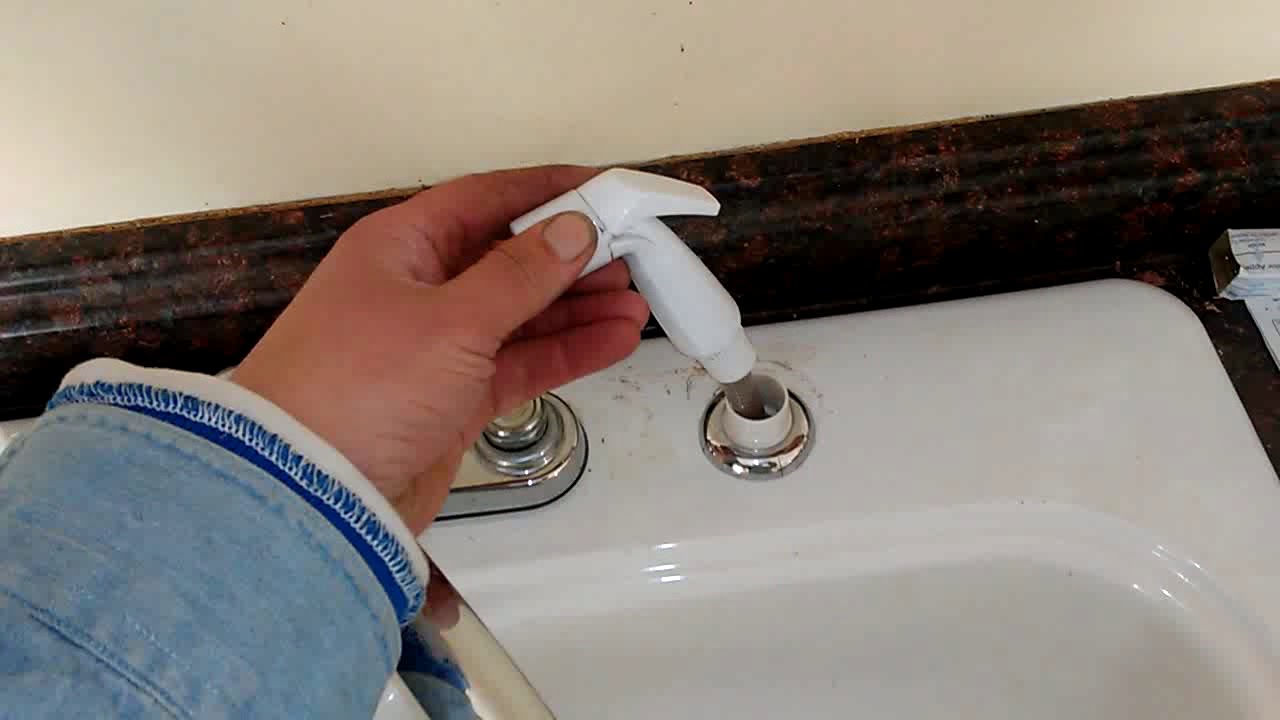
- Close the drain stopper: Push down on the drain stopper to ensure it closes completely and creates a seal.
- Fill the sink with water: Turn on the faucet and fill the sink with water. Allow the water to accumulate, and observe whether the new drain functions properly.
- Check for leaks: As the sink fills with water, carefully inspect the connections and the area around the drain for any signs of water leakage. Pay close attention to the drain flange, the drain pipe connections, and any other areas where the new drain components meet.
- Empty the sink: Once you have confirmed that there are no leaks, release the stopper and allow the water to drain out completely. Observe how efficiently and smoothly the new drain empties the water from the sink.
Testing the new sink drain is essential to ensure its proper functionality and prevent any future issues. By following these steps and checking for any leaks or drainage problems, you’ll have peace of mind knowing that your new drain is working as it should.
Next, we’ll move on to step 8: reassembling the plumbing.
Step 8: Reassemble the Plumbing
Once you have successfully tested the new sink drain and confirmed that there are no leaks, it’s time to reassemble the plumbing. Follow these steps to properly reassemble the plumbing:
- Reattach the P-trap: Take the P-trap that you removed earlier and carefully reattach it to the drain pipe coming out of the wall. Use pliers to tighten the slip nuts at both ends of the P-trap, ensuring a secure connection.
- Connect the water supply lines: If you disconnected the water supply lines during the installation process, now is the time to reconnect them. Use an adjustable wrench to tighten the supply line connections, ensuring they are snug but not overly tightened.
- Turn on the water supply: Once all the connections are reassembled, slowly turn on the water supply. Check for any leaks around the supply lines and the P-trap. If you notice any leaks, tighten the connections as necessary.
- Reinstall any accessories: Replace any accessories or fixtures that you removed from the sink before starting the drain replacement process. This includes soap dispensers, toothbrush holders, or any other items you took off to access the sink.
By following these steps, you will successfully reassemble the plumbing and restore your bathroom sink to full functionality. Take your time to ensure each connection is secure and check for any leaks that may have occurred during the reassembly process.
Congratulations! You have now completed the process of replacing your bathroom sink drain. By following these steps and taking the necessary precautions, you have successfully replaced the drain and restored proper functionality to your sink.
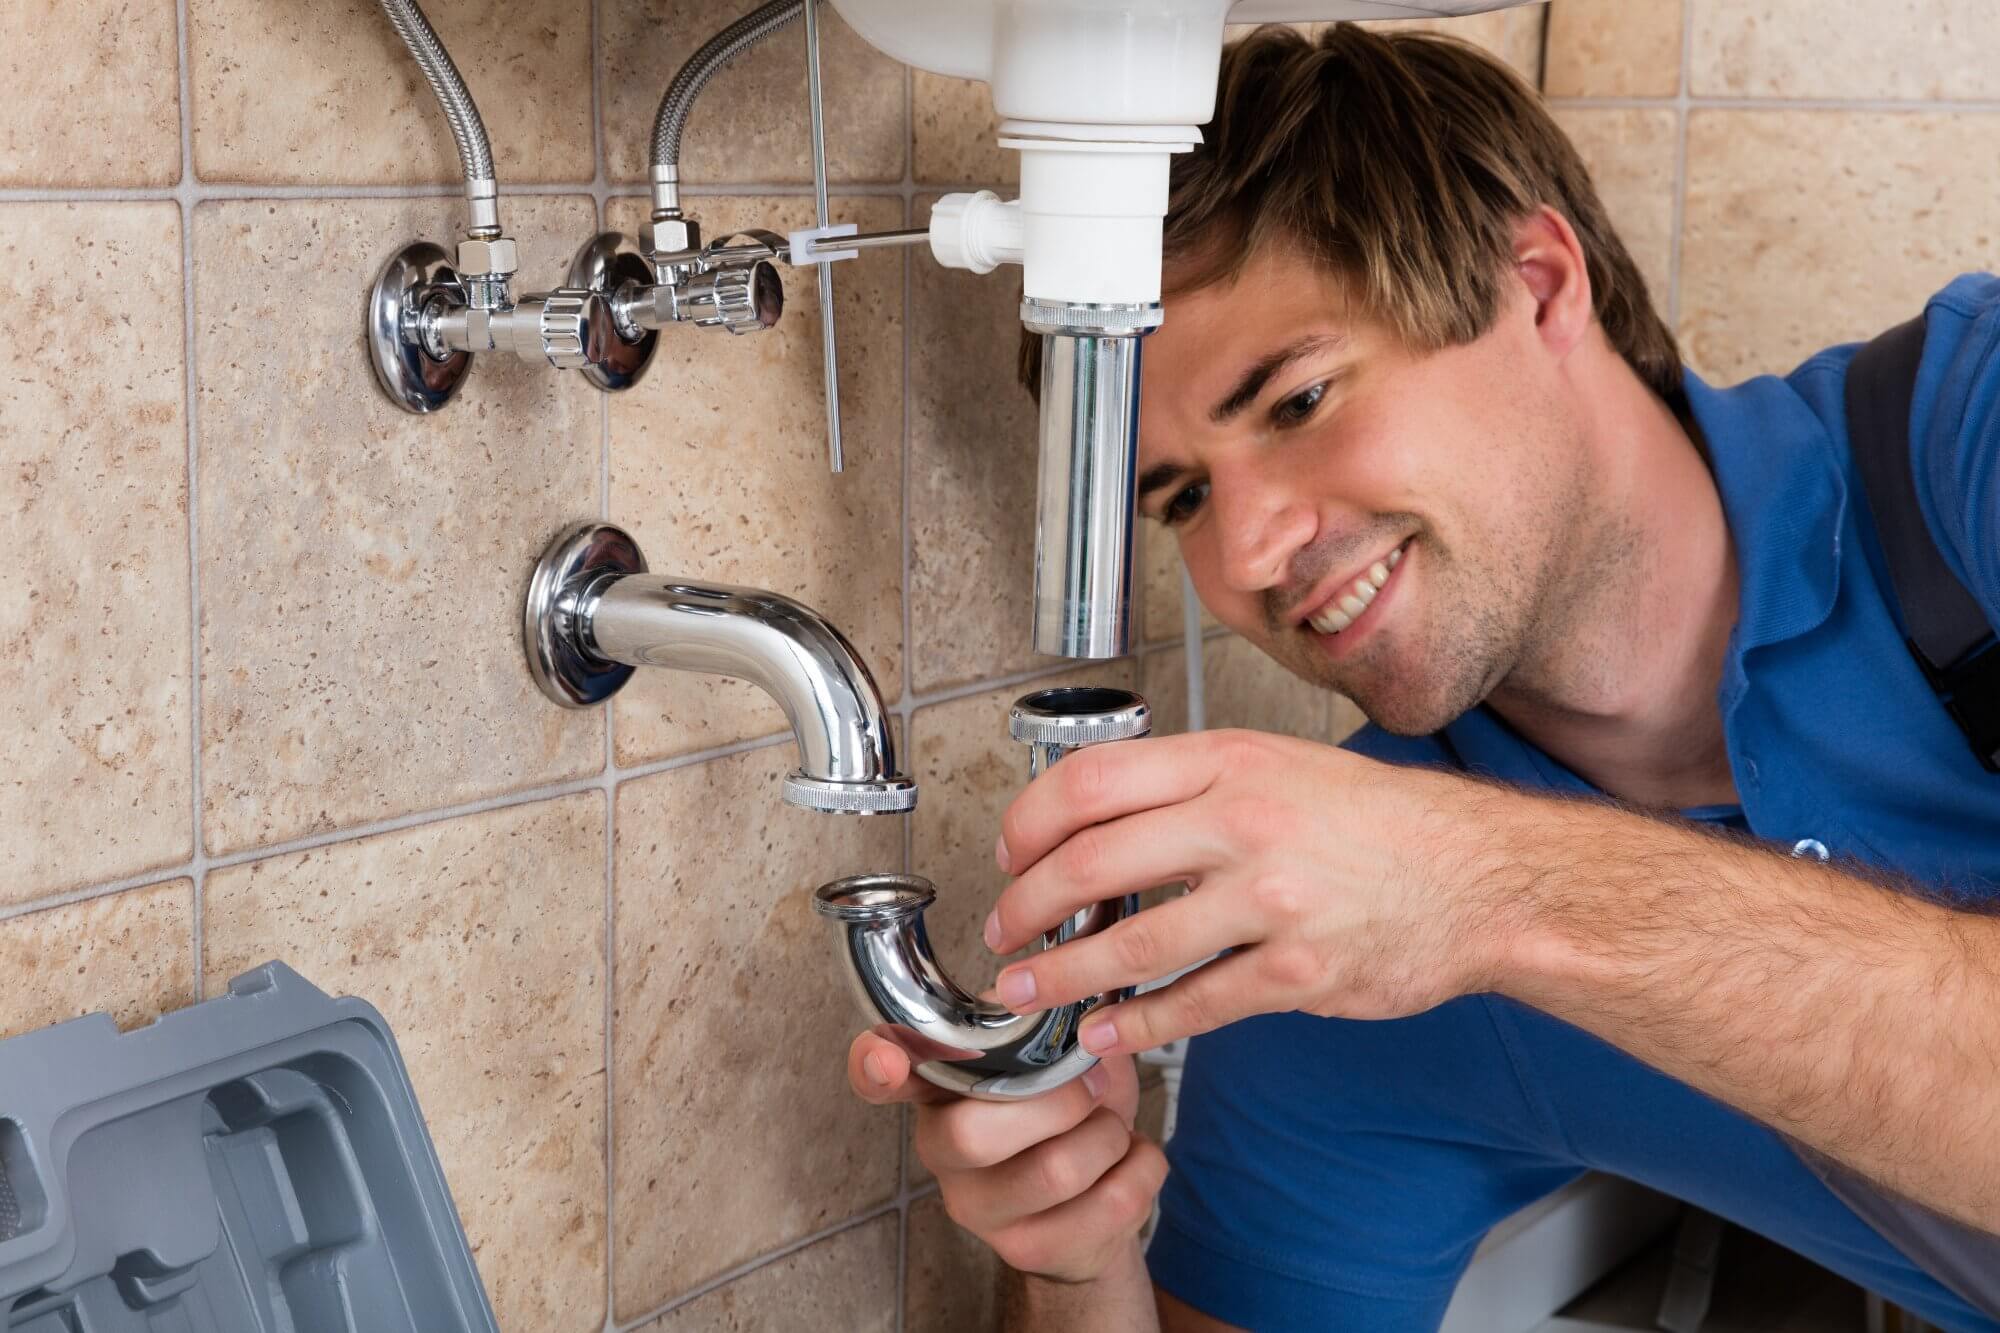
Remember, if you are ever unsure or uncomfortable with any step of the process, it’s always a good idea to consult a professional plumber. They can provide guidance and ensure the replacement is done correctly.
Now you can enjoy a clean and efficient bathroom sink drain that will serve you well for years to come!
Thank you for following this guide, and we hope it has been helpful for you. If you have any further questions or need additional assistance, feel free to reach out.
Read more: How To Replace Sink Faucet
Conclusion
Replacing a bathroom sink drain may initially seem like a daunting task, but with the right tools, materials, and guidance, it can be a manageable DIY project. By following the step-by-step process outlined in this guide, you can successfully replace your bathroom sink drain and restore proper functionality to your sink.
We started by gathering the necessary tools and materials, ensuring that everything was on hand before beginning the project. Then, we prepared the work area by clearing the sink and shutting off the water supply. Next, we cleared the existing plumbing, removing any blockages and debris that may have accumulated over time.
After that, we proceeded to remove the old bathroom sink drain, taking care to inspect the drain components and ensuring they were in good condition. Once the old drain was removed, we cleaned the sink and surrounding area to provide a clean and hygienic workspace for the installation of the new drain.
With the area prepared, we then proceeded to install the new bathroom sink drain, applying plumber’s putty for a watertight seal and securing the drain flange. We connected the drain pipe, applied plumber’s tape for threaded connections, and thoroughly tested the new sink drain for any leaks.
Finally, we reassembled the plumbing, ensuring that all connections were secure and turning on the water supply to check for any remaining leaks. We then reinstalled any accessories or fixtures that were removed earlier.
By following these steps and taking the necessary precautions, you can successfully replace your bathroom sink drain and enjoy a clean and functional sink in your bathroom. Remember, if you ever feel unsure or uncomfortable with any step of the process, it’s always wise to consult a professional plumber.
Thank you for following this guide, and we hope it has been helpful for you. Enjoy your newly replaced bathroom sink drain!
Frequently Asked Questions about How To Replace A Bathroom Sink Drain
Was this page helpful?
At Storables.com, we guarantee accurate and reliable information. Our content, validated by Expert Board Contributors, is crafted following stringent Editorial Policies. We're committed to providing you with well-researched, expert-backed insights for all your informational needs.


0 thoughts on “How To Replace A Bathroom Sink Drain”