Articles
How To Seal Sink Drain
Modified: October 20, 2024
Learn how to seal a sink drain with this helpful article. Follow our step-by-step guide for a leak-free and long-lasting solution.
(Many of the links in this article redirect to a specific reviewed product. Your purchase of these products through affiliate links helps to generate commission for Storables.com, at no extra cost. Learn more)
Introduction
Sink drains are an essential part of any kitchen or bathroom, allowing water to flow out of the sink and preventing clogs. However, over time, the seal around the sink drain can deteriorate, leading to leaks and potential water damage. To prevent this, it’s important to know how to properly seal a sink drain.
In this article, we will provide a step-by-step guide on how to seal a sink drain effectively. Whether you’re experiencing a leaky sink drain or want to prevent future issues, following these simple steps will help you maintain a watertight seal and keep your sink functioning properly.
Before we begin, let’s gather the tools and materials you’ll need for this project:
Key Takeaways:
- Properly sealing a sink drain involves removing the existing drain, cleaning the area, applying plumbers putty, and reattaching the drainpipe with an adjustable wrench. Regular maintenance and inspection are crucial for a leak-free sink.
- Checking for leaks after sealing the sink drain is essential. Turn on the faucet and inspect the area for any signs of leakage, tightening the slip nuts if necessary. By following these steps, you can ensure a well-functioning and leak-free sink.
Read more: How To Tighten A Sink Drain
Tools and Materials Needed
- Plumbers putty
- Adjustable wrench
- Teflon tape
- Screwdriver
Now that we have everything ready, let’s get started on sealing that sink drain!
Key Takeaways:
- Properly sealing a sink drain involves removing the existing drain, cleaning the area, applying plumbers putty, and reattaching the drainpipe with an adjustable wrench. Regular maintenance and inspection are crucial for a leak-free sink.
- Checking for leaks after sealing the sink drain is essential. Turn on the faucet and inspect the area for any signs of leakage, tightening the slip nuts if necessary. By following these steps, you can ensure a well-functioning and leak-free sink.
Read more: How To Tighten A Sink Drain
Tools and Materials Needed
When it comes to sealing a sink drain, having the right tools and materials is key to a successful project. Here’s a list of what you’ll need:
- Plumbers putty: This versatile, moldable substance is essential for creating a watertight seal around the sink drain. It is pliable and easy to work with, allowing you to create a tight barrier to prevent leaks.
- Adjustable wrench: An adjustable wrench is necessary for loosening and tightening the slip nuts that connect the drainpipe to the sink. This tool ensures a secure fit, preventing any unwanted leaks.
- Teflon tape: Teflon tape, also known as plumber’s tape, is a thin white tape that is used to seal threaded connections. It provides an additional layer of protection against leaks by creating a tight seal between the threads.
- Screwdriver: Depending on the type of drain assembly you have, a screwdriver may be needed to remove and reattach certain components. Make sure to have both Phillips and flathead screwdrivers on hand to cover all bases.
Having these tools and materials readily available will make the process of sealing your sink drain much smoother and more efficient. Before starting the project, ensure that you have everything at your disposal.
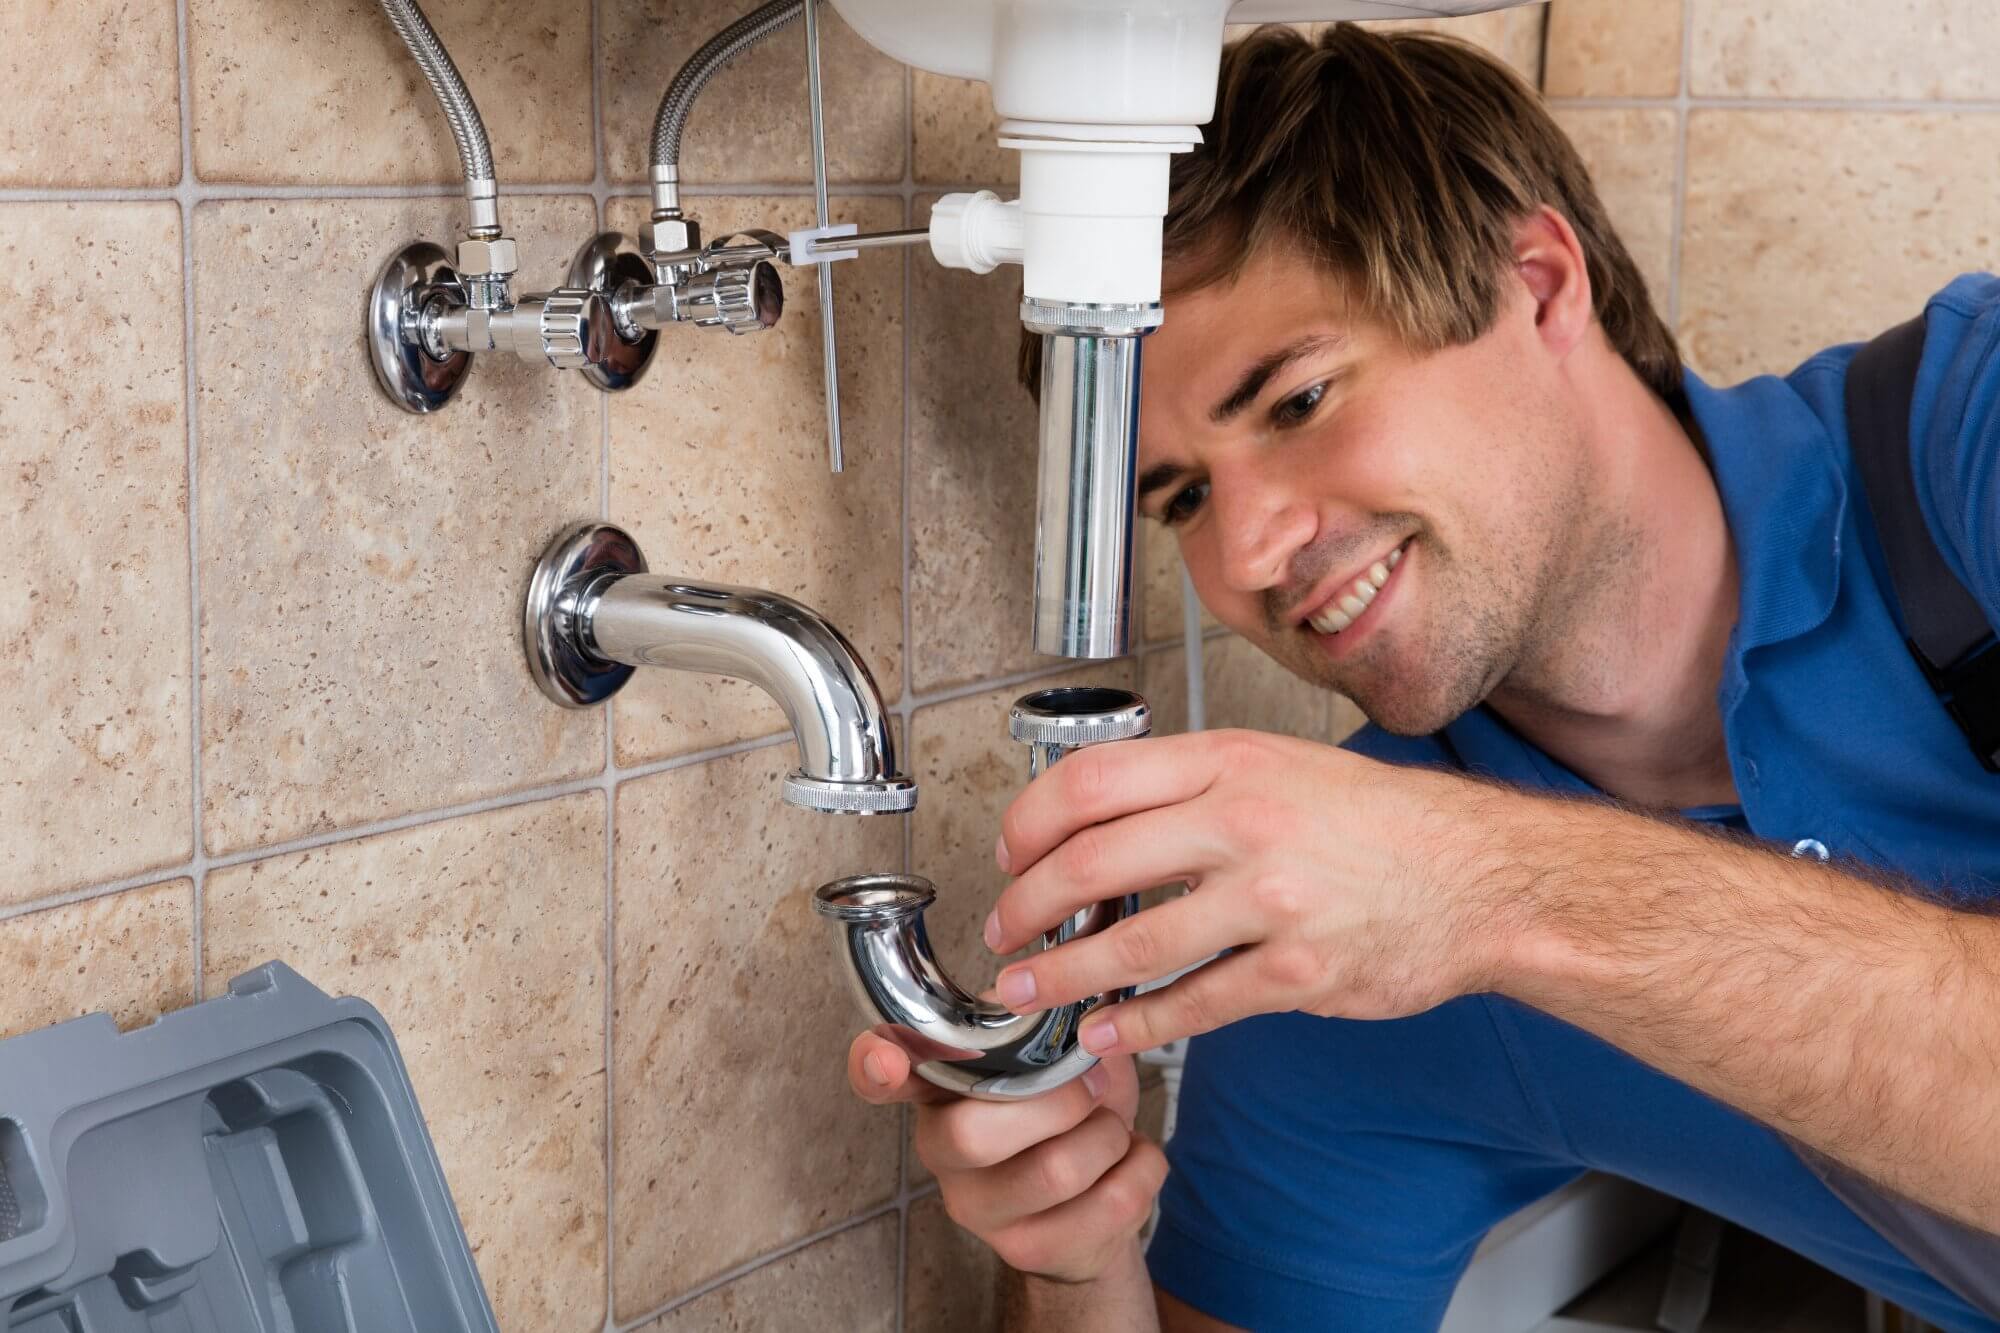
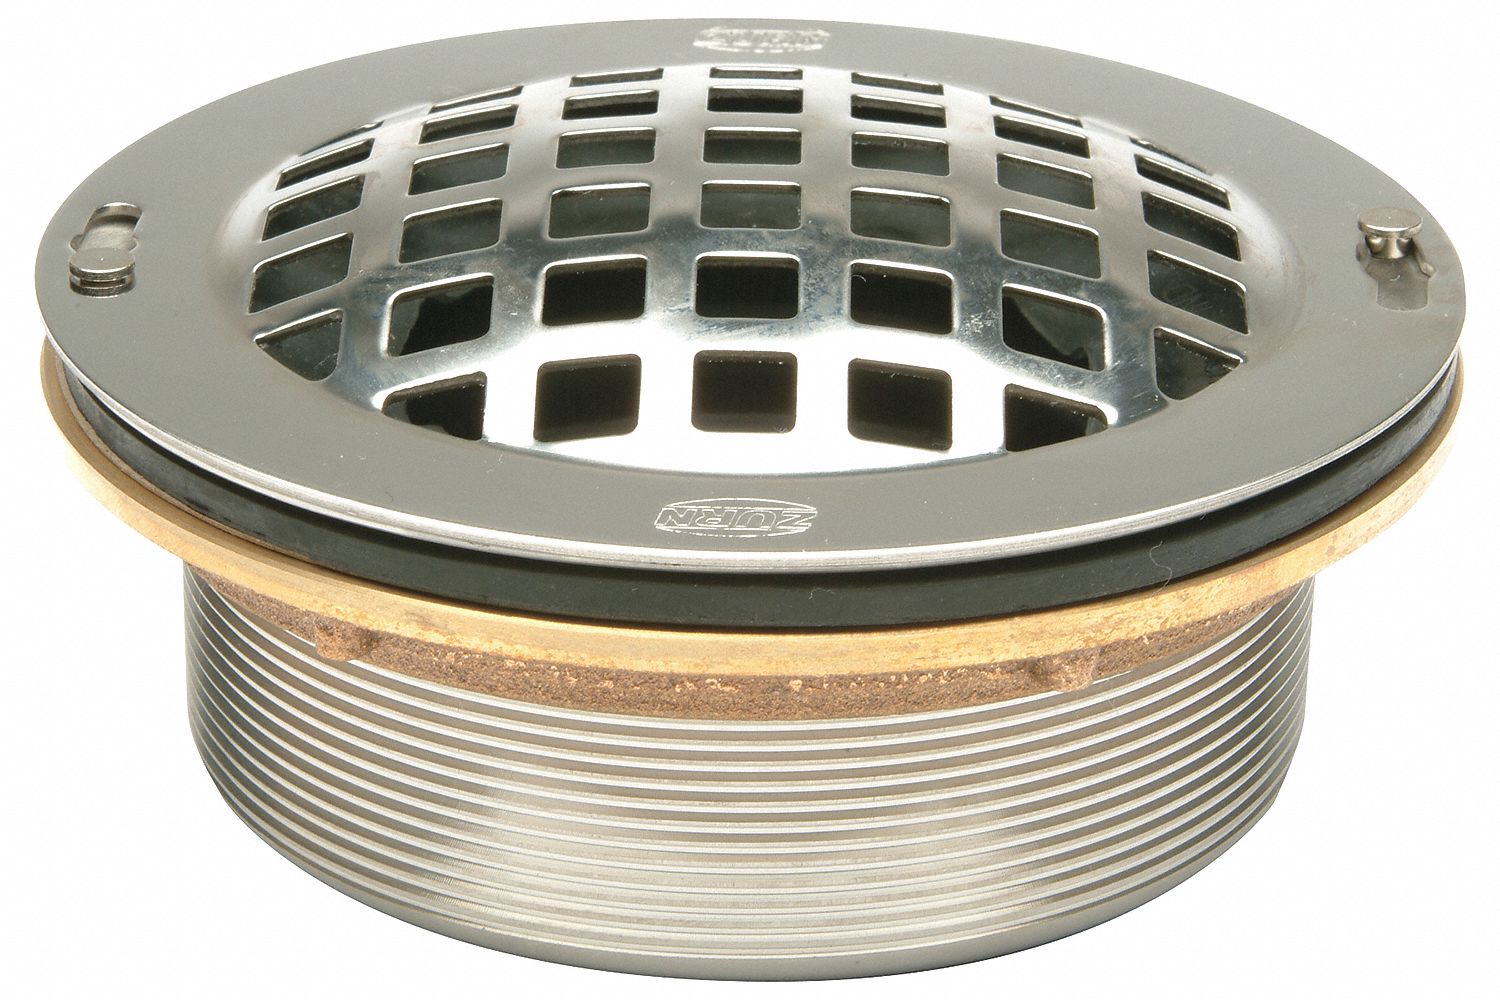
Step 1: Remove the Existing Drain
Before you can seal a sink drain, you’ll need to remove the existing drain assembly. Follow these steps to get started:
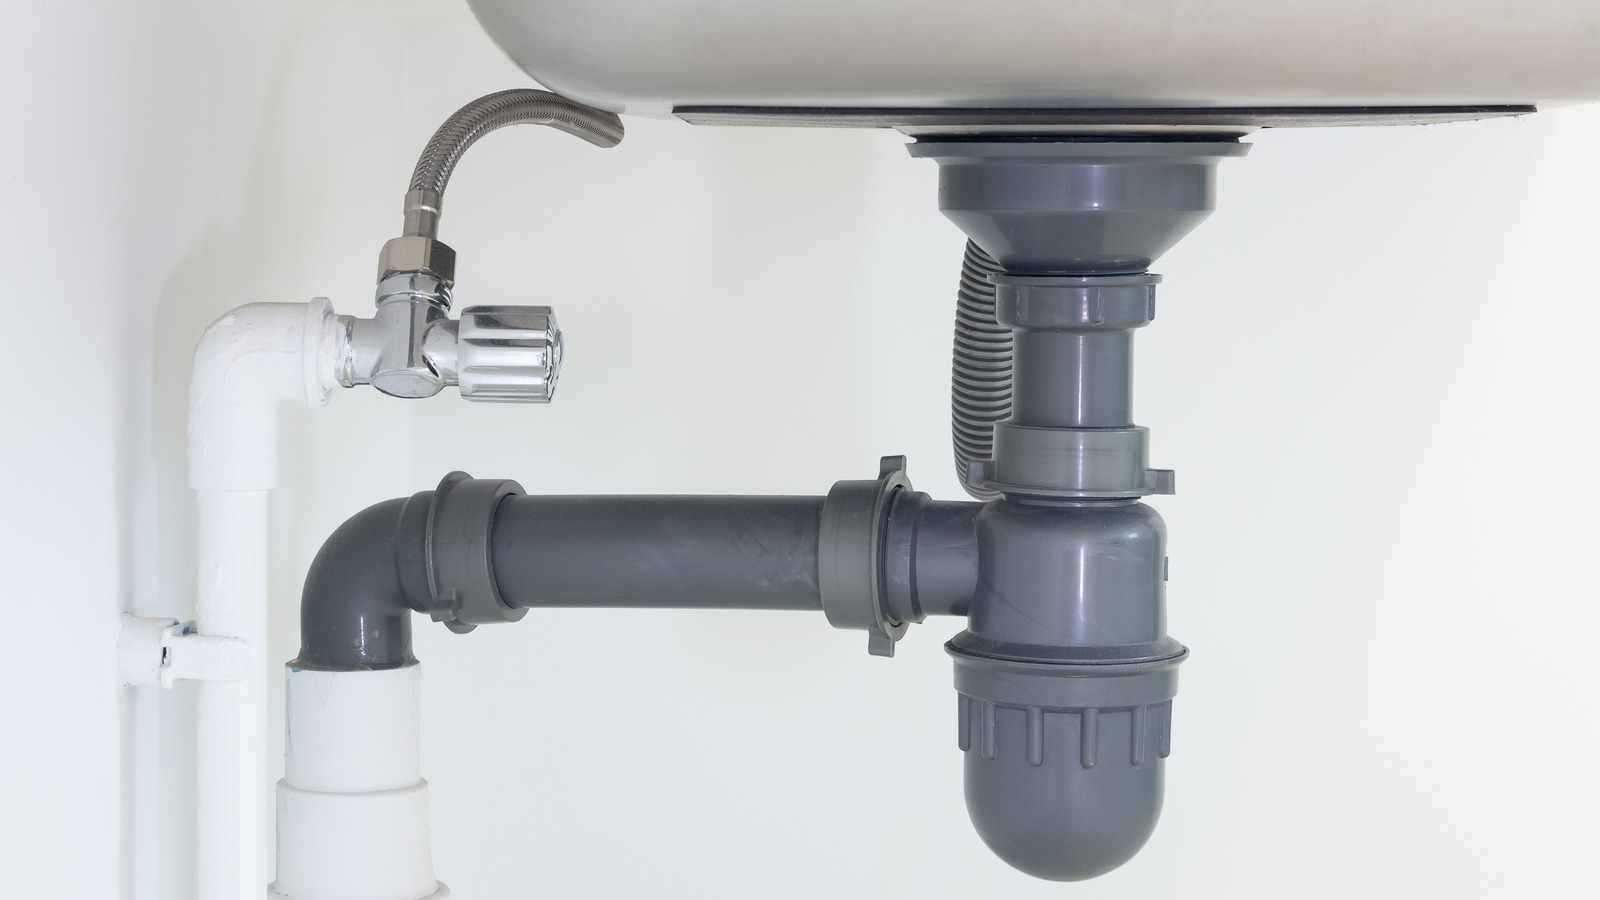
- Loosen and remove the slip nut: Locate the slip nut that connects the drainpipe to the sink strainer. Using an adjustable wrench, loosen the slip nut by turning it counterclockwise. Once it’s loose, you can remove it completely.
- Disconnect the drainpipe from the sink strainer: With the slip nut removed, you can now disconnect the drainpipe from the sink strainer. Depending on the type of connection, you may need to unscrew or loosen any additional components. Take your time and carefully detach the drainpipe without causing any damage to the surrounding area.
By removing the existing drain, you’re making way for a fresh seal and ensuring that any old putty or debris doesn’t interfere with the new sealing process. With the drainpipe disconnected, you can move on to the next step: cleaning the area.
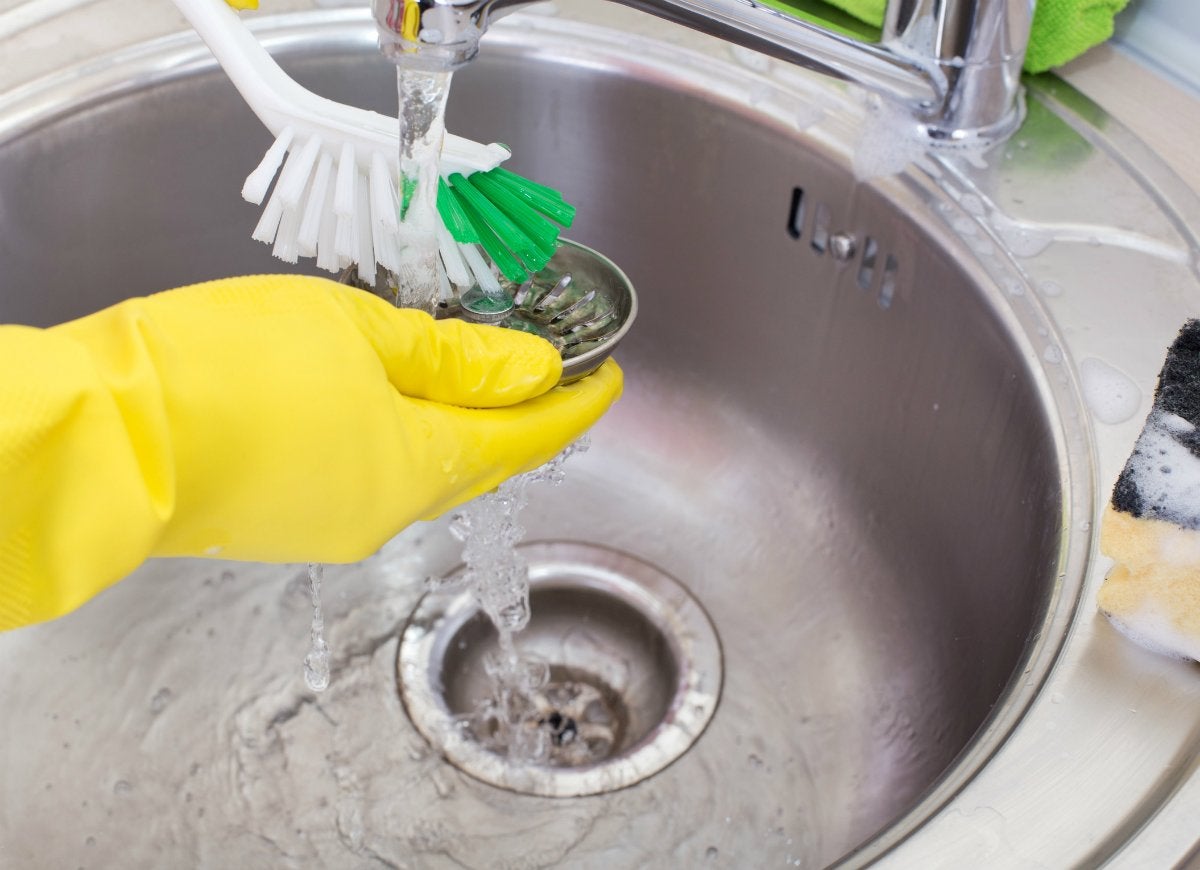
Step 2: Clean the Area
Now that you’ve removed the existing drain assembly, it’s important to clean the area thoroughly before applying a new seal. Follow these steps to ensure a clean and debris-free surface:
- Remove any old putty or debris from the sink surface: Take a clean cloth or sponge and wipe away any residual plumbers putty or debris from the sink surface. Be thorough and ensure that the area is free from any loose particles that could affect the seal.
By cleaning the area, you’re creating a smooth and even surface for the new sealant to adhere to. Any old putty or debris can hinder the effectiveness of the seal, so it’s important to remove it completely. Once the area is clean, you can proceed to the next step: applying plumbers putty.
To seal a sink drain, apply plumber’s putty around the underside of the drain flange before installing it. This will create a watertight seal and prevent leaks.
Read more: How To Drain Clogged Sink
Step 3: Apply Plumbers Putty
Now that the area is clean and free from debris, it’s time to apply plumbers putty to create a watertight seal. Follow these steps to effectively apply the putty:
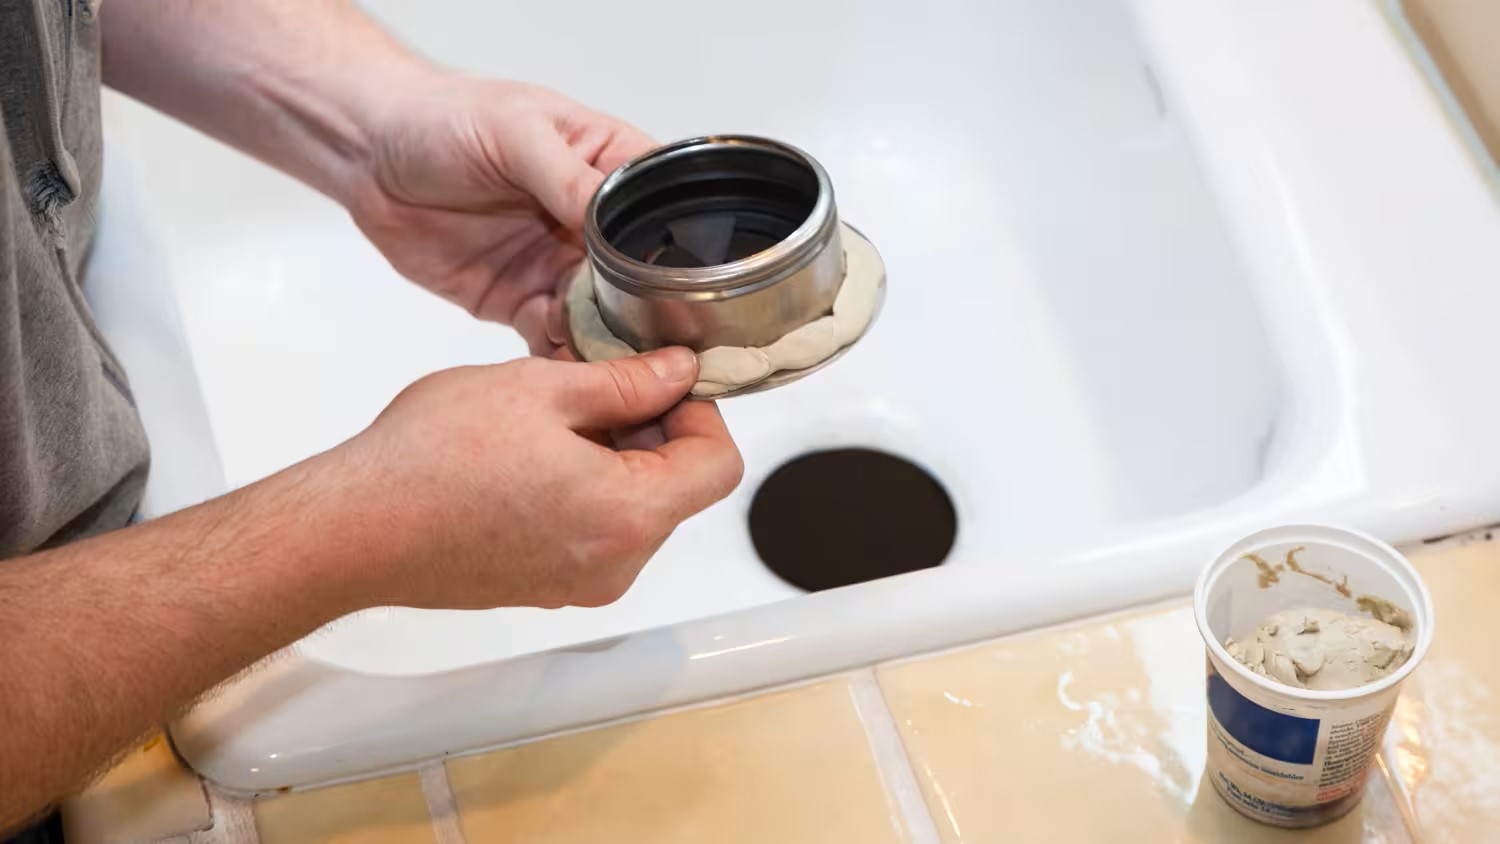
- Roll a small amount of putty into a rope shape: Take a small portion of plumbers putty and roll it between your palms to create a long rope-like shape. The size of the putty rope should be enough to encircle the bottom of the sink strainer.
- Press the putty around the bottom of the sink strainer: Gently press the putty rope around the bottom edge of the sink strainer. Ensure that the putty covers the entire circumference of the strainer. Apply gentle pressure to make sure the putty adheres firmly.
The plumbers putty acts as a form of sealant, creating a tight and waterproof barrier between the sink strainer and the sink surface. It’s important to roll the putty into a rope shape for easy handling and optimal coverage. By pressing the putty around the strainer, you’re ensuring a secure and leak-proof seal.
Now that you’ve applied the putty, you’re ready to move on to the next step: inserting the strainer into the sink.
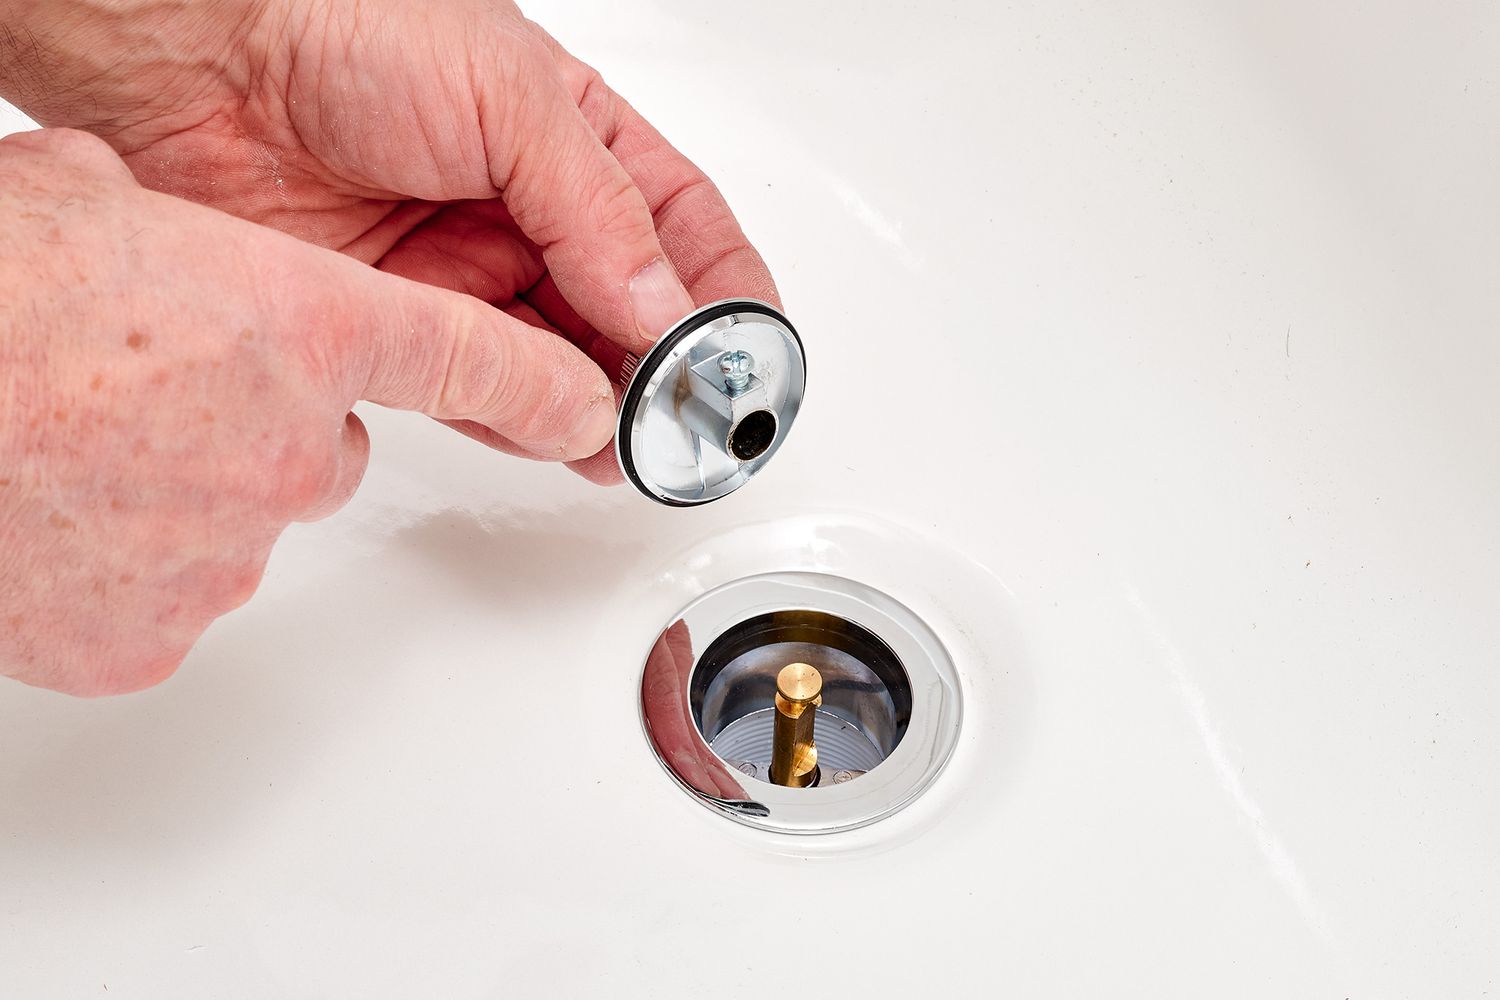
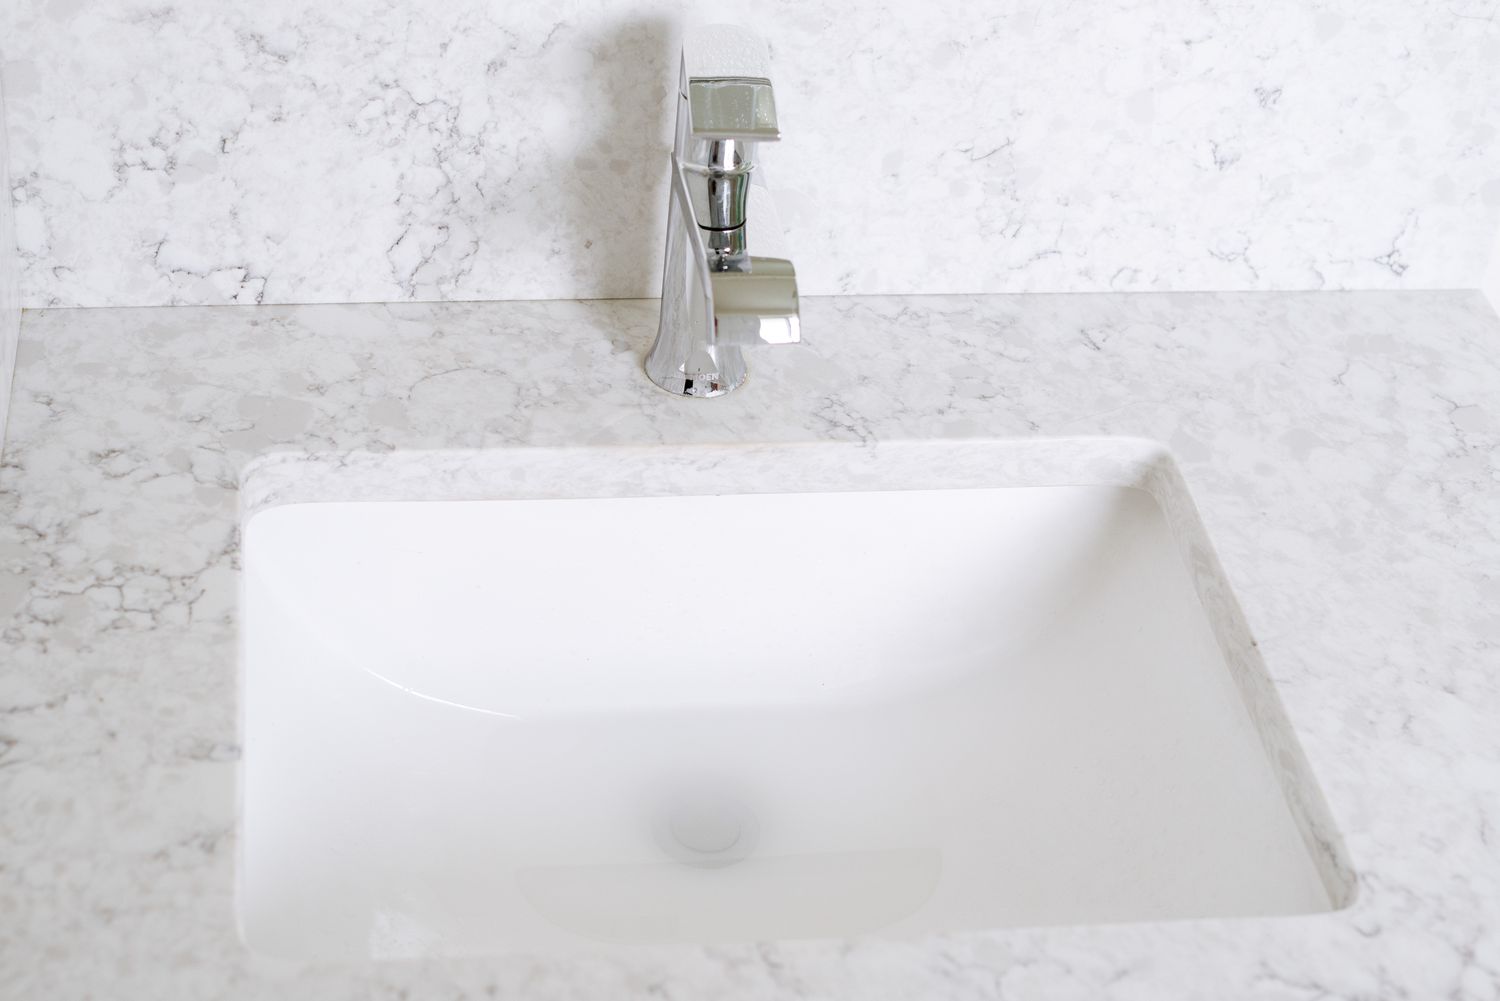
Step 4: Insert the Strainer in the Sink
With the plumbers putty applied, it’s time to insert the sink strainer back into the sinkhole. Follow these steps to ensure a proper and secure fit:
- Place the strainer back into the sinkhole: Position the sink strainer back into the sinkhole, aligning it with the drain opening. Ensure that the strainer sits flush against the sink surface.
- Apply pressure to ensure a tight seal with the putty: Once the strainer is in place, apply firm and even pressure to create a tight seal with the plumbers putty. Press down on the strainer, using your hands or a clean cloth, to secure it in position.
By inserting the strainer into the sinkhole and applying pressure, you’re ensuring a proper connection between the sink and the drain assembly. The plumbers putty provides an additional layer of sealing, preventing any water from leaking through.
Next, we’ll move on to the fifth step: reattaching the drainpipe.
Step 5: Reattach the Drainpipe
Now that the sink strainer is securely in place, it’s time to reattach the drainpipe. Follow these steps to ensure a proper connection:
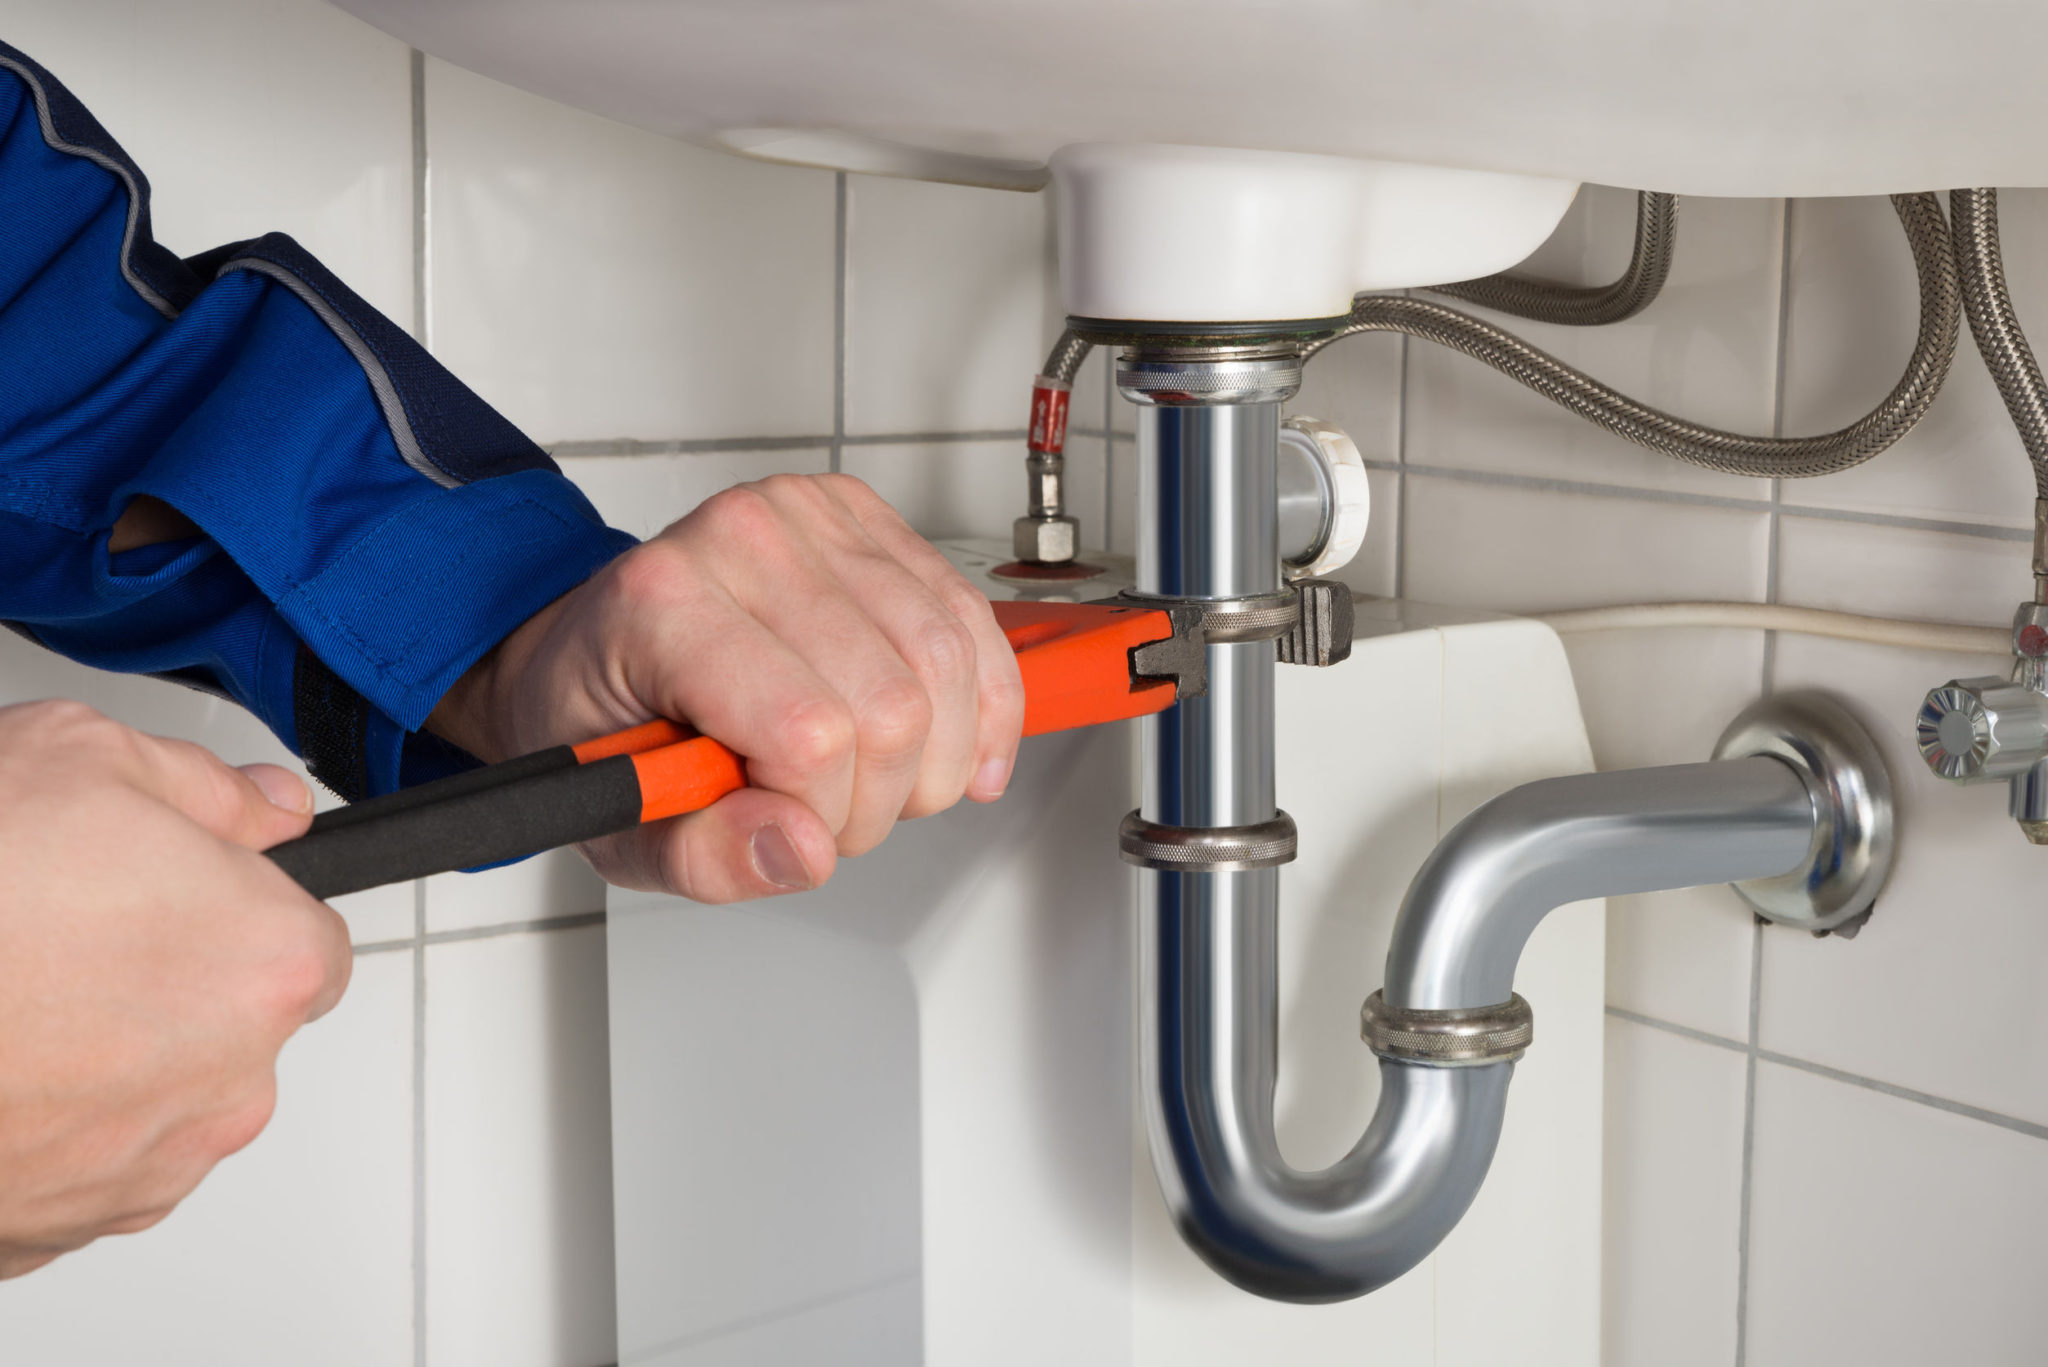
- Reconnect the drainpipe and tighten the slip nuts: Take the drainpipe and reconnect it to the bottom of the sink strainer. Align the pipe with the opening and slide it on until it’s fully inserted. Once in place, tighten the slip nuts with an adjustable wrench. Turn the slip nuts clockwise to secure them tightly.
- Use an adjustable wrench for a secure fit: To ensure a leak-free connection, use an adjustable wrench to tighten the slip nuts further. Apply firm but gentle pressure to make sure the nuts are securely fastened but avoid overtightening, as it can cause damage to the connections.
Reattaching the drainpipe is a crucial step in sealing the sink drain effectively. The slip nuts provide a tight and secure connection, preventing any water from leaking out. Using an adjustable wrench allows you to have better control over the tightening process, ensuring a secure fit without compromising the integrity of the pipe.
Finally, we’ll move on to the last step: checking for leaks.
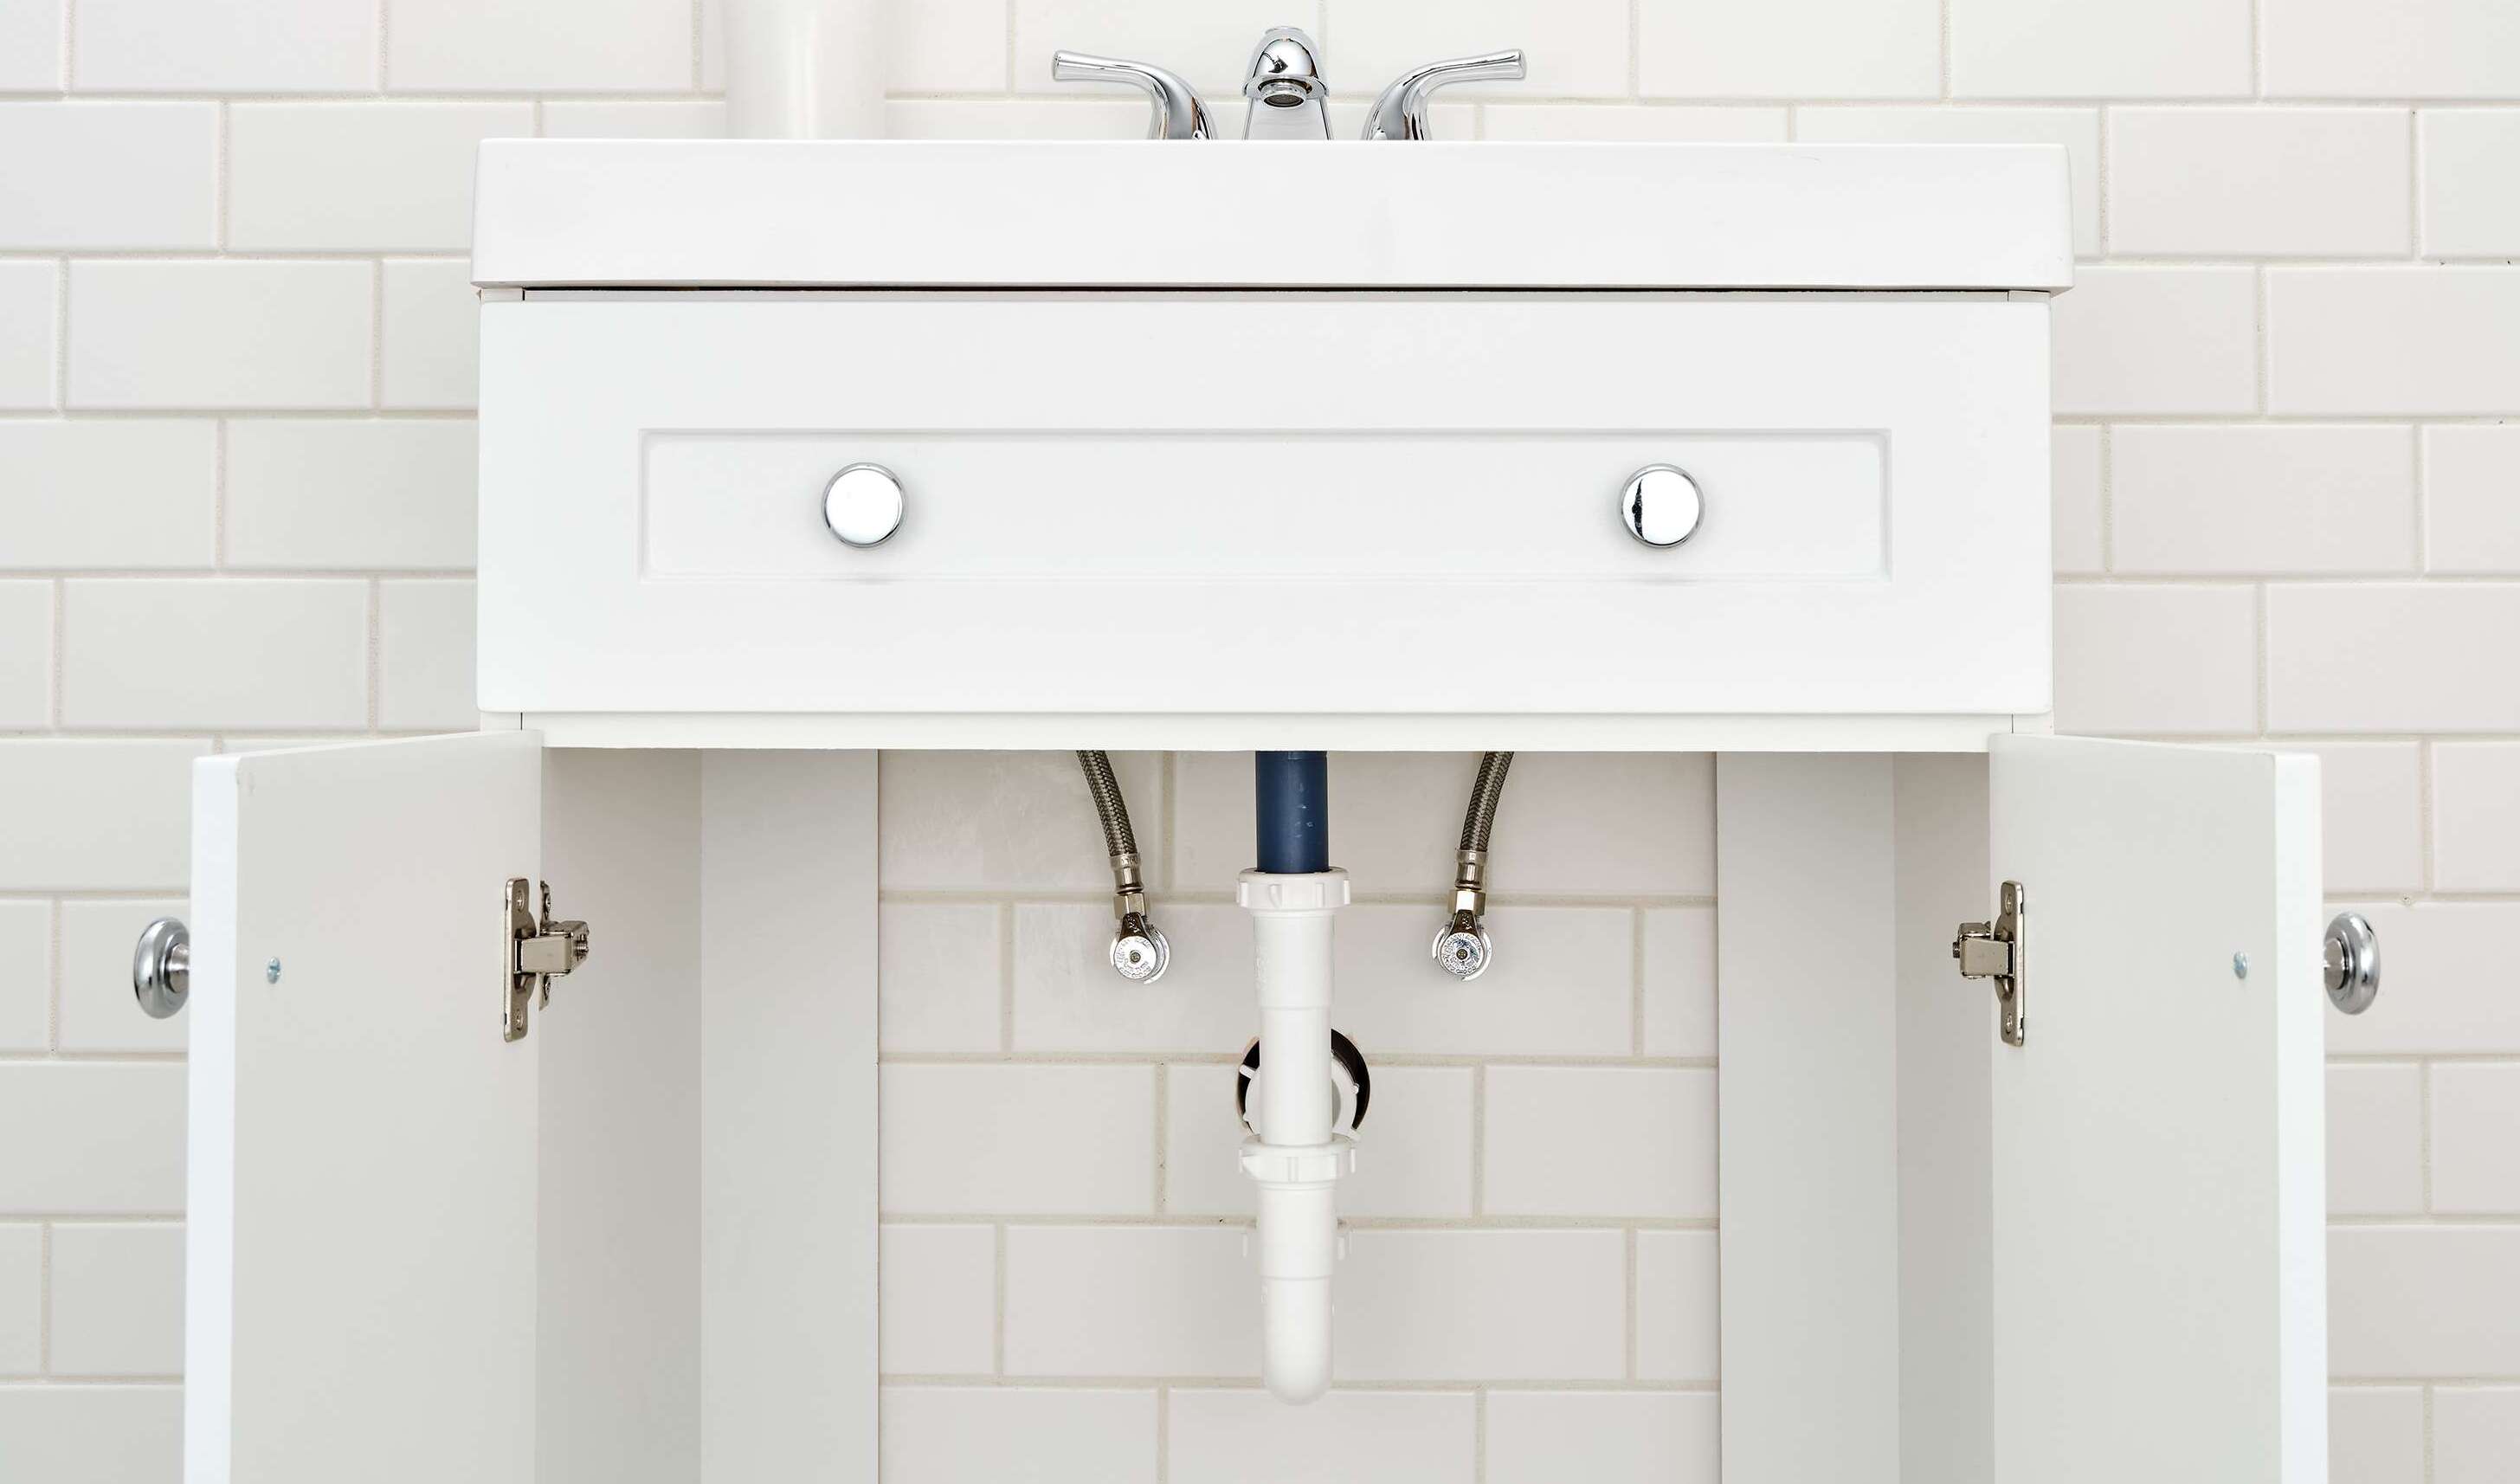
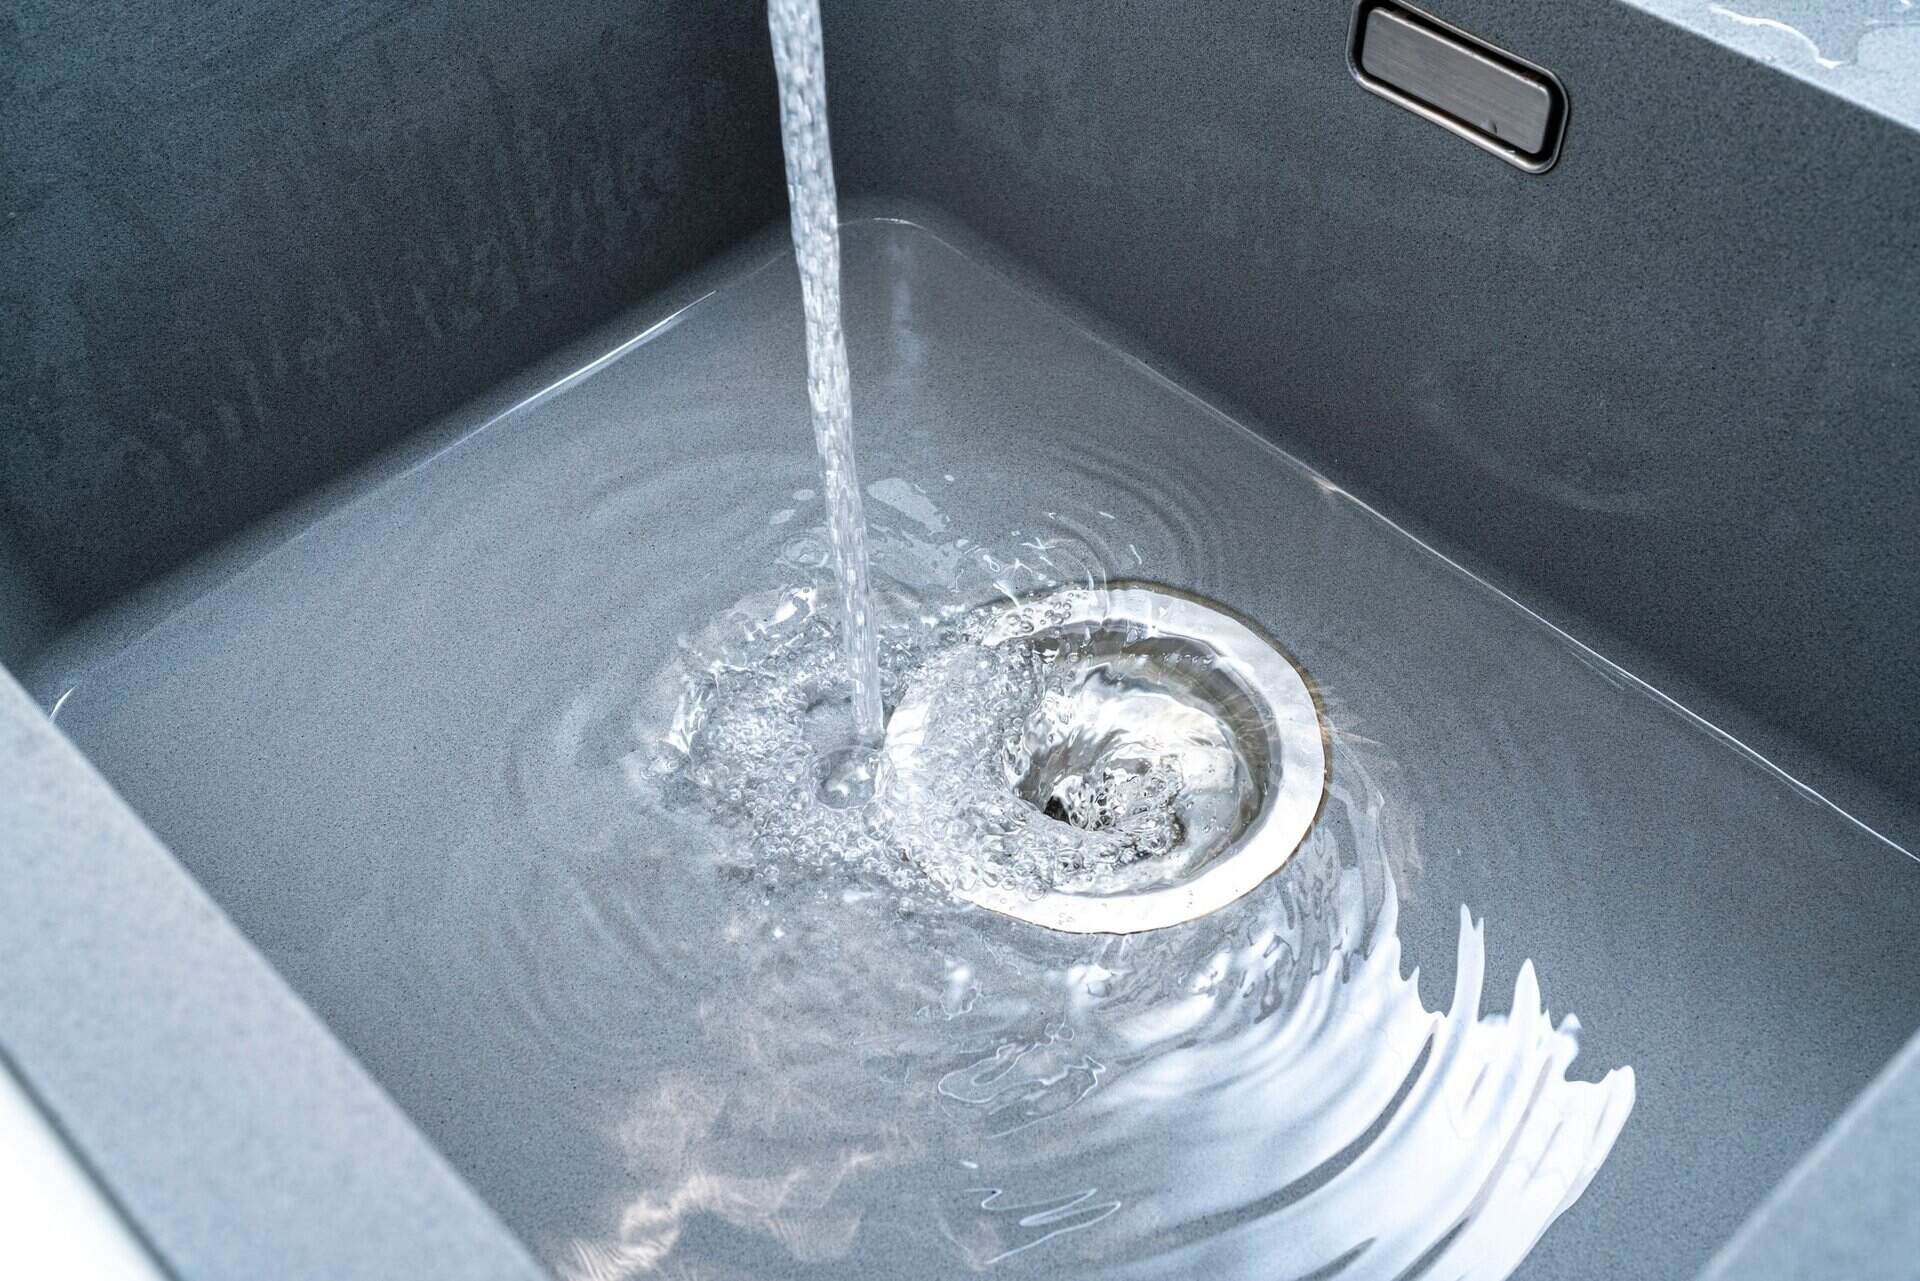
Step 6: Check for Leaks
After reattaching the drainpipe and completing the sealing process, it’s essential to check for any signs of leakage. Here’s what you need to do:
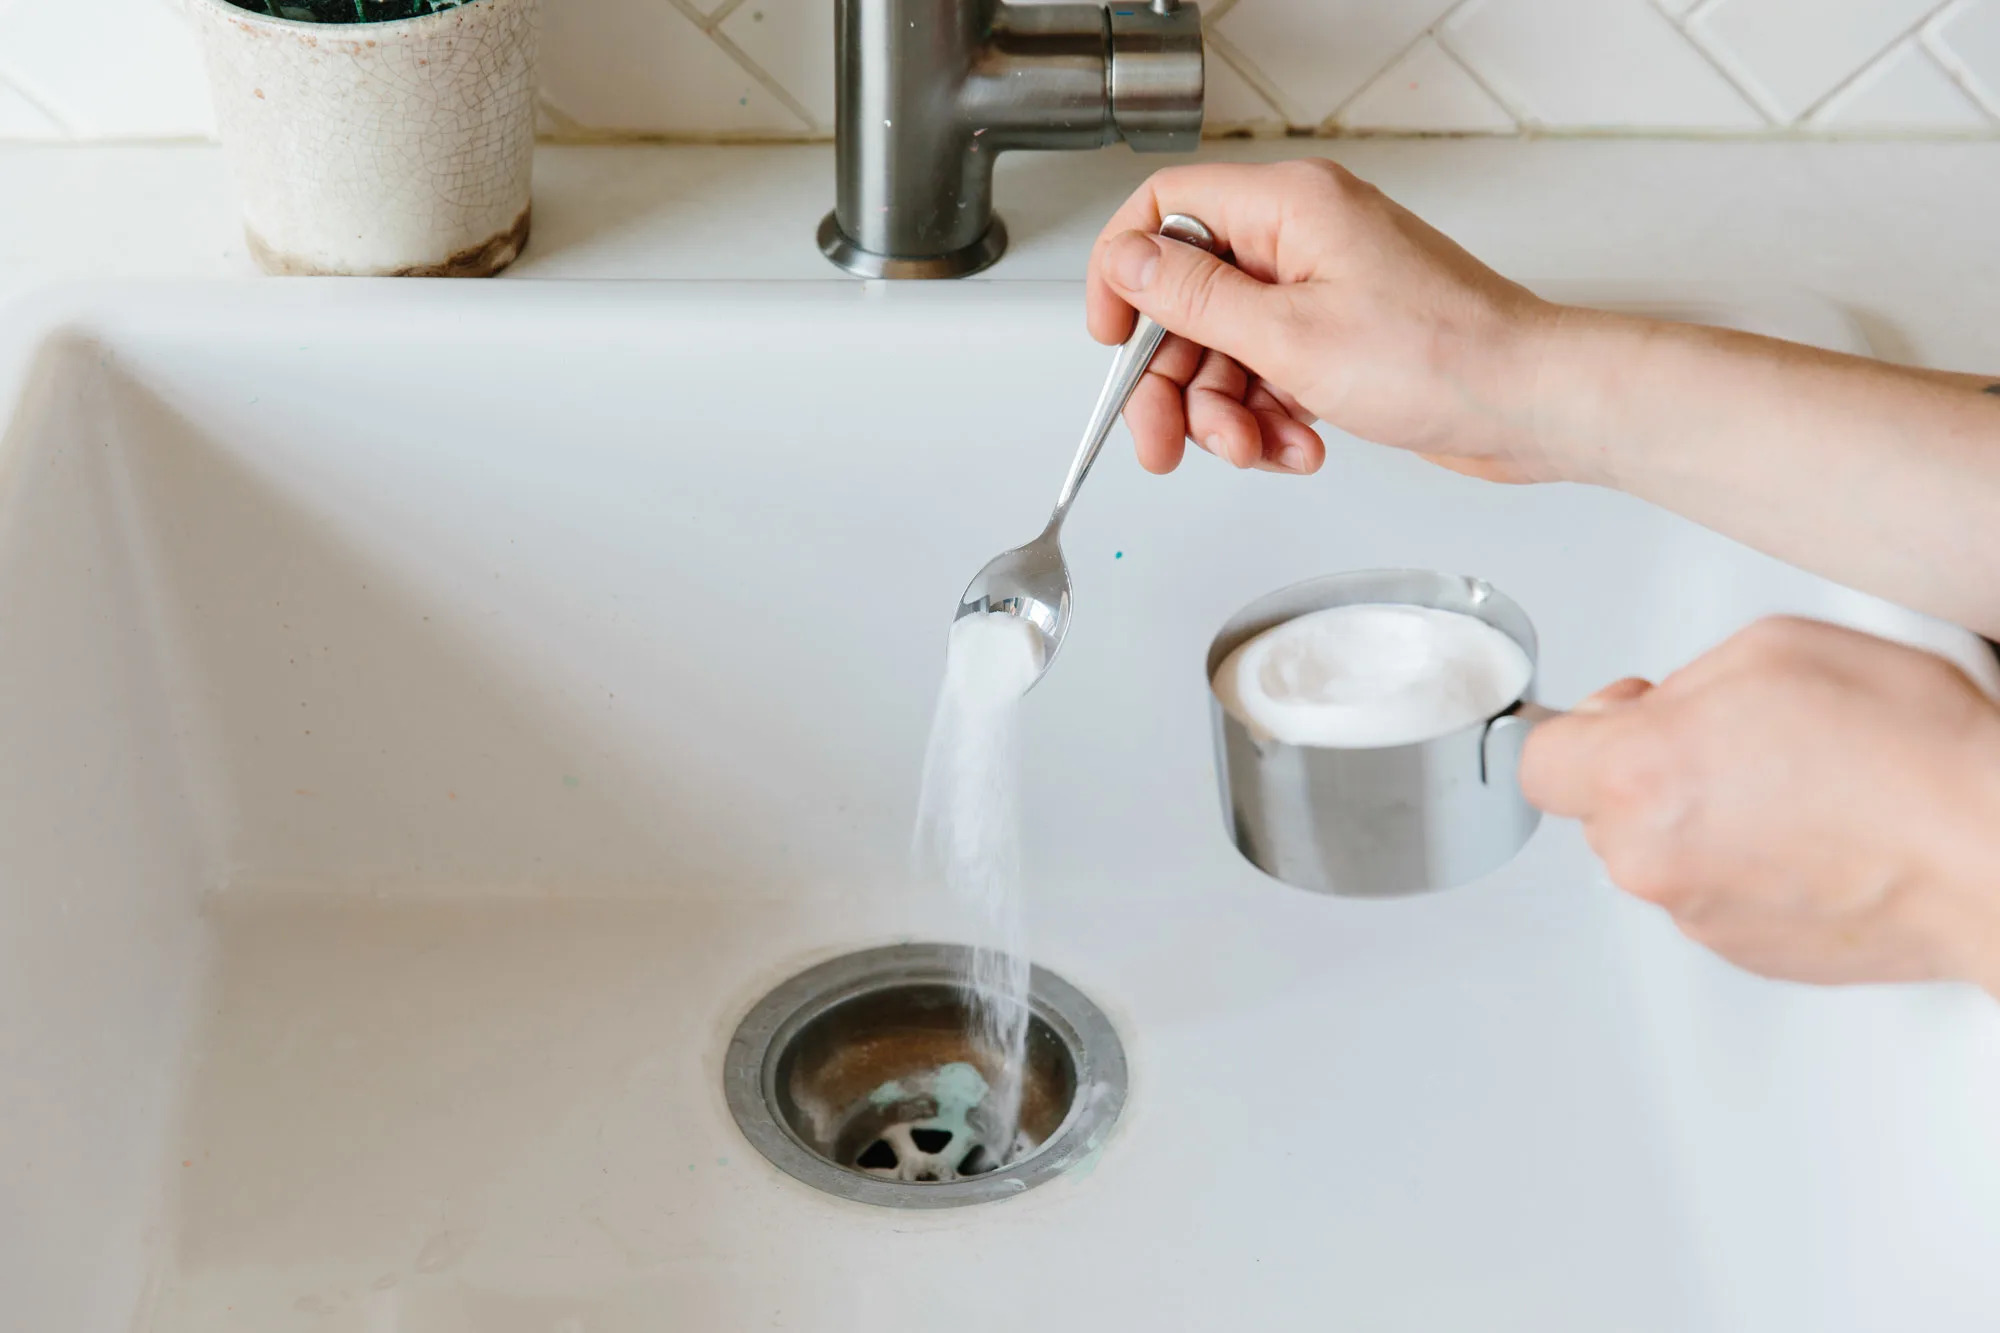
- Turn on the faucet and let water flow down the drain: With the drain fully assembled and sealed, turn on the faucet and allow water to flow down the drain. Let the water run for a few minutes to ensure a thorough test.
- Inspect for any signs of leakage: While the water is running, carefully inspect the area around the sink strainer and drainpipe for any signs of leakage. Look for water droplets, puddles, or moisture that could indicate a leak.
Checking for leaks is an essential final step in the sealing process. Even a minor leak can lead to water damage if left unnoticed. By turning on the faucet and carefully examining the area, you can identify any potential leaks and address them promptly.
If you notice any leakage, try tightening the slip nuts a little more and retest. If the issue persists, you may need to disassemble and reapply the sealant, making sure to clean the area thoroughly before doing so.
By following these steps and checking for leaks, you can ensure that your sink drain is properly sealed, preventing any future water damage or inconvenient leaks.
With these simple and effective steps, you now have the knowledge to successfully seal your sink drain. By taking the time to remove the existing drain, clean the area, apply plumbers putty, insert the strainer, reattach the drainpipe, and check for leaks, you can maintain a watertight seal and keep your sink functioning smoothly.
Remember, proper maintenance and regular inspection are key to a long-lasting and leak-free sink drain. By addressing any issues promptly, you can avoid costly repairs and keep your sink in excellent condition.
Now you can enjoy a leak-free sink and have peace of mind knowing that your plumbing is in top shape!
Read more: How To Unblock The Sink Drain
Conclusion
Sealing a sink drain is a crucial task that ensures proper functionality and prevents leaks and water damage. By following the steps outlined in this guide and using the necessary tools and materials, you can successfully seal your sink drain and keep it in optimal condition.
Starting with removing the existing drain and cleaning the area, you’ll create a clean and debris-free surface for the new seal. Applying plumbers putty around the sink strainer allows for a watertight seal, while inserting the strainer with the right amount of pressure ensures a secure fit.
Reattaching the drainpipe and tightening the slip nuts using an adjustable wrench provides a leak-free connection. Finally, checking for leaks by turning on the faucet and inspecting the area helps identify and address any issues promptly.
Regular maintenance and inspection are essential to keep your sink drain functioning properly. By taking the time to seal the drain, you can avoid costly repairs and potential water damage in the future.
Now, armed with the knowledge and steps outlined in this guide, you can confidently seal your sink drain and maintain a well-functioning and leak-free sink for years to come.
Remember to prioritize safety during the process, wear protective gear if necessary, and consult a professional if you encounter any difficulties or if the problem persists.
With proper sealing, your sink drain will continue to serve its purpose efficiently, allowing water to flow smoothly while keeping your kitchen or bathroom clean and dry.
Seal your sink drain today and enjoy the benefits of a leak-free and well-maintained sink!
Frequently Asked Questions about How To Seal Sink Drain
Was this page helpful?
At Storables.com, we guarantee accurate and reliable information. Our content, validated by Expert Board Contributors, is crafted following stringent Editorial Policies. We're committed to providing you with well-researched, expert-backed insights for all your informational needs.

0 thoughts on “How To Seal Sink Drain”