Articles
How To Install A Toilet Without Plumbing
Modified: October 30, 2024
Learn how to install a toilet without plumbing with our step-by-step guide. Read more articles on DIY plumbing projects and save money on professional services.
(Many of the links in this article redirect to a specific reviewed product. Your purchase of these products through affiliate links helps to generate commission for Storables.com, at no extra cost. Learn more)
Introduction
Installing a toilet may seem like a daunting task, especially if you don’t have any plumbing experience. However, with the right tools and a little guidance, you can successfully install a toilet without needing to hire a professional plumber.
Whether you’re remodeling your bathroom or replacing an old toilet, this step-by-step guide will walk you through the process of installing a toilet without plumbing. By following these instructions closely, you’ll be able to achieve a functional and efficient toilet installation in no time.
Before we begin, it’s important to note that while installing a toilet may not be overly complicated, you should always prioritize safety. Make sure to wear appropriate protective gear, such as gloves and safety glasses, and take necessary precautions to avoid any accidents or injuries throughout the installation process.
Key Takeaways:
- DIY Toilet Installation
With the right tools and guidance, homeowners can successfully install a toilet without plumbing. Following the step-by-step process ensures a functional and efficient installation, saving on professional fees. - Attention to Detail Matters
Proper preparation, assembly, placement, and testing are crucial for a successful toilet installation. Attention to detail prevents leaks, instabilities, and future issues, ensuring a professional-quality result.
Read more: How To Install Toilet Plumbing
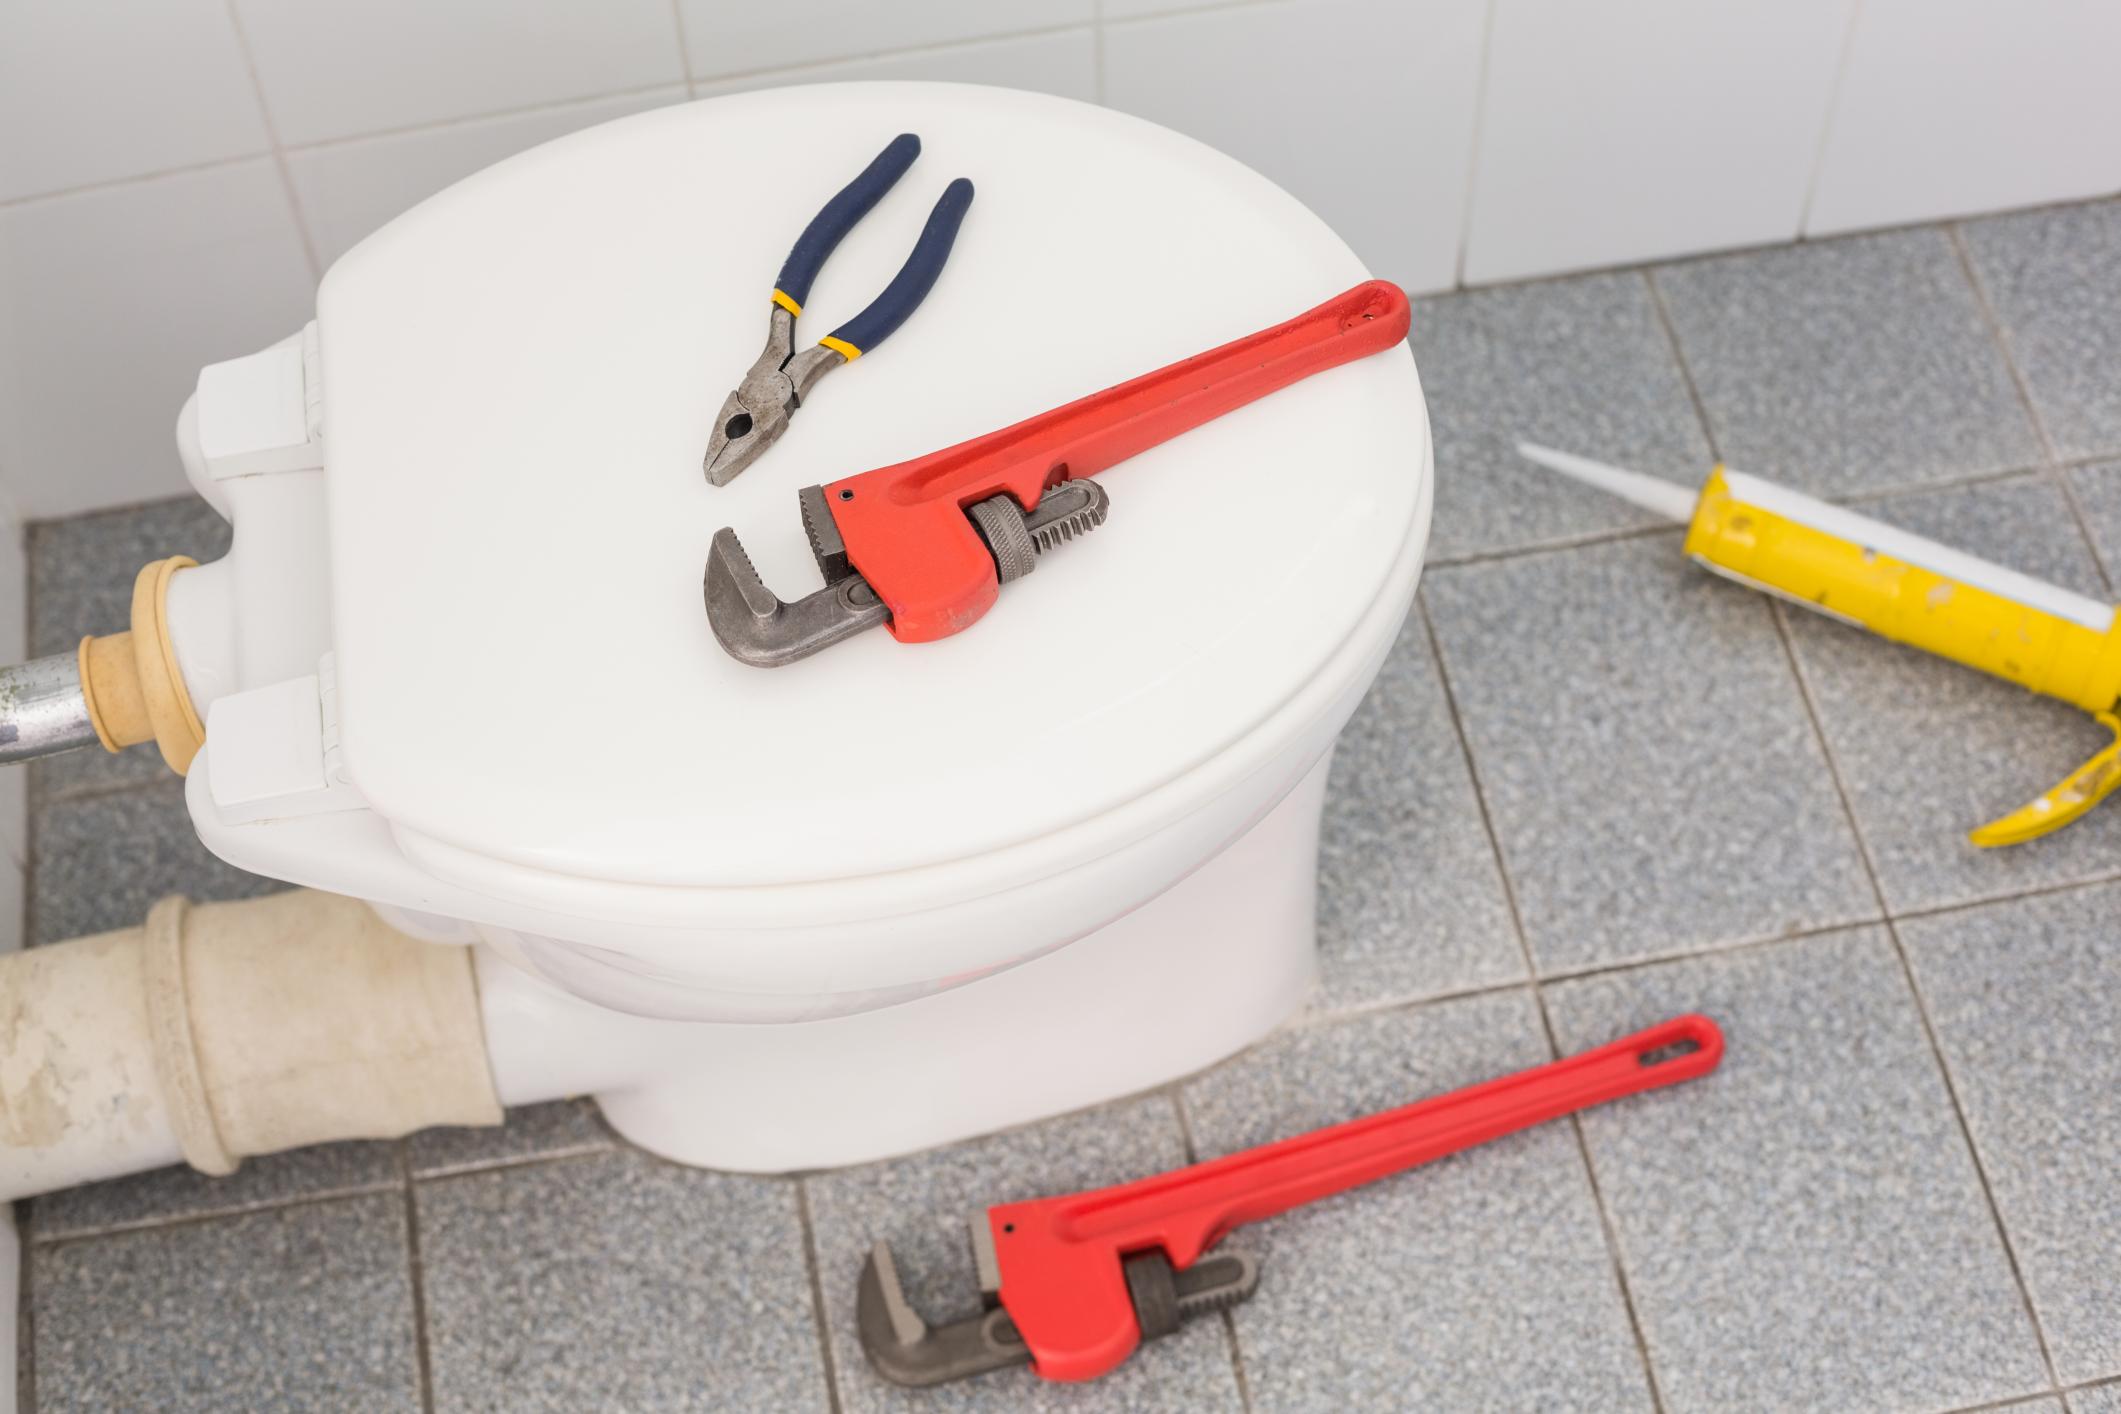
Tools and Materials Needed
Before you start installing a toilet without plumbing, gather the following tools and materials:
- Adjustable wrench
- Screwdriver
- Plunger
- Tape measure
- Hacksaw
- Plumber’s putty
- Wax ring
- Toilet bolts and washers
- Level
- Bucket
In addition to these tools, you’ll also need the toilet itself, which typically comes with a tank, bowl, seat, and flushing mechanism. It’s important to purchase a toilet that is compatible with your existing plumbing system and meets your specific needs in terms of style and functionality.
To ensure a successful installation, it’s best to invest in high-quality materials and tools that will withstand regular use. This will help prevent any leaks or damage in the long run and ensure a durable and reliable toilet installation.
Before you begin the installation process, double-check that you have all the necessary tools and materials within reach to facilitate a smooth and efficient installation.
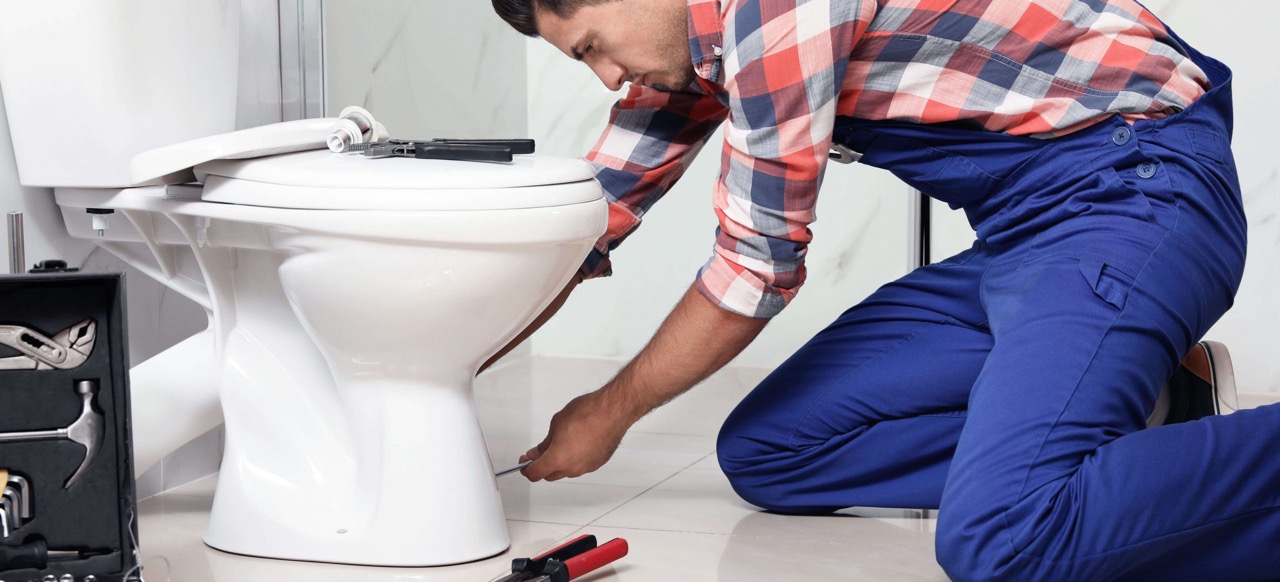
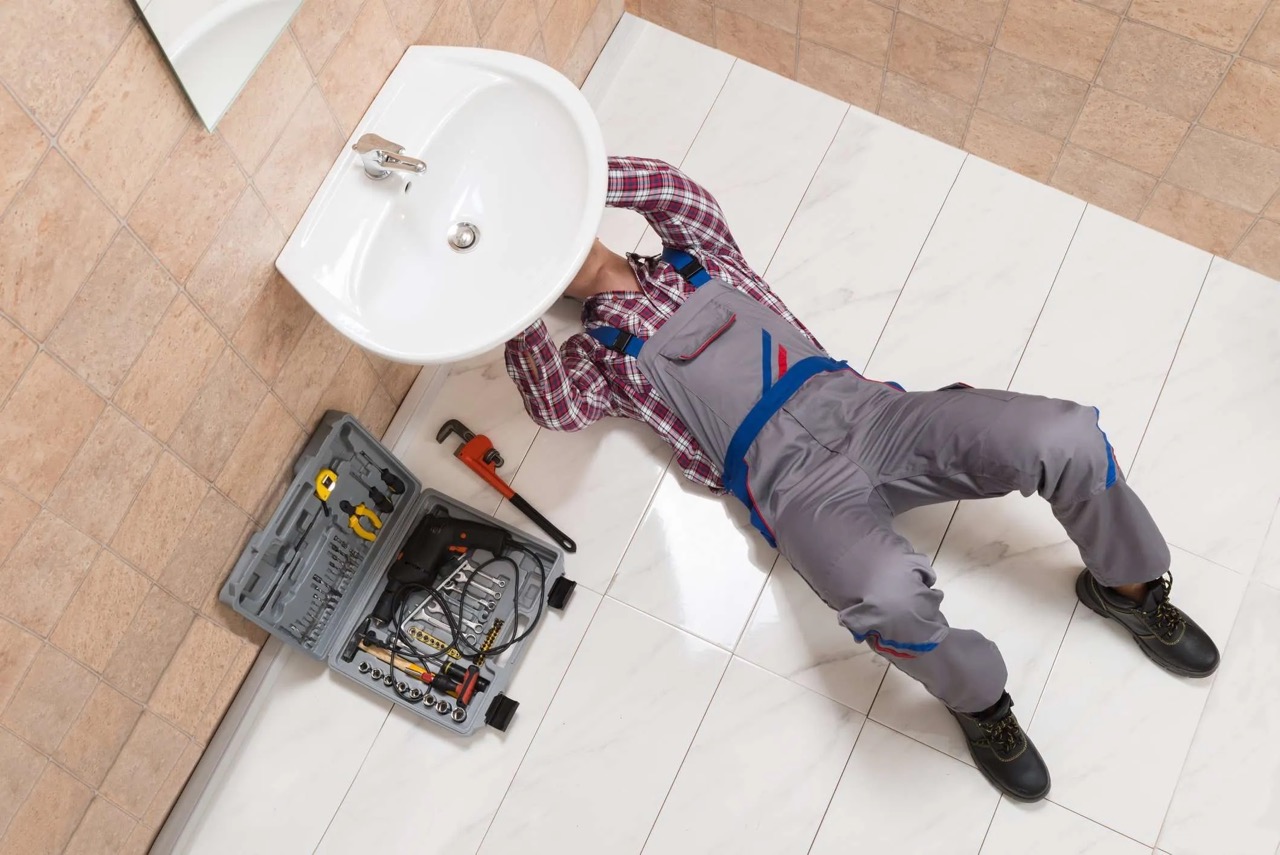
Step 1: Preparing the Area
Before you can install a toilet without plumbing, it’s important to properly prepare the area where the toilet will be placed. Follow these steps to ensure a clean and suitable environment for installation:
- Turn off the water supply: Locate the shut-off valve near the base of the toilet or in the main water supply line. Turn the valve clockwise to shut off the water supply to the toilet.
- Remove the old toilet: If you’re replacing an existing toilet, remove it by disconnecting the water supply line and unscrewing the bolts at the base of the toilet. Lift the toilet off the floor and place it aside.
- Inspect the toilet flange: The toilet flange is a circular pipe fitting that connects the toilet drain to the sewer or septic system. Make sure it is in good condition and securely attached to the floor. Replace or repair it if necessary.
- Clean the floor: Thoroughly clean the area where the toilet will be placed. Remove any debris or residue and make sure the floor is level.
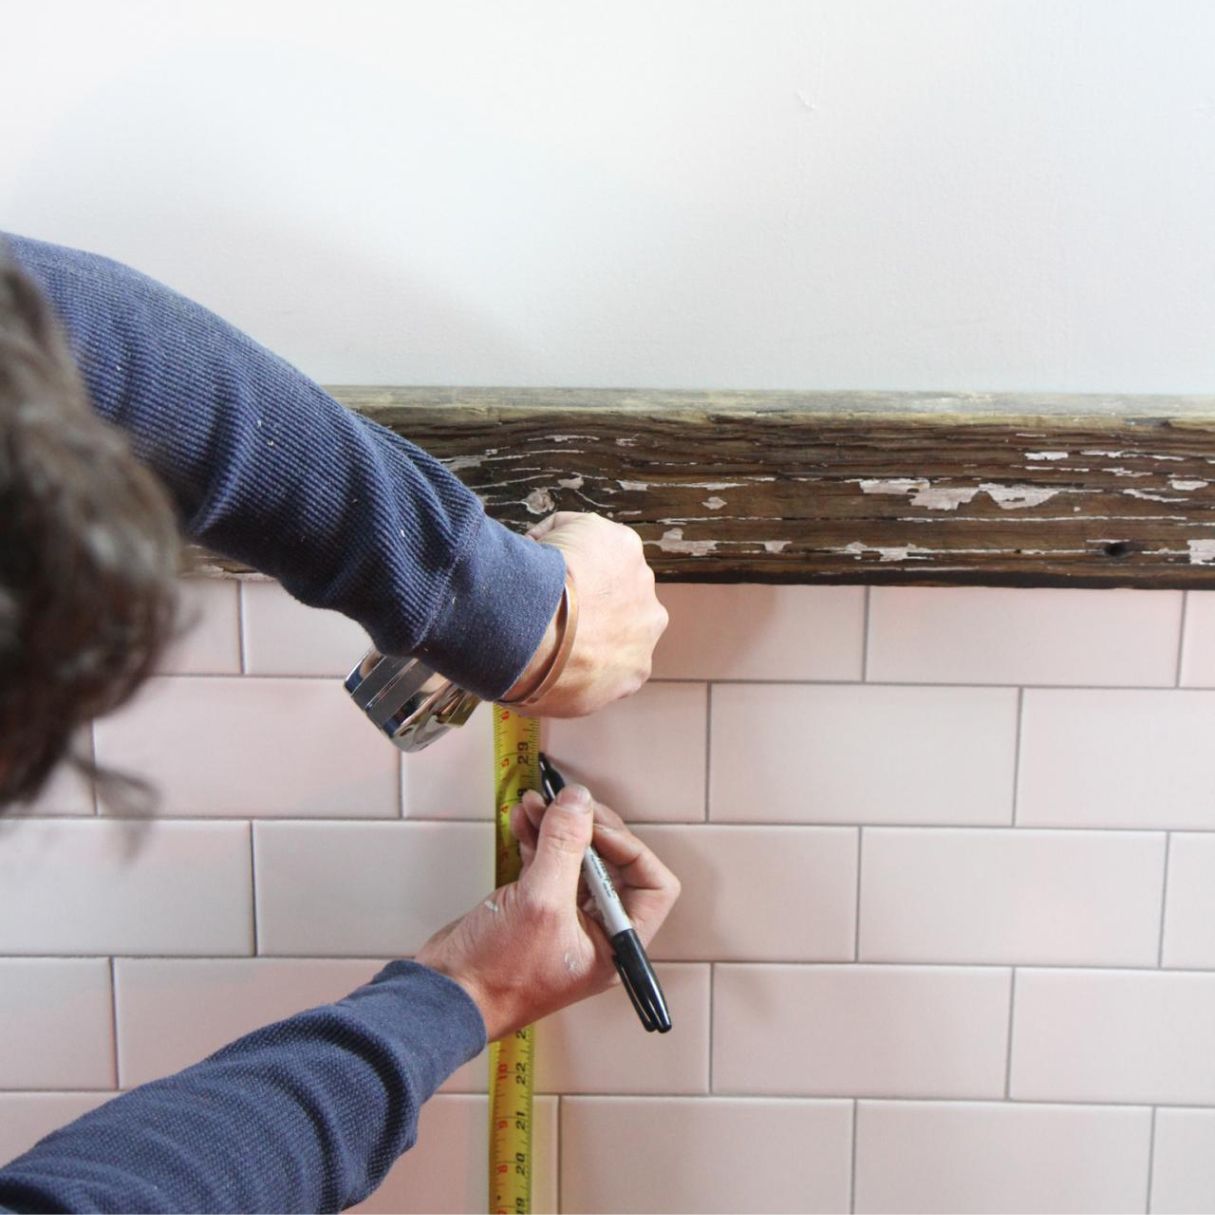
- Measure and mark the toilet placement: Measure the distance between the toilet flange bolts and the wall. Use these measurements to mark the position of the new toilet on the floor. Use a level to ensure accurate alignment.
By following these steps, you will create a clean and stable foundation for the installation of your new toilet. Taking the time to properly prepare the area will help ensure a smooth and secure installation process.
Step 2: Assembling the Toilet
Once you have prepared the area for installation, it’s time to assemble the toilet. Follow these steps to correctly assemble the different components of the toilet:
- Attach the tank to the bowl: Place the rubber gasket on the bottom of the tank and align it with the corresponding holes on the bowl. Insert the tank bolts through the holes and secure them with the washers and nuts provided.
- Install the flushing mechanism: Follow the manufacturer’s instructions to install the flushing mechanism inside the tank. This typically involves attaching the fill valve, flush valve, and flapper.
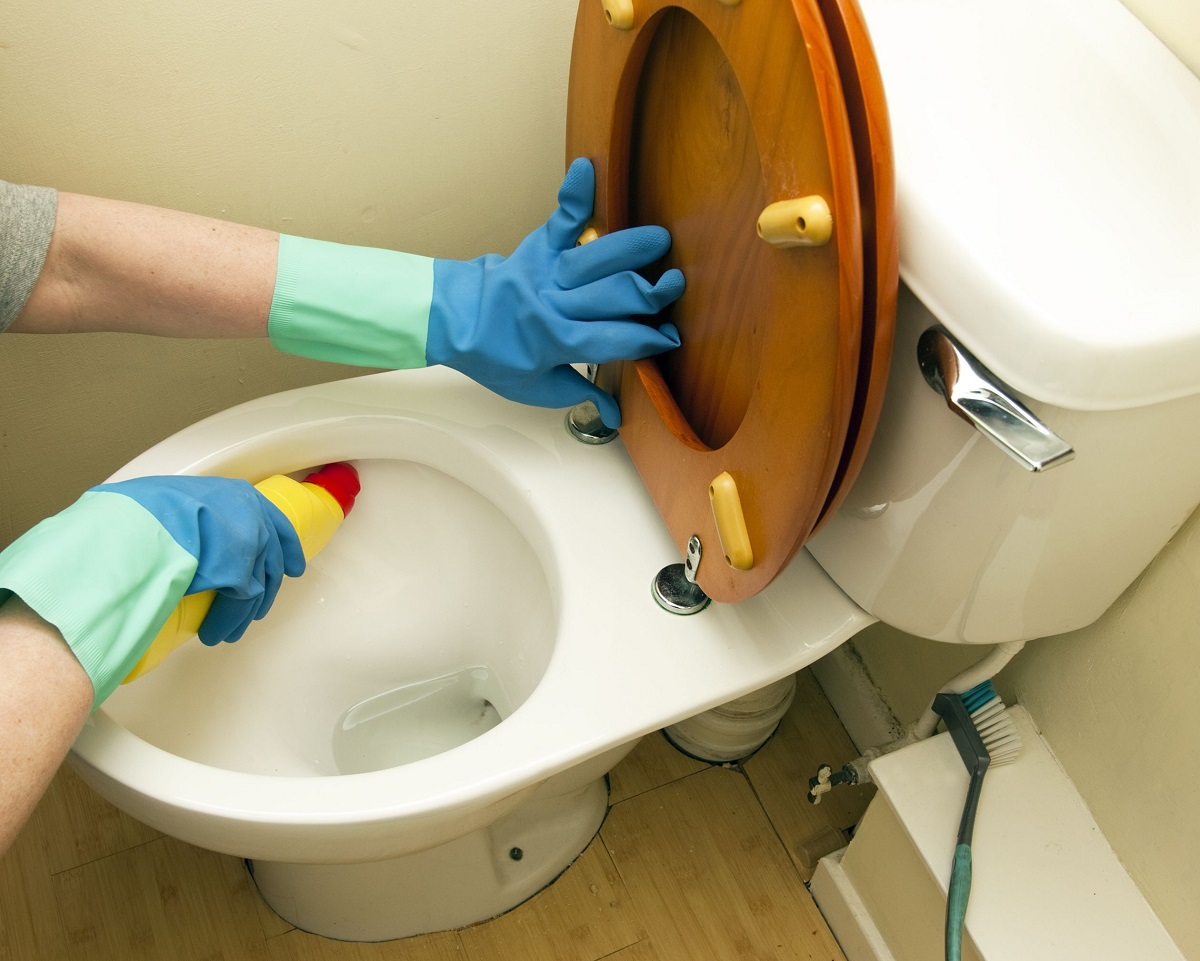
- Attach the seat to the bowl: Position the toilet seat on the bowl, aligning the seat hinges with the mounting holes on the bowl. Insert the screws provided and tighten them securely with a screwdriver.
- Apply plumber’s putty: Apply a ring of plumber’s putty around the base of the toilet. This will help create a watertight seal when the toilet is installed.
It’s important to carefully follow the manufacturer’s instructions for assembling the specific components of your toilet. This will ensure that the toilet is assembled correctly and functions properly once installed.
Take your time during this step to ensure that all components are securely attached and aligned. A well-assembled toilet will provide a reliable and efficient flushing experience.
Step 3: Setting the Toilet in Place
Now that you have assembled the toilet, it’s time to set it in place. Follow these steps to ensure proper placement and alignment:
- Lift the toilet: Carefully lift the assembled toilet and position it over the toilet flange. Make sure the wax ring is properly aligned with the flange.
- Lower the toilet: Slowly lower the toilet onto the wax ring and align the bolt holes on the base of the toilet with the flange bolts.
- Apply pressure: Apply downward pressure on the toilet to compress the wax ring and create a watertight seal. Ensure that the toilet is level and centered.
- Tighten the bolts: Place the washers and nuts over the flange bolts and tighten them with an adjustable wrench. Be careful not to overtighten, as this can cause damage to the toilet or flange.
During this step, it is crucial to ensure that the toilet is level and properly aligned with the walls and plumbing connections. This will prevent any future issues with leaks or instability.
Once the toilet is securely in place, double-check that it is level using a spirit level. Make any necessary adjustments by loosening and repositioning the toilet as needed.
When installing a toilet without plumbing, make sure to use a wax ring to create a watertight seal between the toilet and the floor drain. This will prevent any leaks or odors from escaping.
Read more: How To Move Toilet Plumbing
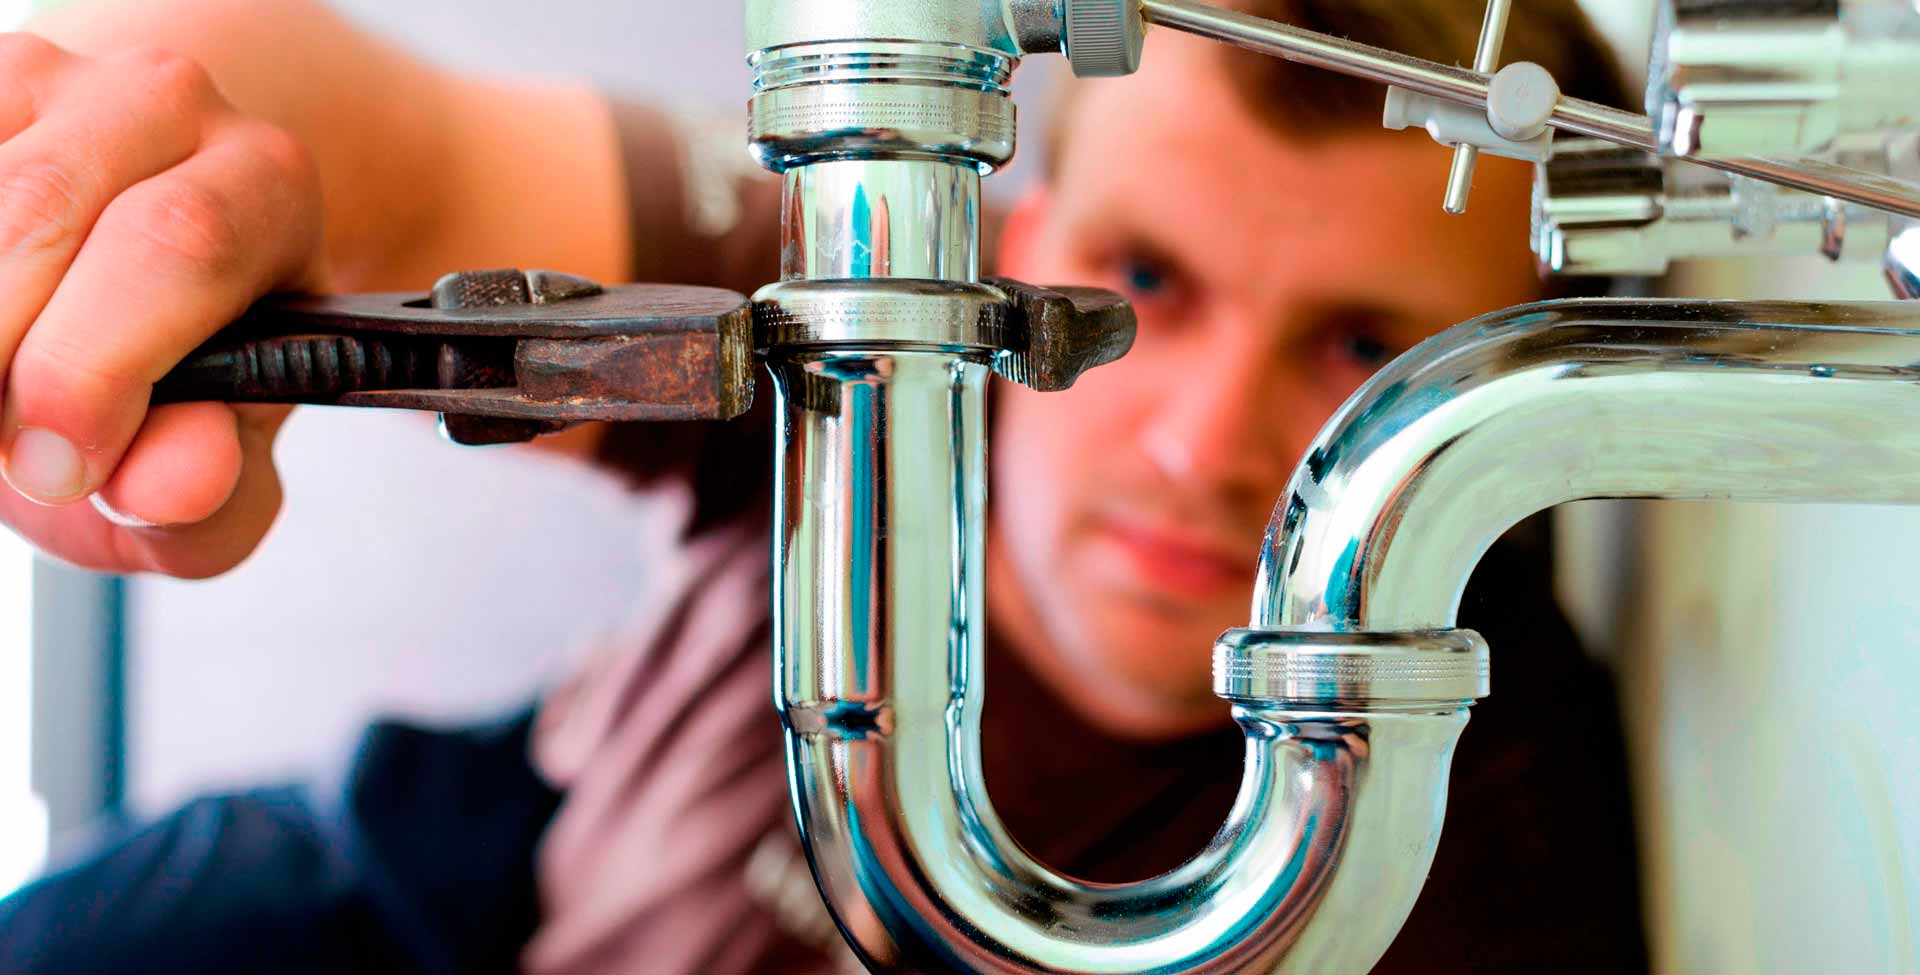
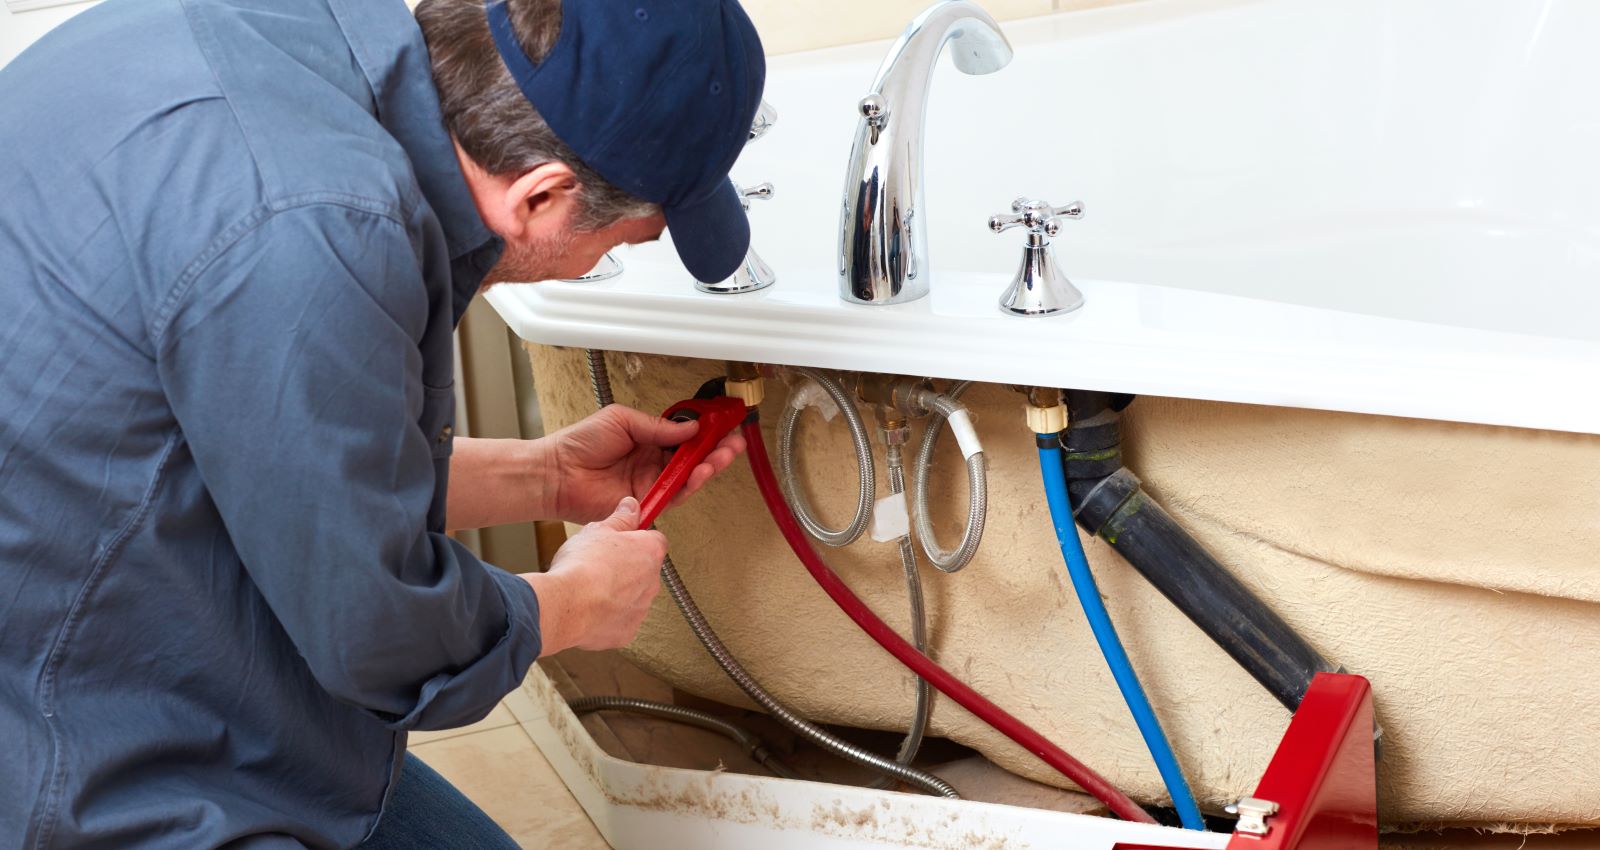
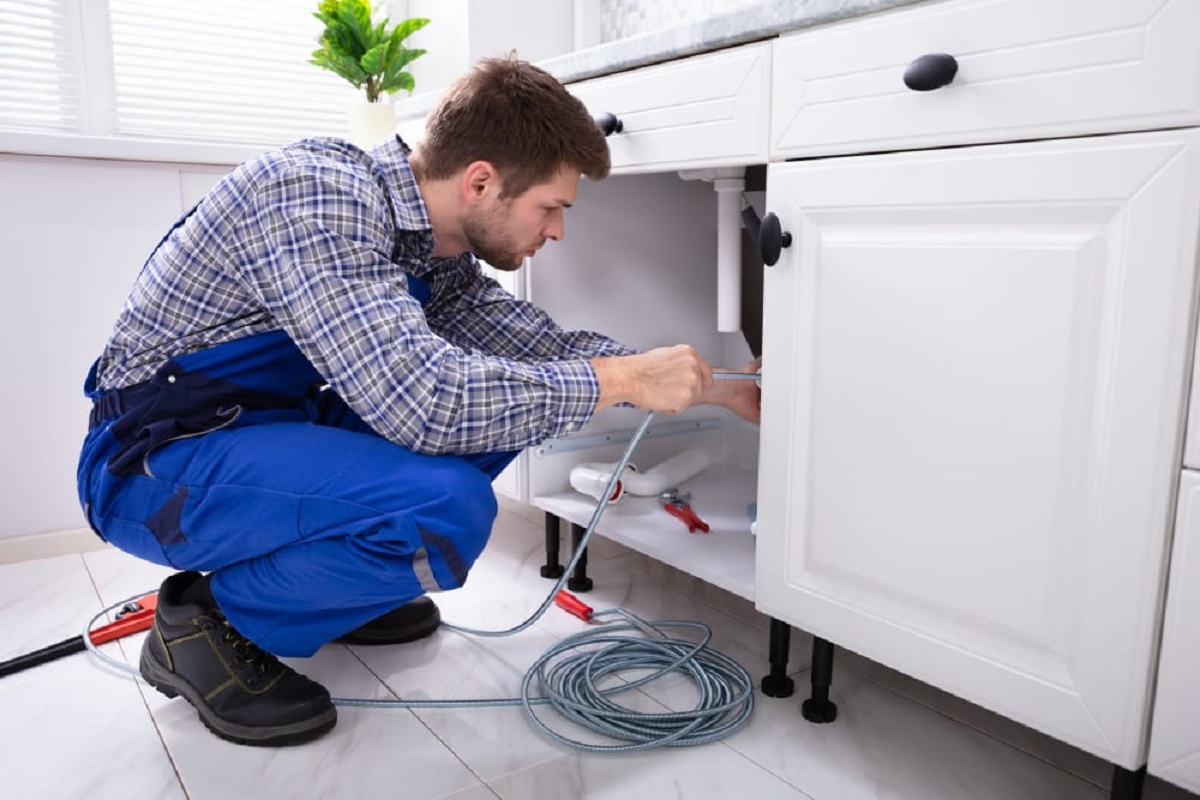
Step 4: Connecting the Water Supply
With the toilet successfully set in place, it’s time to connect the water supply. Follow these steps to ensure a proper connection:
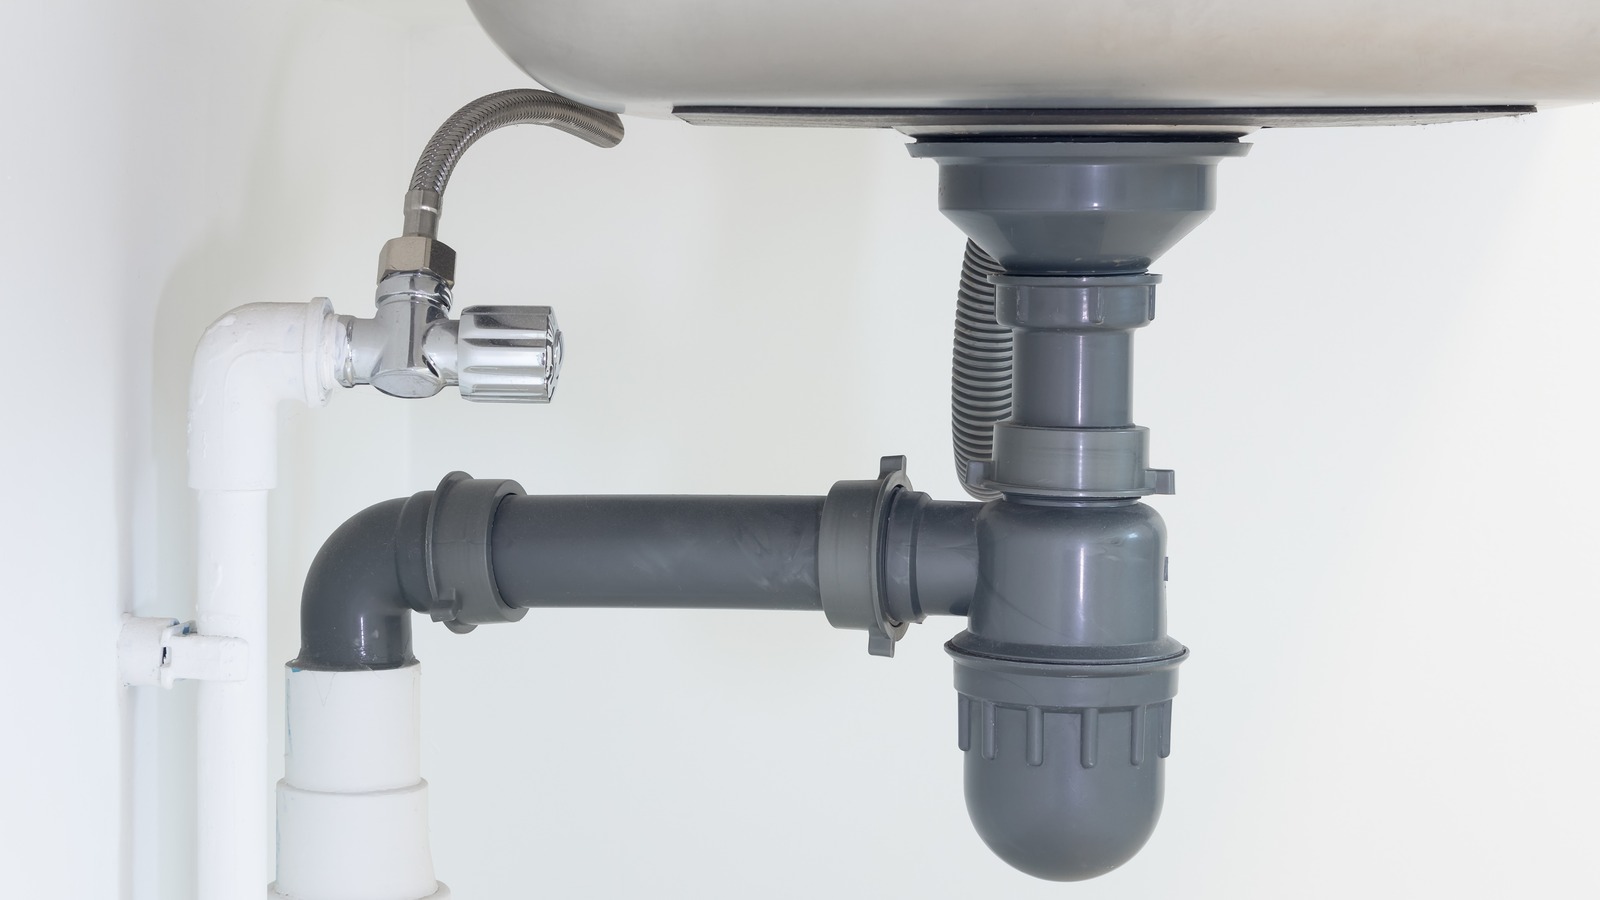
- Locate the water supply line: The water supply line is typically located on the wall behind the toilet or in the floor. It is a metal or flexible pipe that provides water to the toilet.
- Attach the supply line: Attach one end of the supply line to the bottom of the toilet tank, using an adjustable wrench to tighten the connection. Make sure the connection is secure to prevent any leaks.
- Connect the other end: Connect the other end of the supply line to the water supply valve or pipe. Use an adjustable wrench to tighten the connection, ensuring it is secure but not overly tight.
- Open the water supply valve: Slowly turn on the water supply valve to allow water to flow into the toilet tank. Check for any leaks around the connections and make any necessary adjustments.
It’s important to ensure that the water supply line is properly attached and secure to prevent any leaks. Be careful not to overtighten the connections, as this can cause damage to the pipes or fittings.
Once the water supply is connected, allow the toilet tank to fill completely. Check for any leaks around the base of the toilet or at the connections. If you notice any leaks, tighten the connections or replace any faulty parts as needed.
Now that the water supply is connected, your toilet is ready to be tested and adjusted in the next step.
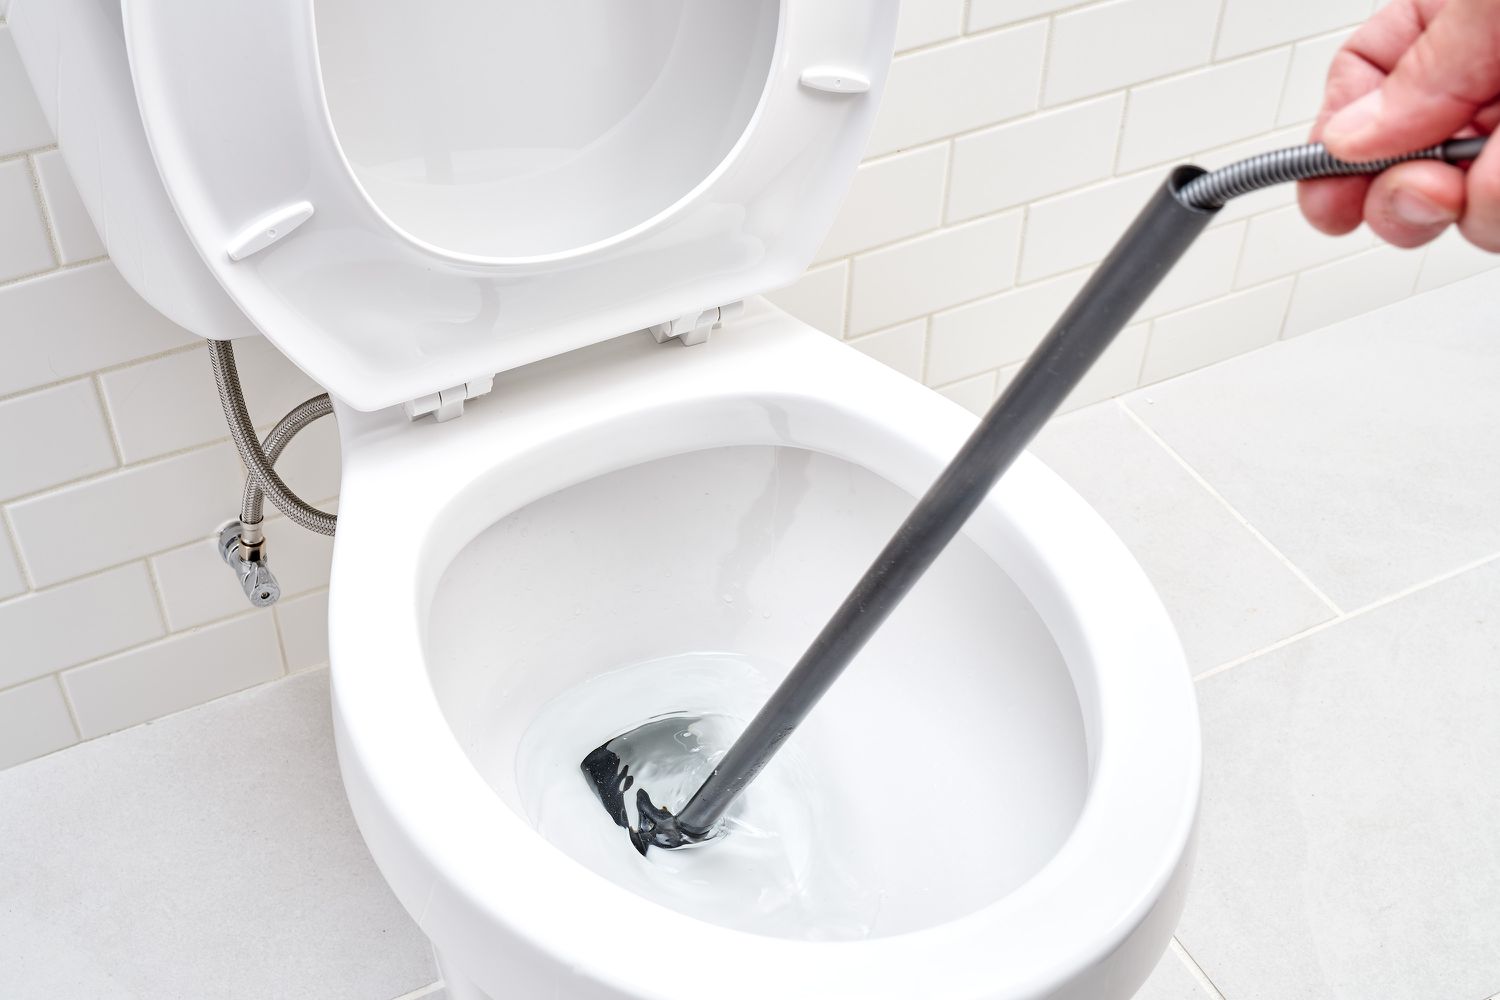
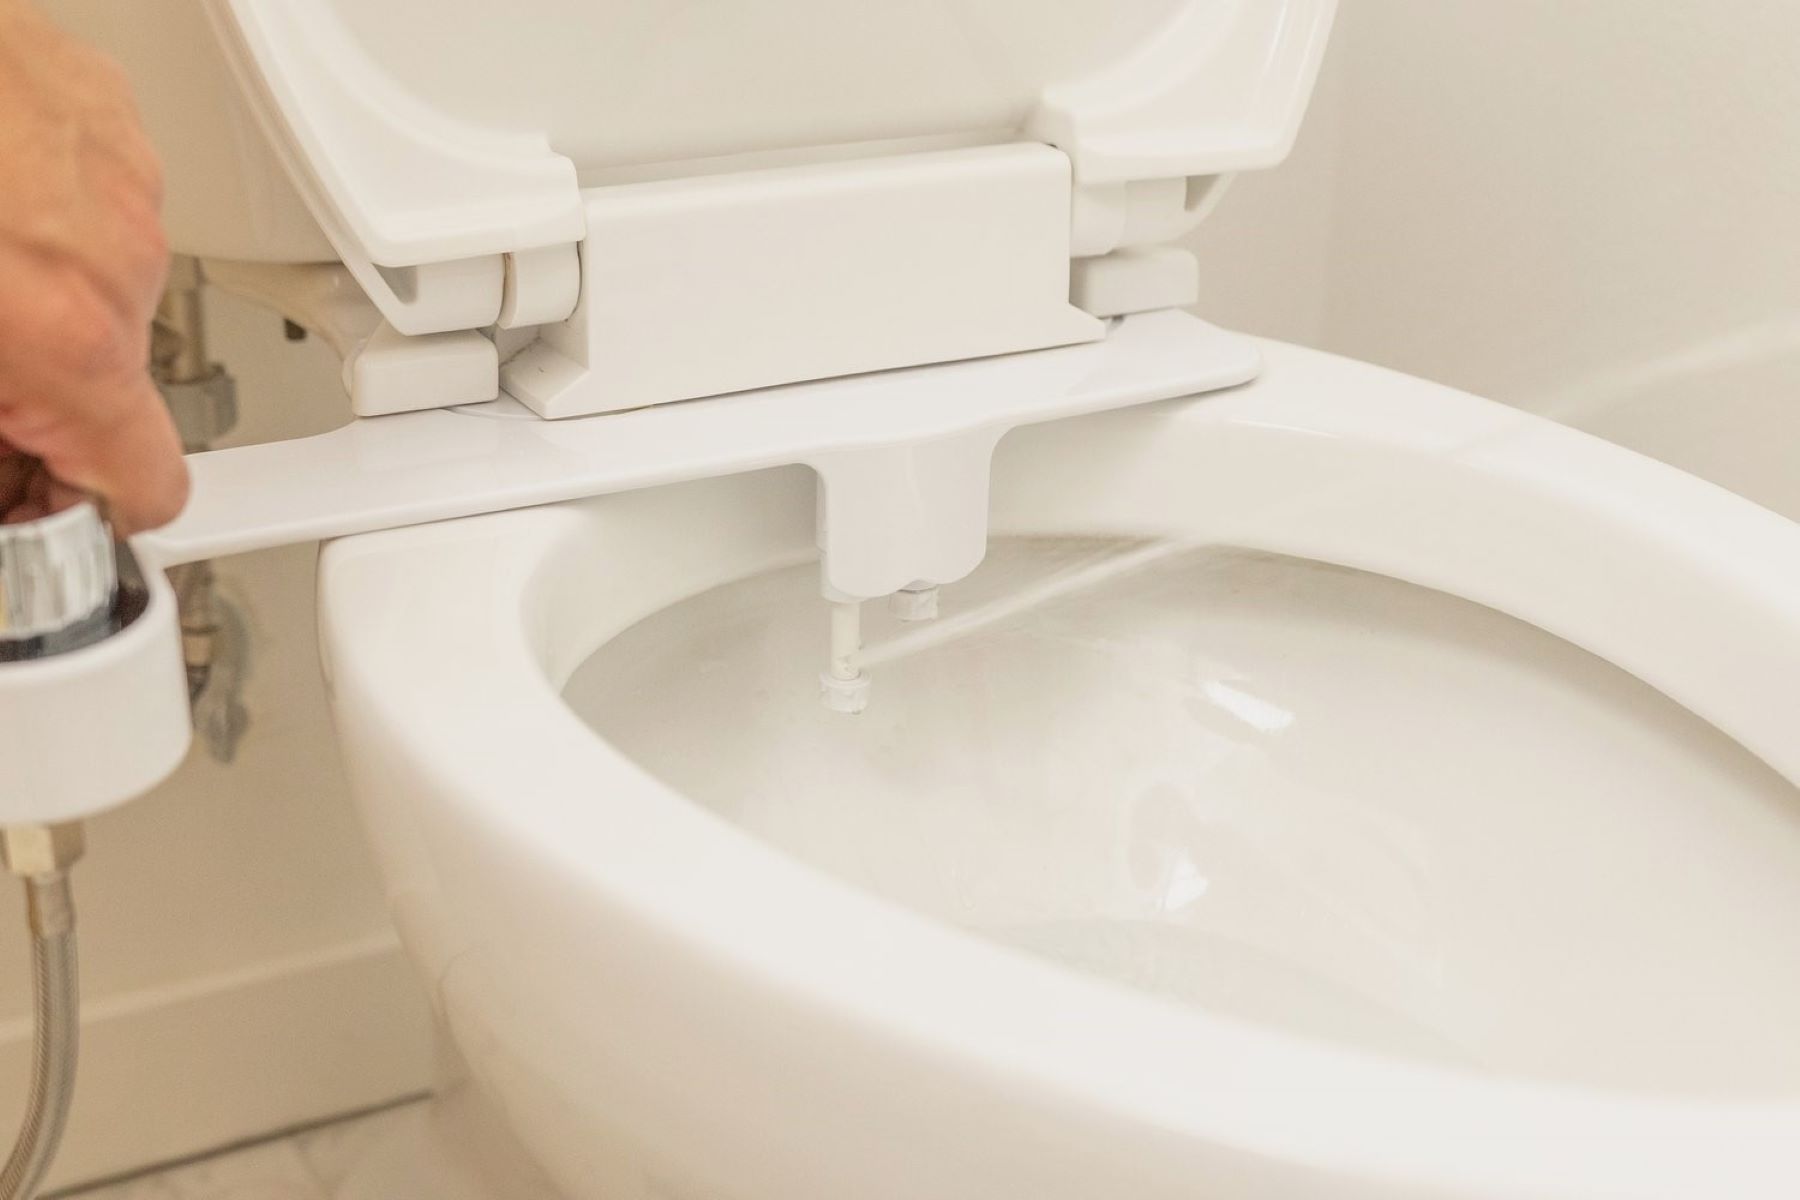
Step 5: Testing and Adjusting
After connecting the water supply, it’s time to test and adjust the toilet to ensure it is functioning properly. Follow these steps to complete this crucial step:
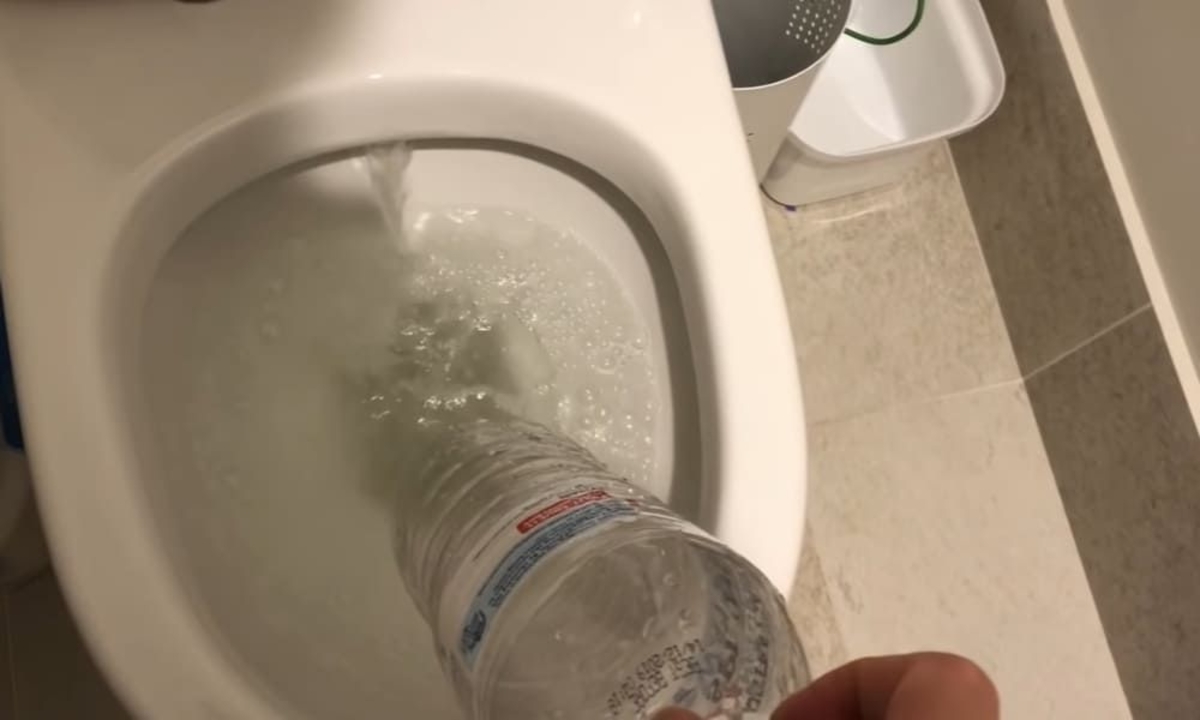
- Turn on the water supply: Fully open the water supply valve to allow water to fill the toilet tank. Listen for any unusual sounds or hissing noise that might indicate a problem.
- Flush the toilet: Press the flush handle or button to initiate a flush. Observe the flushing mechanism to ensure that it is working smoothly and effectively.
- Check for proper flush and refill: After flushing, check that the bowl and tank refill adequately and stop filling once the water reaches the appropriate level.
- Adjust the water level: If necessary, adjust the water level in the tank by manipulating the float or adjusting the fill valve. Ensure that the water level is at the marked fill line inside the tank.
- Check for leaks: Inspect the base of the toilet and the connections for any signs of water leakage. If you notice any leaks, tighten the connections or replace faulty parts as necessary.
During this step, it is important to carefully observe the toilet’s performance. A properly functioning toilet should have a strong flush, quick refill, and no visible leaks.
If you encounter any issues, such as a weak flush or constant running water, refer to the manufacturer’s instructions or consult a professional for further assistance.
Once you are satisfied with the functionality of the toilet and have made any necessary adjustments, you can proceed to the final step of securing the toilet in place.
Step 6: Securing the Toilet
The final step in the toilet installation process is to secure it in place to ensure stability and prevent any movement. Follow these steps to properly secure the toilet:
- Tighten the bolts: Using an adjustable wrench, carefully tighten the nuts on the flange bolts located at the base of the toilet. Make sure to alternate between the nuts to ensure even pressure.
- Trim excess bolts: If the flange bolts extend beyond the nuts, use a hacksaw to carefully trim them to prevent any interference with the toilet or potential injuries.
- Caulk around the base: Apply a bead of silicone caulk around the base of the toilet to create a waterproof seal and enhance the overall appearance. Smooth out the caulk with a caulk finishing tool or a wet finger.
- Reconnect the supply line cover: If your toilet has a supply line cover, reattach it to conceal the water supply line and create a neater appearance.
By properly securing the toilet, you will prevent any wobbling or movement that could cause leaks or damage over time. The silicone caulk also helps to keep water from seeping between the floor and the base of the toilet, further protecting against leaks.
Once you have completed these steps, take a few moments to inspect the entire installation to ensure everything is secure and visually appealing. Clean up any excess caulk or debris, and allow the caulk to dry according to the manufacturer’s instructions before using the toilet.
Congratulations! You have successfully installed a toilet without plumbing. Enjoy the convenience and functionality of your newly installed toilet.
Conclusion
Installing a toilet without plumbing may initially seem like a challenging task, but with the right tools, materials, and guidance, it is a project that can be accomplished by most homeowners. By following the step-by-step instructions provided in this guide, you can successfully install a toilet and enjoy the convenience and functionality it offers.
Remember to take the necessary safety precautions and gather all the required tools and materials before starting the installation process. Preparing the area, assembling the toilet, setting it in place, connecting the water supply, testing and adjusting, and finally securing the toilet are the essential steps to a successful installation.
Throughout the installation process, it is important to pay attention to detail and ensure proper alignment, sealing, and adjustments. This will help prevent any leaks, instabilities, or other issues that may arise in the future.
If you encounter any difficulties or feel unsure about any step, it is always recommended to consult a professional plumber. They have the knowledge and expertise to guide you through the process and ensure a professional-quality installation.
By successfully installing a toilet without plumbing, you not only save money on professional fees but also gain the satisfaction of completing a home improvement project on your own. So go ahead, follow the steps outlined in this guide, and enjoy the benefits of a newly installed toilet in your bathroom.
Frequently Asked Questions about How To Install A Toilet Without Plumbing
Was this page helpful?
At Storables.com, we guarantee accurate and reliable information. Our content, validated by Expert Board Contributors, is crafted following stringent Editorial Policies. We're committed to providing you with well-researched, expert-backed insights for all your informational needs.


0 thoughts on “How To Install A Toilet Without Plumbing”