Articles
How To Move Toilet Plumbing
Modified: October 18, 2024
Looking for articles on how to move toilet plumbing? Our guide provides step-by-step instructions and expert tips to help you with this home improvement project.
(Many of the links in this article redirect to a specific reviewed product. Your purchase of these products through affiliate links helps to generate commission for Storables.com, at no extra cost. Learn more)
Introduction
When it comes to remodeling or renovating your bathroom, there may come a time when you need to move your toilet plumbing. Whether you are looking to relocate the toilet to a different location within the bathroom or you need to move it to an entirely different room, it is important to understand the steps involved in this process. Moving the toilet plumbing may seem like a daunting task at first, but with the right knowledge and tools, it can be accomplished with relative ease.
In this article, we will guide you through the step-by-step process of moving toilet plumbing. From turning off the water supply to installing the new toilet, we will cover all the necessary steps to ensure a successful relocation. So, let’s get started and learn how to move toilet plumbing!
Key Takeaways:
- Moving toilet plumbing involves turning off the water supply, disconnecting the water supply line, removing the toilet, relocating the plumbing, and installing the new toilet. It’s a detailed process, but with the right knowledge, it can be accomplished successfully.
- Properly maintaining and addressing any plumbing issues will ensure the efficient functioning of your toilet and prevent any further complications down the line. If unsure, it’s always recommended to consult a professional plumber for guidance.
Read more: How To Install Toilet Plumbing
Step 1: Turn Off the Water Supply
The first step in moving toilet plumbing is to turn off the water supply. Before you begin any work, it is crucial to shut off the water to prevent any leaks or water damage.
Locate the shut-off valve, which is typically located near the base of the toilet or on the wall behind it. Rotate the valve clockwise until it is fully closed to stop the water flow. If you are unable to locate the shut-off valve for the toilet, you may need to turn off the main water supply for the entire house.
After closing the shut-off valve, flush the toilet to drain any remaining water in the tank and bowl. This will help minimize the amount of water that may escape when you disconnect the water supply line.
It is also a good idea to place towels or a bucket near the base of the toilet to catch any water that may leak during the next steps.
By turning off the water supply, you ensure a safe working environment and minimize the risk of water damage during the toilet plumbing relocation process.
Step 2: Disconnect the Water Supply Line
Once you have turned off the water supply, the next step is to disconnect the water supply line from the toilet. This line connects the water supply to the toilet tank and allows water to flow into the tank for flushing.
Start by locating the water supply line, which is typically connected to a valve at the bottom of the toilet tank. Using an adjustable wrench, loosen the nut connecting the water supply line to the valve, and then carefully unscrew it. Be prepared for some water to leak from the connection, so keep a towel or bucket handy to catch any drips.
After disconnecting the water supply line from the valve, go ahead and detach it from the toilet tank as well. This is usually done by unscrewing the nut connecting the supply line to the fill valve on the bottom of the tank.
Once the water supply line is fully disconnected, set it aside. It is a good idea to have a towel or bucket nearby to catch any excess water that may still be in the line.
By disconnecting the water supply line, you ensure that there is no water flowing into the toilet during the relocation process, making it easier to remove and move the toilet.
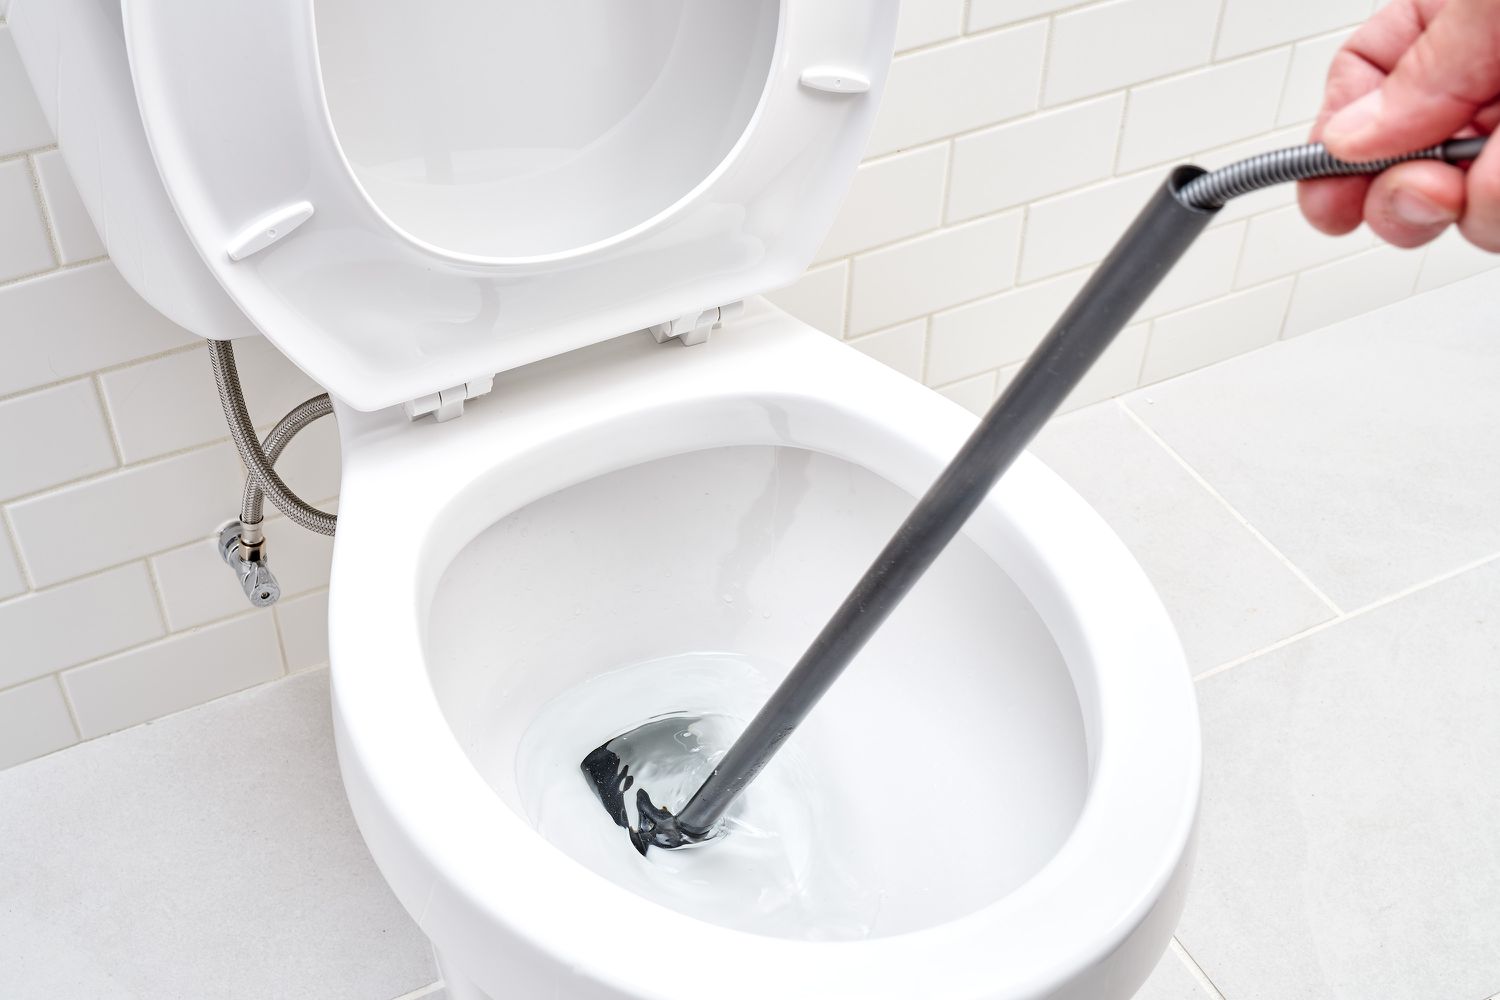
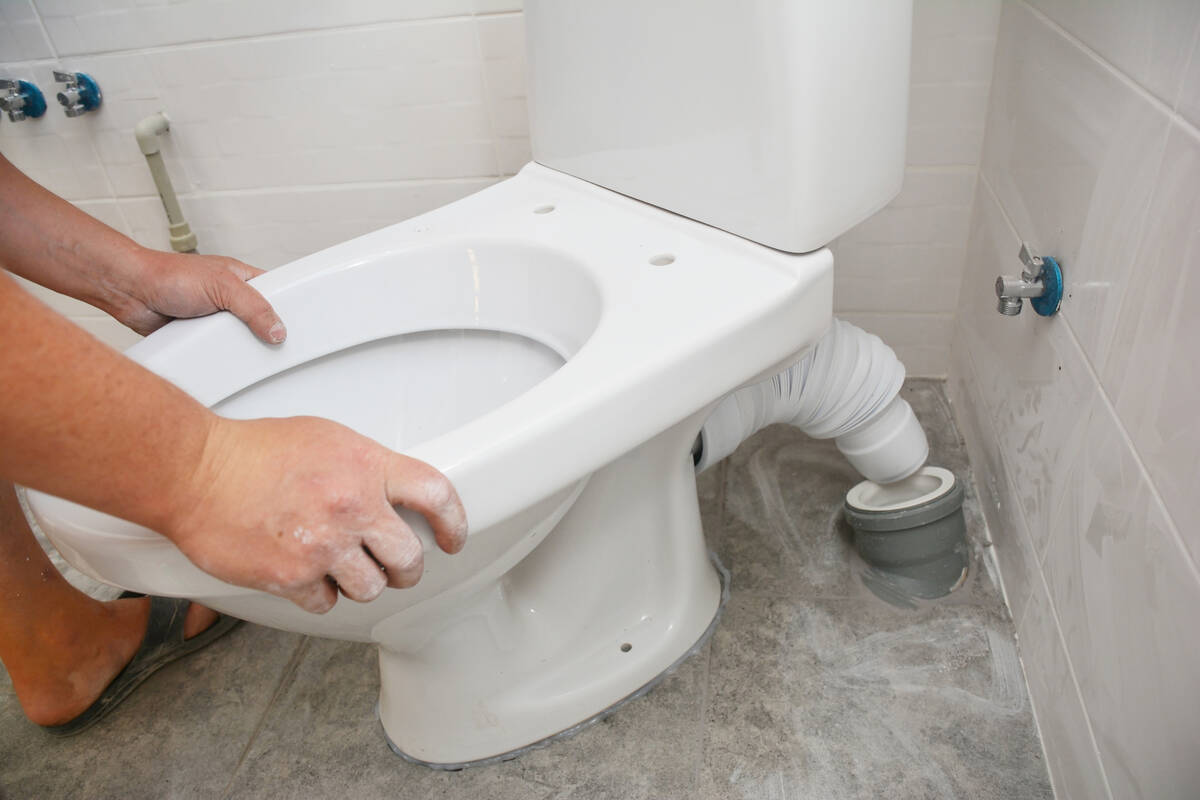
Step 3: Remove the Toilet
With the water supply line disconnected, the next step is to remove the toilet from its current location. Removing the toilet involves a few key steps to ensure a safe and efficient removal process.
Start by removing the tank lid and setting it aside in a safe place. Then, locate the bolts that secure the toilet to the floor. These bolts are typically covered by plastic caps or decorative covers, which can be easily removed by prying them off with a screwdriver or a putty knife.
Once the bolts are exposed, use an adjustable wrench to loosen and remove the nuts. Be cautious when doing this, as the toilet may still be heavy and unstable. It’s a good idea to have someone assist you in lifting and removing the toilet to avoid any injuries or accidental damage.
With the nuts removed, carefully lift the toilet straight up to detach it from the floor and the wax seal. It’s important to keep the toilet level while lifting to prevent any water or debris from spilling out. Place the toilet on a towel or a tarp to prevent any scratching or damage.
Once the toilet is removed, inspect the wax seal on the flange and replace it if necessary. The wax seal creates a watertight seal between the toilet and the sewer pipe, so it’s important to ensure it is in good condition before reinstalling the toilet.
By removing the toilet, you create a clear space for the next steps of relocating the toilet plumbing. Make sure to handle the toilet with care and dispose of any waste or debris responsibly.
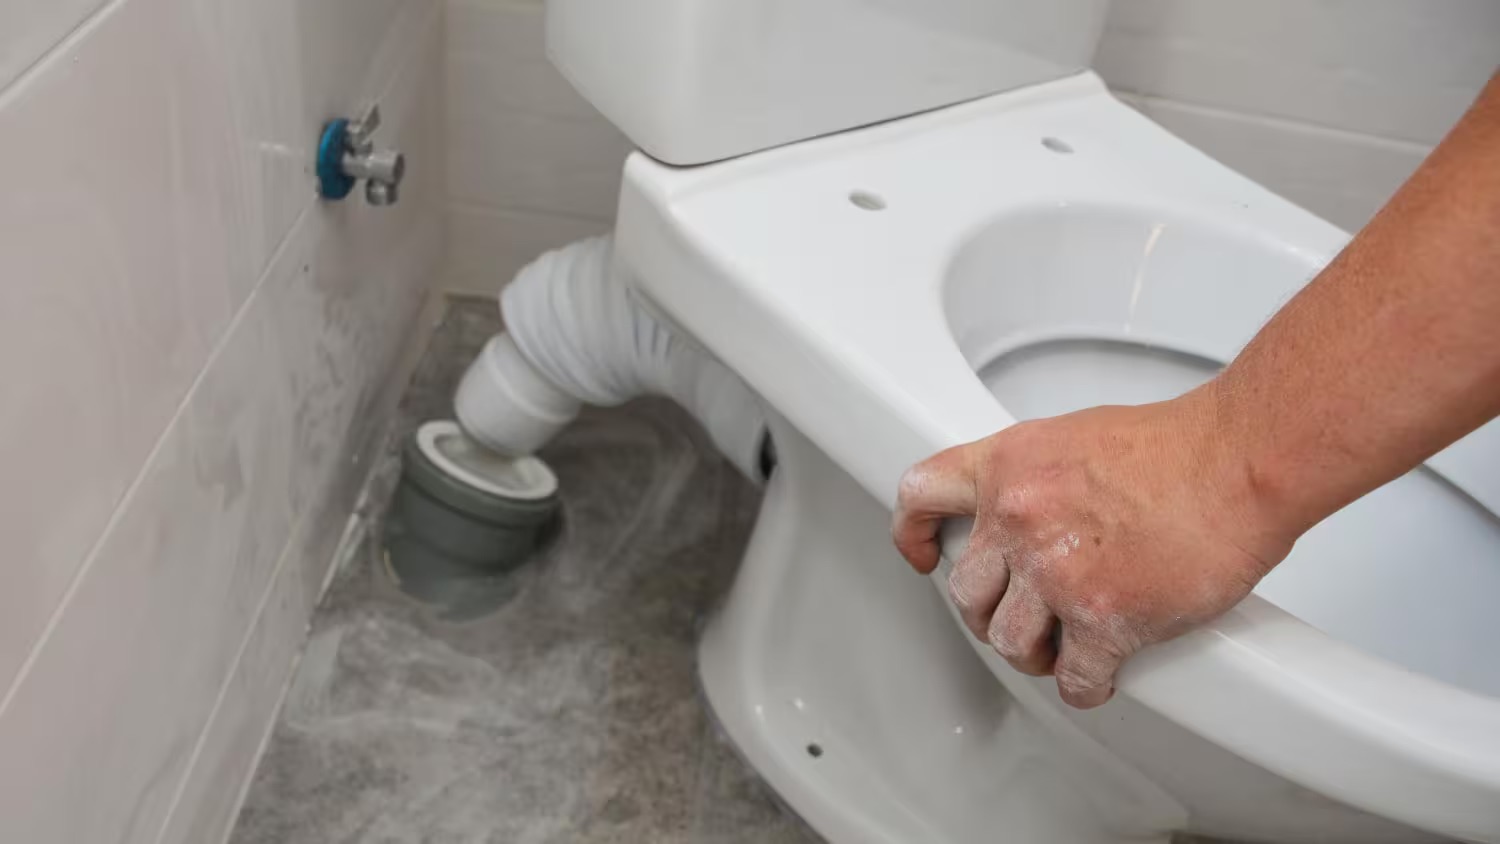
Step 4: Disconnect the Toilet Drain Pipe
After removing the toilet from its original location, the next step in moving the toilet plumbing is to disconnect the toilet drain pipe. The drain pipe is responsible for carrying waste from the toilet and connecting it to the sewer or septic system.
First, locate the closet flange, which is a round pipe fitting that connects the toilet to the drain pipe. The closet flange is usually secured to the floor with screws or bolts.
Using a screwdriver or wrench, loosen and remove the screws or bolts that secure the closet flange to the floor. Once the flange is loose, carefully lift it up to detach it from the drain pipe. Be cautious when doing this, as there may still be some residual waste or water in the pipe.
Inspect the closet flange for any signs of damage or wear. If necessary, replace the flange to ensure a secure and watertight connection when reinstalling the toilet in its new location.
Additionally, it’s a good idea to cover the open drain pipe with a rag or plug to prevent any sewer gases or debris from entering your living space during the relocation process.
By disconnecting the toilet drain pipe, you create a clear pathway for moving and relocating the plumbing. Remember to dispose of any waste or debris responsibly and maintain a clean and safe working environment throughout the process.
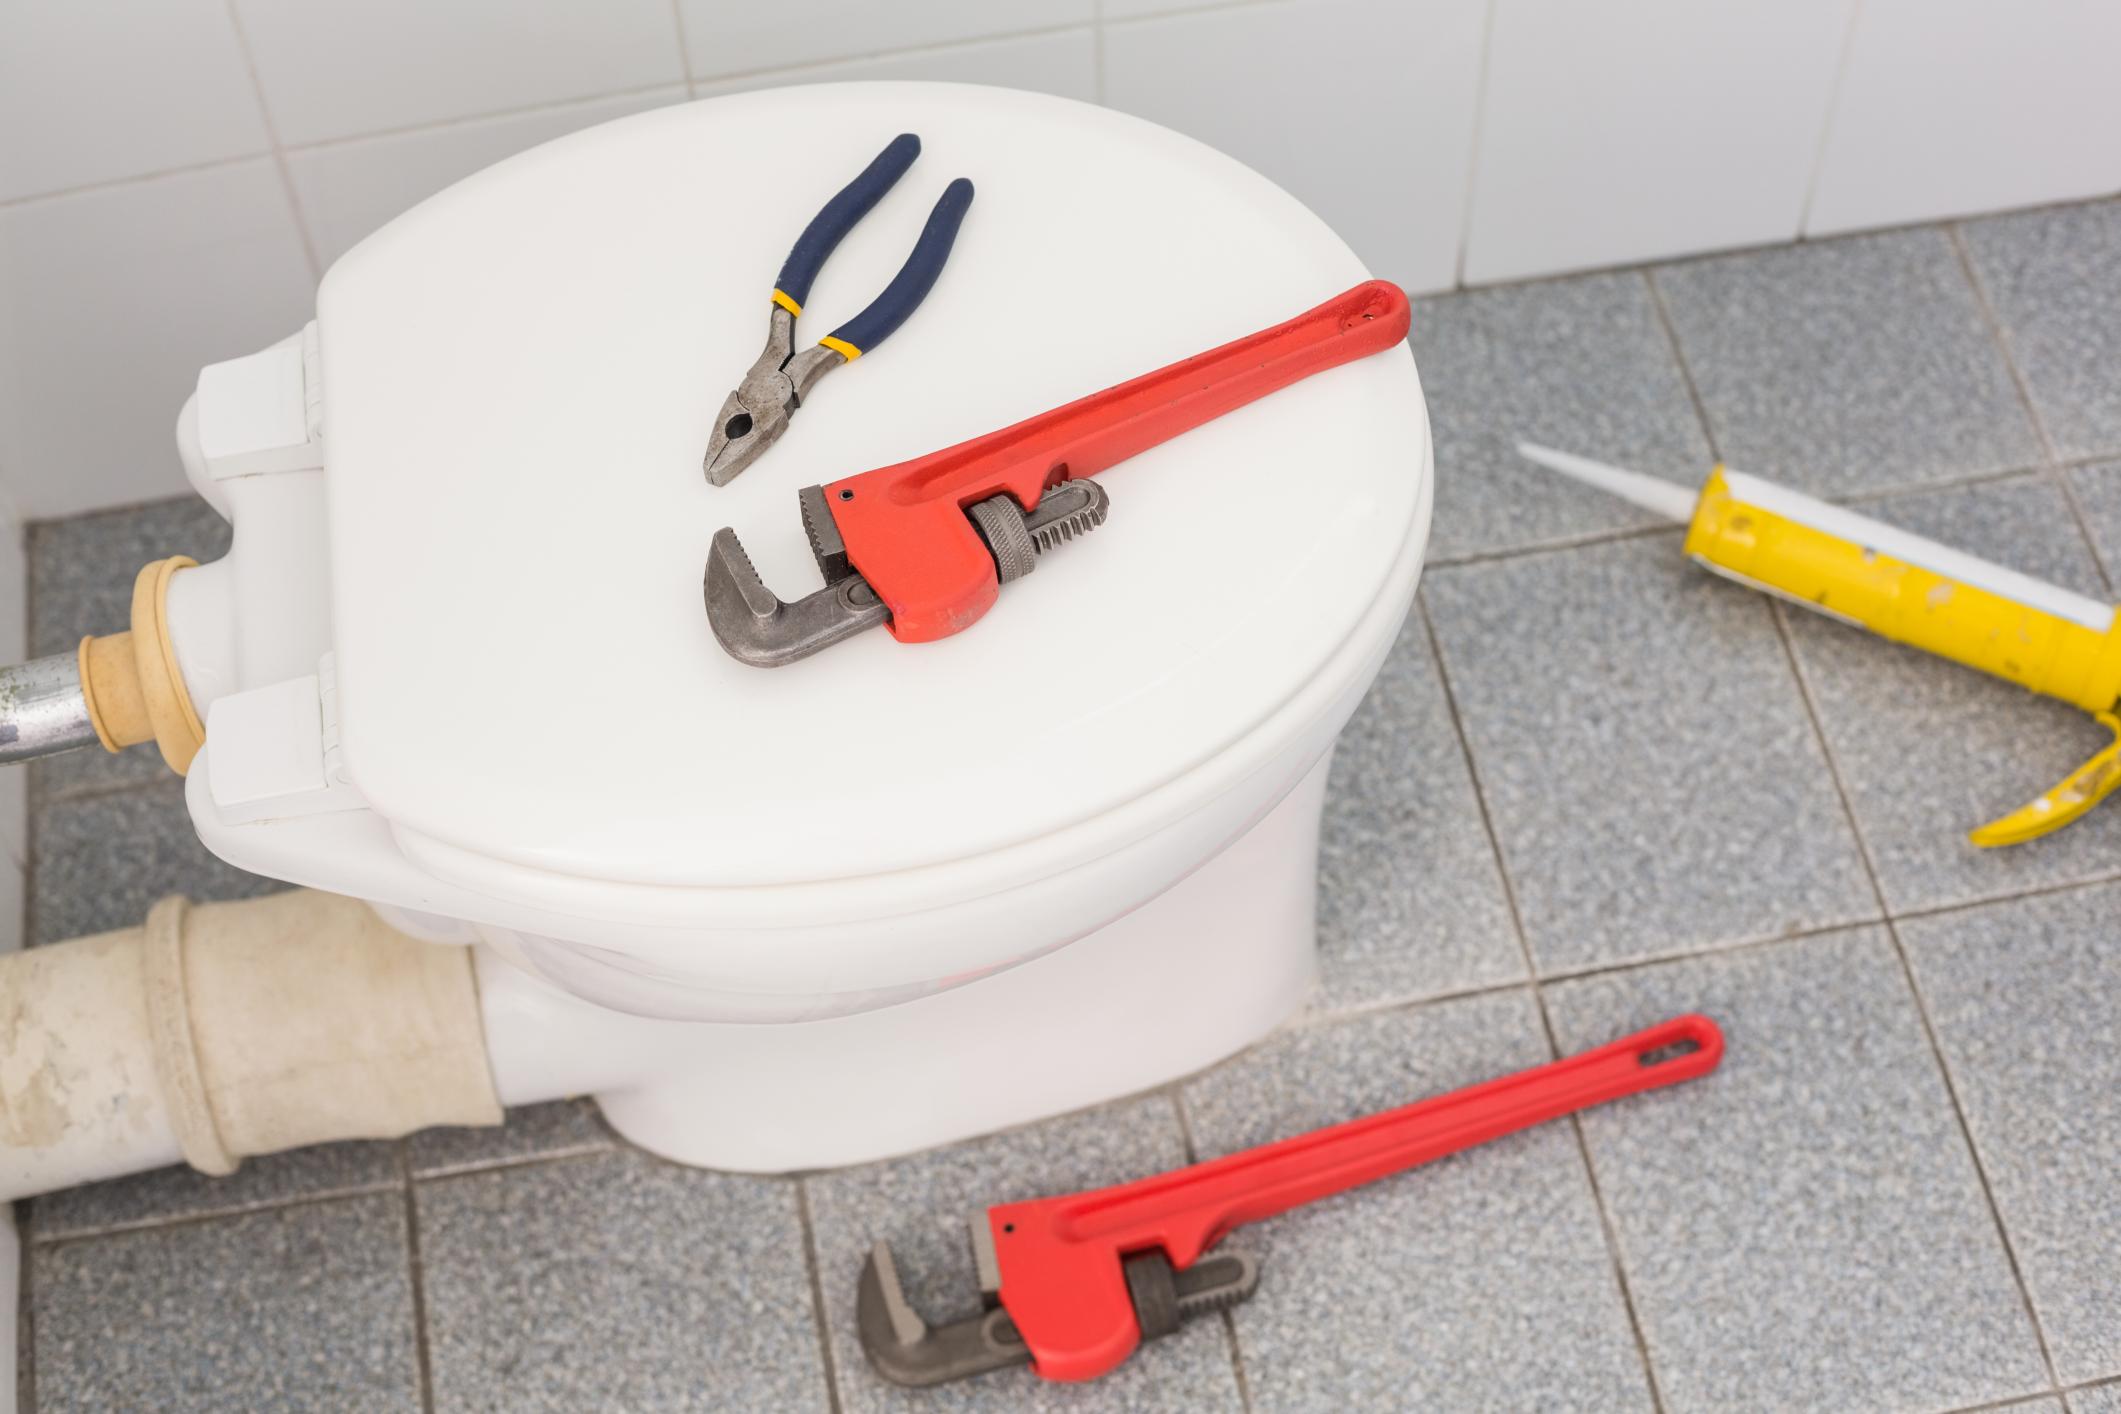
When moving toilet plumbing, make sure to shut off the water supply and disconnect the water and waste lines. Plan the new location carefully and consider hiring a professional for complex moves.
Step 5: Relocate the Toilet Plumbing
Now that you have disconnected the toilet drain pipe, it’s time to relocate the toilet plumbing to its new location. This step involves rerouting the plumbing pipes to accommodate the new position of the toilet.
Start by carefully measuring and marking the new location for the toilet. You will need to ensure that there is enough space for the toilet to fit comfortably and that the plumbing pipes can be properly connected.
If necessary, you may need to adjust the existing plumbing pipes or install new ones to align with the new location. This may involve cutting and removing sections of the existing pipes and connecting them with new fittings and connectors.
It is important to use the appropriate materials and techniques when working with plumbing pipes. If you are not familiar with plumbing, it is recommended to seek the assistance of a professional plumber to ensure the proper installation and alignment of the pipes.
Once the plumbing pipes are in place and properly aligned with the new toilet location, secure them using appropriate pipe clamps or brackets. This will help prevent any movement or leaks once the toilet is reinstalled.
Remember to follow local building codes and regulations when modifying or installing plumbing pipes. This will ensure that the toilet plumbing relocation is done safely and up to code.
By relocating the toilet plumbing, you can customize the layout of your bathroom and create a more functional or aesthetically pleasing space.
Step 6: Connect the Toilet Drain Pipe
With the toilet plumbing relocated to its new position, the next step is to connect the toilet drain pipe. This step involves reattaching the toilet to the drain pipe and creating a secure, watertight seal.
Start by placing a new wax ring on the closet flange. The wax ring is a crucial component as it forms a seal between the bottom of the toilet and the drain pipe.
Lower the toilet onto the wax ring, ensuring that the toilet flange aligns with the drain pipe. Apply even pressure to compress the wax ring and create a tight seal. Gently wiggle the toilet back and forth to help the wax ring settle evenly.
Once the toilet is in place, reinstall the bolts or screws that secure the toilet to the floor. Tighten them evenly using a wrench to ensure a stable and level installation.
Next, reconnect the closet flange to the drain pipe. This may involve tightening screws or bolts to secure the flange in place. Make sure the flange is tightly secured to prevent any leaks or movement.
Finally, check the toilet for proper alignment and stability. Sit on the toilet and gently rock back and forth to ensure that it is securely attached. If necessary, adjust the position of the toilet or tighten the bolts for a more stable installation.
By connecting the toilet drain pipe, you ensure that waste is properly disposed of and prevent any leaks or odor issues. Remember to test the toilet for any leaks by flushing it and checking for any water seepage around the wax ring or connection points.
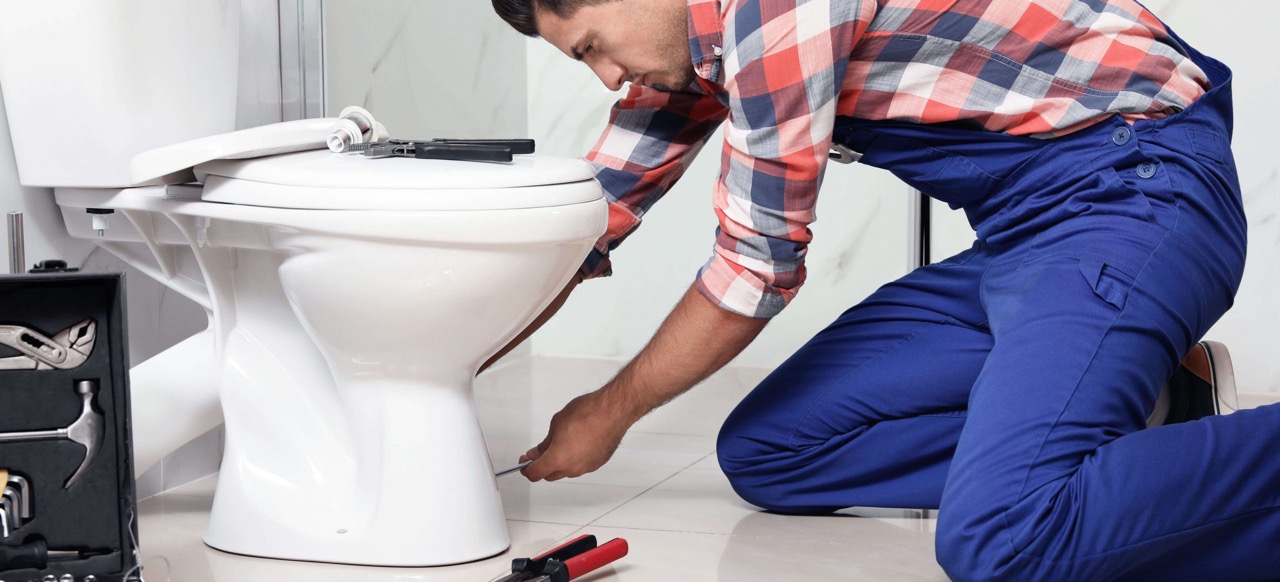
Step 7: Install the New Toilet
After connecting the toilet drain pipe, the next step is to install the new toilet in its new location. This step involves properly aligning and securing the toilet to ensure a stable and functional installation.
Start by placing the new wax ring onto the flange. The wax ring creates a watertight seal between the toilet and the drain pipe. Make sure the wax ring is centered and properly aligned with the flange.
With the wax ring in place, carefully lower the toilet onto the wax ring. Align the bolt holes at the base of the toilet with the bolts on the flange. Apply even pressure to compress the wax ring and create a tight seal.
Once the toilet is in position, install the washers and nuts onto the bolts and tighten them evenly. Be careful not to overtighten, as this could damage the toilet base. Use a wrench to secure the nuts, but make sure not to apply excessive force.
Once the toilet is securely in place, check for proper alignment and stability. Sit on the toilet and gently rock back and forth to ensure that it is securely attached. If necessary, adjust the positioning or tighten the nuts for a more stable installation.
After installing the toilet, reattach the tank lid and any other accessories. It is also a good idea to test the flush and check for any leaks. Flush the toilet several times and inspect the area around the base and connections for any signs of water seepage.
By properly installing the new toilet, you ensure a functional and efficient fixture in its new location. Remember to consult the manufacturer’s instructions for any specific installation guidelines or recommendations.
Step 8: Reconnect the Water Supply Line
The final step in moving toilet plumbing is to reconnect the water supply line. This step involves ensuring that water flows properly into the toilet tank for flushing.
Start by reconnecting the water supply line to the fill valve on the bottom of the toilet tank. Screw on the nut and tighten it securely using an adjustable wrench. Take care not to overtighten and risk damaging the connections.
Next, reconnect the other end of the water supply line to the shut-off valve. Again, use an adjustable wrench to tighten the nut and ensure a secure connection. Make sure the shut-off valve is fully opened to allow water to flow into the toilet tank.
After reconnecting the water supply line, turn on the water supply by gradually opening the shut-off valve. Check for any leaks around the connections and tighten them if necessary.
Once the water supply is turned on, allow the toilet tank to fill up completely. Flush the toilet to ensure proper water flow into the bowl and check for any leaks or irregularities in the flushing process.
Lastly, inspect the area around the toilet for any signs of water leakage. Check the connections, the base of the toilet, and the floor for any water seepage. If you notice any leaks, it may indicate a faulty connection that needs to be tightened or a damaged seal that requires replacement.
By reconnecting the water supply line, you ensure that the toilet receives the necessary water for flushing and proper functionality. Regularly check for any leaks or issues with the water supply line to maintain a reliable plumbing system.
Read more: How To Move Sink Plumbing Over A Few Inches
Conclusion
Moving toilet plumbing may seem like a daunting task, but with the right knowledge and steps, it can be accomplished successfully. By following the steps outlined in this article, you can relocate your toilet and create a more efficient and aesthetically pleasing bathroom layout.
Remember to start by turning off the water supply and disconnecting the water supply line. Carefully remove the toilet and disconnect the drain pipe, ensuring a clean and safe working environment. Once the plumbing is relocated to its new position, connect the drain pipe and install the new toilet, securing it properly with the necessary nuts and bolts.
After installing the toilet, reconnect the water supply line and check for any leaks or irregularities in water flow. It is important to test the flush and inspect the area for any signs of water leakage or damage. Properly maintaining and addressing any plumbing issues will ensure the efficient functioning of your toilet and prevent any further complications down the line.
Although moving toilet plumbing may require some effort and attention to detail, the end result is worth it. You can achieve a bathroom layout that better suits your needs and preferences, enhancing the functionality and aesthetic appeal of your space.
If you are unsure about any step or lack the necessary expertise, it is always recommended to consult a professional plumber. They can provide guidance and ensure that the toilet plumbing is relocated correctly and in compliance with building codes and regulations.
With the information and steps provided in this article, you are now equipped to confidently embark on moving toilet plumbing. Take your time, follow the steps carefully, and create the bathroom of your dreams.
Now that you've mastered moving toilet plumbing, why not tackle a bigger project? Upgrading your entire bathroom could be next on your DIY list. Our comprehensive guide on bathroom renovations breaks down the timeframes involved, ensuring you plan effectively. You'll find practical advice on budgeting, choosing materials, and minimizing disruption in your home during the upgrade.
Frequently Asked Questions about How To Move Toilet Plumbing
Was this page helpful?
At Storables.com, we guarantee accurate and reliable information. Our content, validated by Expert Board Contributors, is crafted following stringent Editorial Policies. We're committed to providing you with well-researched, expert-backed insights for all your informational needs.


0 thoughts on “How To Move Toilet Plumbing”