Articles
How To Install Toilet Plumbing
Modified: October 20, 2024
Learn how to install the plumbing for a toilet with our informative articles. Simplify your DIY project with step-by-step instructions and expert tips.
(Many of the links in this article redirect to a specific reviewed product. Your purchase of these products through affiliate links helps to generate commission for Storables.com, at no extra cost. Learn more)
Introduction
Installing the plumbing for a toilet may seem like a daunting task, but with the right tools and guidance, it can be accomplished successfully. Whether you’re replacing an old toilet or installing a new one, having a functional and properly connected plumbing system is essential for the smooth operation of your bathroom. This article will provide you with a step-by-step guide on how to install the plumbing for a toilet, ensuring that you have all the necessary information to complete the project with ease.
Before diving into the installation process, it’s important to gather the necessary tools and materials. This will ensure that you have everything you need within reach, saving you time and frustration throughout the installation. Here’s a list of the essential items you’ll need:
- Adjustable wrench
- Screwdriver
- Plunger
- Hacksaw
- Pipe cutter
- Teflon tape
- Flange
- Wax ring
- Water supply line
- Toilet tank and bowl
Once you have all the necessary tools and materials, you can begin the installation process. Follow the steps outlined below to ensure a successful and leak-free installation.
Key Takeaways:
- Proper installation of a toilet’s plumbing requires attention to detail, from shutting off the water supply to testing for leaks. Following the step-by-step guide and ensuring secure connections is essential for a successful installation.
- Gathering the necessary tools and materials, taking time to complete each step accurately, and testing for leaks are crucial for a fully functional and reliable toilet installation. Remember to seek professional assistance if needed.
Read more: How To Install A Toilet Without Plumbing
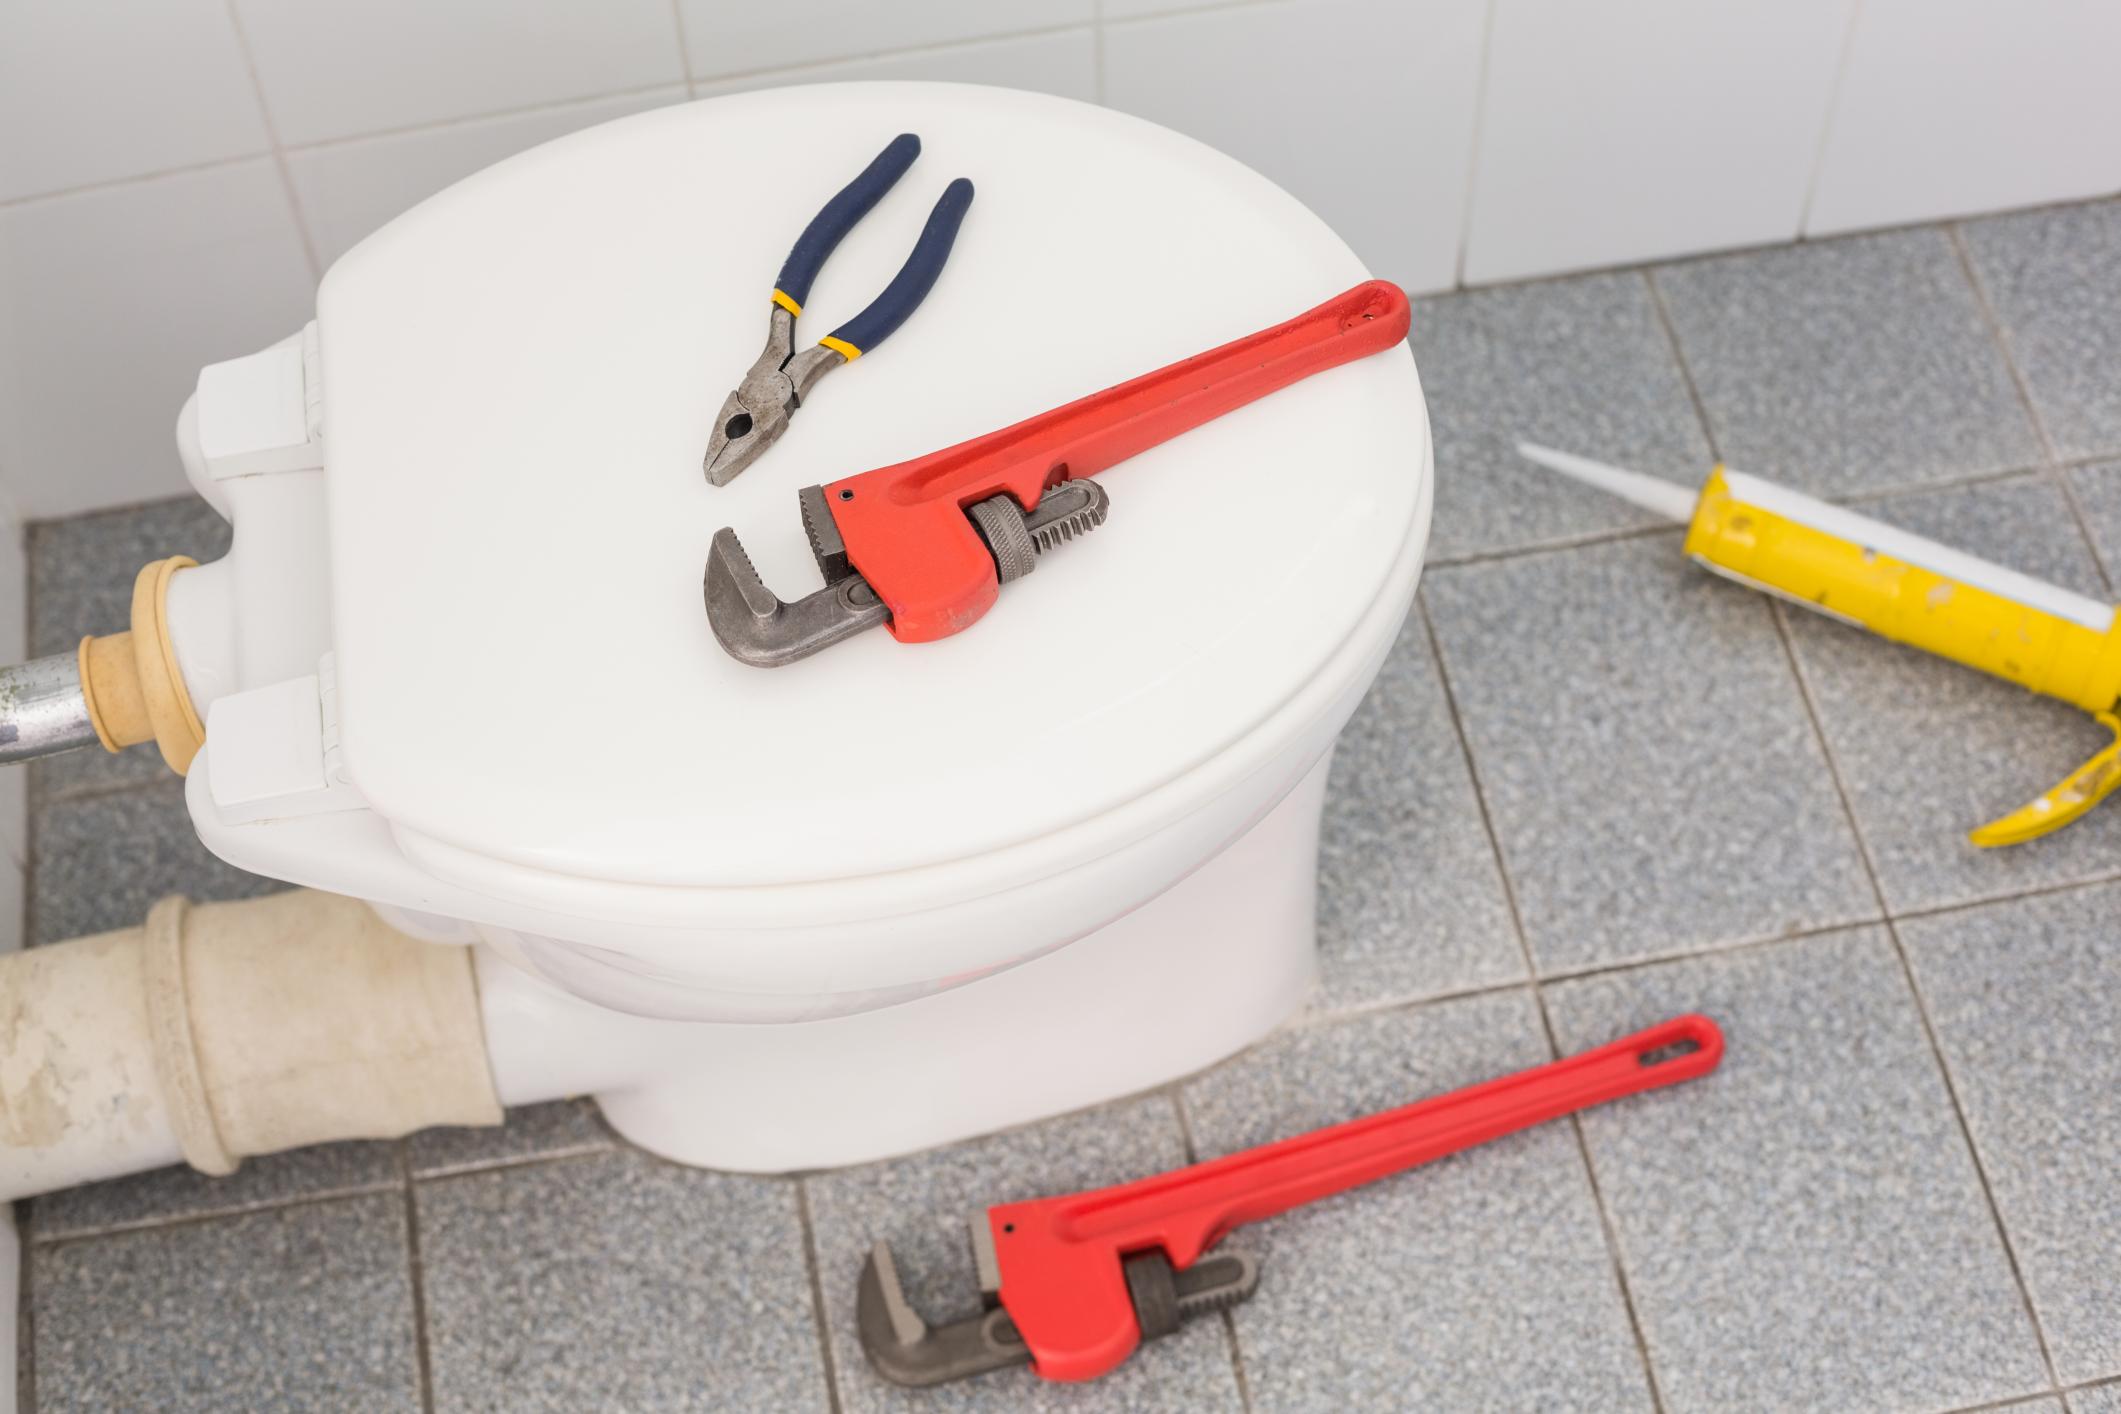
Tools and Materials Needed
Before starting the installation process, it’s important to gather all the necessary tools and materials. Having everything you need at hand will ensure a smooth and efficient installation. Here is a list of the tools and materials you will need:
Tools:
- Adjustable wrench
- Screwdriver
- Plunger
- Hacksaw
- Pipe cutter
Materials:
- Teflon tape
- Toilet flange
- Wax ring
- Water supply line
- Toilet tank and bowl
The adjustable wrench is essential for tightening and loosening nuts and bolts during the installation process. The screwdriver will be required for removing the screws and fasteners that hold the old toilet in place. A plunger is a handy tool to have in case of any clogs or blockages that may occur during the installation.
A hacksaw will come in handy if you need to cut any pipes to fit the new toilet flange. Likewise, a pipe cutter can be used to trim pipes to the desired length. Both tools are important for ensuring proper fit and functionality.
Teflon tape is used to create a watertight seal on threaded pipes, preventing leaks. The toilet flange is a crucial component that connects the toilet to the floor and the waste pipe. A wax ring is placed between the flange and the toilet to create a watertight seal and prevent any leaks.
The water supply line connects the toilet to the water source. It is important to select a supply line that is compatible with your plumbing system. Lastly, you will need a toilet tank and bowl to complete the installation.
By ensuring you have all the necessary tools and materials before starting the installation, you can save time and avoid any delays or frustration during the process. With everything prepared, you’re now ready to begin installing the plumbing for your toilet.
Step 1: Shut Off Water Supply
Before you begin installing the plumbing for your toilet, it’s important to shut off the water supply to prevent any leaks or water damage. Follow these steps to shut off the water supply:
- Locate the water shut-off valve: The shut-off valve is usually located on the water supply line near the base of the toilet. It is typically a small valve or a lever that you can turn or push to stop the flow of water.
- Turn off the water supply: To shut off the water supply, turn the valve clockwise (or in the opposite direction of the flow of the water). This will close the valve and stop the water supply to the toilet.
- Flush the toilet: After shutting off the water supply, flush the toilet to drain any remaining water from the tank and bowl. This will make it easier to remove the toilet later on.
By shutting off the water supply, you ensure that no water is flowing through the pipes during the installation process. This is important to prevent any leaks or accidental flooding. Once you have successfully shut off the water supply, you can move on to the next step of the installation process.
Read more: How To Move Toilet Plumbing
Step 2: Remove Old Toilet
Now that you have successfully shut off the water supply, it’s time to remove the old toilet. Follow these steps to remove the old toilet:
- Disconnect the water supply line: Use an adjustable wrench to loosen the nut that connects the water supply line to the bottom of the toilet tank. Once the nut is loose, carefully remove the supply line from the tank. Have a towel or bucket nearby to catch any water that may spill out.
- Remove the tank cover: Lift the lid of the toilet tank and set it aside in a safe place. Be cautious, as the lid is fragile and can break easily.
- Drain the tank: Hold down the flush handle until all the water is drained from the tank. You can also use a sponge or towel to soak up any remaining water in the tank.
- Remove the tank: Unscrew the bolts that secure the tank to the bowl using a screwdriver or wrench. Once the bolts are removed, carefully lift the tank off the bowl and set it aside.
- Remove the toilet bowl: Locate the bolts at the base of the toilet bowl that secure it to the floor. Remove the nuts from the bolts using a wrench or pliers. Once the nuts are removed, lift the toilet bowl straight up to detach it from the floor.
- Scrape off the wax ring: With the toilet removed, you will see a wax ring remaining on the flange. Use a putty knife or scraper to remove the old wax ring. Be sure to scrape off any residue or debris from the flange as well.
Removing the old toilet is an important step in the installation process, as it allows for a clean slate and ensures proper installation of the new toilet. Take your time and be careful when handling the old toilet, as it can be heavy and delicate. With the old toilet removed, you’re now ready to move on to the next step of installing the plumbing for your toilet.
Step 3: Install New Toilet Flange
With the old toilet removed, it’s time to install a new toilet flange. The flange serves as the connection point between the toilet and the floor, ensuring a secure and watertight seal. Here are the steps to install the new toilet flange:
- Clean the flange area: Before installing the new flange, it’s important to ensure that the area is clean and free of debris. Use a putty knife or scraper to remove any old wax or residue from the flange area.
- Inspect the flange: Check the condition of the existing flange. If it’s damaged or broken, it’s recommended to replace it with a new one. The new flange should match the size and type of the old flange.
- Position the new flange: Place the new flange over the existing drain pipe, making sure it lines up with the bolt holes on the floor. The flange should sit flush with the floor surface.
- Secure the flange: Attach the new flange to the floor by inserting screws or bolts through the flange’s bolt holes and into the floor. Use a screwdriver or wrench to tighten the screws securely.
- Apply plumber’s putty or silicone caulk: To create a watertight seal between the flange and the floor, apply a thin layer of plumber’s putty or silicone caulk around the base of the flange. This will help prevent any leaks.
Installing a new toilet flange is crucial for a stable and leak-free toilet installation. Take your time to ensure that the flange is properly aligned and securely attached to the floor. With the new flange in place, you’re now ready to move on to the next step of installing the plumbing for your toilet.
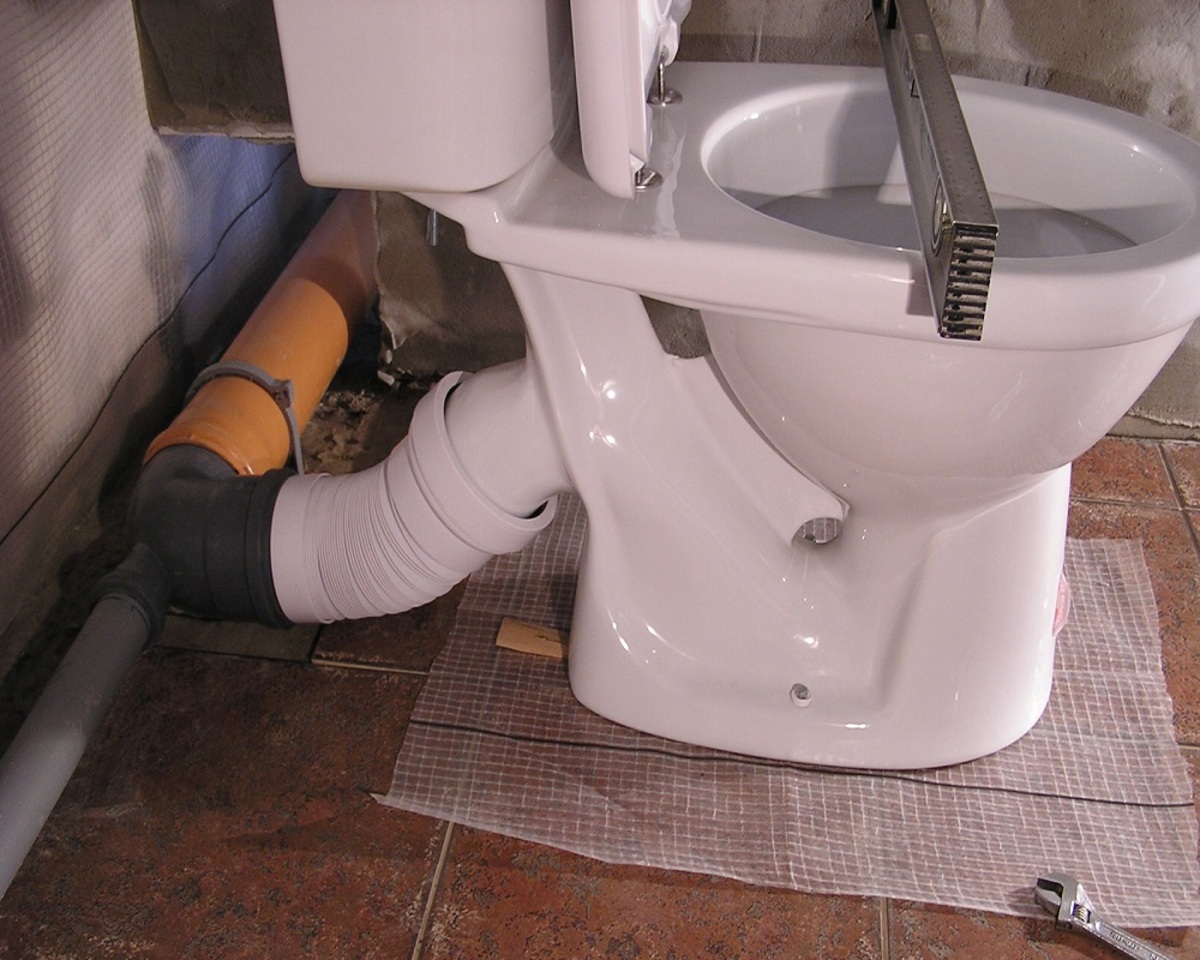
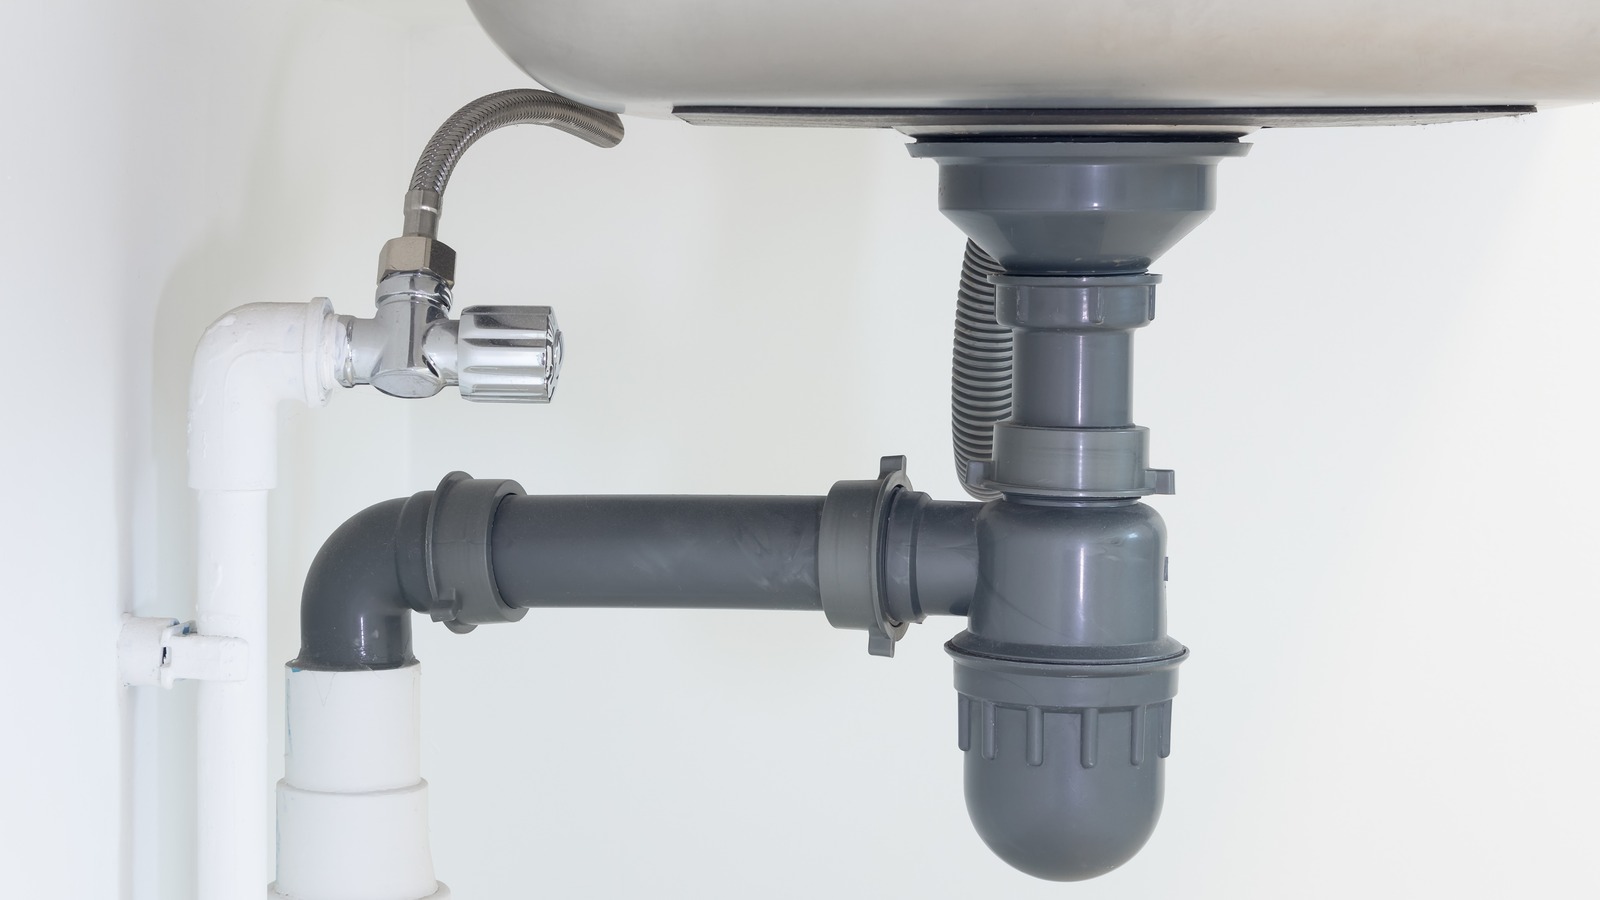
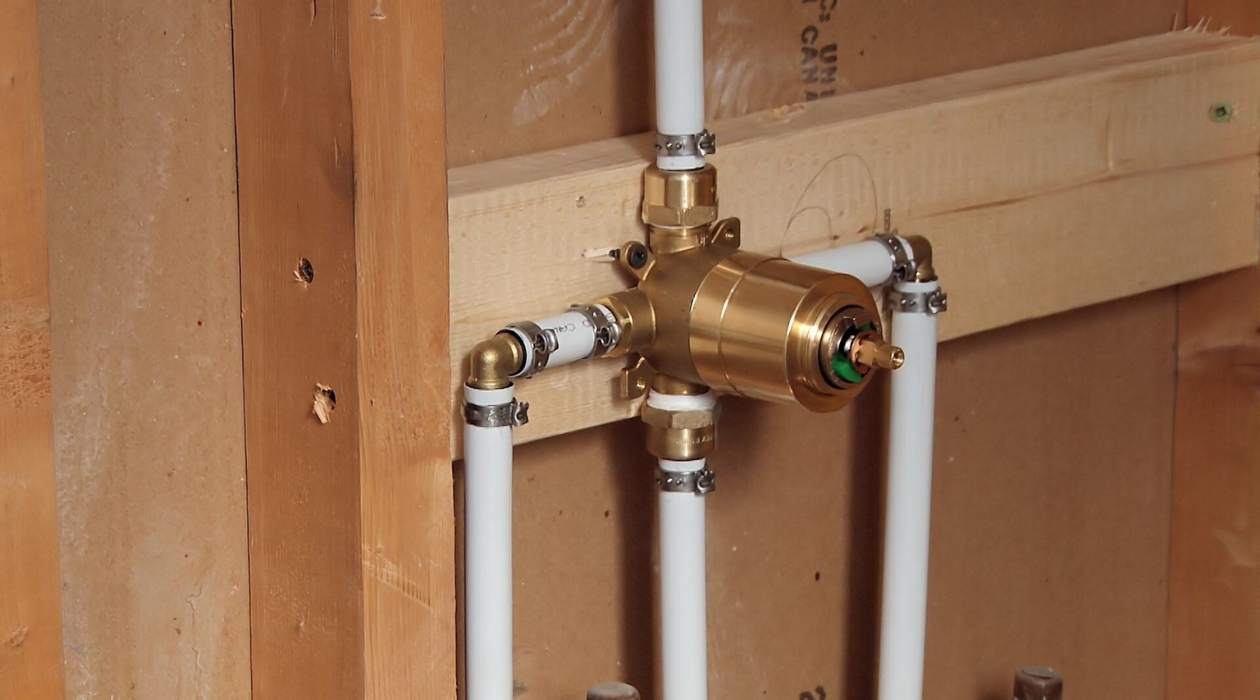
Step 4: Install Toilet Drain Pipe
After installing the new flange, the next step is to install the toilet drain pipe. This pipe connects the toilet flange to the main sewer line, allowing waste to be efficiently transported away. Here are the steps to install the toilet drain pipe:
- Measure and cut the pipe: Measure the distance between the flange and the main sewer line. Use a pipe cutter or hacksaw to cut a piece of PVC pipe to the appropriate length. Make sure the pipe is cut straight and smooth.
- Apply primer and cement: Before connecting the pipe, apply PVC primer to the end of the pipe and the inside of the flange. Then, apply PVC cement to both surfaces. This will create a strong and secure bond between the pipe and the flange.
- Insert the pipe into the flange: Insert the primed and cemented end of the pipe into the flange. Twist the pipe slightly to ensure a proper and snug fit. Hold the pipe in place for a few seconds to allow the cement to set.
- Connect additional pipes if necessary: Depending on the distance between the flange and the sewer line, you may need to connect additional pipes using PVC couplings. Apply primer and cement to each end of the pipes and the inside of the couplings, then connect them securely.
- Secure the pipes: To ensure stability and prevent any movement, use pipe hangers or straps to secure the pipes to the wall or floor. This will help maintain the proper alignment and prevent any stress on the connection points.
Installing the toilet drain pipe is an important step in ensuring proper waste disposal and preventing any leaks or blockages. Take your time to measure and cut the pipe accurately, and ensure that the connections are tight and secure. Once the toilet drain pipe is installed, you can proceed to the next step of connecting the water supply line.
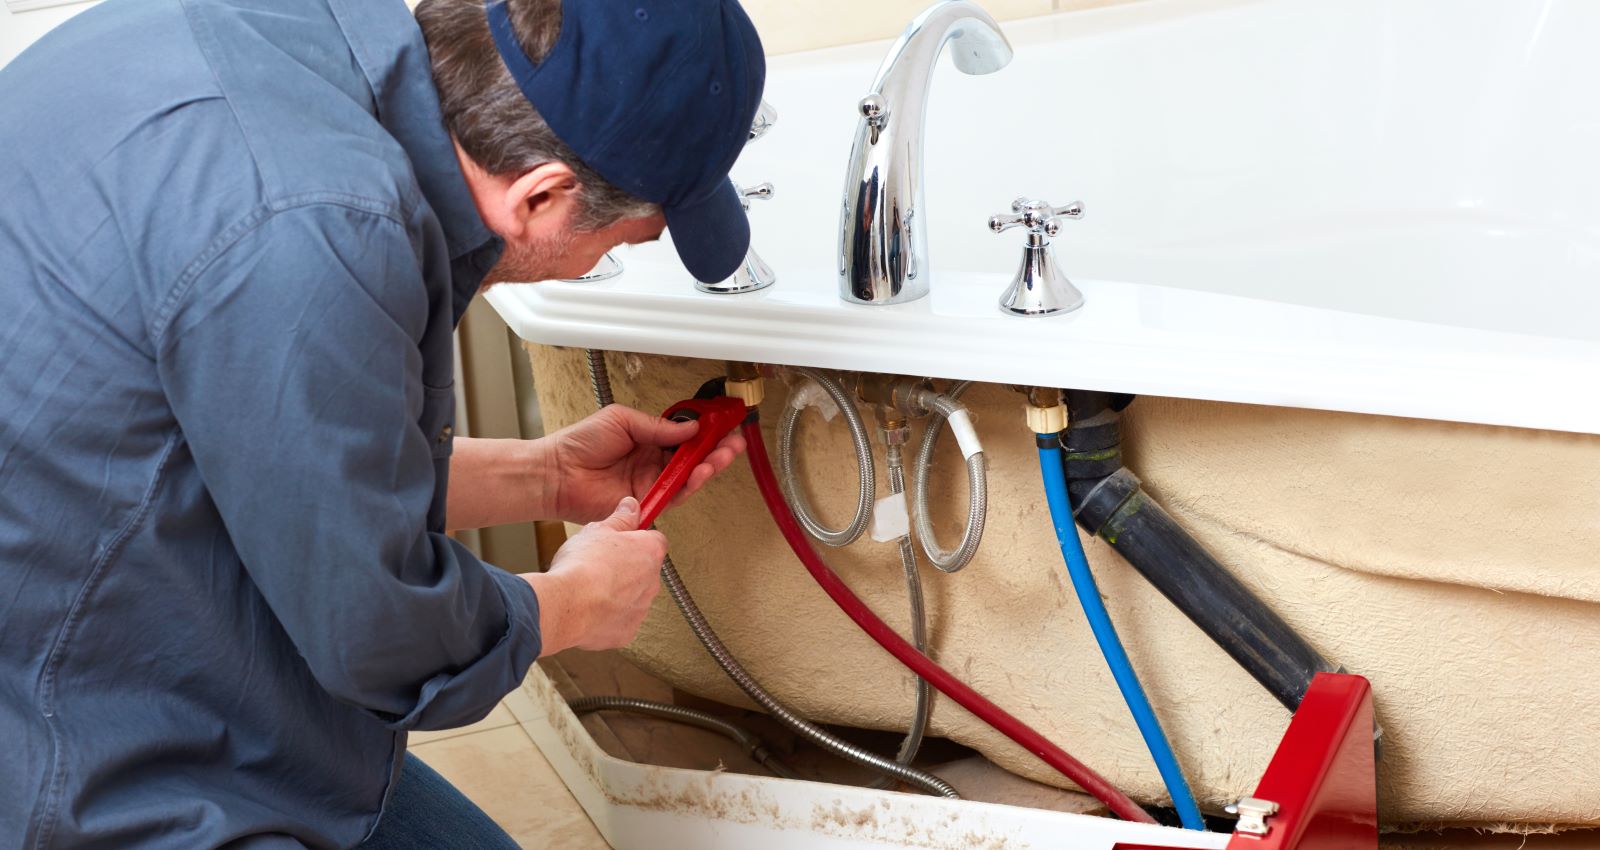
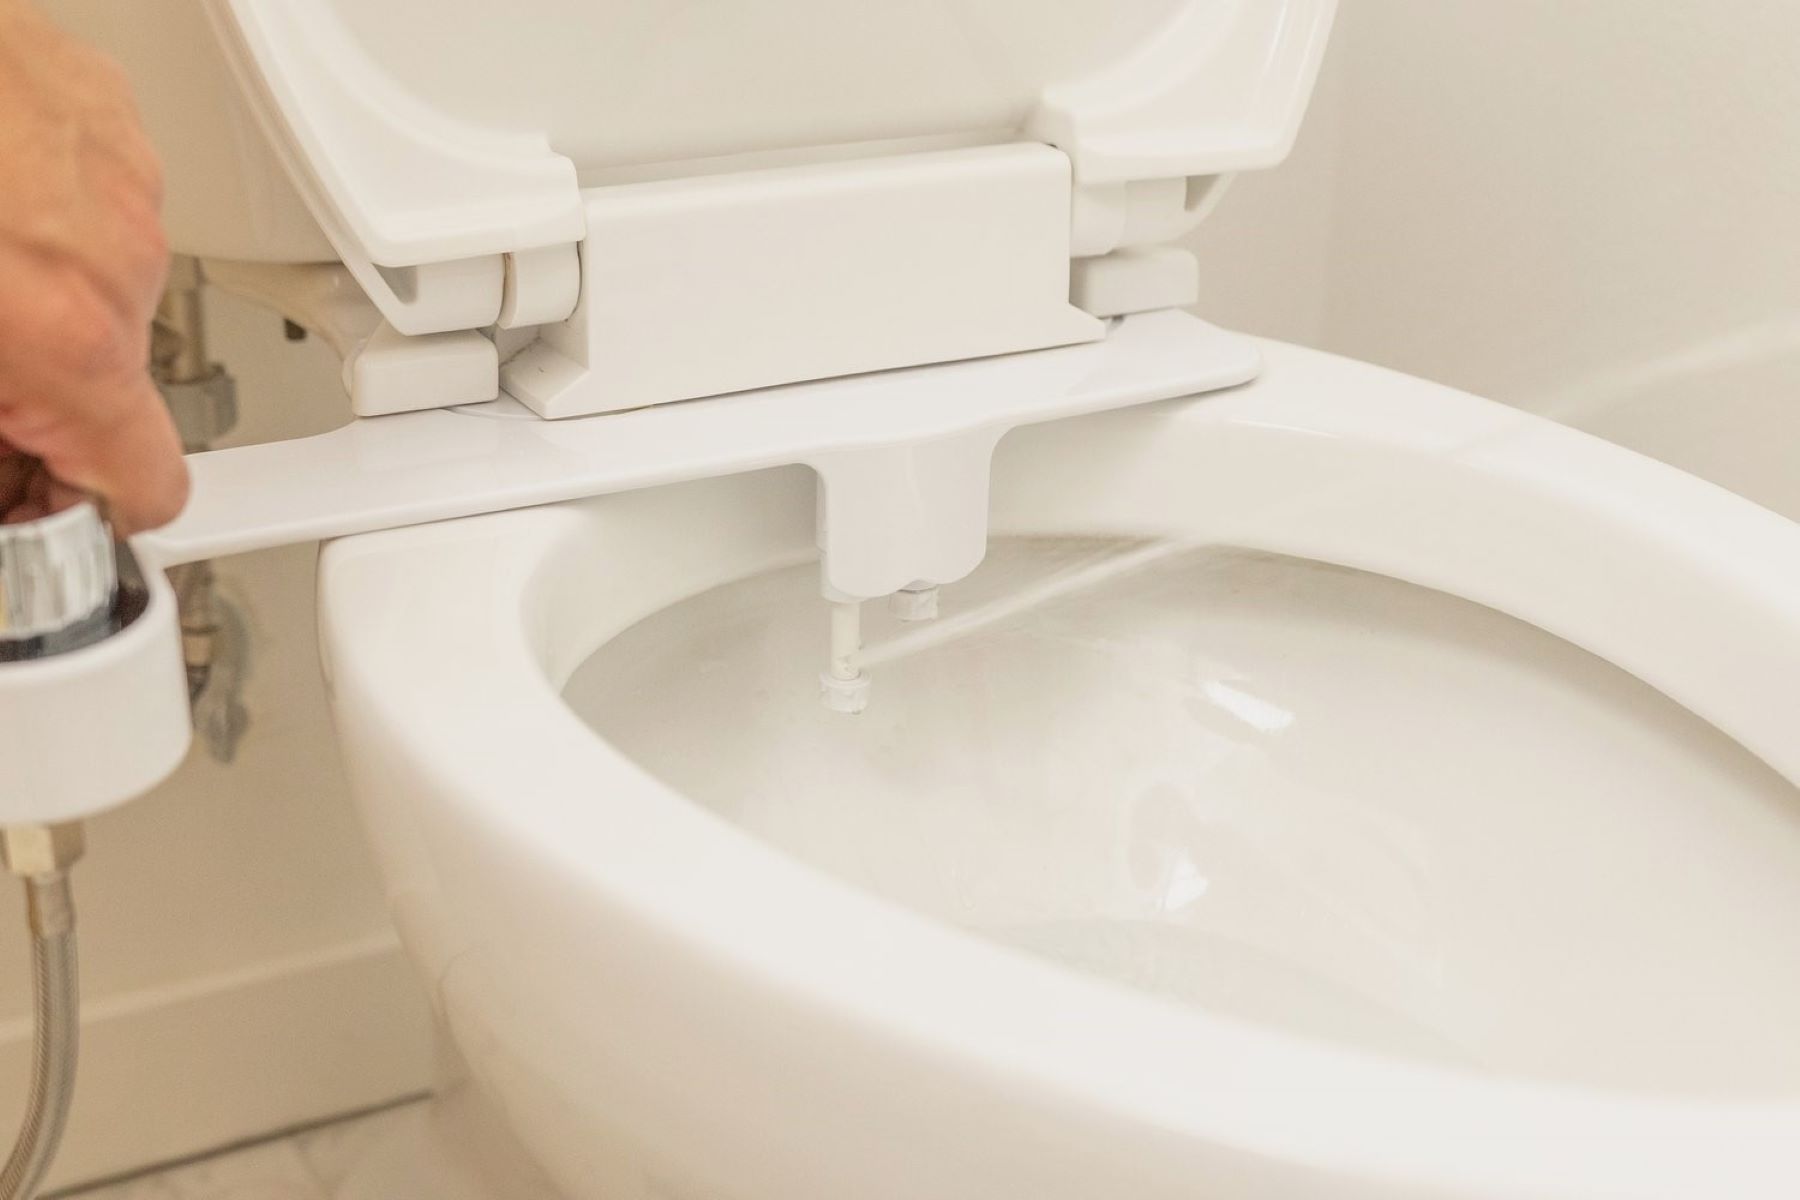
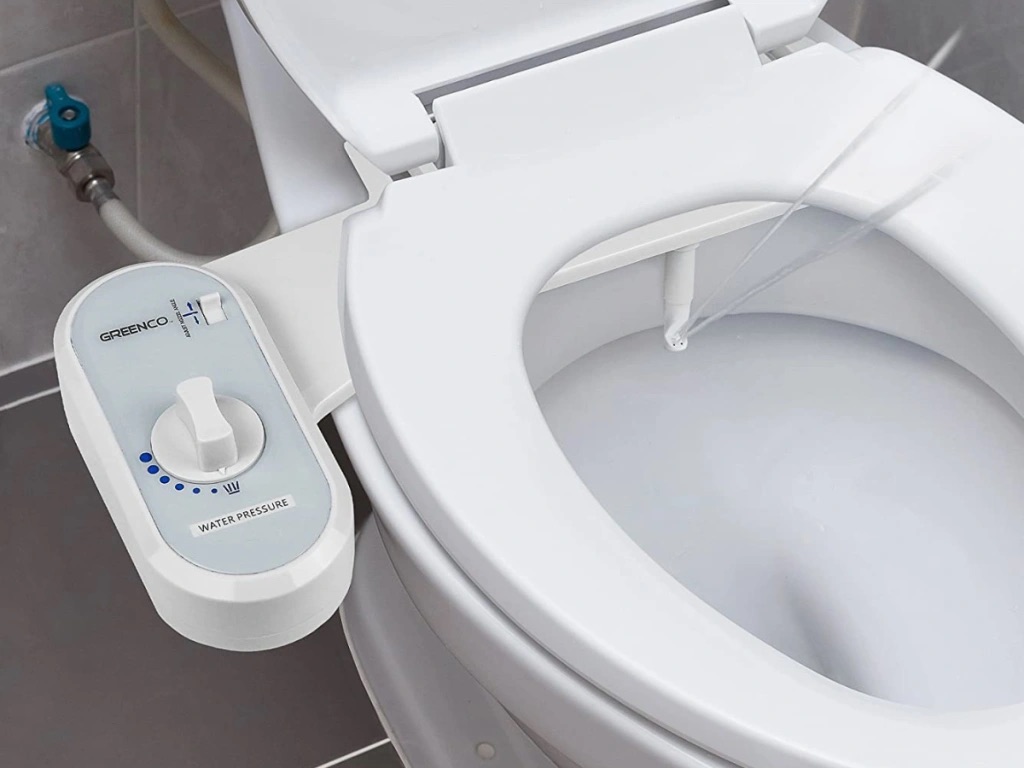
Step 5: Connect Water Supply Line
With the toilet drain pipe installed, the next step is to connect the water supply line. This line brings water from the main water supply to the toilet tank, allowing for proper flushing and refilling. Here’s how you can connect the water supply line:
- Select the appropriate water supply line: Depending on your plumbing setup, you may need either a flexible stainless steel line or a copper line with compression fittings. Choose the type that is suitable for your situation.
- Apply Teflon tape: To ensure a watertight connection, wrap Teflon tape around the threaded end of the water supply outlet. This will help create a seal when connecting the supply line.
- Attach the supply line to the toilet tank: Carefully thread the supply line onto the water supply outlet at the bottom of the toilet tank. Use an adjustable wrench to tighten the connection, ensuring it is secure but not over-tightened.
- Connect the other end of the supply line: Once the supply line is securely attached to the toilet tank, connect the other end to the water supply valve. Again, use an adjustable wrench to tighten the connection without applying excessive force.
- Turn on the water supply: Slowly open the water supply valve by turning it counterclockwise. This will allow water to flow into the toilet tank. Check for any leaks around the supply line connections. If you notice any leaks, tighten the connections as necessary.
Connecting the water supply line is a crucial step to ensure proper functioning of the toilet. Take care to choose the appropriate type of supply line and ensure tight and secure connections. Once the water supply line is connected, you’re ready to move on to the next step of securing the toilet bowl.
When installing the plumbing for a toilet, make sure to use a wax ring to create a watertight seal between the toilet and the floor flange. This will prevent leaks and ensure proper functioning.
Read more: How To Use Plumbing Snake In Toilet
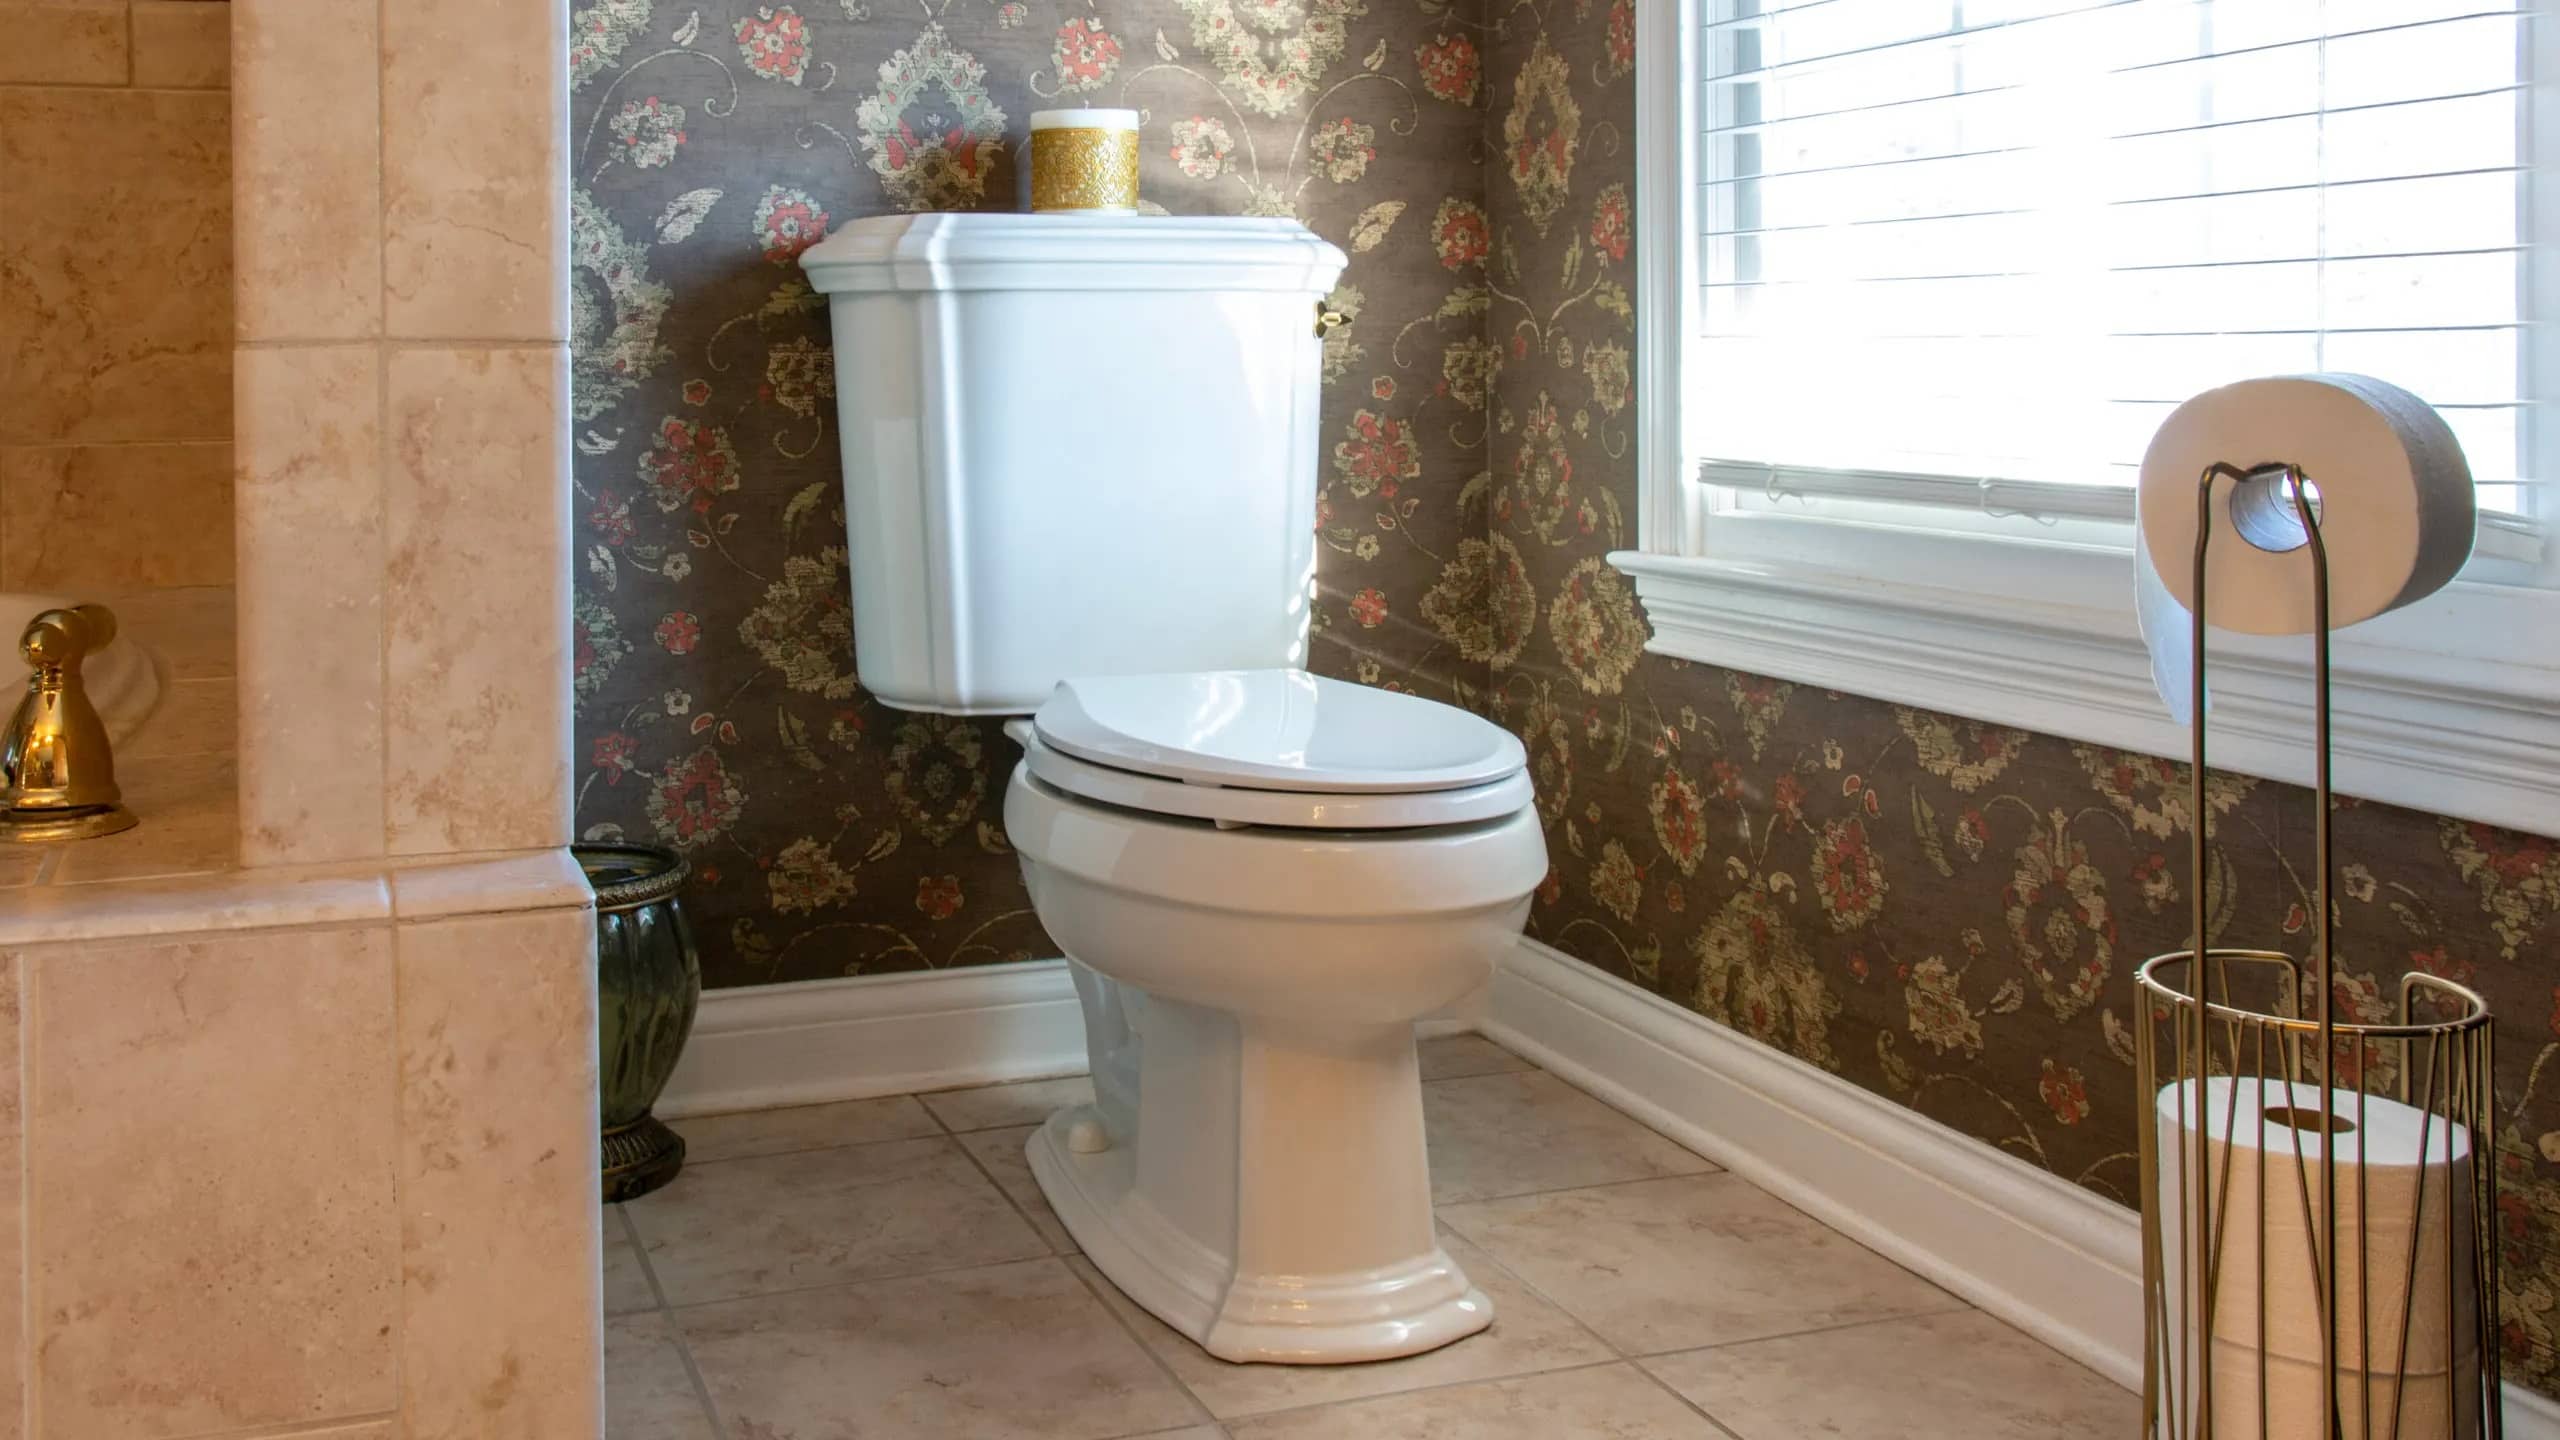
Step 6: Secure Toilet Bowl
Now that the water supply line is connected, it’s time to secure the toilet bowl in place. Properly securing the toilet bowl ensures stability and prevents any movement or leaks. Follow these steps to secure the toilet bowl:
- Position the toilet bowl: Carefully place the toilet bowl over the flange and align it with the bolts on the floor. Ensure that the wax ring is properly centered on the flange.
- Apply pressure: Apply downward pressure on the toilet bowl to compress the wax ring and create a proper seal. Rock the toilet bowl gently from side to side to help the wax ring settle into place.
- Secure the toilet bowl: Insert the nuts onto the bolts that are protruding from the flange. Use a wrench or pliers to tighten the nuts, alternating between them to ensure even tightening. Be careful not to overtighten, as it may crack the toilet bowl.
- Trim and cover the bolt ends: Once the nuts are securely tightened, use a hacksaw or pipe cutter to trim the excess length of the bolts. Then, cover the bolt ends with plastic bolt caps to provide a finished appearance and prevent injury.
- Check for stability: Gently rock the toilet bowl back and forth to ensure that it is stable and securely attached to the flange. If any movement is detected, retighten the nuts until the toilet bowl is firmly secured.
Securing the toilet bowl is an essential step in the installation process, as it ensures a proper seal and prevents leaks. Take your time to position the bowl correctly and tighten the nuts securely. Once the toilet bowl is securely in place, you can proceed to the next step of attaching the tank and fill valve.
Step 7: Attach Tank and Fill Valve
With the toilet bowl securely in place, it’s time to attach the tank and fill valve. The tank holds the water for flushing while the fill valve regulates the water level inside the tank. Here’s how you can attach the tank and fill valve:
- Position the tank: Carefully position the tank onto the toilet bowl, aligning the mounting holes on the bowl with the corresponding holes on the bottom of the tank.
- Insert bolts and washers: Insert the bolts into the mounting holes from within the tank. Place washers onto the bolts from the outside of the tank to create a secure connection.
- Tighten nuts: From the outside of the tank, thread the nuts onto the bolts and hand-tighten them. Use an adjustable wrench to securely tighten the nuts, being careful not to overtighten and crack the tank.
- Attach the fill valve: Locate the fill valve opening at the bottom of the tank and insert the threaded end of the fill valve through the opening. Securely tighten the lock nut from underneath the tank to hold the fill valve in place.
- Connect the water supply line: Attach the other end of the water supply line to the fill valve. Use an adjustable wrench to tighten the connection, ensuring it is snug and leak-free.
- Adjust the fill valve: Follow the manufacturer’s instructions to adjust the fill valve to the appropriate water level inside the tank. This will ensure proper flushing and refilling.
Attaching the tank and fill valve is a crucial step in completing the installation of your toilet. Take care to align and secure the tank properly, making sure all connections are tight and leak-free. Once the tank and fill valve are in place, you’re ready to move on to the next step of testing for leaks.
Step 8: Test for Leaks
After completing the installation of the toilet, it’s essential to test for any potential leaks. Identifying and addressing leaks early on will help prevent water damage and ensure the proper functioning of your toilet. Follow these steps to test for leaks:
- Turn on the water supply: Turn the water supply valve counterclockwise to fully open it. This will allow water to fill the tank and the bowl.
- Observe the connections: Carefully inspect all the connections, including the water supply line, fill valve, and tank bolts. Look for any signs of water leakage such as dripping or pooling water. Make sure the connections are tight and secure.
- Check the toilet bowl and base: Examine the base of the toilet bowl for any signs of water seepage or moisture. Additionally, check inside the bowl for any water leaking from the tank or at the base of the bowl.
- Listen for unusual sounds: Flush the toilet and listen for any unusual sounds such as hissing or continuous water flow. These noises could indicate a problem with the fill valve or a leak in the tank.
- Perform a dye test: Add a few drops of food coloring into the tank water. Wait for about 15-30 minutes without flushing. Check the toilet bowl for any discoloration. If you notice colored water in the bowl, it suggests a leak between the tank and the bowl.
If you notice any leaks or issues during the testing process, take corrective action immediately. Tighten any loose connections, replace faulty components, or seek the assistance of a professional plumber if needed. It’s important to ensure a watertight seal to prevent any damage from leaks.
By thoroughly testing for leaks, you can address any potential issues and have the peace of mind that your toilet installation is watertight and functioning properly.
Step 9: Finish Installation
Congratulations! You’re in the final step of installing the plumbing for your toilet. This step involves completing a few final tasks to ensure a polished and functional installation. Here’s how you can finish the installation:
- Tighten all connections: Double-check all the connections, including the water supply line, fill valve, tank bolts, and toilet bowl bolts. Use an adjustable wrench to ensure that all the connections are tight and secure.
- Install the tank lid: Place the tank lid onto the top of the toilet tank, aligning it properly. Gently press down to secure it in place. Make sure the lid is securely seated and level.
- Clean up any debris: Use a damp cloth or sponge to clean up any excess caulk, putty, or debris around the toilet base, tank, and surrounding area. This will give your installation a neat and professional appearance.
- Ensure proper operation: Test the flushing mechanism by flushing the toilet multiple times. Check for proper water flow and drainage. If everything is functioning as it should, you have successfully completed the installation.
- Dispose of the old toilet: If you haven’t already done so, properly dispose of the old toilet as per your local regulations and guidelines. This may involve contacting your waste management or recycling center for appropriate disposal methods.
Finishing the installation involves ensuring all the connections are secure, the tank lid is in place, and any debris is cleaned up. Taking the time to perform these final tasks will ensure that your toilet installation is not only functional but also visually appealing.
Remember to keep the area around the toilet clean and free from any moisture to prevent any potential damage or mold growth. With the installation complete, you can now enjoy your newly installed toilet!
Read more: Plumbing Installations & Repairs
Conclusion
Installing the plumbing for a toilet may seem like a complex task, but with the right tools, materials, and guidance, it can be accomplished successfully. By following the step-by-step guide outlined in this article, you can have a functional and properly connected toilet in no time.
Throughout the installation process, it’s important to pay attention to detail, ensuring that all connections are secure and watertight. Testing for leaks and addressing any issues immediately will help prevent water damage and ensure the proper functioning of your toilet.
Remember to gather all the necessary tools and materials before starting the installation, and take your time to complete each step accurately. From shutting off the water supply to removing the old toilet, installing the new flange, connecting the drain pipe, attaching the water supply line, securing the bowl, and attaching the tank and fill valve, each step plays a crucial role in the overall installation.
Once the installation is complete, perform a thorough inspection to ensure everything is in proper working order. Tighten all connections, install the tank lid, clean up any debris, and test the flushing mechanism to ensure smooth operation.
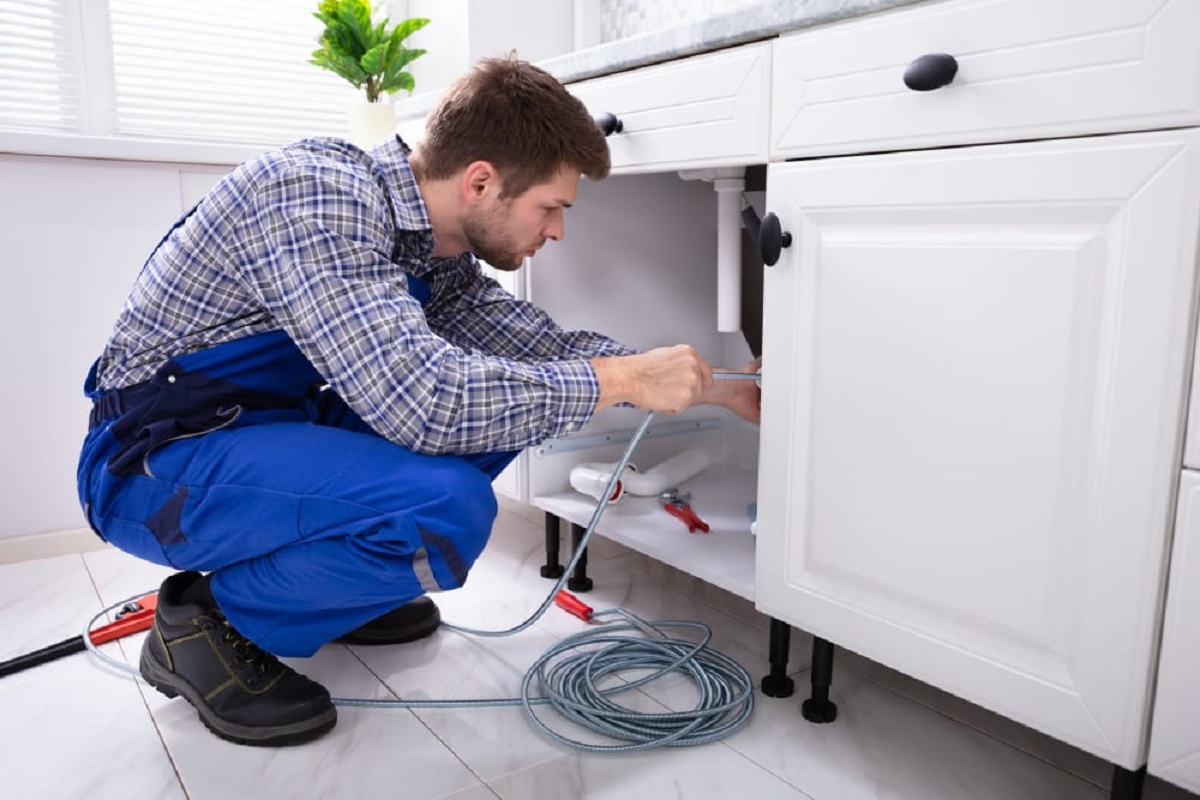
By following these steps and adhering to proper installation practices, you can have a fully functional and reliable toilet in your bathroom. If at any point you encounter difficulties or are unsure of any step, it’s recommended to seek assistance from a professional plumber to ensure a successful installation.
With your new toilet installation complete, you can now enjoy the convenience and comfort it brings to your bathroom. Remember to maintain and care for your toilet regularly to prolong its lifespan and avoid any potential problems in the future.
We hope this comprehensive guide has been helpful in guiding you through the process of installing the plumbing for your toilet. Happy plumbing!
Frequently Asked Questions about How To Install Toilet Plumbing
Was this page helpful?
At Storables.com, we guarantee accurate and reliable information. Our content, validated by Expert Board Contributors, is crafted following stringent Editorial Policies. We're committed to providing you with well-researched, expert-backed insights for all your informational needs.


0 thoughts on “How To Install Toilet Plumbing”