Home>Furniture & Design>Bathroom Accessories>How To Use Drain Snake Bathtub
Bathroom Accessories
How To Use Drain Snake Bathtub
Modified: March 2, 2024
Learn how to effectively use a drain snake in your bathtub with our expert tips and tricks. Keep your bathroom accessories in top condition with our easy-to-follow guide.
(Many of the links in this article redirect to a specific reviewed product. Your purchase of these products through affiliate links helps to generate commission for Storables.com, at no extra cost. Learn more)
Introduction
When it comes to maintaining a smoothly running bathroom, dealing with clogged drains is an inevitable task. A clogged bathtub drain can quickly turn a relaxing bath into a frustrating experience. However, fear not, as there is a simple and effective solution to this common issue – the drain snake. This versatile tool is designed to navigate through the twists and turns of your bathtub drain, clearing away hair, soap scum, and other debris that may be causing the blockage.
In this comprehensive guide, we will walk you through the step-by-step process of using a drain snake to clear your bathtub drain. Whether you are a seasoned DIY enthusiast or a novice homeowner looking to tackle your first plumbing challenge, this guide will equip you with the knowledge and confidence to effectively use a drain snake and restore your bathtub drain to its optimal functionality.
By following the instructions outlined in this guide, you will be able to address minor clogs and prevent the need for costly professional plumbing services. With a few simple tools and a bit of know-how, you can take control of your bathroom maintenance and keep your bathtub drain flowing freely. So, without further ado, let's dive into the process of using a drain snake to tackle that stubborn bathtub drain clog!
Key Takeaways:
- Clearing a clogged bathtub drain using a drain snake is a DIY solution that saves money and empowers homeowners to maintain their plumbing. With patience and the right tools, anyone can tackle this common household challenge.
- By mastering the use of a drain snake, homeowners gain confidence and skills to handle future plumbing tasks. This cost-effective and proactive approach keeps bathroom fixtures running smoothly and instills a sense of self-reliance.
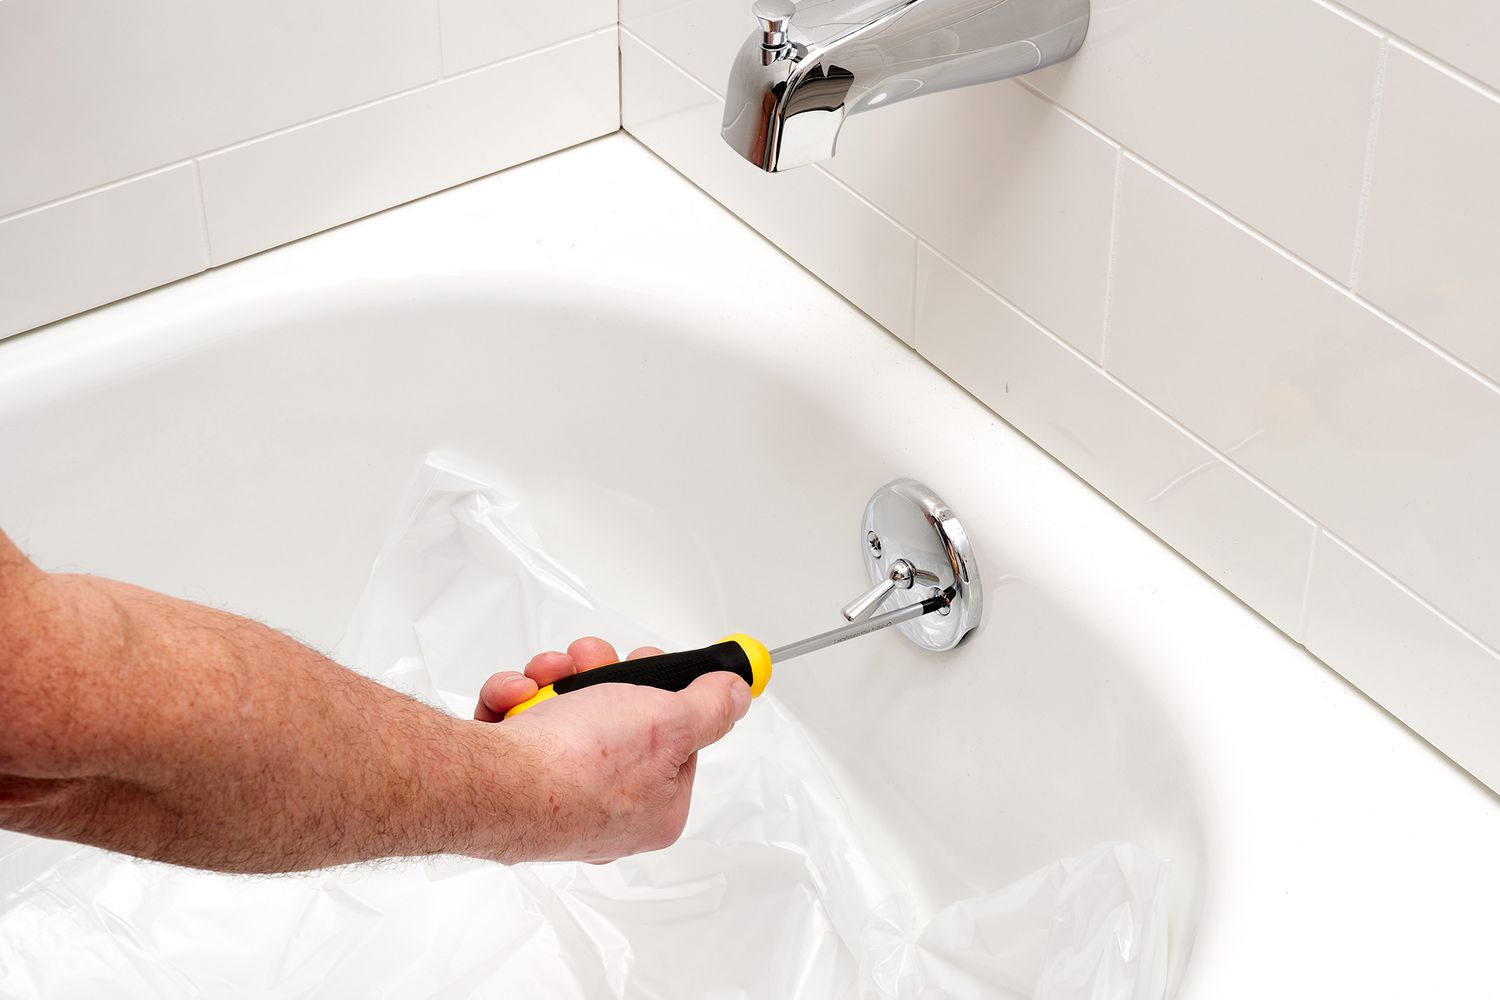
Step 1: Prepare the Drain Snake
Before diving into the task of clearing your bathtub drain, it's crucial to prepare the drain snake for the job. Here's a detailed breakdown of the essential steps to ensure that your drain snake is ready to tackle the clog:
-
Gather the Necessary Tools: Start by assembling the tools and materials you'll need for the job. Along with the drain snake, you may require a pair of rubber gloves to protect your hands from debris and a flashlight to provide clear visibility into the drain.
-
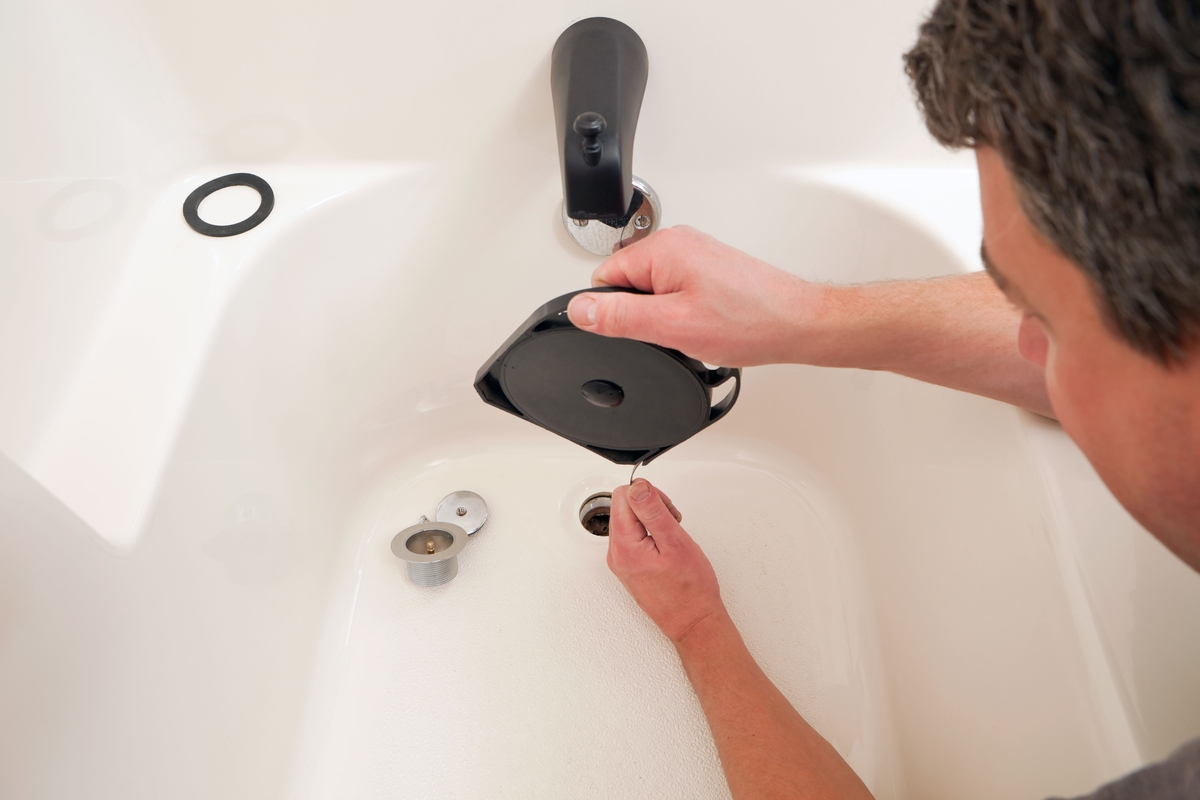
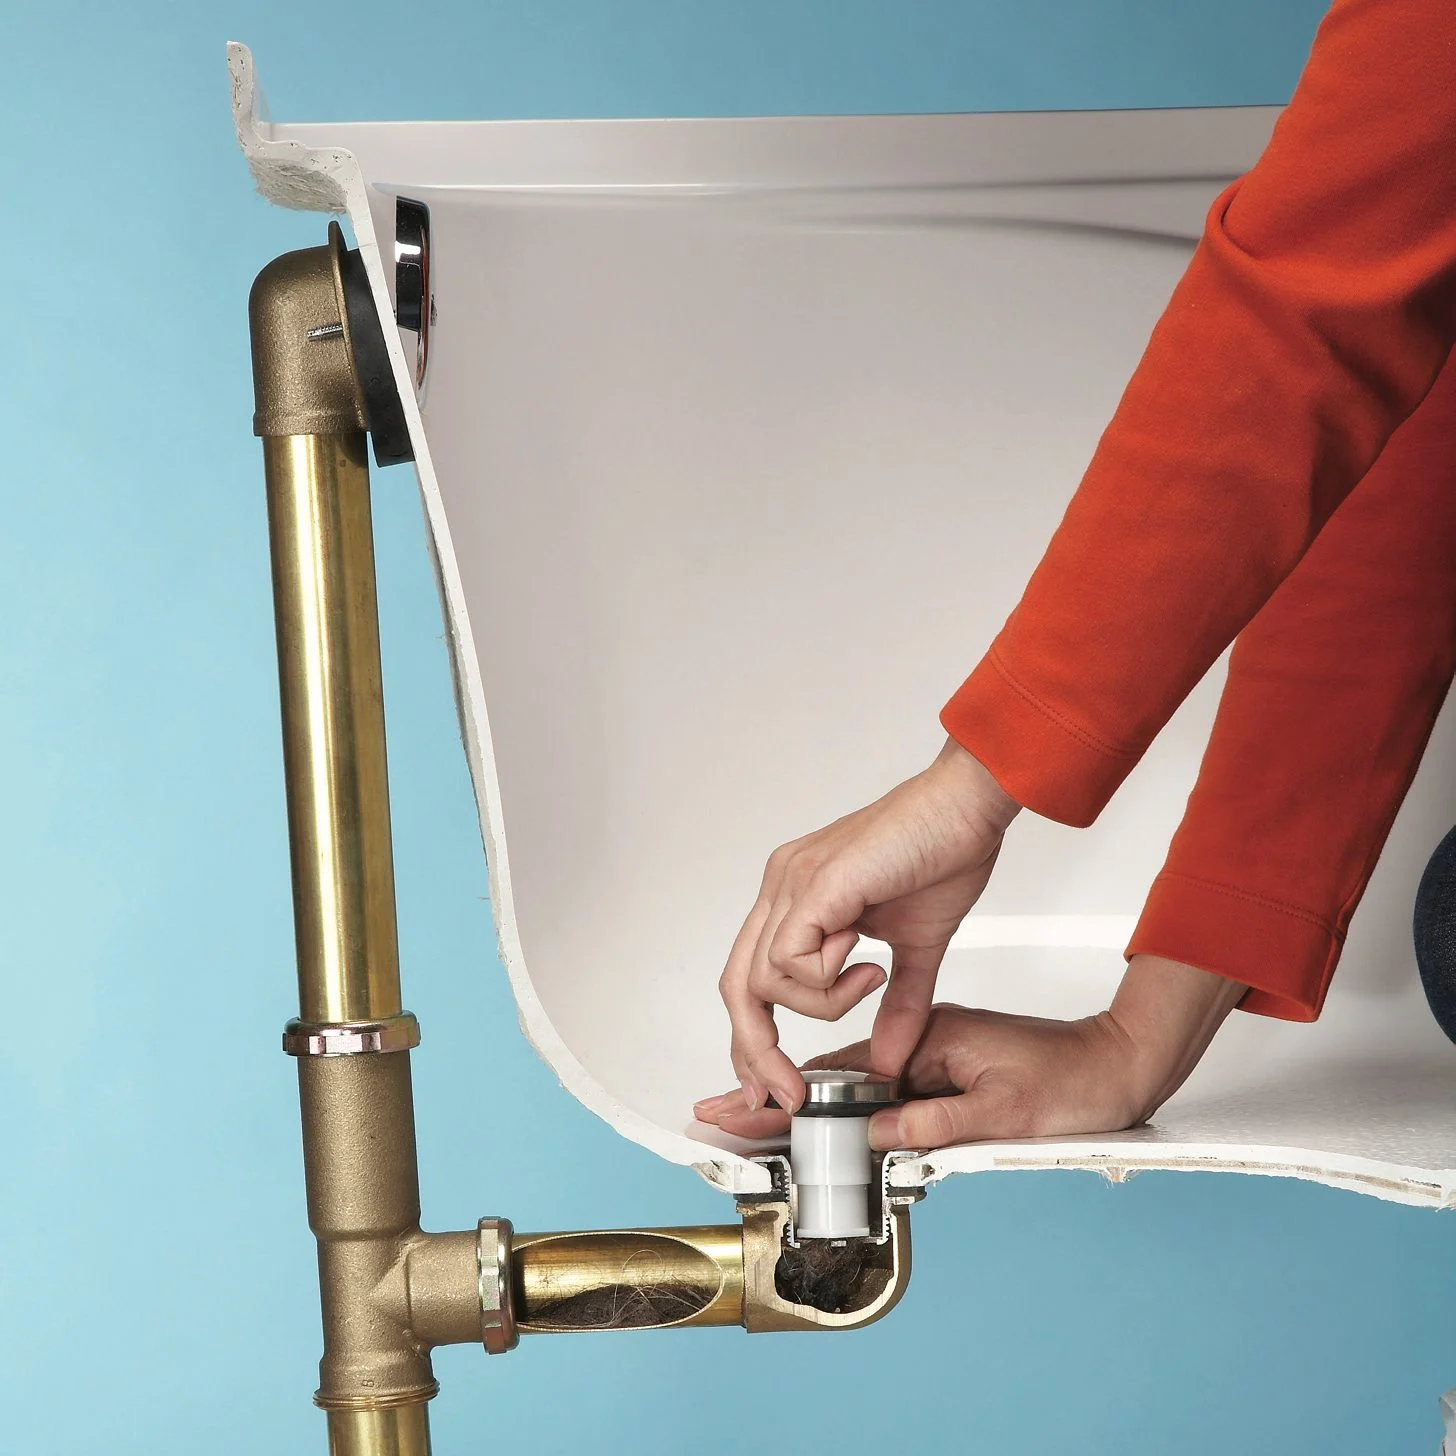
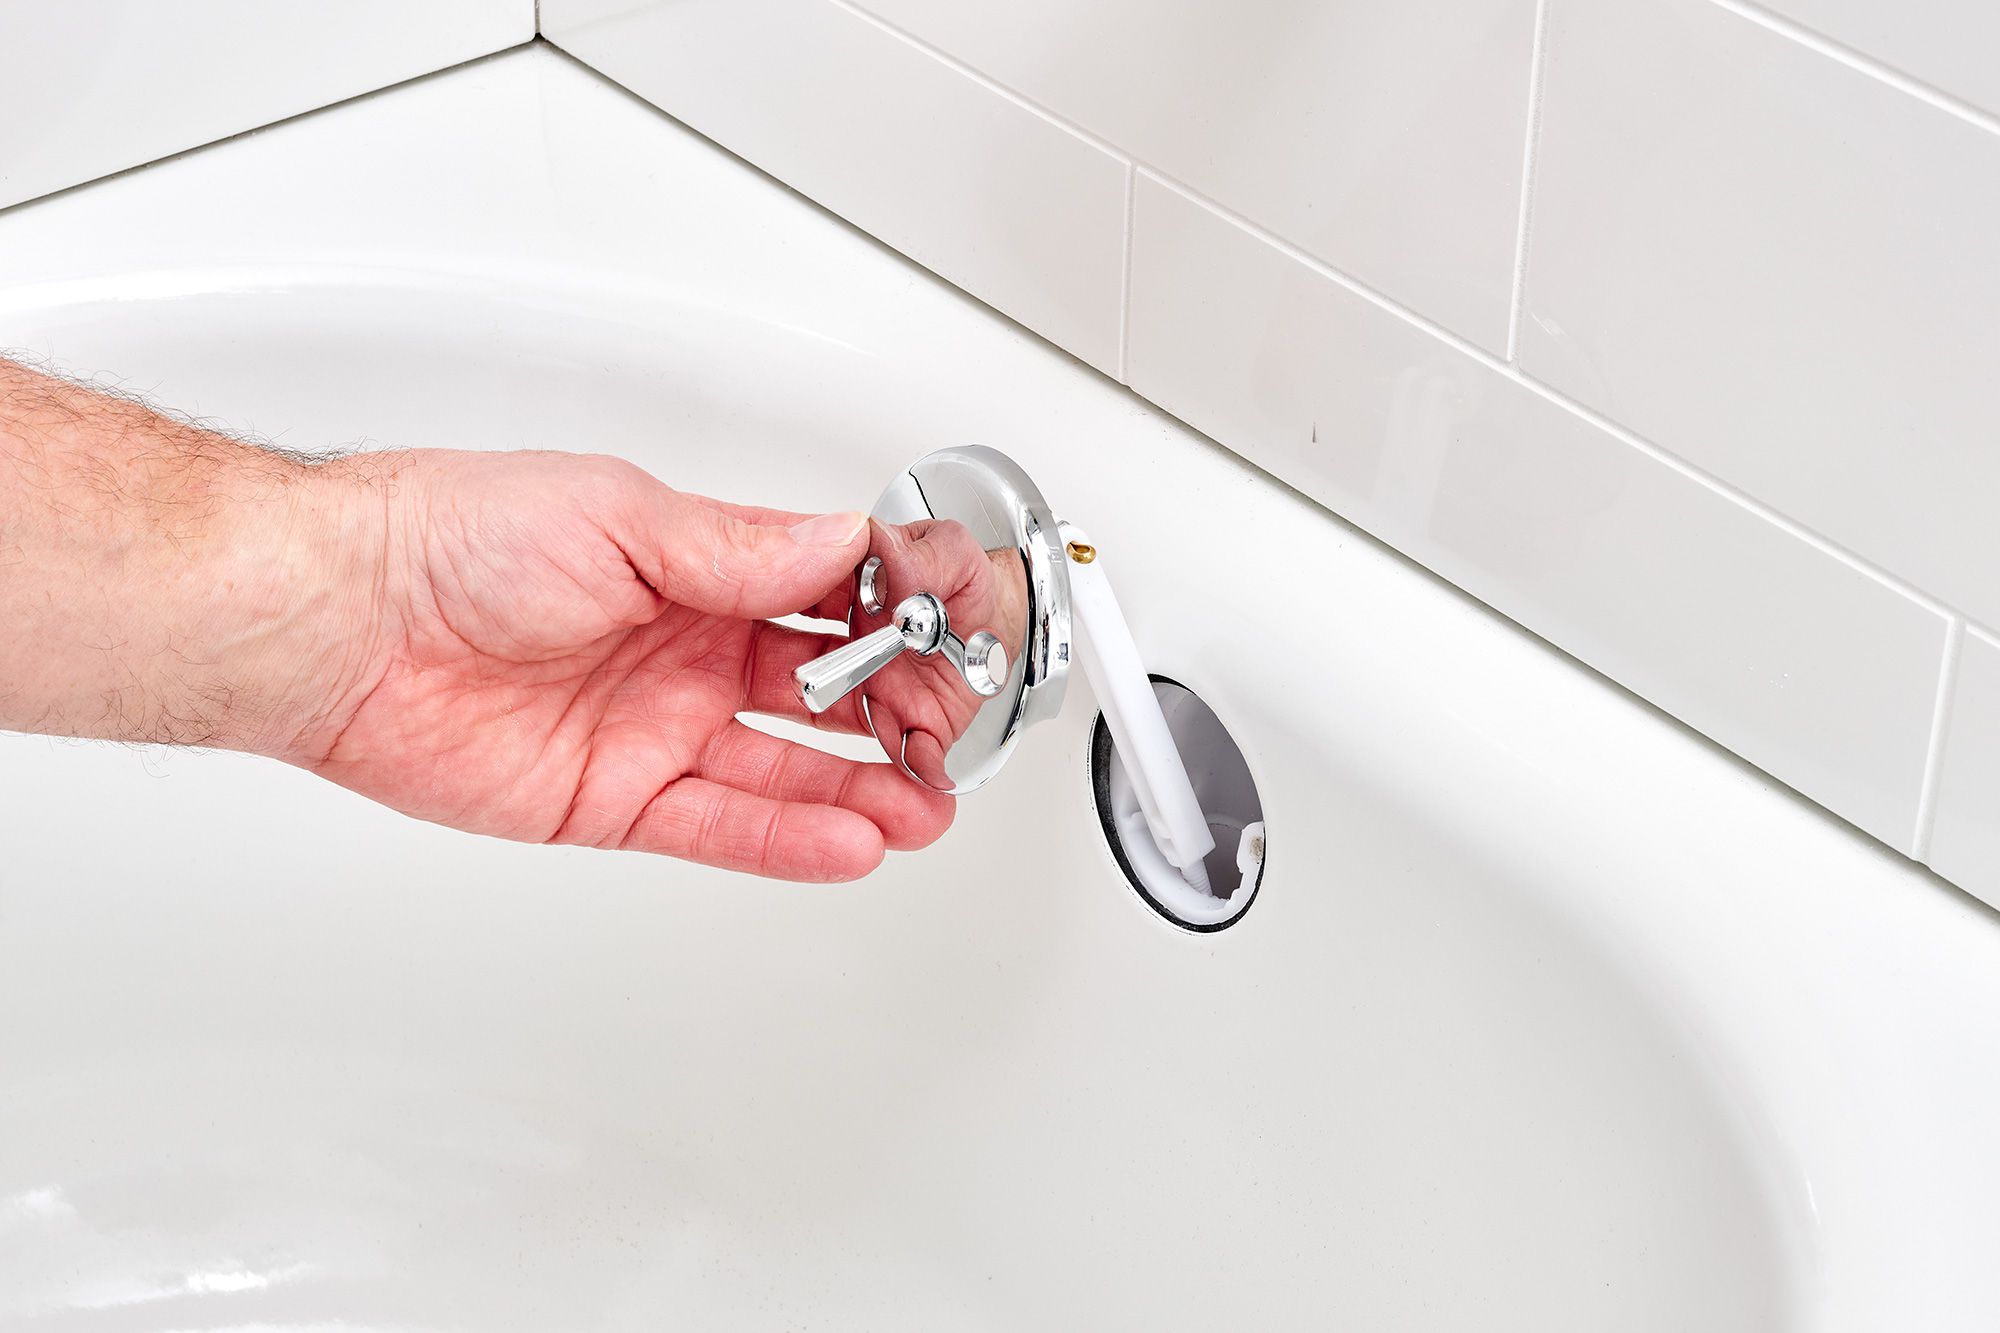
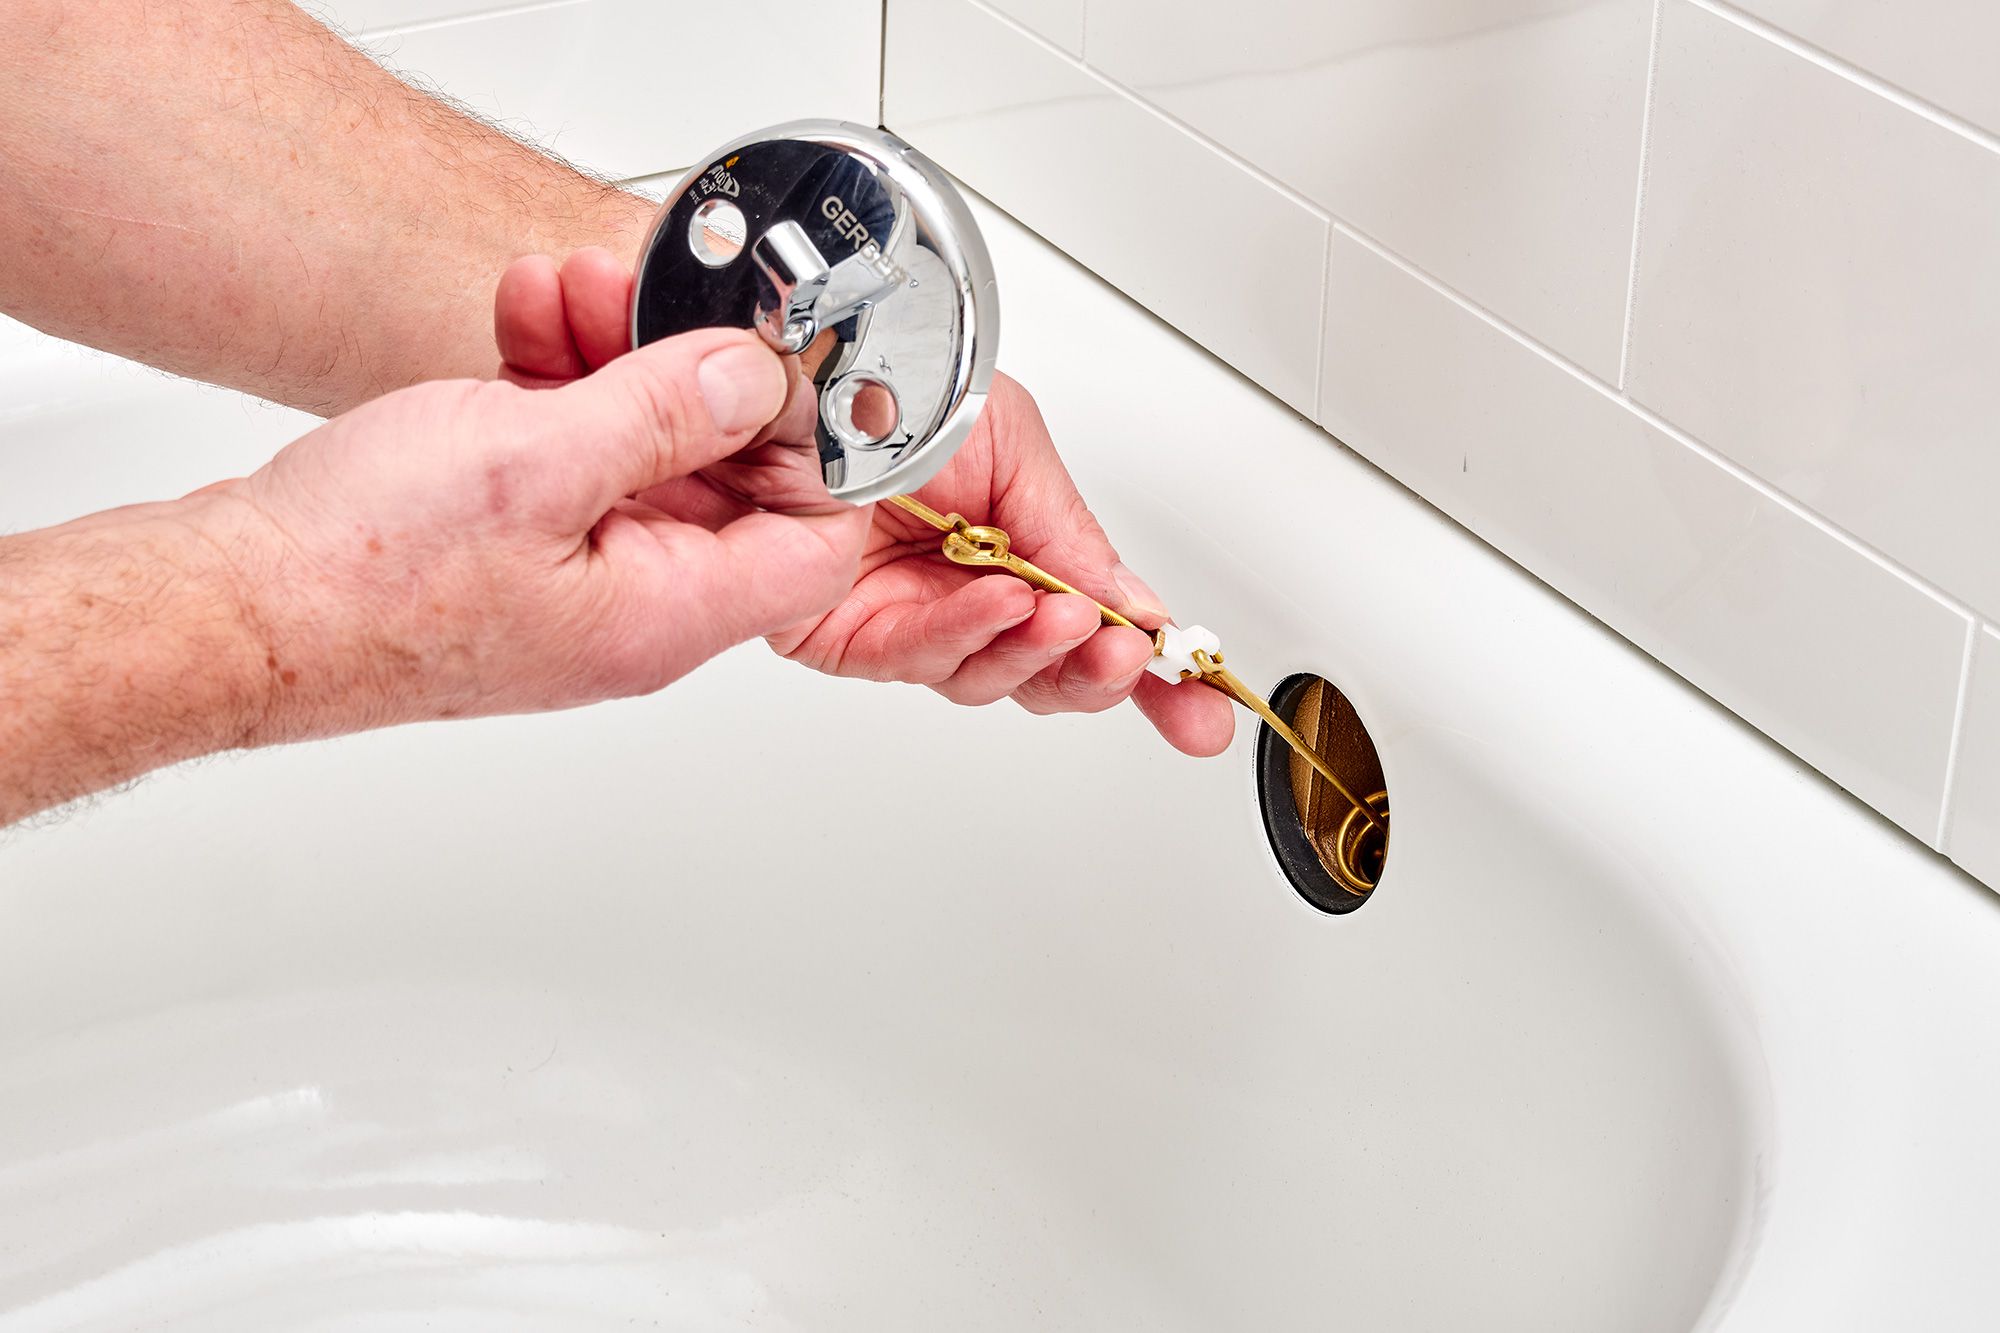
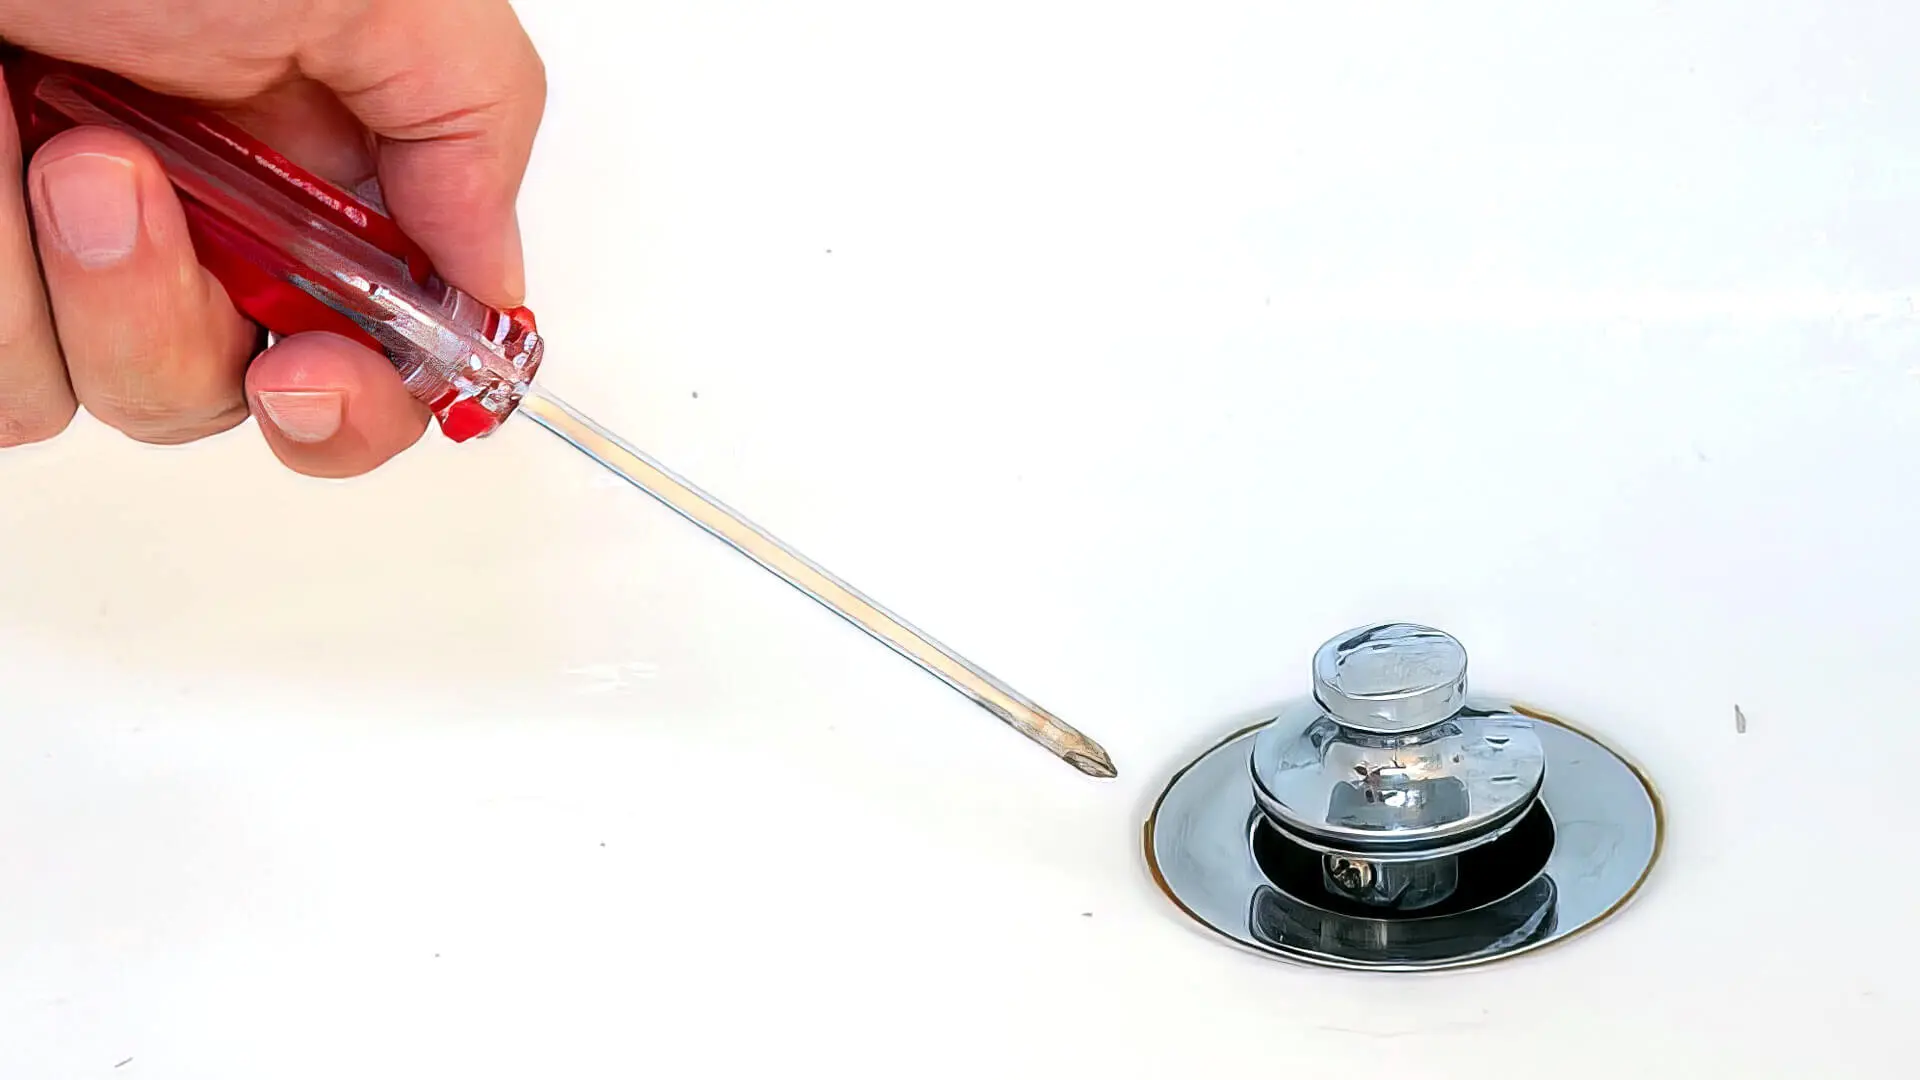
Inspect the Bathtub Drain: Take a moment to visually inspect the bathtub drain. Look for any visible blockages or obstructions that may be within reach. If you can identify and remove any surface-level debris, it may alleviate the clog without the need for the drain snake.
-
Select the Right Drain Snake: Drain snakes come in various lengths and designs. Ensure that you have selected a drain snake that is suitable for clearing bathtub drains. A flexible and slender drain snake is ideal for navigating the twists and turns of the drain pipe.
-
Wear Protective Gear: Before handling the drain snake, don a pair of rubber gloves to shield your hands from grime and potential bacteria within the drain.
-
Position the Flashlight: If the bathtub area is dimly lit, position a flashlight to illuminate the drain opening. This will provide better visibility as you work with the drain snake.
-
Familiarize Yourself with the Drain Snake: Take a moment to familiarize yourself with the components of the drain snake. Understand how the handle operates and how the snake extends and retracts. This will ensure that you have full control over the tool during the clearing process.
By meticulously preparing the drain snake and gathering the necessary tools, you set the stage for a smooth and effective clearing process. With these preliminary steps completed, you are now ready to move on to the next phase of the process: inserting the drain snake into the bathtub drain.
Remember, patience and attention to detail are key as you embark on this DIY plumbing endeavor. With the drain snake prepared and the bathtub drain inspected, you are well on your way to conquering that stubborn clog and restoring your bathtub to its optimal condition.
Step 2: Insert the Drain Snake into the Bathtub Drain
With the drain snake prepared and the necessary tools at hand, it's time to proceed with inserting the drain snake into the bathtub drain. This step is crucial in effectively reaching and dislodging the clog that is obstructing the flow of water. Here's a detailed breakdown of the process:
-
Position Yourself Comfortably: Before beginning, ensure that you are positioned comfortably near the bathtub drain. This will allow for better control and maneuverability as you work with the drain snake.
-
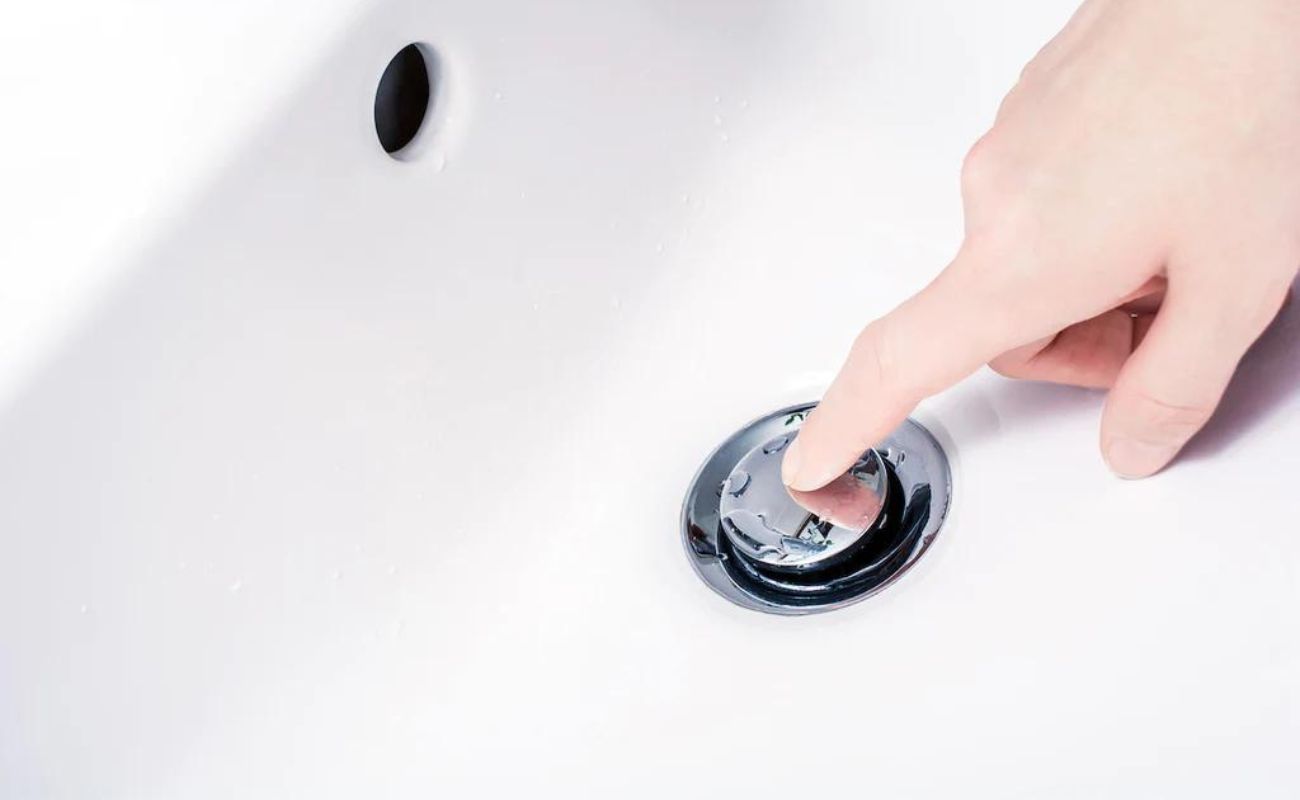
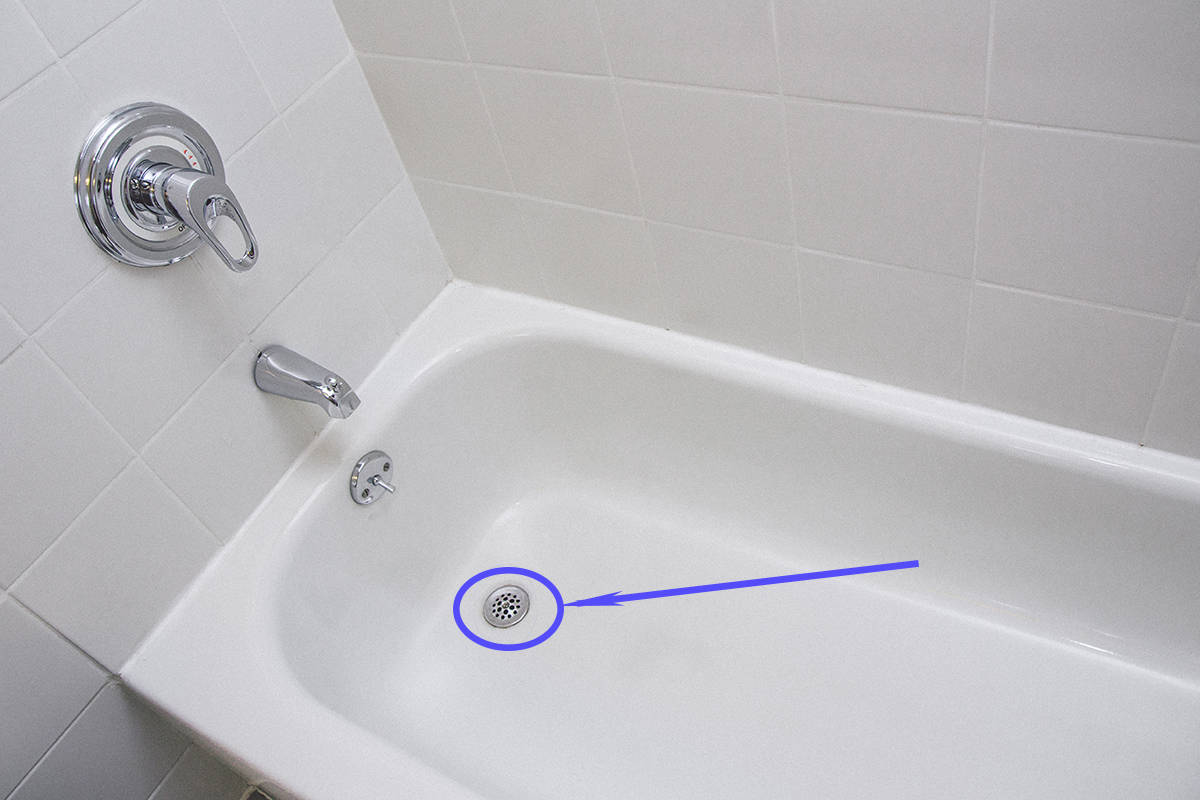
Locate the Drain Opening: Identify the precise location of the bathtub drain opening. If necessary, use the flashlight to illuminate the area for enhanced visibility.
-
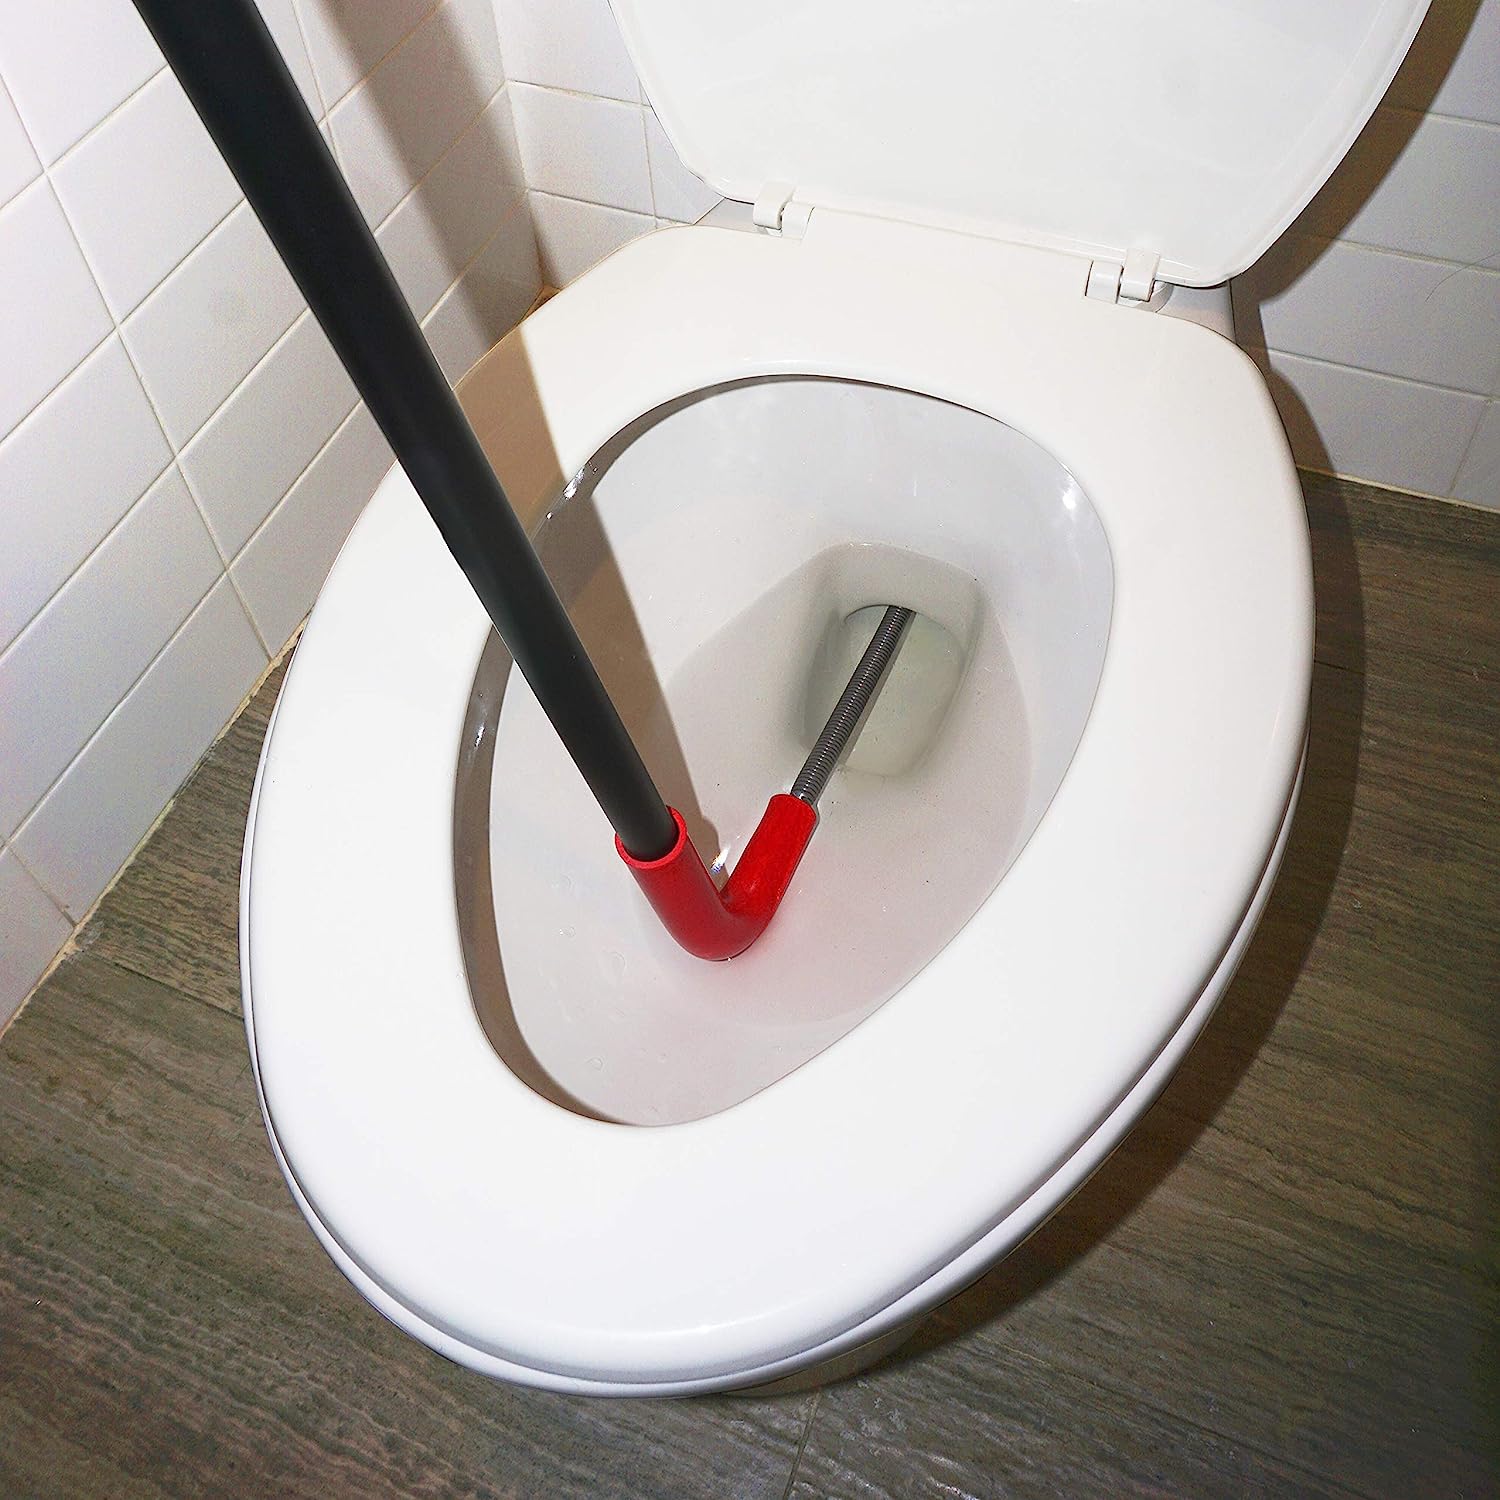
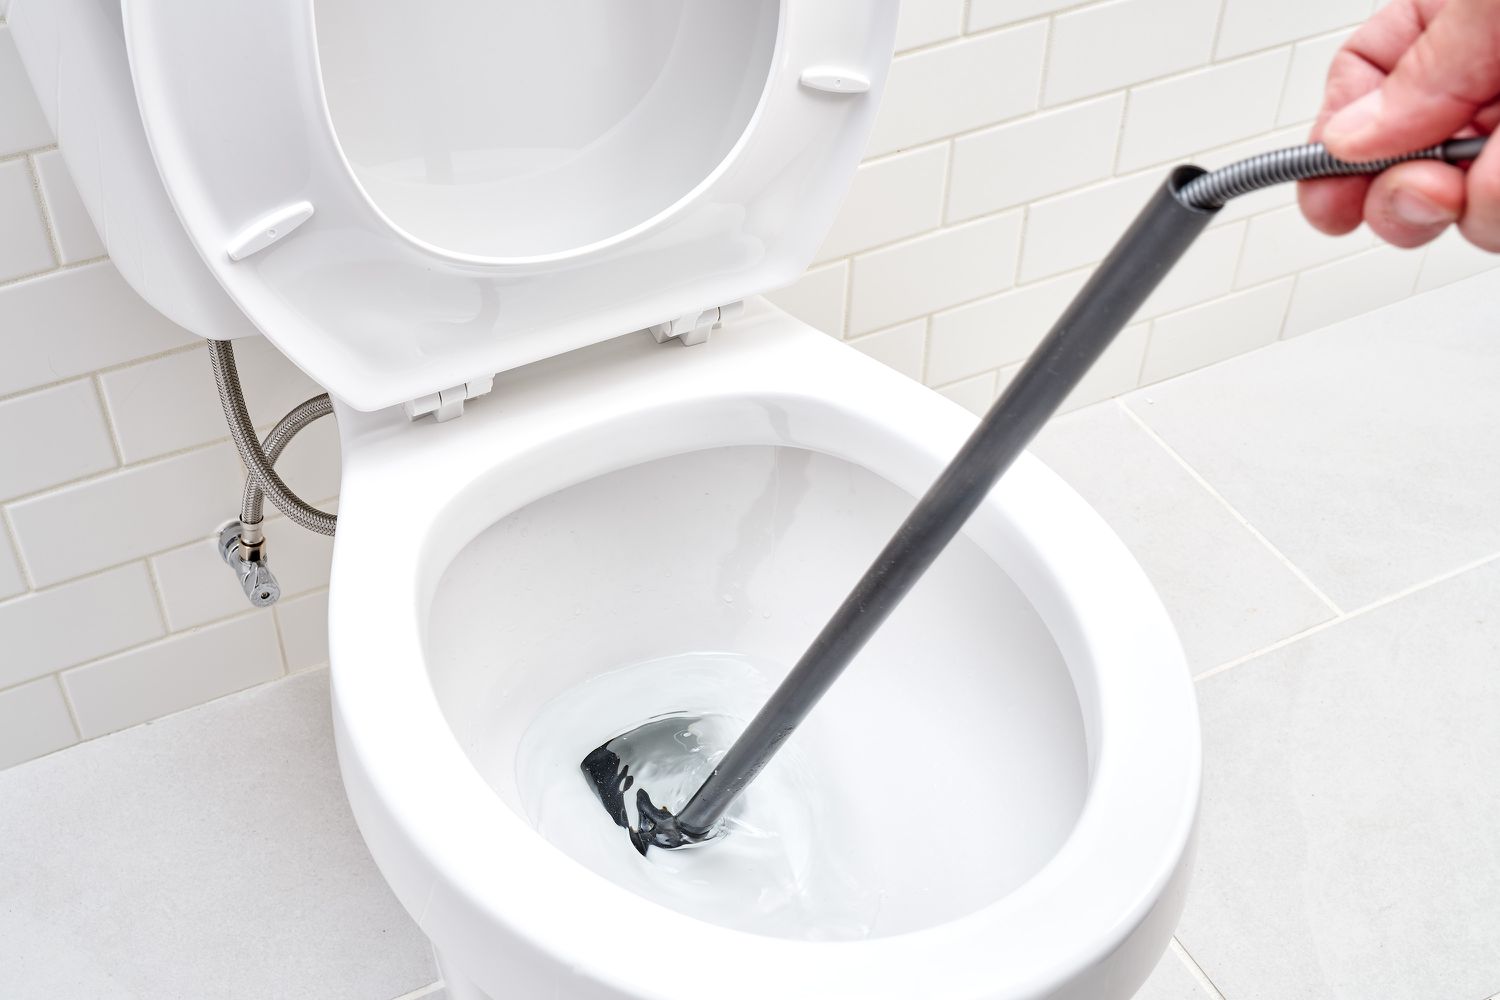
Insert the Drain Snake: Holding the handle of the drain snake, carefully guide the coiled end into the bathtub drain. Apply gentle pressure and gradually feed the snake into the drain. It's important to proceed slowly and steadily to navigate through any bends or curves in the drain pipe.
-
Monitor Resistance: As you insert the drain snake, pay attention to any resistance encountered. If you feel significant resistance or are unable to proceed further, it may indicate that the snake has reached the clog. Exercise caution to avoid forcing the snake, as this could potentially damage the drain pipe.
-
Continue Feeding the Snake: Once the initial resistance is overcome, continue feeding the drain snake into the drain. The goal is to reach the point of blockage and position the snake for effective clearing.
-
Maintain Control: Throughout the insertion process, maintain a firm grip on the handle of the drain snake. This will allow you to guide and manipulate the snake as needed to navigate through the drain system.
-
Reach the Blockage: As the drain snake progresses into the drain, you will reach the point of blockage. This is where the coiled end of the snake will come into contact with the clog, ready to dislodge and clear it.
By following these detailed steps, you can confidently insert the drain snake into the bathtub drain, positioning it to effectively address the clog. With patience and precision, you are now ready to proceed to the next phase of the process: rotating and pushing the drain snake to dislodge the stubborn blockage.
When using a drain snake in a bathtub, make sure to insert it slowly and carefully to avoid causing any damage to the pipes. Twist and push the snake down the drain until you feel resistance, then carefully pull it back out to remove any clogs.
Step 3: Rotate and Push the Drain Snake
With the drain snake successfully inserted into the bathtub drain, the next critical step involves rotating and pushing the snake to dislodge the stubborn blockage. This phase of the process requires a steady hand and a methodical approach to effectively clear the clog. Here's a detailed breakdown of the essential steps to rotate and push the drain snake:
-
Secure the Drain Snake: Before proceeding, ensure that the drain snake is securely positioned within the drain. The coiled end of the snake should be in contact with the blockage, ready to initiate the clearing process.
-
Apply Rotational Force: Grasp the handle of the drain snake firmly and begin to rotate it in a clockwise direction. The rotational force applied to the snake will allow the coiled end to engage with the clog, breaking it apart and dislodging it from the walls of the drain pipe.
-
Exercise Caution: As you rotate the drain snake, exercise caution to avoid excessive force. Gentle and controlled rotations are key to effectively addressing the blockage without causing damage to the drain pipe.
-
Push and Pull Motion: In addition to rotational movements, incorporate a gentle push and pull motion with the drain snake. This back-and-forth action helps to agitate the clog, gradually breaking it apart and allowing the snake to navigate through the obstruction.
-
Feel for Resistance: While rotating and pushing the drain snake, pay attention to any resistance encountered. If you feel significant resistance or are unable to proceed further, it may indicate that the clog is gradually clearing. Exercise patience and continue the rotational and pushing movements to facilitate the clearing process.
-
Gradual Progress: With each rotation and push, monitor the progress made in dislodging the blockage. The goal is to gradually break apart the clog, allowing water to flow freely through the drain once again.
-
Repeat as Needed: Depending on the severity of the clog, it may be necessary to repeat the rotational and pushing process multiple times. Persistence and attention to detail are crucial in ensuring that the blockage is effectively cleared.
By following these detailed steps and exercising patience and precision, you can effectively rotate and push the drain snake to dislodge the stubborn blockage within the bathtub drain. With the clog gradually clearing, you are now ready to proceed to the final phase of the process: removing the drain snake and testing the drain to ensure optimal functionality.
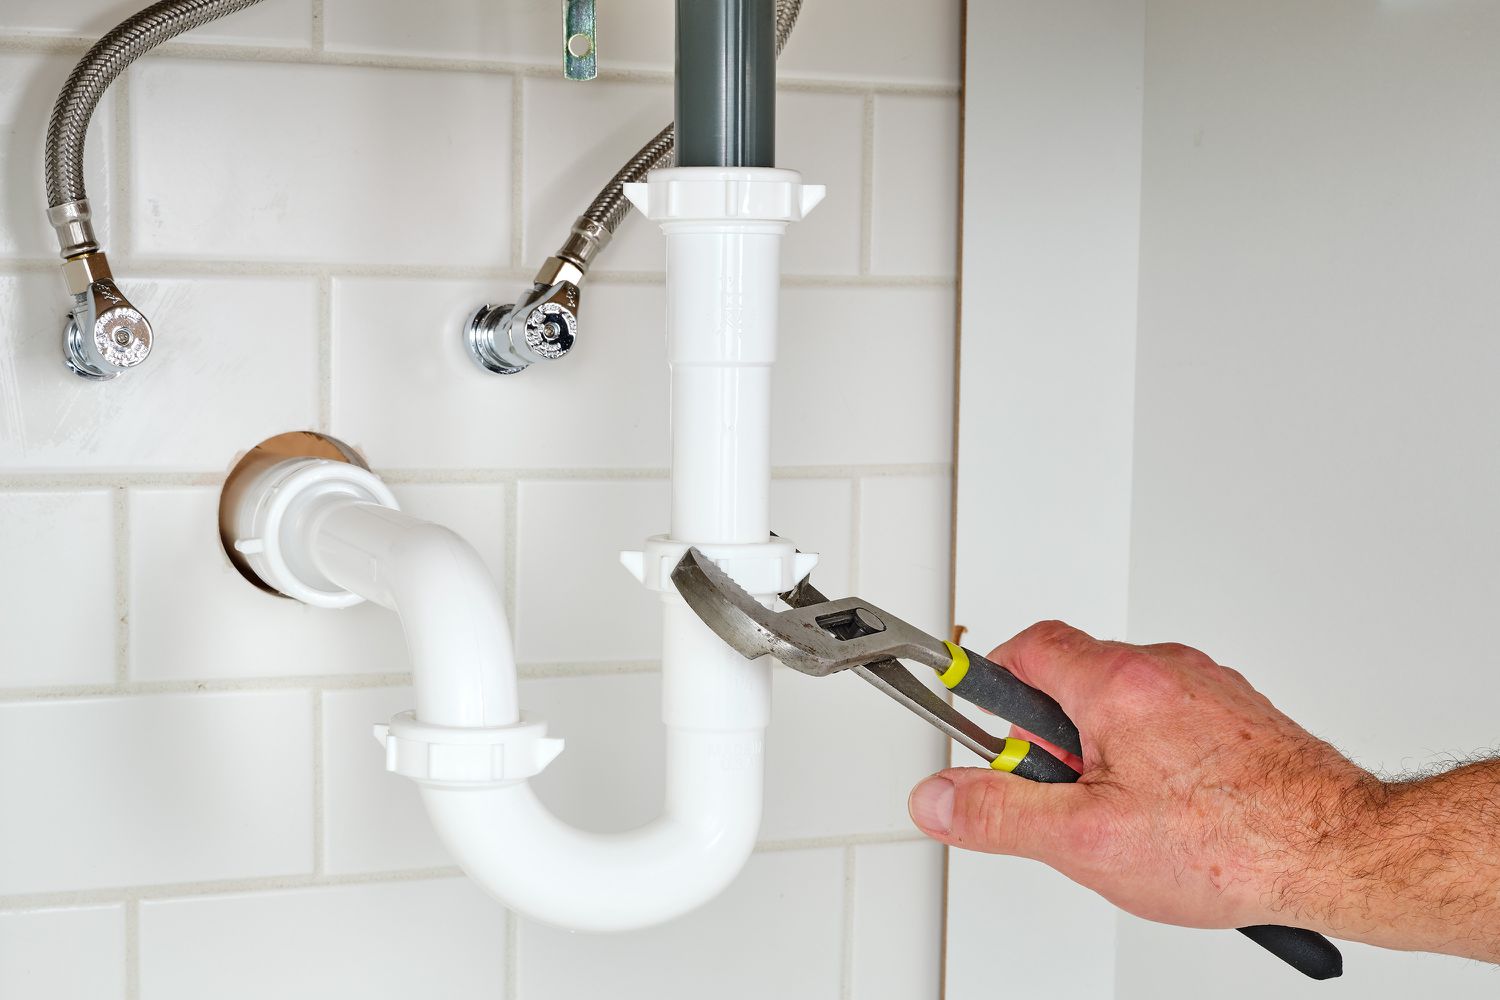
Step 4: Remove the Drain Snake and Test the Drain
With the drain snake effectively utilized to dislodge the stubborn blockage within the bathtub drain, the final phase of the process involves removing the drain snake and conducting a thorough test to ensure the optimal functionality of the drain. This critical step allows you to confirm that the clog has been successfully cleared and that the water can flow freely through the drain once again. Here's a detailed breakdown of the essential steps to remove the drain snake and test the drain:
-
Retract the Drain Snake: Once you have completed the rotational and pushing movements to dislodge the blockage, carefully retract the drain snake from the bathtub drain. Use the handle to gradually pull the snake out of the drain, ensuring that it navigates smoothly through the twists and turns of the drain pipe.
-
Inspect the Drain Snake: As you remove the drain snake, take a moment to inspect the coiled end for any debris or residue that may have been dislodged from the clog. Clear any accumulated debris from the snake, ensuring that it is clean and ready for future use.
-
Run Water Through the Drain: With the drain snake removed, turn on the water and allow it to flow freely through the bathtub drain. Observe the water flow closely, ensuring that it drains smoothly without any signs of backup or sluggishness. This test will confirm that the clog has been effectively cleared, restoring the optimal functionality of the drain.
-
Monitor for Residual Debris: While running water through the drain, keep an eye out for any residual debris that may emerge. In some cases, small remnants of the dislodged clog may appear as the water flows through the drain. If necessary, use a strainer or drain cover to capture any debris and prevent it from re-entering the drain system.
-
Repeat the Test: To ensure thorough clearance, consider repeating the water flow test multiple times. This will provide confidence that the drain is fully functional and free from any remaining obstructions.
By following these detailed steps, you can effectively remove the drain snake and conduct a comprehensive test to confirm the successful clearing of the bathtub drain. With the clog addressed and the drain restored to optimal functionality, you can take pride in your DIY plumbing accomplishment and enjoy the satisfaction of a smoothly running bathtub drain.
Read more: Where To Rent A Drain Snake For Plumbing
Conclusion
In conclusion, successfully using a drain snake to clear a clogged bathtub drain is a rewarding accomplishment that empowers homeowners to take control of their plumbing maintenance. By following the step-by-step process outlined in this guide, you have gained valuable insights into effectively addressing stubborn clogs and restoring the optimal functionality of your bathtub drain.
Throughout the process, meticulous preparation, patience, and precision were key elements in achieving success. From preparing the drain snake and gathering the necessary tools to inserting the snake into the drain, rotating and pushing it to dislodge the blockage, and finally removing the snake and testing the drain, each step played a crucial role in the overall clearing process.
By familiarizing yourself with the drain snake and exercising caution during each phase, you have demonstrated the ability to tackle common plumbing challenges with confidence and competence. The thorough inspection of the drain, the methodical approach to navigating through the twists and turns of the drain pipe, and the careful testing of the drain's functionality have all contributed to the successful resolution of the clog.
As you reflect on the journey of using a drain snake to clear your bathtub drain, it's important to recognize the cost-effective and empowering nature of this DIY solution. By taking proactive measures to address minor clogs, homeowners can avoid the need for professional plumbing services and maintain the smooth operation of their bathroom fixtures.
Furthermore, the knowledge and skills gained from this experience can be applied to future plumbing maintenance tasks, instilling a sense of self-reliance and capability. Whether it's addressing clogged sinks, showers, or other drains within the home, the principles and techniques learned from using a drain snake can be adapted to various plumbing scenarios.
In essence, the process of using a drain snake to clear a clogged bathtub drain embodies the spirit of proactive home maintenance and empowers homeowners to take charge of their living spaces. By embracing DIY solutions and leveraging the right tools and knowledge, you have demonstrated the ability to overcome common household challenges and maintain the functionality and comfort of your home.
With the bathtub drain flowing freely once again, you can take pride in your accomplishment and enjoy the peace of mind that comes with a smoothly running plumbing system. As you continue to maintain and care for your home, the experience gained from using a drain snake will serve as a valuable resource, empowering you to tackle future plumbing tasks with confidence and expertise.
Frequently Asked Questions about How To Use Drain Snake Bathtub
Was this page helpful?
At Storables.com, we guarantee accurate and reliable information. Our content, validated by Expert Board Contributors, is crafted following stringent Editorial Policies. We're committed to providing you with well-researched, expert-backed insights for all your informational needs.


0 thoughts on “How To Use Drain Snake Bathtub”