
Articles
How To Use Laser Level Outside
Modified: October 28, 2024
Learn how to use a laser level outside with step-by-step instructions and helpful tips in this informative article. Explore the benefits and techniques for accurate measurements in outdoor projects.
(Many of the links in this article redirect to a specific reviewed product. Your purchase of these products through affiliate links helps to generate commission for Storables.com, at no extra cost. Learn more)
Introduction
Welcome to this comprehensive guide on how to use a laser level outside. Whether you’re a home improvement enthusiast, a DIY-er, or a professional contractor, a laser level is an essential tool that can help you ensure accuracy and precision in your outdoor projects.
A laser level is a device that emits a laser beam to create a straight and level reference line. It can be used for a variety of outdoor applications, such as aligning fence posts, installing outdoor lighting, or even grading a backyard.
However, using a laser level outdoors comes with its own set of challenges. Factors such as bright sunlight, uneven terrain, and long-distance measurements can affect the accuracy and visibility of the laser beam. That’s why it’s important to understand how to properly use a laser level outside to achieve the best results.
In this guide, we will explore the key considerations before using a laser level outside, provide a step-by-step guide on how to use it effectively, offer tips for optimal performance, and highlight common mistakes to avoid. So let’s dive in and master the art of using a laser level outside!
Key Takeaways:
- Master the art of using a laser level outside by considering factors like weather, visibility, and terrain. Follow a step-by-step guide and implement helpful tips to achieve precise results in your outdoor projects.
- Avoid common mistakes such as neglecting light conditions, not leveling properly, and ignoring the laser detector when using a laser level outside. By overcoming these pitfalls, you can ensure optimal performance and reliability in your measurements and alignments.
Read more: How To Use A Laser Level
What is a Laser Level?
A laser level is a precision tool used in construction and various other industries to create precise reference lines and ensure accurate measurements. It projects a laser beam that serves as a visual guide for leveling, aligning, and measuring a wide range of projects.
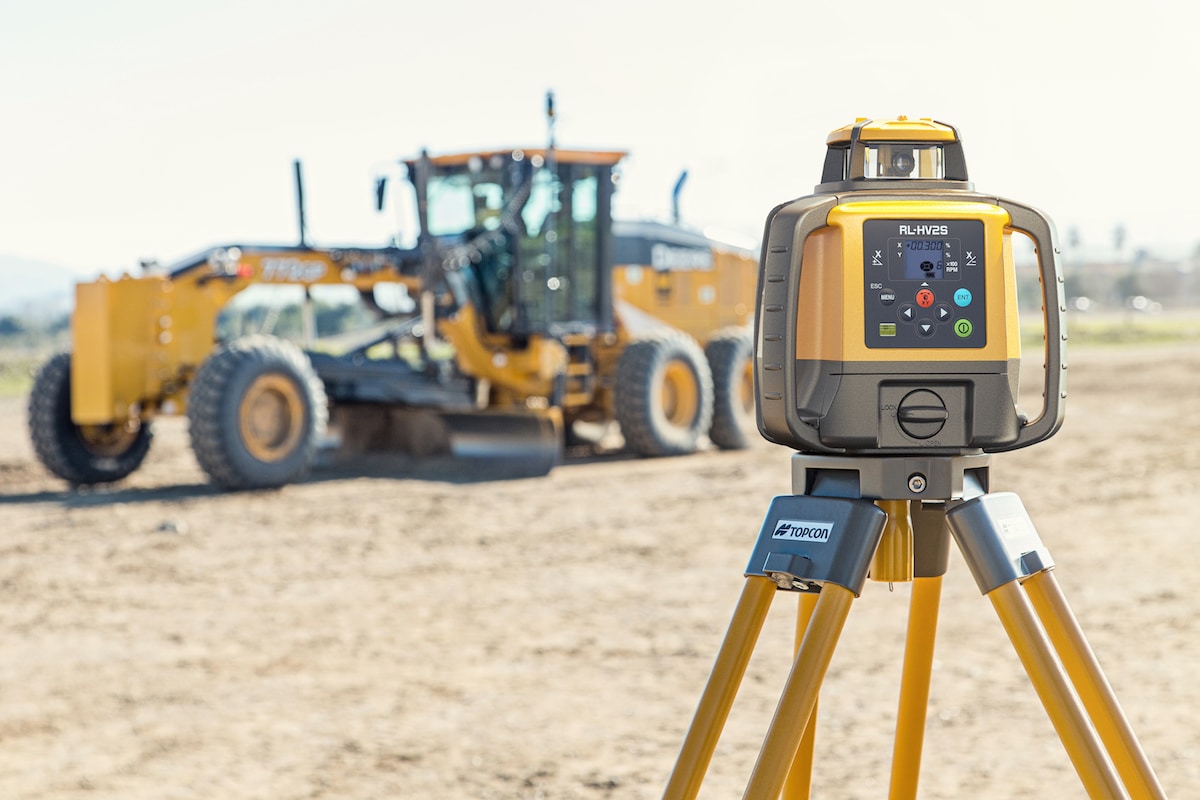
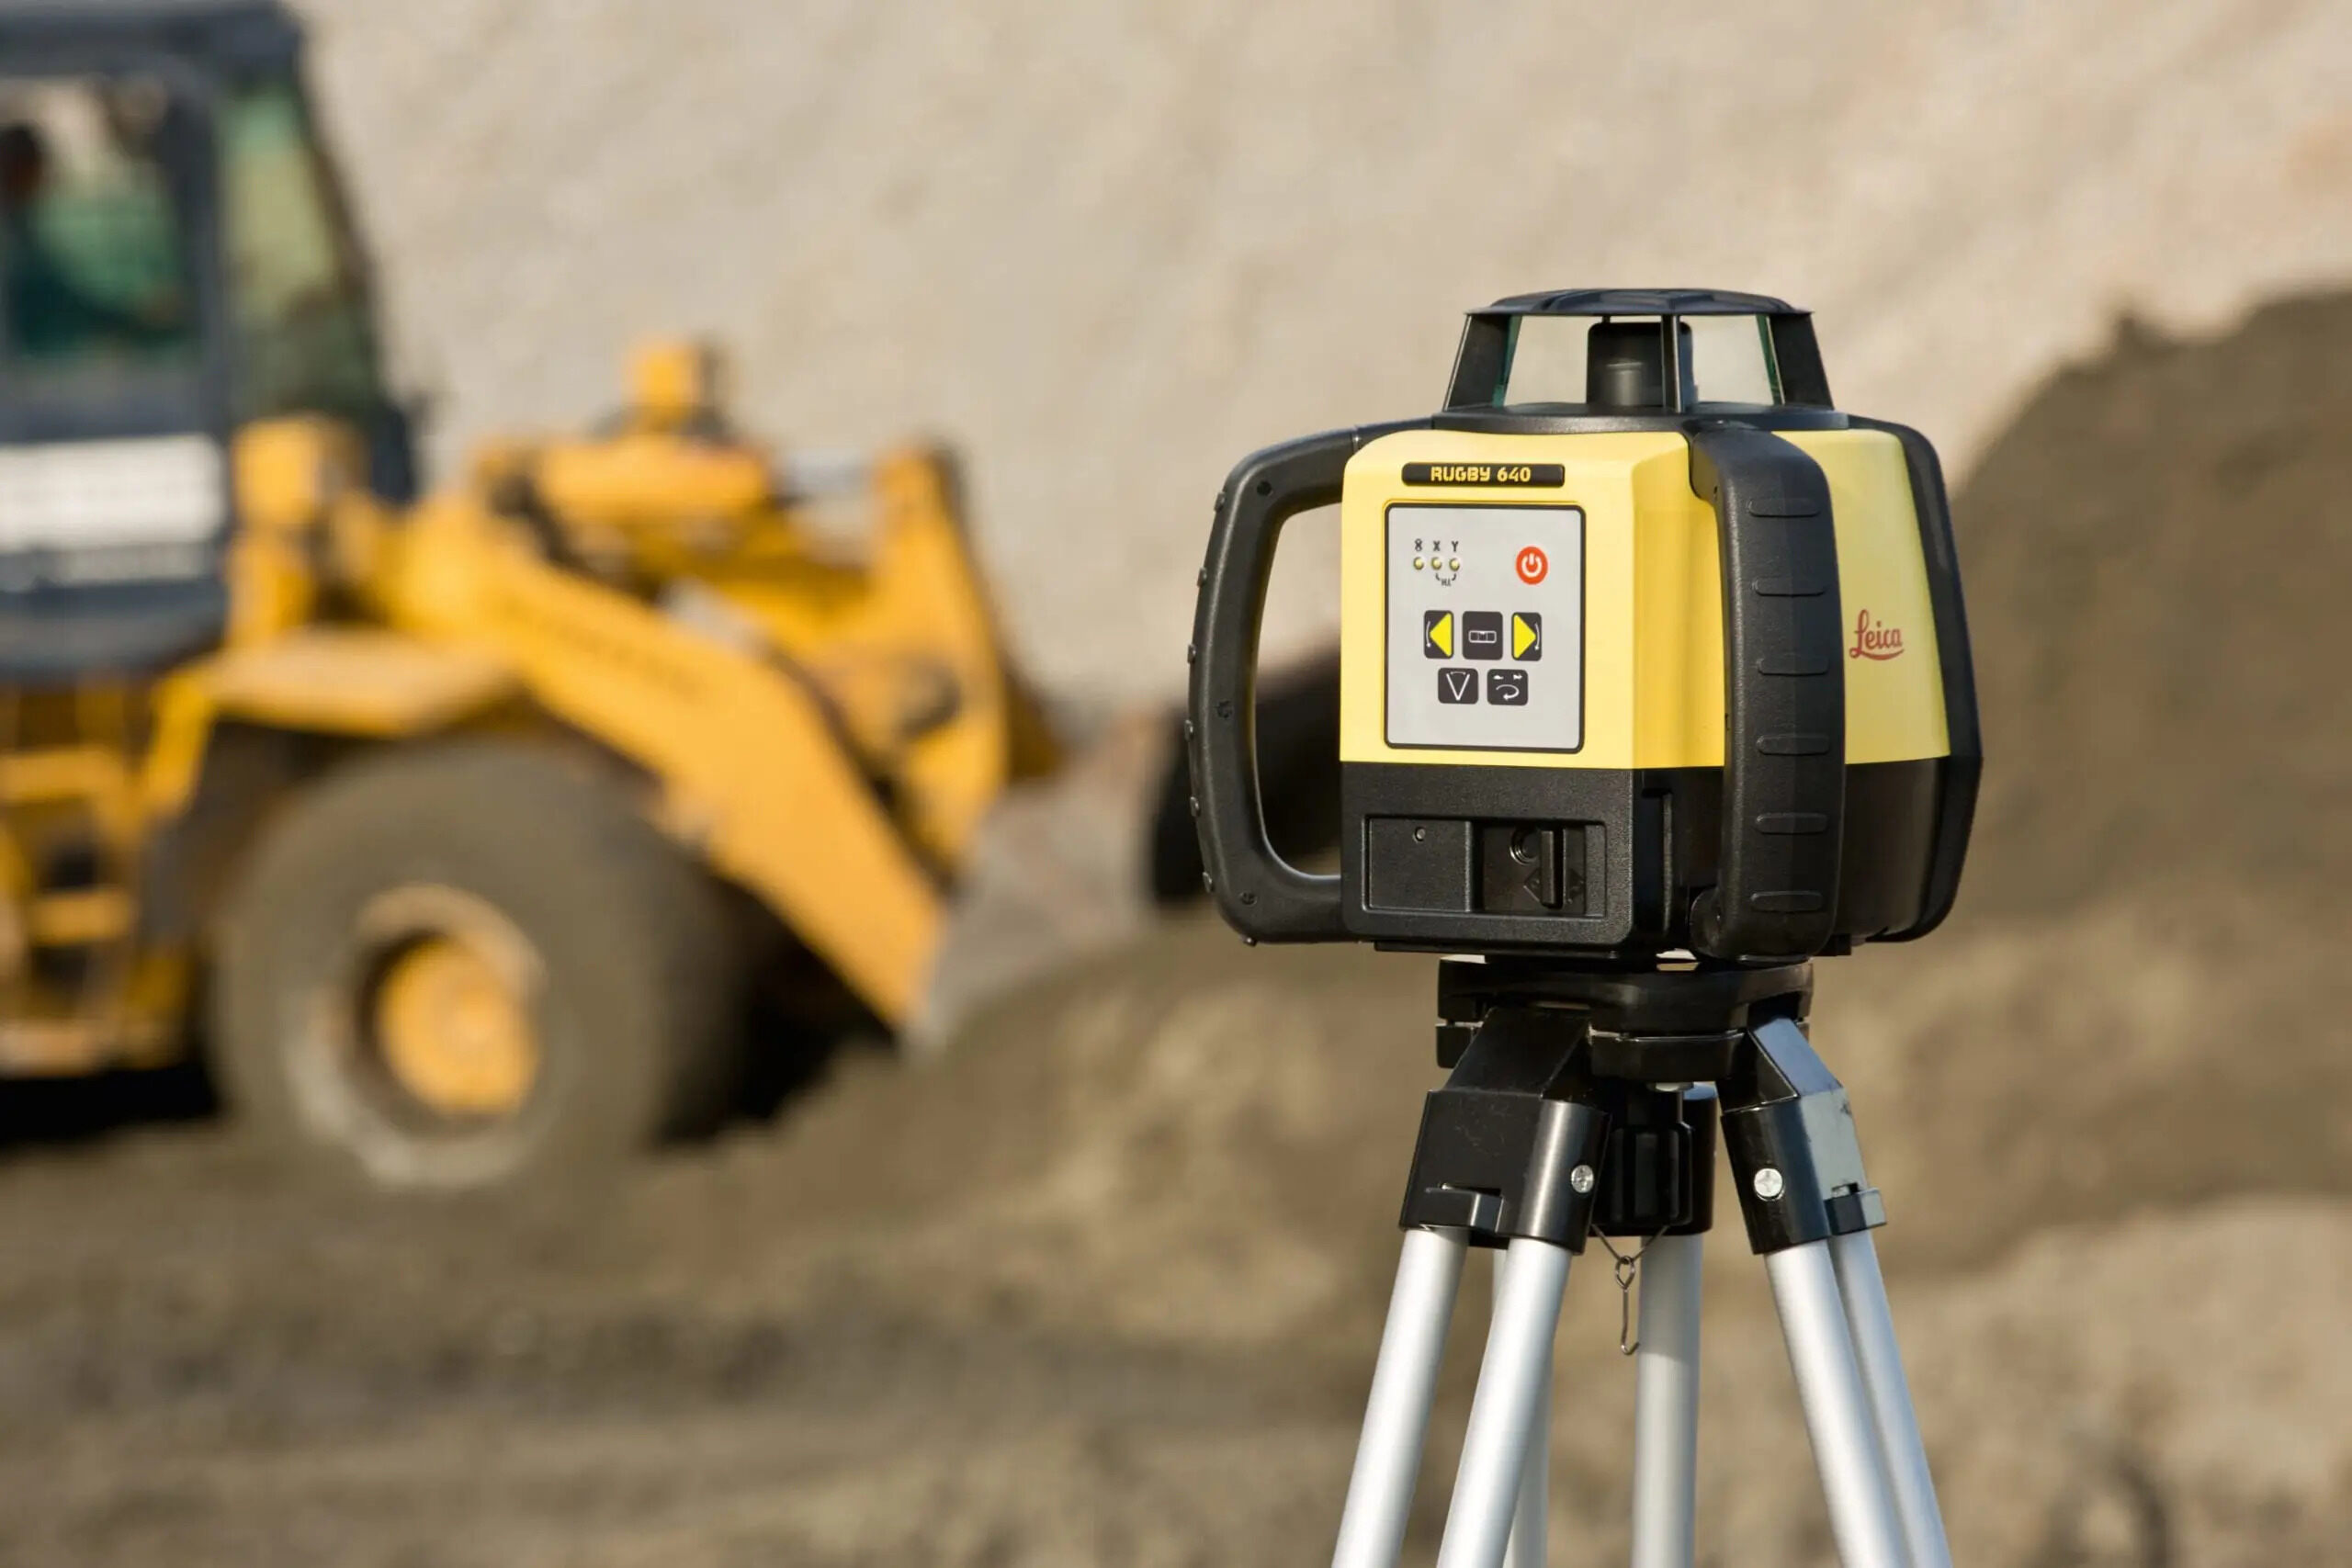
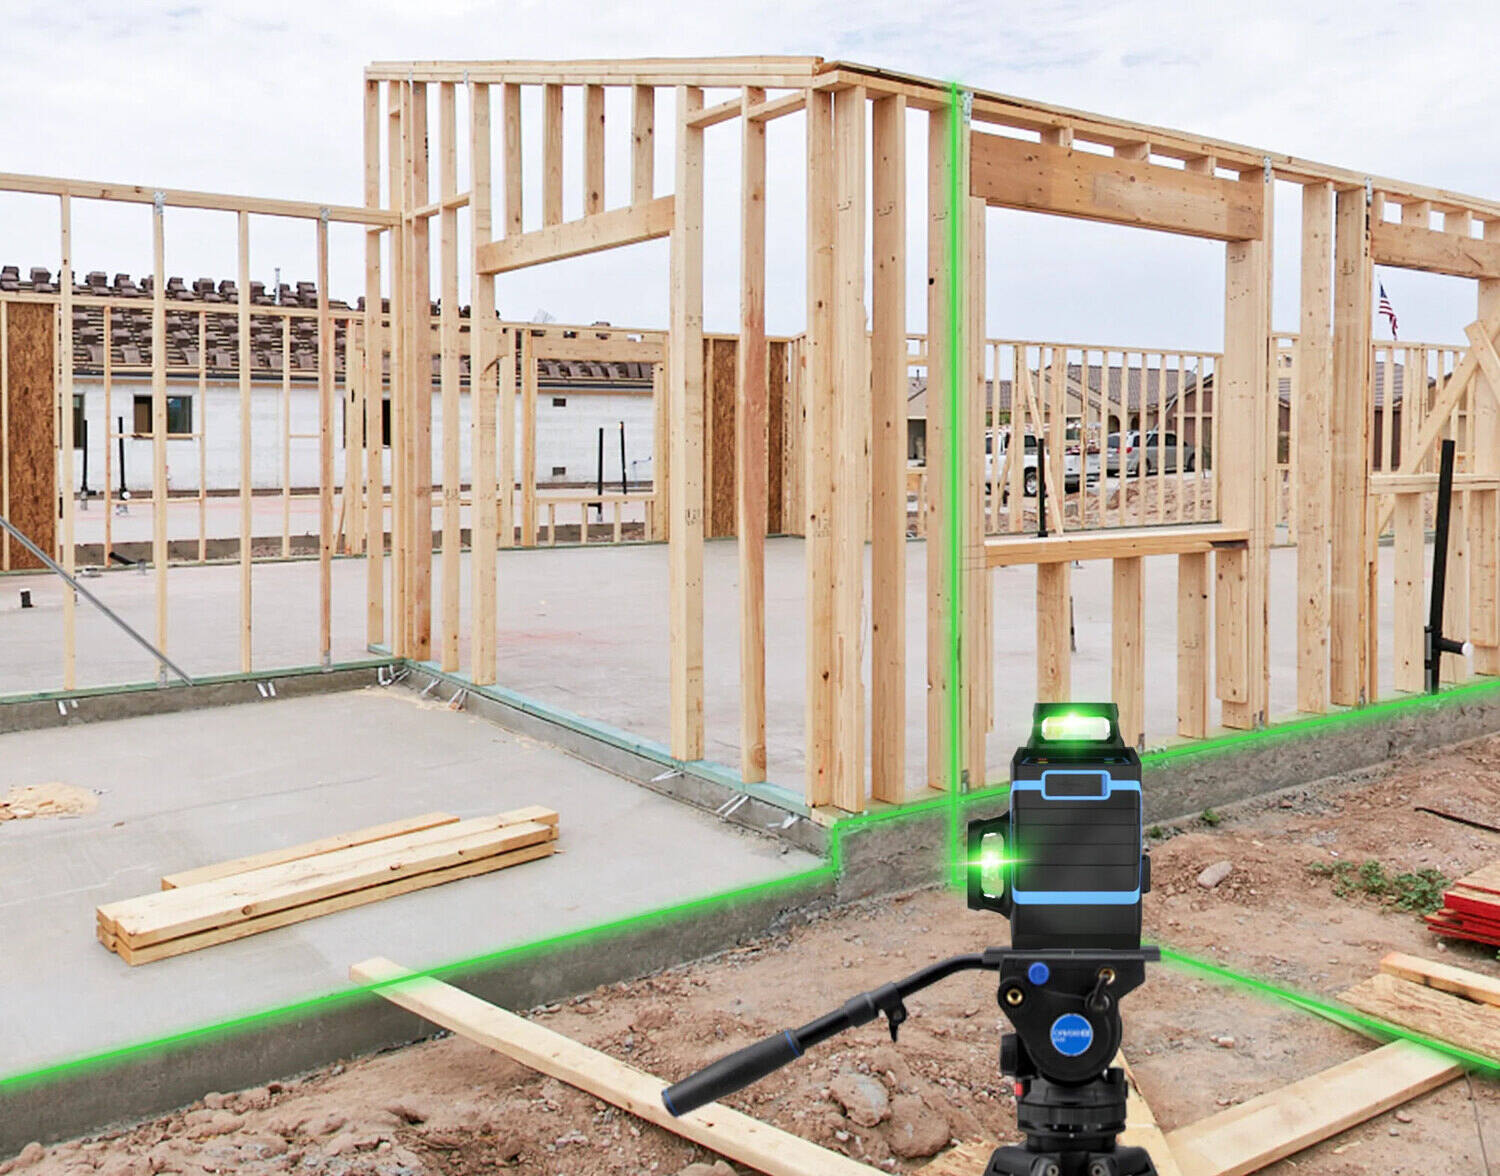
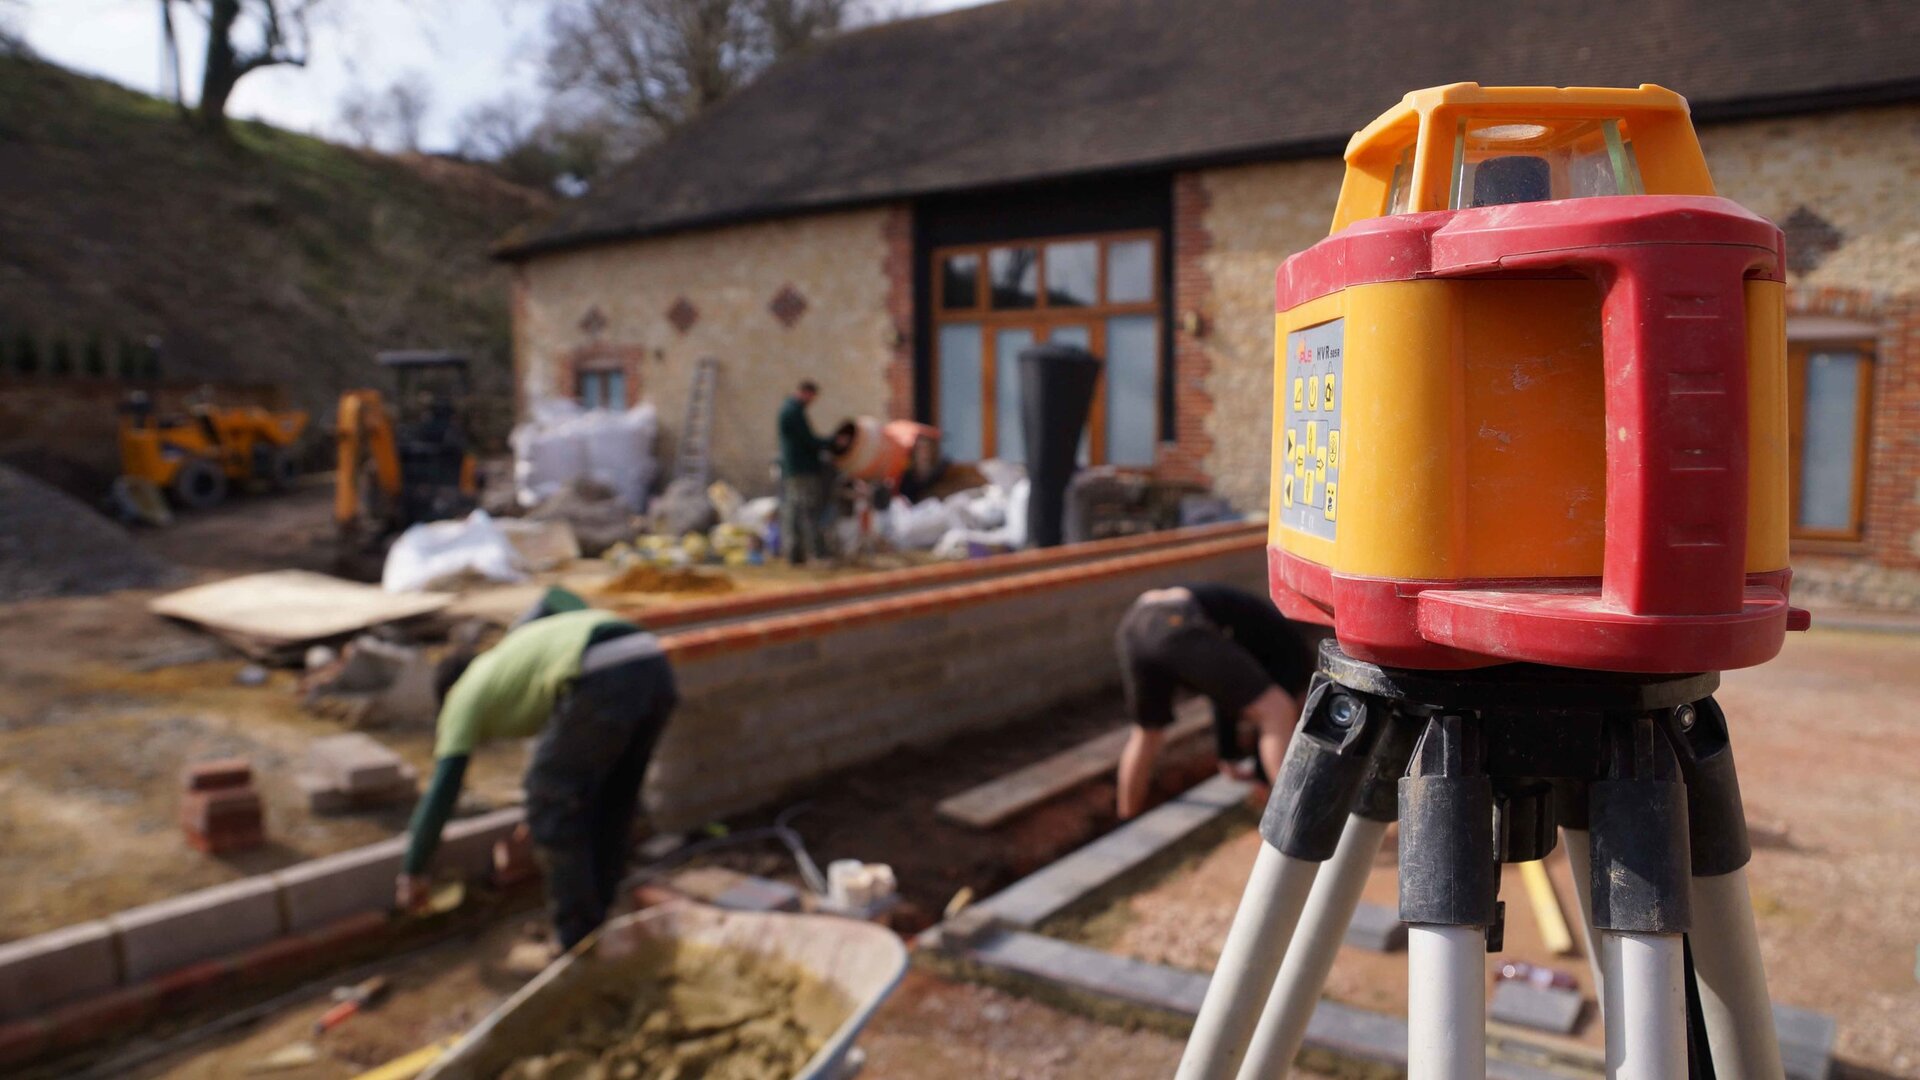
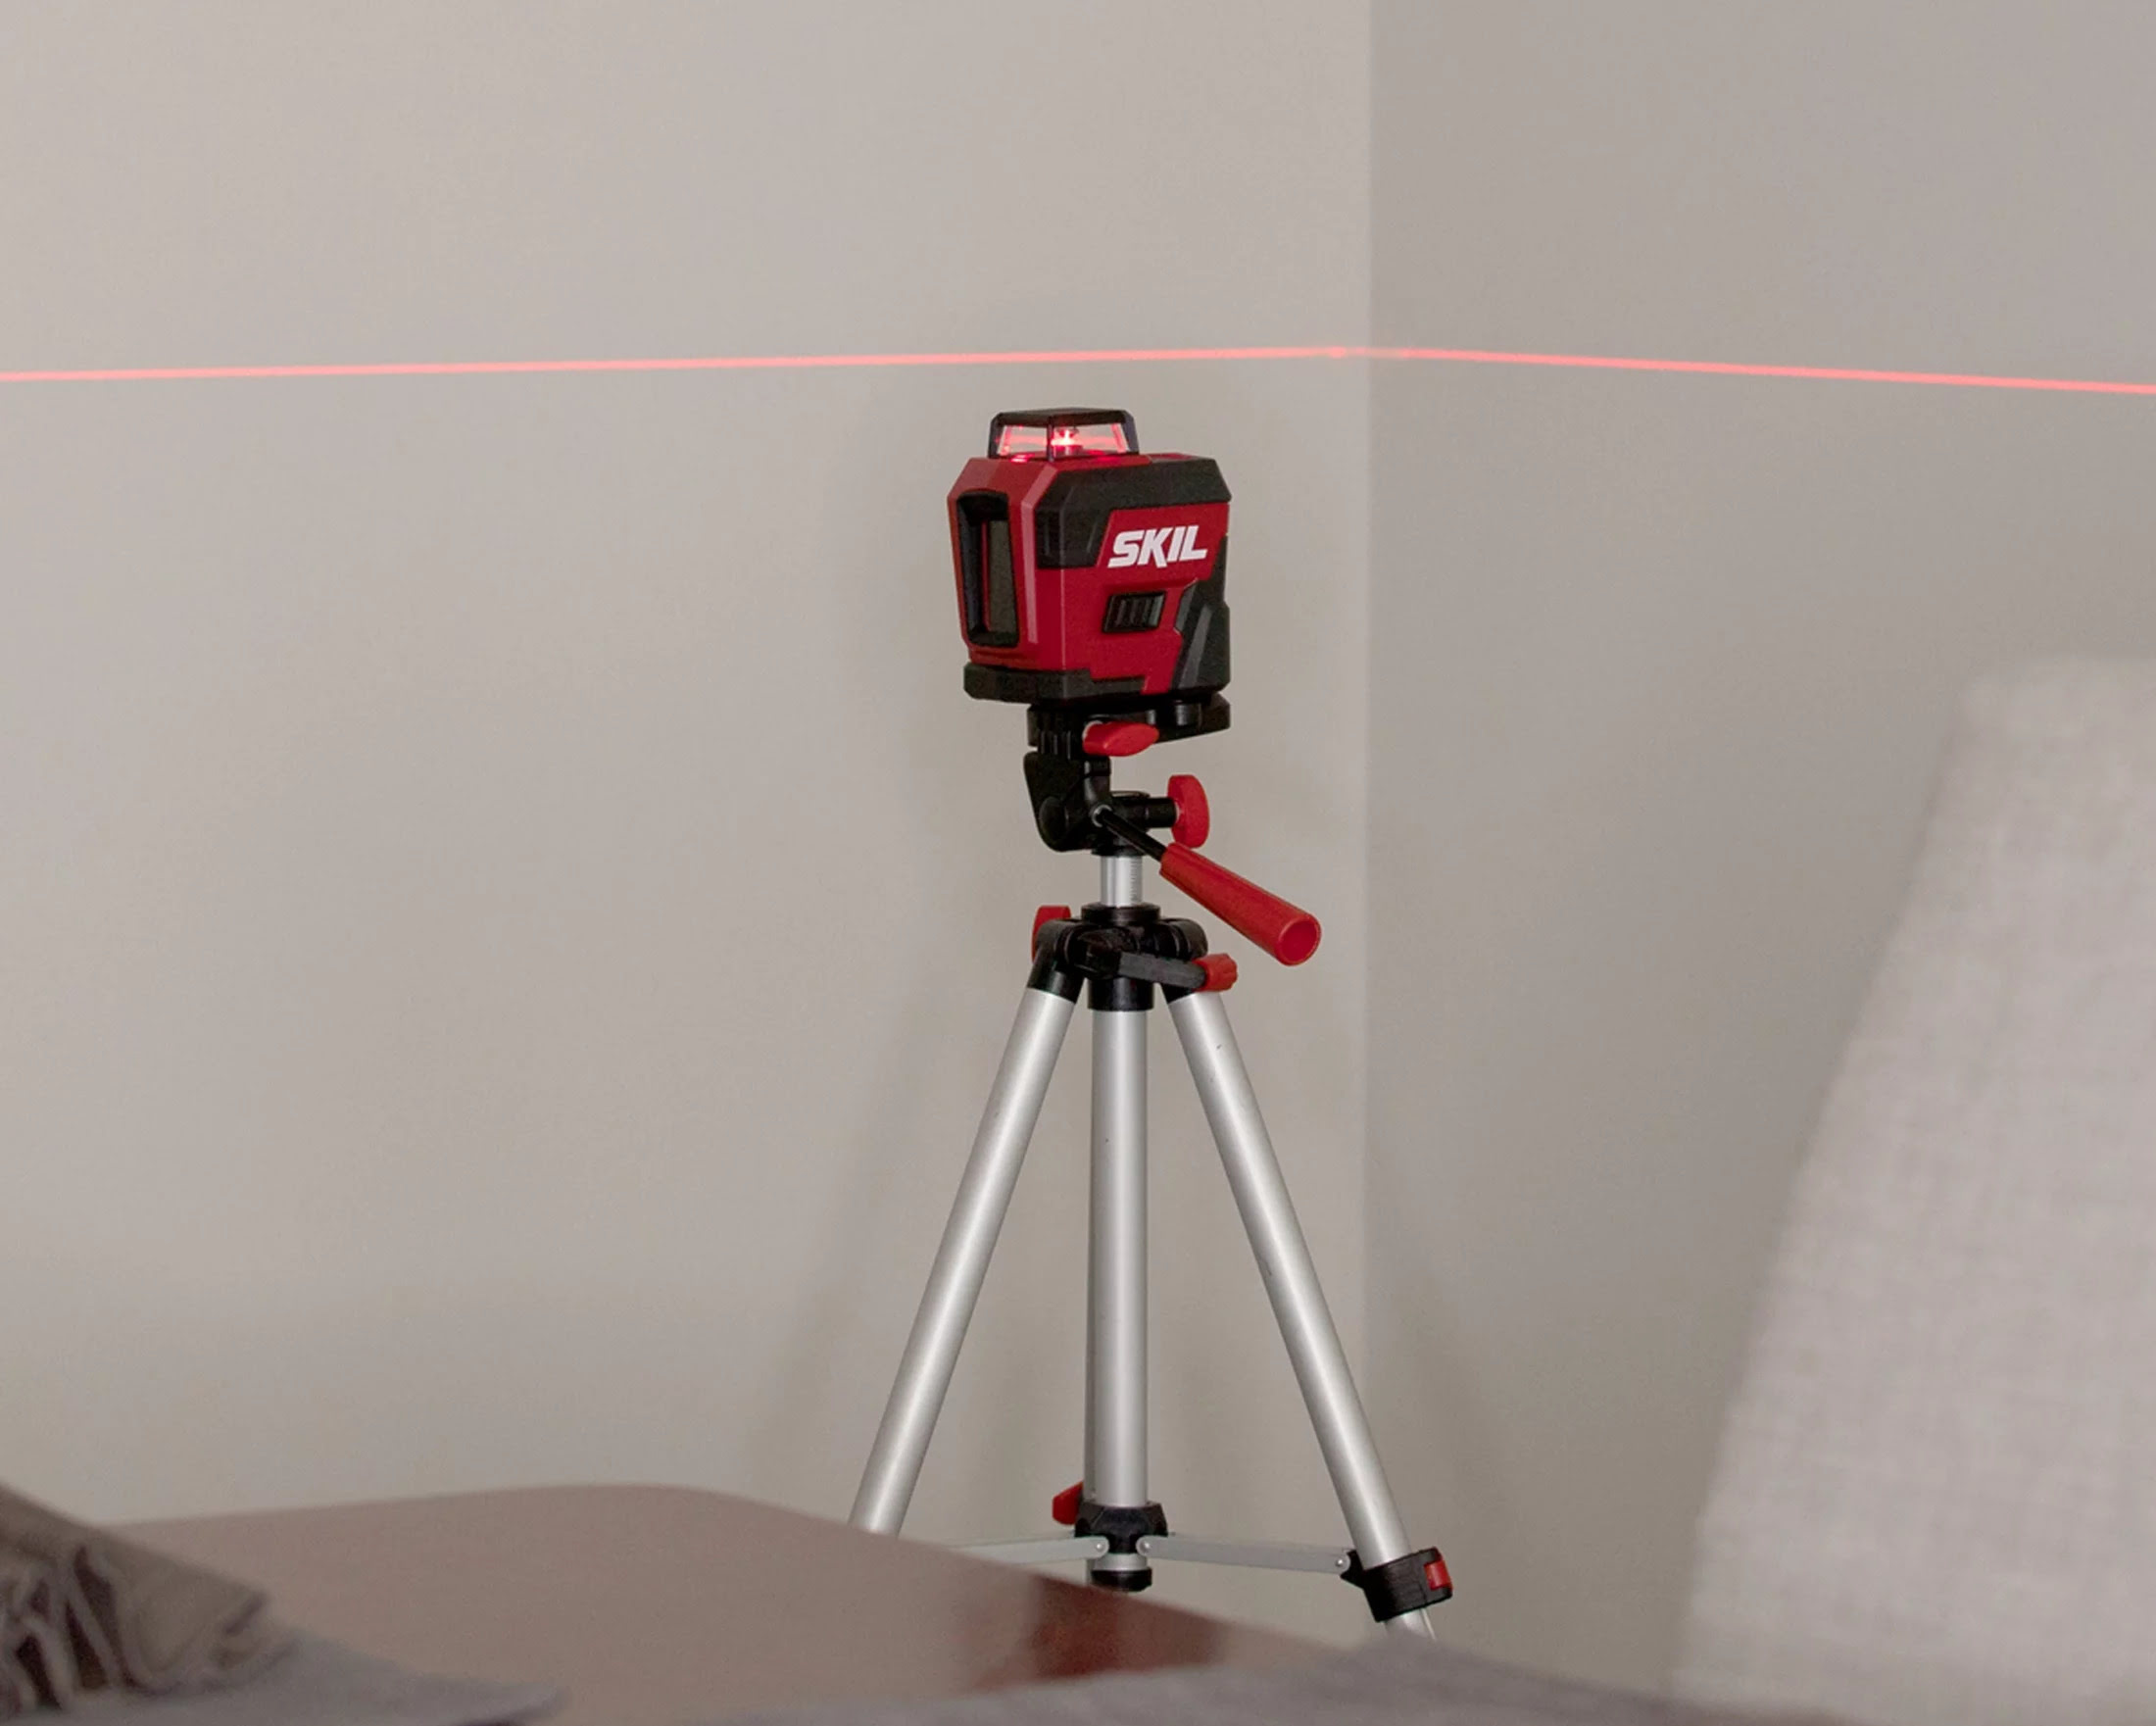
Laser levels are commonly used for both indoor and outdoor applications. They can be handheld or mounted on a tripod, depending on the specific task at hand. The device emits a laser beam that forms a straight, horizontal or vertical line, which can be projected over long distances with high accuracy.
One of the main advantages of using a laser level is its convenience and efficiency. Unlike traditional leveling tools such as spirit levels or plumb bobs, laser levels provide a continuous and highly visible reference line, making it easier to achieve precise measurements and alignments.
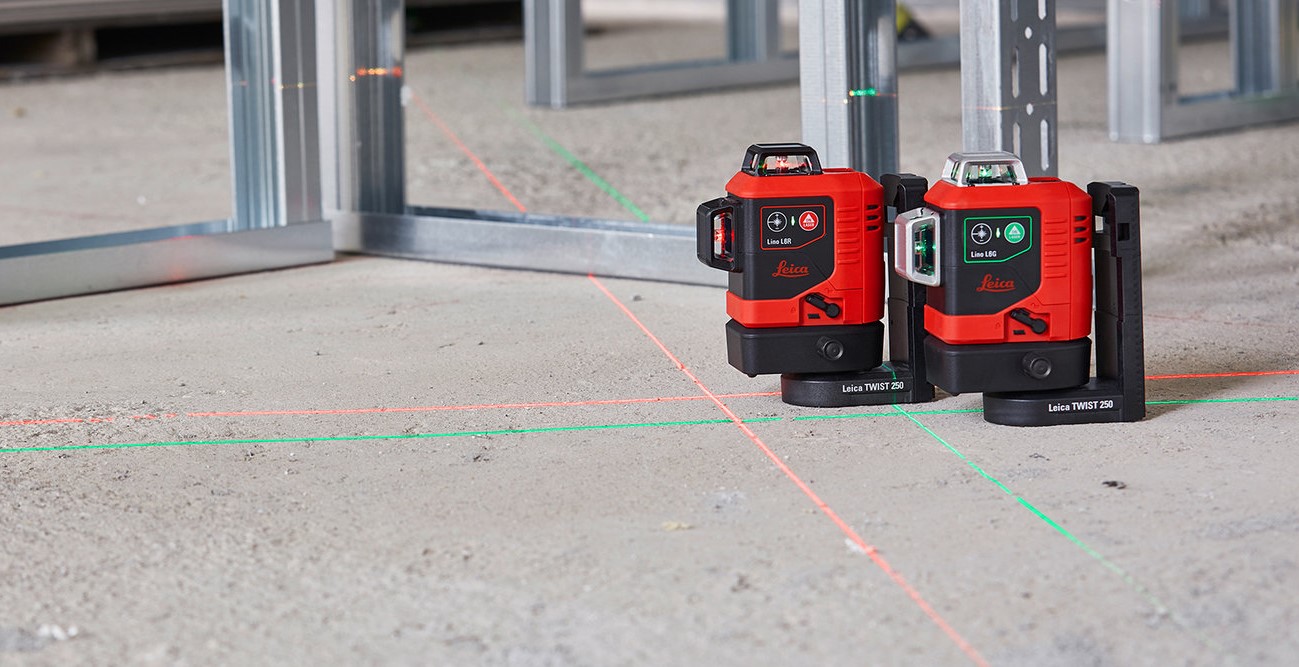
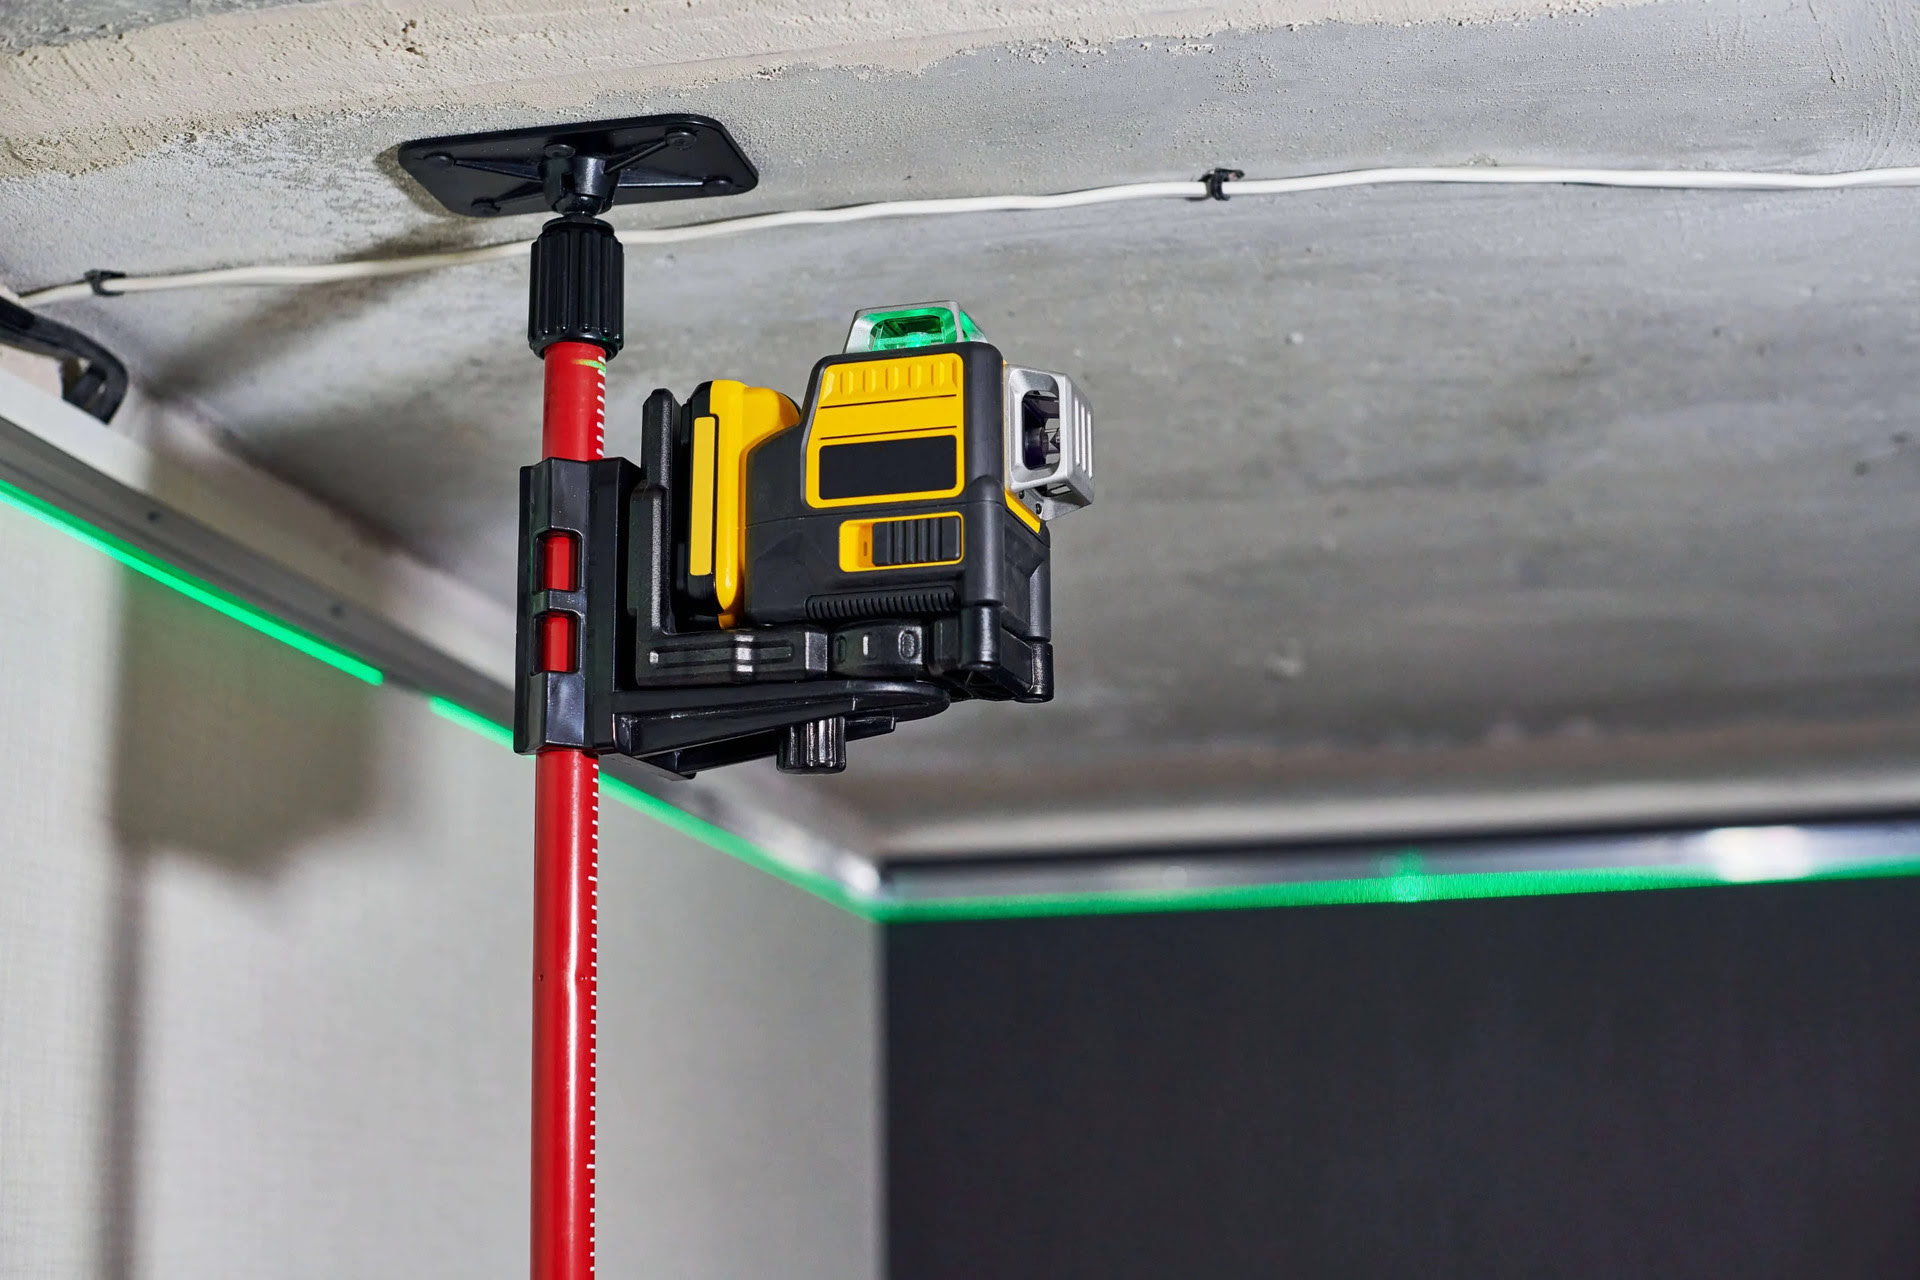
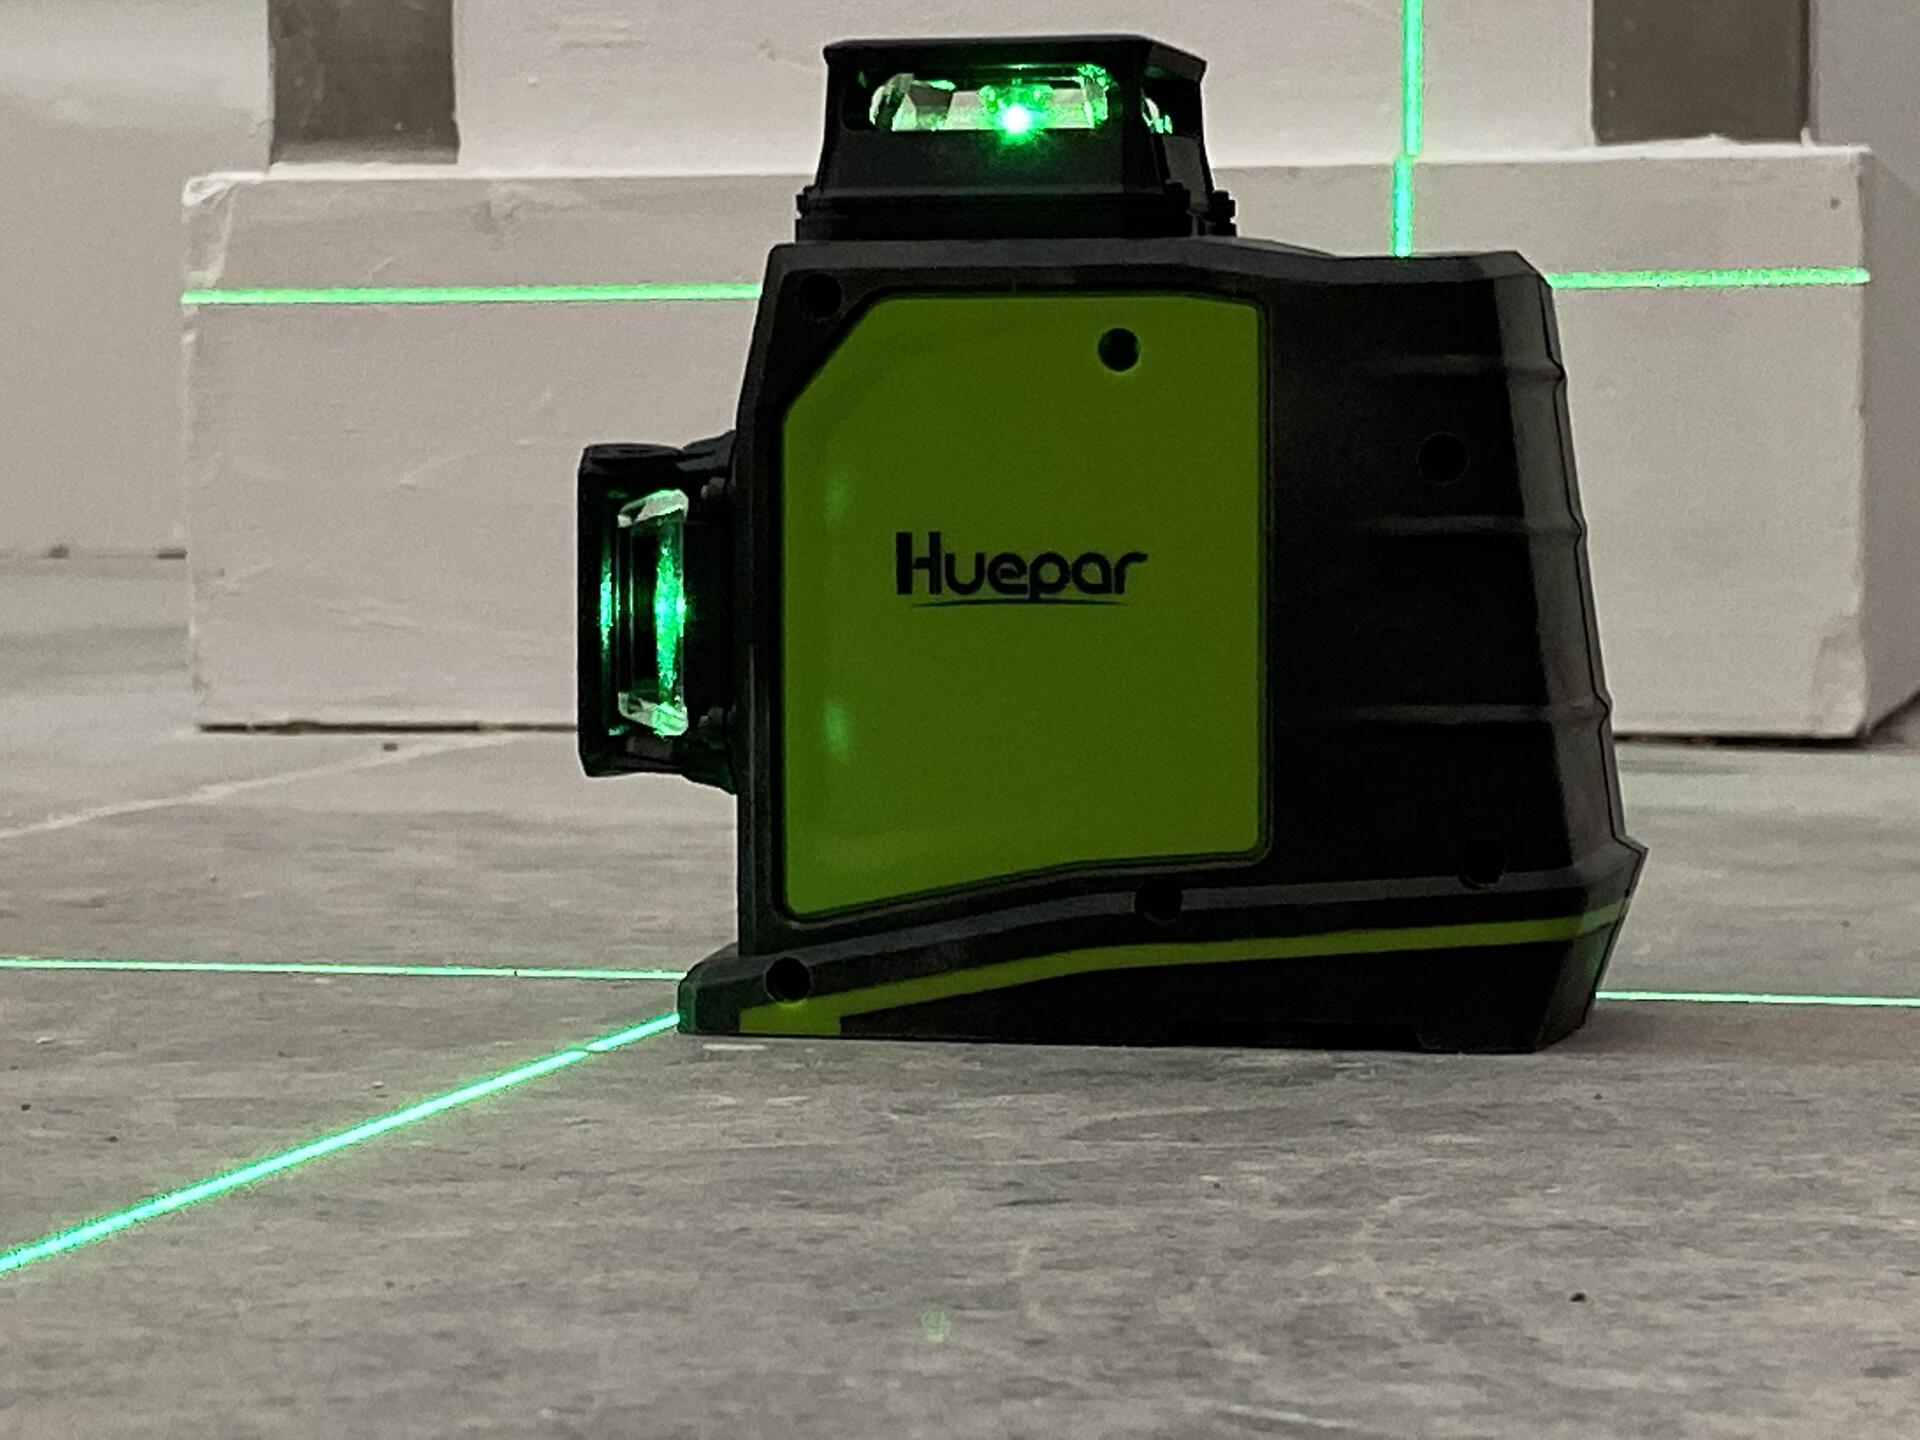
There are various types of laser levels available, including line laser levels, rotary laser levels, and dot laser levels. Line laser levels project a straight line, either horizontally or vertically, while rotary laser levels emit a rotating laser beam to create a full 360-degree reference line. Dot laser levels, on the other hand, project multiple laser dots at specific points.
Modern laser levels often come equipped with additional features like self-leveling capabilities, remote control operation, and the ability to project multiple lines or dots simultaneously. Some advanced models even integrate with smartphone apps, allowing users to control and customize the laser projection using their mobile devices.
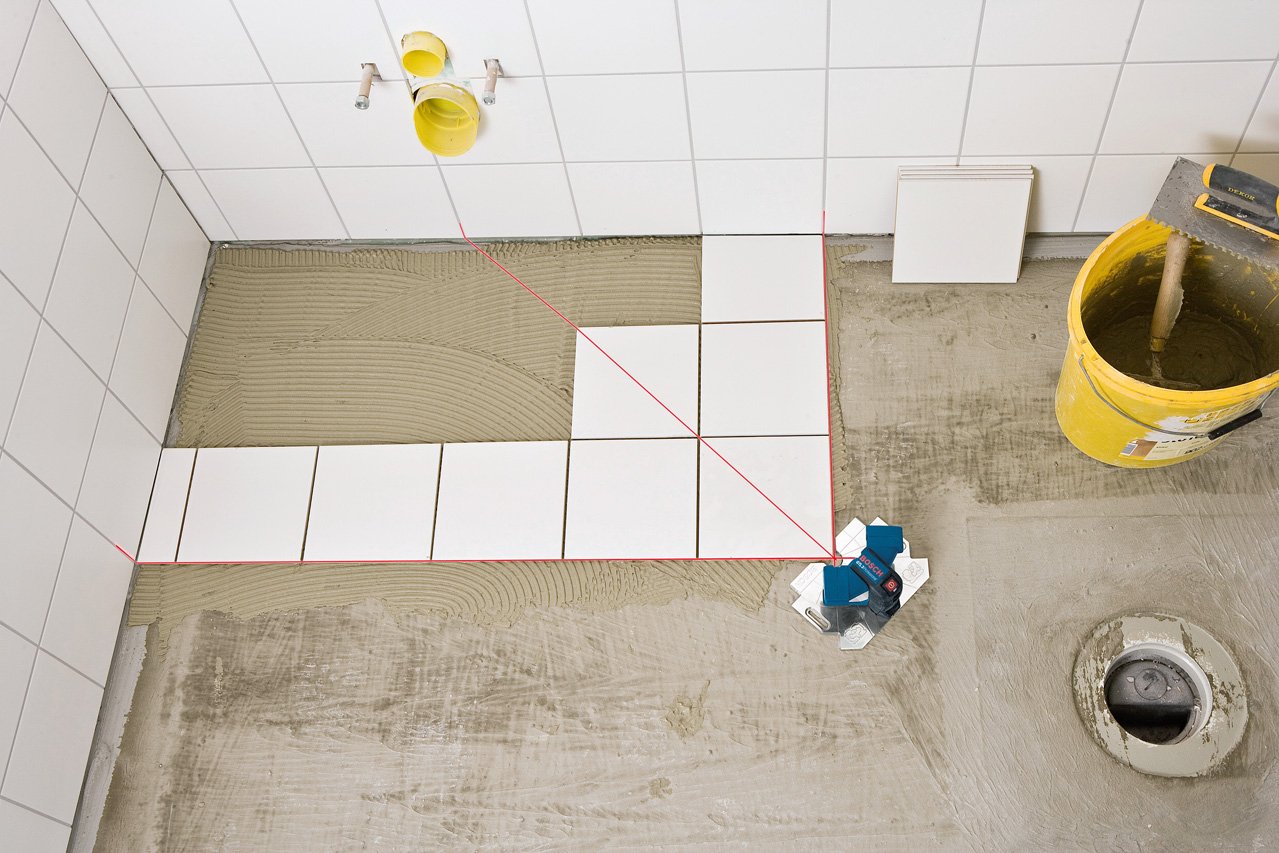
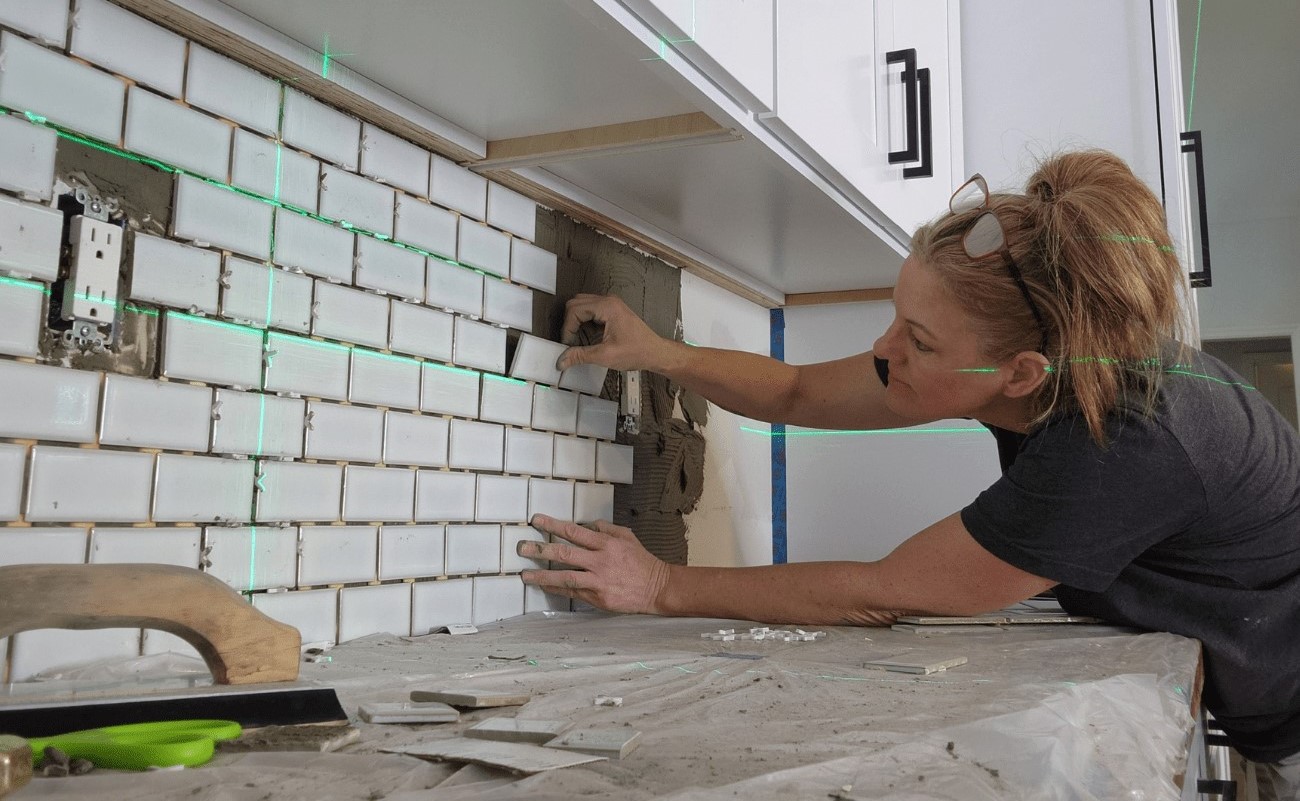
Whether you’re a carpenter, electrician, landscaper, or simply someone who enjoys DIY projects, a laser level can significantly improve your efficiency and accuracy in various tasks. From hanging shelves and installing tiles to framing walls and aligning solar panels, a laser level is an invaluable tool that provides professional-grade results.
Now that we have a clear understanding of what a laser level is, let’s explore the factors to consider before using one outside.
Factors to Consider Before Using a Laser Level Outside
Using a laser level outside requires careful consideration of several factors to ensure accurate measurements and optimal performance. Let’s take a look at the key factors you should keep in mind before taking your laser level outdoors:
- Weather Conditions: Outdoor environments are subject to various weather conditions that can affect the performance of your laser level. Bright sunlight, heavy rain, strong winds, and extreme temperatures can all impact the visibility and stability of the laser beam. It’s important to check the weather forecast and choose a suitable time for your outdoor project.
- Visibility: The visibility of the laser beam is crucial for accurate measurements. While laser levels typically have a high visibility range, it may be reduced in bright outdoor settings, especially in direct sunlight. Consider using a laser detector, which can pick up the laser beam and provide a visual or audio signal to guide you.
- Terrain: Outdoor terrain is often uneven, which can pose challenges when leveling or aligning structures or objects. Before using a laser level, assess the terrain and make any necessary adjustments, such as using leveling or extending the tripod legs to ensure stability and accuracy.
- Range and Accuracy: Different laser levels have different range and accuracy specifications. Take into account the distance you’ll be working with and choose a laser level with sufficient range and accuracy to meet your project requirements.
- Safety: Laser beams can be harmful to the eyes if not used correctly. Ensure that you and anyone else in the vicinity of the laser level wear appropriate eye protection. Also, be mindful of others nearby who may be affected by the laser beam and take necessary precautions to avoid potential hazards.
- Battery Life: If your laser level operates on batteries, make sure they are fully charged or have spare batteries on hand. Running out of power in the middle of a project can be frustrating and disrupt your workflow.
- Compatibility: If you plan to use a laser detector with your laser level, ensure they are compatible with each other. Not all laser levels are designed to work with laser detectors, so it’s important to check the specifications of both devices before attempting to use them together.
By taking these factors into consideration, you can minimize potential issues and maximize the effectiveness of your laser level when using it outside. In the following section, we will provide a step-by-step guide on how to use a laser level outside.
Step-by-Step Guide on How to Use a Laser Level Outside
Using a laser level outside requires careful setup and execution to ensure accurate measurements and precise alignments. Follow this step-by-step guide to make the most of your laser level in an outdoor environment:
- Choose the Right Time: Select a time of day when the sunlight is less intense. Early morning or late afternoon is usually best, as the angle of the sun can reduce glare and improve visibility of the laser beam.
- Check and Calibrate: Before starting, ensure that your laser level is in good working condition. Check for any damages, dirt, or obstructions that could affect its performance. If your laser level has a self-leveling feature, let it calibrate itself on a level surface. If it requires manual leveling, use a spirit level to ensure accuracy.
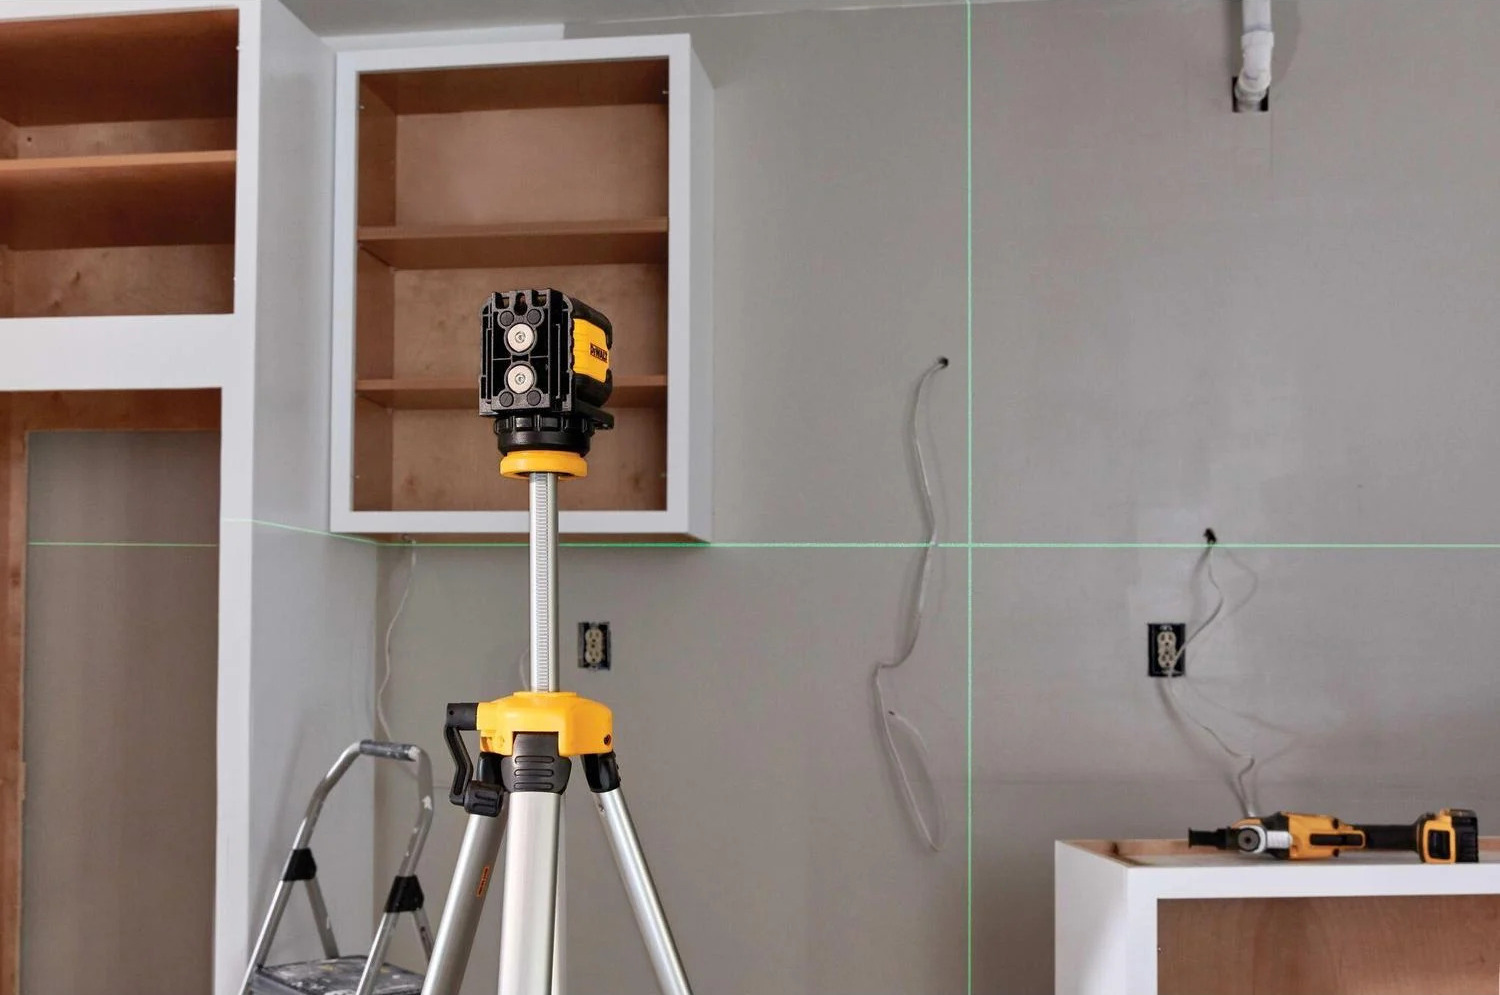
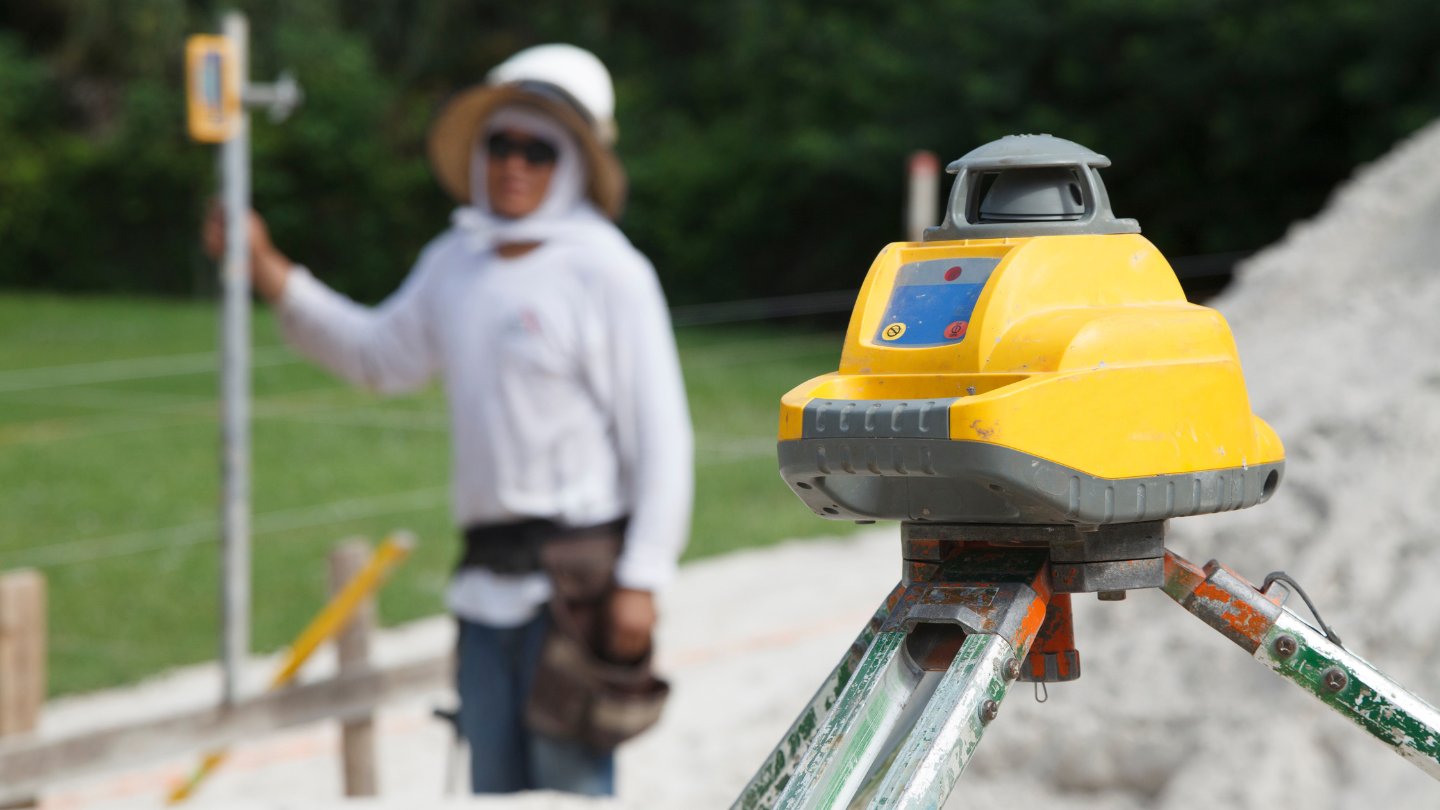
- Secure the Tripod: Set up a stable tripod in a location that provides a clear line of sight for the laser beam. Extend the tripod legs fully and lock them securely to prevent any wobbling or movement during operation.
- Mount the Laser Level: Attach the laser level to the tripod head or mounting bracket. Ensure that it is securely fastened and leveled properly. Use the bubble level on the laser level or tripod to make any necessary adjustments.
- Aim and Set Up: Use the built-in leveling indicators or controls on the laser level to align the laser beam as desired. Whether you need a horizontal, vertical, or angled reference line, adjust the laser level accordingly until the laser beam is projected in the desired direction.
- Start Using the Laser Level: Once the laser level is set up and aligned, you can begin using it for your outdoor project. Position the laser level in a way that ensures the laser beam covers the area you need to work on. If you need a longer line, consider using a laser detector to extend the range.
- Measure and Mark: With the laser beam projected onto the surface, use a tape measure or ruler to take accurate measurements. Mark these measurements on the surface as necessary, using a pencil or chalk.
- Adjust and Repeat: As you progress with your project, you may need to adjust the laser level or move it to a different location. Repeat steps 4-7 as needed to ensure continued accuracy and alignment.
- Finish and Clean Up: Once you have completed your project, turn off the laser level and carefully remove it from the tripod or mounting bracket. Clean the device, taking care not to damage any delicate parts. Store it in a safe and dry place for future use.
Following these steps will help you effectively use a laser level outside and achieve precise results in your outdoor projects. However, it’s essential to keep in mind some useful tips that can further enhance your experience and performance with a laser level outdoors.
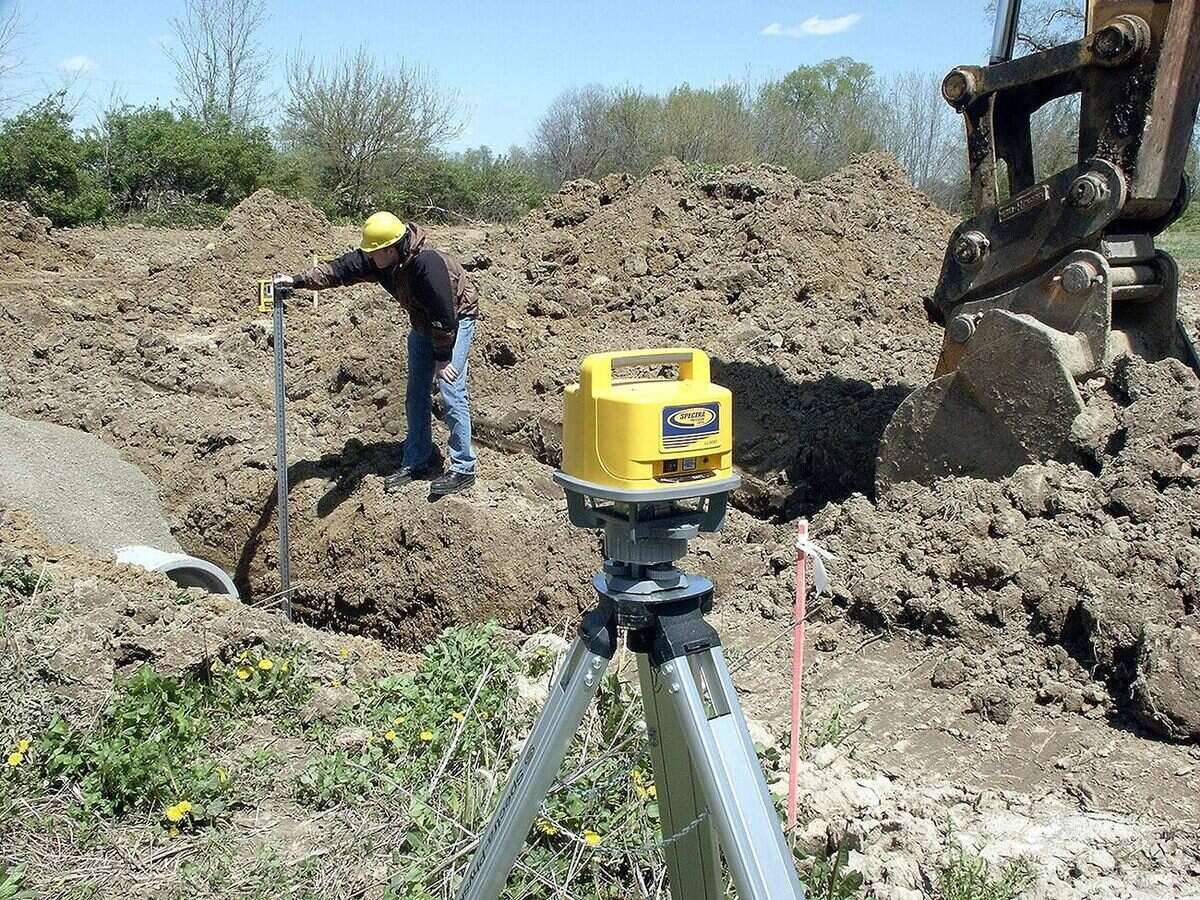
When using a laser level outside, make sure to use a detector to pick up the laser beam in bright sunlight. This will ensure accurate measurements and leveling.
Tips for Using a Laser Level Outside
Using a laser level outside can be a challenge due to various factors like sunlight, terrain, and visibility. However, with these tips, you can enhance your experience and achieve accurate results:
- Use a Laser Detector: In bright outdoor conditions, it can be difficult to see the laser beam. Consider using a laser detector, which can pick up the laser beam and provide a visual or audible indication when you are on the reference line.
- Check the Battery: Make sure your laser level has sufficient battery power before starting your outdoor project. Carry spare batteries or a charger to avoid interruptions in the middle of your work.
- Ensure a Stable Base: Set up your tripod on a solid and level surface. Consider using a leveling base or a stabilizing weight to prevent the tripod from tipping over in windy conditions.
- Use Target Plates: When working over longer distances or in challenging lighting conditions, attach target plates to the surfaces where you want the laser beam to land. This will improve visibility and accuracy.
- Pay Attention to the Beam: Always be cautious of the laser beam’s path and make sure it does not shine into anyone’s eyes. Use caution signs or barriers to prevent accidental exposure to the beam.
- Take Advantage of Locking Mechanisms: Many laser levels have locking mechanisms to secure the leveling position. Use these locks to keep the laser level in place, especially if you need to move or reposition the tripod.
- Consider Using a Remote Control: Some laser levels come with a remote control, allowing you to adjust settings or turn the laser beam on and off from a distance. This can be especially useful when working alone or in hard-to-reach areas.
- Clean the Laser Lens: Regularly clean the laser lens to maintain optimal visibility. Dust, dirt, and debris can affect the clarity of the laser beam and hinder accuracy. Use a microfiber cloth or lens cleaning solution for this purpose.
- Store Properly: After completing your outdoor project, store your laser level in a clean and dry place. Keep it protected in its original case or a padded bag to prevent any damage during transportation or storage.
By implementing these tips, you can overcome challenges and maximize the effectiveness of your laser level when working outside. However, it’s important to be aware of common mistakes that can compromise the accuracy and performance of your laser level.
Read more: How To Use A Self Leveling Laser Level
Common Mistakes to Avoid When Using a Laser Level Outside
While using a laser level outside can greatly enhance your accuracy and efficiency, there are some common mistakes that you should be aware of and avoid. By steering clear of these pitfalls, you can ensure optimal performance and achieve precise results:
- Ignoring Light Conditions: Bright sunlight can make it challenging to see the laser beam. Avoid using your laser level in direct sunlight if possible. Choose a time of day when the sun’s angle is less intense, such as early morning or late afternoon.
- Not Leveling Properly: Ensure that your laser level is correctly leveled on a stable surface. Neglecting to level the device or using it on an unstable base can affect the accuracy of your measurements and alignments.
- Not Checking Battery Life: Before starting your outdoor project, always check the battery life of your laser level. A low battery can impact the performance and reliability of the device. Replace or recharge the batteries as necessary.
- Neglecting the Laser Detector: In situations where the laser beam is difficult to see, such as in bright daylight or over long distances, using a laser detector is crucial. Neglecting to use a detector can result in inaccurate measurements and alignments.
- Not Protecting Your Eyes: Laser beams can be harmful to the eyes. Always wear appropriate eye protection when using a laser level, and avoid looking directly into the laser beam. Additionally, be mindful of others in the vicinity and protect them from exposure to the beam.
- Ignoring Terrain Conditions: Outdoor terrain is often uneven, which can affect the stability and accuracy of your laser level. Take the time to assess the terrain and make any necessary adjustments, such as using leveling or extending tripod legs, to ensure stability and avoid errors.
- Moving the Laser Level Too Often: Constantly moving the laser level during your project can disrupt the accuracy and consistency of your measurements. Try to minimize movements and adjust the laser level only when necessary to maintain stability and achieve precise results.
- Using Incorrect Laser Level for the Application: Not all laser levels are suitable for every outdoor application. Using the wrong type of laser level or selecting one with insufficient range or accuracy can lead to inaccurate measurements and alignments. Ensure your laser level is appropriate for the task at hand.
- Not Cleaning the Laser Lens: Dust and debris can accumulate on the laser lens, obstructing the laser beam and reducing visibility. Regularly clean the lens using a microfiber cloth or lens cleaning solution to maintain optimal performance.
By avoiding these common mistakes, you can ensure that your laser level performs optimally and delivers accurate results in your outdoor projects. With proper technique and attention to detail, you can take full advantage of this versatile tool.
Now that we have covered these common mistakes, you are well-equipped to use your laser level effectively and achieve precise measurements and alignments. Remember to always follow the manufacturer’s instructions and safety guidelines when operating your laser level. Happy outdoor leveling!
Conclusion
Using a laser level outside can greatly improve the accuracy and efficiency of your outdoor projects. By understanding the factors to consider, following a step-by-step guide, and implementing helpful tips, you can overcome challenges and achieve precise results.
Before using a laser level outside, consider factors such as weather conditions, visibility, terrain, range and accuracy, safety, and battery life. These considerations will ensure that you are well-prepared to tackle your outdoor projects with confidence.
With a step-by-step guide, you can properly set up and use your laser level outside. From choosing the right time to checking and calibrating your laser level, each step is essential for achieving accurate measurements and alignments. Remember to measure and mark your reference points, adjust as needed, and take precautions for safety.
To enhance your experience, implement tips such as using a laser detector, securing a stable base, and cleaning the laser lens regularly. These tips will help you overcome challenges like bright sunlight, uneven terrain, and limited visibility, ensuring optimal performance of your laser level.
Lastly, be aware of common mistakes to avoid, such as neglecting light conditions, not leveling properly, ignoring the laser detector, and not protecting your eyes. By avoiding these mistakes, you can maintain accuracy and reliability in your measurements and alignments.
Using a laser level outside opens up a world of possibilities for precision and productivity in your outdoor projects. With proper technique, attention to detail, and the right precautions, you can harness the power of this tool and achieve professional-grade results.
So, embrace the power of the laser level, take your projects to new heights, and enjoy the satisfaction of accurate measurements and alignments in your outdoor endeavors. Happy leveling!
Frequently Asked Questions about How To Use Laser Level Outside
Was this page helpful?
At Storables.com, we guarantee accurate and reliable information. Our content, validated by Expert Board Contributors, is crafted following stringent Editorial Policies. We're committed to providing you with well-researched, expert-backed insights for all your informational needs.


0 thoughts on “How To Use Laser Level Outside”